Chapter 4. Cloud Technologies
4.2 Deploy Palo Alto to Azure
Learning Objectives
- Configure a Virtual Network in Microsoft Azure
- Set up and configure the Azure VPN Gateway for IPsec VPN
- Implement Network Security Groups (NSGs) in Azure for traffic control
- Monitor and troubleshoot IPsec VPN connections on Palo Alto
Scenario: In this lab, we’ll learn how to deploy Palo Alto Firewall to Azure.
- Go to Azure Marketplace and search for Palo Alto.
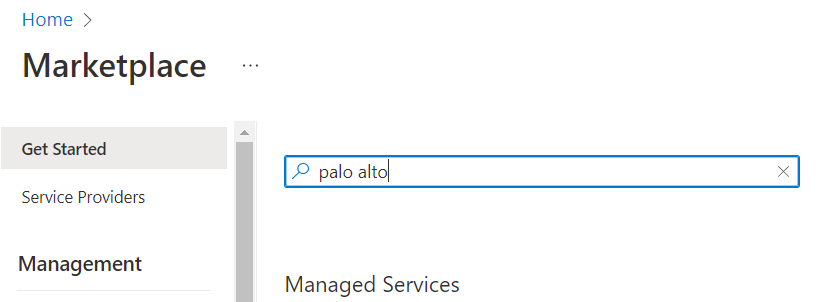
Figure 4.45: Search for Palo Alto - Select VM-Series Next-Generation Firewall from Palo Alto.
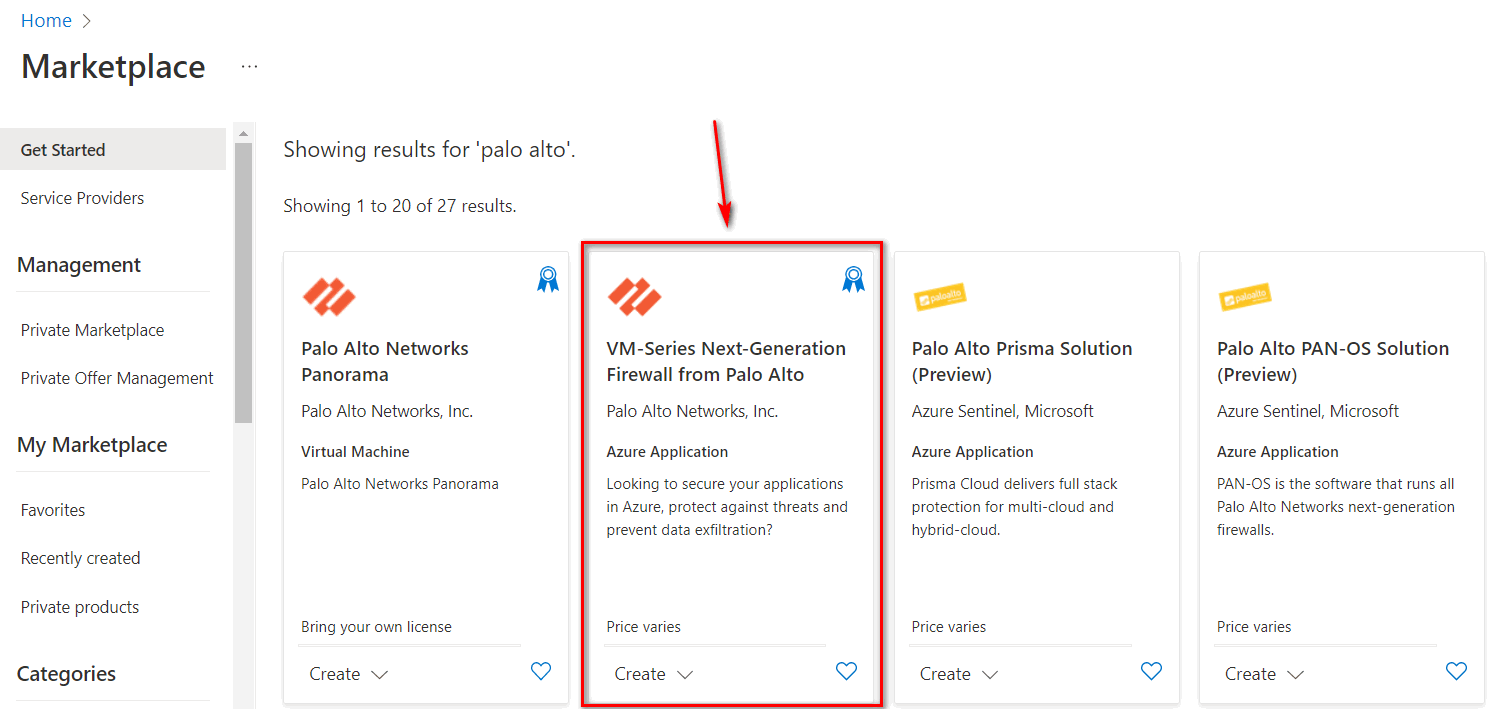
Figure 4.46: Select VM Series Next-Generation Firewall - Then, Select VM-Series Next Generation Firewall from dropdown list.
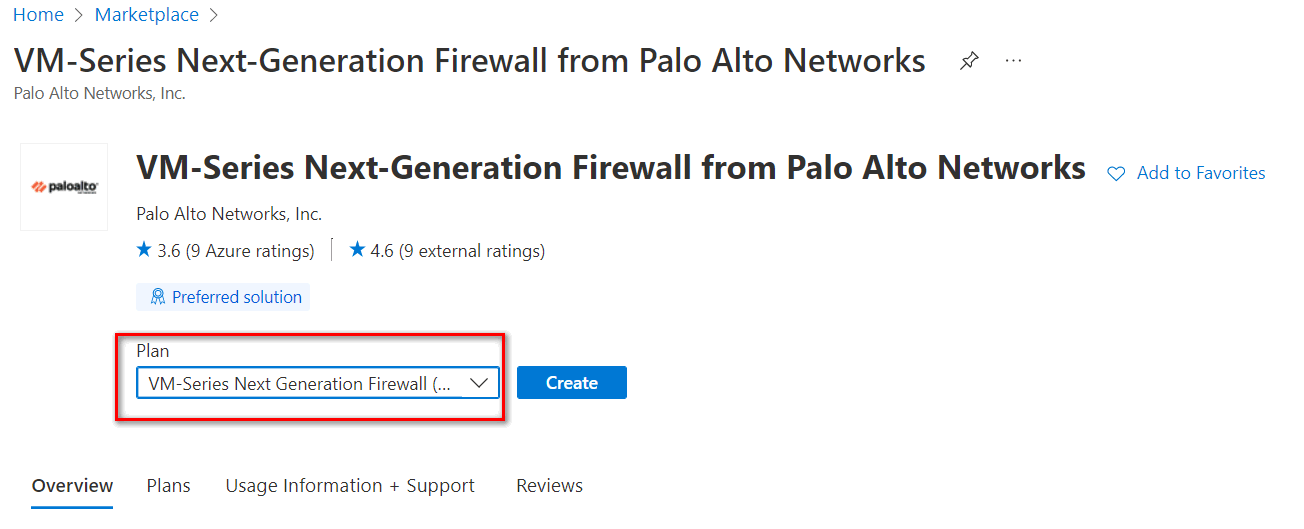
Figure 4.47: Select VM-Series Next Generation Firewall - Create a Firewall information, as Figure 4.48.
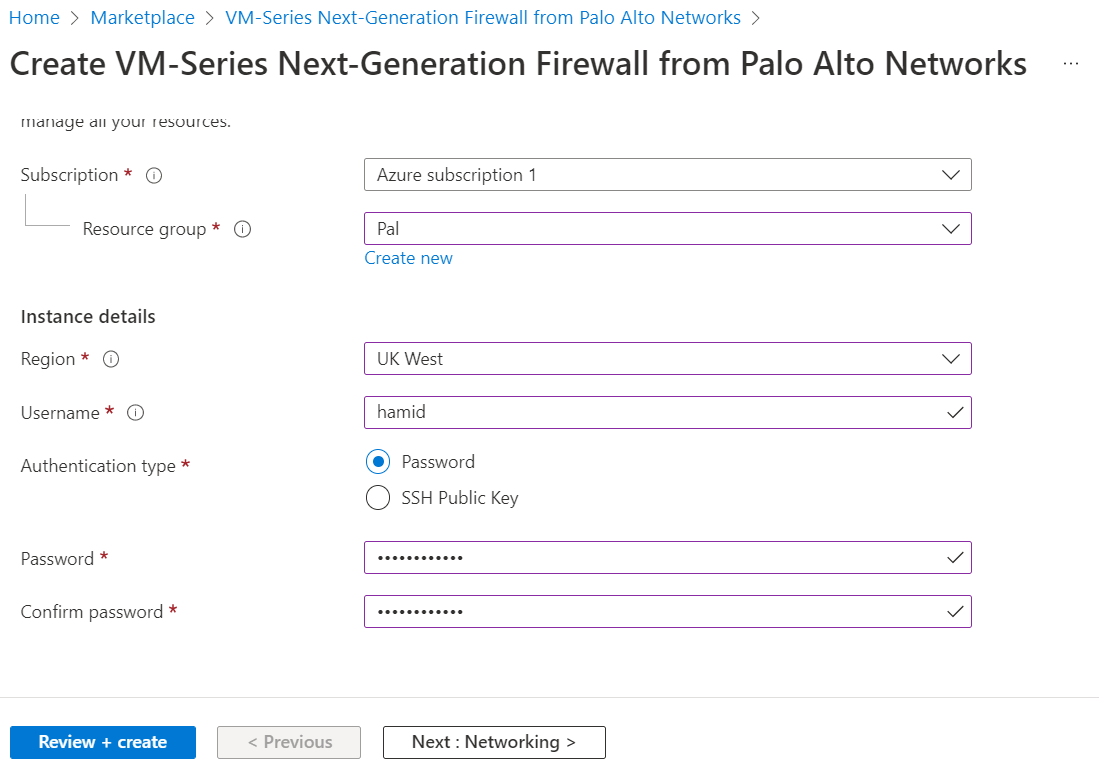
Figure 4.48: Create a VM-Series Palo Alto 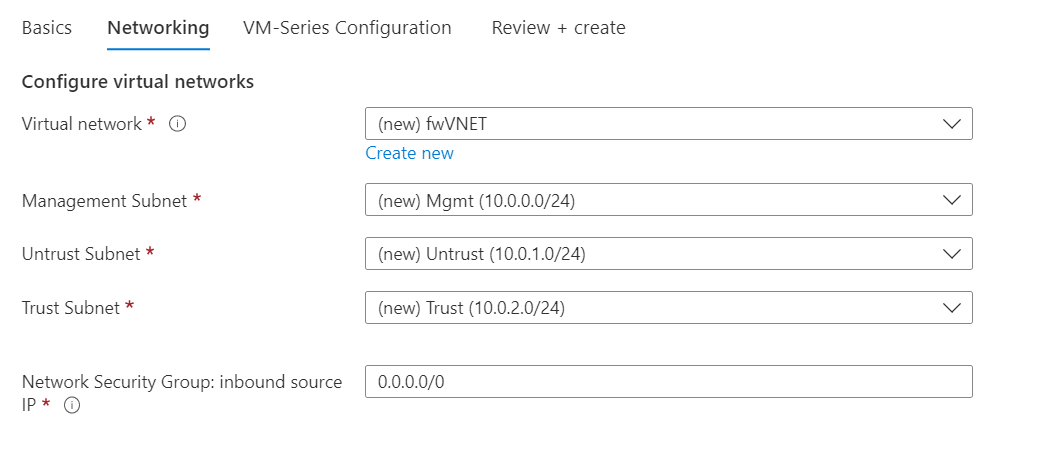
Figure 4.49: Networking configuration 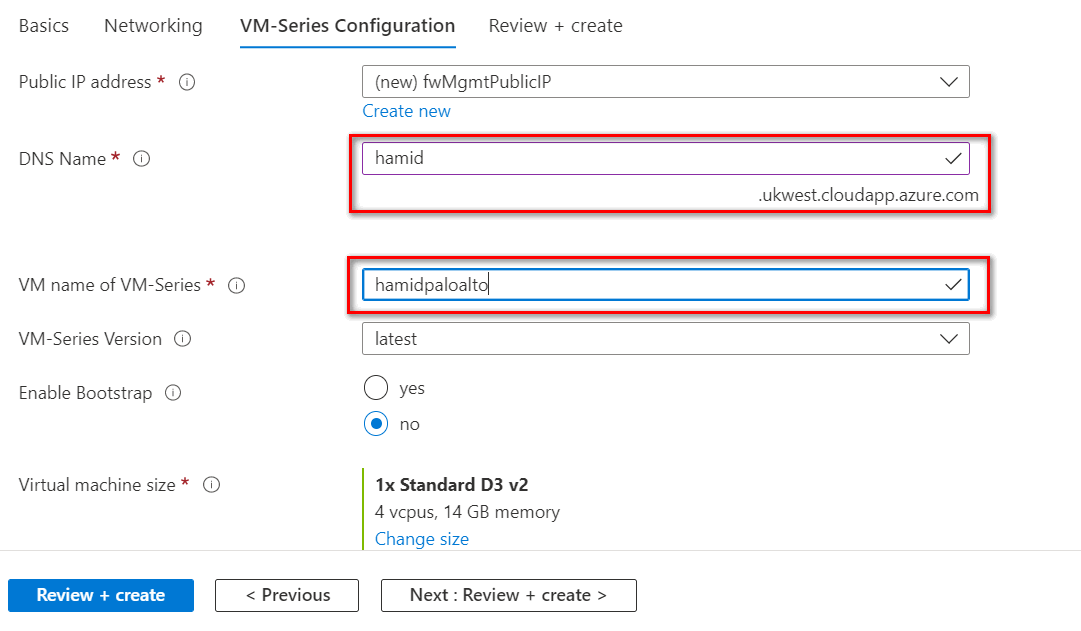
Figure 4.50: VM Configuration (DNS-VM Name) - Leave other tabs as default and press on “Review + create.” It will validate your information and then you can create a Palo Alto Firewall.
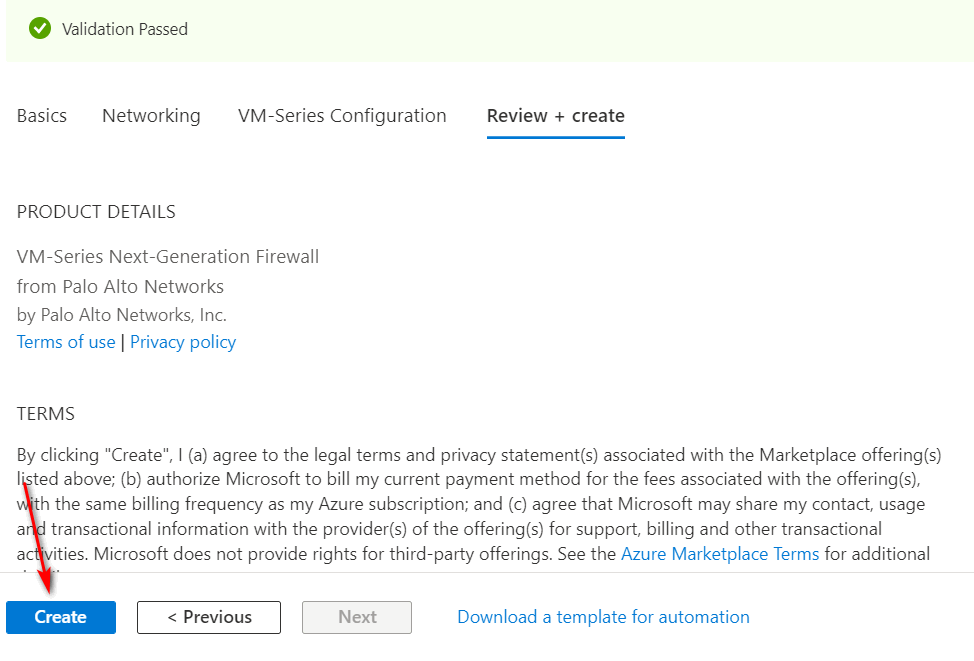
Figure 4.51: Create a firewall - Then, it will start deployment of Palo Alto. It takes around 5 minutes to deploy Palo Alto.
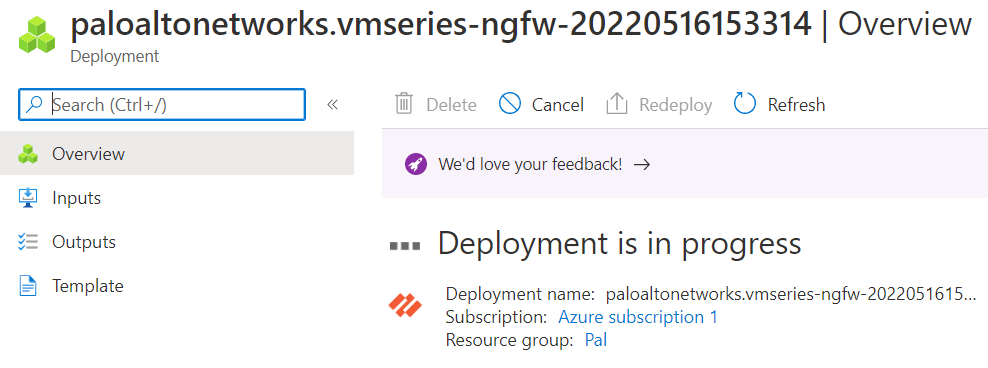
Figure 4.52: Deployment is in progress 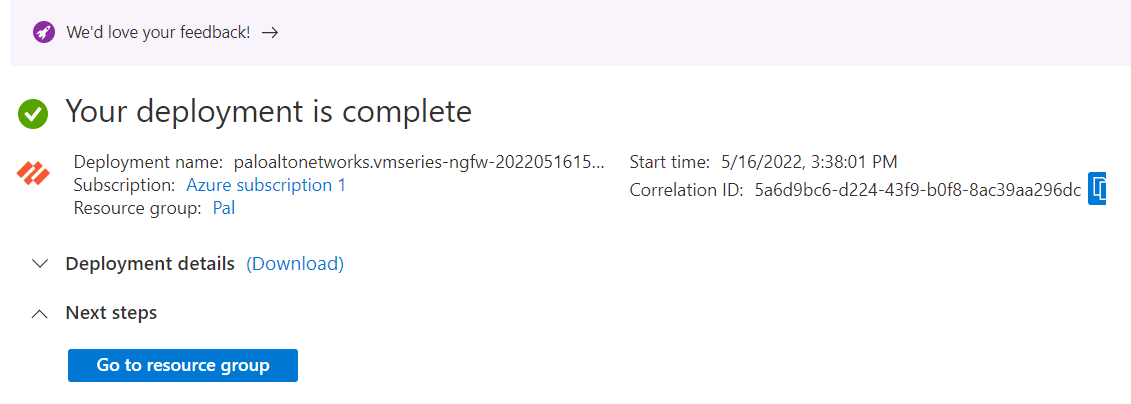
Figure 4.53: Deployment is complete - After deployment is completed, go to Resource group > hamid > Overview and look for Palo Alto Public IP address.
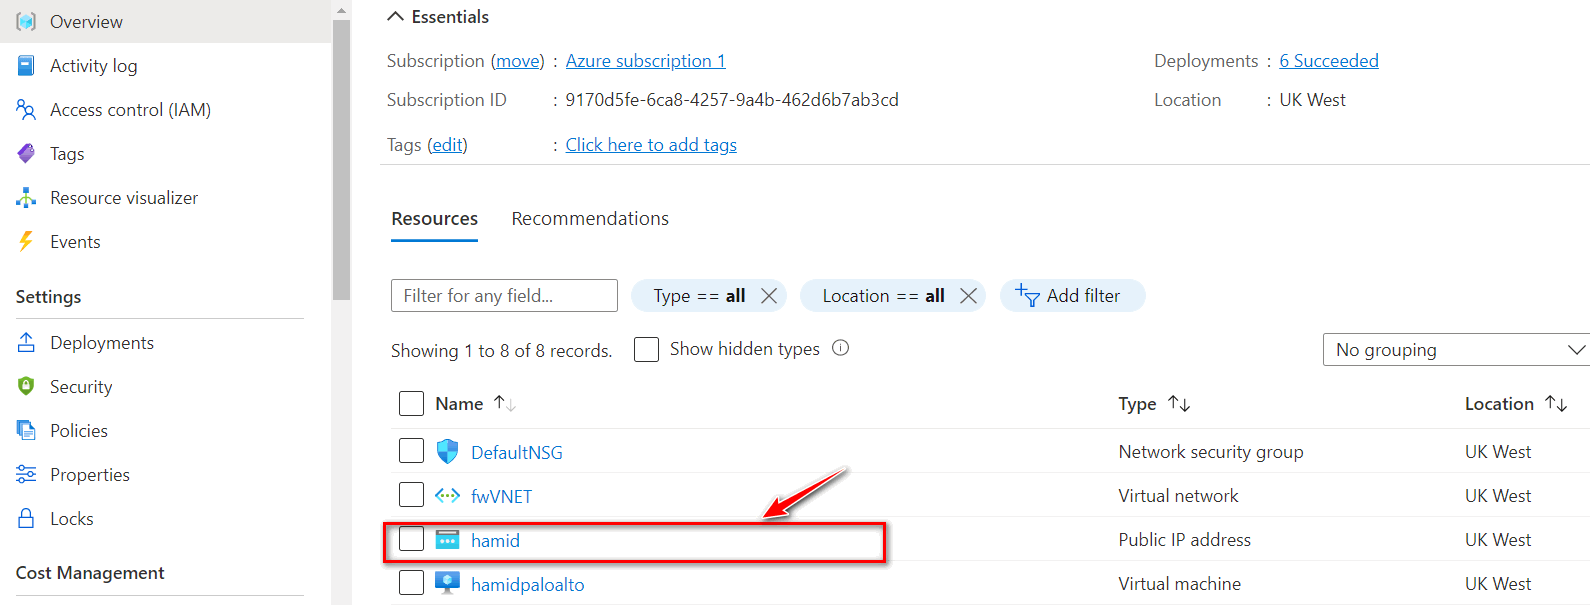
Figure 4.54: Palo Alto Public IP Address 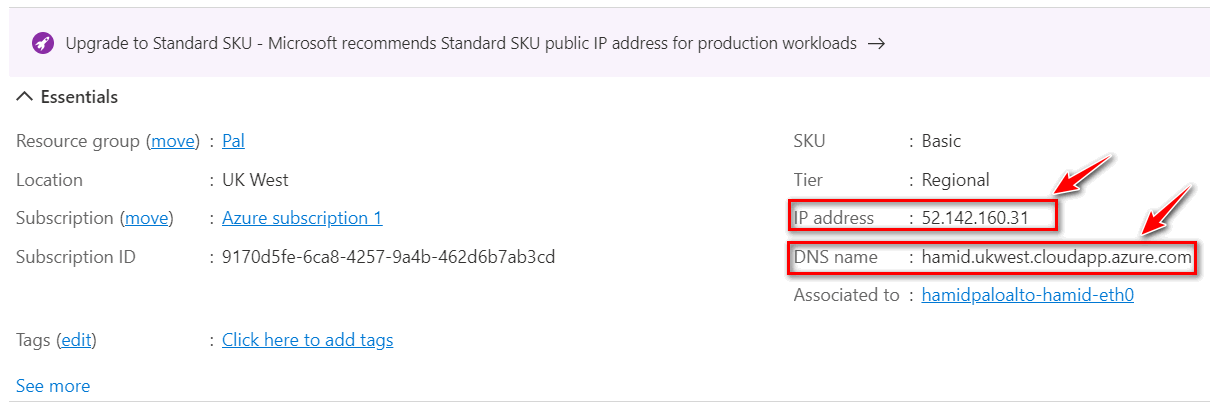
Figure 4.55: Palo Alto Public IP Address - Type the IP address in the browser. You should be able to see the Palo Alto credentials page. Enter your username and password to log in to the firewall.
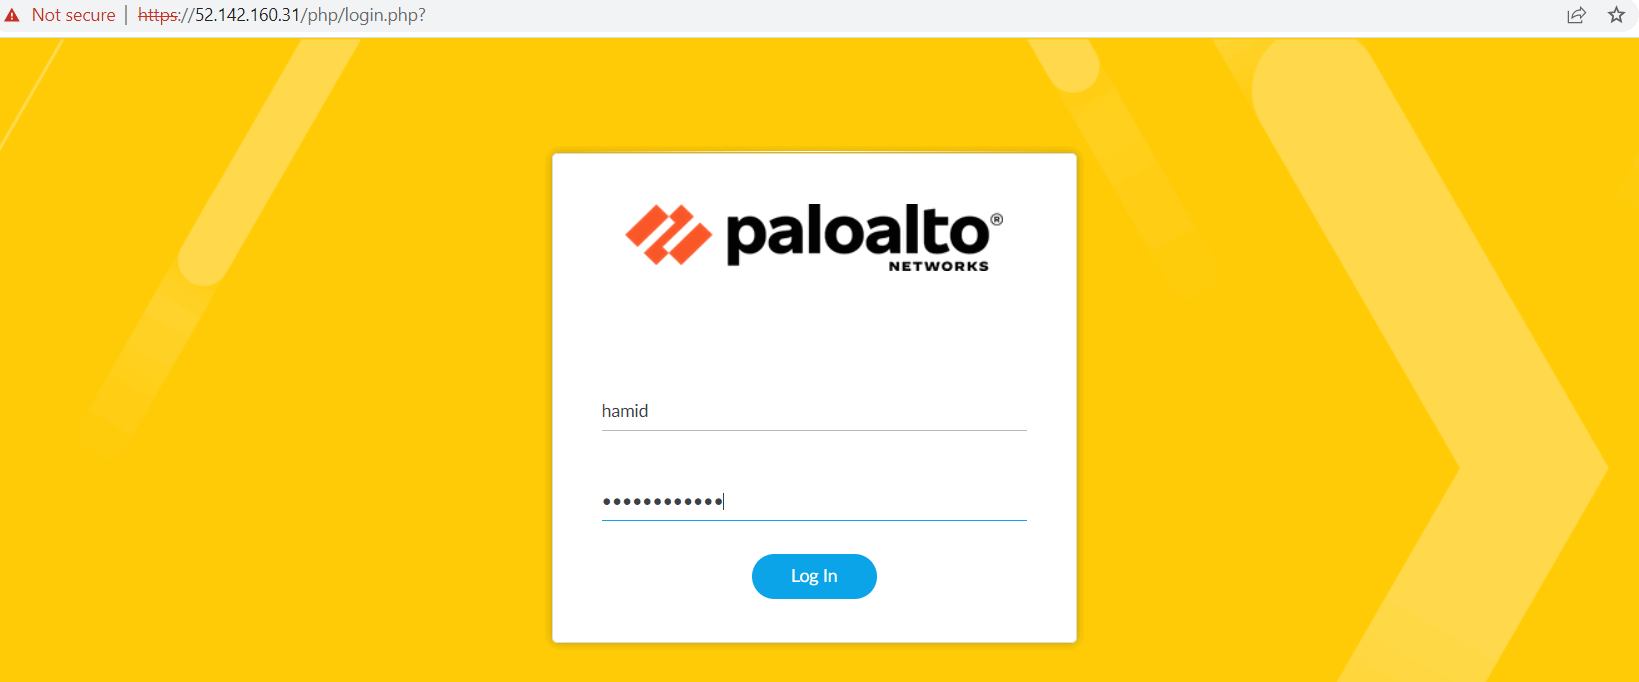
Figure 4.56: Palo Alto Firewall Credential Page - Azure will create three interfaces, as Figure 4.57. By default, Eth0 is set as a management port and this port has the public IP address and you can reach the GUI through this IP address. Eth1 is set as an Untrusted interface and to be able to access the firewall through this port, you should set the Public address for this port.
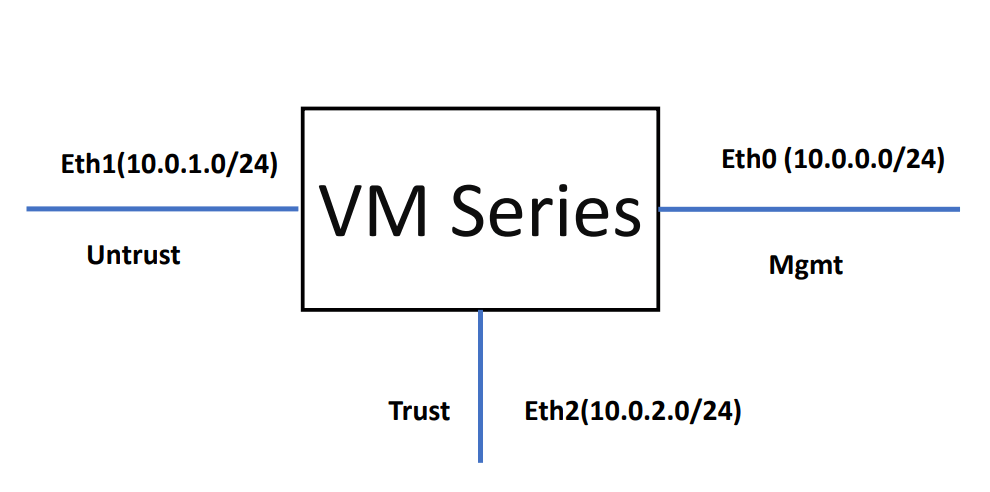
Figure 4.57: Palo Alto Firewall Interfaces by default - To set interfaces in the firewall, you should go to Network > Interfaces and set both ethernet1/1 and ethernet1/2 as a DHCP client. Also, uncheck “Automatically create default route pointing to default gateway.”
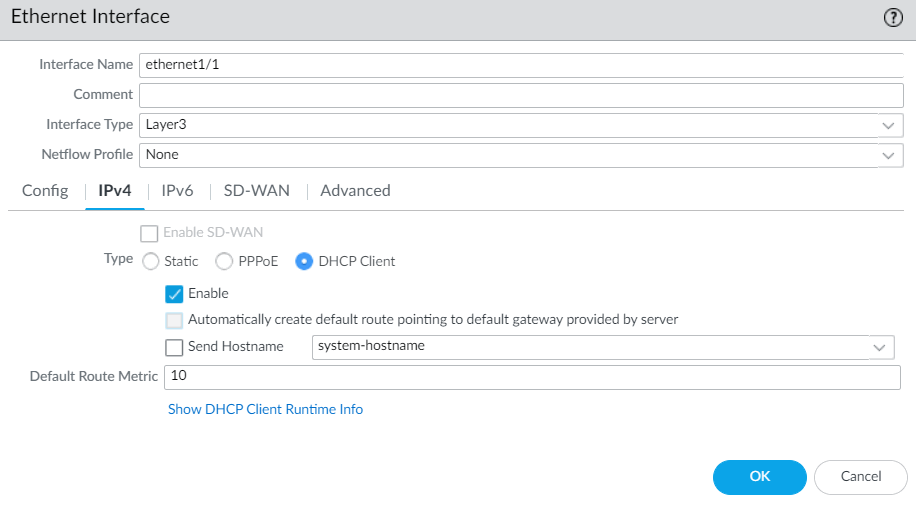
Figure 4.58: Ethernet1/1 configuration 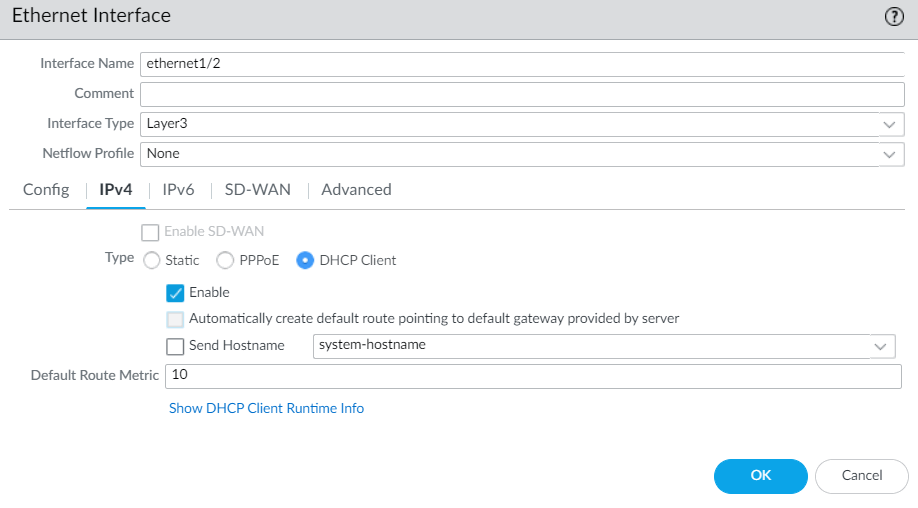
Figure 4.59: Ethernet1/2 configuration - Then, you set a default route and set a zone for each interface.
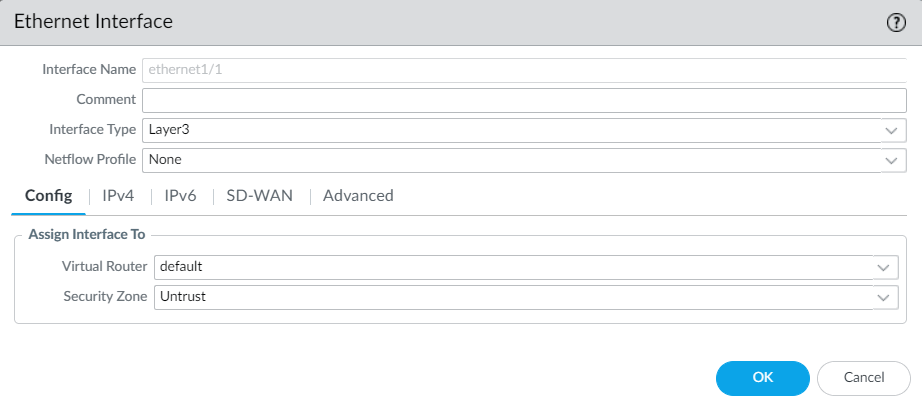
Figure 4.60: Ethernet1/1 zone and virtual router 
Figure 4.61: Ethernet1/2 zone and virtual router and then in Ethernet1/1 under the advanced tab, set management interface profile as Figure 4.62.

Figure 4.62: Ethernet1/1 Management Profile - Create a static route to 10.0.1.1.
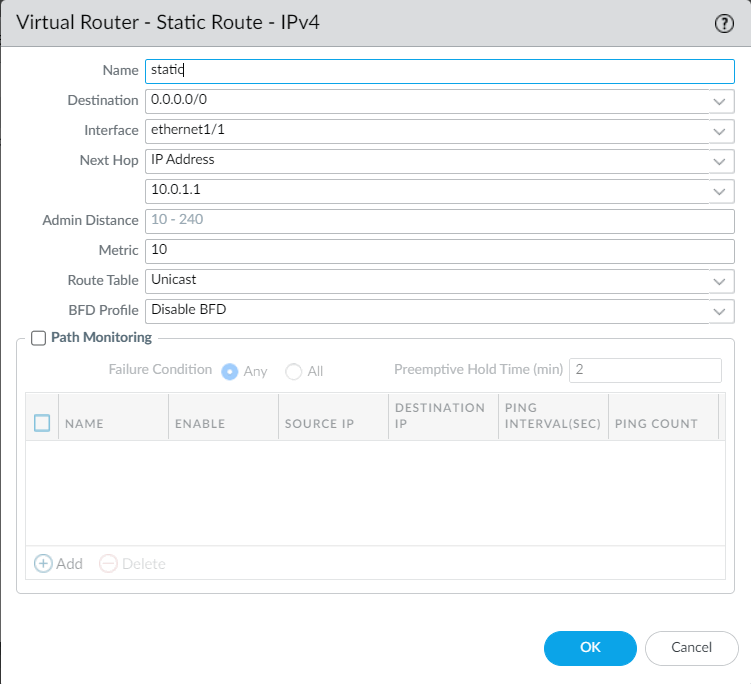
Figure 4.63: Create a static route to 10.0.1.1 - Create a public IP address and assign the public IP address to interface eth1 (Untrusted interface).
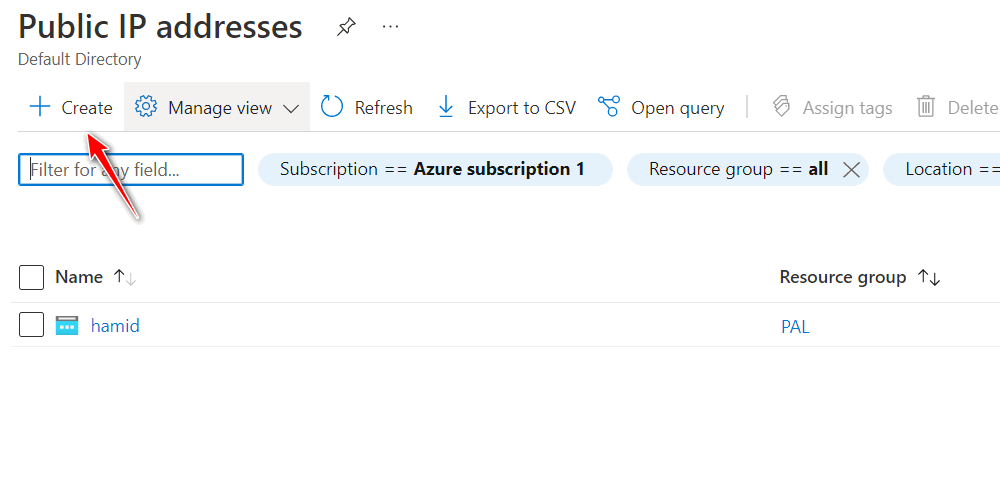
Figure 4.64: Create a public IP address 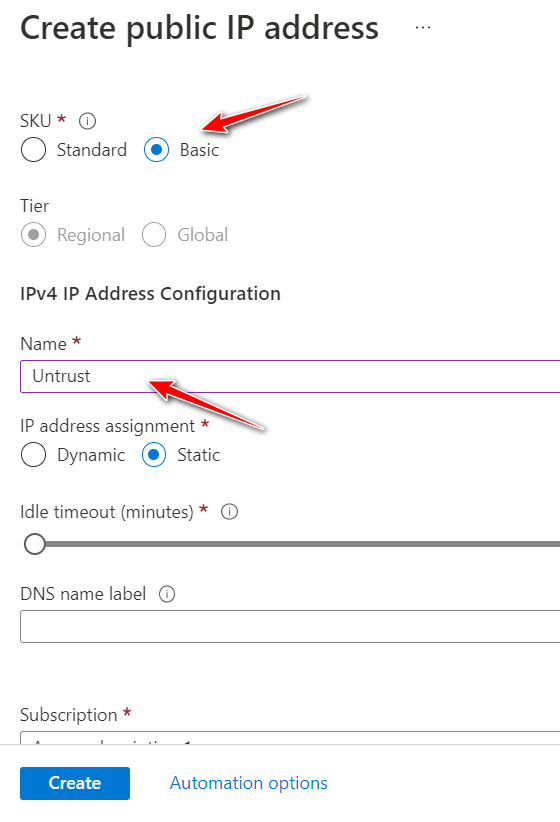
Figure 4.65: Create a public IP address (set SKU and name) 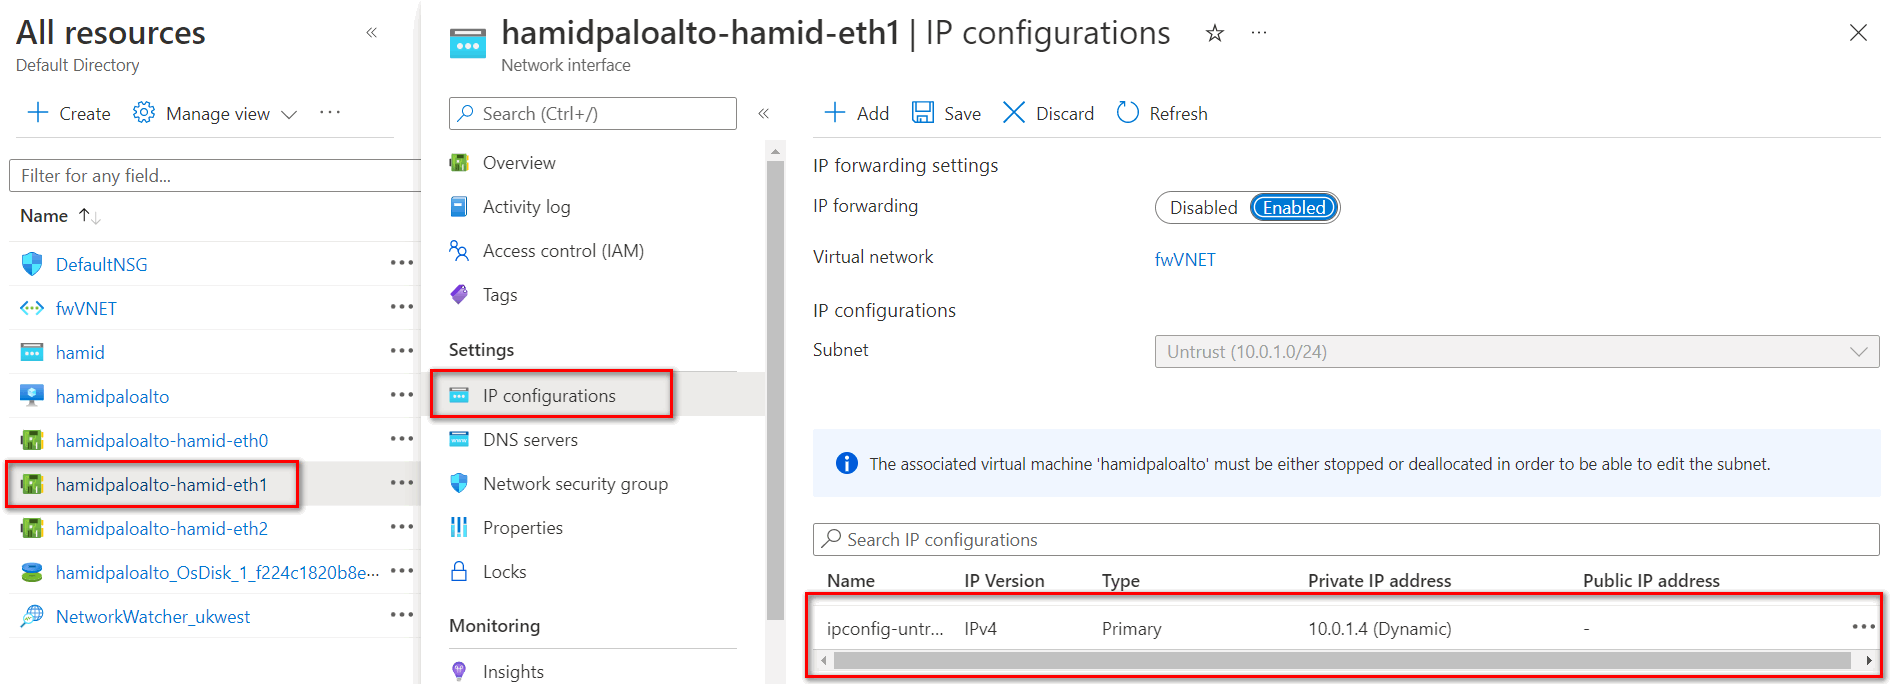
Figure 4.66: Select Interface eth1 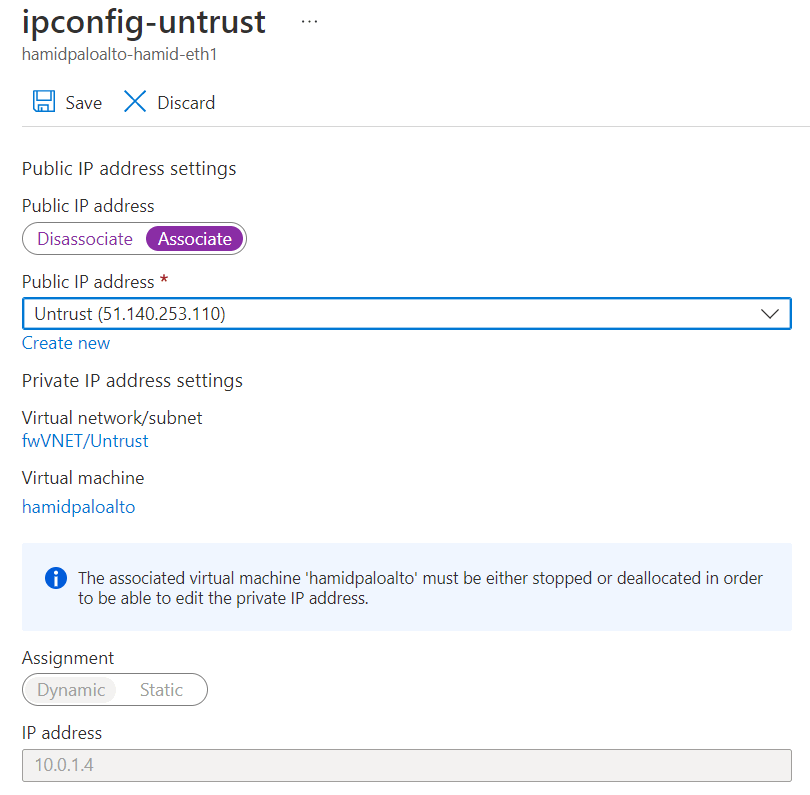
Figure 4.67: Assign public IP address to Eth1 - Open the browser and type the public IP address. You should be able to access the firewall.
