Chapter 4. VPN
4.2 SSL VPN
Learning Objectives
- Configure a tunnel-based SSL VPN
- Configure a web-based SSL VPN (Web Portal)
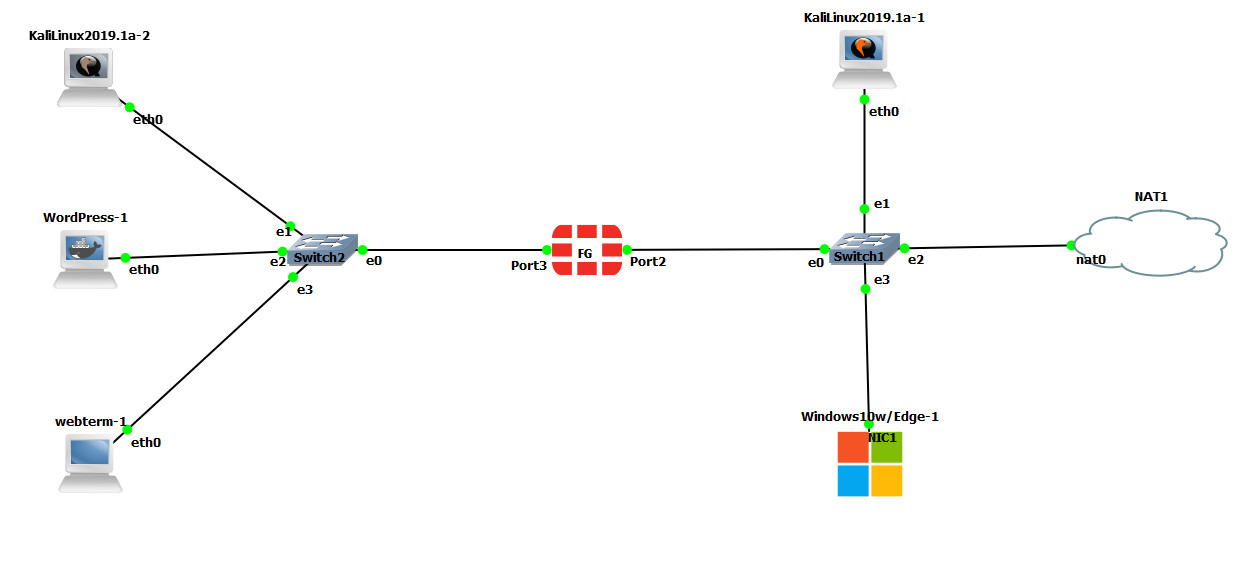
Scenario: We are going to have SSL VPN from Windows to FortiGate Firewall. First, we will install FortiClient on Windows and then we will configure the firewall for FortiClient. We have two types of SSL VPN, Web based mode and Tunnel mode. Web based mode doesn’t need any agents and you should be able to reach WordPress and SSH Server from Windows. Tunnel mode is through FortiClient. The goal of this scenario is to have connectivity from Windows to WordPress and SSH Server.
| Device | IP address | Access |
|---|---|---|
| FortiGate | Port3: 192.168.1.1/24 – DHCP (192.168.1.20 to 192.168.1.30)
Port2: DHCP Client |
ICMP-HTTP-HTTPS |
| WebTerm (FMC) | 192.168.1.2/24 | – |
| KALI Linux (SSH Server) | 192.168.1.3/24 | – |
| WordPress | 192.168.1.4/24 | |
| KALI-outside | DHCP Client | |
| Windows | DHCP Client |
Configure the interfaces of the firewall. Port2 and Port3 should be configured in the terminal to access the firewall.
- Port 3 Configuration:
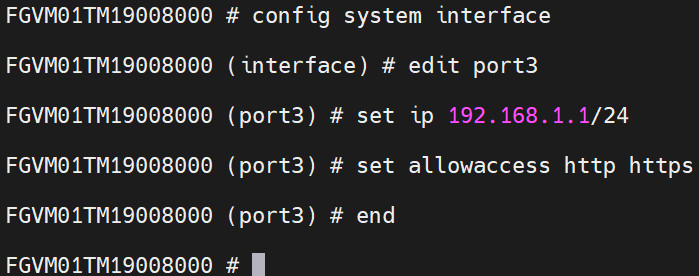
Figure 4.39: Port3 settings - Port 2 Configuration:
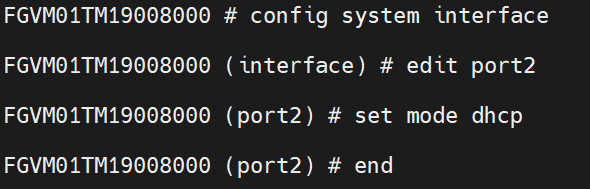
Figure 4.40: Port2 settings - Configure DHCP Server on port3.
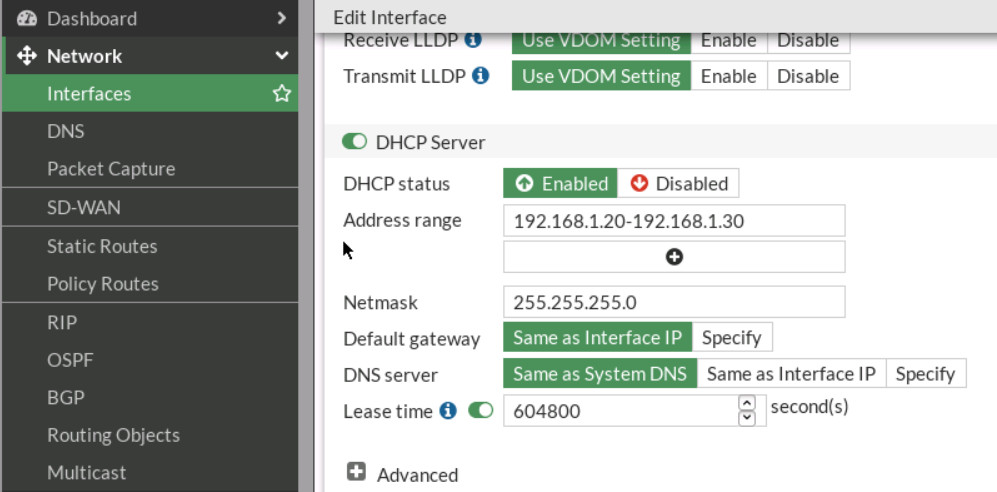
Figure 4.41: Enable DHCP Server on port3 - Configure user and user group. Go to User & Authentication > User Definition to create a local user sslvpnuser1.
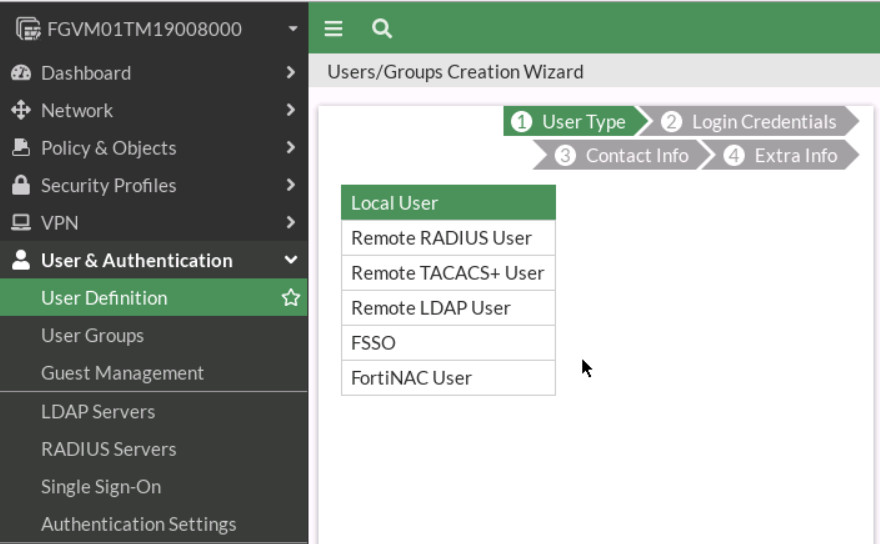
Figure 4.42: Create a local user 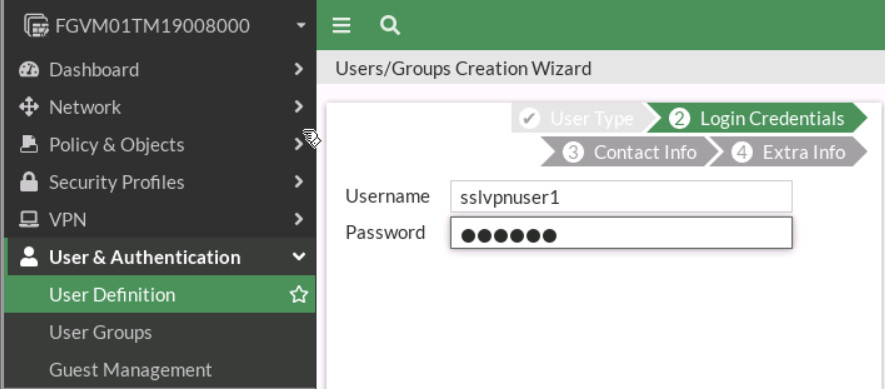
Figure 4.43: Configure login credentials Go to User & Authentication > User Groups to create a group sslvpngroup with the member sslvpnuser1.
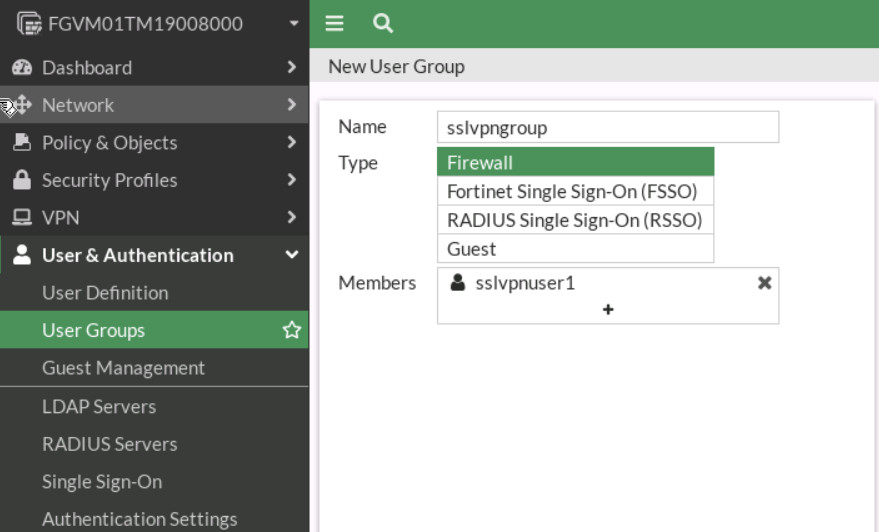
Figure 4.44: Create a group - Configure SSL VPN web portal and Tunnel mode. Go to VPN > SSL-VPN Portals:
- Split-Tunneling: Disabled
- Source IP Pools: SSLVPN_TUNNEL_ADDR1
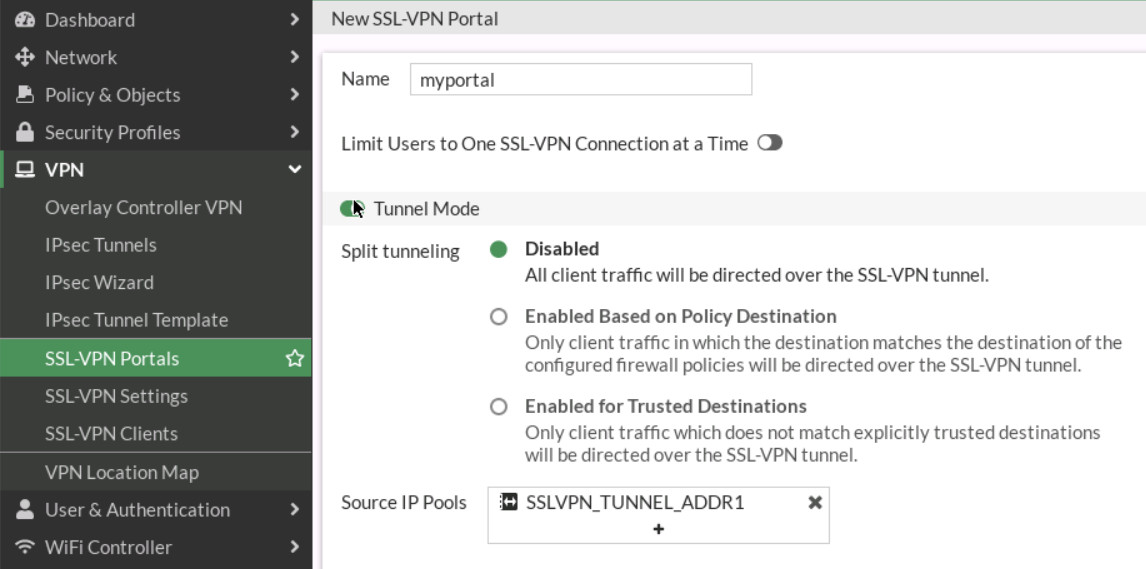
Figure 4.45: SSL-VPN Portal Go to VPN > SSL-VPN Portals, add KALI IP address (SSH Server: IP Address of Kali) and WordPress (IP Address of WordPress) in the bookmark section.
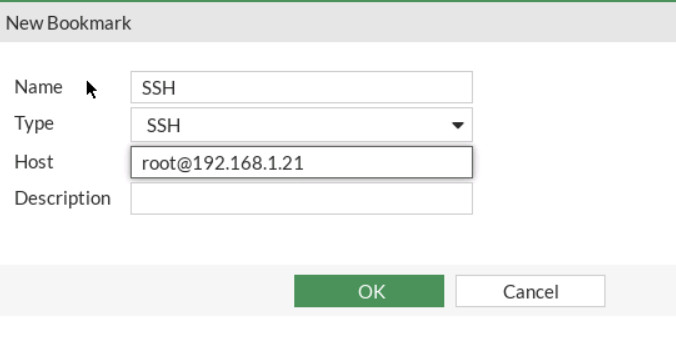
Figure 4.46: Create an SSH bookmark 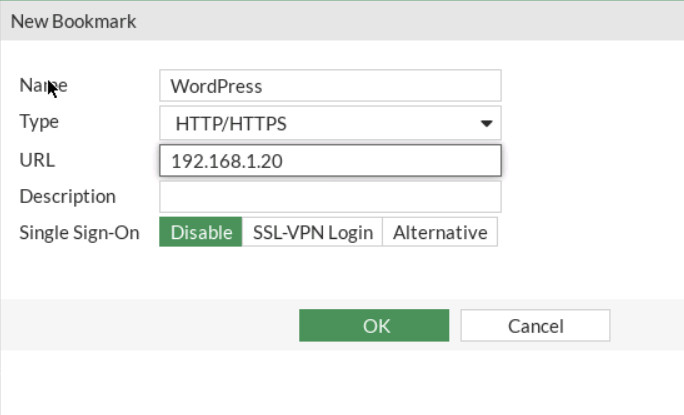
Figure 4.47: Create an HTTP/HTTPS bookmark 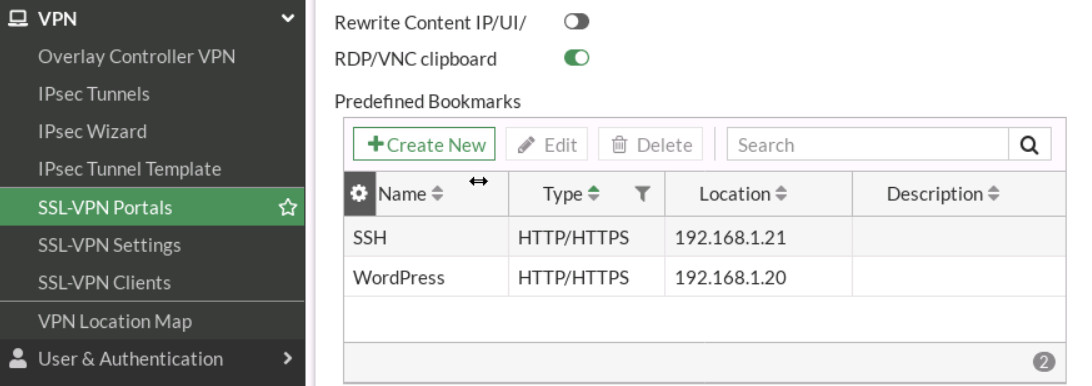
Figure 4.48: Bookmark settings - Configure SSL VPN settings. Go to VPN > SSL-VPN Settings:
- For Listen on Interface(s), select Port2.
- Set Listen on Port to 8080.
- Server Certificate: Fortinet
- In restrict Access, select “Allow access from any host”
- Address range: Automatically assign address.
- In Authentication/Portal Mapping All Other Users/Groups, set the Portal to MyPortal
- Create new Authentication/Portal Mapping for group sslvpngroup mapping portal MyPortal.
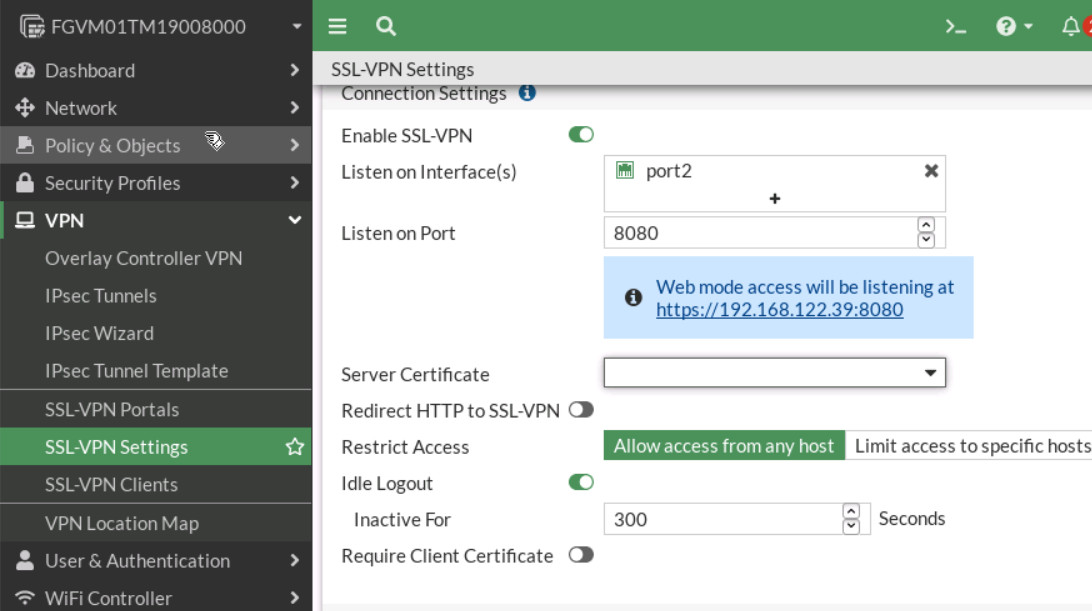
Figure 4.49: Enable SSL-VPN Settings 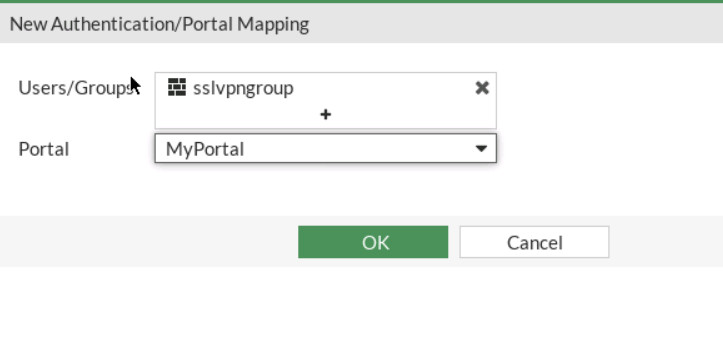
Figure 4.50: Assign sslvpngroup to MyPortal 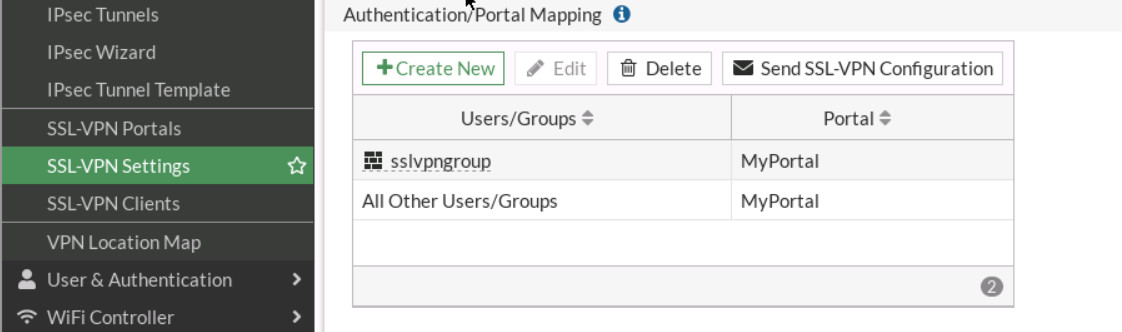
Figure 4.51: Authentication/Portal Mapping - Configure SSL VPN firewall policy:
- Go to Policy & Objects > Firewall Policy.
- Fill in the firewall policy name. In this example, SSLVPN full tunnel access.
- The incoming interface must be SSL-VPN tunnel interface(ssl.root).
- Choose an Outgoing Interface. In this example, port3.
- Set the Source to all and group to sslvpngroup.
- Set the Destination to all.
- Set Schedule to always, Service to ALL, and Action to Accept.
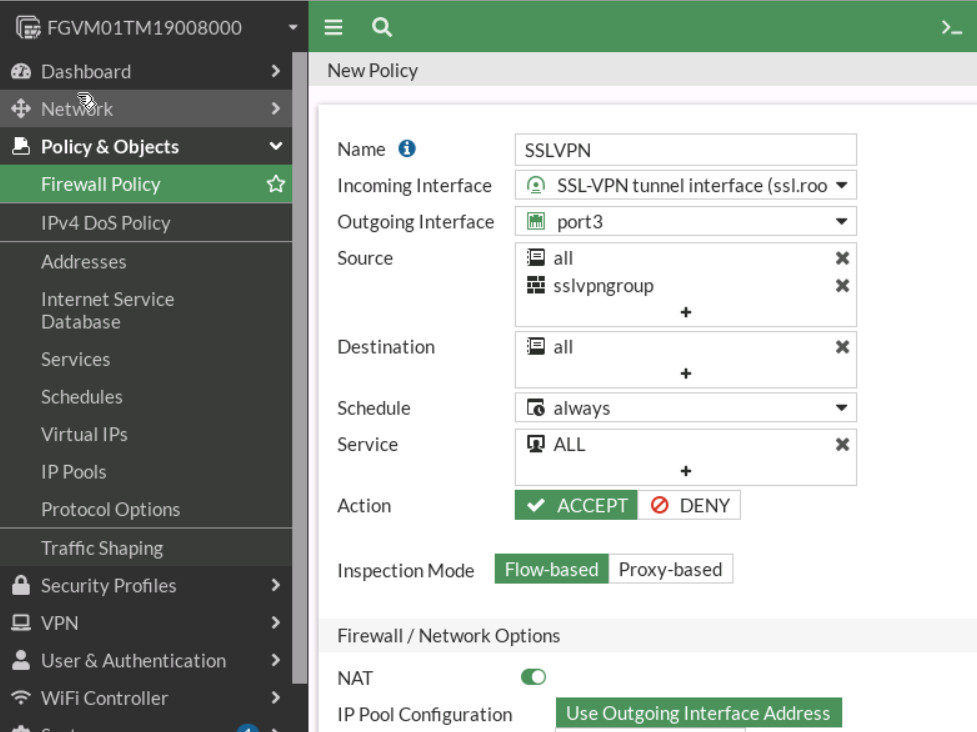
Figure 4.52: Create a Firewall Policy for SSLVPN - Now connect to Kali outside and open the browser https://IP-PORT 2-Firewall:8080
Enter the username and password you created earlier. Then try to connect to the KALI SSH Server and WordPress through the browser.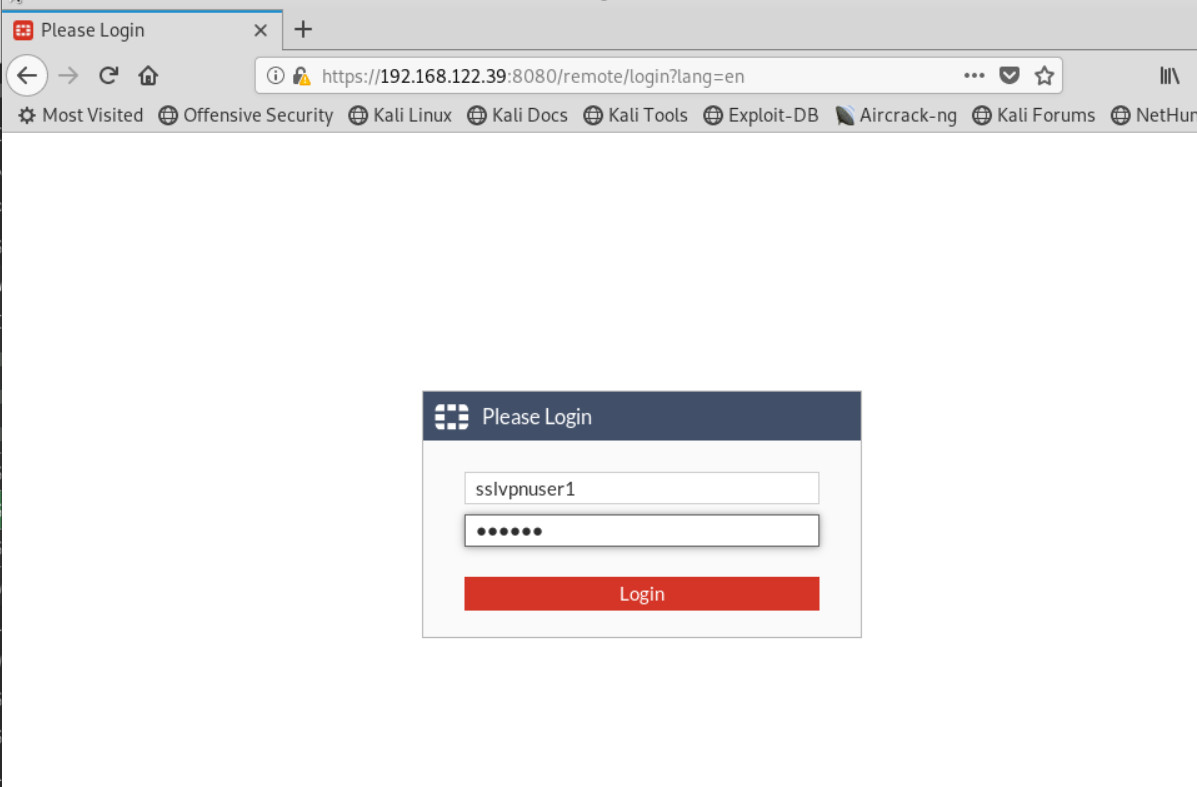
Figure 4.53: SSL-VPN Portal 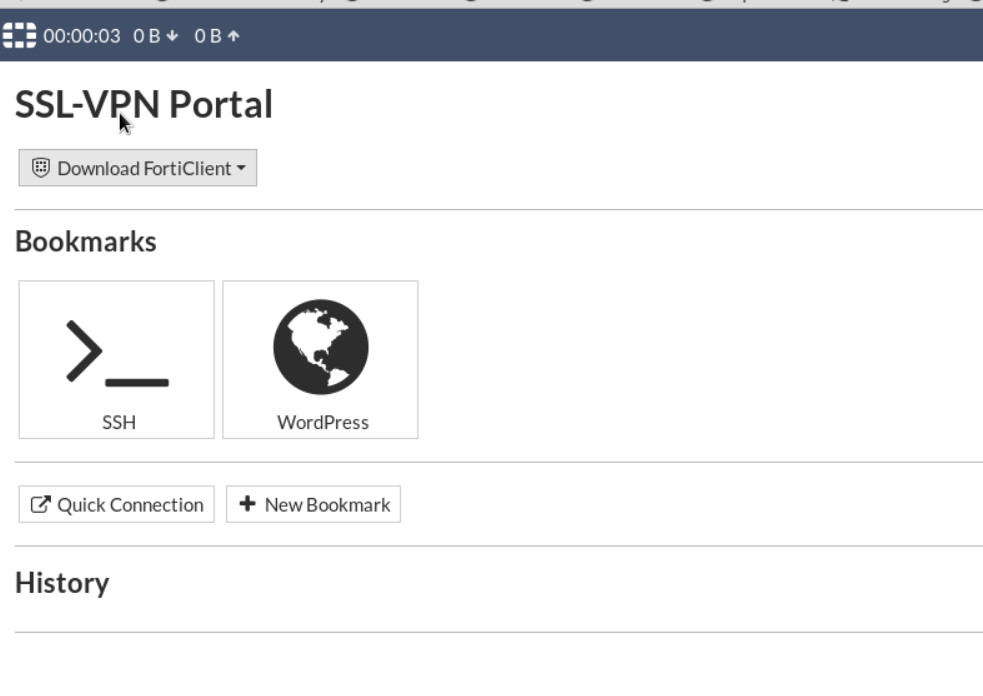
Figure 4.54: SSL-VPN Portal 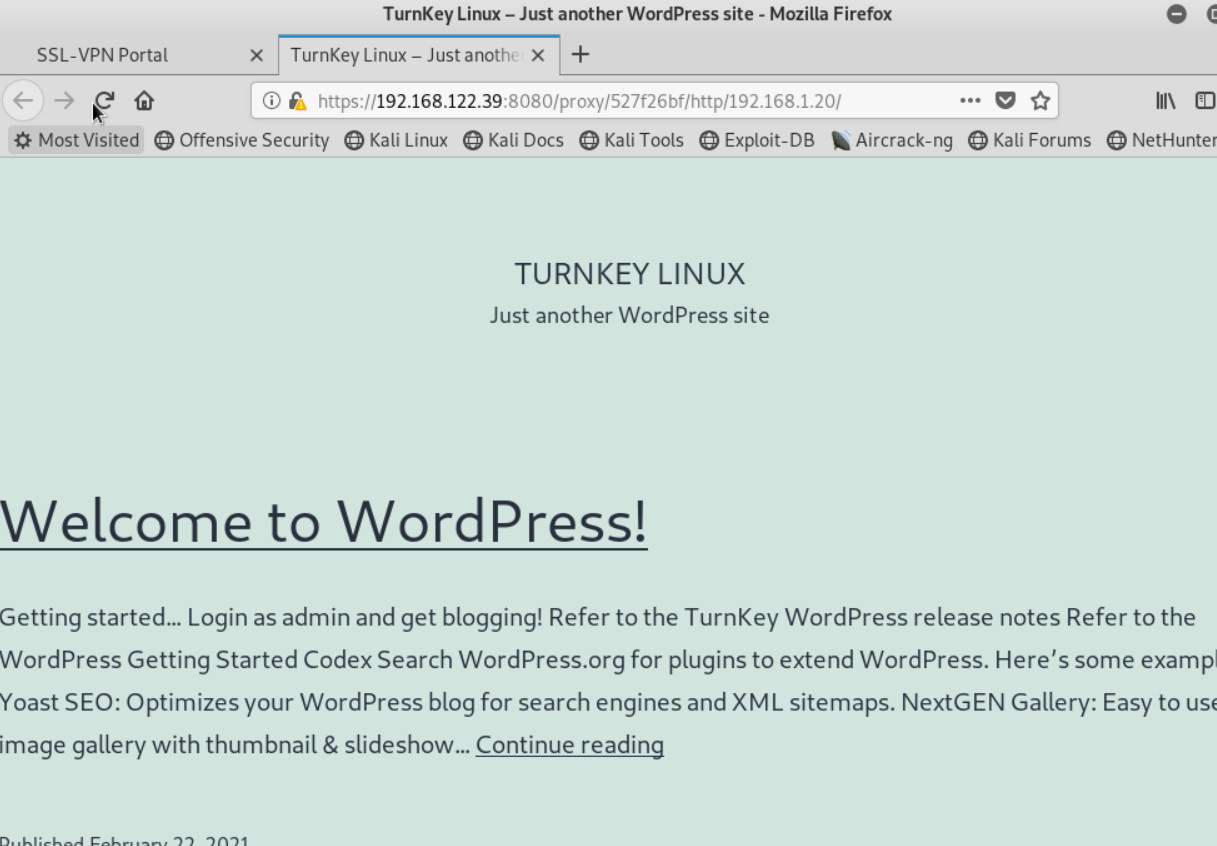
Figure 4.55: Verify WordPress 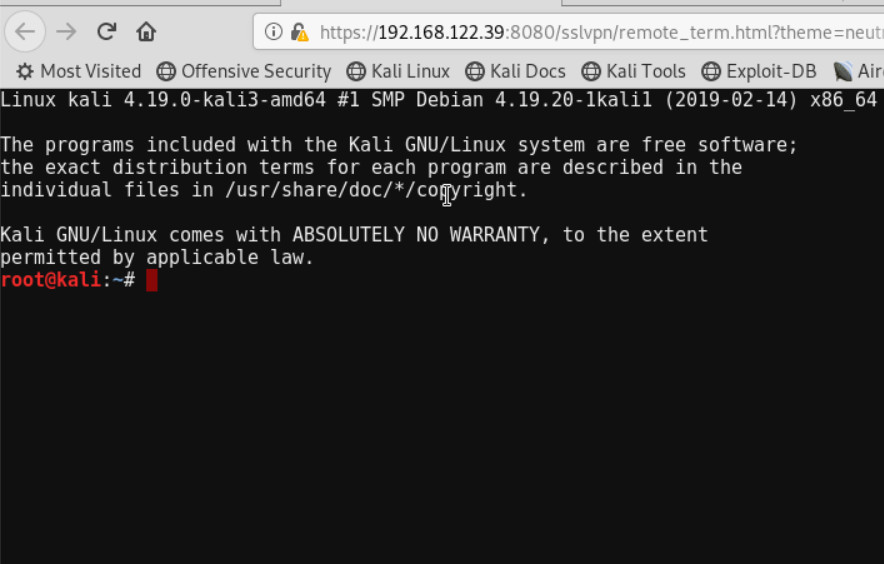
Figure 4.56: Verify SSH - Now, go to Windows and install FortiClient on Windows. Try to use FortiClient to connect through SSLVPN.
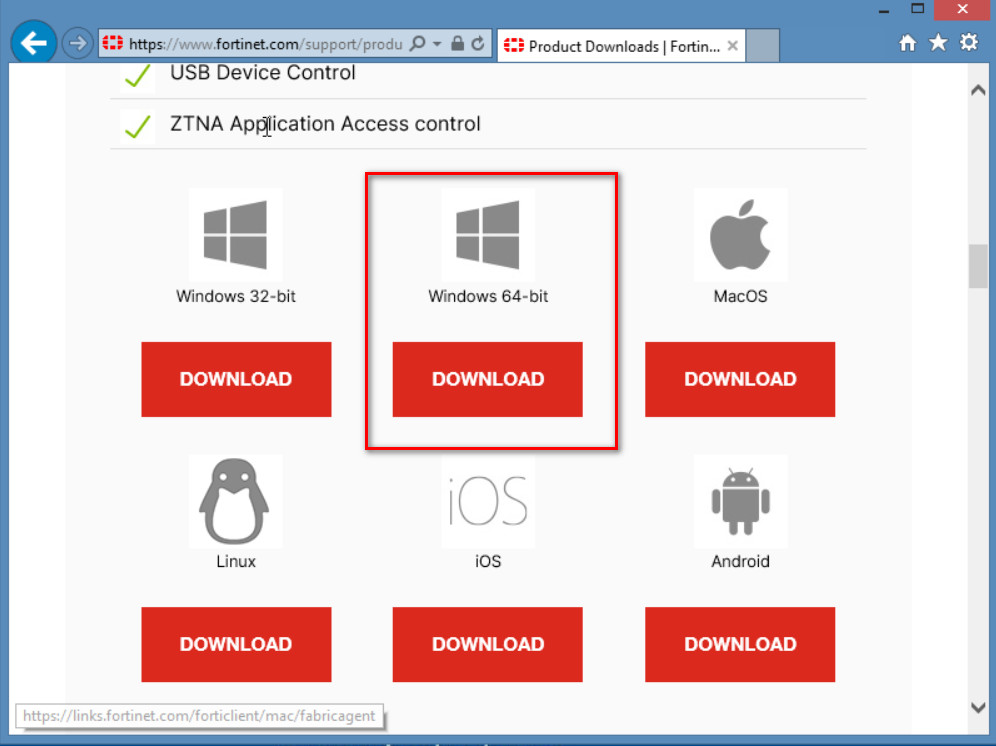
Figure 4.57: Download FortiClient 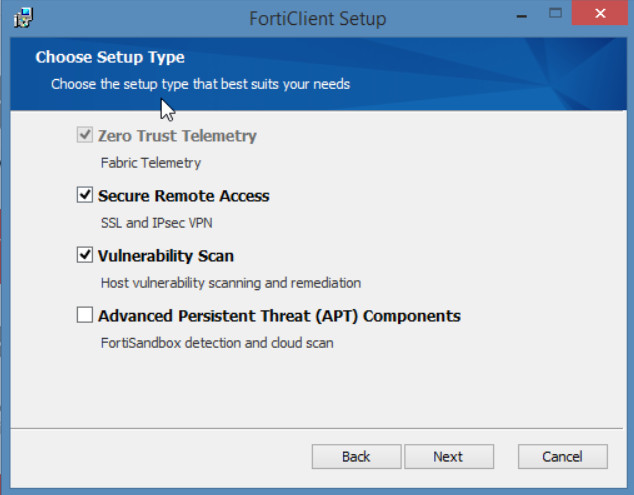
Figure 4.58: FortiClient Installation 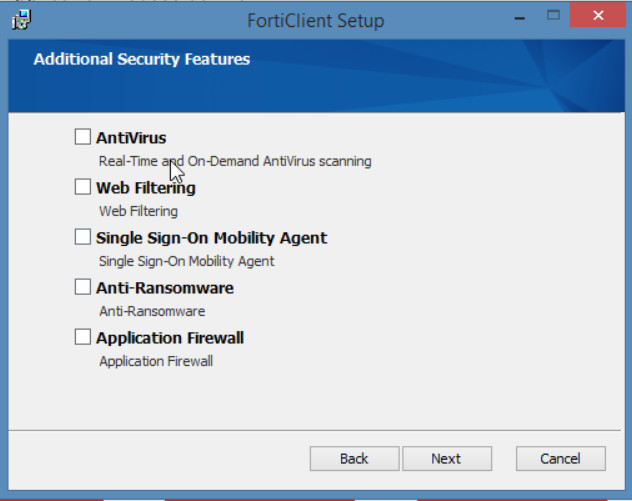
Figure 4.59: FortiClient Installation - Configure FortiClient.
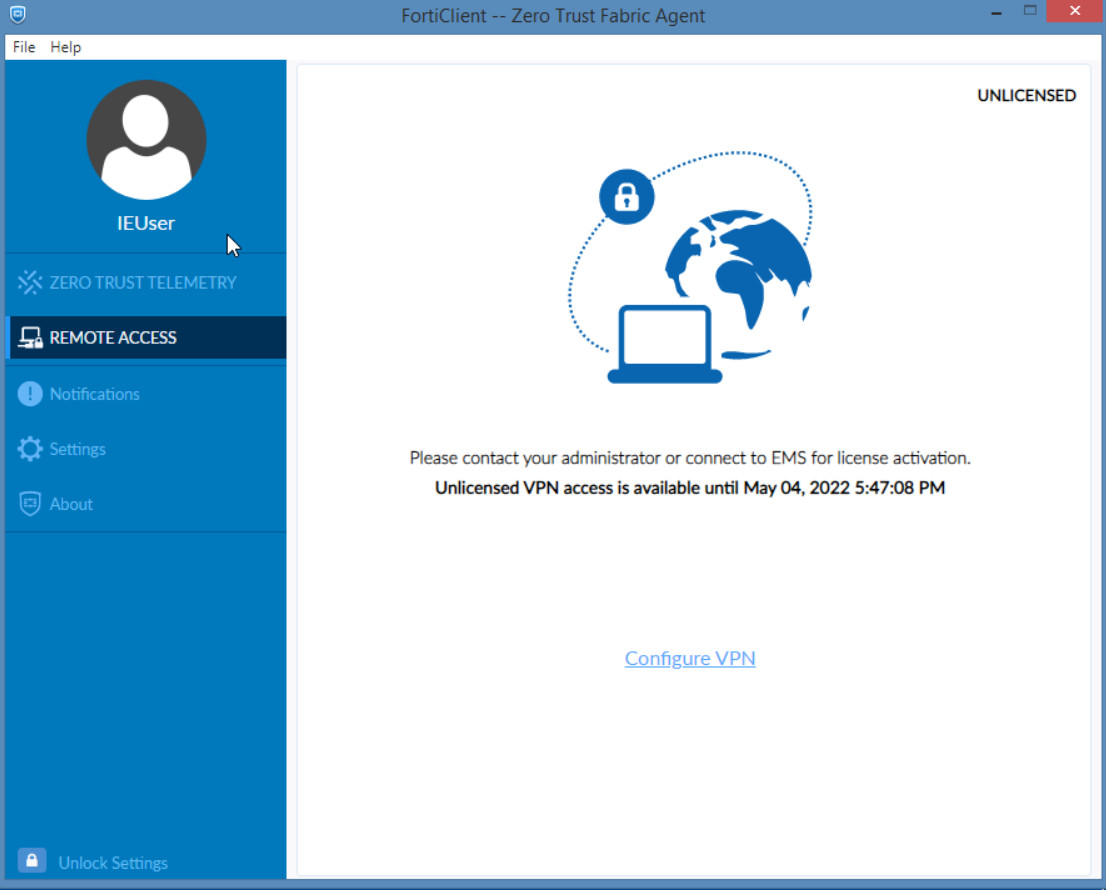
Figure 4.60: Configure FortiClient 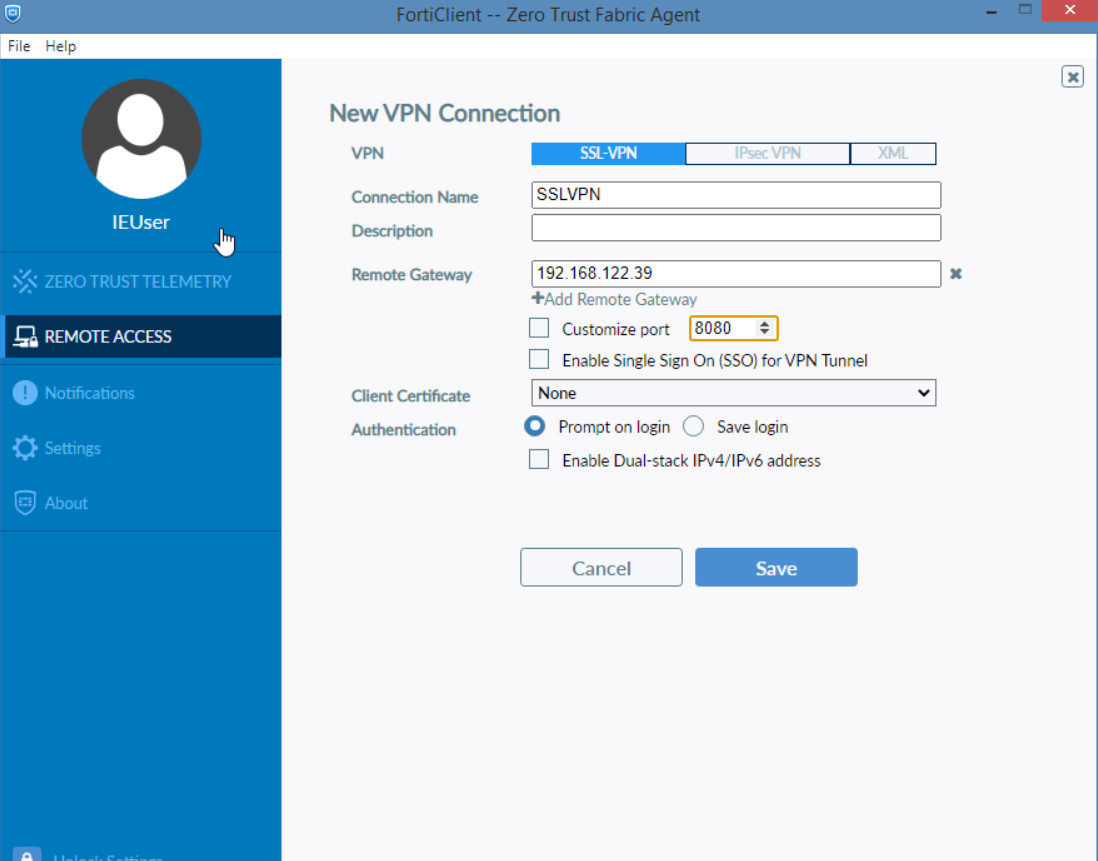
Figure 4.61: Configure SSLVPN - Verify configuration. Enter the Username and Password you have set for SSLVPN.

Figure 4.62: SSLVPN Credentials Accept the Certificate Issuer to have a secure connection.
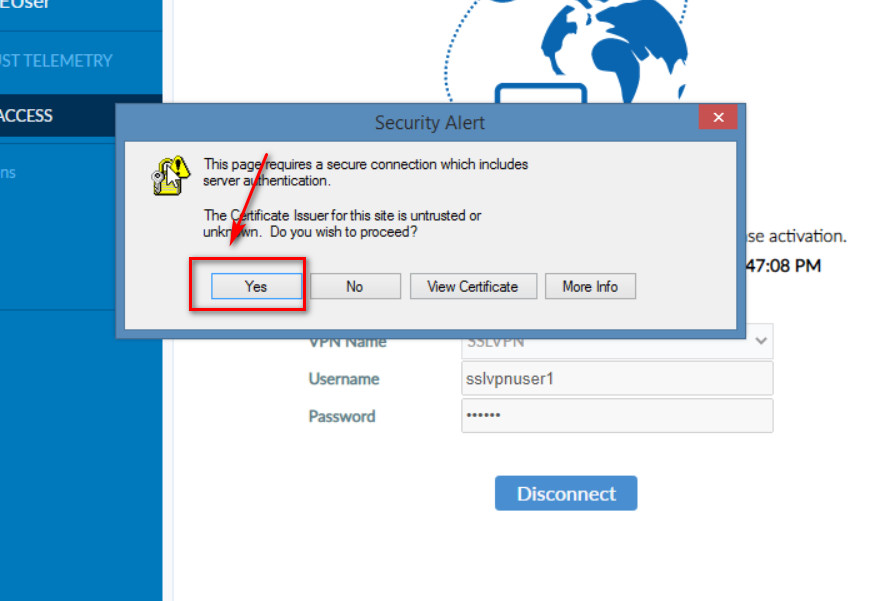
Figure 4.63: Click on Yes in Security Alert 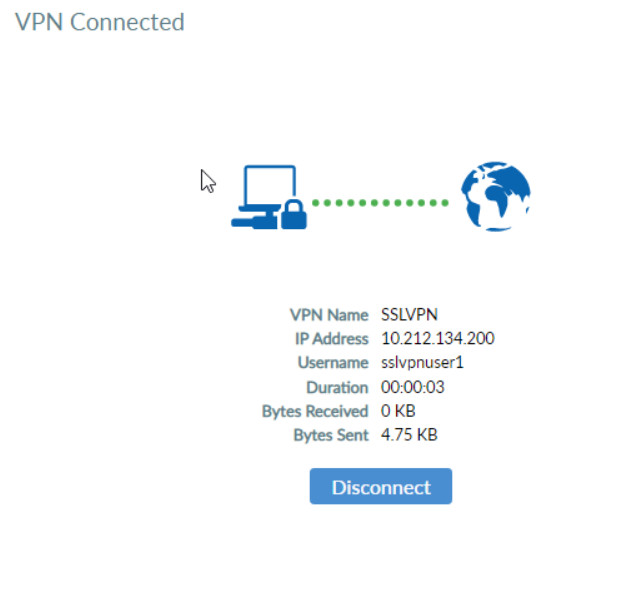
Figure 4.64: Verify SSLVPN Connection Verify your connectivity by entering the IP address of WordPress.
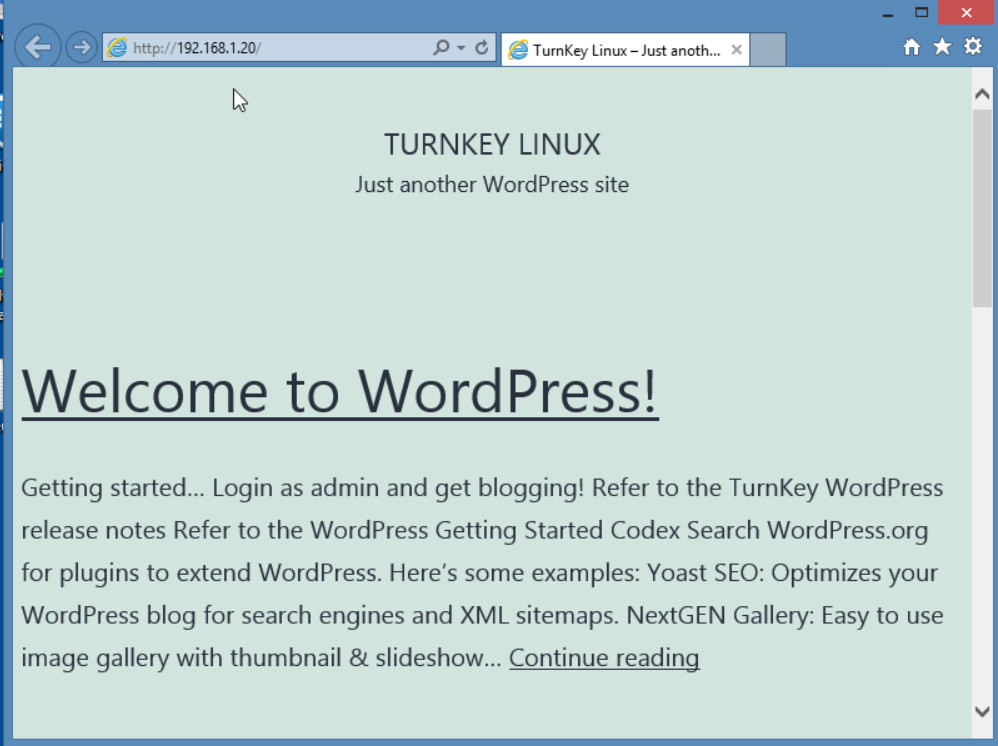
Figure 4.65: Verify WordPress Verify your connectivity by entering the IP address of SSH Server.
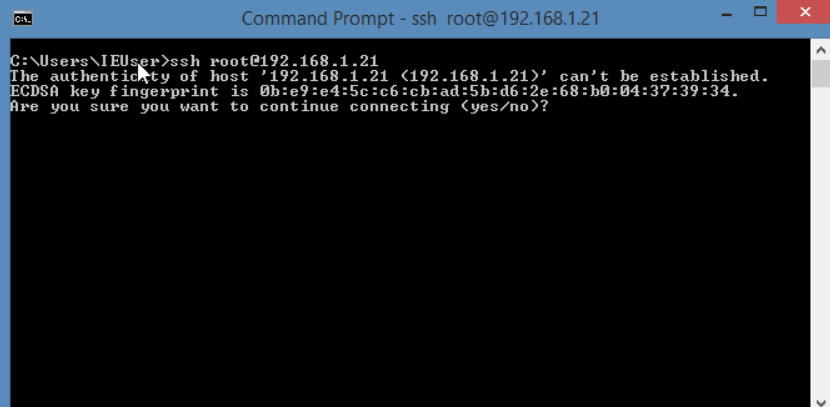
Figure 4.66: Verify SSH 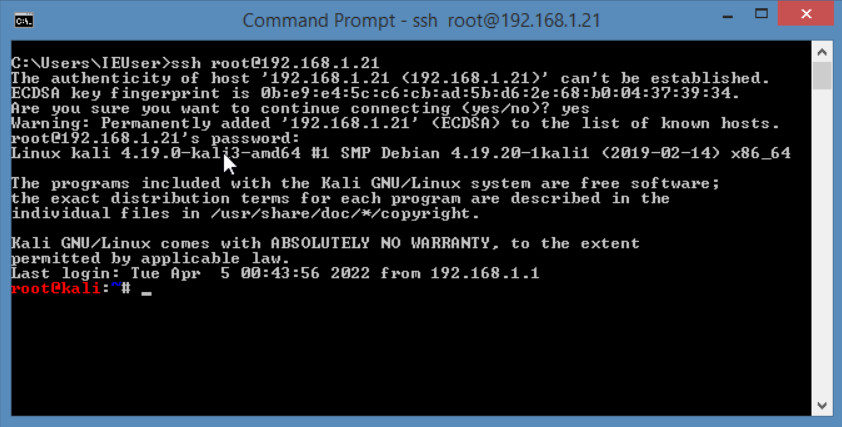
Figure 4.67: Verify SSH connection
