Chapter 3 – Reduce or Reshape Facial and Nape Hair
3.3 The Facial Hair Design Service
Throughout history beards have been popular for many reasons such as protection from extreme elements, to intimidate one’s enemies, and even as a status symbol. Today, however, the popularity of facial hair is more about allowing people to express their personality and sense of style.
Besides making a fashion statement, facial hair can be used to accentuate or camouflage facial features and to create a balance of proportions. When shaping a client’s beard or moustache, hair density and growth patterns must be taken into account before the design is executed.
The techniques commonly used during facial design services are:
- Shear-over-comb
- Clipper-over-comb
- Clipper/trimmer with a guard attachment
- Free-hand shaping with shears or clippers
- Outlining with trimmers
- Outlining or shaving with a razor
In this chapter, we focus on techniques and procedures for shaping beards and moustaches. Although such techniques and procedures tend vary significantly from client to client (due to hair density, length, and desired outcome), it is the responsibility of the barber to determine which approach is appropriate throughout the consultation process.
In the following section, we provide a general overview of the techniques and procedures that can be used.
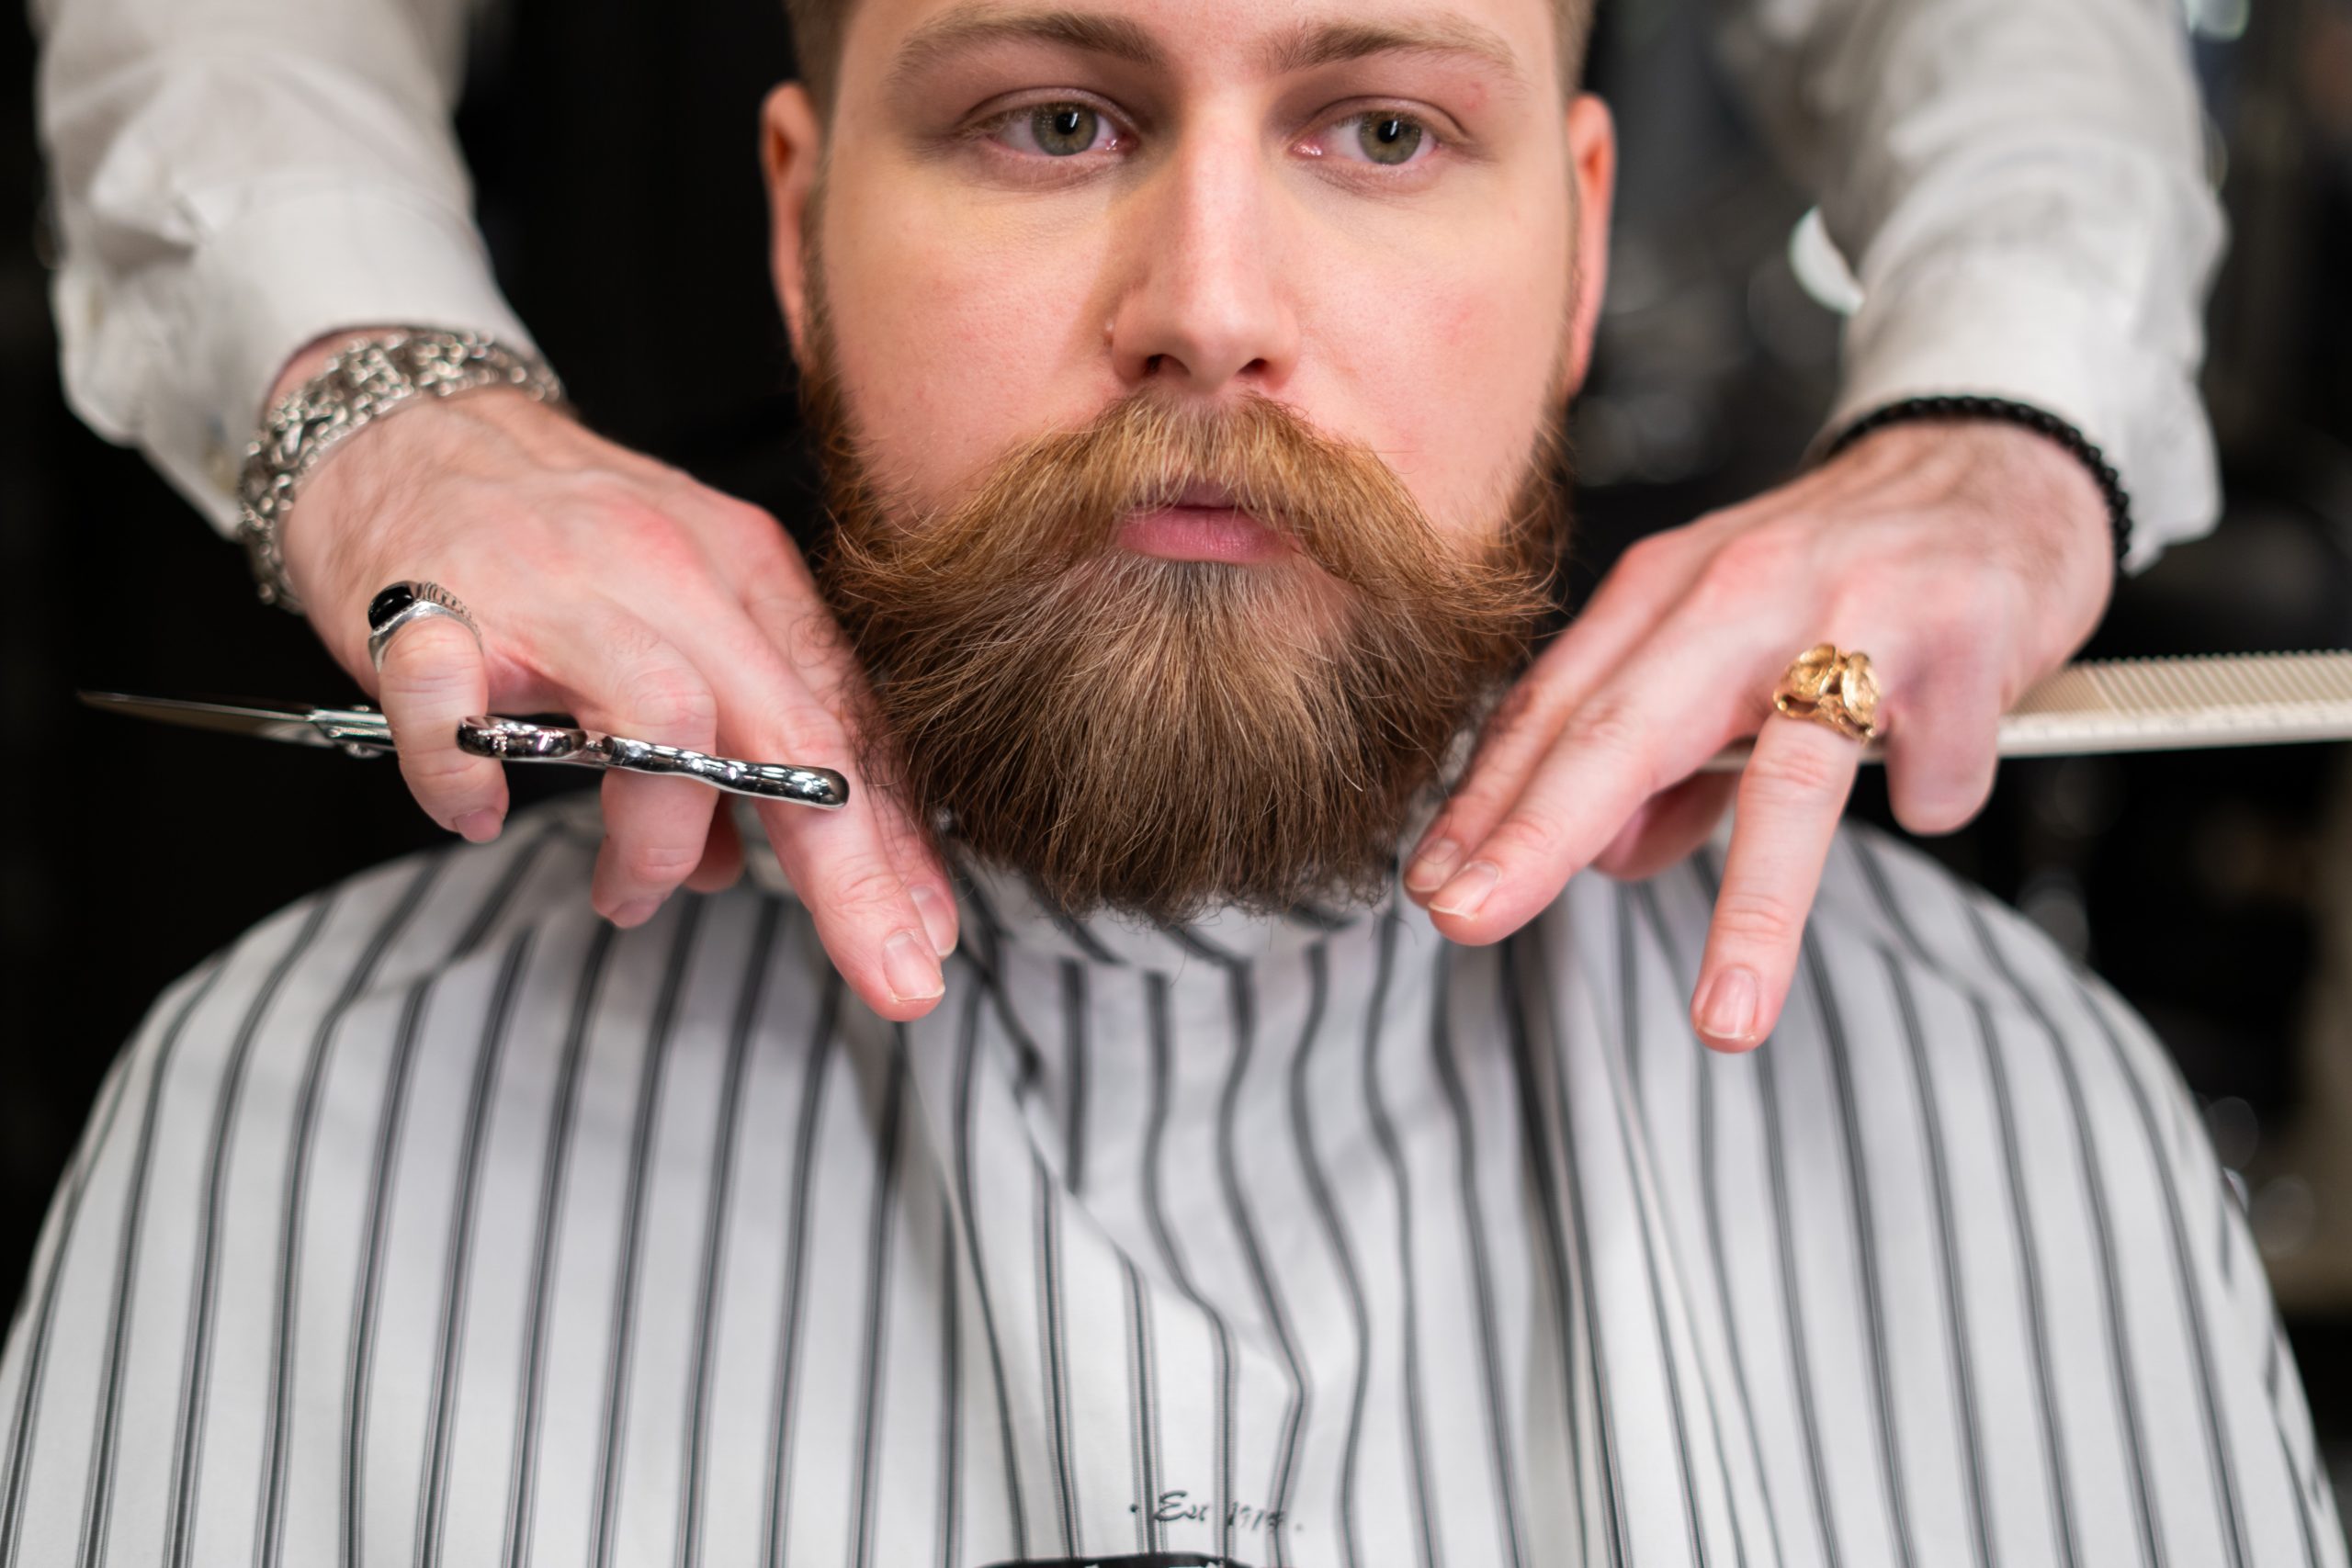
Beard and Moustache Design
Tools and Equipment
- Hair/barber chair with headrest and cover
- Barber paper towels
- Neck strips
- Cutting cape
- Combs
- Brushes
- Shears/scissors
- Trimmer/outliner
- Clipper
- Guards
- Receptacle or container with a cover to store soiled towels
- Garbage can with a cover
- Straight razor handle and blades
- Sharps container for razors that have been used
- Shaving lather (cream or gel)
- Lather dispenser
- Towels (terry cloth)
- Antiseptic or witch hazel
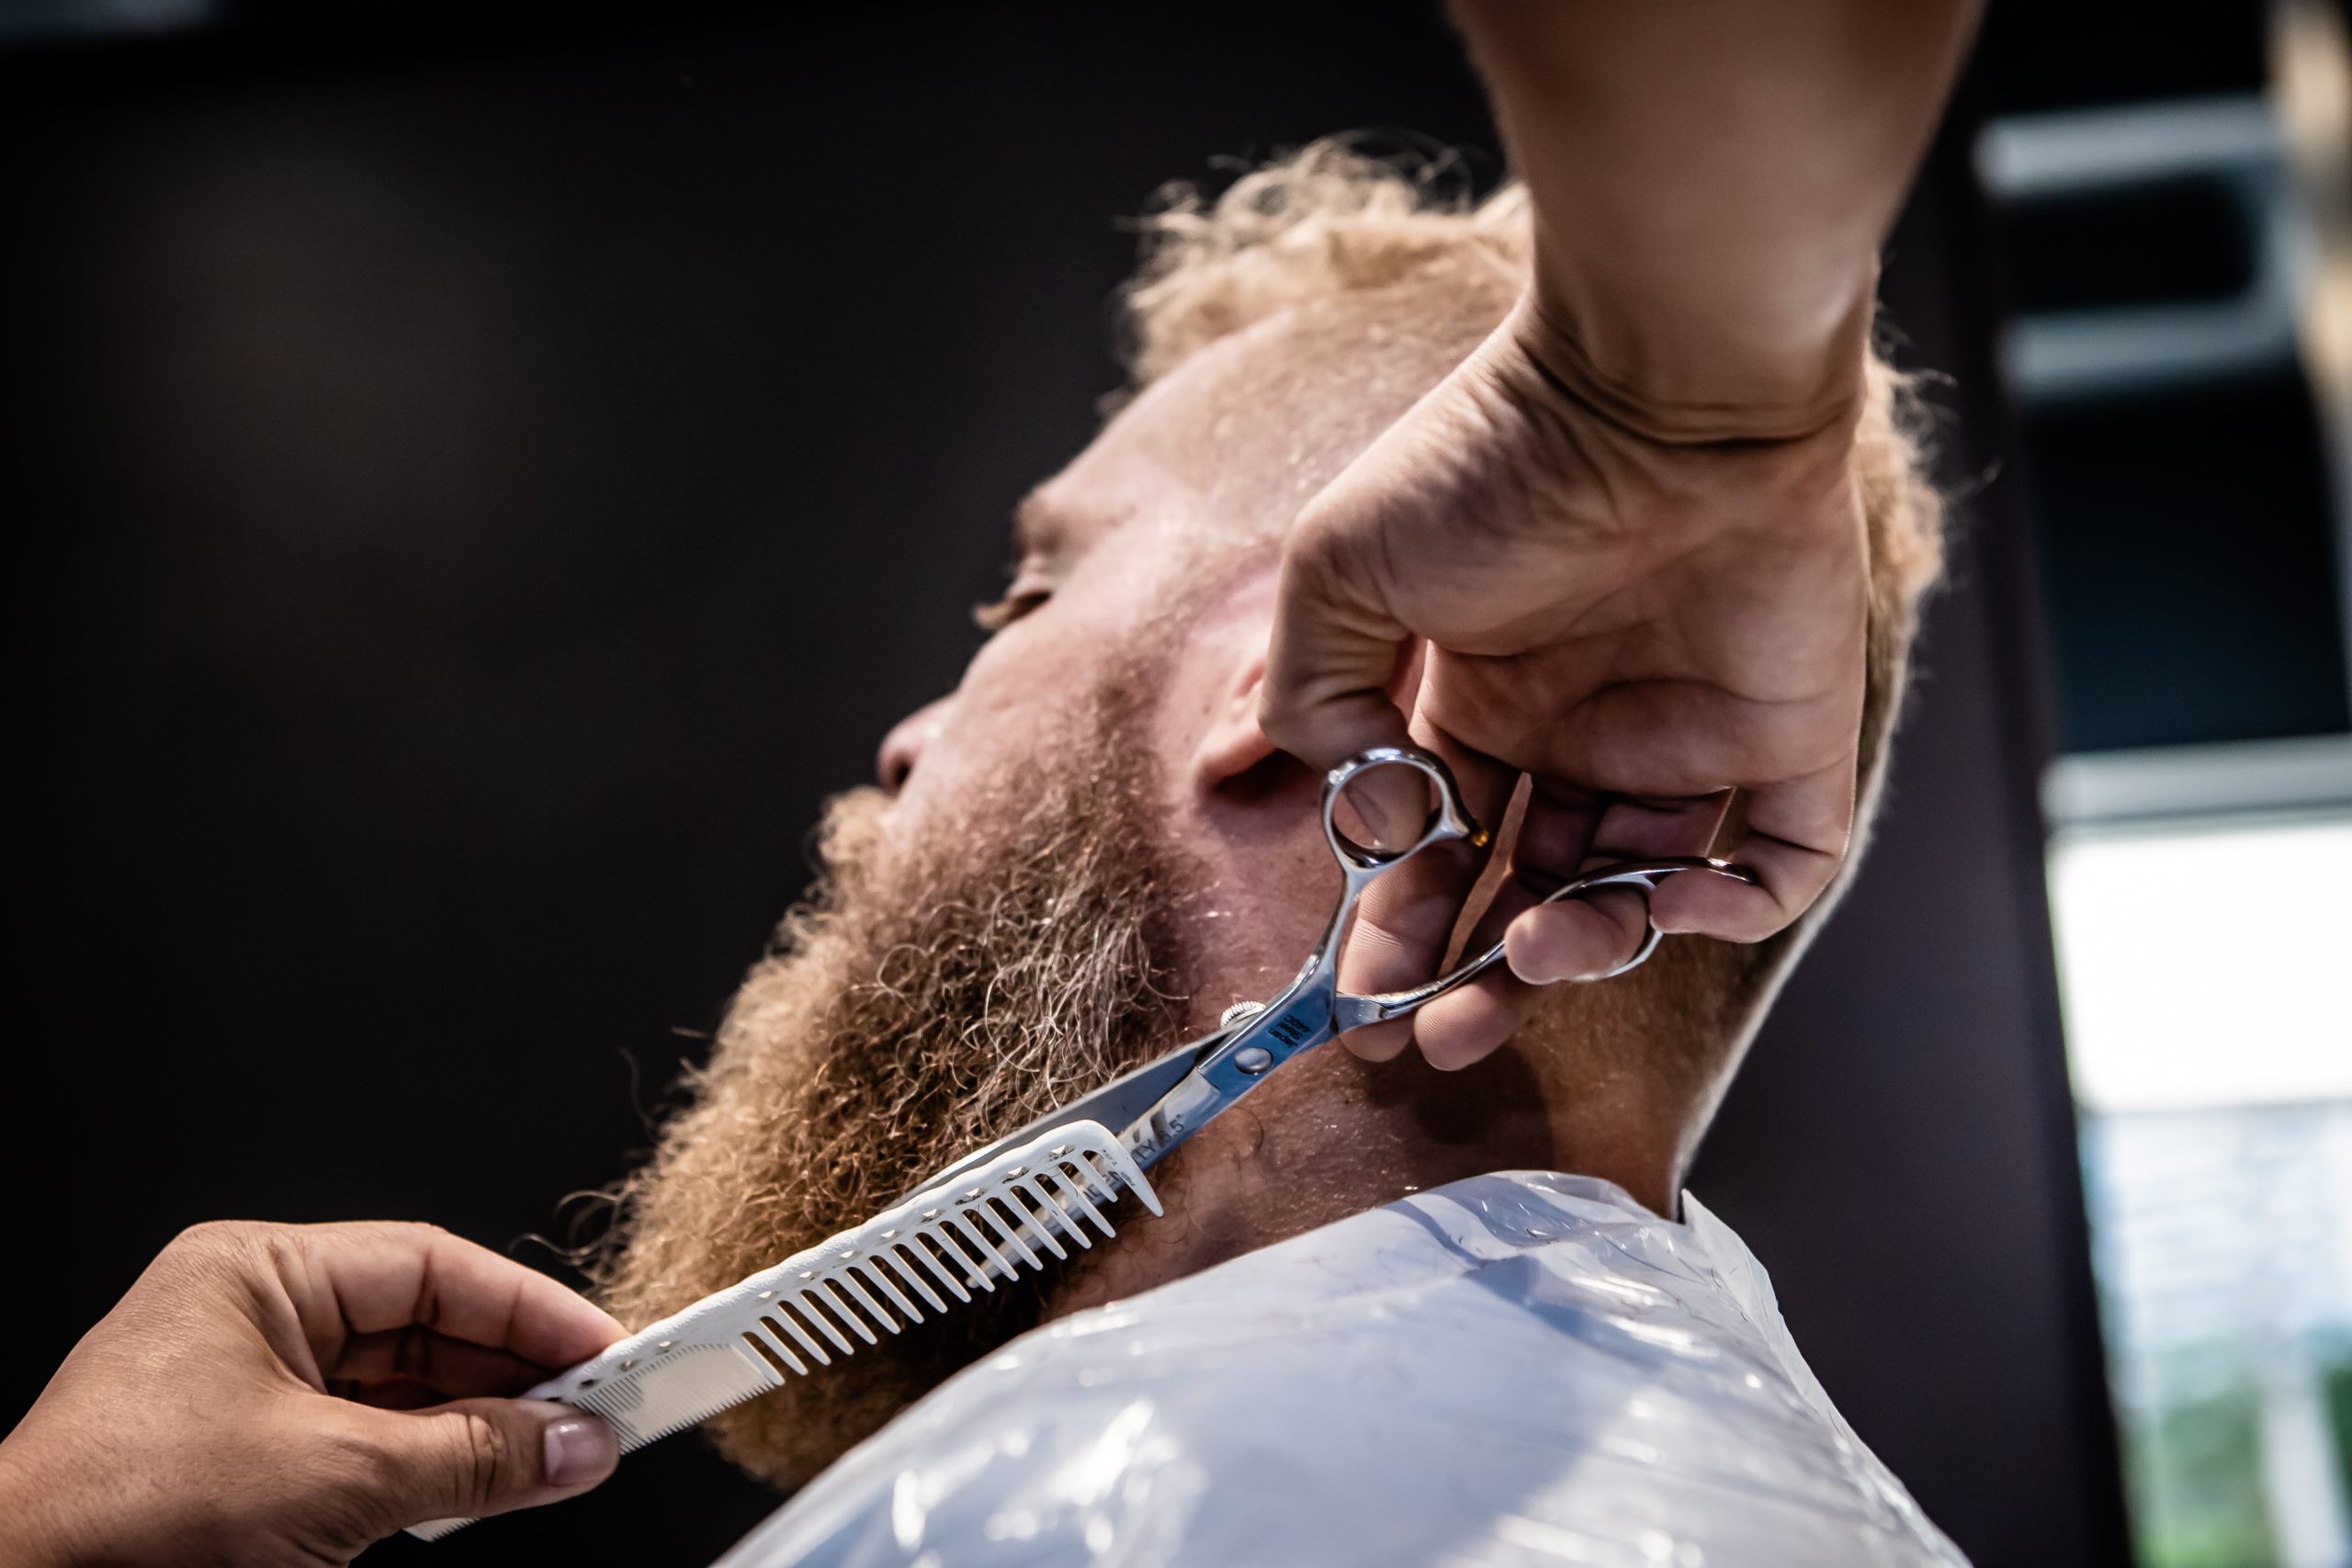
Beard Design Procedure
- Gather the tools and equipment required for the service.
- Wash your hands well.
- Seat the client in the chair in an upright position, and drape your client using a neck strip and cutting cape.
- Perform a consultation to determine the client’s needs and desired beard design. Specifically, pinpoint the shape, density, and length of the final design. Take note of any skin issues or sensitivities. Repeat the client’s specifications and gain approval before commencing with the service.
- If the procedure to be used requires the client to be reclined, gently lean the client’s head back onto the headrest to support their neck while they remain in this position. The barber chair can be reclined partially or completely, depending on your requirements for accessing the areas under the chin.
- Reduce excess hair using the methods outlined in Chapter 3.2:
- Clipper/trimmer-over-comb
- Shear-over-comb
- Clipper/trimmer with guard
- Free-hand with clipper, trimmer, or shears
Note: Using just one, or a combination, of these length removal techniques is dependent on the barber’s preference and what is needed to achieve the desired result. Be sure to leave enough length/density in this hair reduction step to allow the design to be blended into the desired outcome.
- Step back to visually check for symmetry in density and overall length.
- Create the lower outline of the beard (under the chin, along or below the jawline) with a trimmer or shears according to the predetermined beard design. To ensure symmetry, start in the centre of the chin and work your way to the left, then right. For added comfort for the client, a towel can be placed underneath the area where the outline is to be created in order to prevent hair clippings from falling on the client’s neck.
- Create the upper outline of the beard by working from the mouth, upwards along the cheek.
- Blend the outline into the sideburn area using an over-comb technique.
- Taper and blend the beard by using clipper-over-comb or shear-over-comb to connect the outline to the overall length/density of the beard.
- Apply a hot towel. The steam will relax the skin, soften the cuticle layer of the hair, and stimulate the sebaceous glands. Prepare shave product and razor.
- Remove towel and apply the shave product to the area that is to be shaved with the razor.
- Shave the underside of the beard from the outline, down. On the cheeks, shave down to the outline.
- Remove excess shave product and hair.
Note: Steps 12 to 15 are optional and are described in greater detail in Chapter 4.
- Place the client back in the upright sitting position, then step back to assess the outline, overall shape, and balance of the beard proportions. Make further adjustments to the beard design if required.
- Trim and blend the moustache into the beard (see Moustache Design Procedure, in the next section of this chapter, for further detail).
- Trim and shape the eyebrows and ear hair if needed.
- Check that all lather and stray hairs have been removed and, if a razor was used, apply an antiseptic or witch hazel to the freshly shaved areas.
- Check the final overall design, and verify it is to the client’s satisfaction.
- Apply a grooming product if desired. Recommend any at-home care products that are appropriate for the client’s beard texture and desired look.
- Remove drapings (cape, neck strip, towels).
Please consider that every beard trim will be different and will be dependent on many aspects of the client in the chair. The following video is a visual resource to supplement the guidelines above.
Techniques observed in this video are:
- Design consultation
- Length removal with guarded clipper
- Free-hand length removal with clipper and trimmer
- Product application and styling
- Outlining with a trimmer and razor
Video: Master Barber Shows How to Shape Up Your Beard
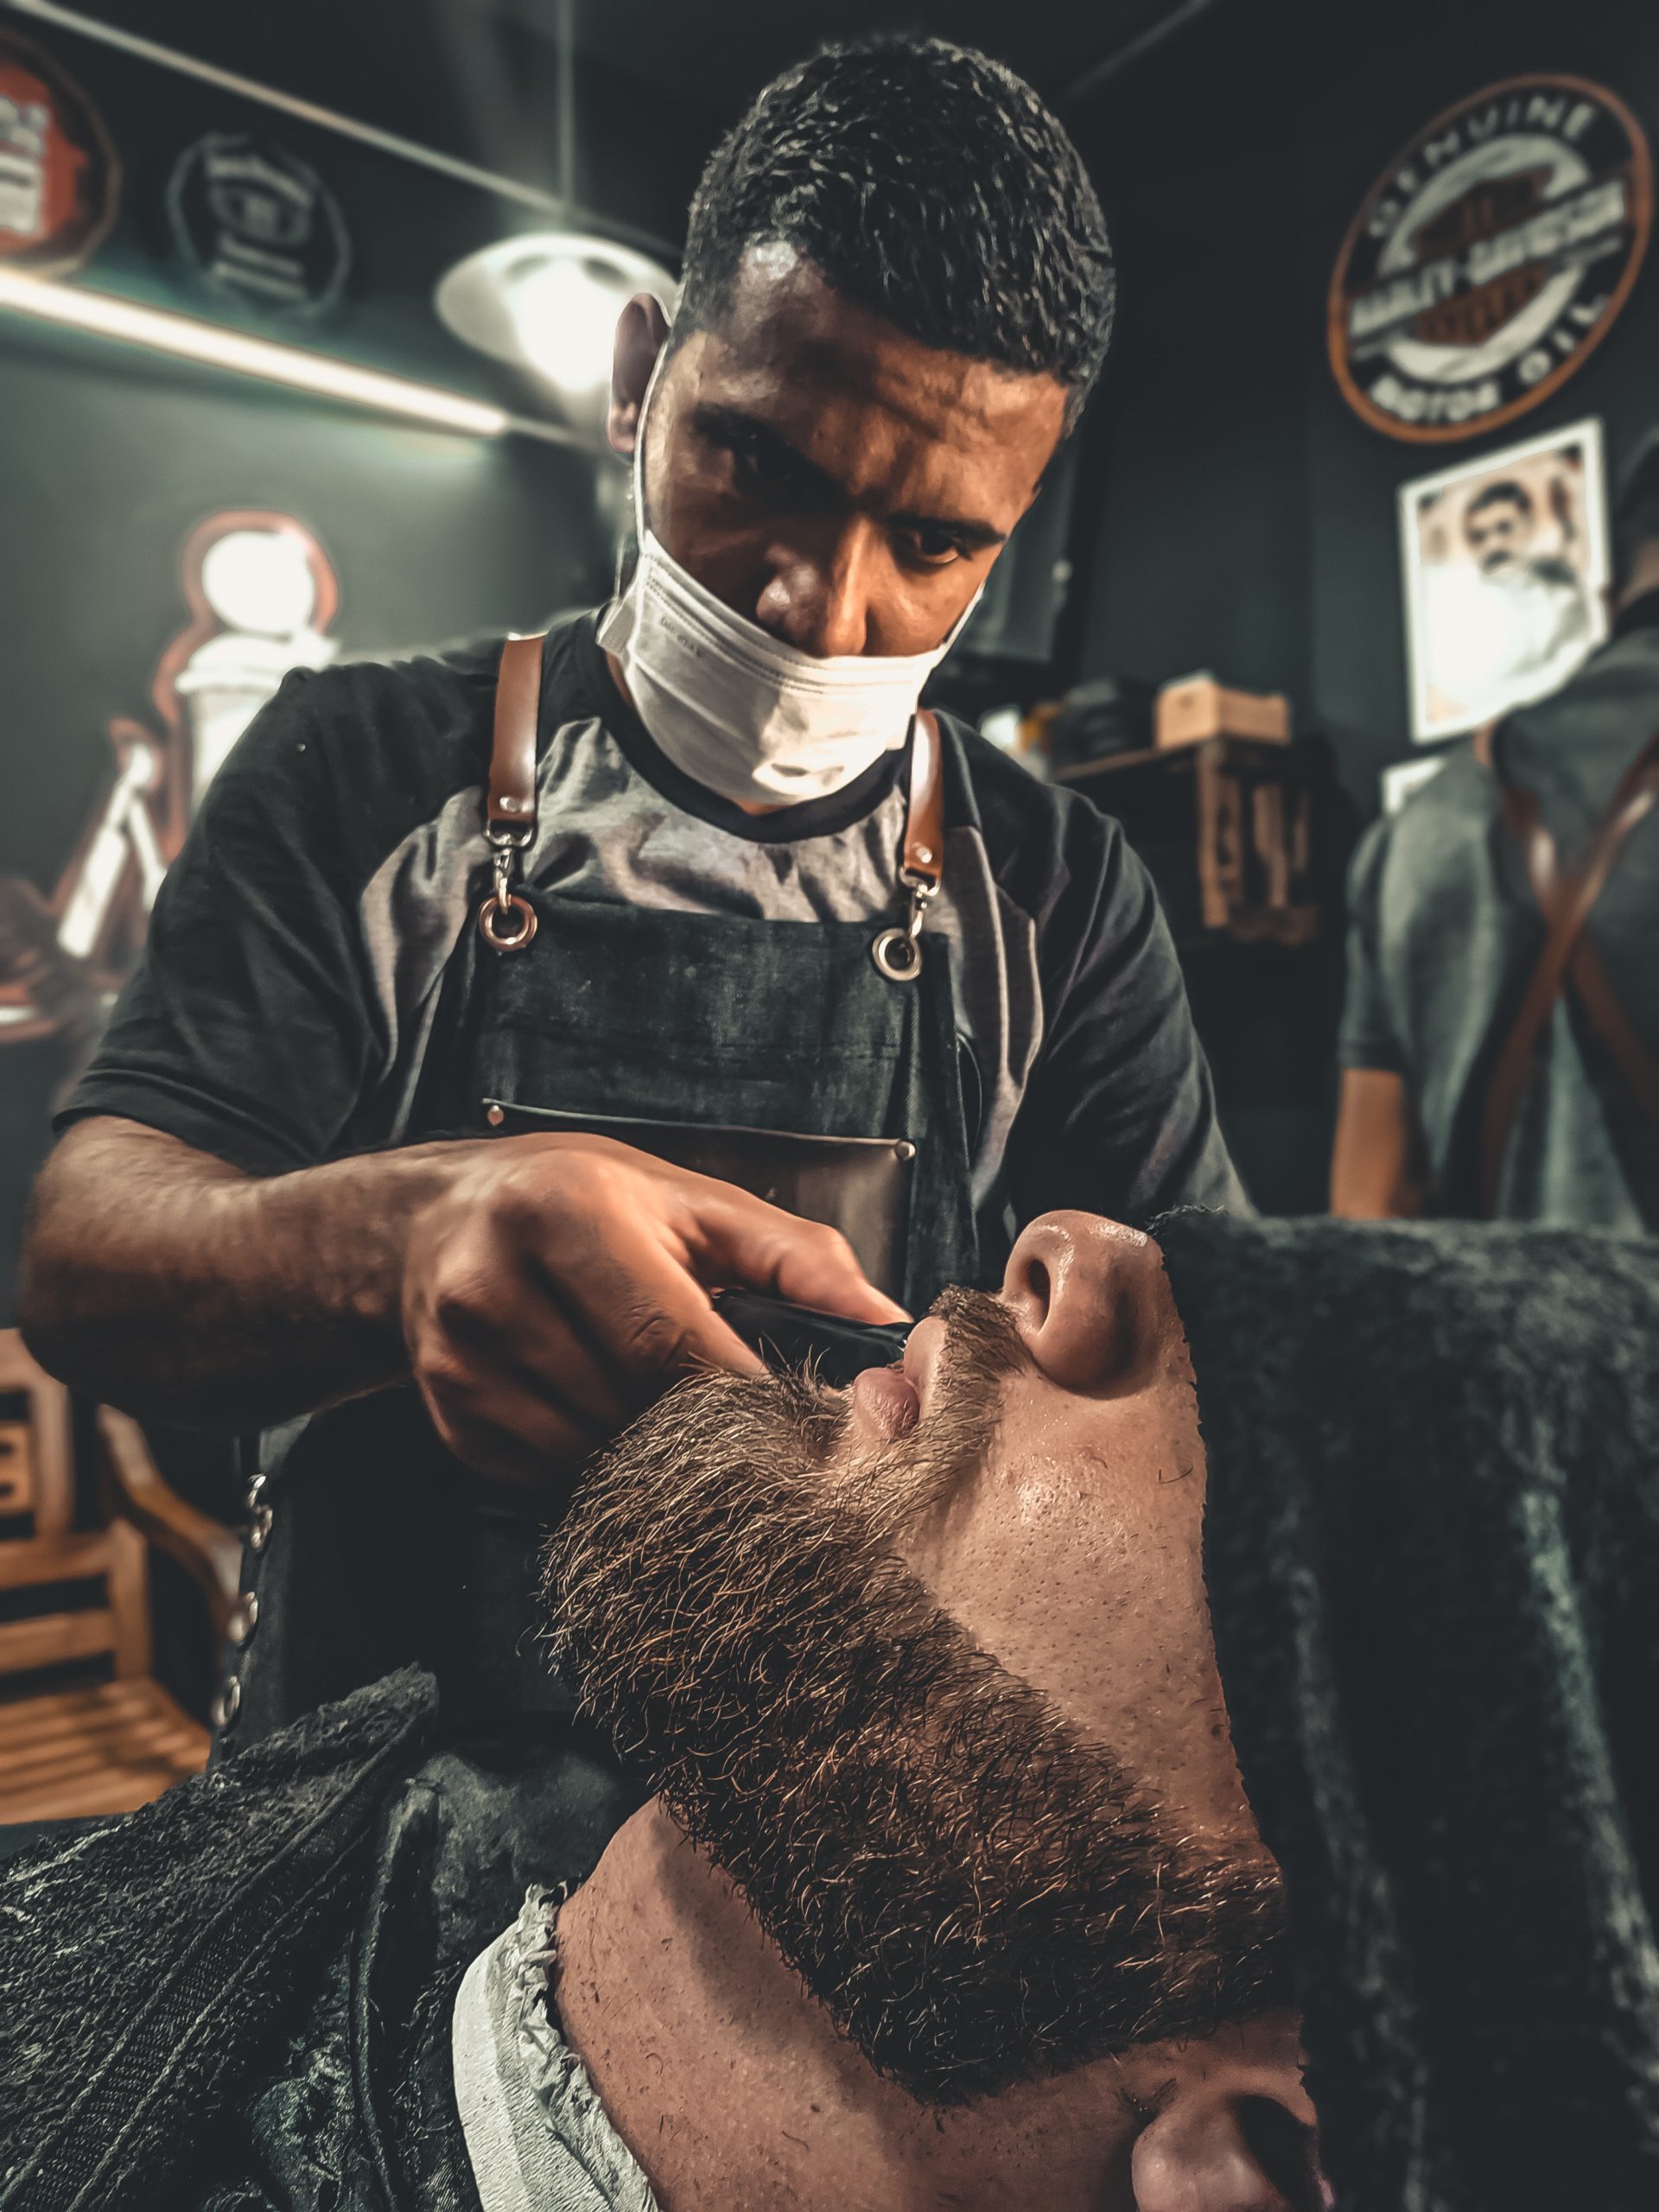
Moustache Design Procedure
 Gather the supplies and tool required for the service.
- Wash your hands.
- Seat client in the chair in the upright position.
- Drape the client following appropriate draping procedures.
- Throughout the consultation, determine the client’s desired moustache design, specifically the shape, density, and length of the final design. In addition to the client’s design requirements, take note of any skin issues or sensitivities. Always remember to repeat the client’s specifications and gain approval before starting the service.
- Create the desired length of the moustache by removing length with the trimmer/outliner and/or shears, starting in the centre of the mouth working out to the left, then the right.
- At the corners of the mouth, assess the length for balance and evenness.
- Reduce excess bulk using the trimmer-over-comb method, the shear-over-comb method, or a guarded trimmer.
- With a trimmer or shears, detail the moustache design into its finished shape.
- Check the final overall design and verify it is to the client’s satisfaction. If further adjustments are needed, do so at this time.
- Remove all loose hairs from the client’s face, using a clean towel or duster brush.
- Apply a moustache wax, oil, or grooming product if desired.
- Remove drapings (cape, neck strip, towels).
Cleaning and Disinfection Practices
Upon completion of all services, the following cleaning and disinfection practices must be completed. Check with local authorities to ensure that these practices are in alignment with the requirements of your area.
- Clean and disinfect all tools and equipment following manufacturer recommendations and contact time.
- Thoroughly clean and disinfect your work area.
- Sweep and deposit hair into the covered garbage or recycling container.
- Carefully remove used blades and discard them in the sharps container.
- Deposit all single-use items in the covered garbage or recycling container.
- Deposit towels, capes, and linens into the laundry.
- Thoroughly wash your hands.
Additional Beard Design Video Resources
As stated above, every beard trim will be different, just as every client that sits in your chair will be different. The following videos are a visual resource to supplement the guidelines above.
Video 1: Reshaping a Short Beard
Techniques observed in this video are:
- Free-hand length removal with clipper
- Trimmer-over-comb
- Outlining with a razor
- Product application
- Zero-fade textured haircut
Video 2: Reshaping a Long Beard
Techniques observed in this video are:
- Design consultation
- Free-hand length removal with clipper
- Clipper-over-comb
- Moustache trim with shears
- Product application
- Outlining with a razor and trimmer
Video: Massive, Thick Beard gets Trimmed at the Barbershop
Media Attributions
- Beard and Moustache Design title image by cottonbro is licensed under a Pexels Licence.
- Beard Design Procedure title image by alexandre saraiva carniato is licensed under a Pexels Licence.
- Moustache Design Procedure title image by Thgusstavo Santana is licensed under a Pexels Licence.
- Master Barber Shows How to Shape Up Your Beard by Beardbrand is licensed under a Standard YouTube License.
- Men’s Beard Trim & Outline + Textured Fringe Haircut | 2018 Hairstyle Trends by Cameron Cretney is licensed under a Standard YouTube License.
- Massive, Thick Beard gets Trimmed at the Barbershop by Beardbrand is licensed under a Standard YouTube License.
The amount of hair. Density is described as thin, average, or thick.
The balance on either side of a central axis.
