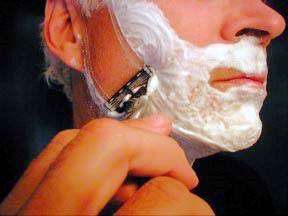
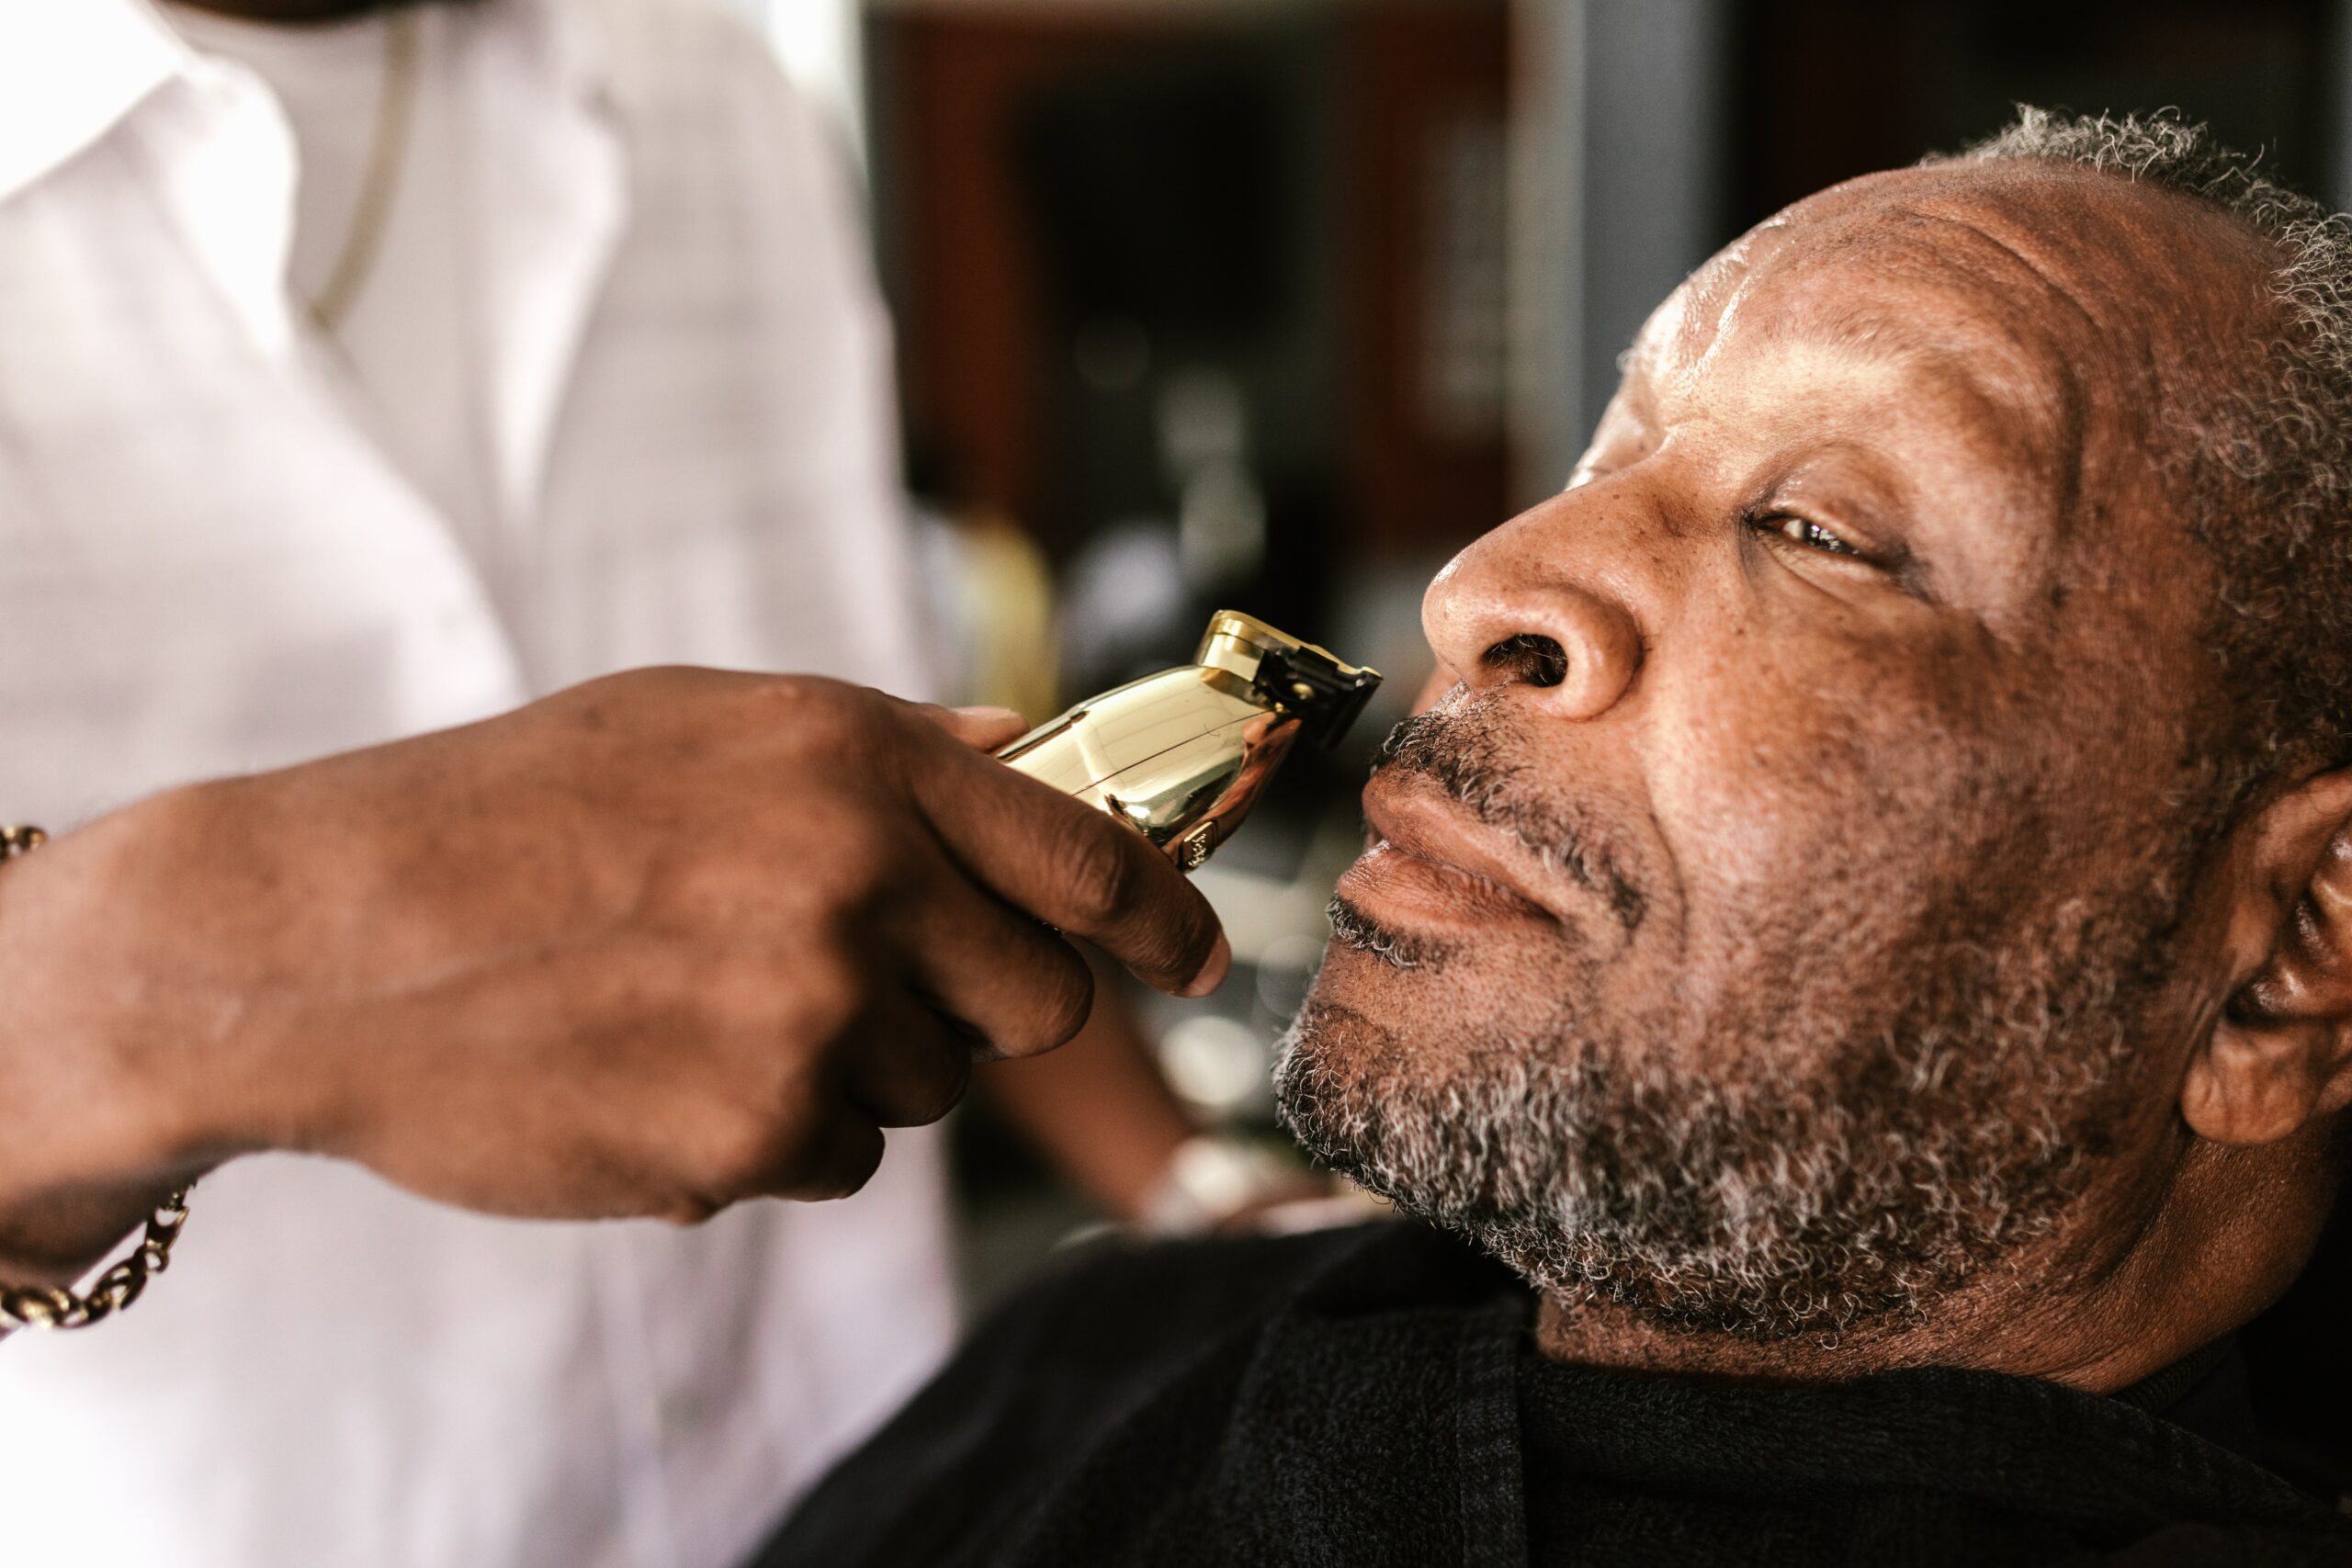
- A.M. Care
Care given in the morning to prepare the client for the day. It includes bathing, shaving, dressing, grooming, and oral care.
- Additional precautions
Precautions (including contact, droplet, and airborne precautions) that are necessary in addition to routine practices for certain pathogens or clinical presentations.
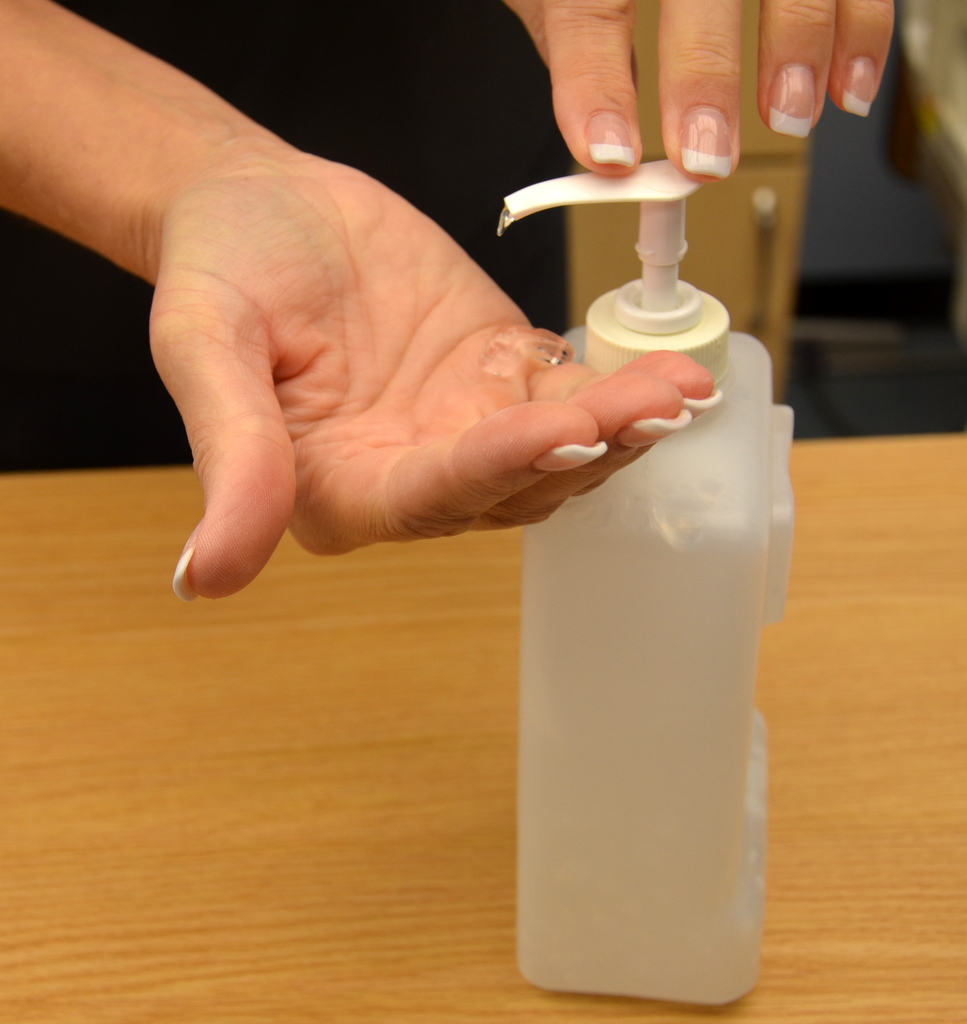
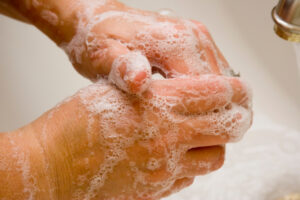
- Alcohol-based hand rub (ABHR)
A liquid, foam, or gel formation of an alcohol-based solution used to reduce the number of microorganisms on the hands when the hands are not visibly soiled. A form of hand hygiene.
- Alternative Remedies or Complementary medicine
A variety of treatments and remedies used in addition to traditional Western medicine. They include herbal or natural products available over-the-counter, such as St. John’s Wort, ginseng, or melatonin.
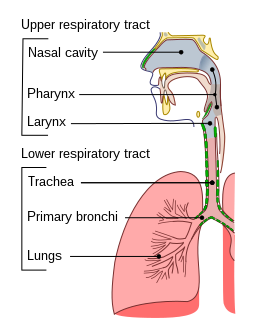
- Alveoli
Small sacs at the bottom of the lungs where oxygen and carbon dioxide exchange occur.
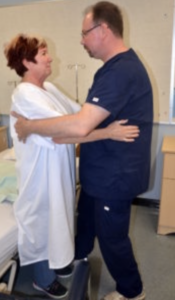
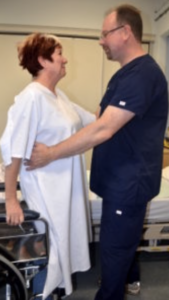
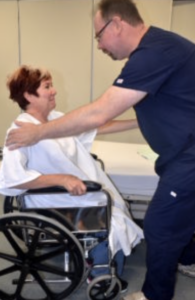
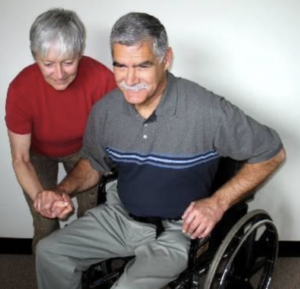
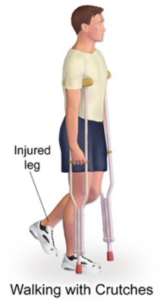
- Ambulation
The act of moving or walking a client from one place to another. Once a client is assessed as safe to ambulate, the nurse must determine if assistance from additional health care providers or assistive devices is required.
- Anemia
A deficiency in red blood cells to carry adequate oxygen to the body’s tissues. Anemia can cause fatigue, weakness, and shortness of breath.
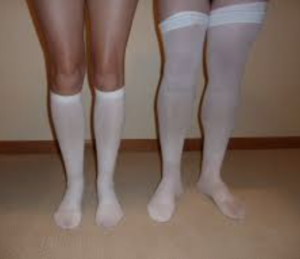
- Anti-embolism stockings
Stockings that place pressure on the legs to increase circulation and reduce a person’s risk of blood clots. They are made of stretchy material that slightly compresses the legs. The pressure is graduated, with each sock being tightest at the bottom by the foot and loosest at the top.
- Antibiotic-resistant organisms (ARO)
Microorganisms that have developed resistance to many antibiotic agents.
- Aorta
The main artery that carries oxygenated blood away from the heart.
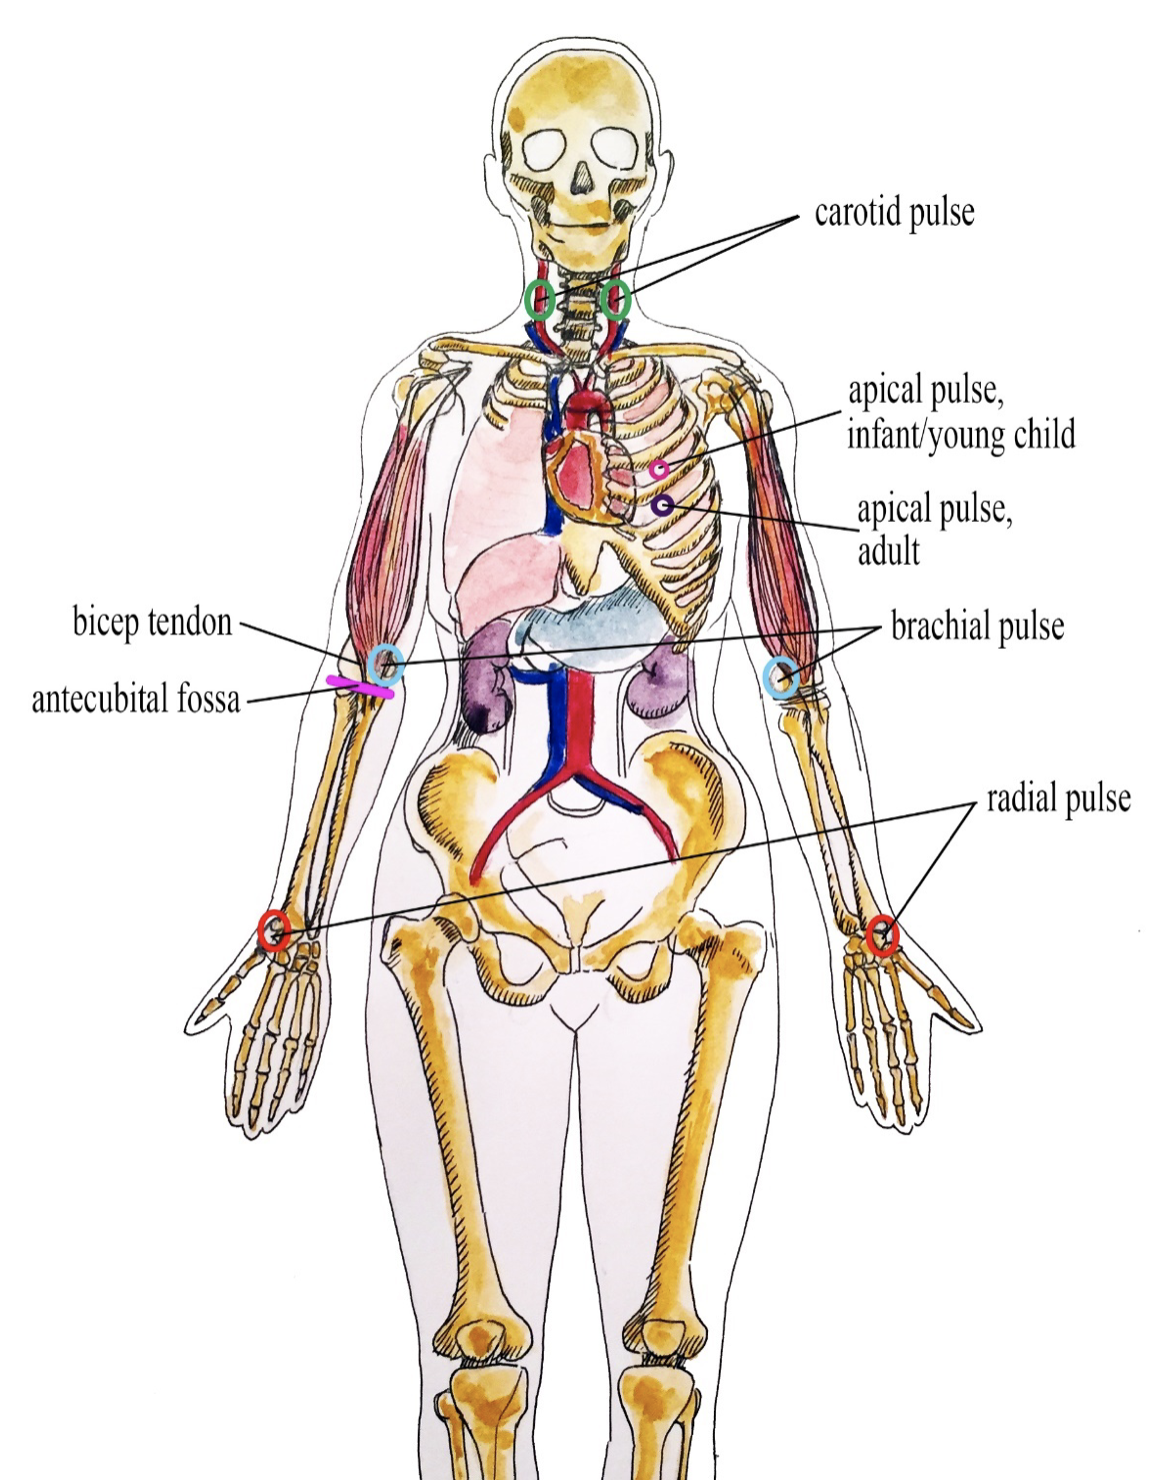
- Apical pulse
The pulse found on the chest at the bottom tip or apex of the heart.
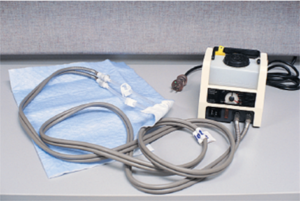
- Aquathermia pad
A pad that has tubes inside where water flows in and out of a heating/cooling unit.
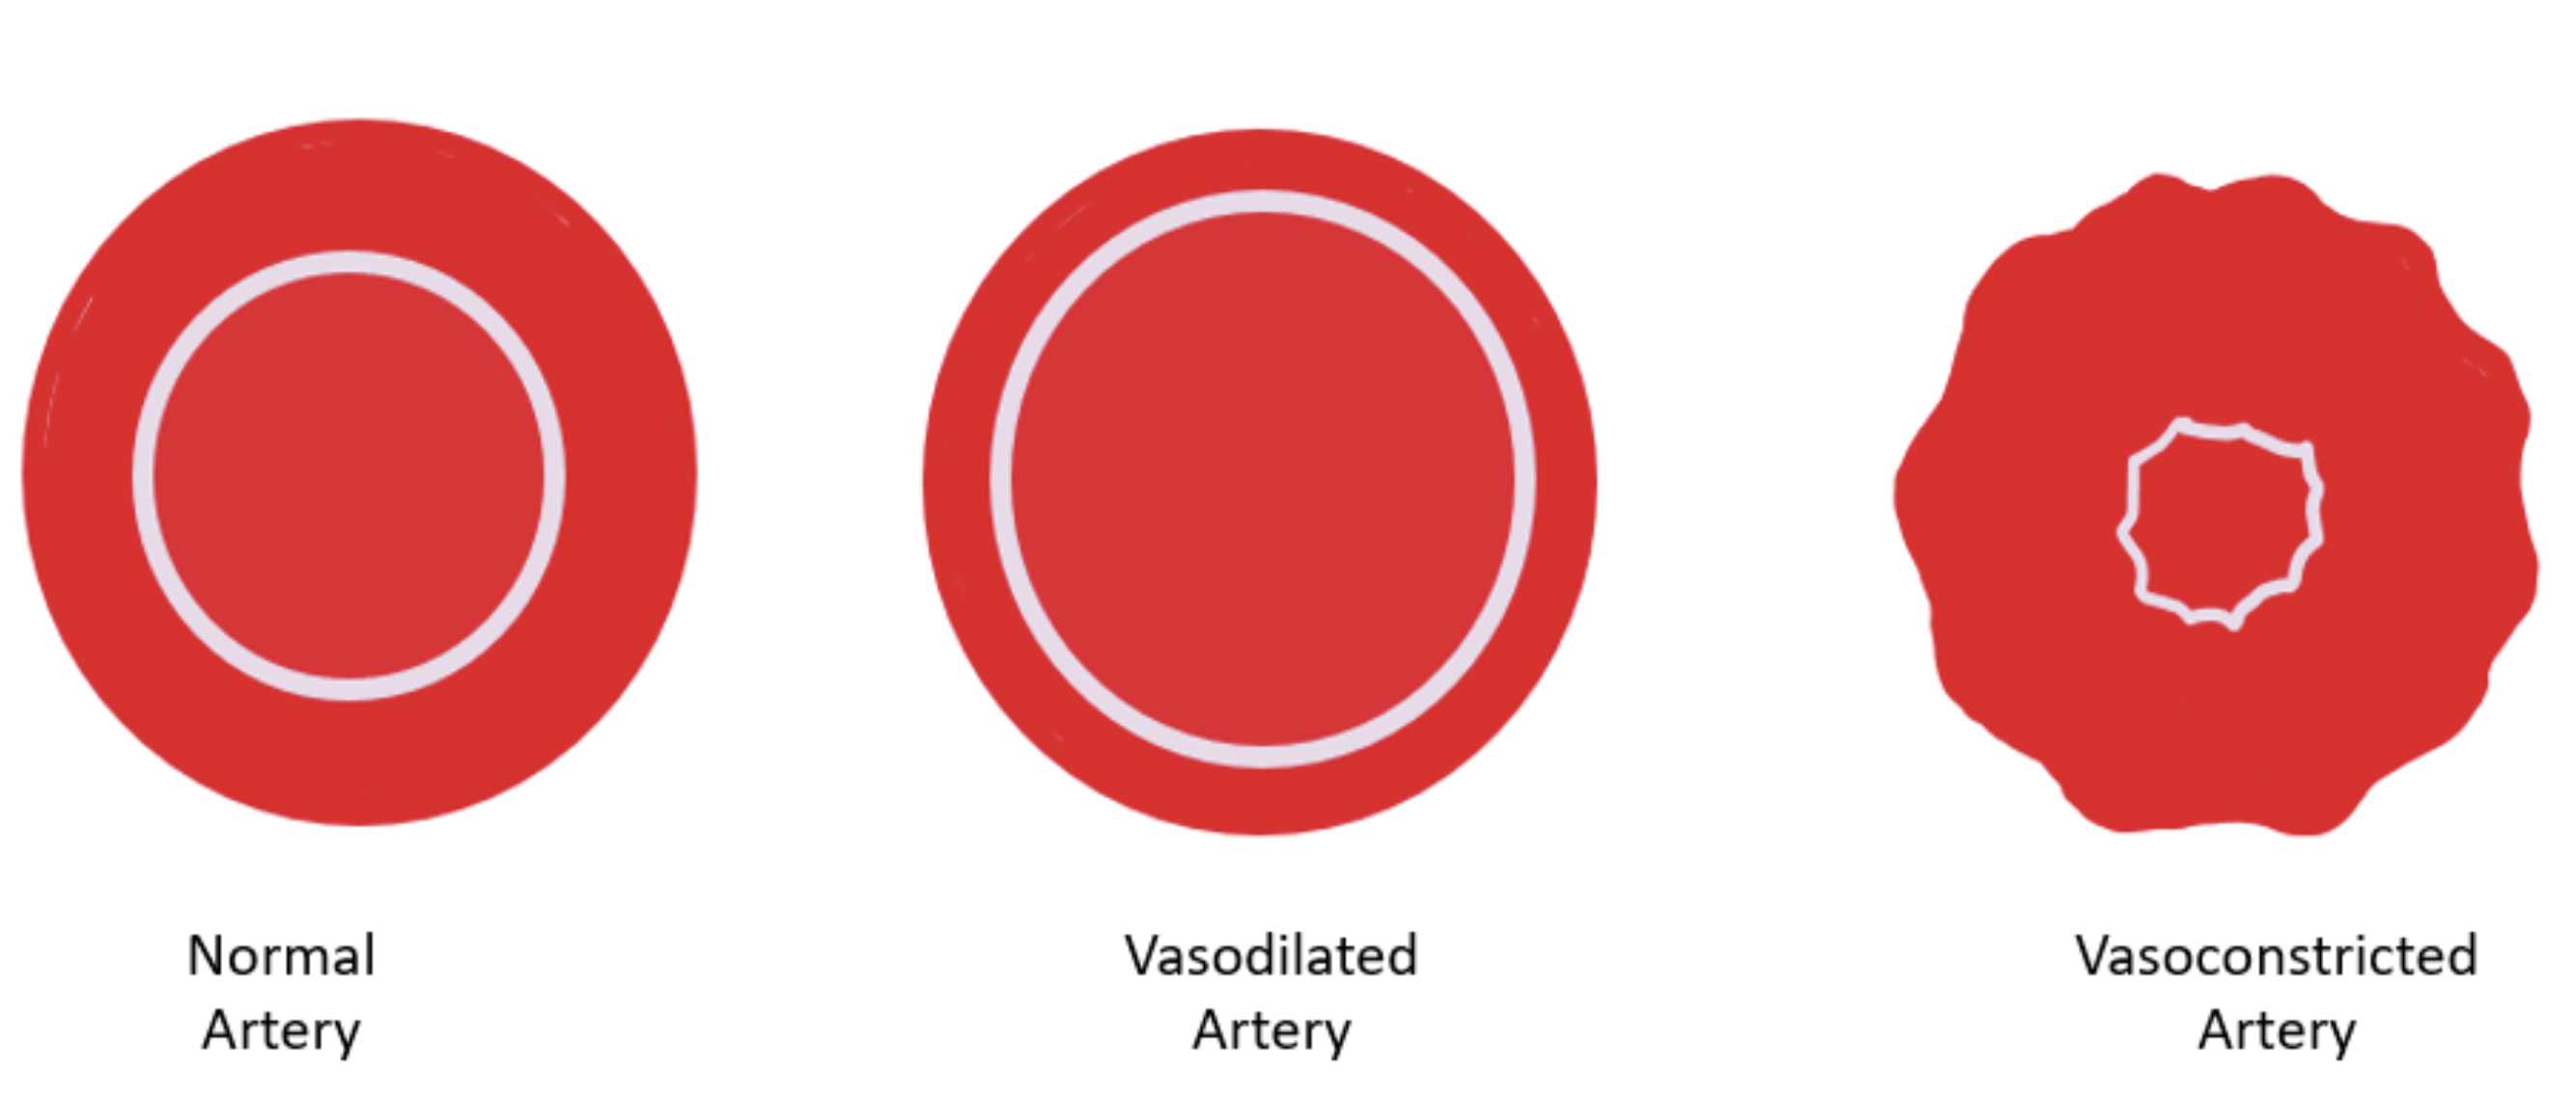
- Arteries
Blood vessels that bring oxygen-rich blood from the heart to the body cells and tissues.
- Asepsis
The practice of minimizing or eliminating the presence of infectious material. Medical asepsis includes the procedures to reduce the number of microorganisms and prevent their spread. Surgical asepsis (or sterilization) includes the procedures to eliminate all microbial life.
- Asphyxia
The inability of a person to acquire sufficient oxygen through breathing for an extended period of time. Asphyxia can cause coma or death.
- Aspiration
Inhalation of fluids or objects into the lungs.
- Aspiration pneumonia
Pneumonia is an infection in the lungs and large airways that causes inflammation (swelling). Aspiration pneumonia happens when food or liquid is breathed into the airways or lungs, instead of being swallowed.
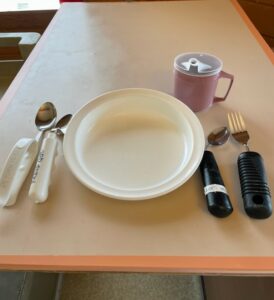
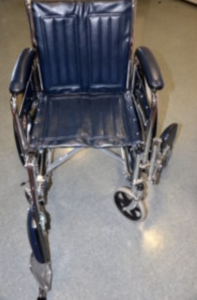
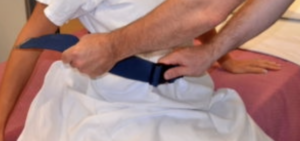
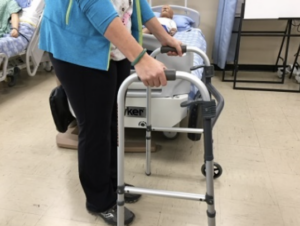
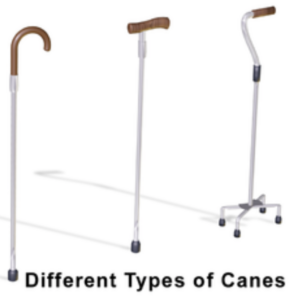
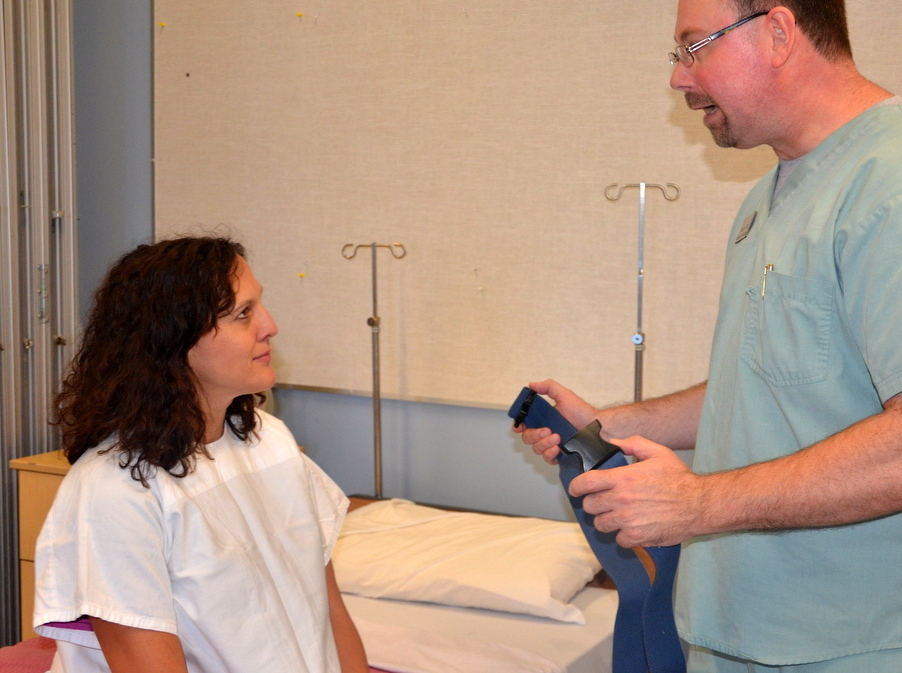
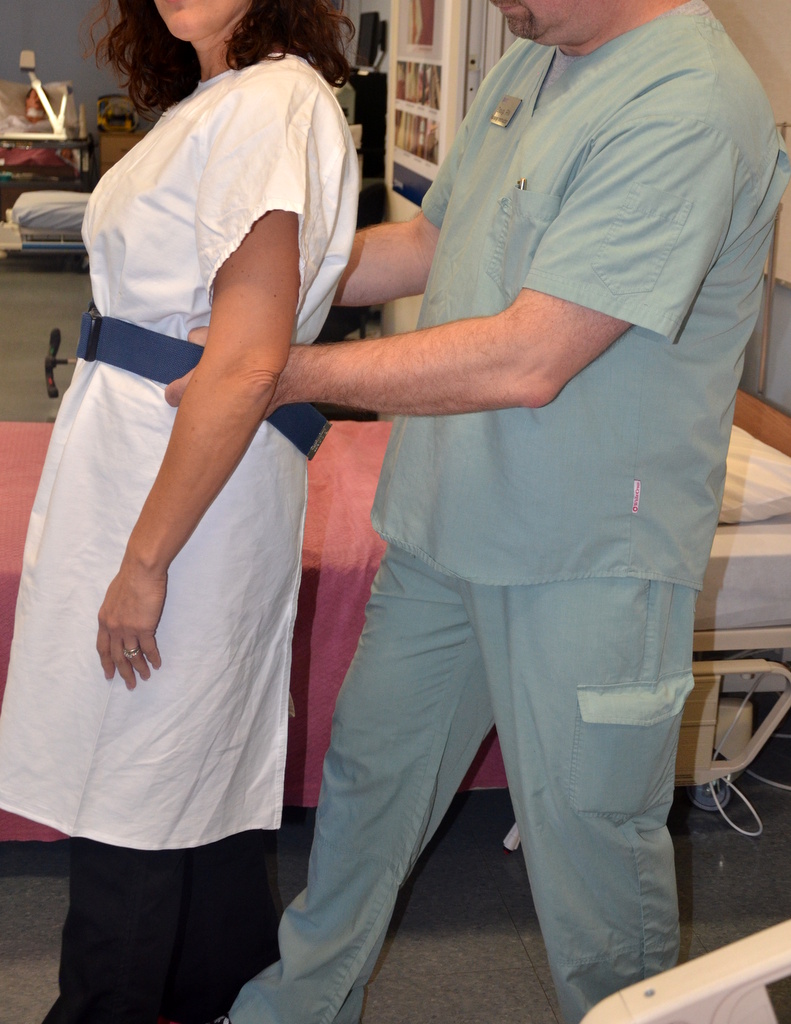
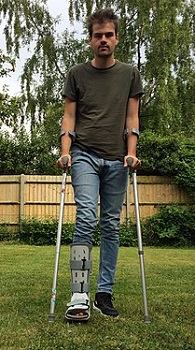
- Assistive device
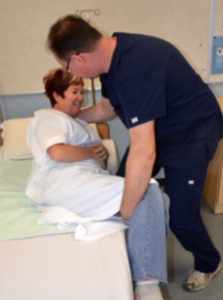
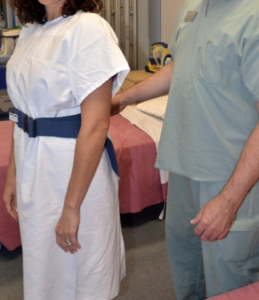
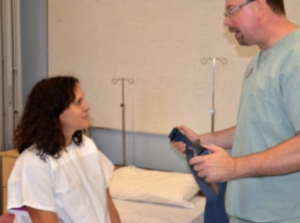
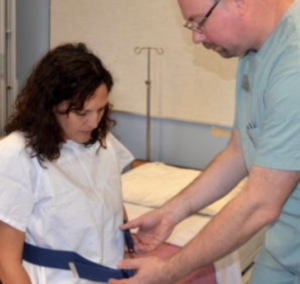
An object or piece of equipment designed to help a client with activities of daily living, such as a walker, cane, gait belt, or mechanical lift.
- Asthma
A condition that affects the airways of the lungs, causing them to become narrower and making it difficult to breathe.
- Authorized prescriber
A regulated health care provider who is permitted by federal and provincial legislation, their regulatory college, service provider/employer, and practice setting (where applicable) to prescribe medications.
- Axillary
Relating to the armpit.
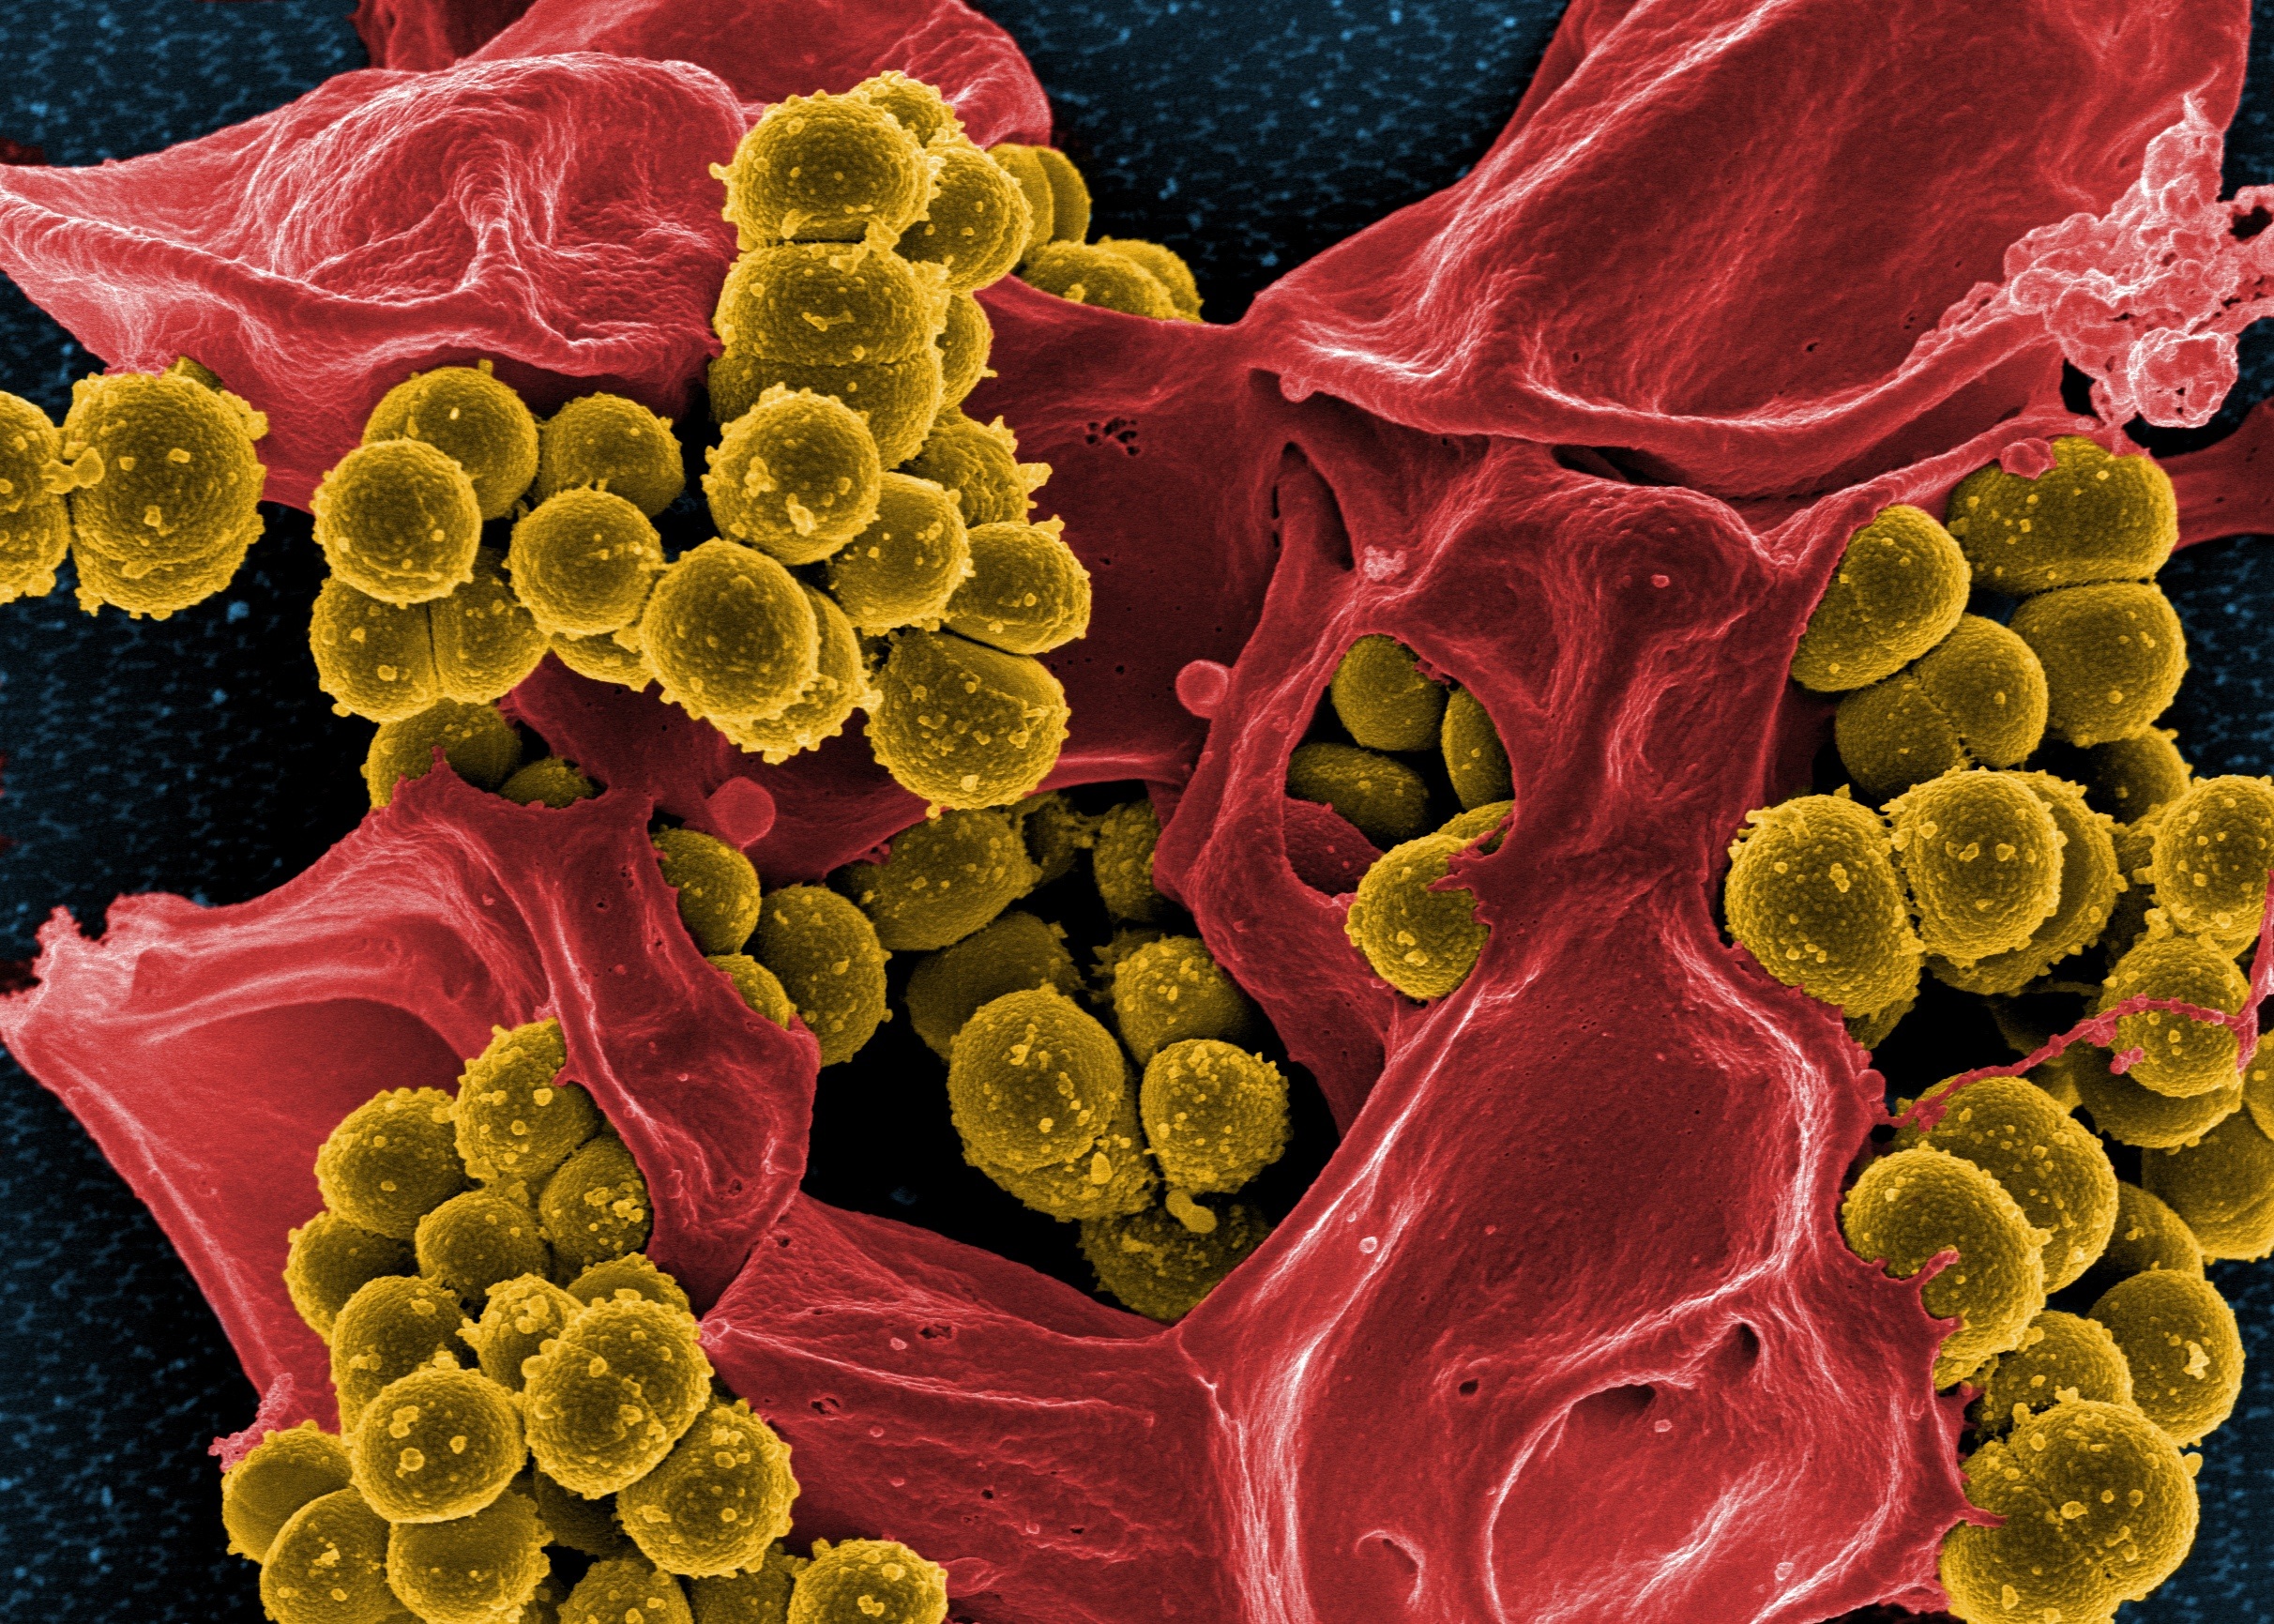
- Bacteria
Single-cell microorganisms that are typically a few micrometres in length and have several shapes, ranging from spheres to rods and spirals. Bacteria are present in most habitats, including soil and water. In the human body, bacteria outnumber human cells ten to one. The majority of them do not make us sick; in fact, our bodies give them a place to live, and many of them keep us alive.
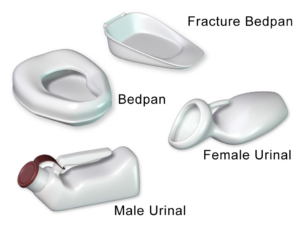
- Bedpan
A container into which bowel or bladder elimination may occur. These devices are helpful for people who have mobility issues and have difficulty getting out of bed.
- Bilevel Positive Airway Pressure (BiPAP)
A machine that’s similar to a continuous positive airway pressure (CPAP) device but has two pressure settings: one during inhalation and a lower setting during exhalation.
- Bladder
A muscular organ which stores urine.
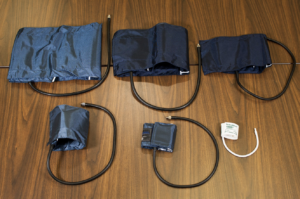
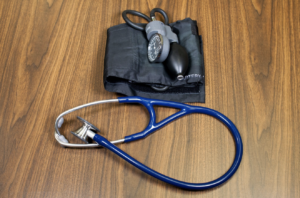
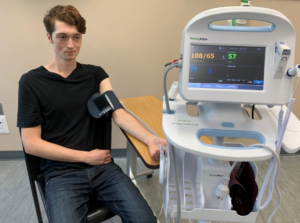
- Blood pressure
The amount of force exerted by the blood against artery walls.
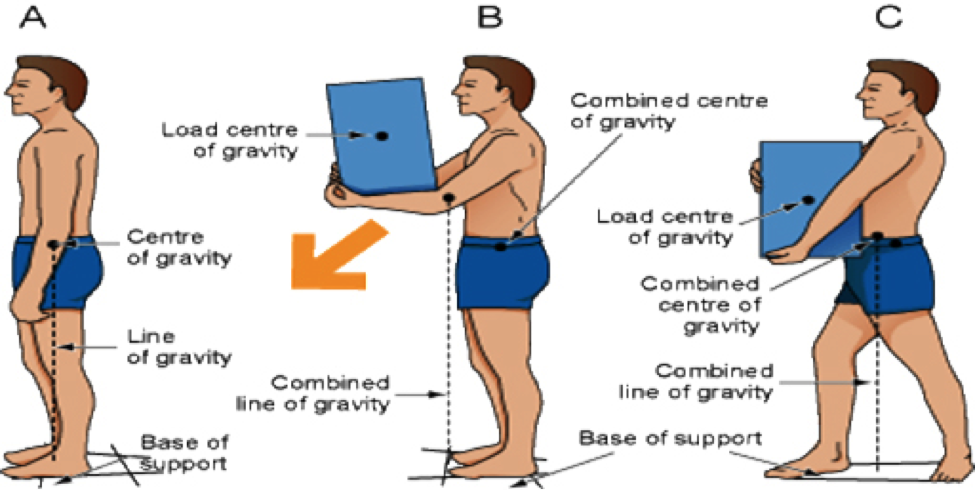
- Body alignment
The way in which body parts (head, trunk arms and legs) are positioned in relation to one another.
- Body balance
Ability to maintain the line of gravity within a base of support.
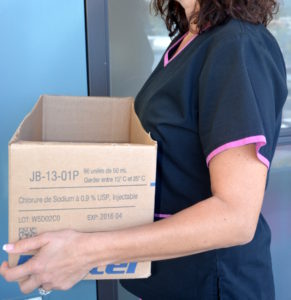
- Body mechanics
The efficient and careful use of the body in moving and lifting.
- Body movement
A coordination of muscle activity with neurological integration. It involves the basic elements of body alignment (posture), balance, and coordinated movement.
- Bolus
A ball-like mixture of food and saliva that forms in the mouth during the process of chewing.
- Brachial
The pulse found on the inner aspect of the upper arm.
- Bradycardia
A slow heart rate, less than 60 beats per minute.
- Bronchial
Passageways that connect the trachea to the lungs.
- Carotid
Two main arteries that carry blood to the head and neck.
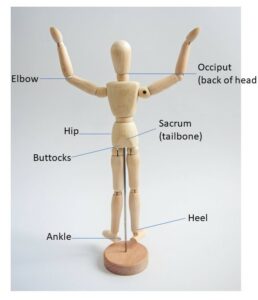
- Centre of gravity
The point in the body in which weight is evenly distributed or balanced on either side.
- Chronic Obstructive Pulmonary Disease (COPD)
A chronic lung disease that causes obstructed airflow from the lungs. Emphysema and chronic bronchitis contribute to COPD.
- Clinician
A health care professional responsible for the assessment and care planning of the client and their health care needs. Some examples of clinicians are registered nurses, registered psychiatric nurses, physiotherapists, and occupational therapists. The clinician authorizes home support services based on their clinical assessment.
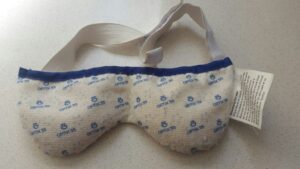
- Cold compress
A cloth or pad that is soaked in cold water. It is then applied to the area of the body being treated.
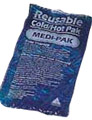
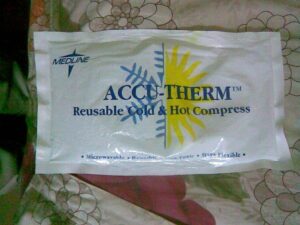
- Cold pack
A type of dry cold therapy used to reduce swelling and relieve pain. It consists of a pack filled with a cold substance, which can be cooled by various methods, such as freezing, chemical activation through squeezing or striking, or filling with ice.
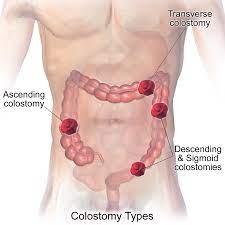
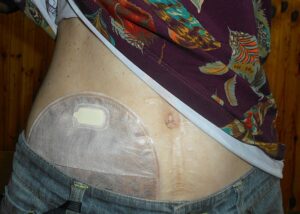
- Colostomy
A surgically created artificial opening between the colon and the abdominal wall.
- Competency
The ability to demonstrate the requisite knowledge, skills, judgement and attitudes to perform a specific function.
- Compress
A warm or cold cloth or pad used therapeutically to treat injury.
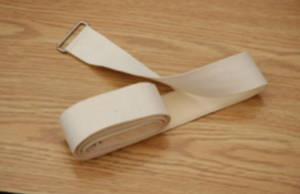
- Compression bandage
A stretchable cloth used to wrap around a sprain or strain to reduce swelling resulting from injury. Also called a tensor bandage.
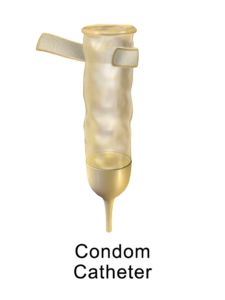
- Condom catheter
A soft, flexible sheath that is placed over the penis and connected to tubing leading to a drainage bag. It is used to manage urinary incontinence.
- Constipation
Condition in which a person has delayed or infrequent bowel movements, and the stool is hard, dry, and difficult to pass.
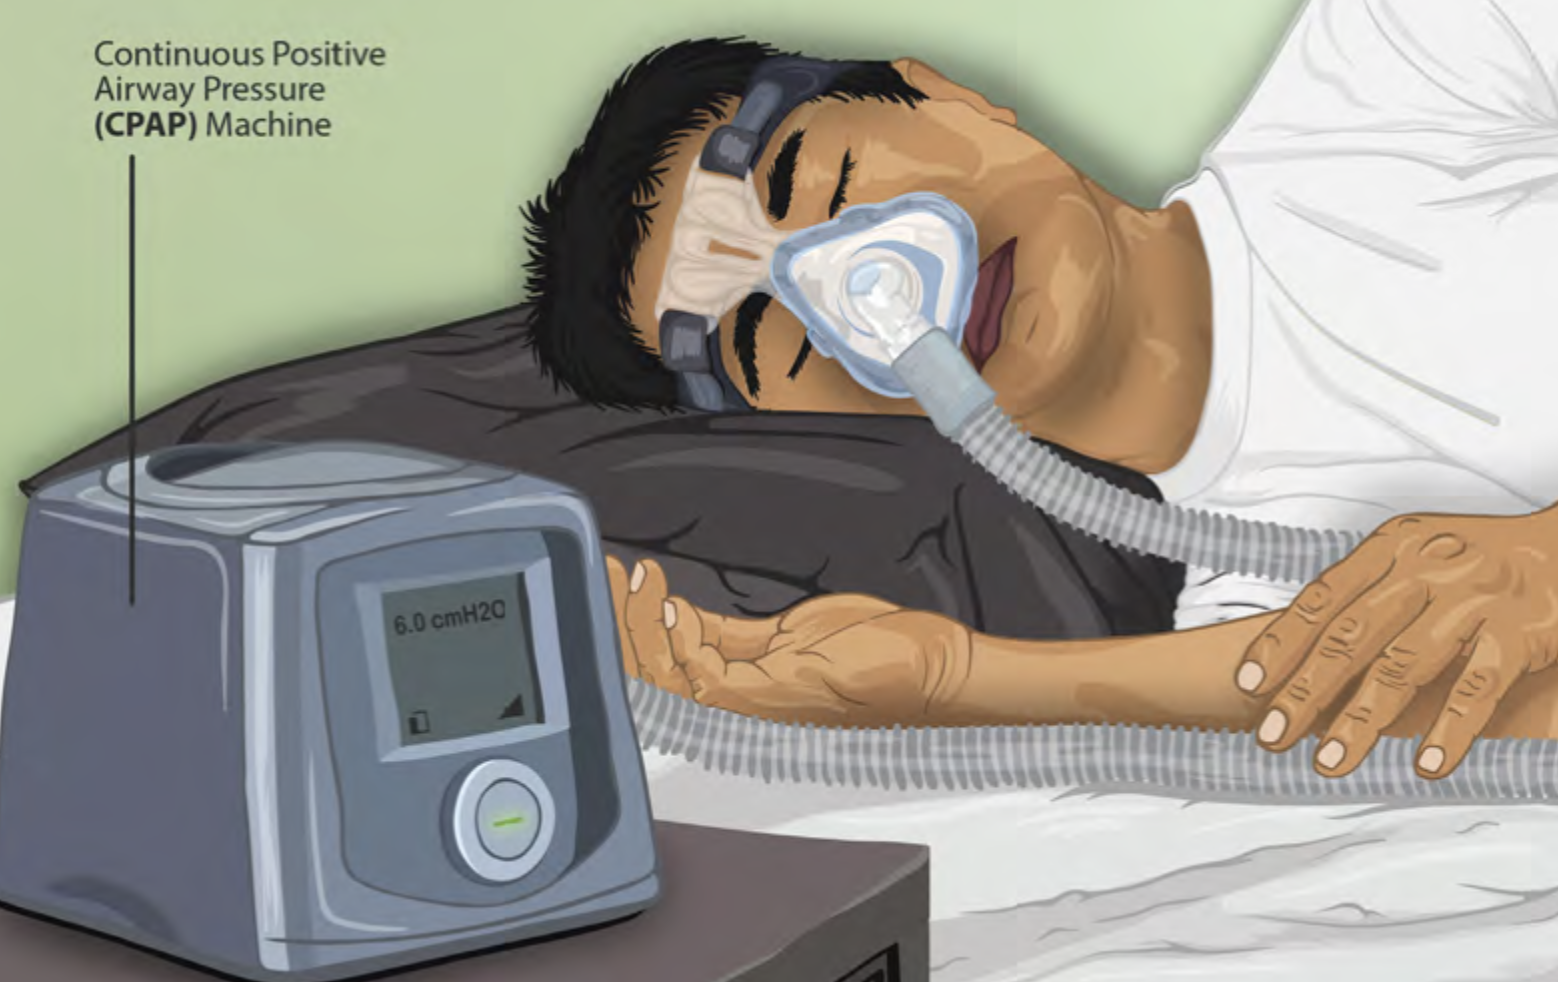
- Continuous positive airway pressure (CPAP)
A device used for people who are able to breathe spontaneously on their own but need help in keeping their airway unobstructed while they sleep.
- Defecation
The process of eliminating waste from the digestive tract.
- Delegation
When a regulated health professional (such as an RN) authorizes an unregulated care provider (such as an HCA) to perform a restricted activity. Delegation is required because the restricted activity is normally the responsibility of a regulated health care professional and, therefore, outside of the role and training of the unregulated care provider. Delegation must be client-specific and is limited by the boundaries permitted by legislation and the regulated health professional’s regulatory college.
- Dermal
Relating to the skin.
- Diarrhea
Frequent and loose bowel movements that are often watery.
- Diastolic pressure
The pressure in the arteries when the heart is at rest.
- Disinfection
A process that eliminates many or all pathogenic microorganisms, except bacterial spores, on inanimate objects.
- Dispense/dispensing
Provide a medication pursuant to a prescription for a person but does not include the administration of a medication to a person. Dispensing is a restricted activity under the law.
- Drainage tube
Tubes used to remove fluids from the body. Examples include Hemovacs, Penrose drains, percutaneous drains, Foley catheters, and nephrostomy tubes.
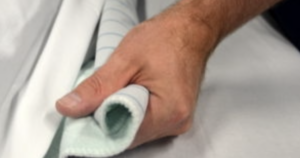
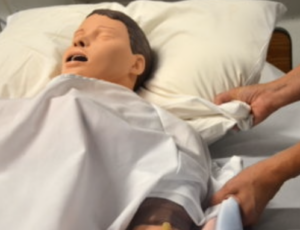
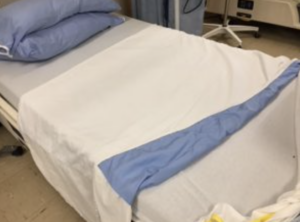
- Draw sheet
Special linens placed underneath clients to help move and lift them in bed.
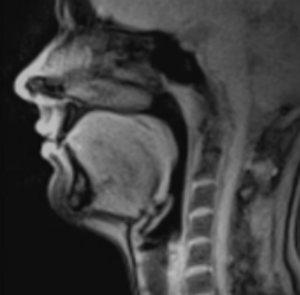
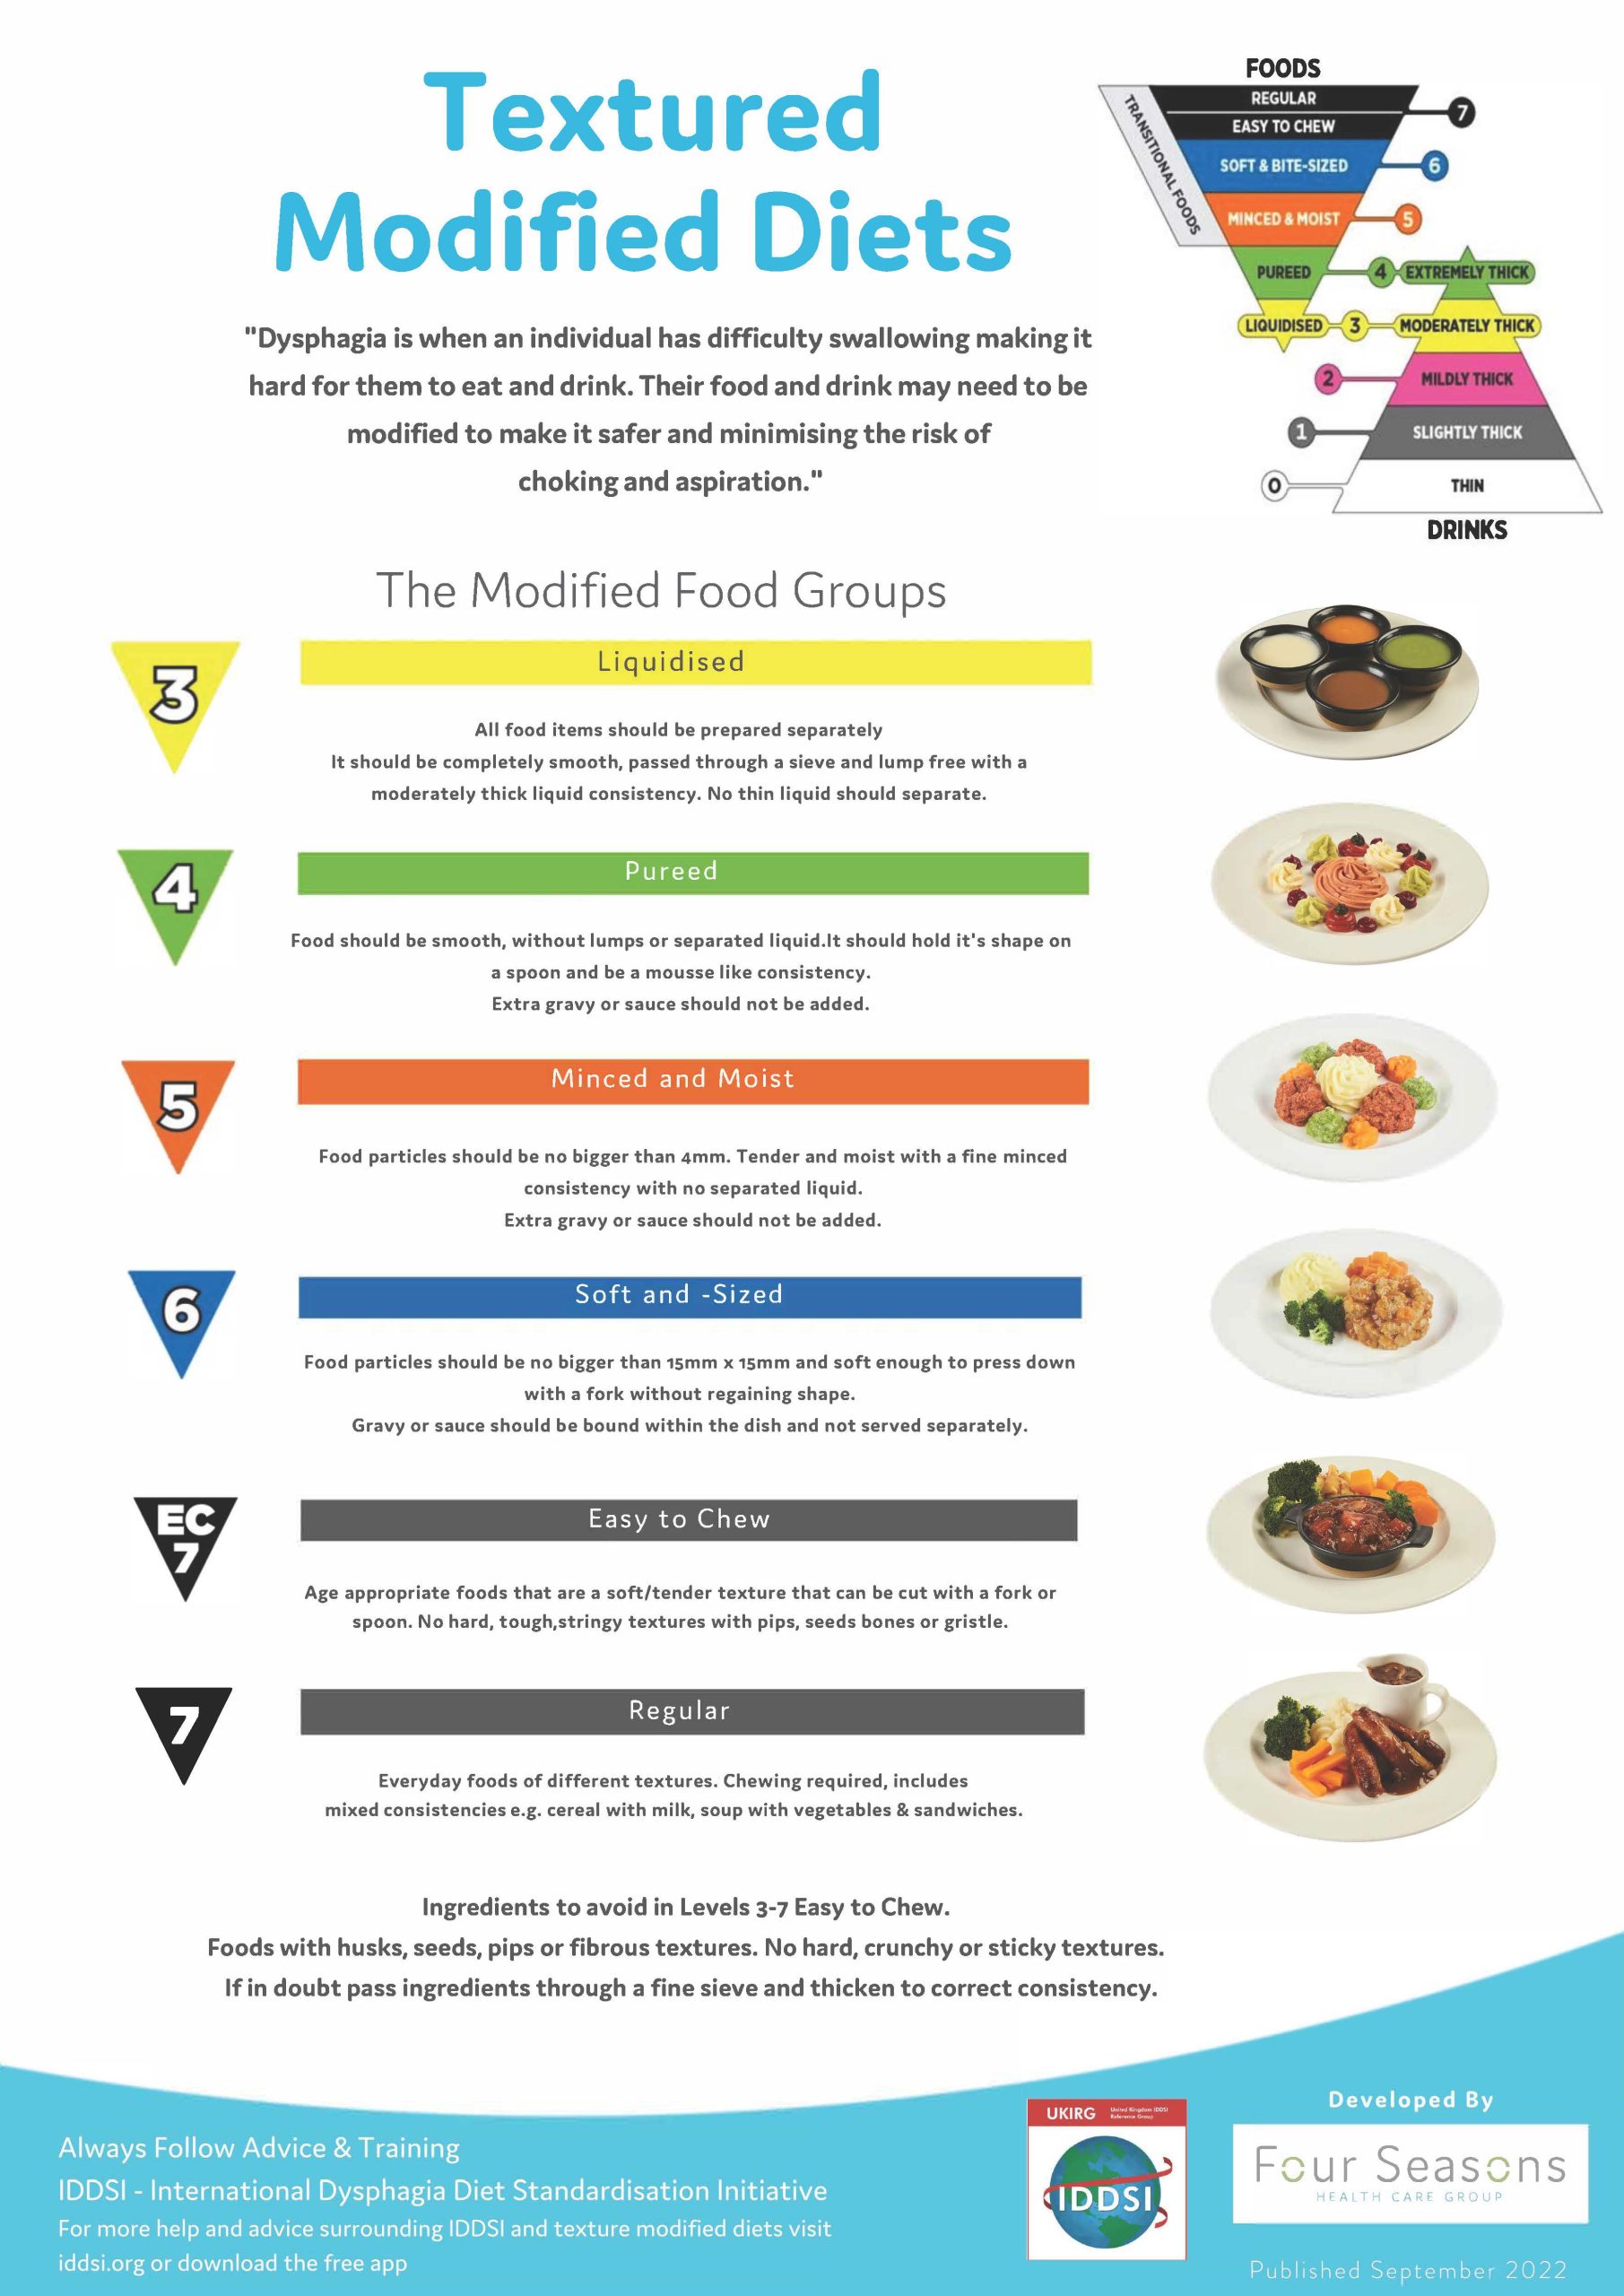
- Dysphagia
Difficulty swallowing. Oropharyngeal dysphagia is difficulty controlling the position of food in the mouth, initiating a swallow, and nasal regurgitation. It is common to hear a gurgling voice after swallowing. Esophageal dysphagia is the inability to swallow solid food as food becomes stuck in the esophagus.
- Emergency response
Any systematic response to an unexpected or dangerous occurrence with the goal to quickly control the situation and lessen the impact on people and the environment.
- Emesis
Action or process of vomiting.
- Enteral nutrition
Nutrition in the form of a liquid. It is provided by drinking nutrition beverages or formulas and tube feeding.
- Environment
The surroundings or conditions in which a person lives.
- Excreted
Eliminated or removed from the body.
- Fanfold
A method of folding the sheet in the manner of a fan or accordion so that the sheet is stacked upon itself.
- Febrile
To have a body temperature of higher than 38°C.
- Fecal impaction
Hard, dry stool that stays in the rectum.
- Fecal incontinence
The inability to control defecation.
- Feces
Body waste material discharged through the anus.
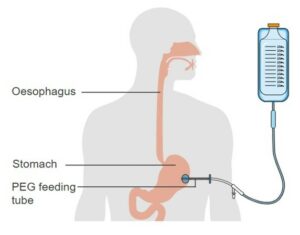
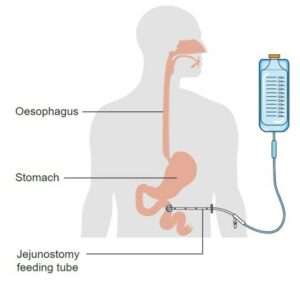
- Feeding tube
A flexible plastic tube used to supply nutrients and fluids to the body. Feeding tubes can be nasogastric (NG), nasojejunal (NJ), percutaneous endoscopic gastrostomy (PEG), percutaneous endoscopic jejunostomy (PEJ).
- Fitted sheet
Sheet with elasticized corners that allow for the sheet to fit snugly on the bed; it is generally used as a bottom sheet.
- Flat sheet
Sheet without elasticized corners; it is generally used as a top sheet.
- Flatulence
Excessive flatus or gas in the intestinal tract.
- Flatus
Gas passed through the anus.
- Food or fluid intake
Measuring by percentage how much food and liquid has been consumed.
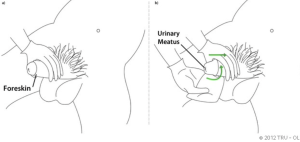
- Foreskin
The outer skin that covers the end of the penis and can be retracted.
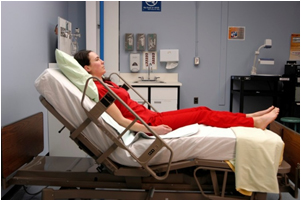
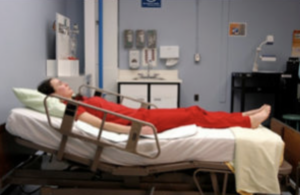
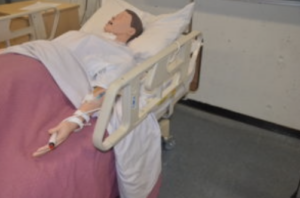
- Fowler’s position
The client’s head of bed is placed at an angle between 45 degrees and 60 degrees. Hips may or may not be flexed. It’s a common position to provide client comfort and care.
- Frequency
Refers to how often a person voids over 24 hours.
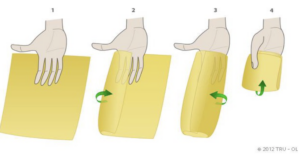
- Friction
Rubbing of two surfaces together, such as the skin rubbing against a sheet.
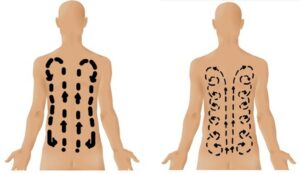
- Full bed bath
A complete bed bath that involves washing the entire body from head to toe.
- Fungus
A member of a large group of organisms that includes microorganisms such as yeasts, moulds, mushrooms. Many fungi (mainly yeasts and moulds) live in our environment and on our bodies. Most of the organisms don’t cause illness unless they can invade areas where they are not normally found, such as in the lungs or under the skin.
- Gavage tube
A general term for feeding tubes that are passed into the stomach or small intestine and provide liquid nutritional formula. They are used for clients who are unable to swallow or take food orally.
- H.S Care
(Hour of sleep) care is done in the evening or at bedtime. If the resident is dressed, they change into sleepwear. It includes washing face and hands, and oral care. Dentures are removed and cleaned. A backrub can be given to help the resident relax before sleeping.
- Health care associated infections (HAIs)
Infections that develop as a result of contact with a pathogen in the health care setting or from a health care worker, that was not present at the time of admission. Also known as a nosocomial infection.
- Hematuria
Blood in the urine.
- Hemoglobin
A protein found in red blood cells that combines with oxygen to carry to cells and tissues of the body.
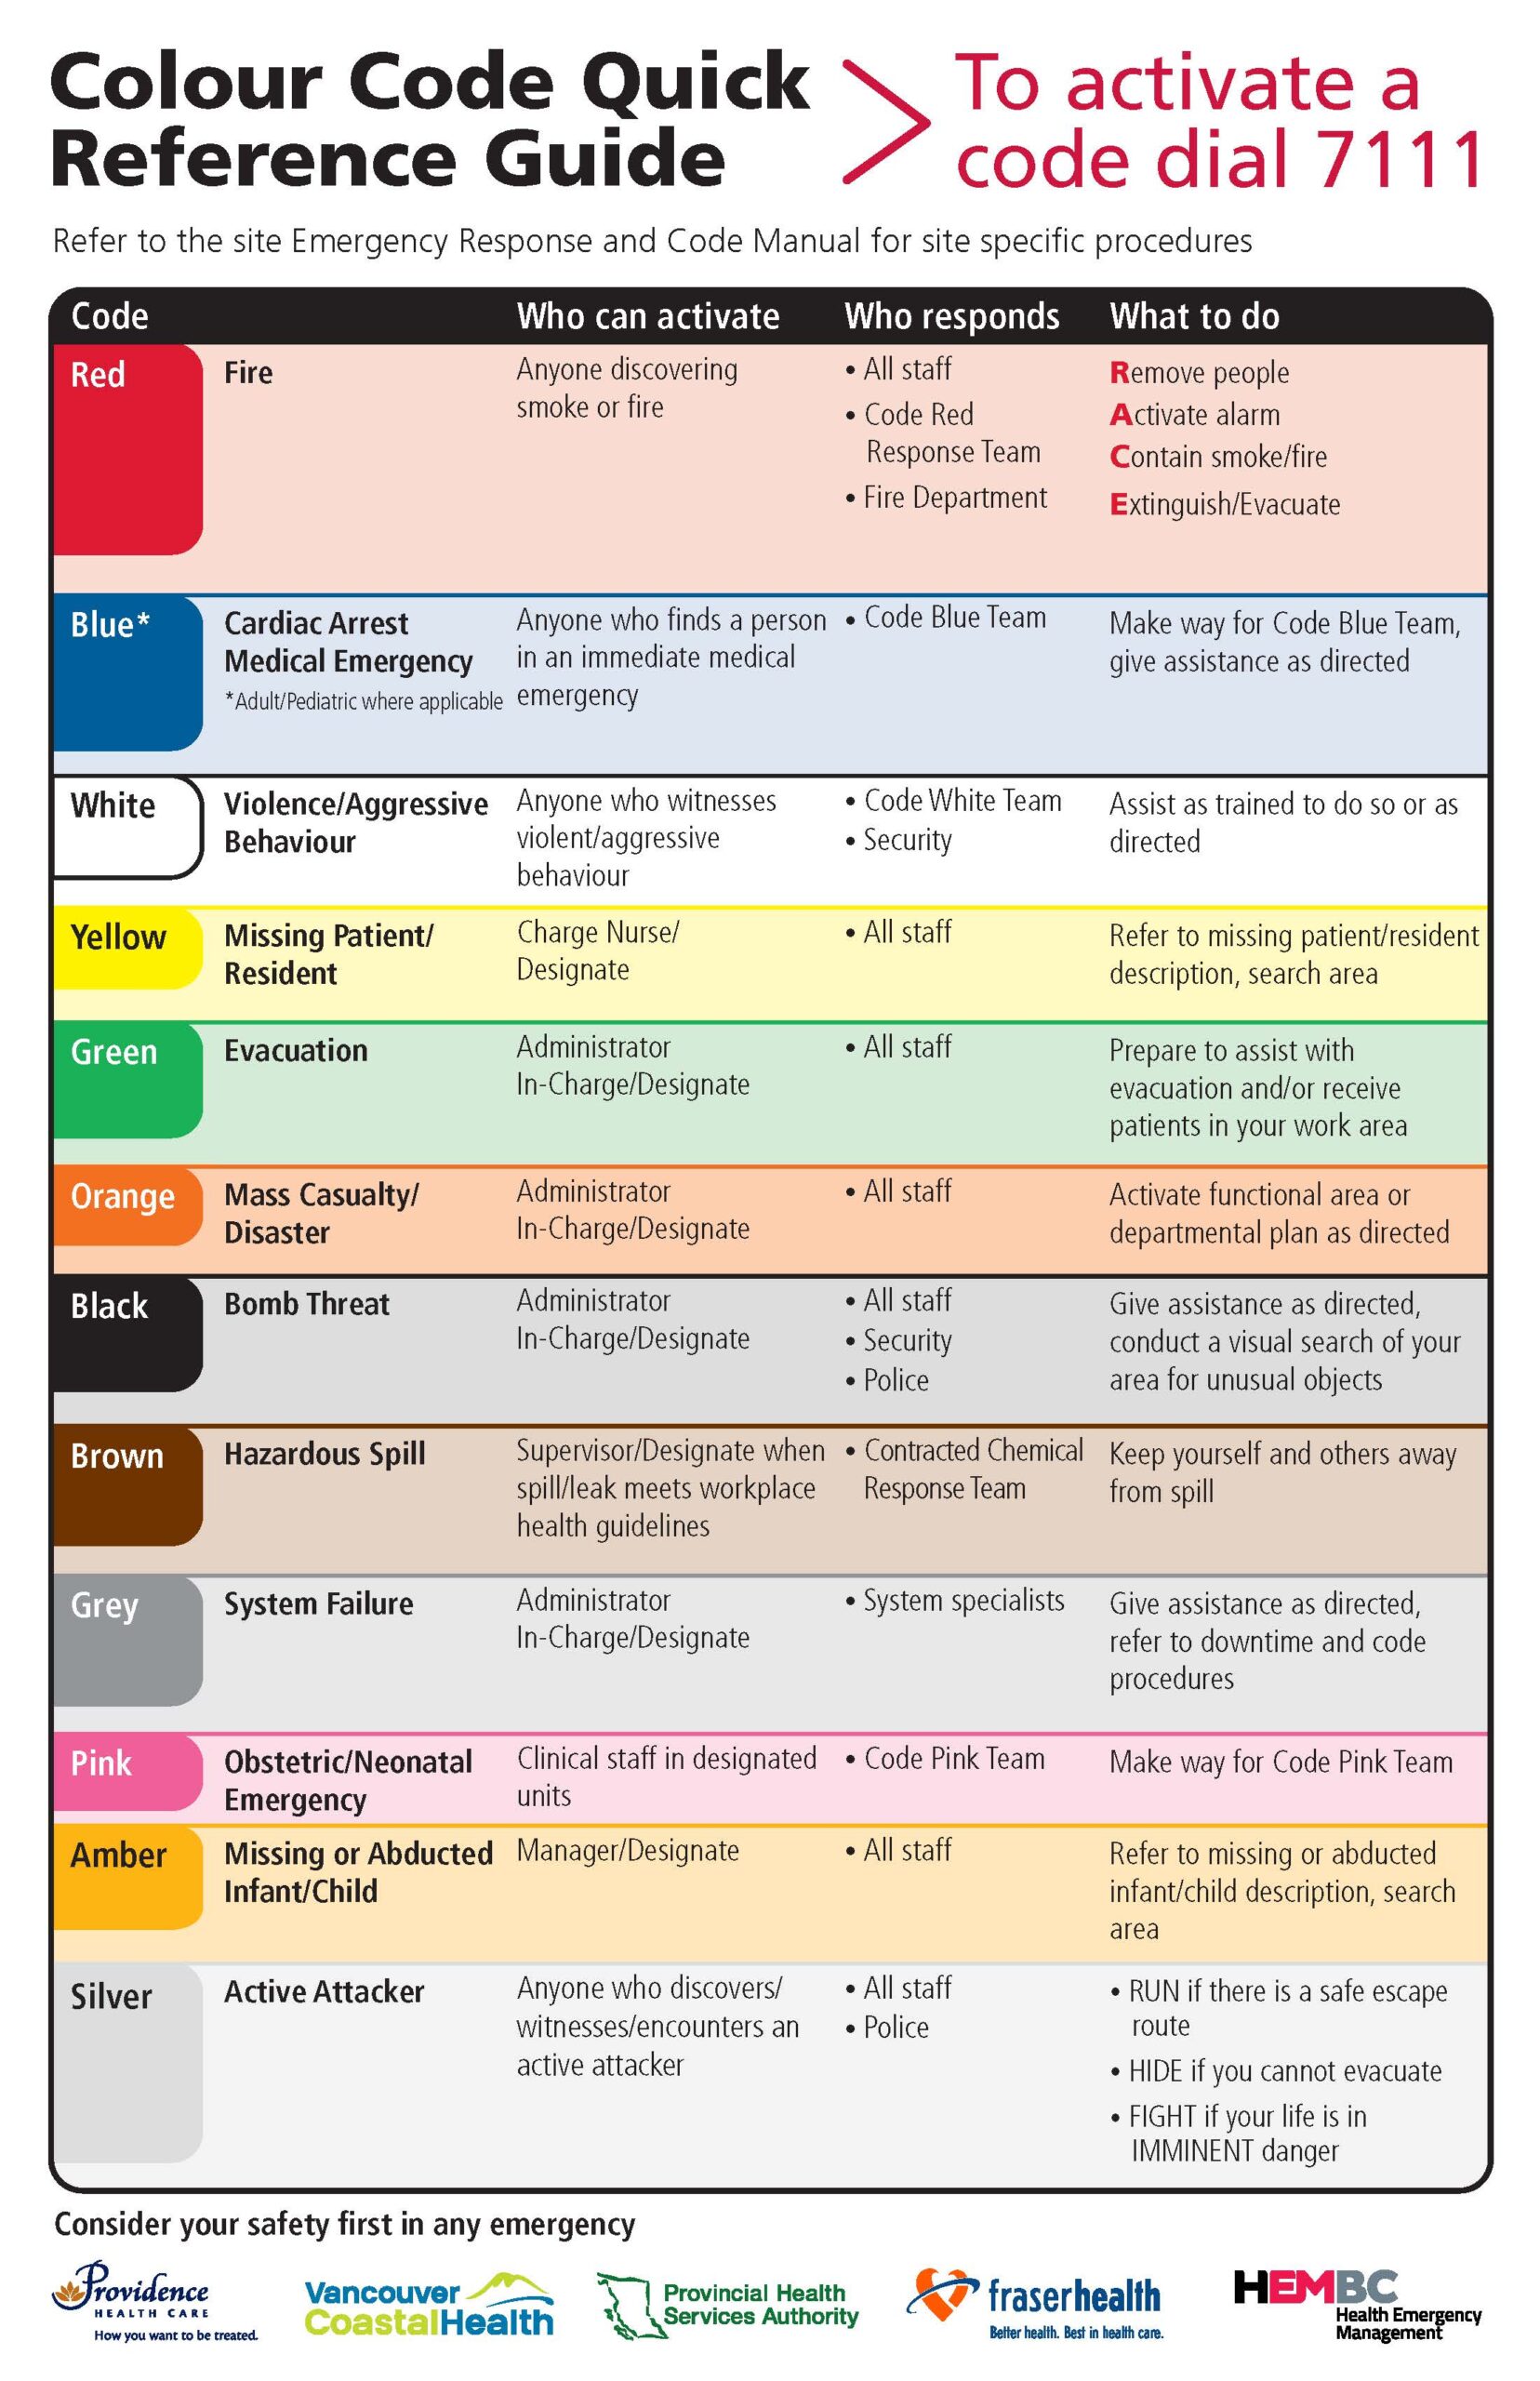
- Hospital emergency codes
Announced coded messages to alert hospital staff to various types of on-site emergencies intended to share essential information quickly and prevent visitor stress or panic.
- Hot packs
Packs used for heat therapy to relieve pain, relax muscles, and increase blood circulation. Examples include hot water bags or bottles, heating pads, and hot aquamatic pads.
- Hyperthermia
A condition in which the core body temperature is excessively higher than normal.
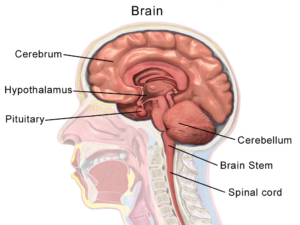
- Hypothalamus
The portion of the brain that maintains the body’s internal balance (homeostasis).
- Hypothermia
A condition in which the core body temperature drops below 35°C.
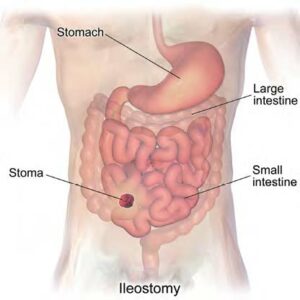
- Ileostomy
A surgically created artificial opening between the ileum (final section of the small intestine) and the abdominal wall.
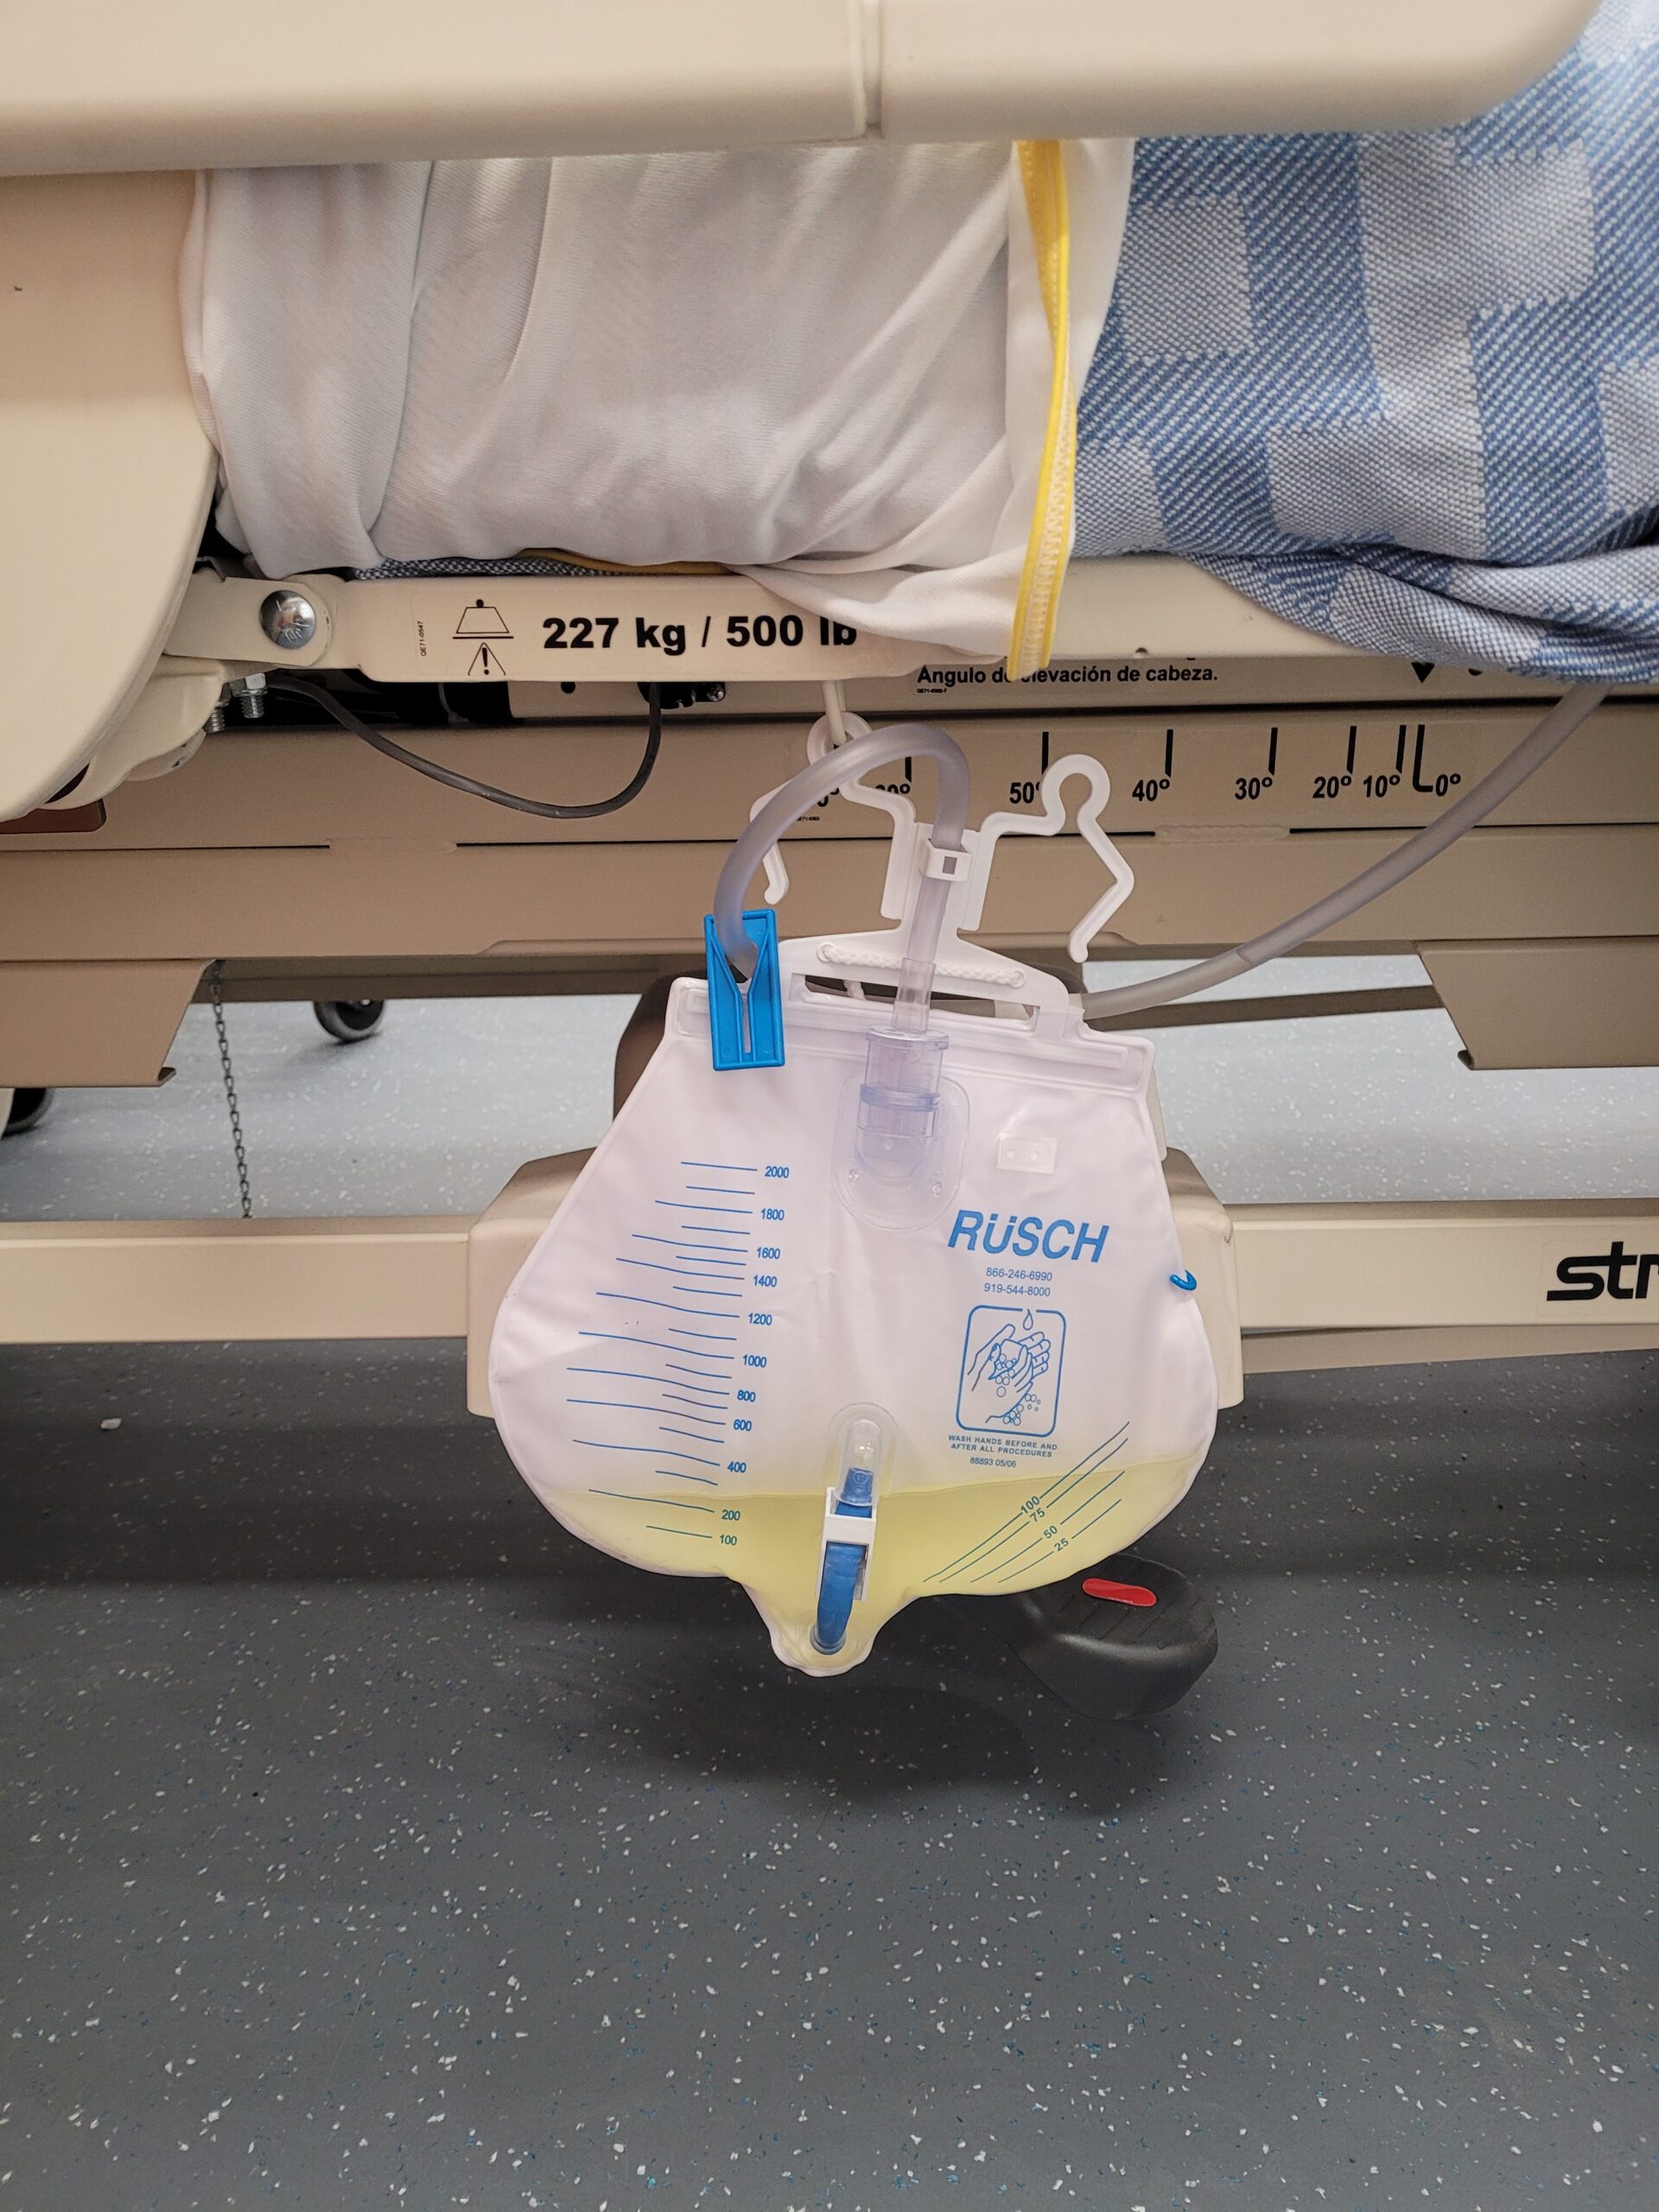
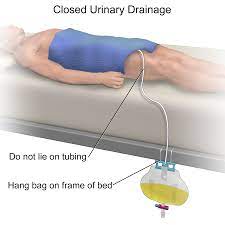
- Indwelling catheter
A urinary tube (catheter) that is left in the bladder to drain urine. It is held in place by a water-filled balloon, which prevents it from falling out.
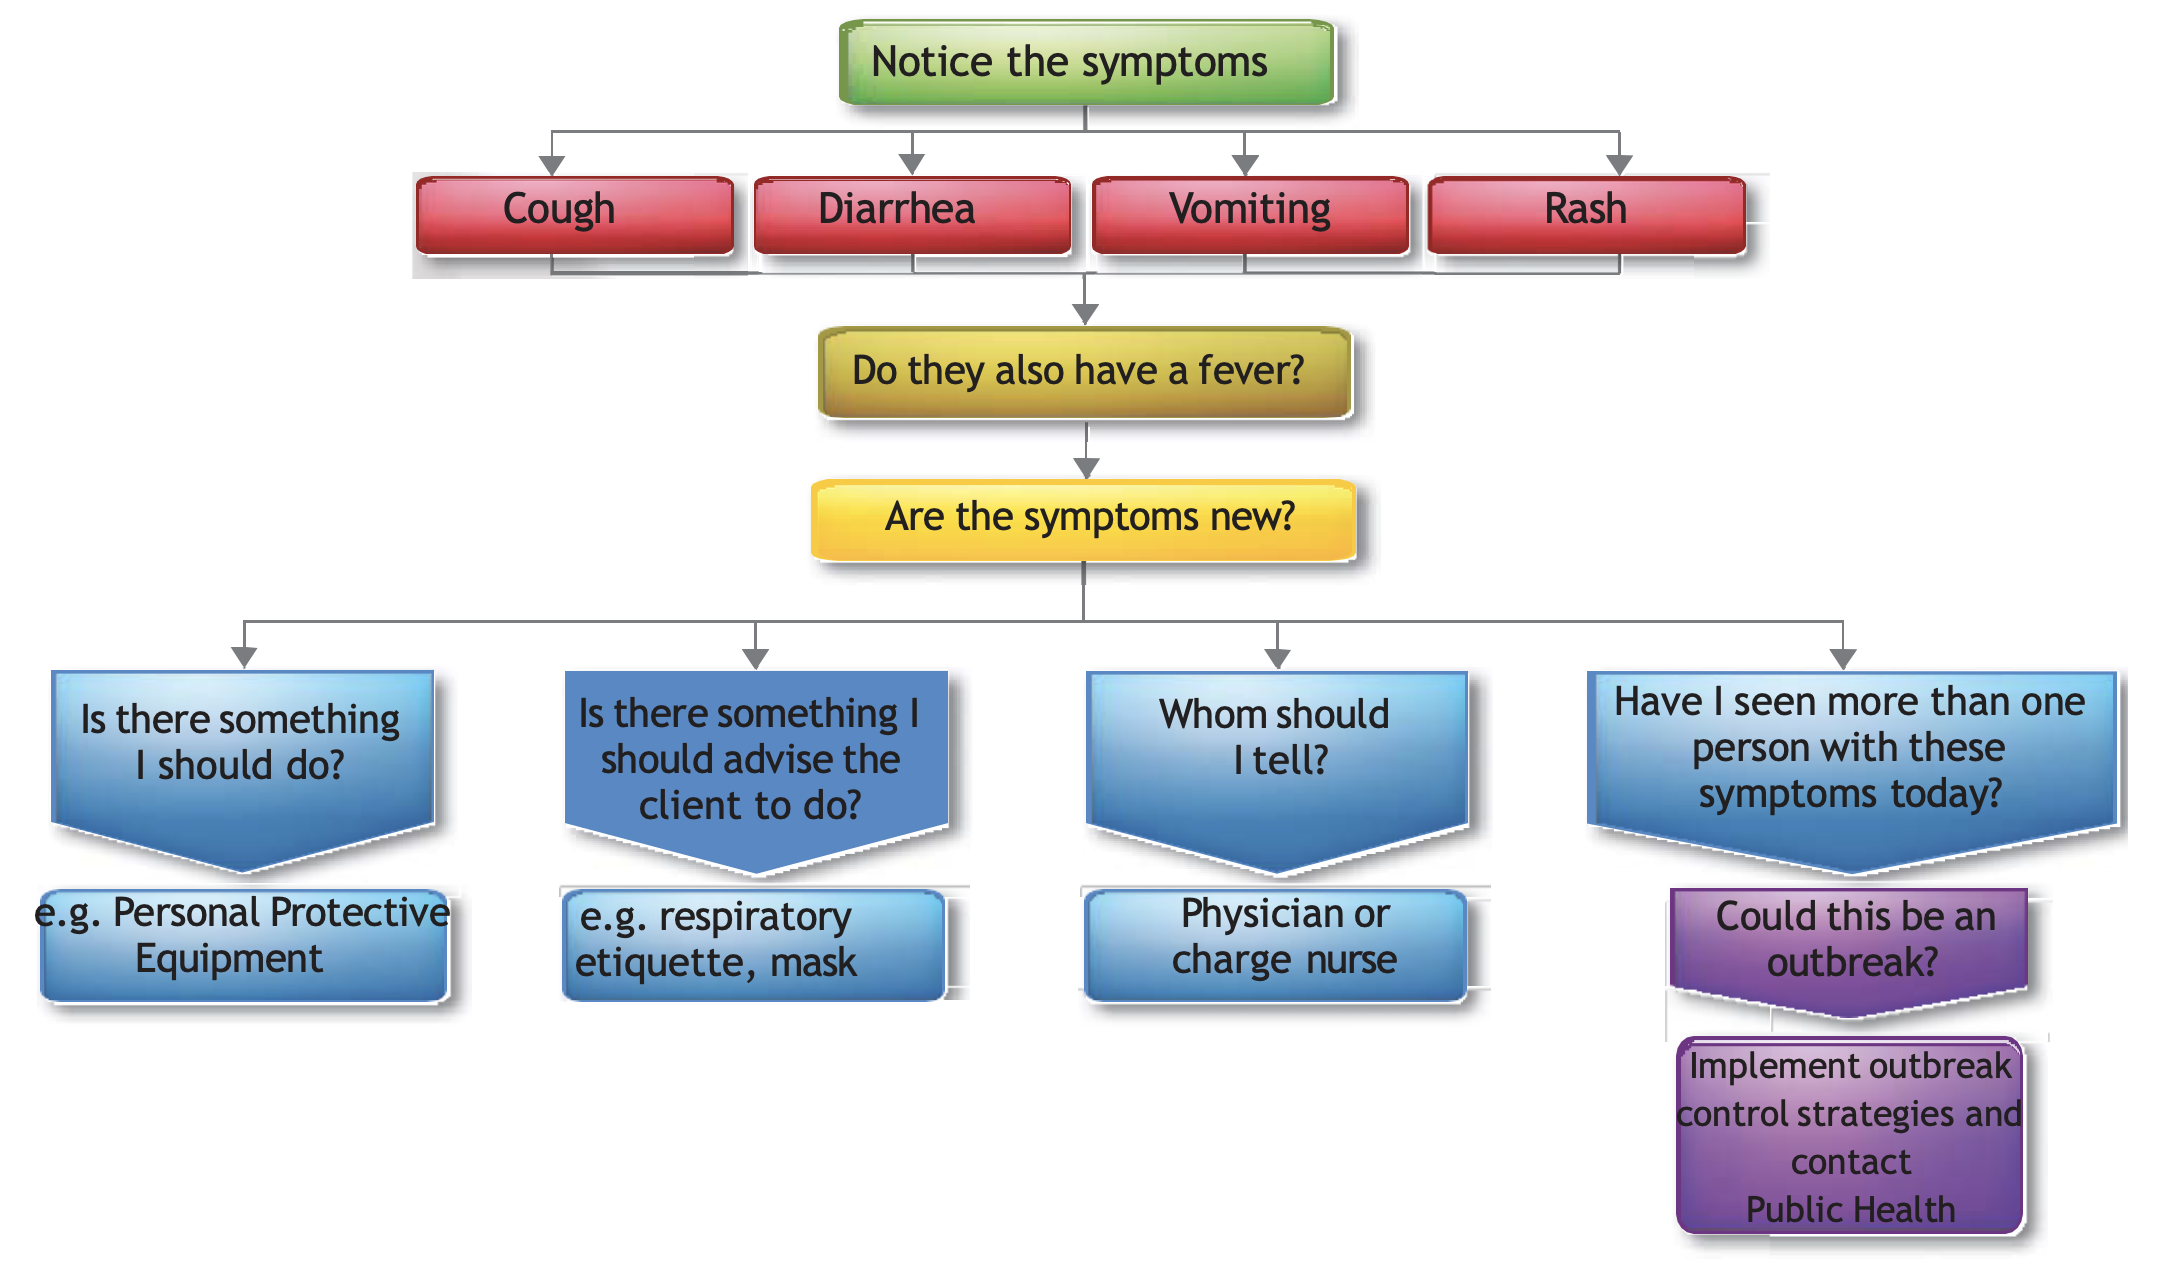
- Infection
The invasion of the body tissues by pathogens, allowing them to multiply and cause a reaction of the immune system to their presence of the toxins they produce.
- Infection prevention and control (IPAC)
Evidence-based procedures and practices that, when used consistently in a health care setting, can prevent and reduce disease transmission, eliminate sources of potential infections, and prevent the transfer of pathogens from one person to another.
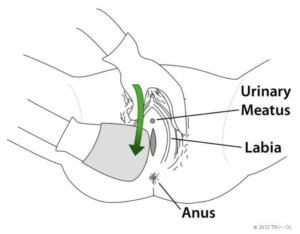
- Labia
The outer skin (or flaps of skin) around the vaginal opening. The labia majora on the outside tends to be larger and plump, covered with pubic hair. The labia minora are the inner set next to the labia majora.
- Level of assistance required
Level of assistance required is based on the client’s ability to transfer, stand, and cooperate in care activities.
- Levels of assistance
The assessed and determined level of assistance a client requires based on their ability to transfer, stand, and cooperate in care activities.
- Meatus
Urinary opening.
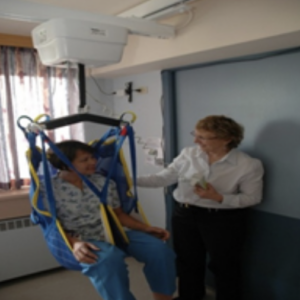
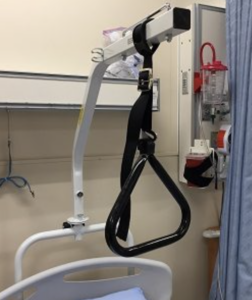
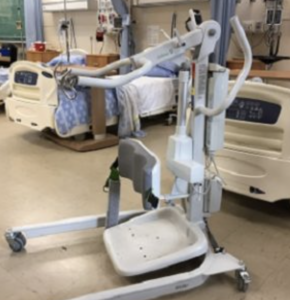
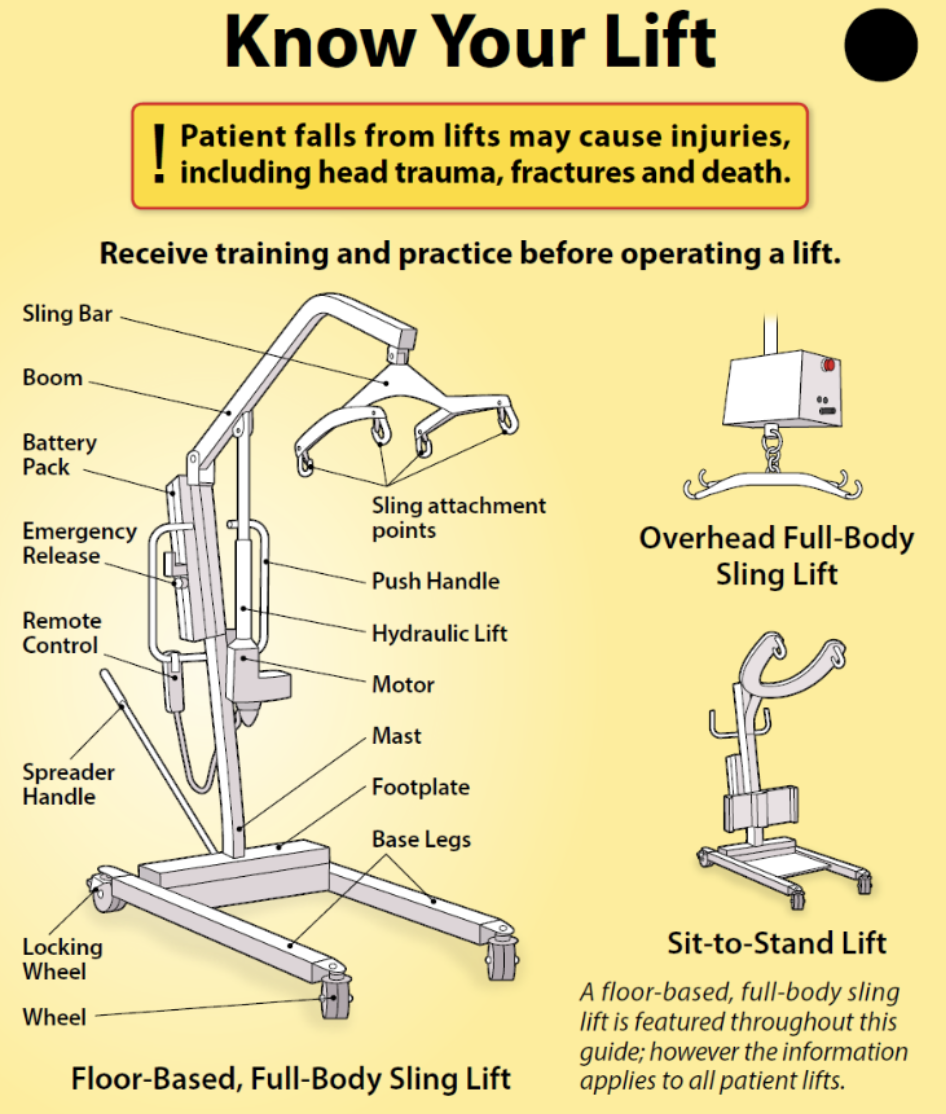
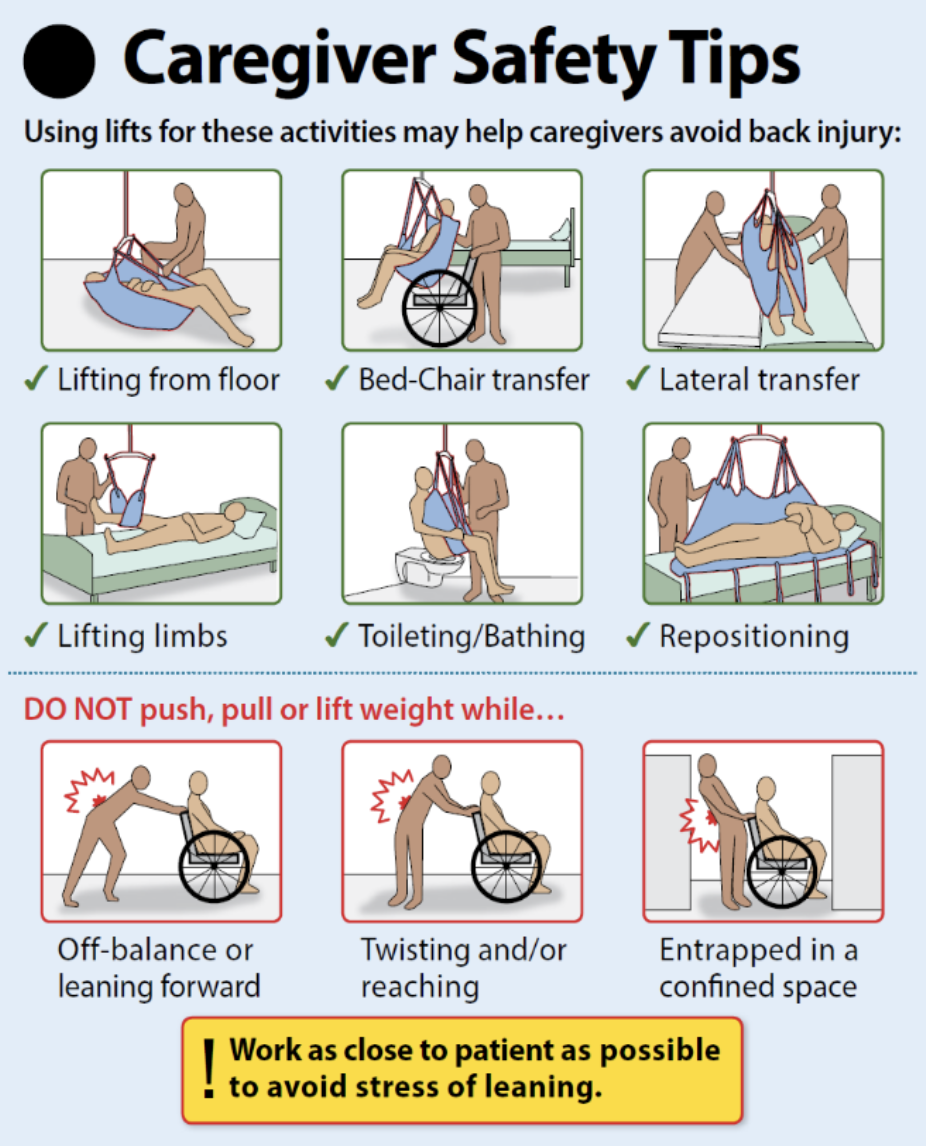
- Mechanical lift
A hydraulic lift, usually attached to a ceiling, used to move clients who cannot bear weight, are unpredictable or unreliable, or have a medical condition that does not allow them to stand or assist with moving.
- Medical asepsis
The procedures to reduce the number of microorganisms and prevent their spread. Also known as clean technique.
- Medication administration
The activity of supplying a dose of a medication to a client for immediate ingestion, application, inhalation, insertion, instillation, or injection. Medication administration is more than just a psychomotor task of giving a medication to a client. It is a cognitive and interactive aspect of care and involves assessing the client, making clinical decisions, and planning care based on this assessment. Medication administration requires the knowledge and skills of a competent, regulated health care provider.
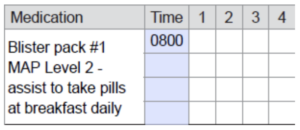
- Medication assistance
A service provided to a client to facilitate the client’s ability to self-administer medication for as long as possible and to promote medication taken as intended by the prescriber. Medication assistance includes medication reminders, some/partial assistance, or full assistance.
- Medication review
A critical examination by the interdisciplinary team of a client’s medications for appropriateness, effectiveness, interactions, and adverse reactions to optimize the impact of medications and minimize the number of medication-related problems.
- Microorganism
Microscopic, sometimes single-cell organisms including bacteria, fungi and viruses. A small proportion are pathogenic, meaning they can cause disease.
- Micturate
To empty urine from the bladder.
- Mitre
A tight-fitting triangular fold of a sheet on a bed so that it is anchored to the mattress.
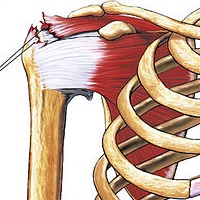
- Muscles
Bands of tissue that can contract to produce movement or maintain posture. They enable bodily motion, generate force, and provide strength for the body to move.
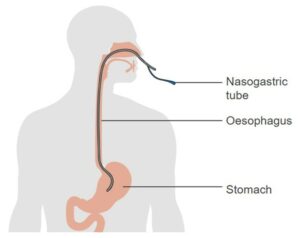
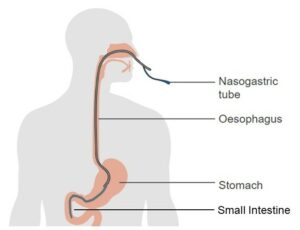
- Nasogastric tube
A flexible plastic tube inserted through the nostrils, down the nasopharynx, and into the stomach or the upper portion of the small intestine.
- No-lifting policy
A policy that says health care providers are not to manually try to lift a client as this may result in serious injury to the client or care provider.
- Nocturia
Increased need to void during the night.
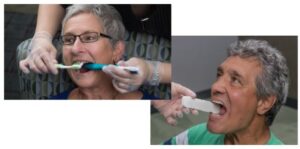
- Oral
Relating to the mouth.
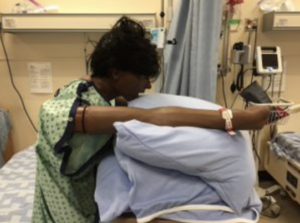
- Orthopneic position
The client sits at the side of the bed with head resting on an over-bed table on top of several pillows. This position is used for clients with breathing difficulties.
- Orthostatic hypotension
Low blood pressure that causes dizziness, light-headedness, and even fainting when one goes from a lying or sitting position to a standing position. Also called postural hypotension.
- Osmosis
The movement of water from an area of high concentration of water to an area of low concentration of water through a semi-permeable membrane.
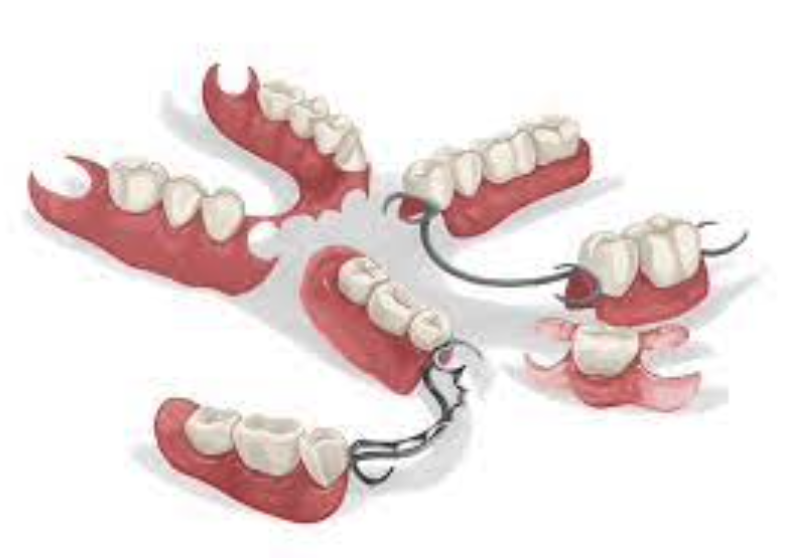
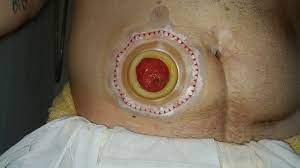
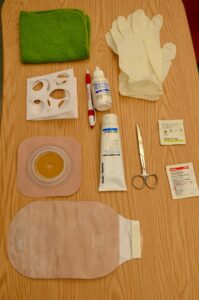
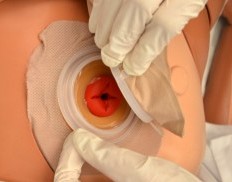
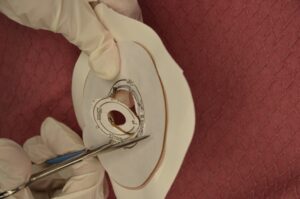
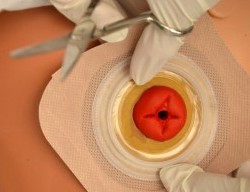
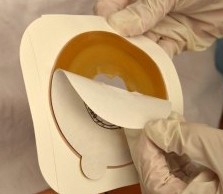
- Ostomy
A surgically created artificial opening in the abdomen for elimination of feces or urine.
- Over-the-counter medication (OTC) medication
Medication that does not require a prescription and is taken to treat minor health problems at home.
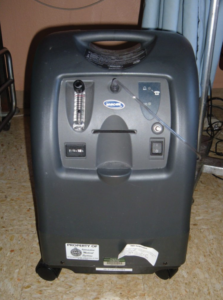
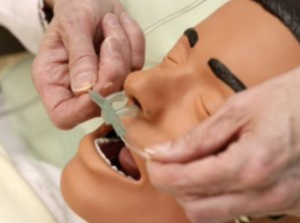
- Oxygen concentrator
A device that takes in air from the room and filters out nitrogen.
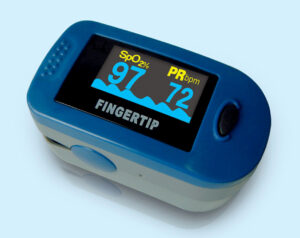
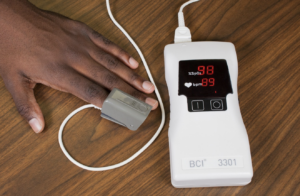
- Oxygen saturation
A measure of how much hemoglobin is bound to oxygen compared to how much remains unbound.
- Oxygenation
The addition of oxygen to the human body.
- P.M. Care
Care given in the evening or at bedtime. It includes washing face and hands, oral care, and removing and cleaning dentures. If a client is dressed, they change into sleepwear. P.M. care may also include backrub to help a client relax before sleeping. Also called H.S. (hour of sleep) care.
- Parenteral lines
Intravenous (IV) lines used to deliver medications or nutrition directly into the bloodstream, bypassing the digestive system.
- Partial bed bath
A partial bed bath involves washing the face, hands, underarms and genital/perineal area.
- Pathogen
A microorganism, such as a virus, bacterium, or fungus, that can cause disease.
- Perineal care (peri-care)
Washing or bathing the genitalia and surrounding area. Peri-care is commonly used as a shortened form of perineal care.
- Perineum
The tiny area of sensitive skin between the genitals (vaginal opening or scrotum) and anus, and it’s also the bottom region of the pelvic cavity. Sometimes referred to as the peri-area.
- Peripheral vasoconstriction
Narrowing of the blood vessels in the extremities, such as the hands and feet.
- Peripheral vasodilation
Widening of the blood vessels in the extremities, such as the hands and feet.
- Peristalsis
Muscular contractions of the gastrointestinal (GI) tract.
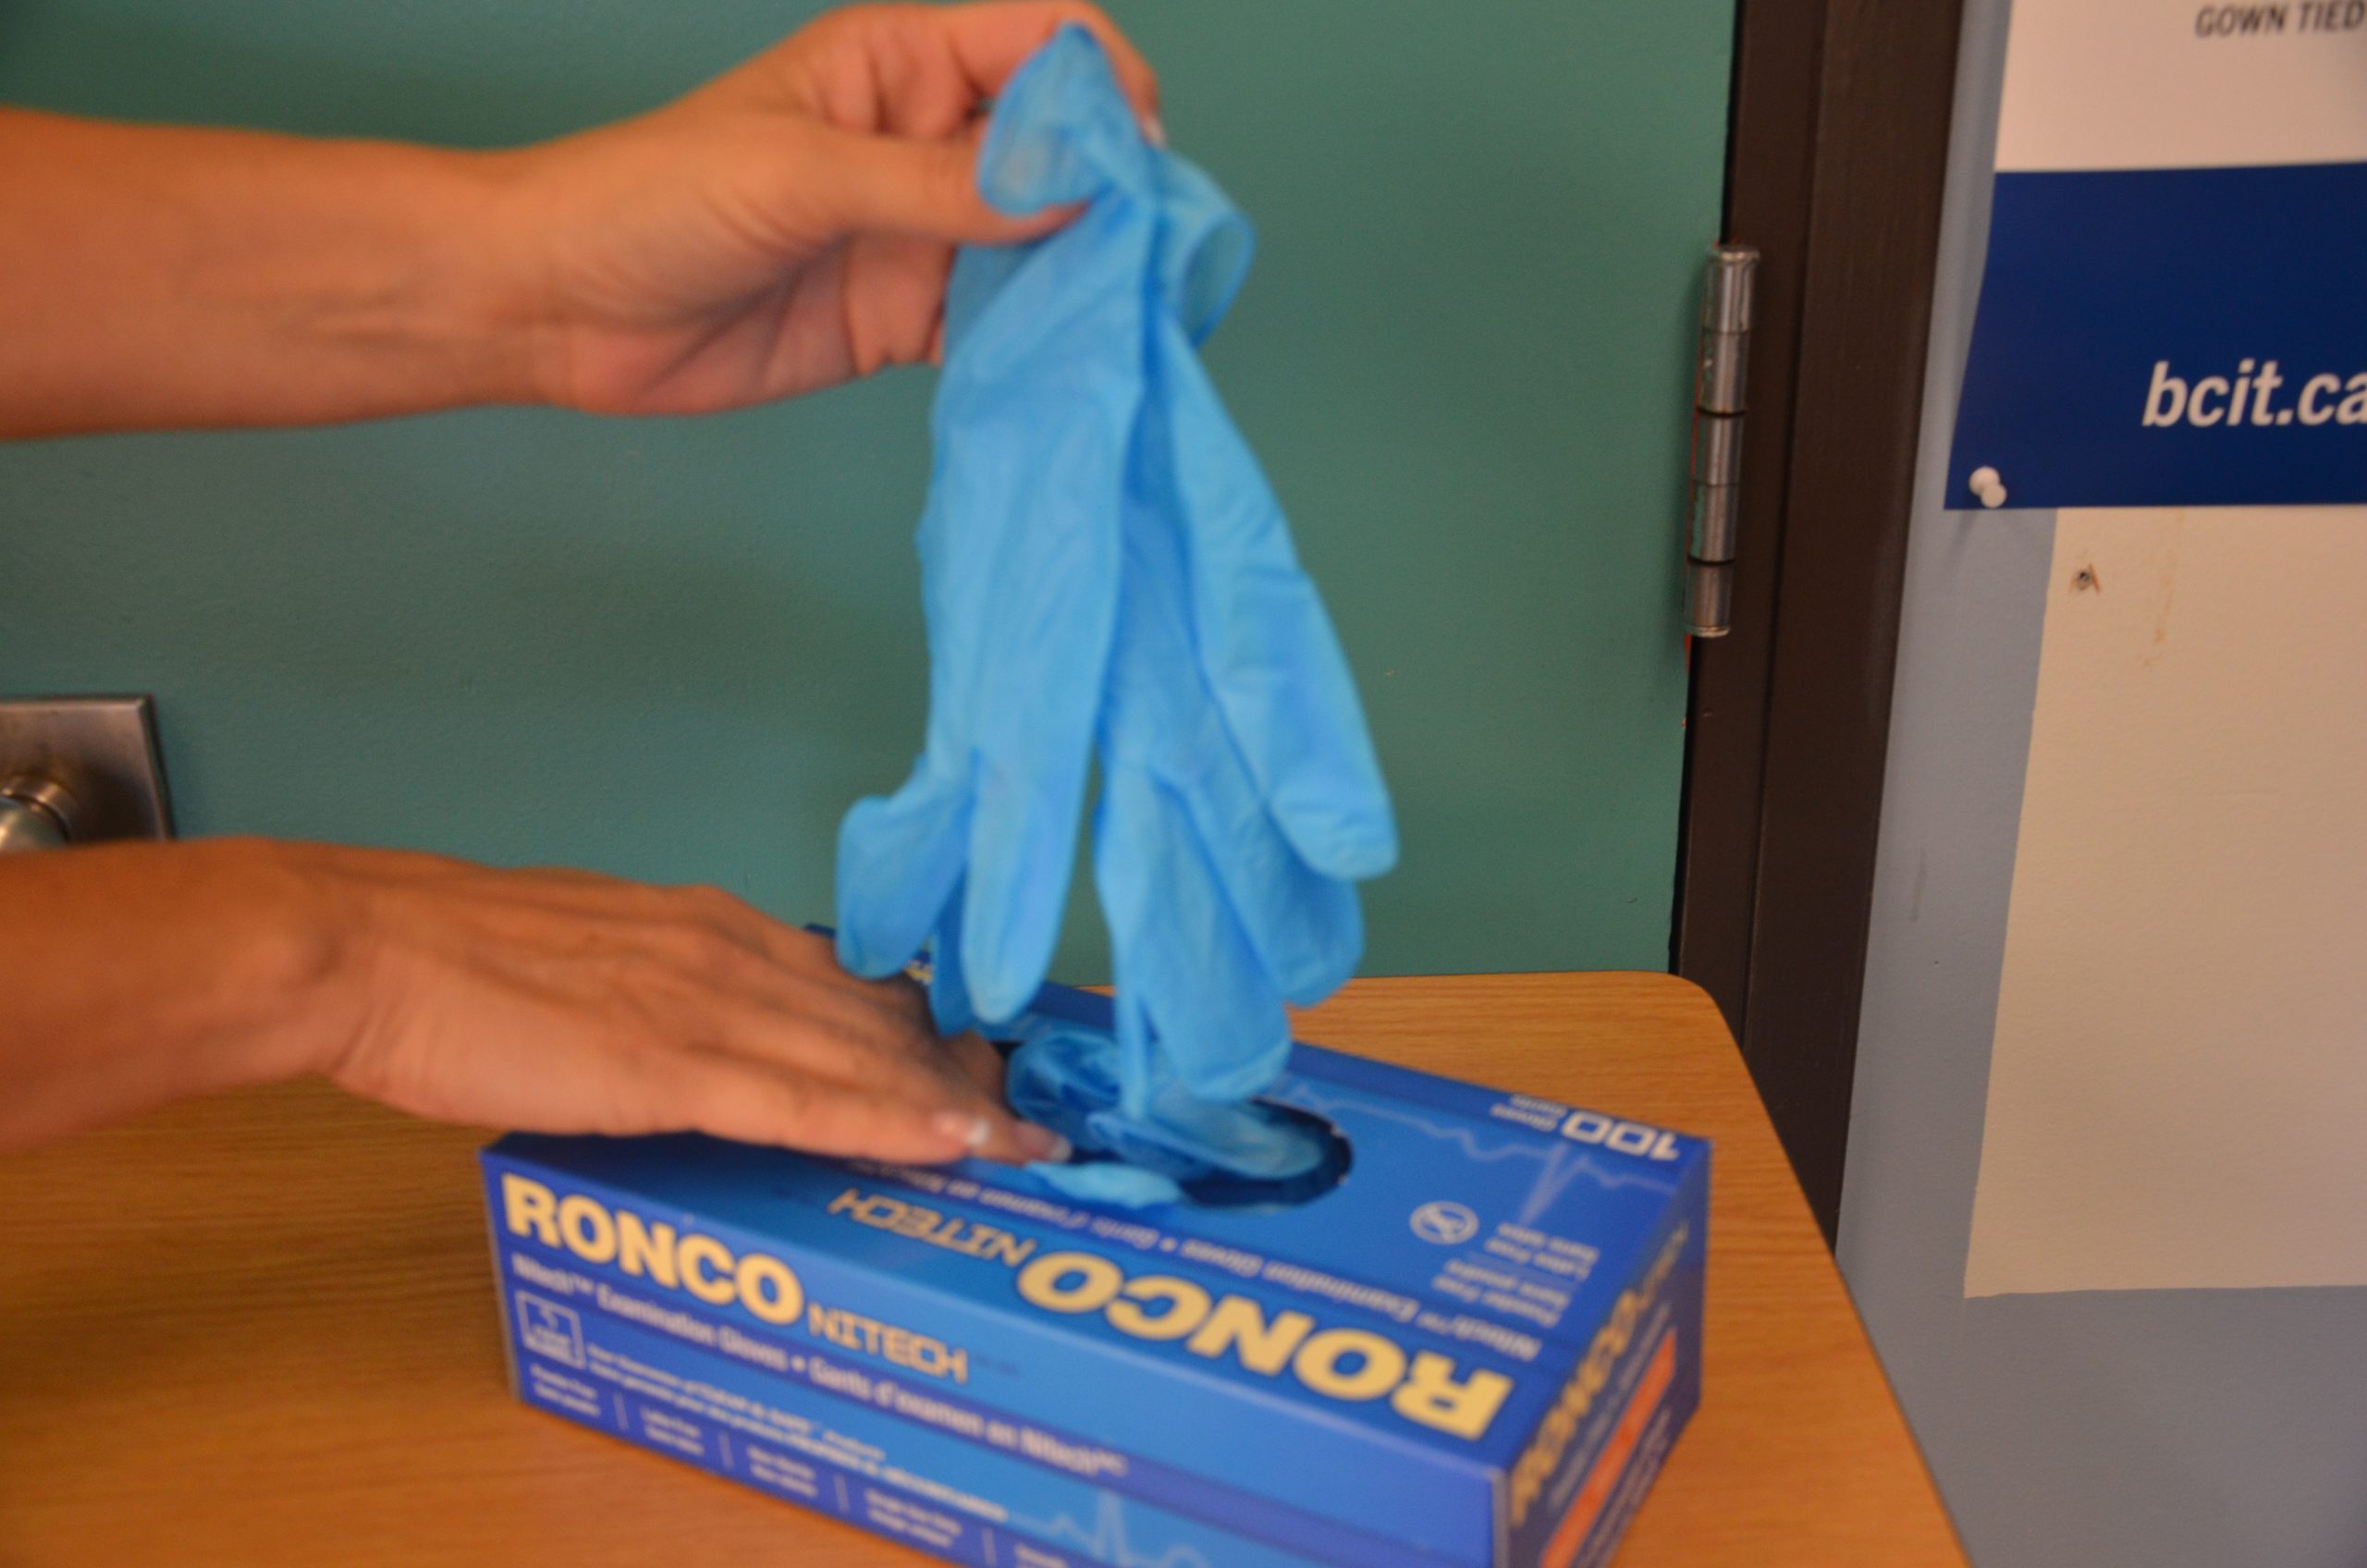
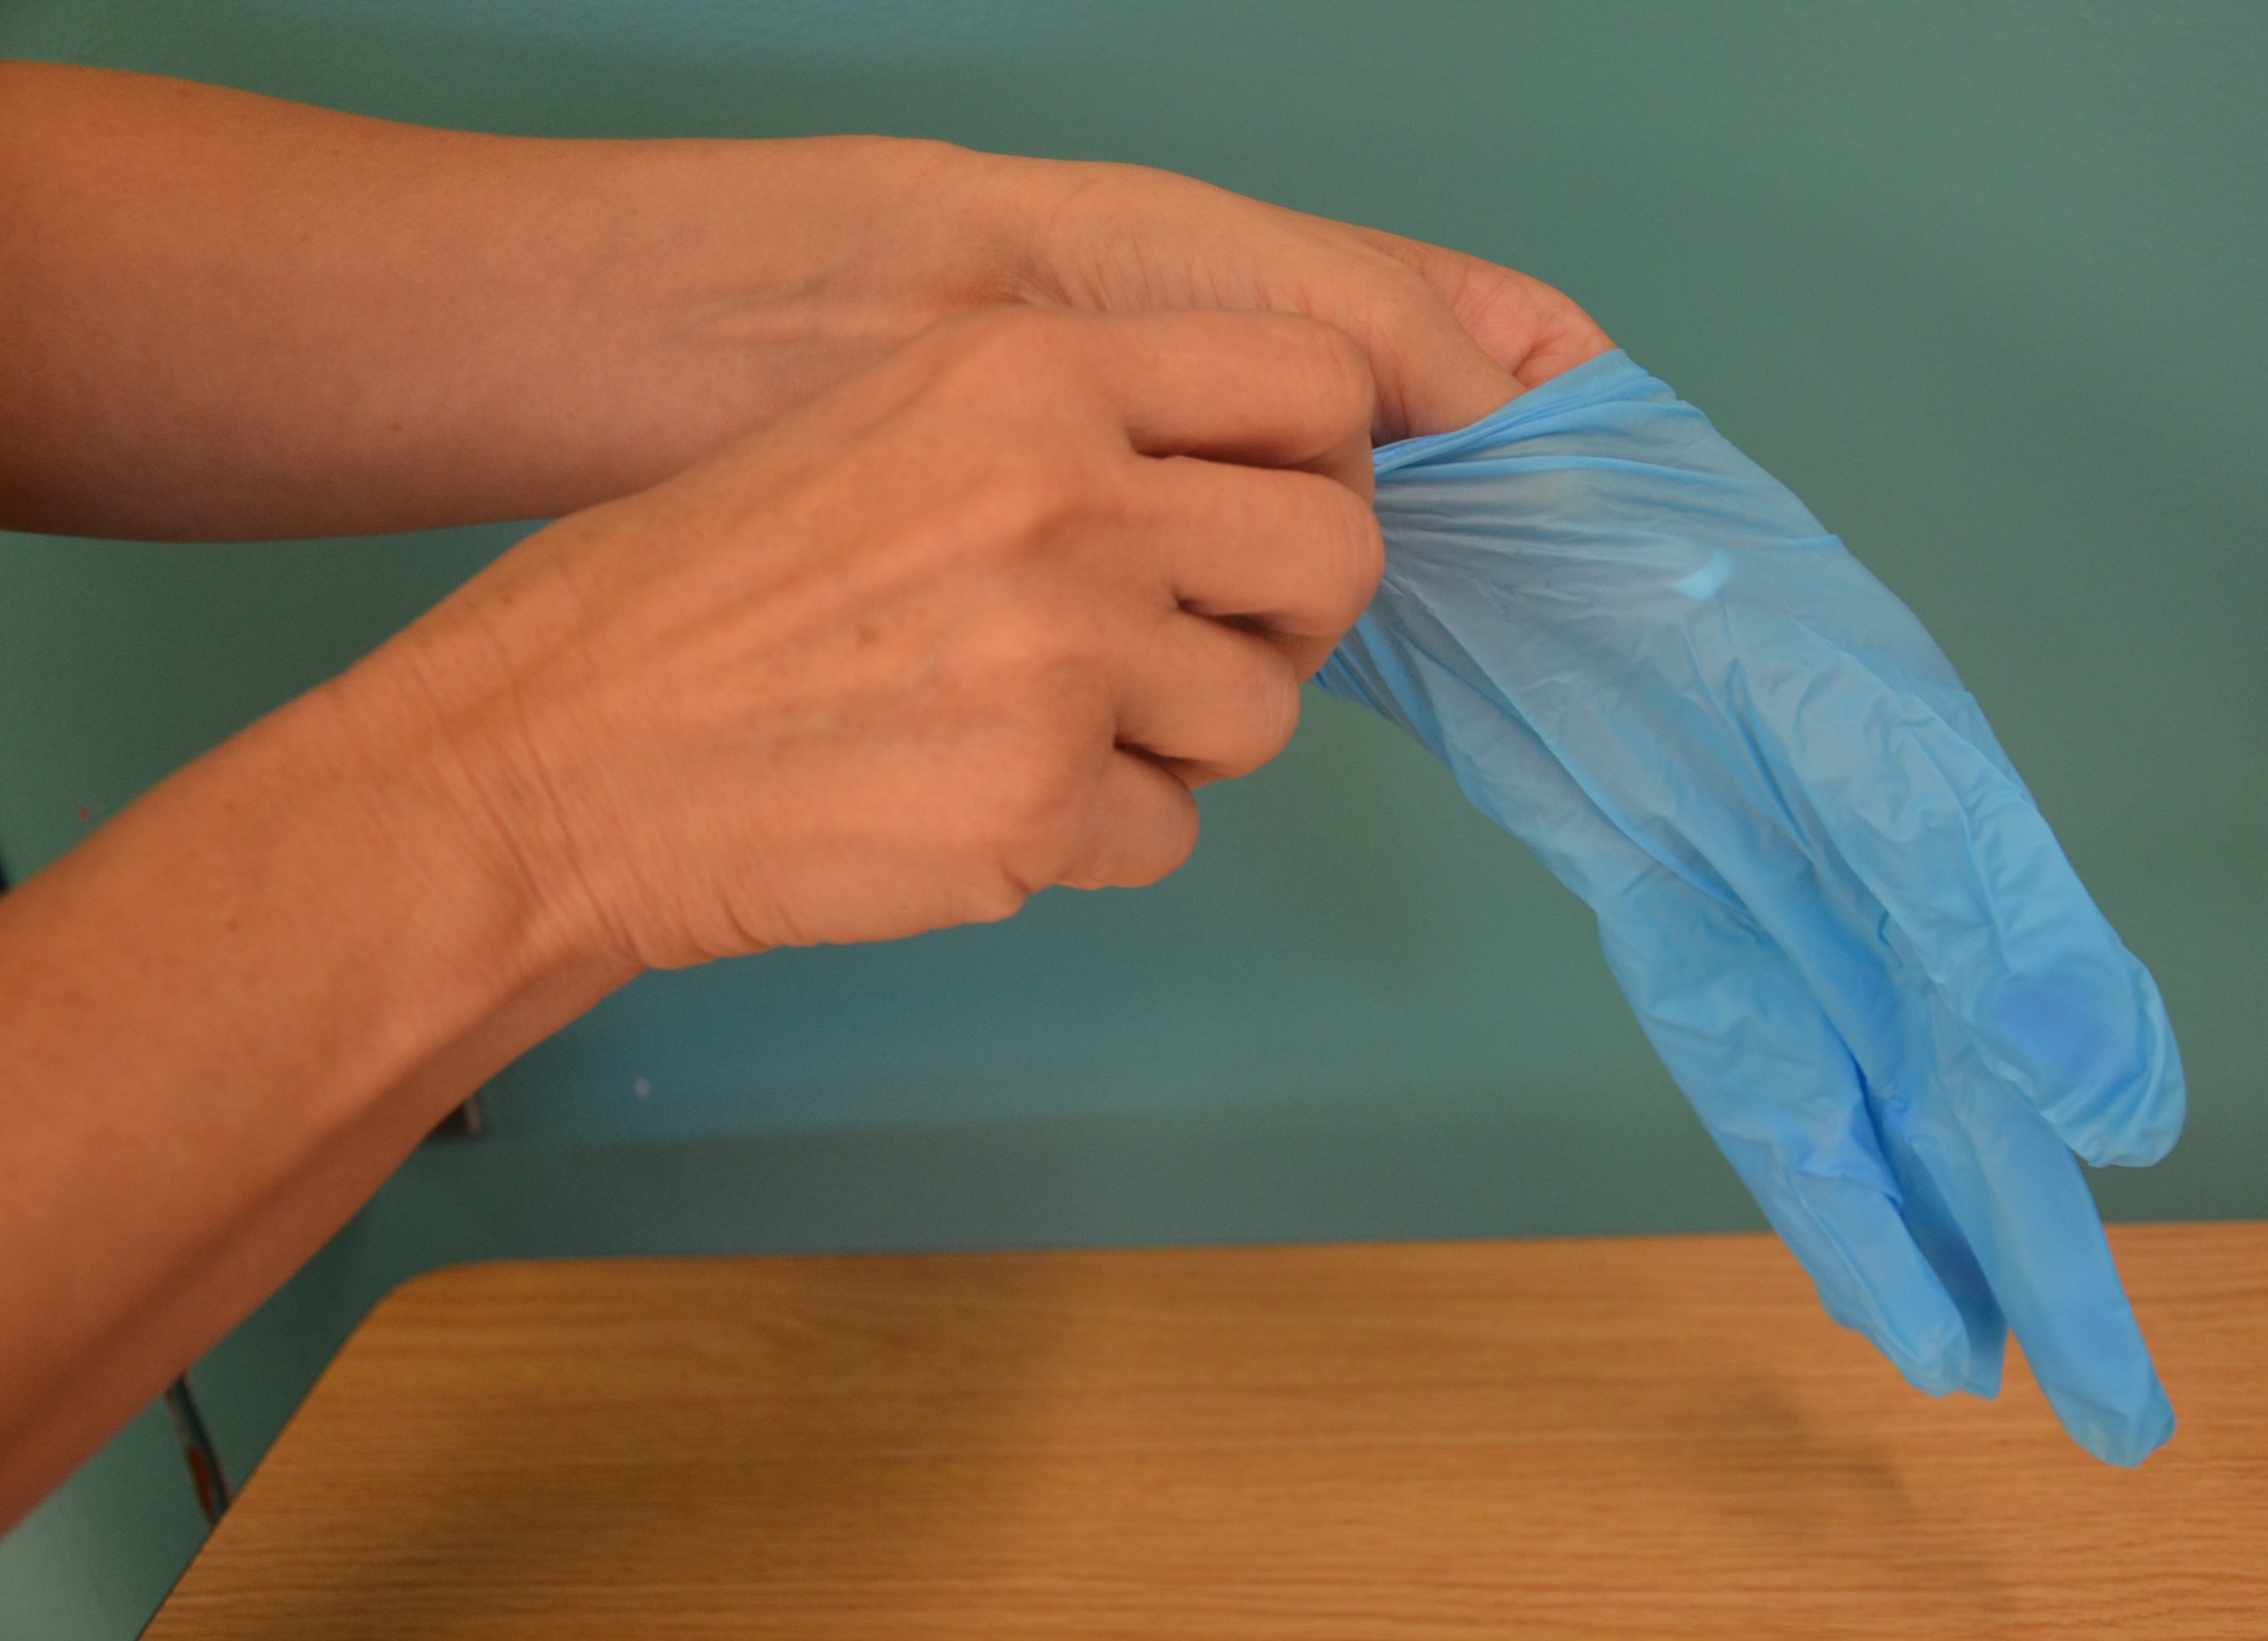
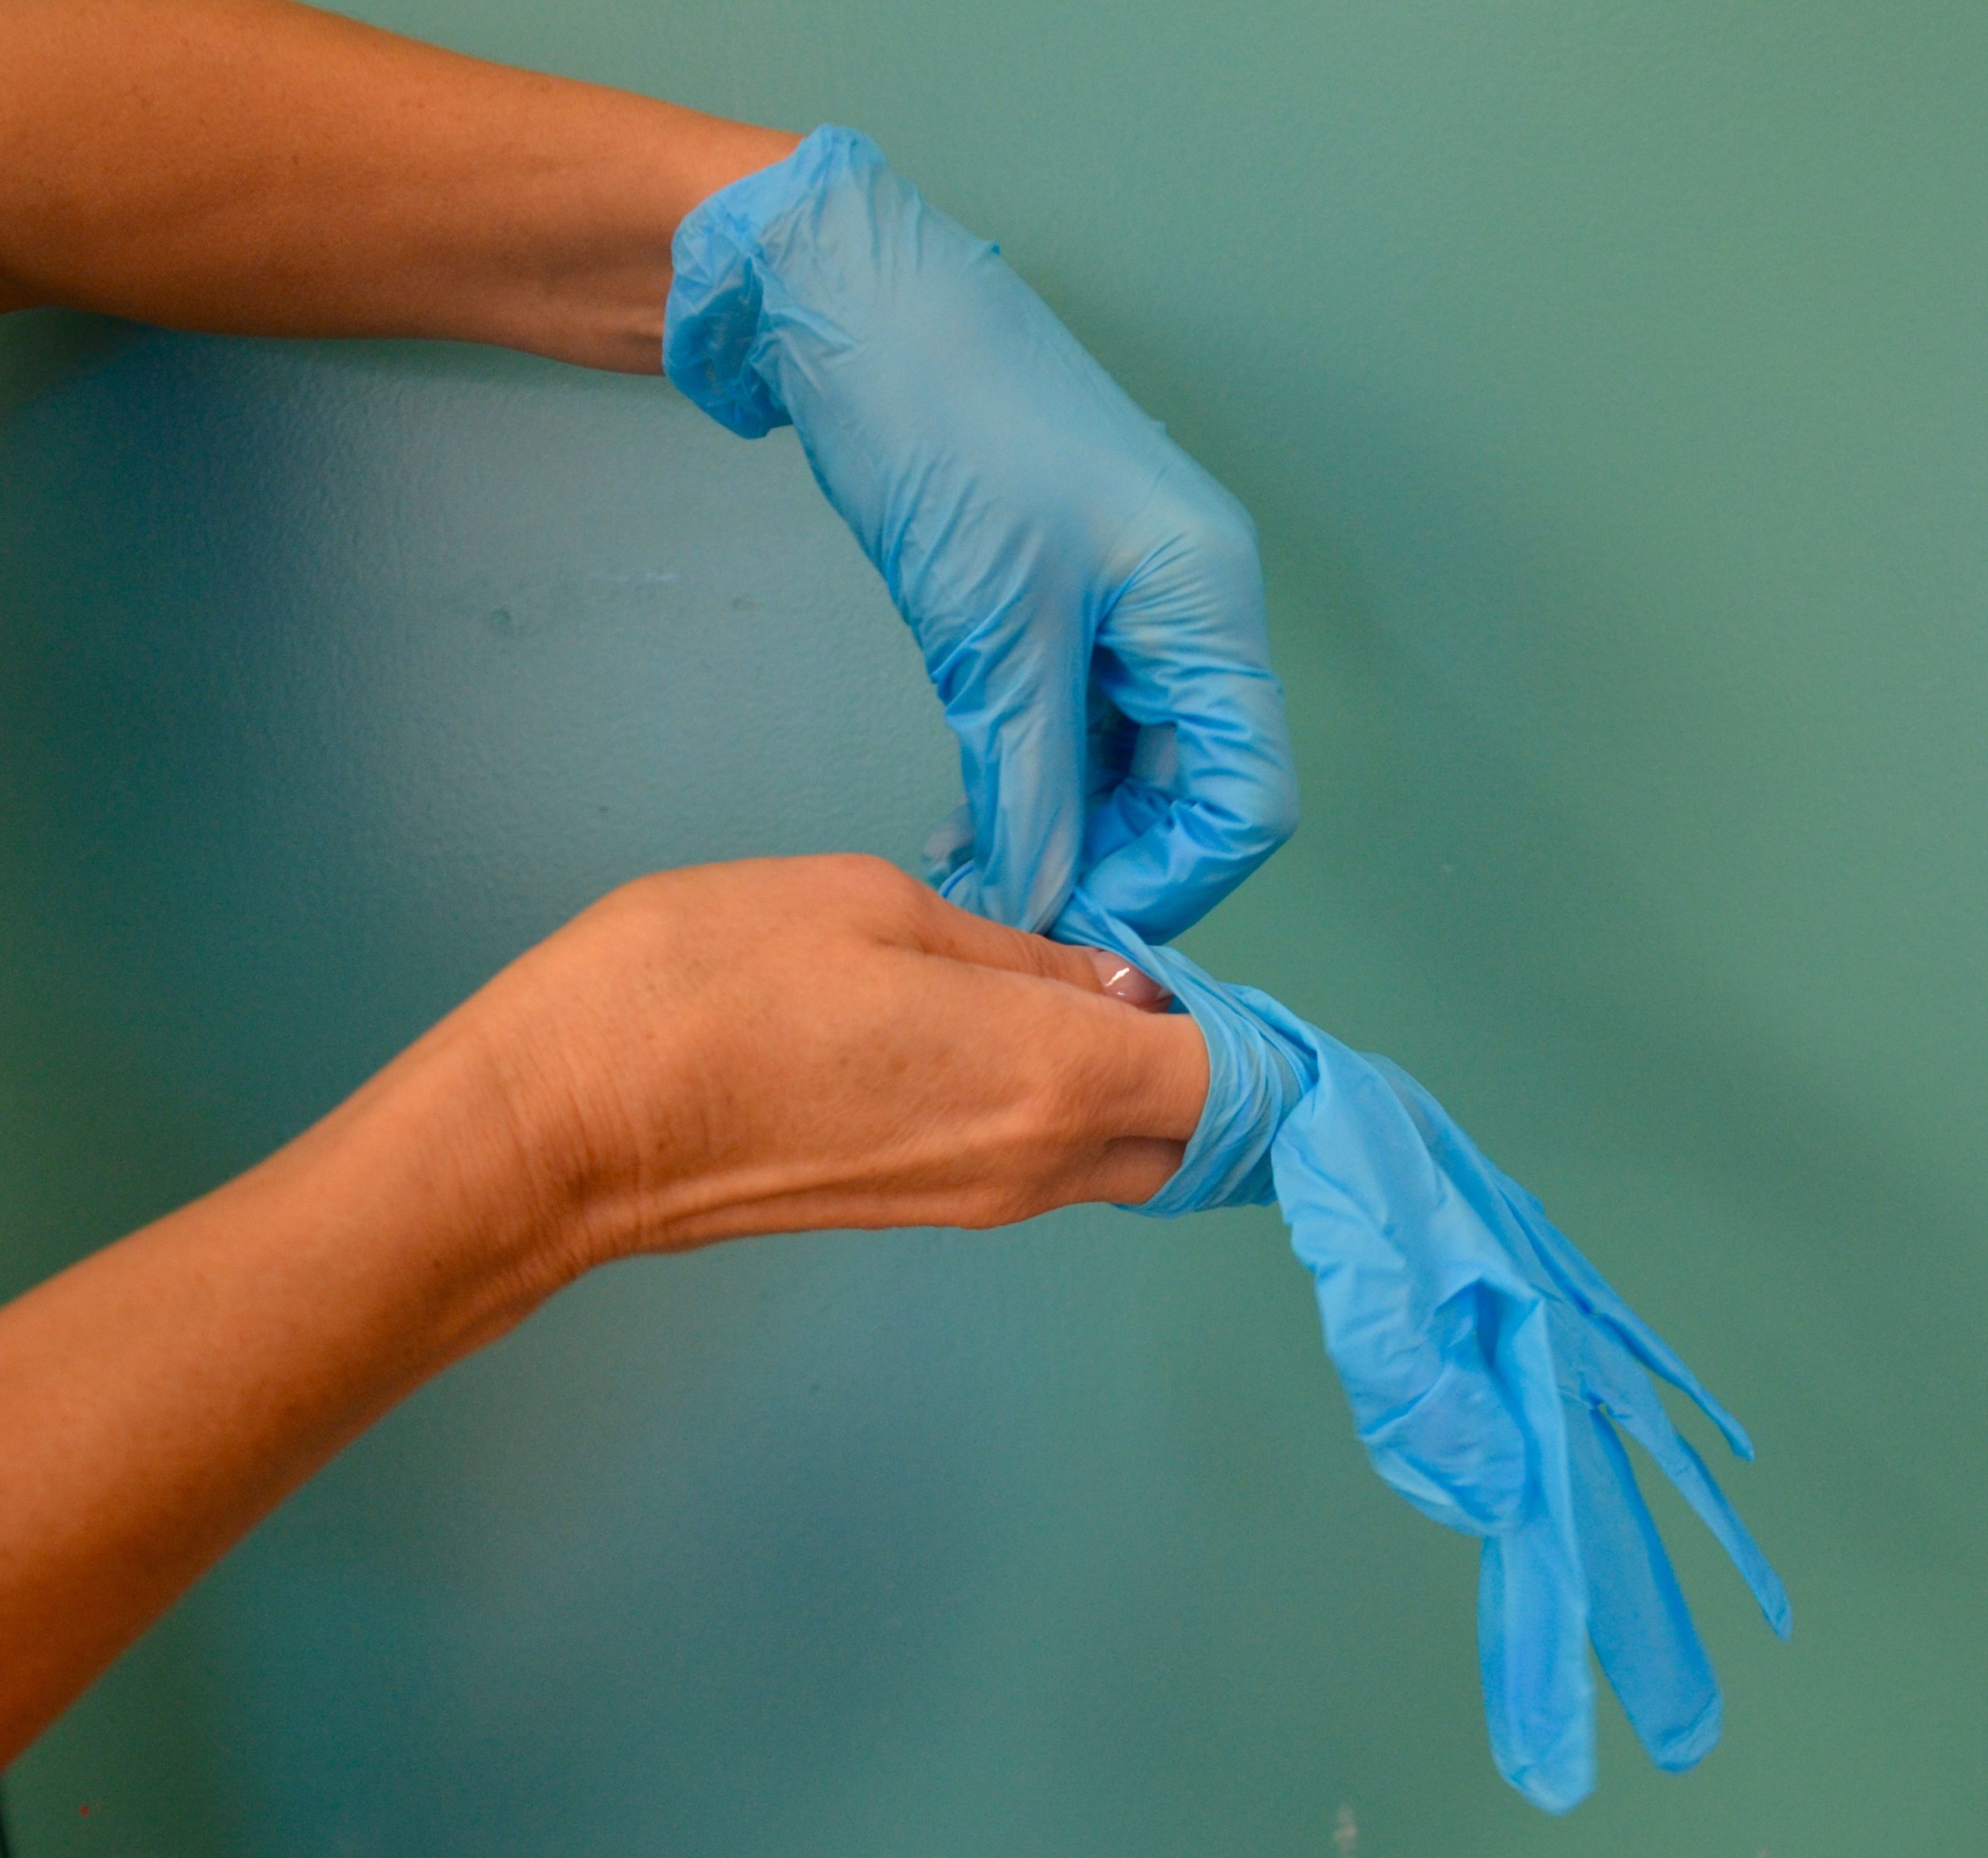
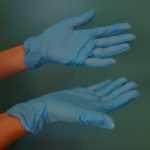
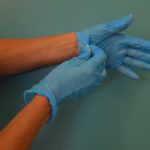
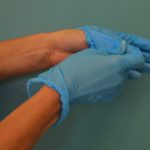
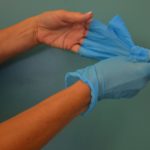
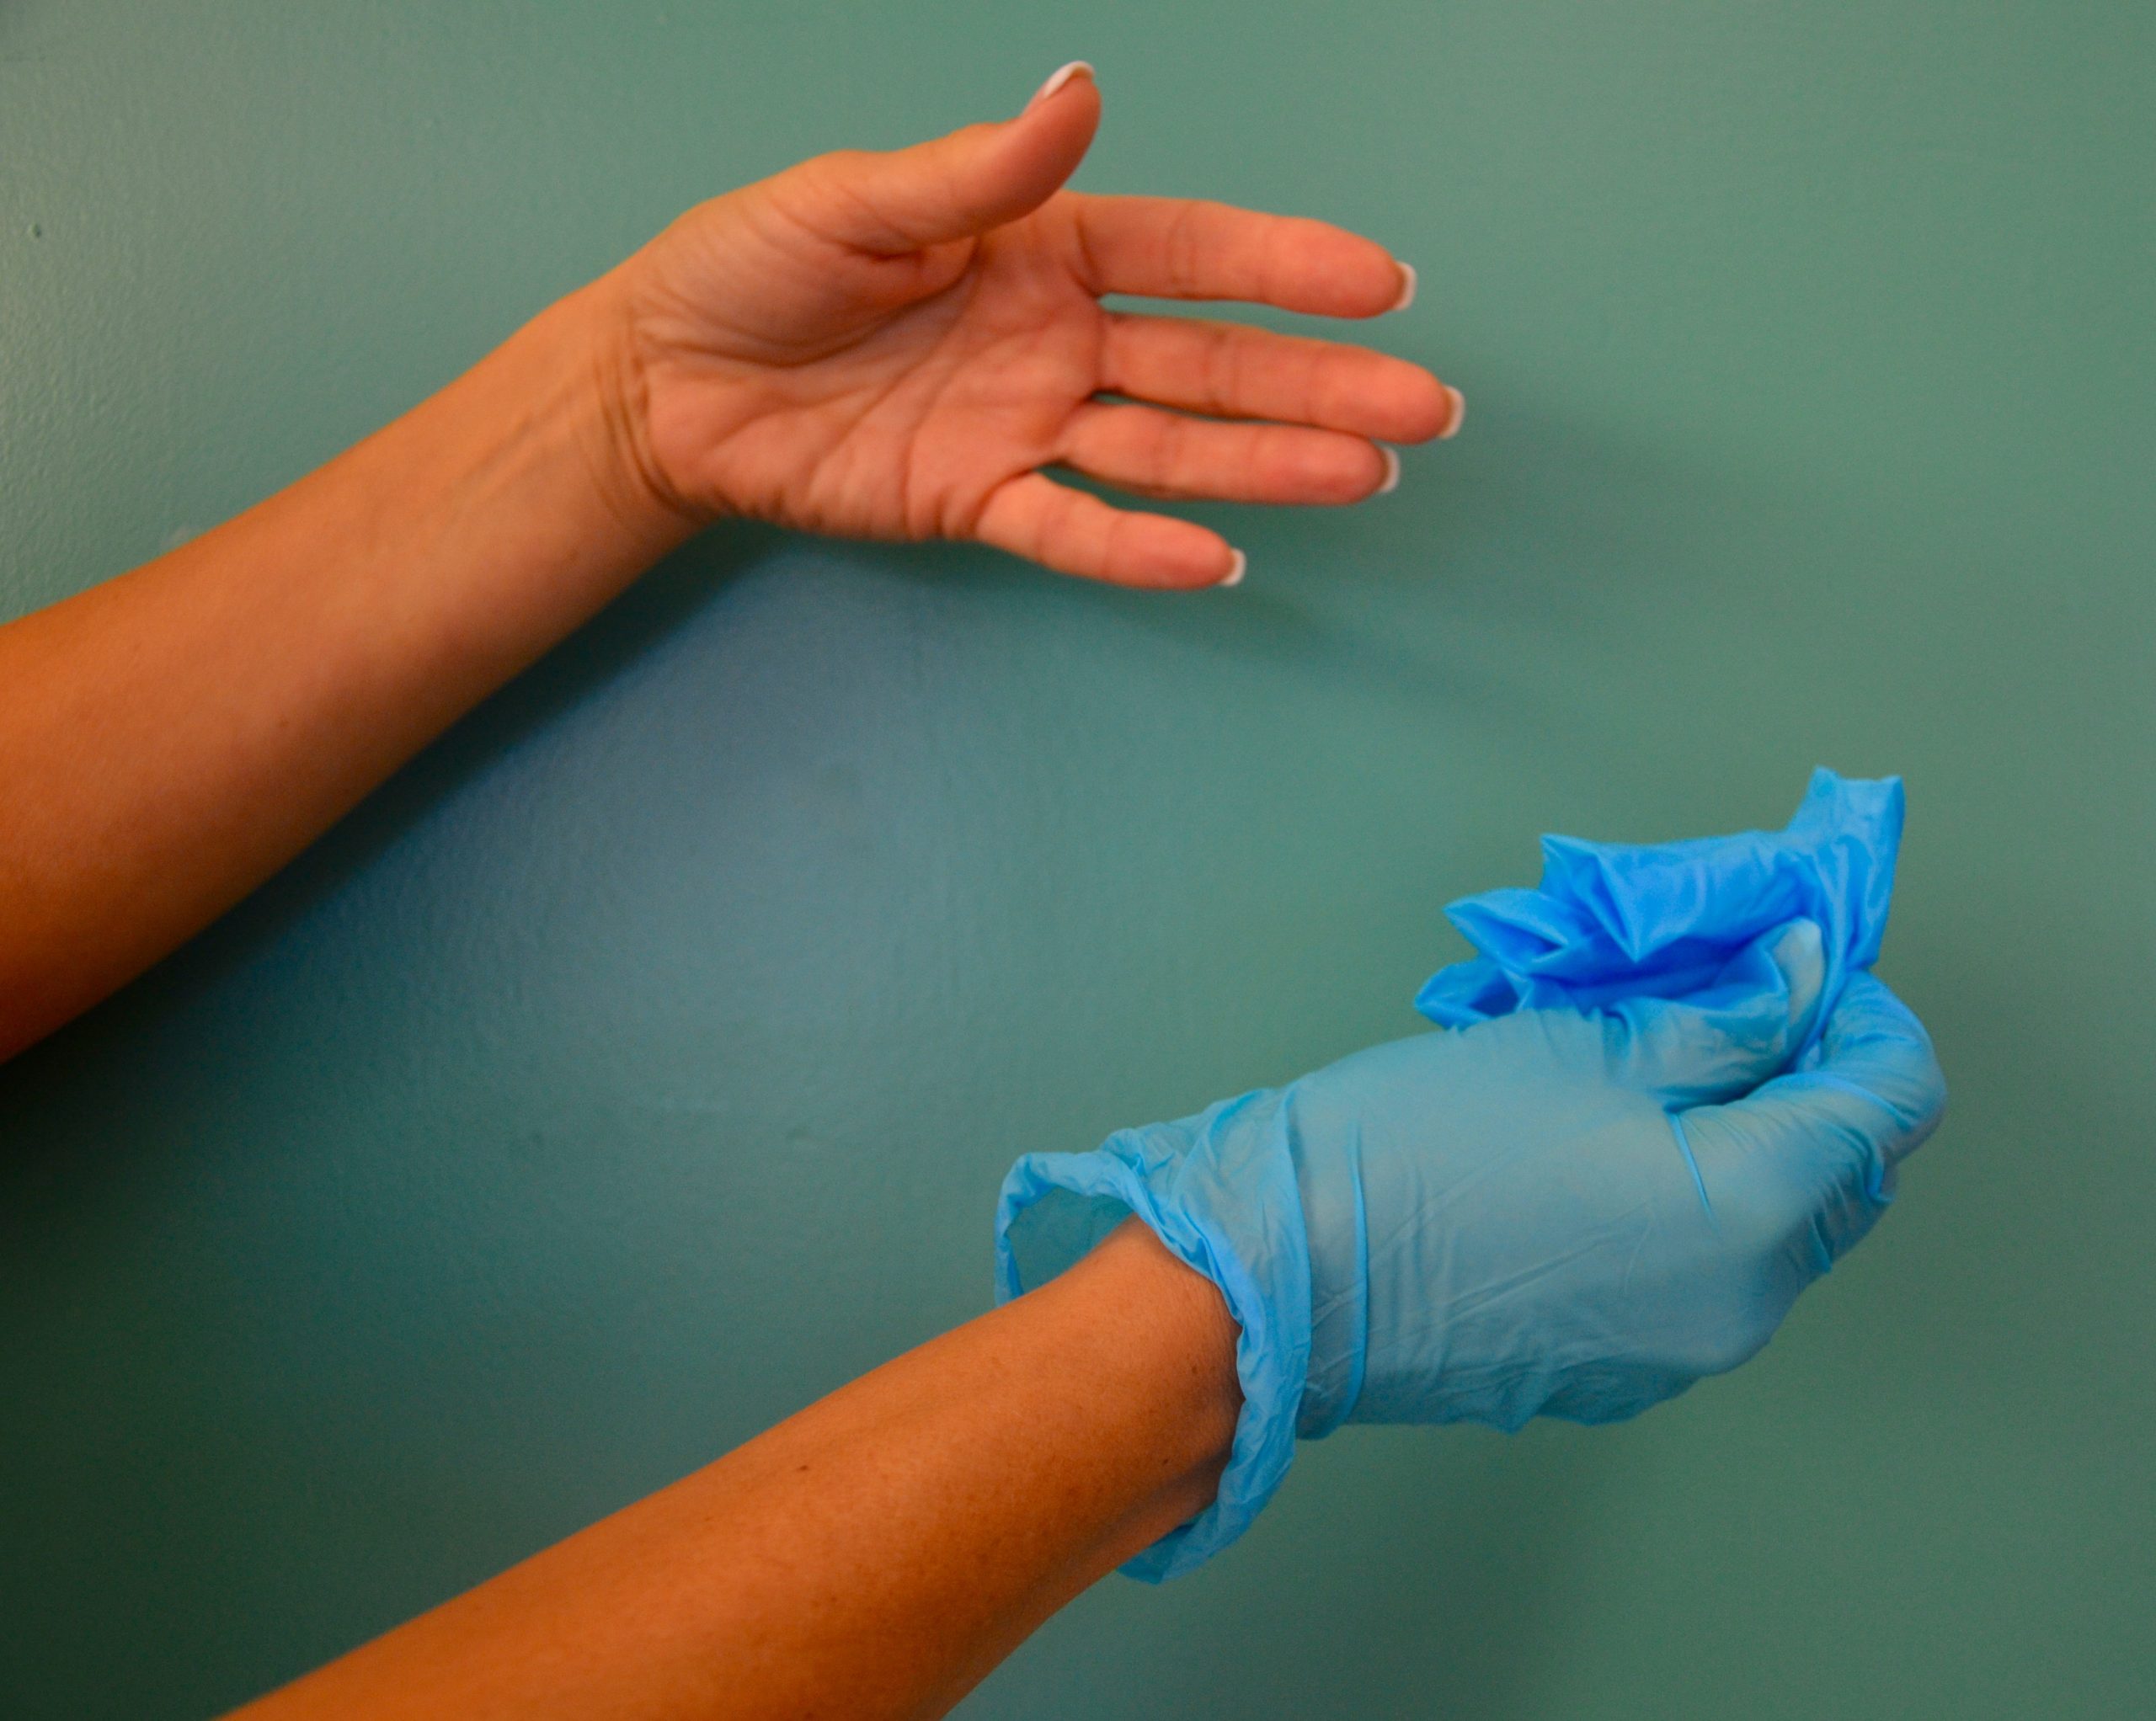
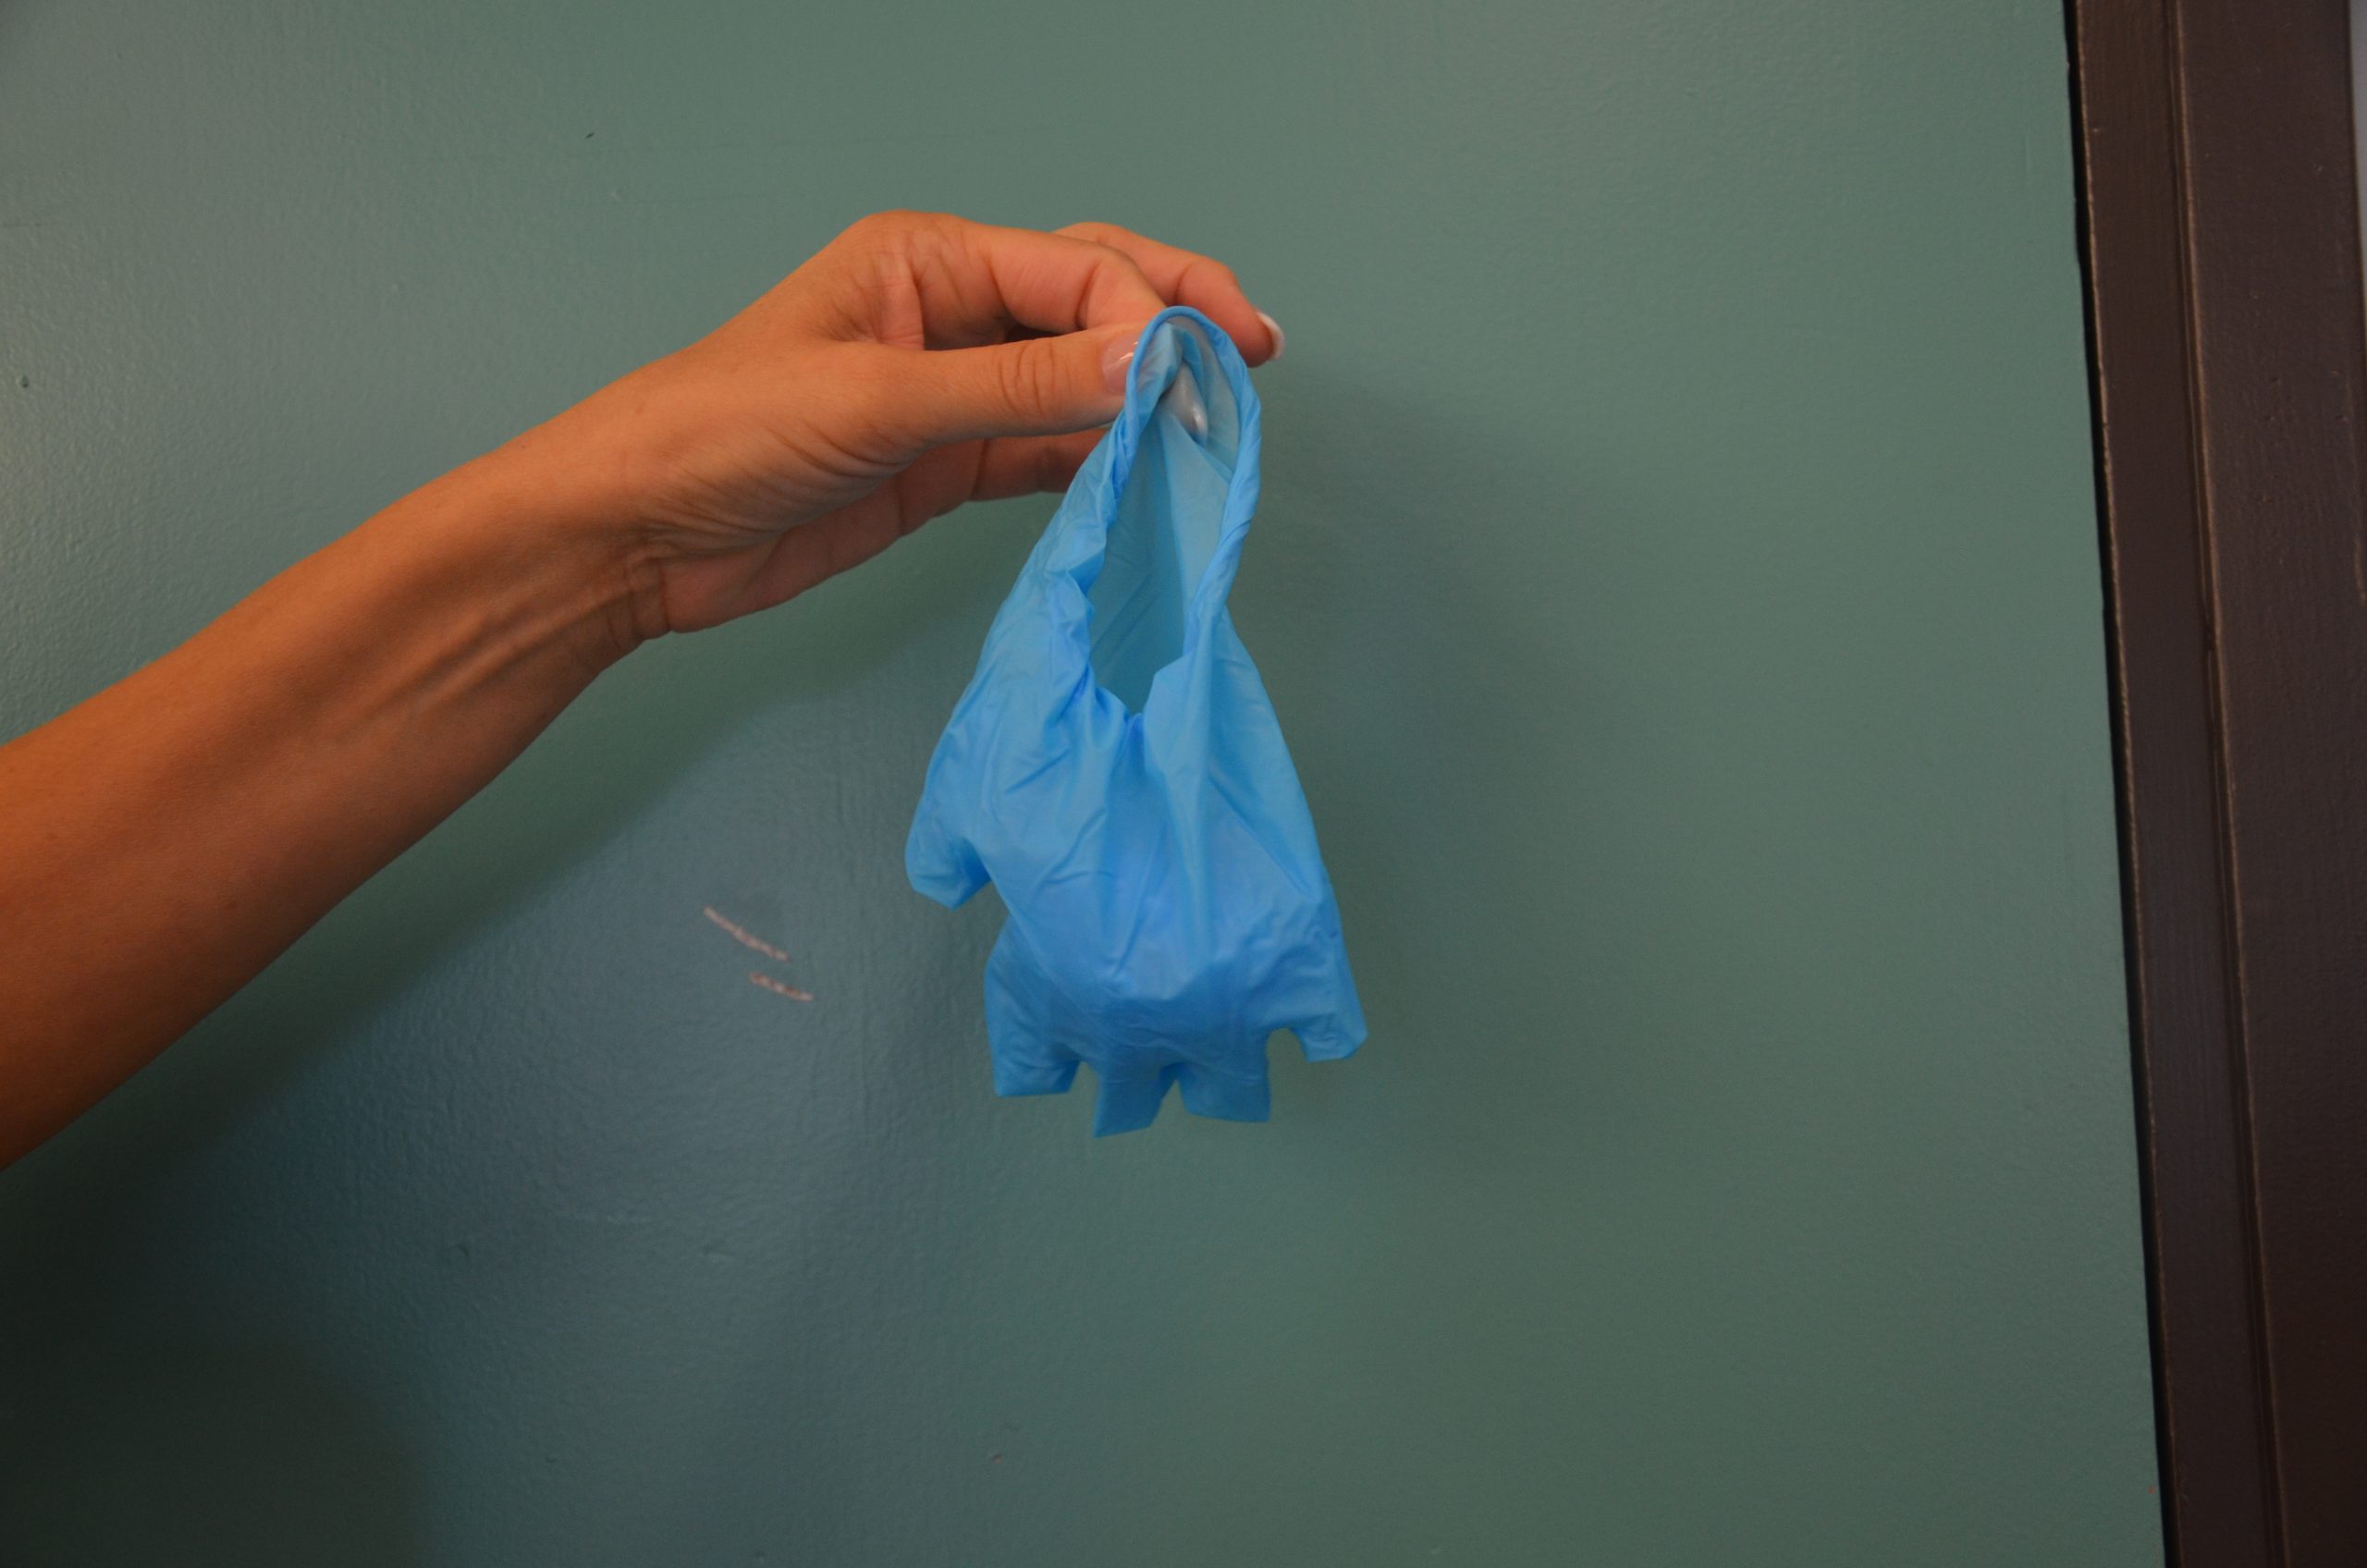
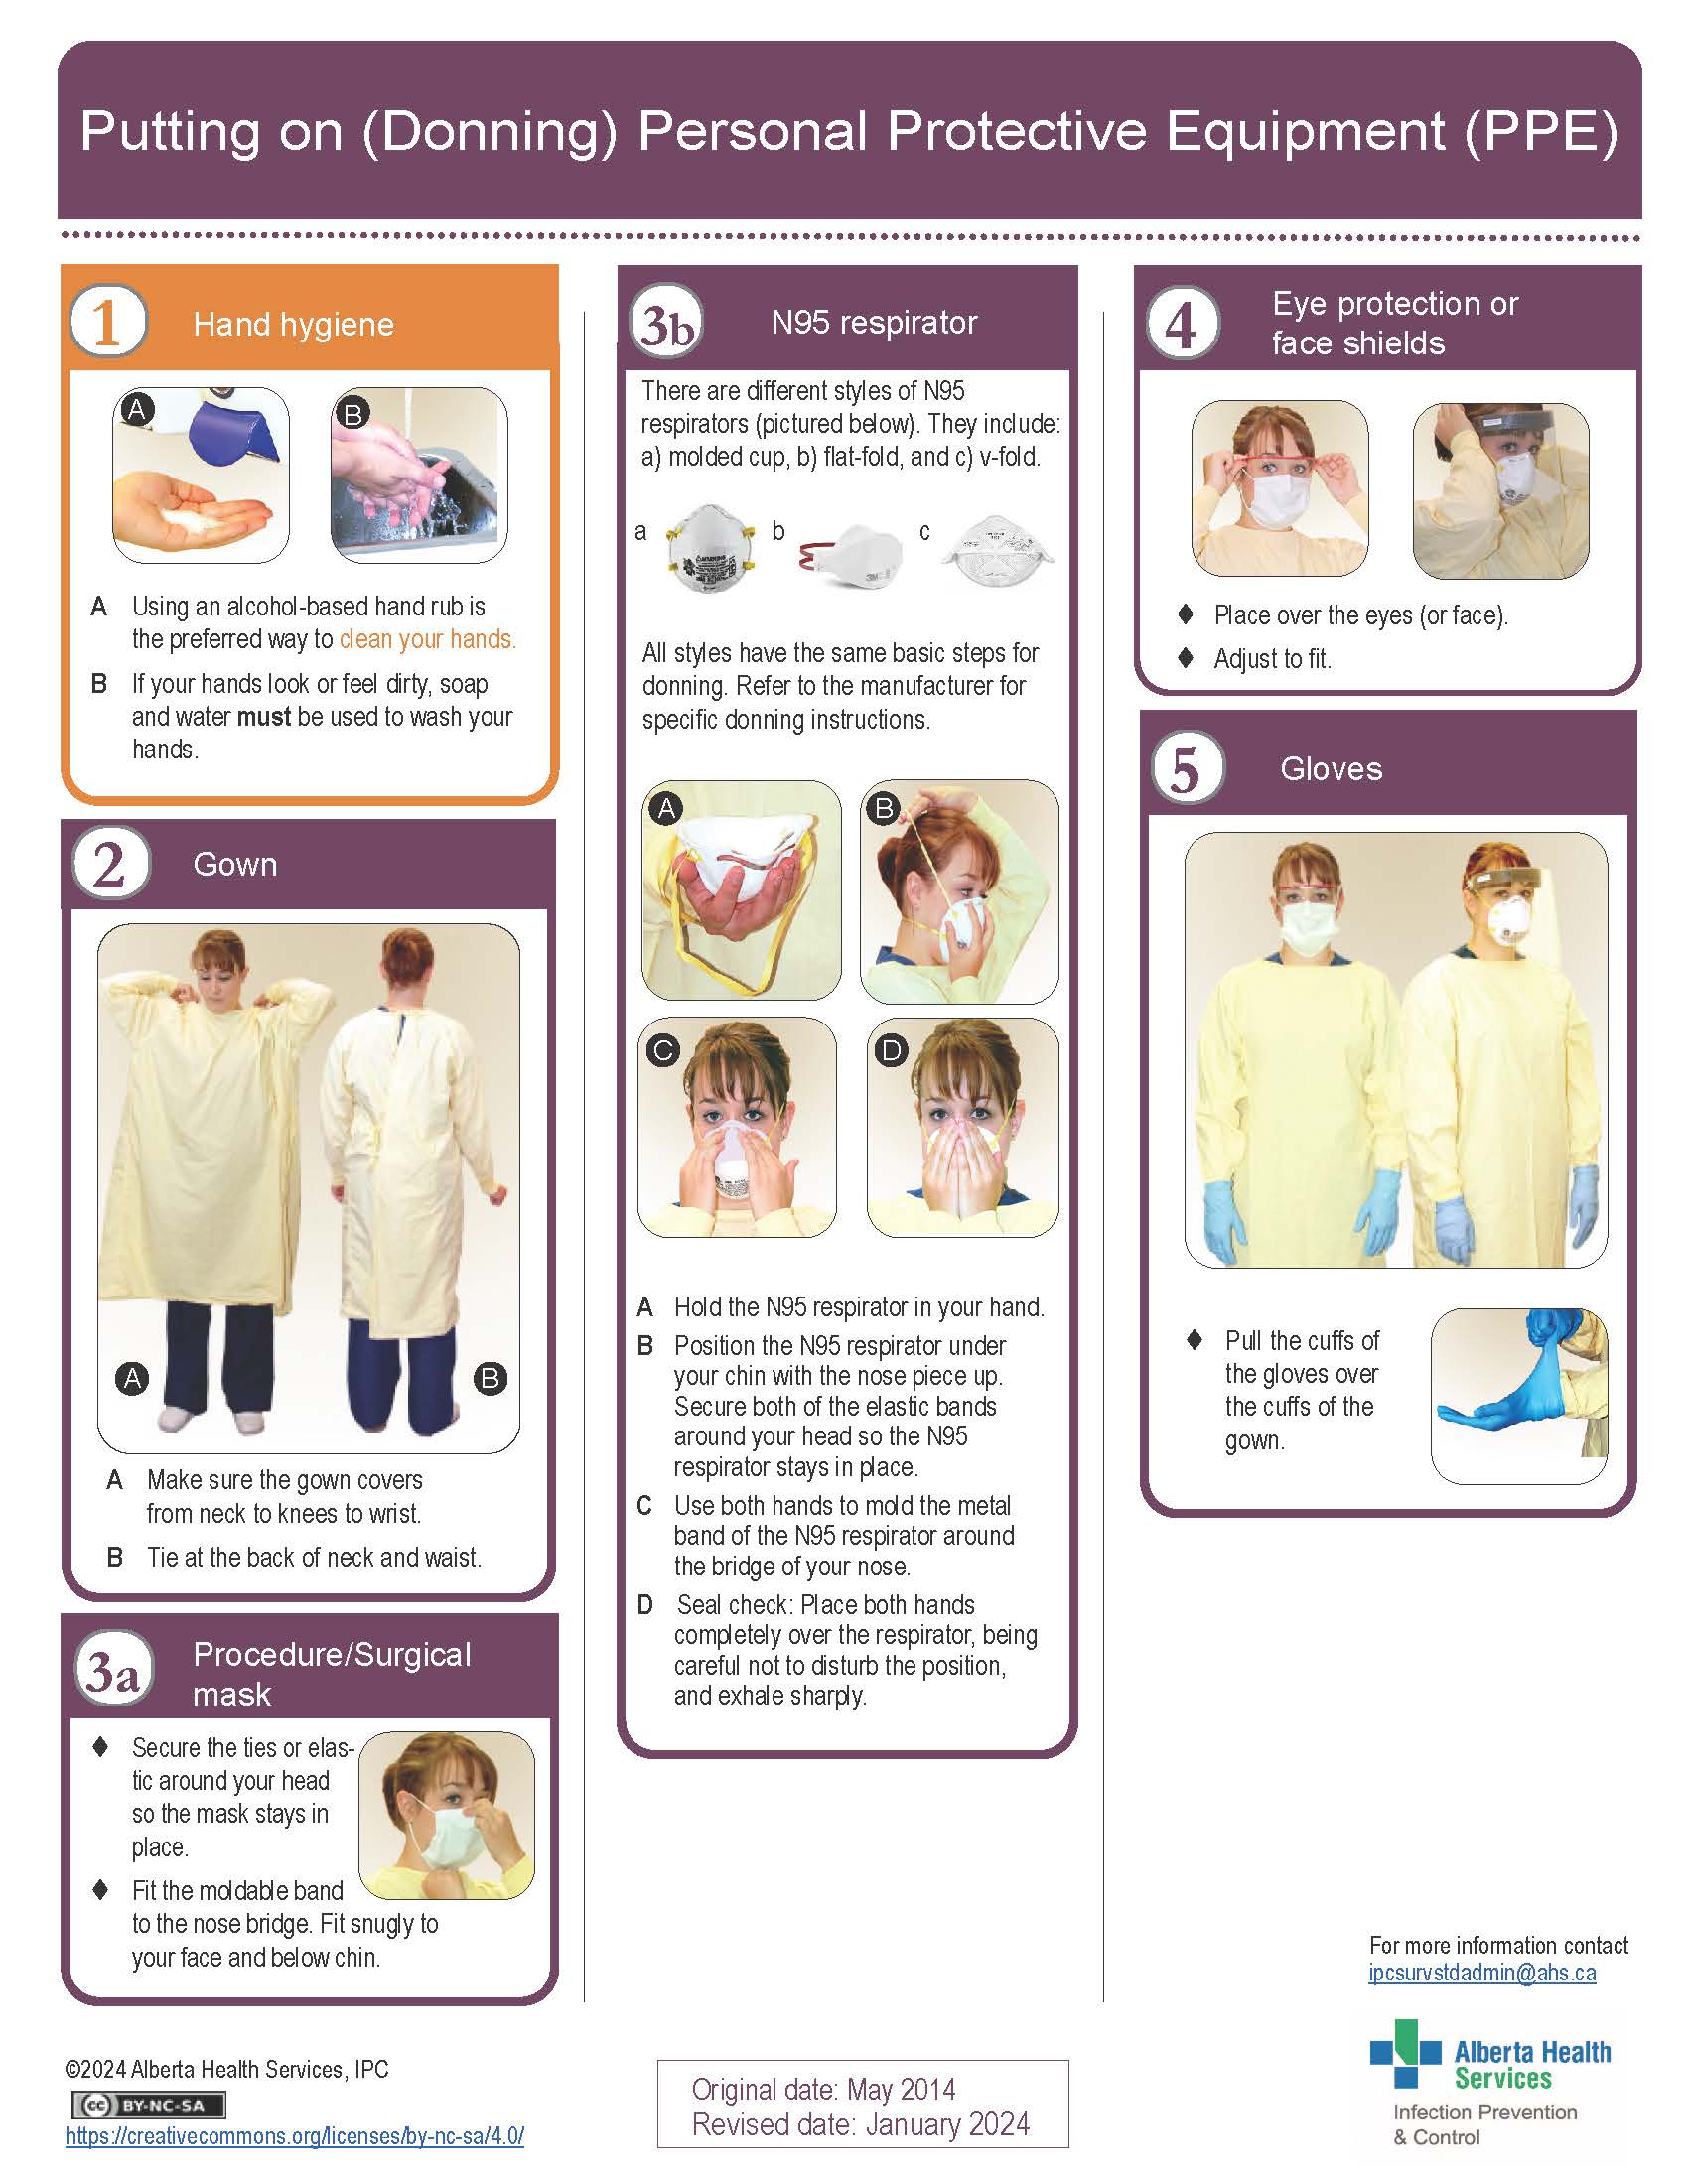
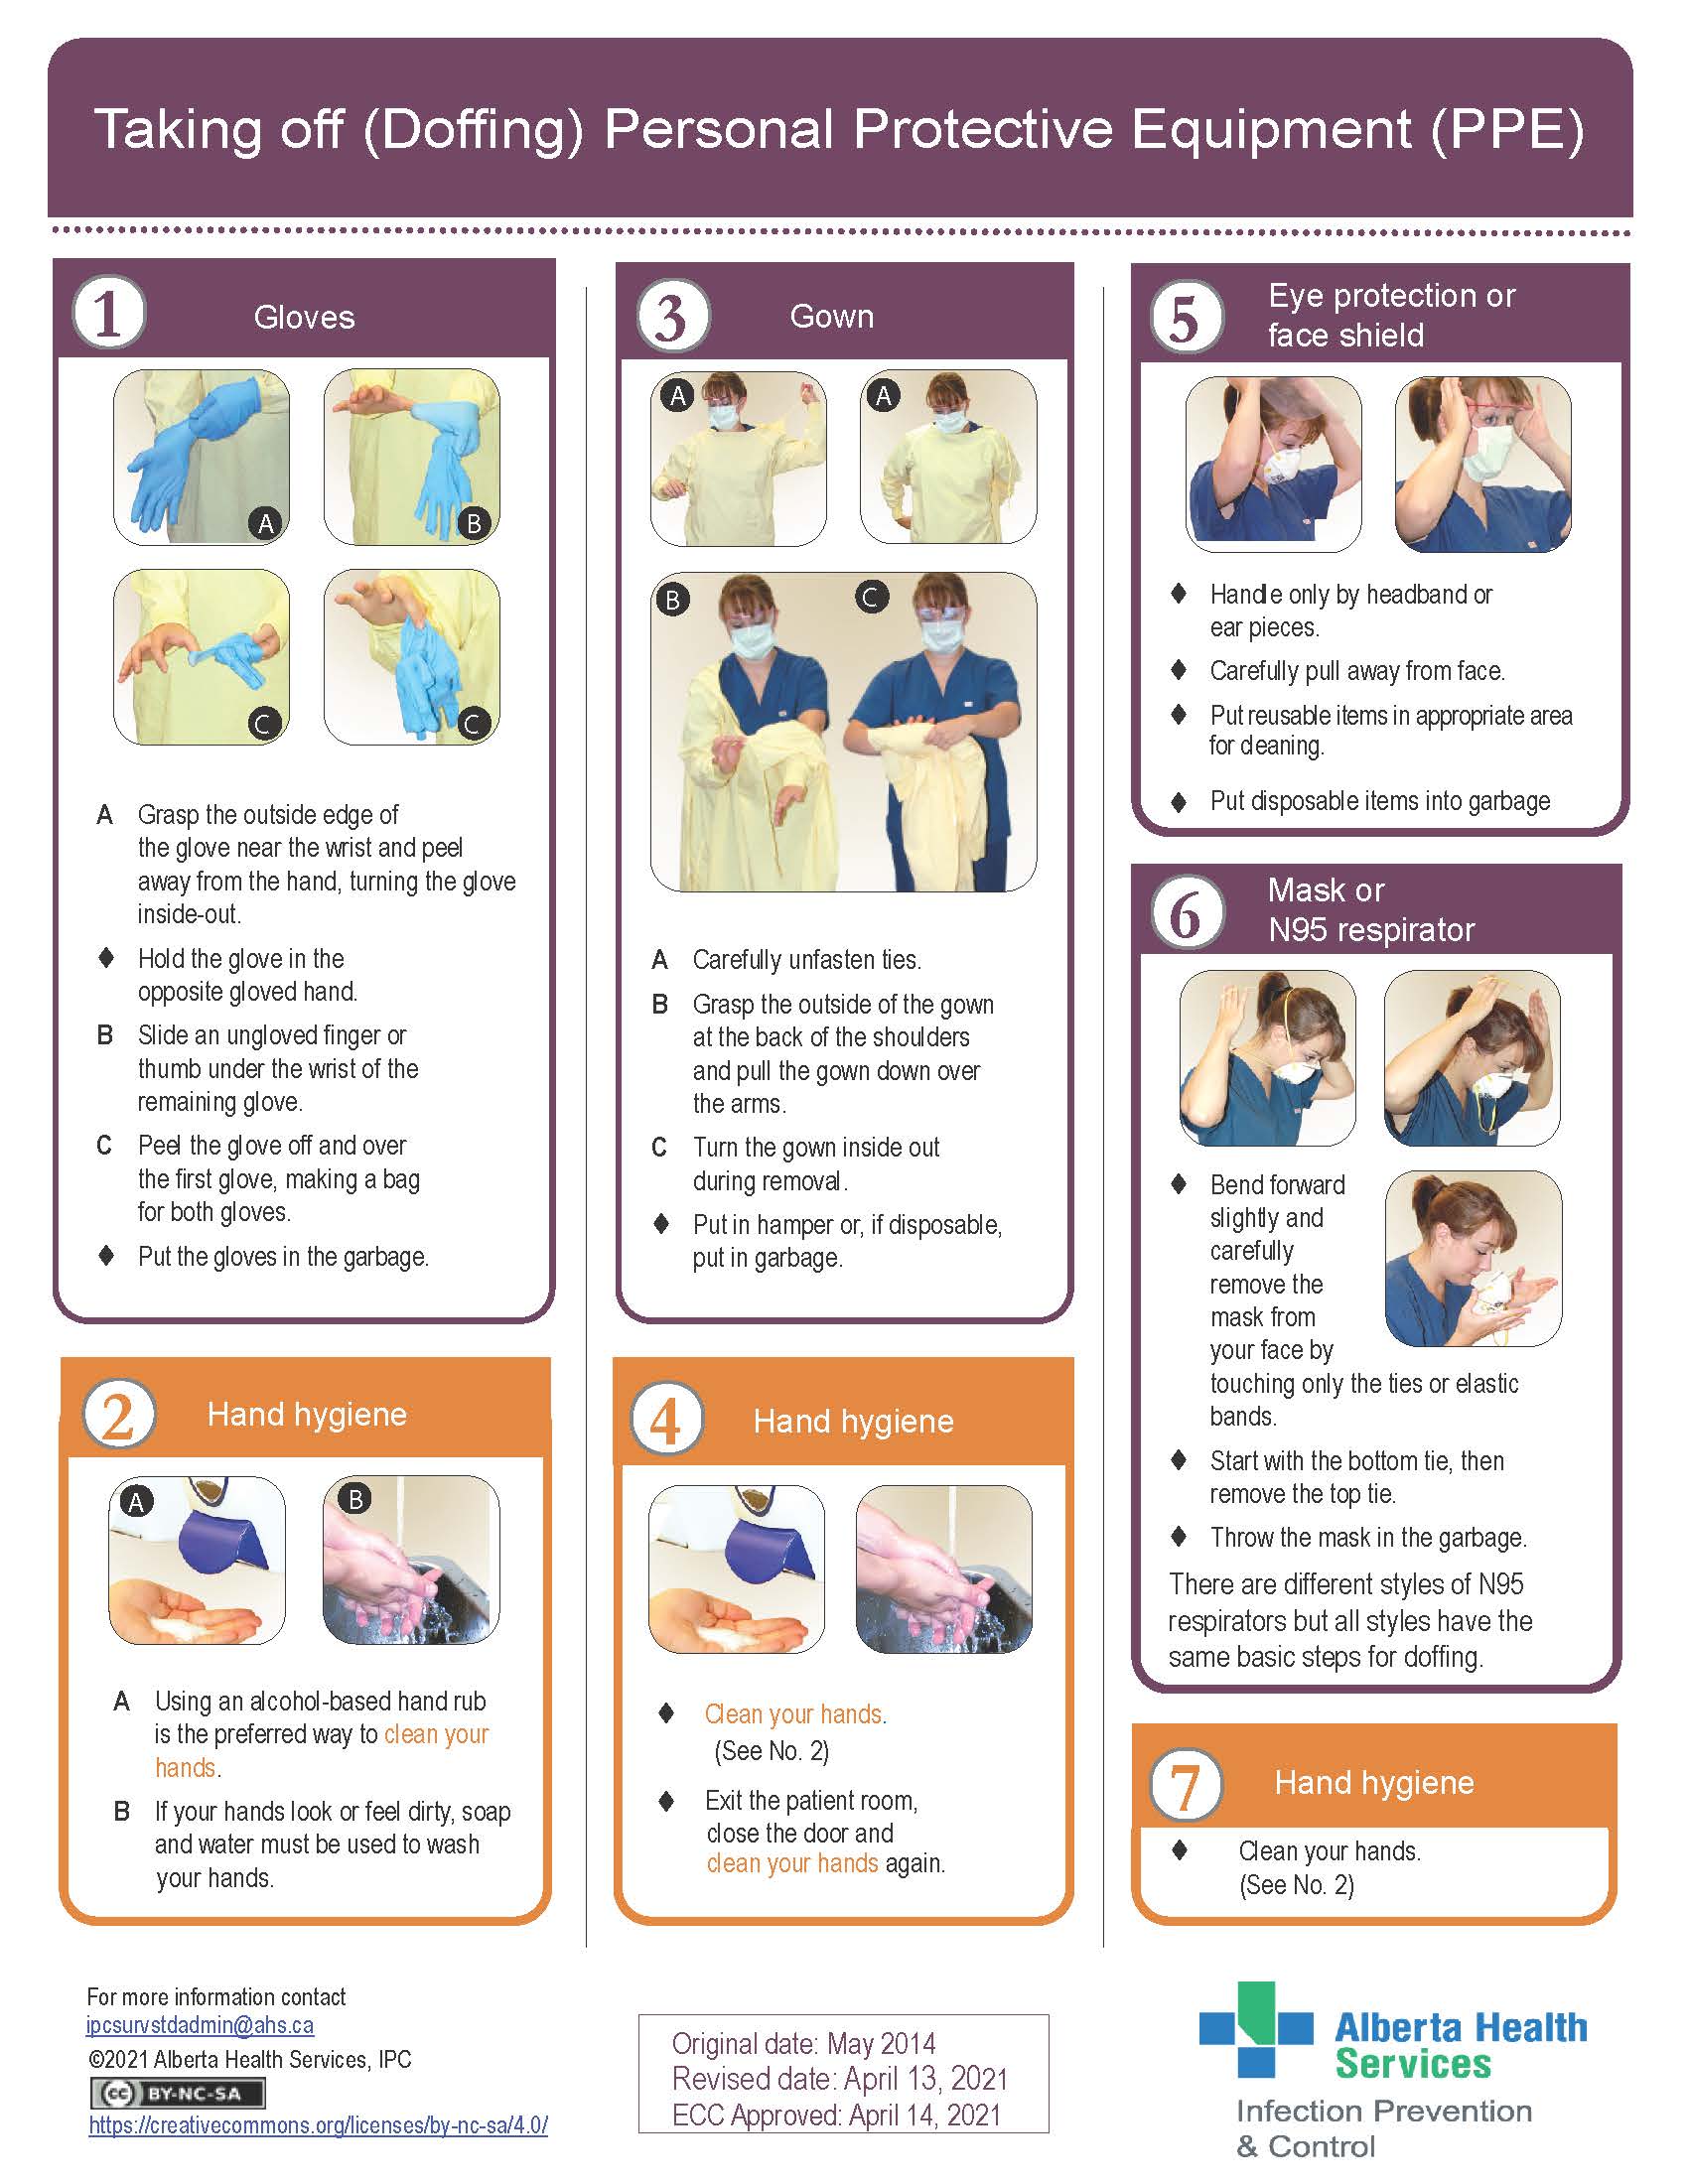
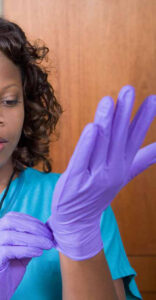
- Personal protective equipment (PPE)
Clothing or equipment worn to protect against hazards.
- Pneumonia
An infection of the lungs caused by viruses, bacteria, or fungi.
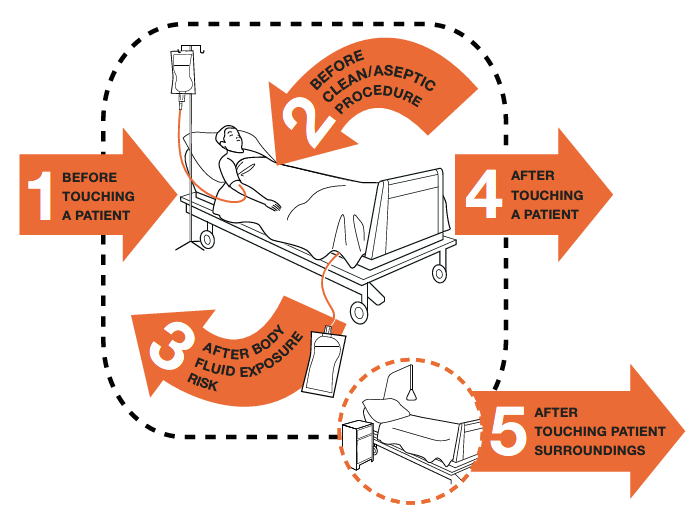
- Point-of-care-risk assessment (PCRA)
Part of routine practice should be conducted by a health care provider before every client interaction to assess the likelihood of exposing themselves and others to infectious agents. This assessment informs the selection of appropriate actions and additional personal protective equipment to minimize the risk of exposure to infection.
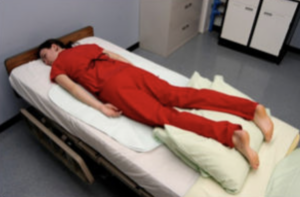
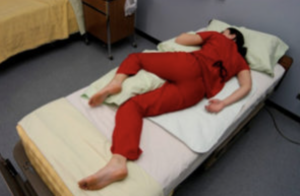
- Prone position
When the client lies on their stomach with the head turned to one side.
- Pulmonary aspiration
A condition in which foods, stomach contents, or fluids are breathed into the lungs through the windpipe/trachea.
- Pulse
The beat of the heart that is felt at an artery as blood passes through.
- Pulse equality
Refers to whether the pulse force is similar on both sides of the body.
- Pulse force
The strength of the pulse felt by your fingers.
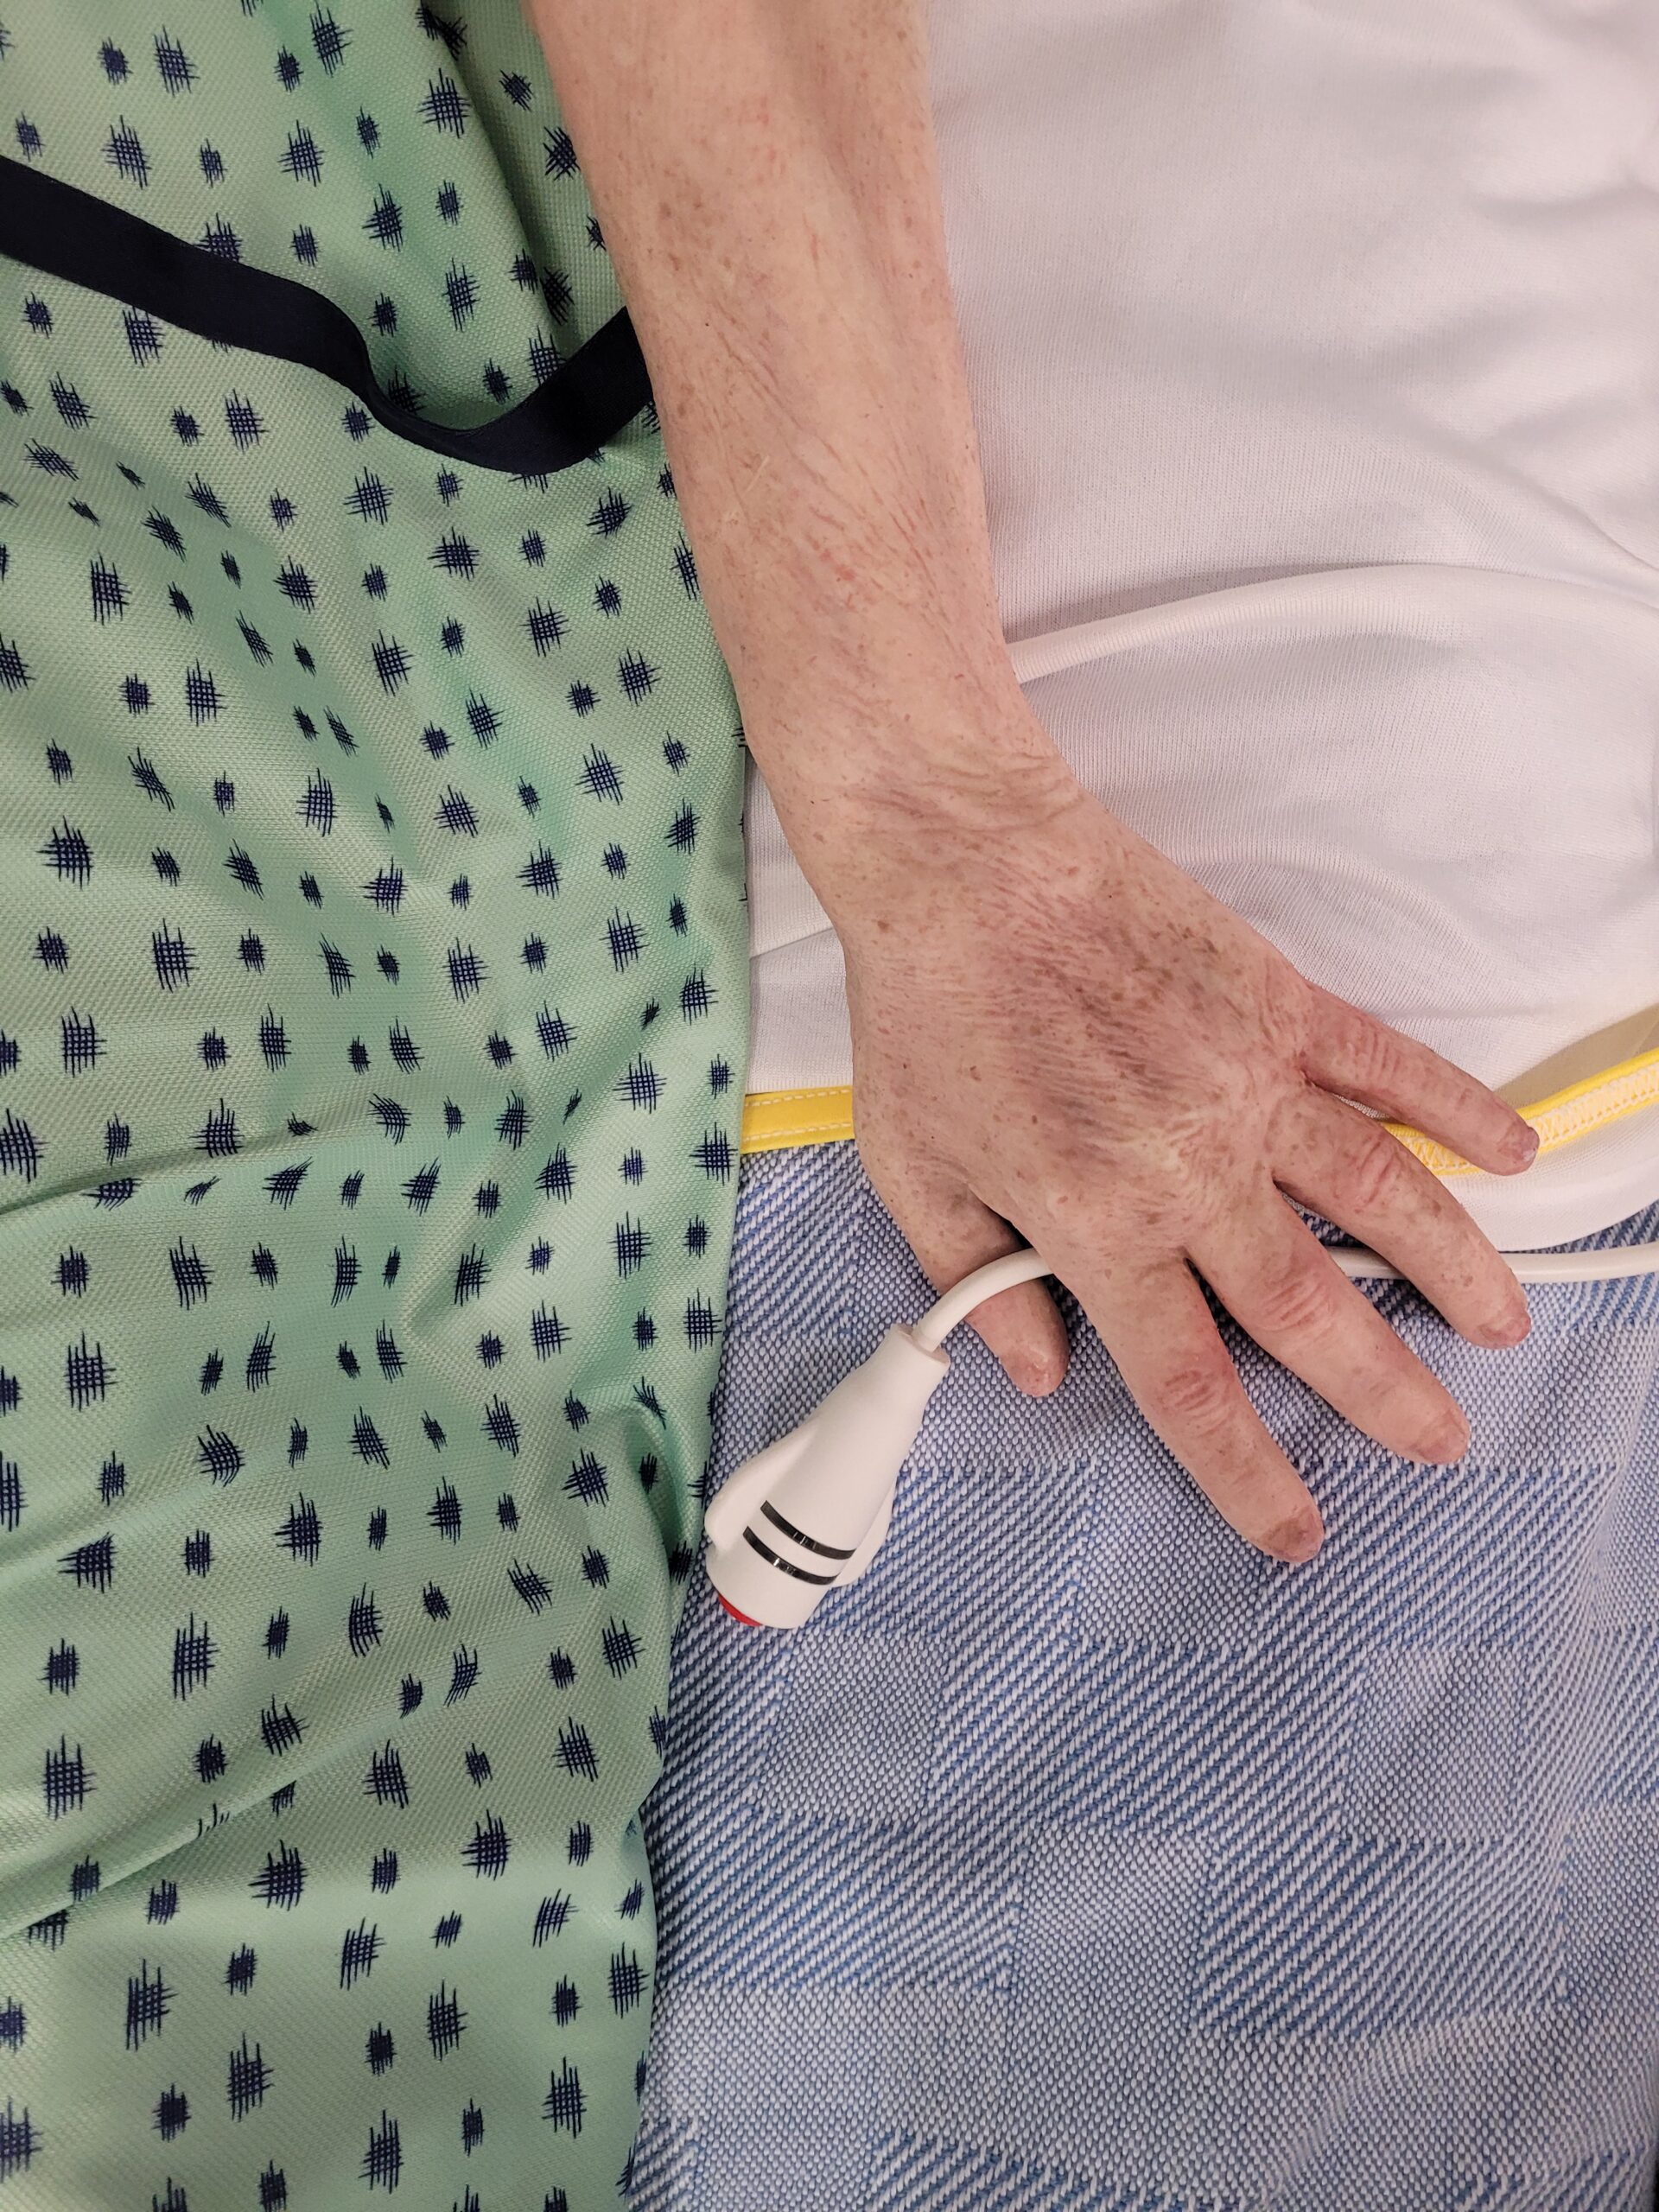
- Pulse oximeter
An electronic device that measures oxygen saturation.
- Pulse pressure
The difference between systolic and diastolic blood pressure.
- Pulse rate
The number of pulsations felt over an artery in one minute.
- Pulse rhythm
The pattern of the pulse felt by your fingers.
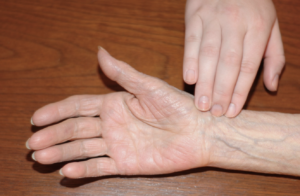
- Radial pulse
The pulse found in the radial artery between the wrist bone and the tendon on the thumb side of the wrist.
- Rectal
Relating to the rectum, the last several centimetres of the large intestine.
- Regurgitation
Backward flow of food/fluid from the stomach into the mouth.
- Respiration
The process of inhalation and exhalation that moves oxygen to the cells and removes carbon dioxide.
- Restricted activity
Higher-risk care activities outlined in health professional regulations that an HCA cannot perform without authorization (delegation) by a regulated health professional, such as an RN. Restricted activities are not considered HCA tasks.
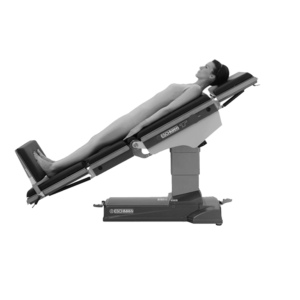
- Reverse Trendelenberg
Client lays flat on their back with head higher than feet by 15–30 degrees.
- Routine practices
A system of prevention and control practices recommended by the Public Agency of Canada to be used for all patients/residents/clients during all care to prevent and control all transmission of microorganisms in all health care settings.
- Semi-Fowler’s position
Slightly lower than Fowler’s position, the client is seated in bed at a 30–45-degree angle. The client’s head of bed is placed at a 30-degree angle. This position is used for clients who have cardiac or respiratory conditions and for patients with a nasogastric tube.
- Shaft
The long part of the penis.
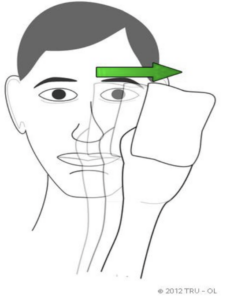
- Shearing
When skin sticks to a surface, such as a sheet, and the muscles underneath slide in the direction the body moves.
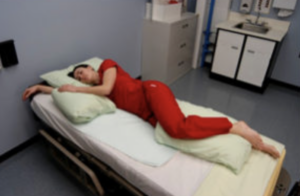
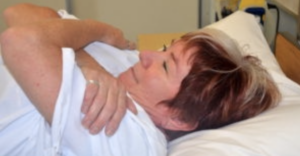
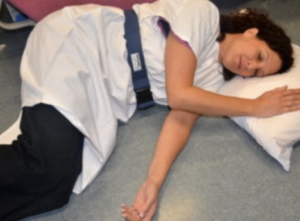
- Sims' position
The client lies between supine and prone position with legs flexed in front of the client. Arms should be comfortably placed beside the client, not underneath.
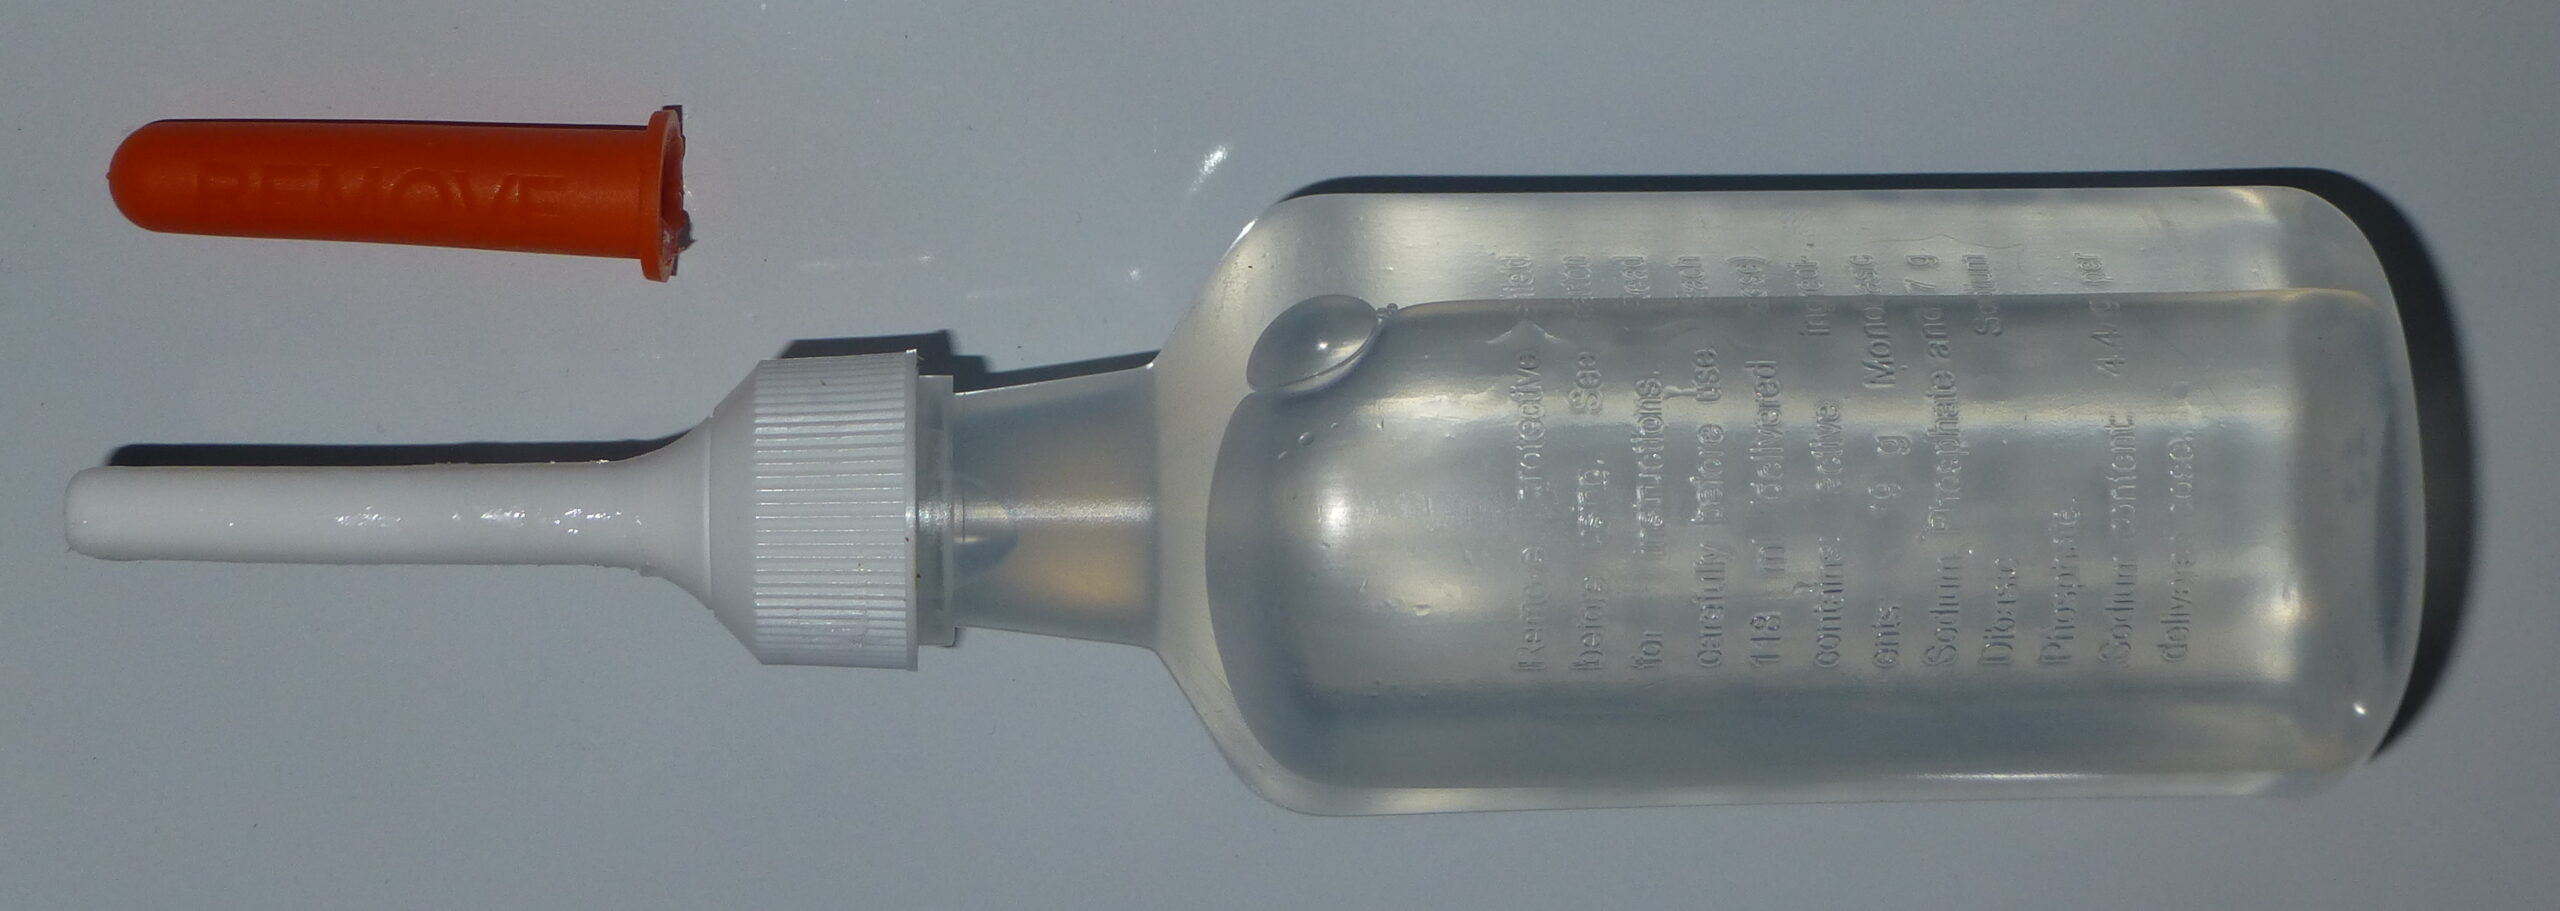
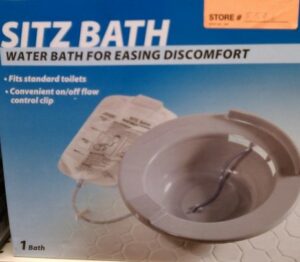
- Sitz bath
A warm, shallow bath that a person sits in to relieve discomfort in the pelvic, perineal, and rectal areas.
- Slider sheets
Special linens placed underneath clients to help lift them in bed. Also be called a bed pad.
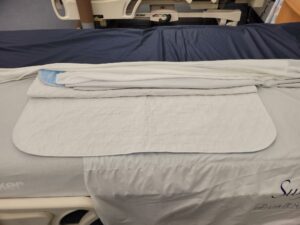
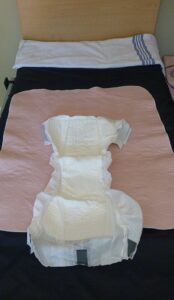
- Soaker pad
Quilted, absorbent squares of fabric placed on client’s beds to keep linens dry from incontinence.
- Sterilization
A process that destroys or eliminates all forms of microbial life and is carried out in health care facilities by physical or chemical methods. It includes a set of specific practices and procedures performed to make equipment and areas free from all microorganisms and to maintain that sterility. Also known as sterile asepsis.
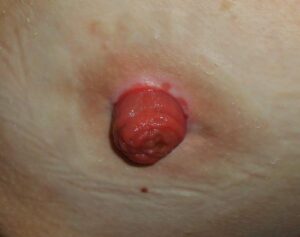
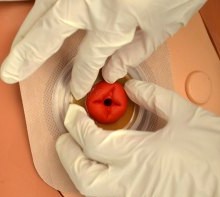
- Stoma
A surgically created opening on the surface of the skin that allows the passage of bodily waste out of the body. It is often used when a portion of the digestive or urinary system needs to be bypassed, as in cases of colostomy, ileostomy, or urostomy.
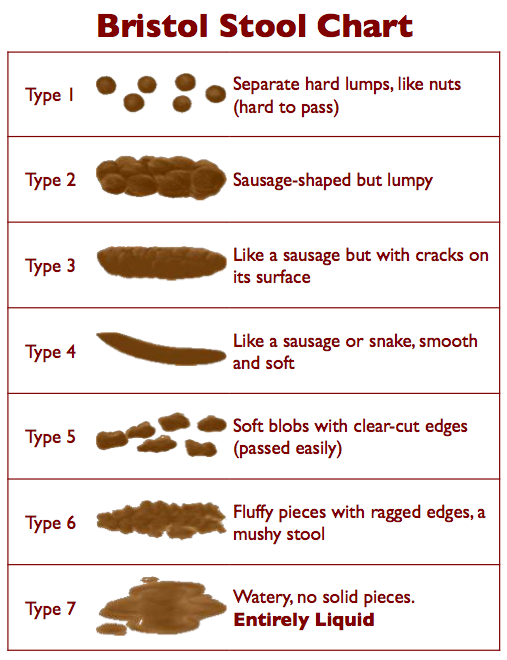
- Stool
Feces excreted from the colon.
- Stroke volume
The amount of blood pumped out of the left bentricle of the heart during each contraction.
- Suctioning
A method of removing mucous from the mouth and/or lungs.
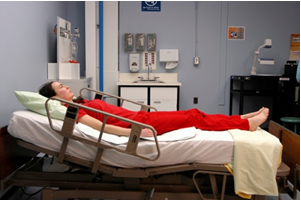
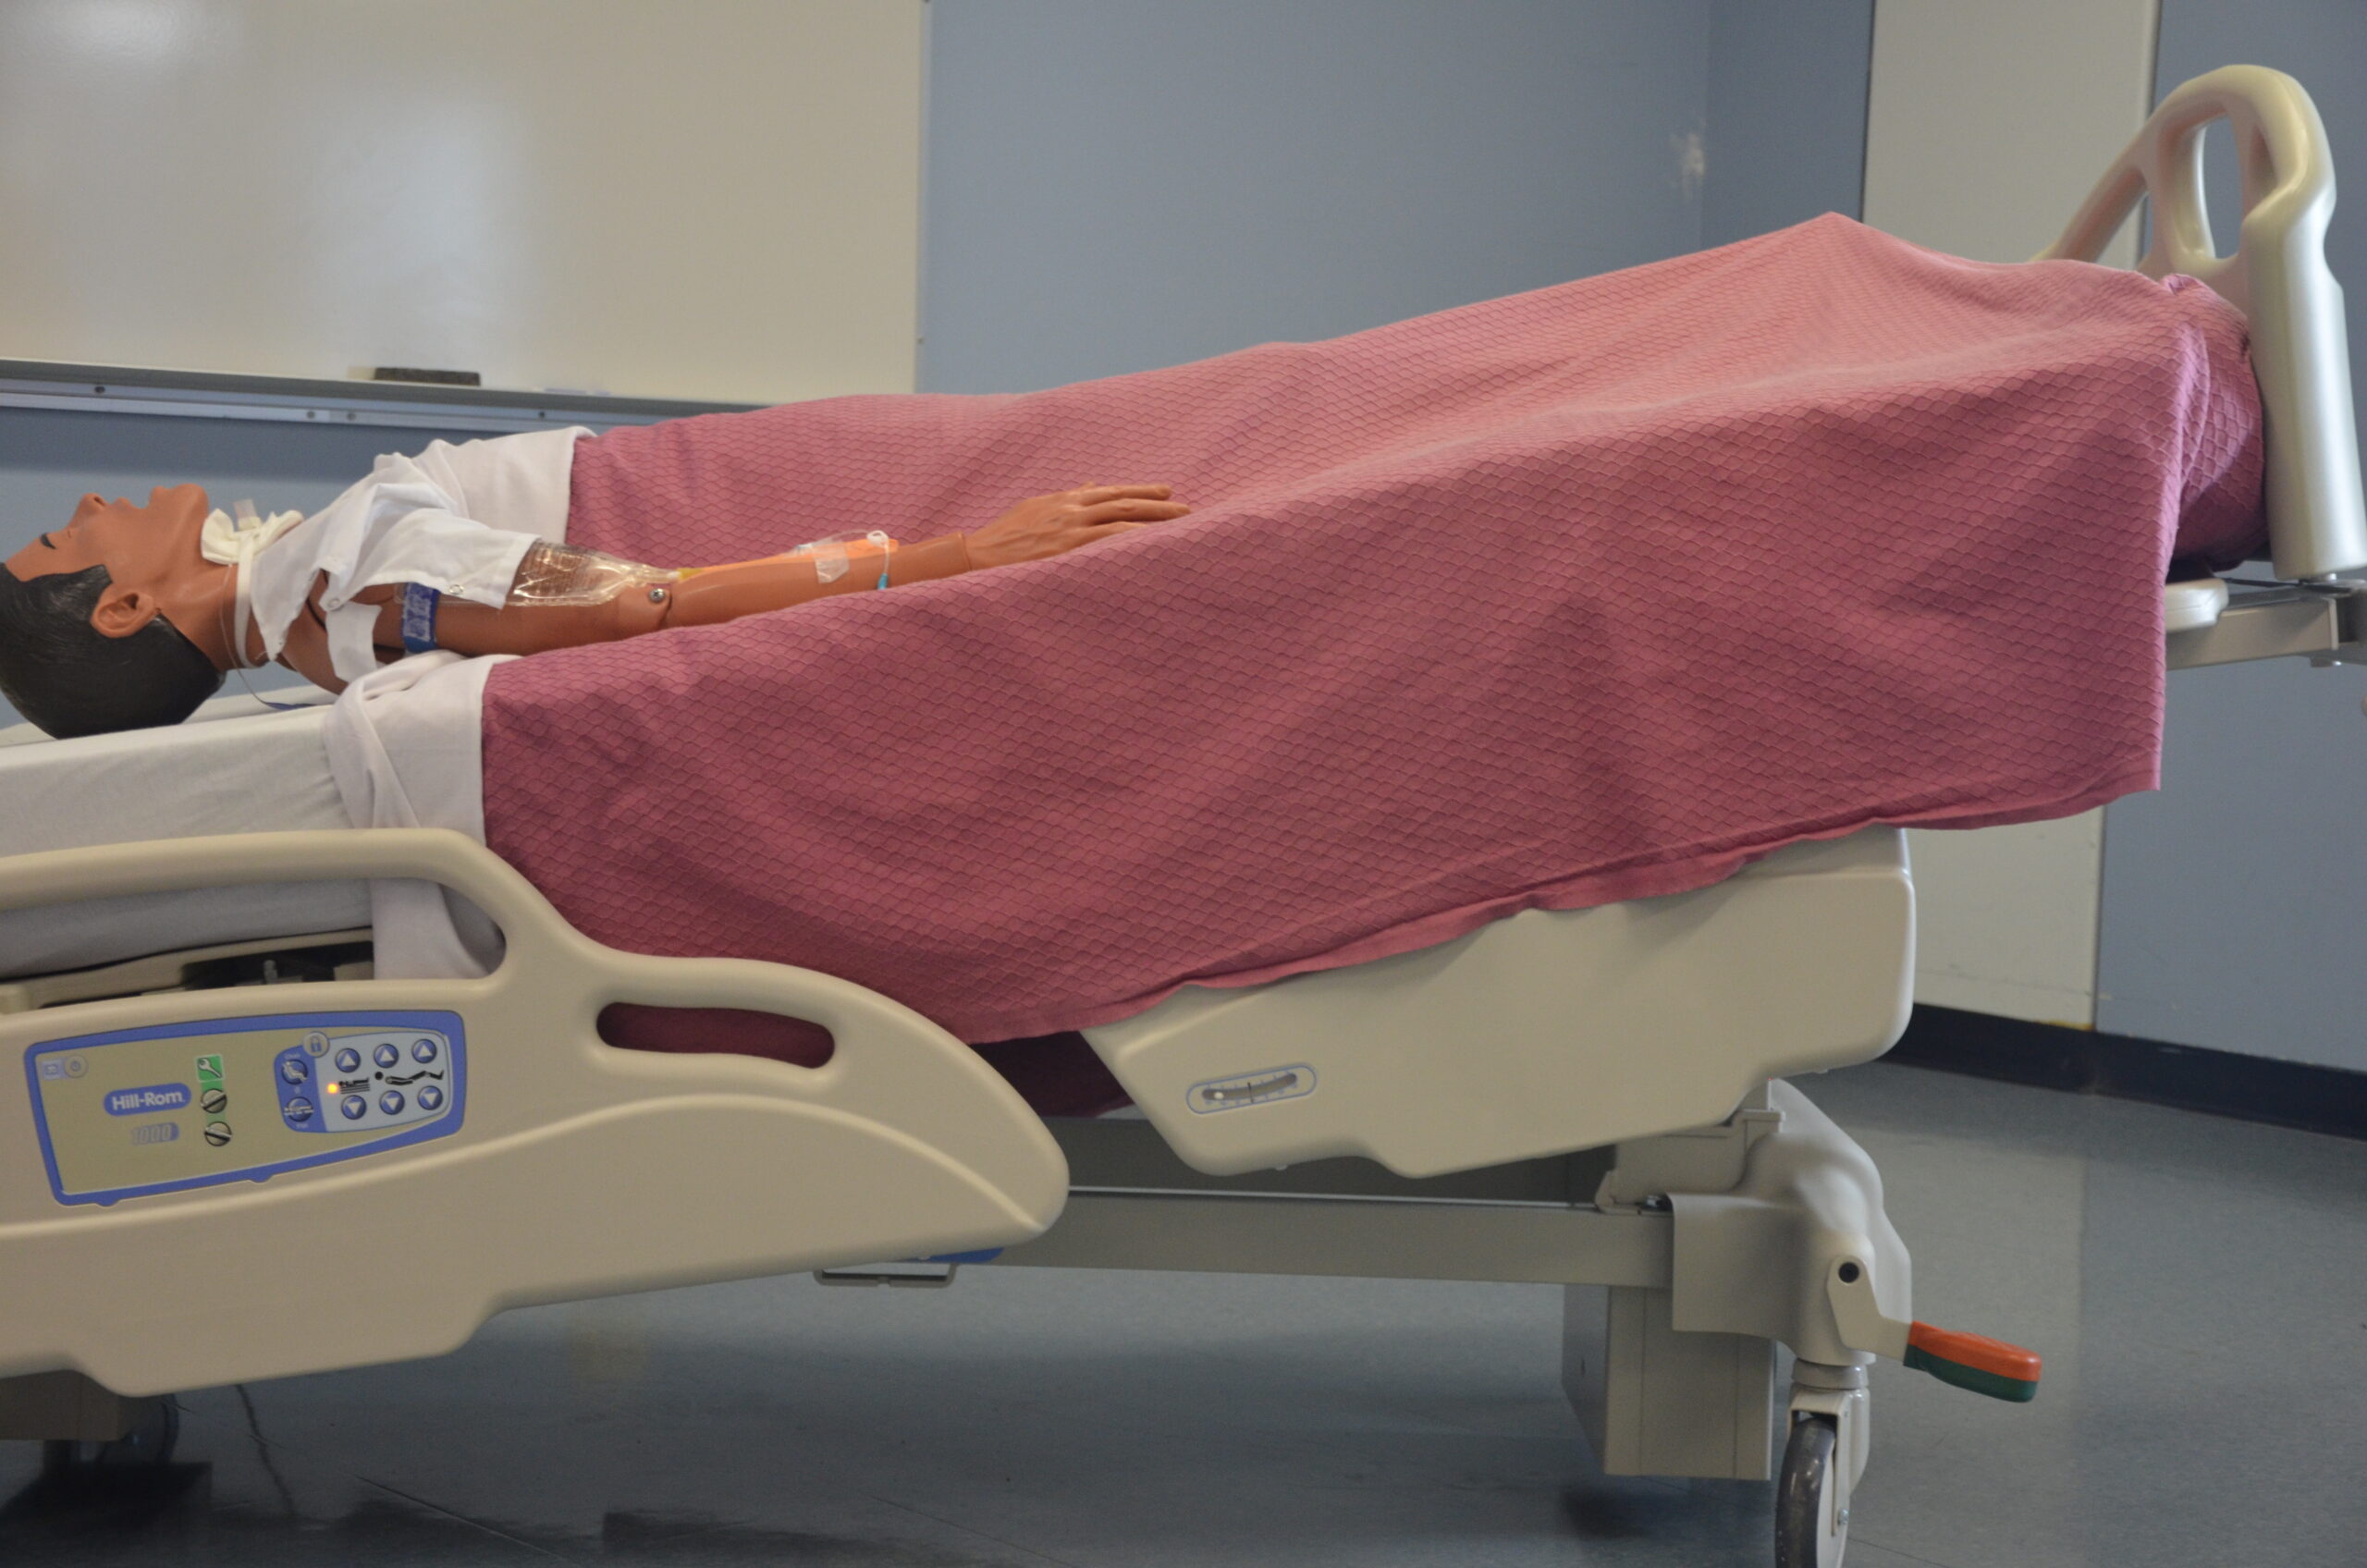
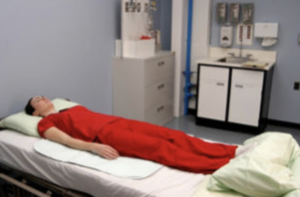
- Supine position
The client lies flat on their back, facing upward. Additional supportive devices may be added for comfort.
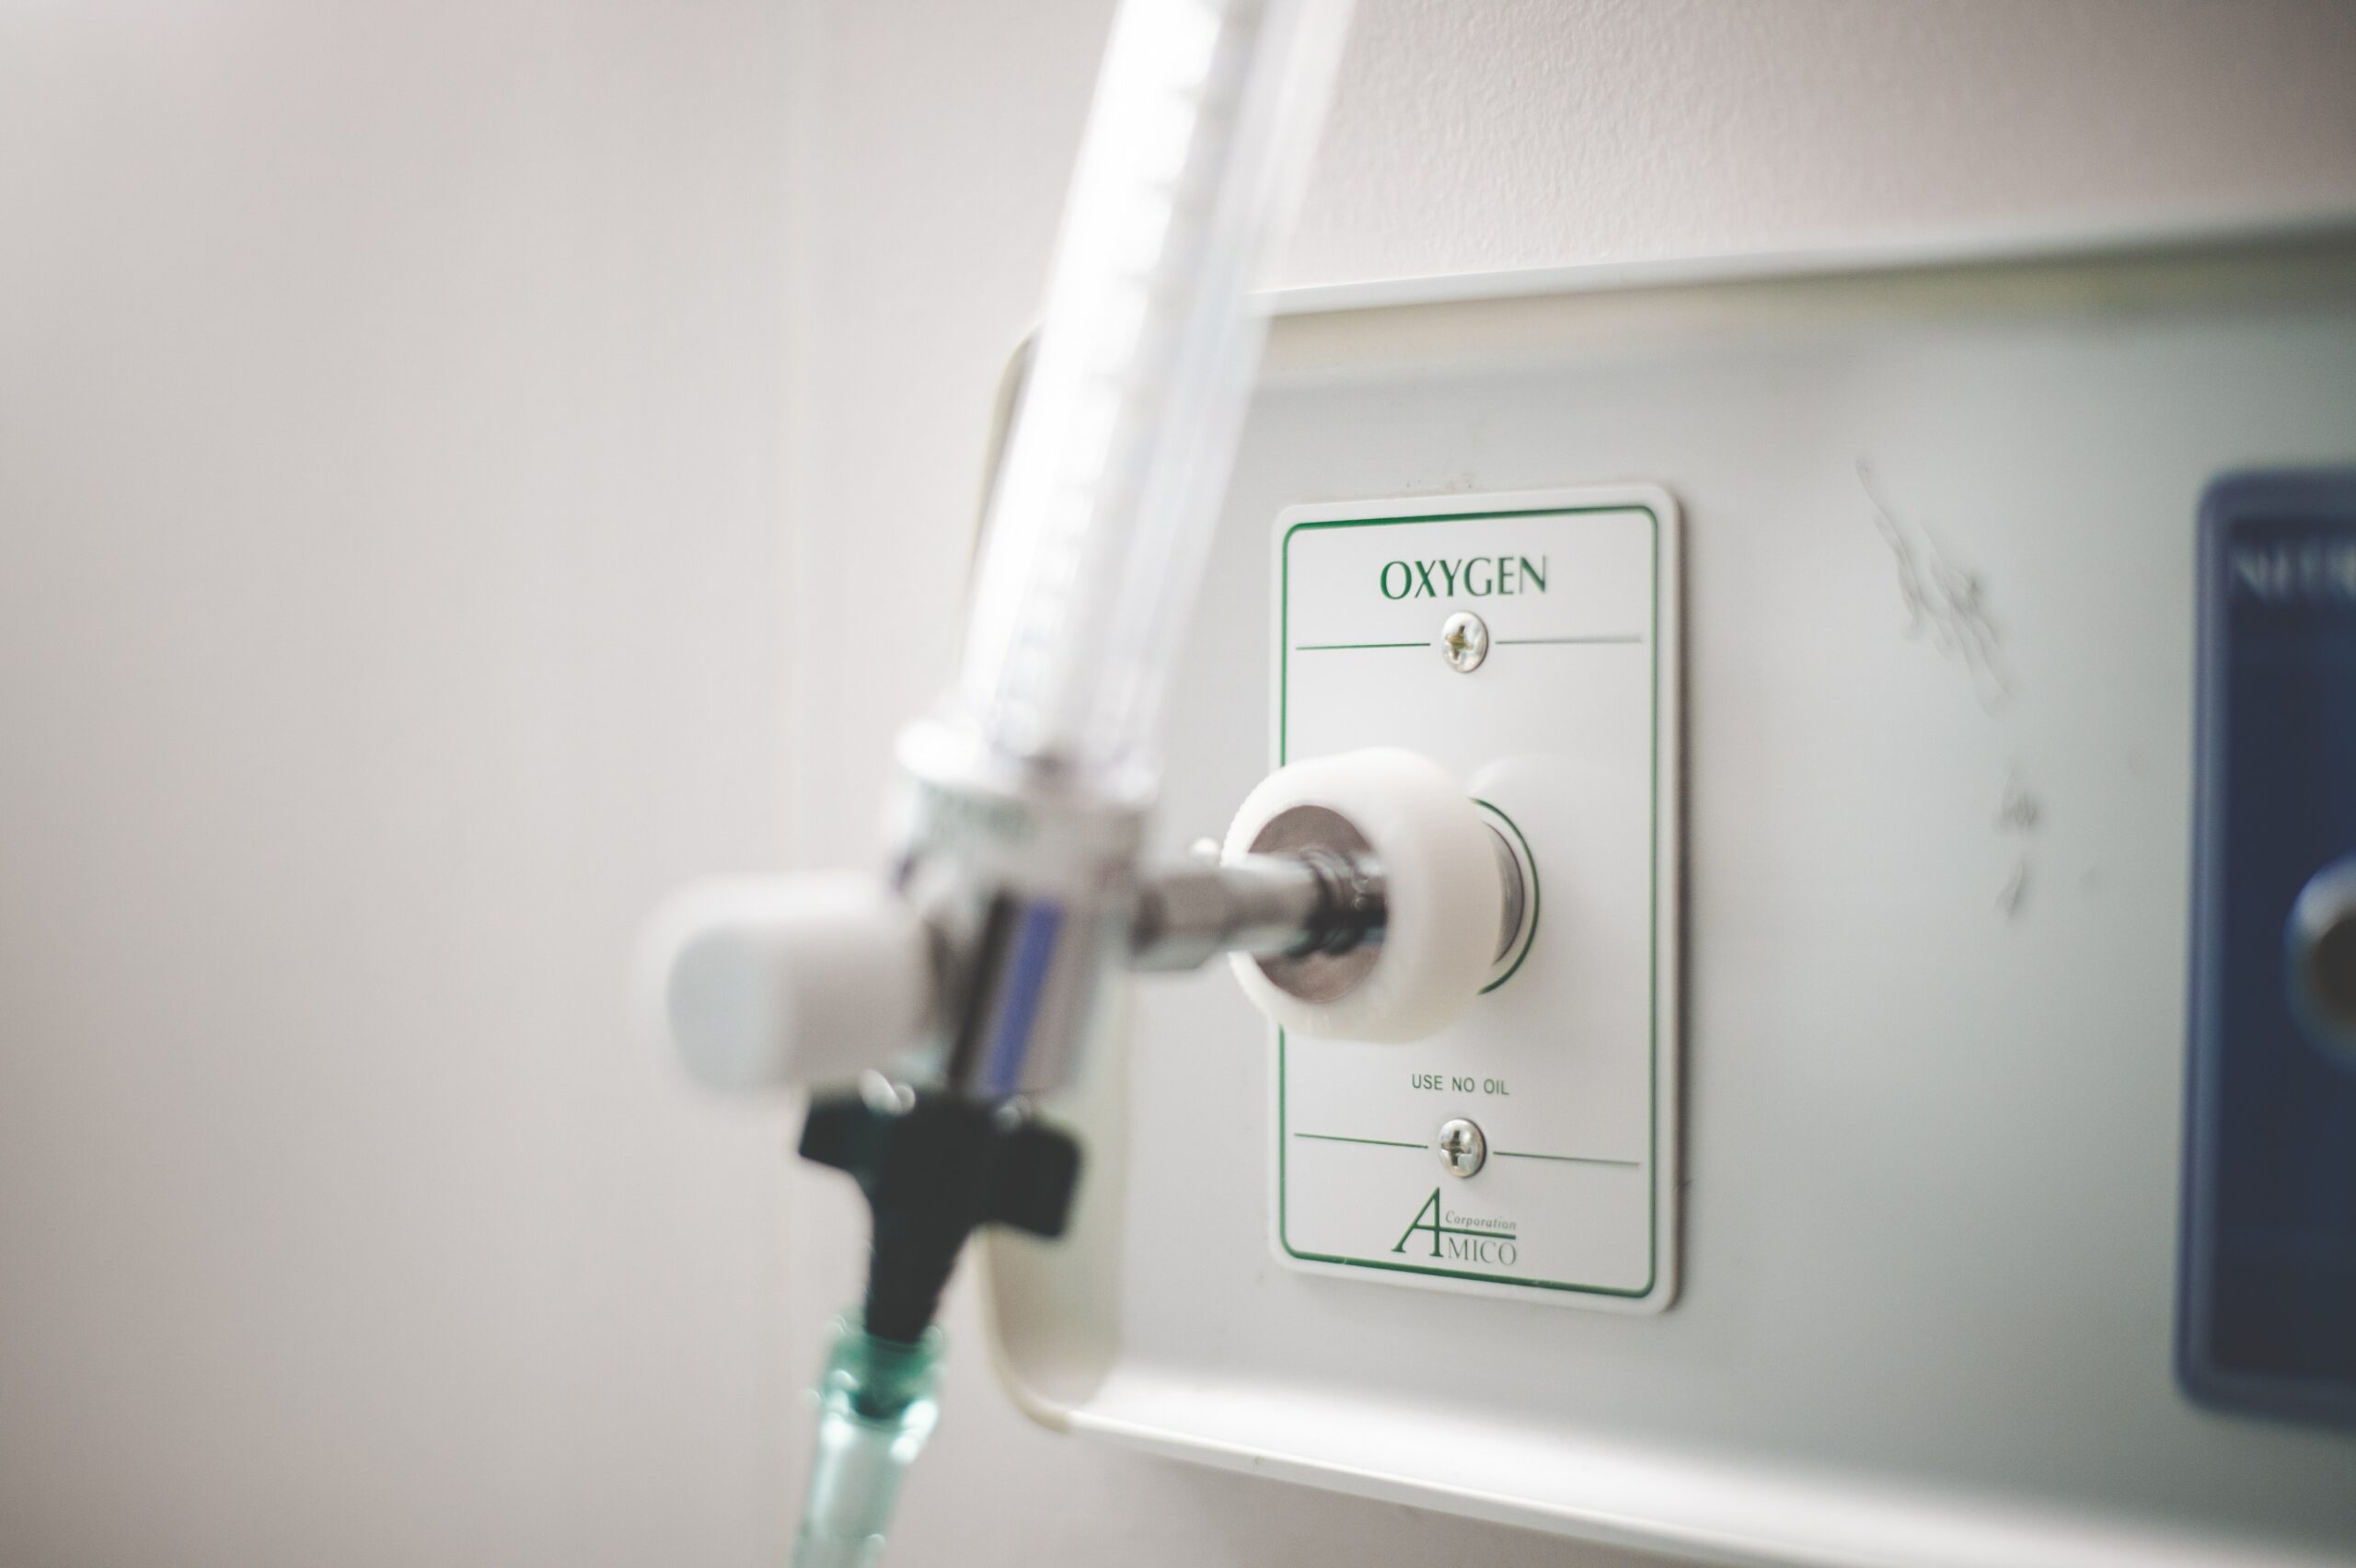
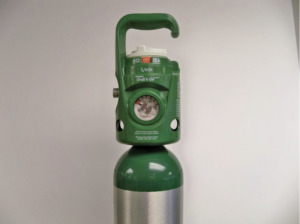
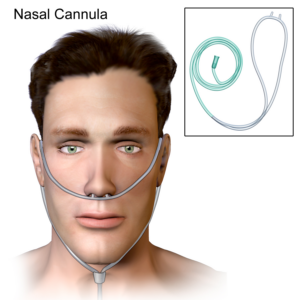
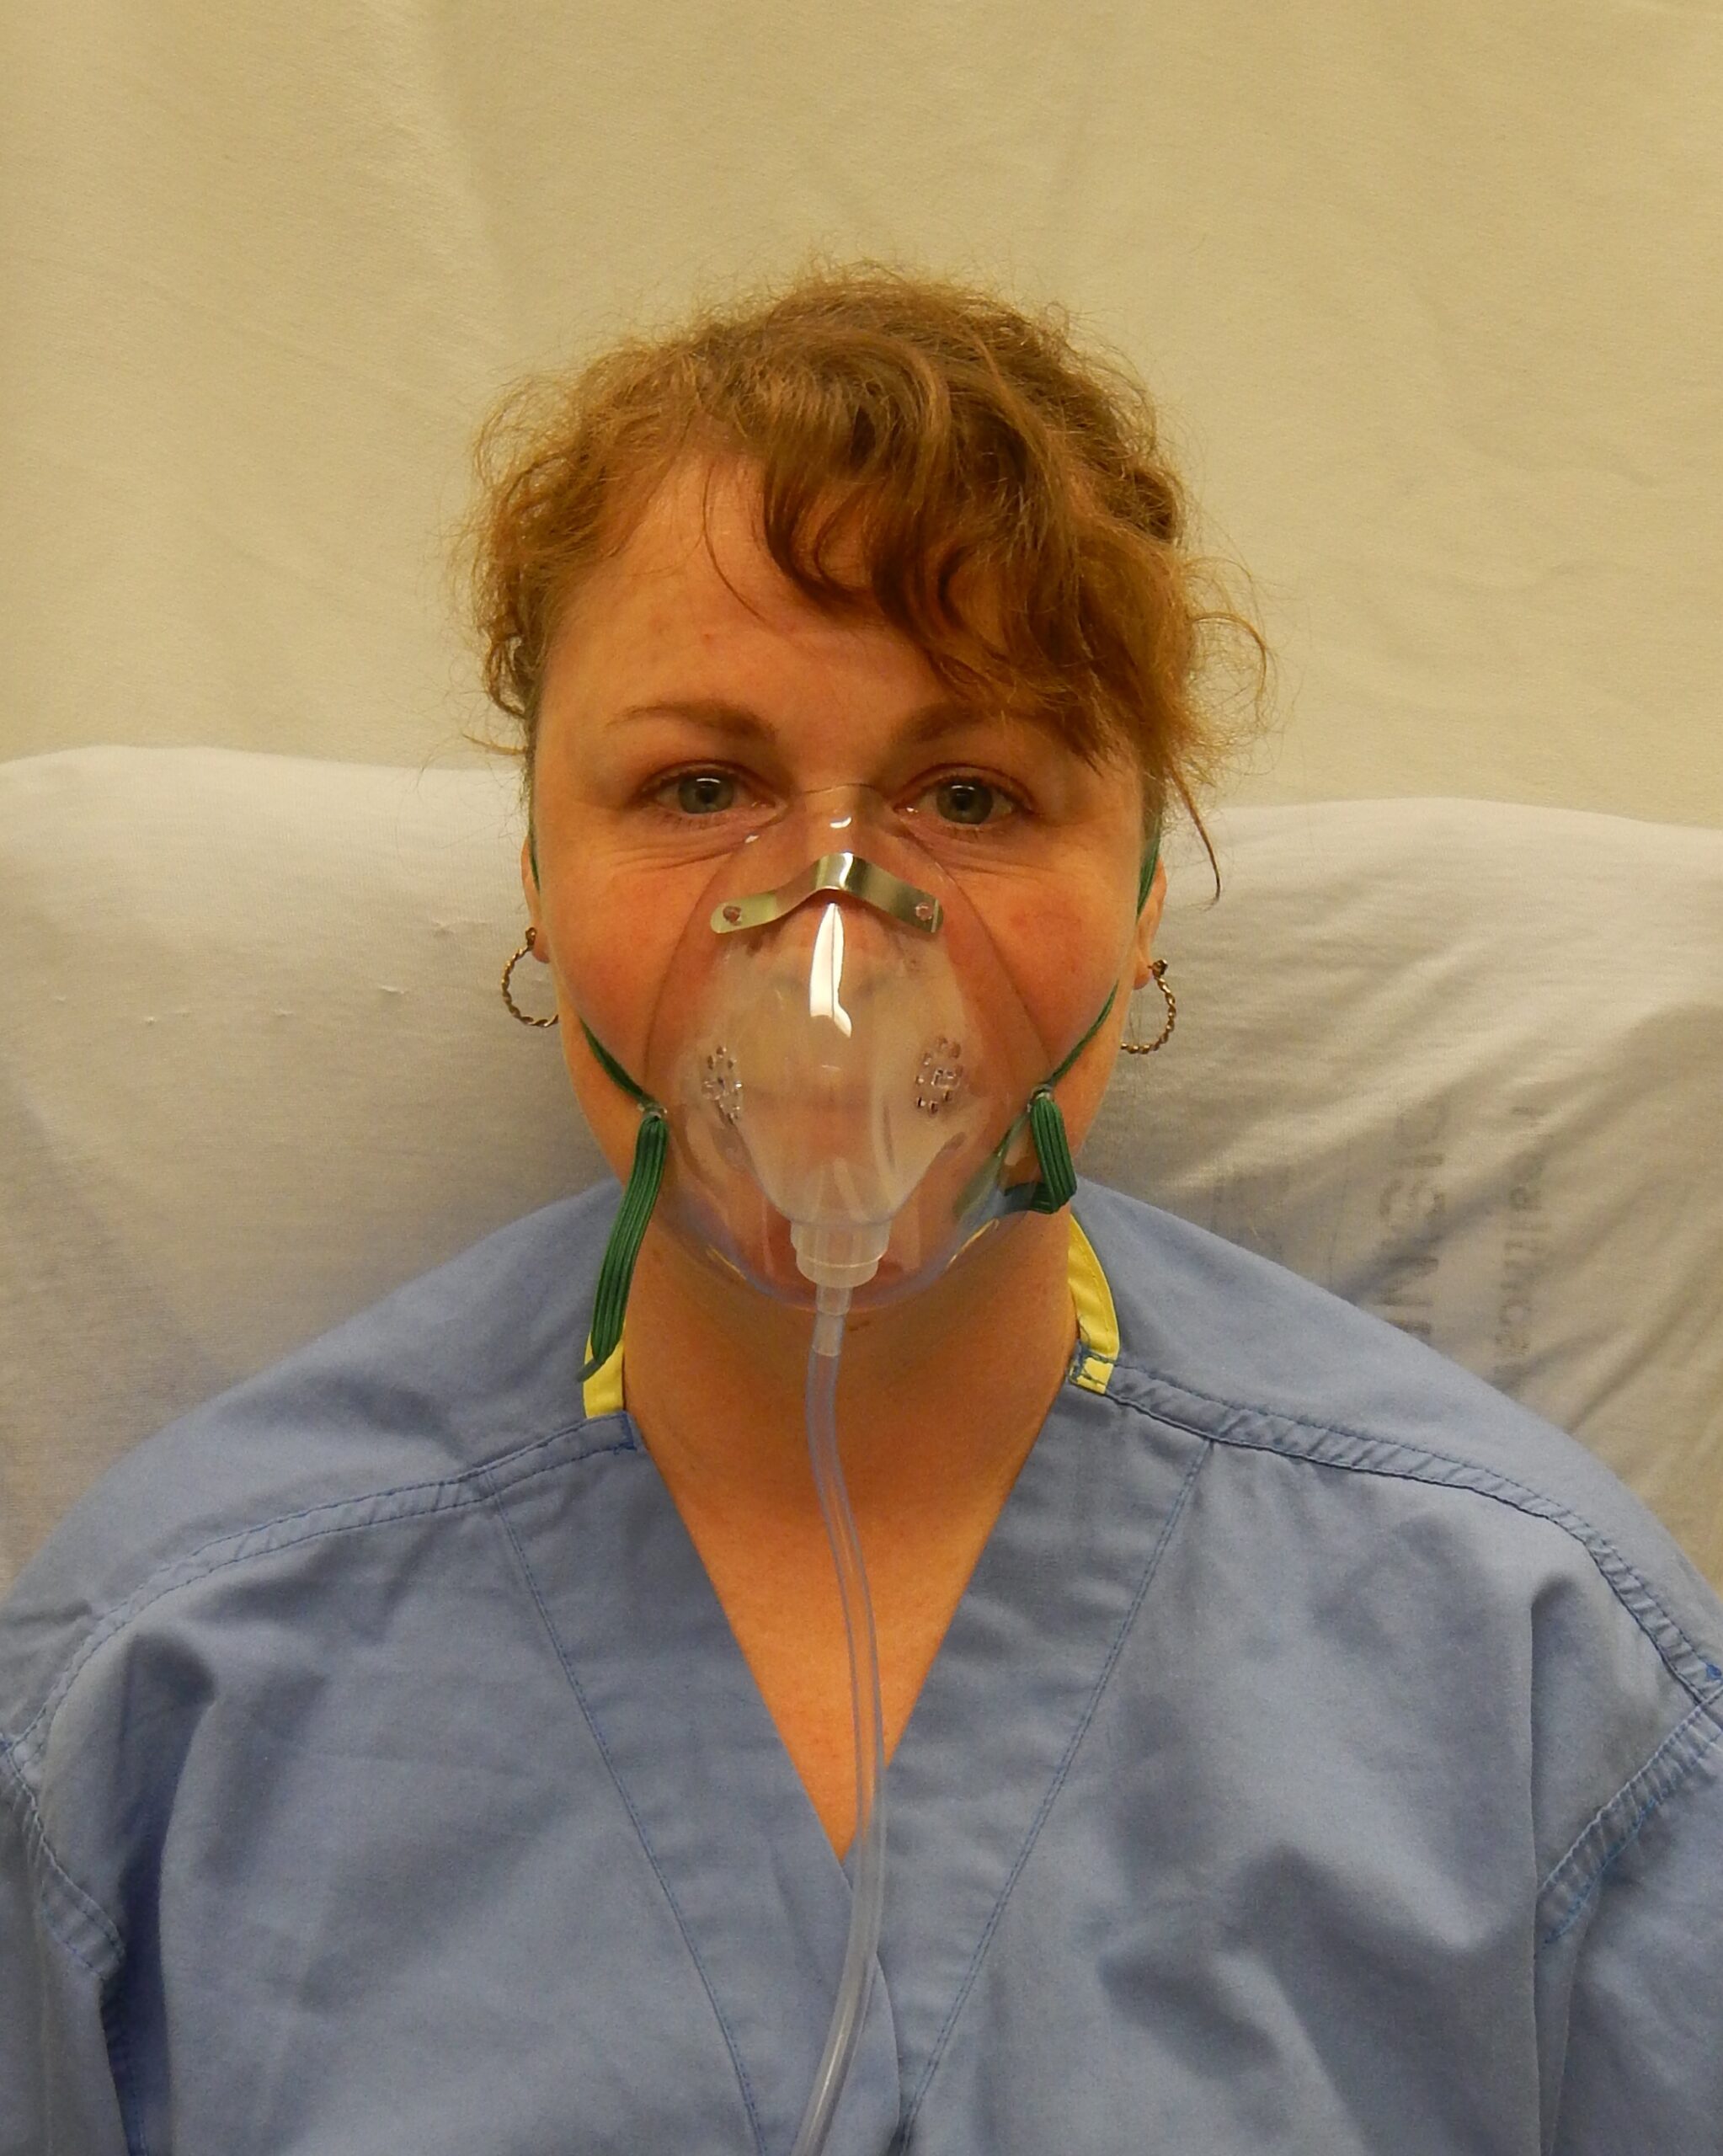
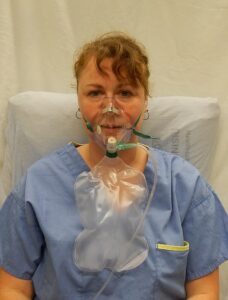
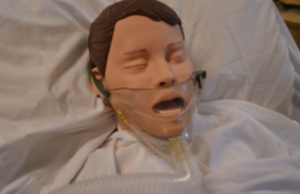
- Supplemental oxygen
Providing extra or additional oxygen.
- Swallowing
The transport of a substance from the mouth to the stomach.
- Systolic pressure
The pressure in the arteries when the heart contracts.
- Tachycardia
A fast heart rate, over 100 beats per minute.
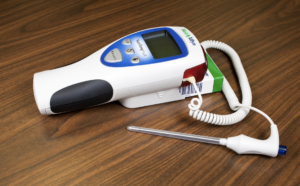
- Temperature
The degree of hear or cold in an object or a human body.
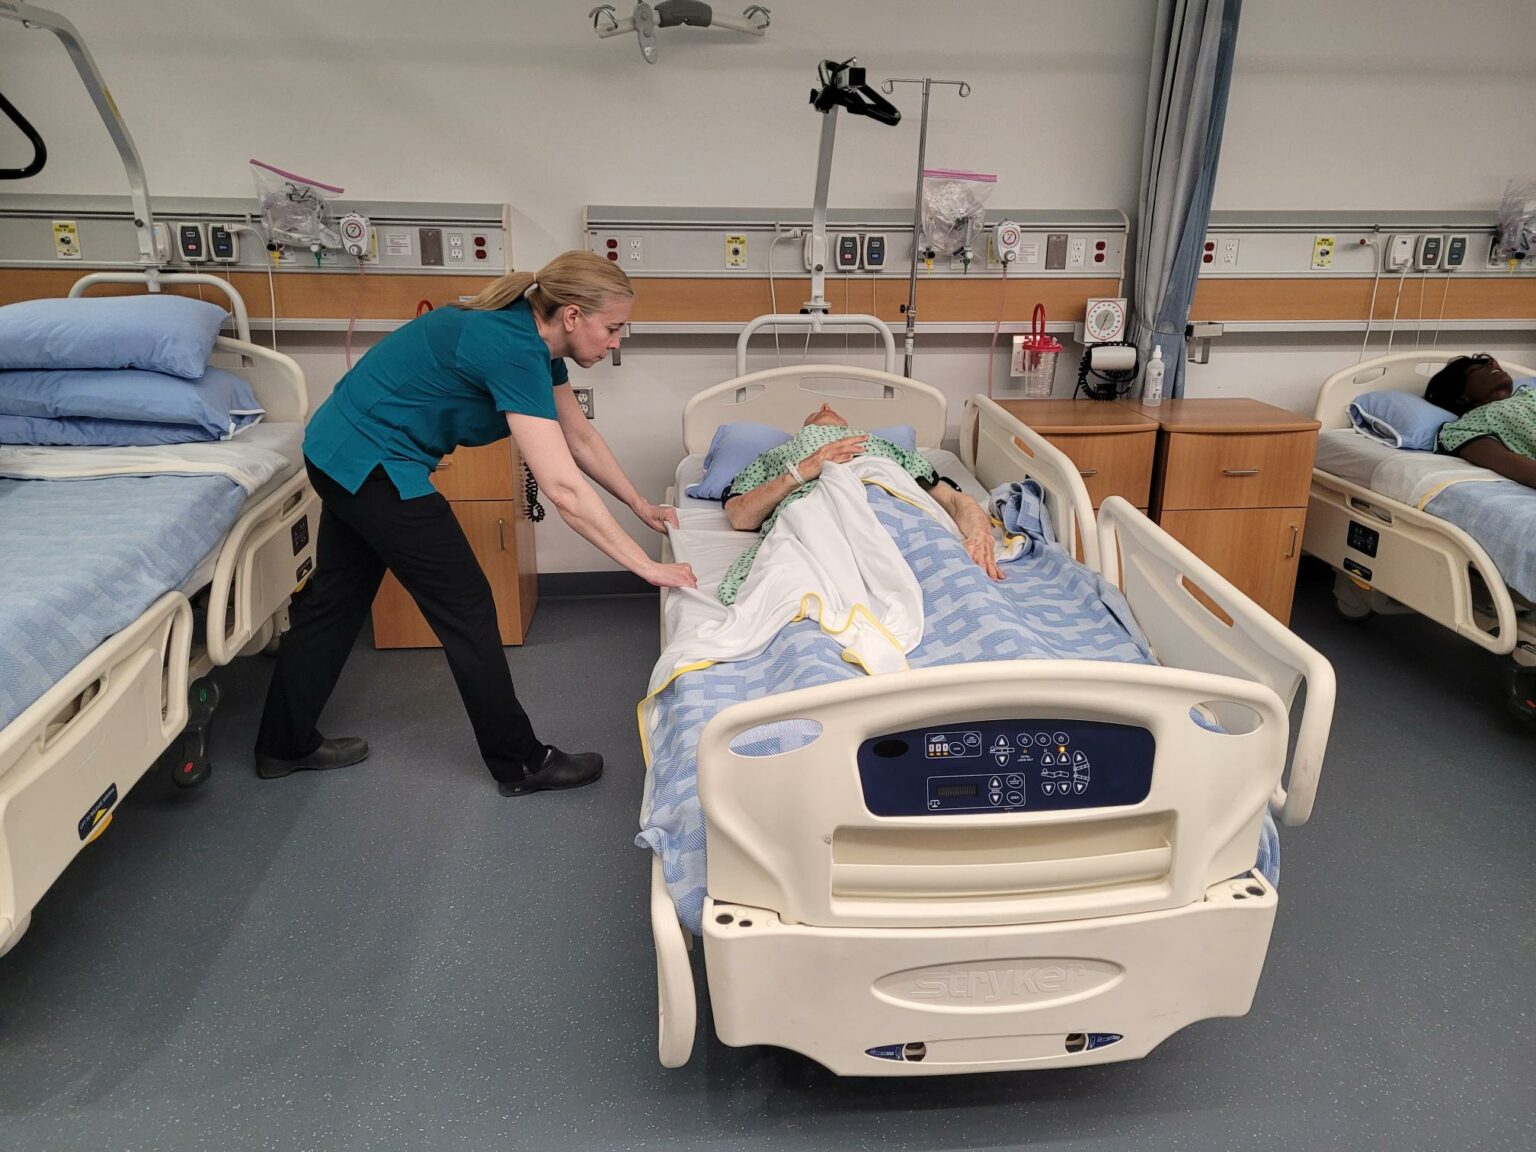
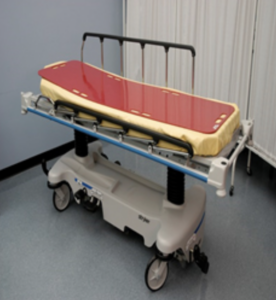
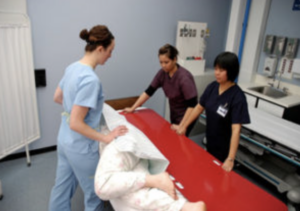
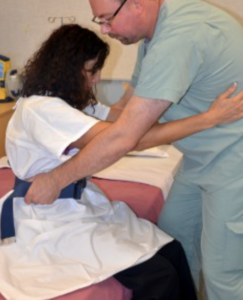
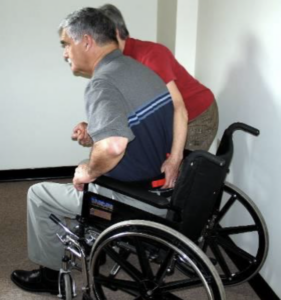
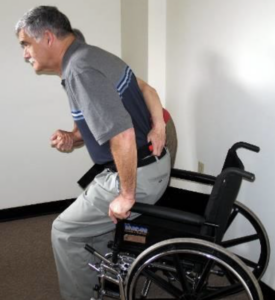
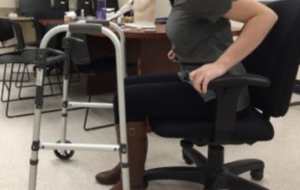
- Transfer
Moving a client from one flat surface to another, such as from a bed to a stretcher.
- Trendelenberg position
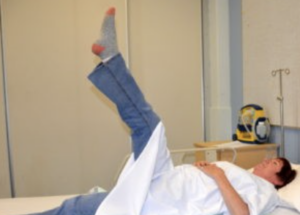
A position that places the head of the bed lower than the feet. Client lays flat on their back with feet elevated higher than their head by 15–30 degrees. Used in situations such as hypotension and medical emergencies, this position helps promote venous return to major organs such as the head and heart.
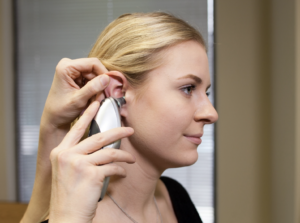
- Tympanic
Relating to the eardrum.
- Uncircumcised
A person who has not had the foreskin of the penis removed.
- Urethra
The anatomical tube extending from the urinary bladder to the urethral opening (urinary meatus), through which urine (and semen in people with penises) is excreted.
- Urgency
The feeling of needing to urinate.
- Urinal
A container or receptacle into which the client urinates. Handheld urinals are available to assist clients who have mobility issues.
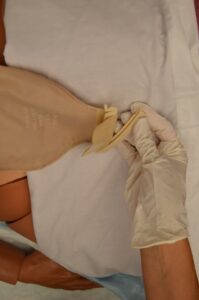
- Urinary catheter
A tube inserted into the bladder through the urethra to drain urine.
- Urinary incontinence
Loss of bladder control.
- Urinary meatus
The opening at the end of the urethra through which urine (and semen in people with penises) is excreted from the body.
- Urinate
To empty urine from the bladder.
- Vasoconstricting
To narrow the diameter of a blood vessel.
- Vasodilating
To become enlarged, widened to open up blood flow.
- Vertigo
A sensation of whirling in which an individual or the individual’s environment is spinning, making the individual feel dizzy
- Vigilant
Watchful, observant of surroundings.
- Virus
Infectious agents that reproduce inside the living cells of other organisms. They are unable to reproduce on their own but require the mechanisms of living cells to do so. Examples are influenza or COVID-19 in humans.
- Void
To empty urine from the bladder.
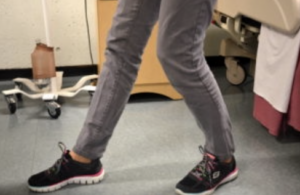
- Wide base of support
Standing with feet shoulder width apart to improve stability.


_feeding_tube_CRUK_341.svg)
.jpg)
.png)
.jpg)