Chapter 3. Safe Patient Handling, Positioning, and Transfers
3.6 Assisting a Patient to a Sitting Position and Ambulation
Immobility in hospitalized patients is known to cause functional decline and complications affecting the respiratory, cardiovascular, gastrointestinal, integumentary, musculoskeletal, and renal systems (Kalisch, Lee, & Dabney, 2013). For surgical patients, early ambulation is the most significant factor in preventing complications (Sanguinetti, Wild, & Fain, 2014). Lack of mobility and ambulation can be especially devastating to the older adult when the aging process causes a more rapid decline in function (Graf, 2006). Ambulation provides not only improved physical function, but also improved emotional and social well-being (Kalisch et al., 2013).
Prior to assisting a patient to ambulate, it is important to perform a patient risk assessment to determine how much assistance will be required. An assessment can evaluate a patient’s muscle strength, activity tolerance, and ability to move, as well as the need to use assistive devices or find additional help. The amount of assistance will depend on the patient’s condition, length of stay and procedure, and any previous mobility restrictions.
Assisting Patient to the Sitting Position
Patients who have been immobile for a long period of time may experience vertigo, a sensation of dizziness, and orthostatic hypotension, a form of low blood pressure that occurs when changing position from lying down to sitting, making the patient feel dizzy, faint, or lightheaded (Potter, Perry, Ross-Kerr, & Wood, 2010). For this reason, always begin the ambulation process by sitting the patient on the side of the bed for a few minutes with legs dangling. Checklist 27 outlines the steps to positioning the patient on the side of a bed prior to ambulation (Perry, et al., 2014).
Disclaimer: Always review and follow your hospital policy regarding this specific skill. |
|||
Safety considerations:
|
|||
Steps |
Additional Information |
||
| 1. Check physician’s order to ambulate and supplies for ambulation if required, and perform an assessment of patient’s strength and abilities.
Check physician orders for any restrictions related to ambulation due to medical treatment or surgical procedure. |
Supplies (proper footwear, gait belt, or assistive devices) must be gathered prior to ambulation. Do not leave patient sitting on the side of the bed unsupervised as this poses a safety risk. | ||
| 2. Explain what will happen and let the patient know how they can help. | This step provides the patient with an opportunity to ask questions and help with the positioning. | ||
| 3. Lower bed and ensure brakes are applied. | This prepares the work environment. | ||
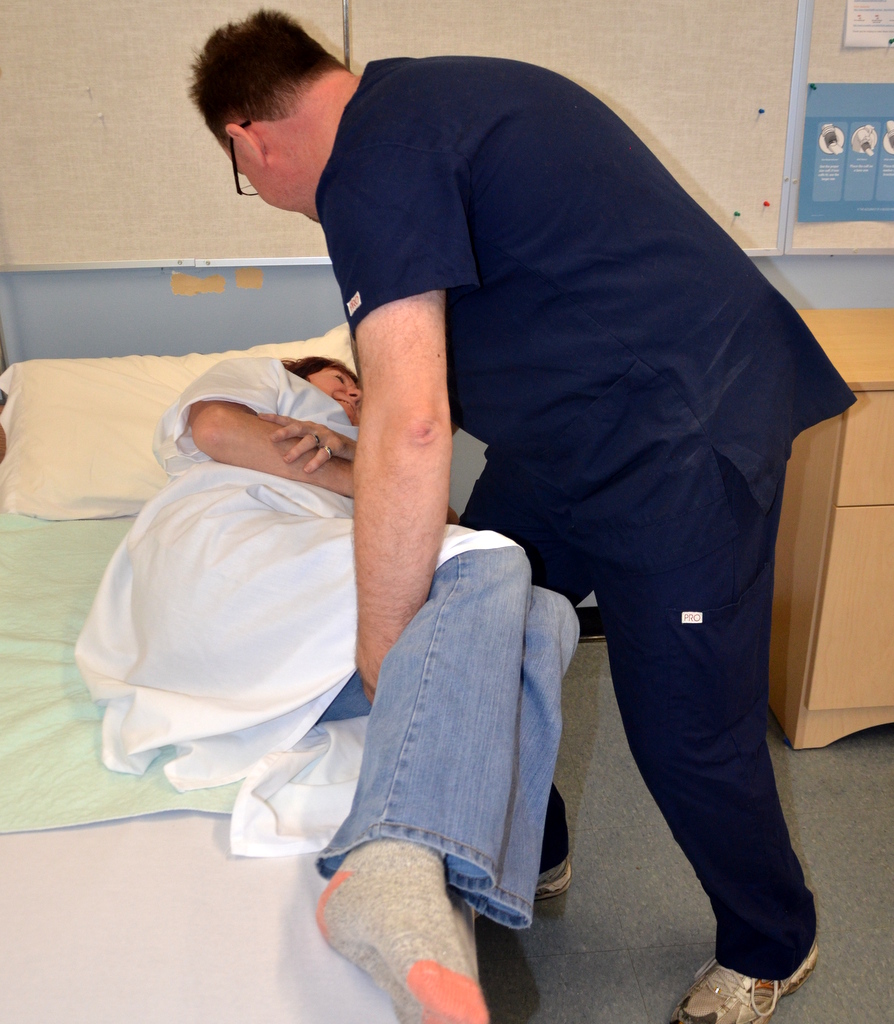
| 4. Stand facing the head of the bed at a 45-degree angle with your feet apart, with one foot in front of the other. Stand next to the waist of the patient. | Proper positioning helps prevent back injuries and provides support and balance. | ||
| 5. Have patient turn onto side, facing toward the caregiver. Assist patient to move close to the edge of the bed. | This step prepares the patient to be moved.
 |
||
| 6. Place one hand behind patient’s shoulders, supporting the neck and vertebrae. | This provides support for the patient. | ||
| 7. On the count of three, instruct the patient to use their elbows to push up on the bed and then grasp the side rails, as you support the shoulders as the patient sits up. Shift weight from the front foot to the back foot. | Do not allow the patient to place their arms around your shoulders. This action can lead to serious back injuries. | ||
| 8. At the same time as you’re shifting your weight, gently grasp the patient’s outer thighs with your other hand and help the patient slide their feet off the bed to dangle or touch the floor. | This step helps the patient sit up and move legs off the bed at the same time.
 |
||
|
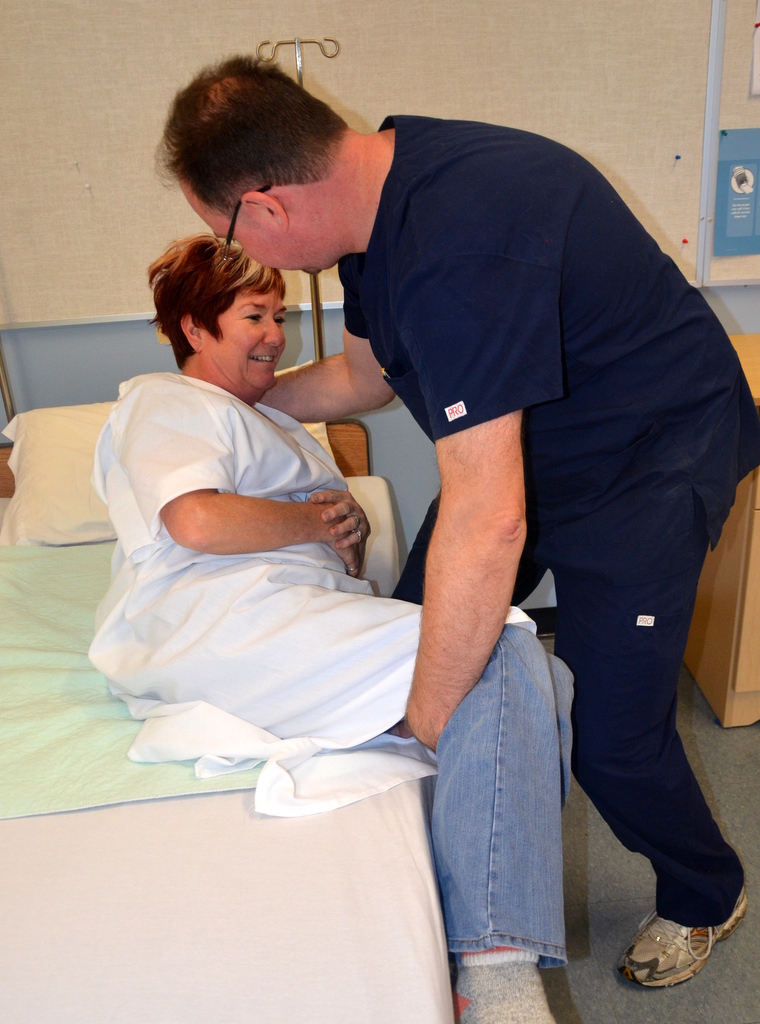
9. Bend your knees and keep back straight and neutral. |
Use of proper body mechanics helps prevent injury when handling patients. | ||
|
10. On the count of three, gently raise the patient to sitting position. Ask patient to push against bed with the arm closest to the bed, at the same time as you shift your weight from the front foot to the back foot. |
This allows the patient to help with the process and prevents injury to the health care provider.
 |
||
|
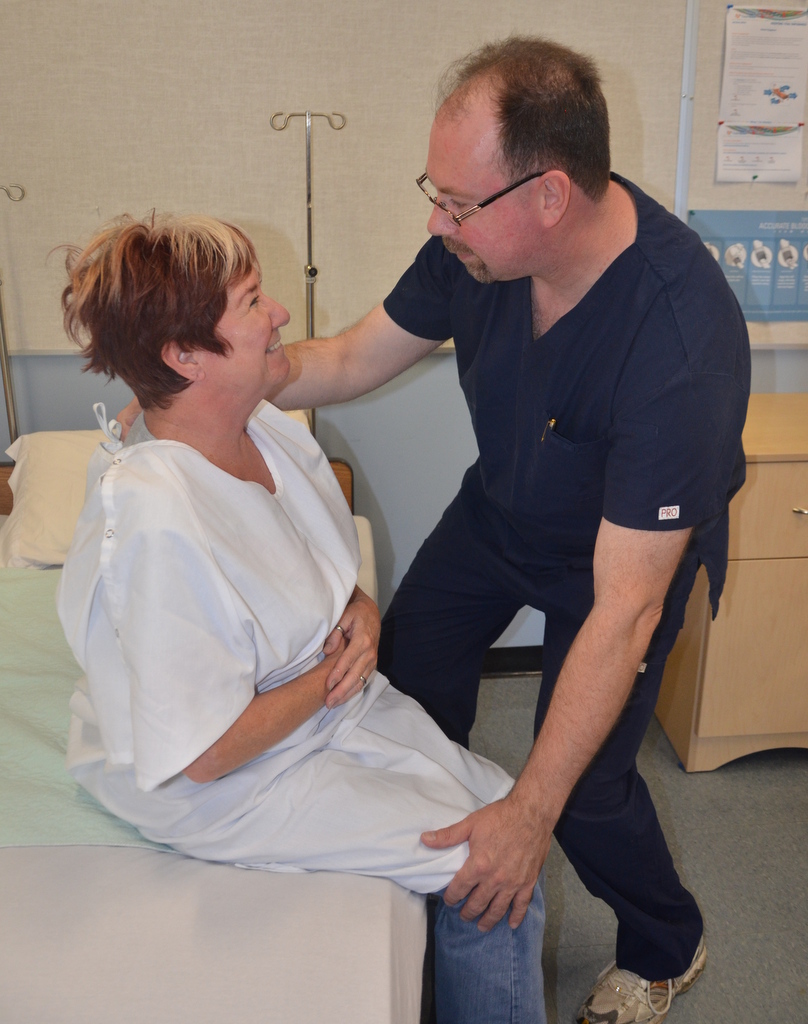
11. Assess patient for orthostatic hypotension or vertigo. |
If patient is not dizzy or lightheaded, the patient is safe to ambulate. If patient becomes dizzy or faint, lay patient back down on bed. |
||
|
12. Continue with mobilization procedures as required. |
Mobilization helps prevent complications and improves physical function in hospitalized patients. | ||
| Data source: ATI, 2015b; Interior Health, 2013; Perry et al., 2014; PHSA, 2010 | |||
Video 3.2
Ambulating a Patient
Ambulation is defined as moving a patient from one place to another (Potter et al., 2010). Once a patient is assessed as safe to ambulate, determine if assistance from additional health care providers or assistive devices is required. Checklist 28 reviews the steps to ambulating a patient with and without a gait belt.
Disclaimer: Always review and follow your hospital policy regarding this specific skill. |
|||
Safety considerations:
|
|||
Steps |
Additional Information |
||
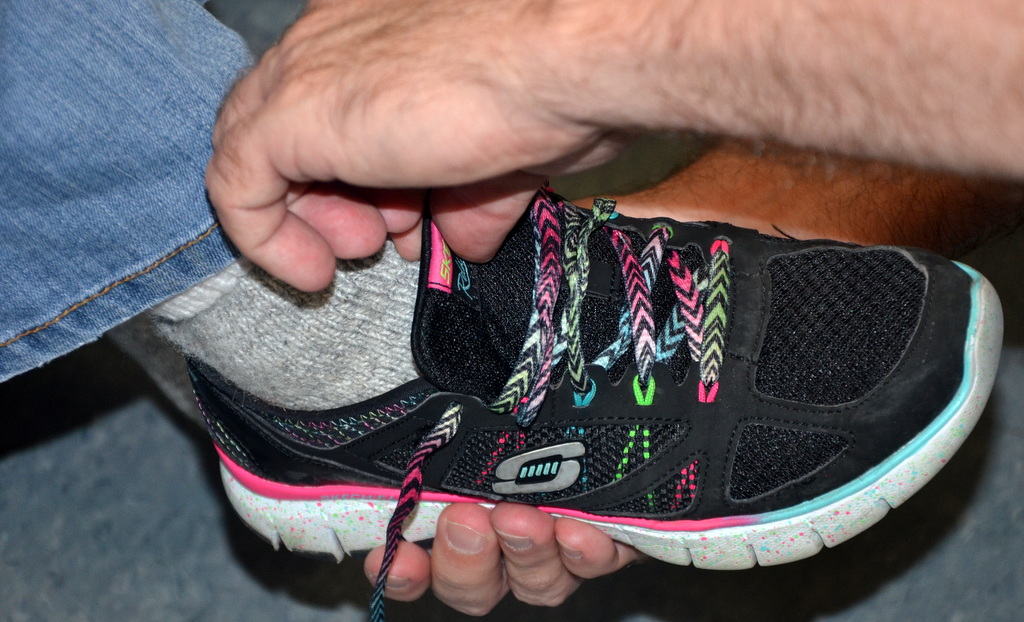
| 1. Ensure patient does not feel dizzy or lightheaded and is tolerating the upright position.
Instruct the patient to sit on the side of the bed first, prior to ambulation. Ensure proper footwear is on patient, and let patient know how far you will be ambulating. Proper footwear is non-slip or slip resistant footwear. Socks are not considered proper footwear. Check physician’s orders for any activity restrictions related to treatment or surgical procedures. |
Proper footwear is essential to prevent accidental falls.
 |
||
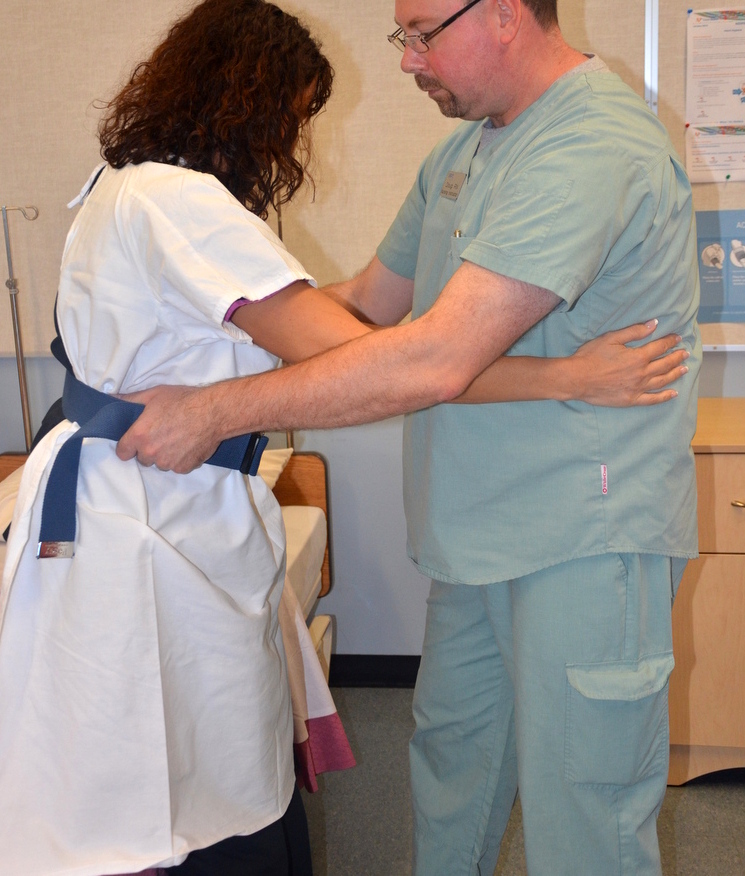
| 2. Apply gait belt snugly around the patient’s waist if required. |
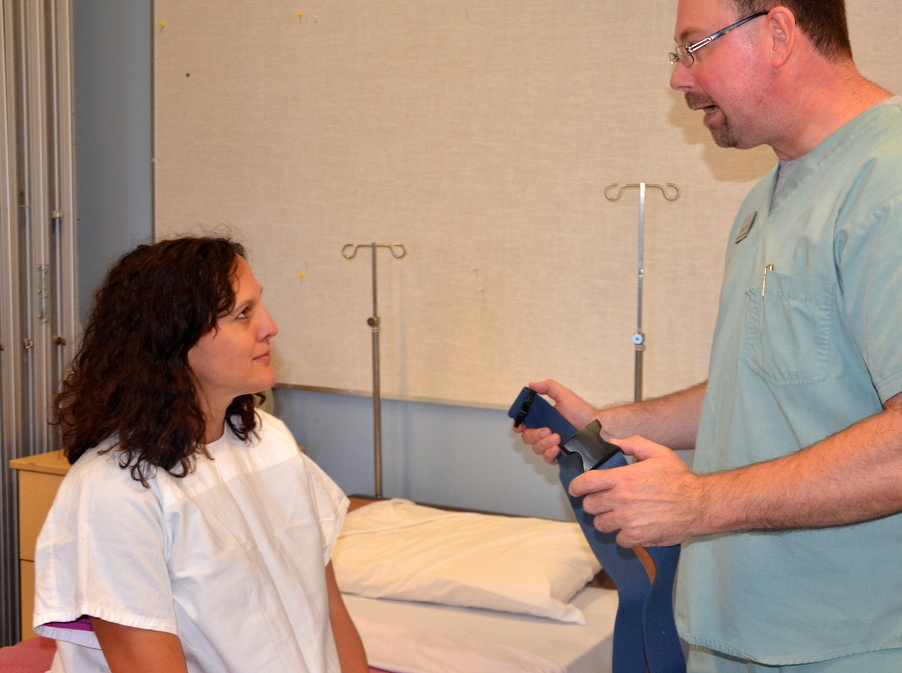 Gait belts are applied over clothing. 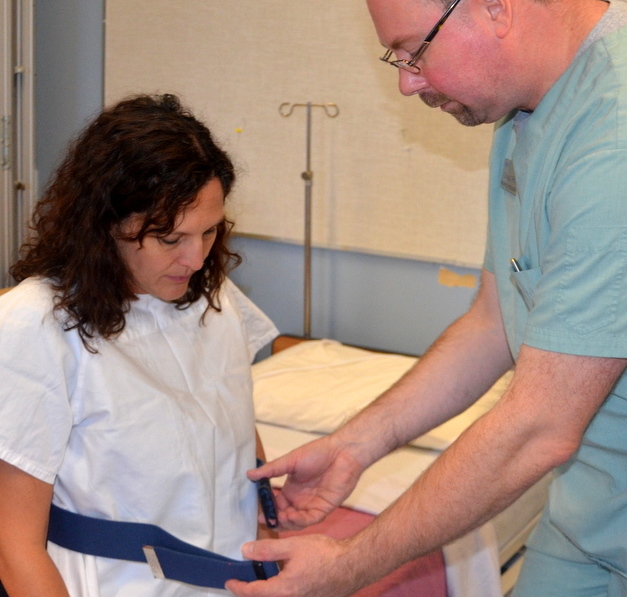 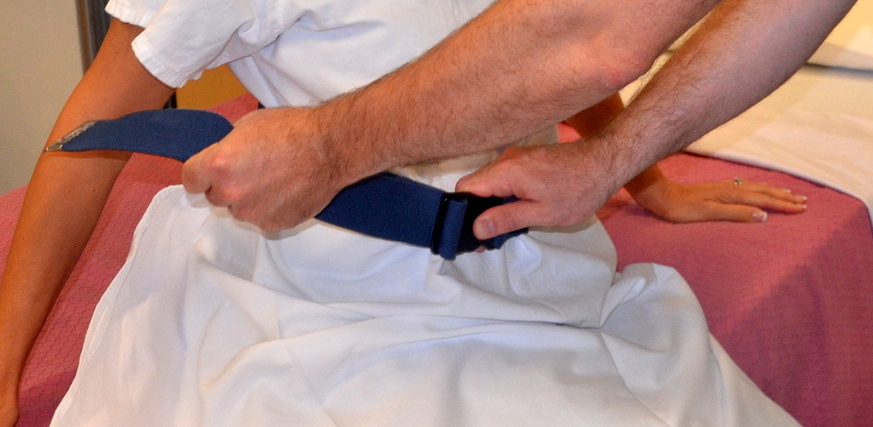 |
||
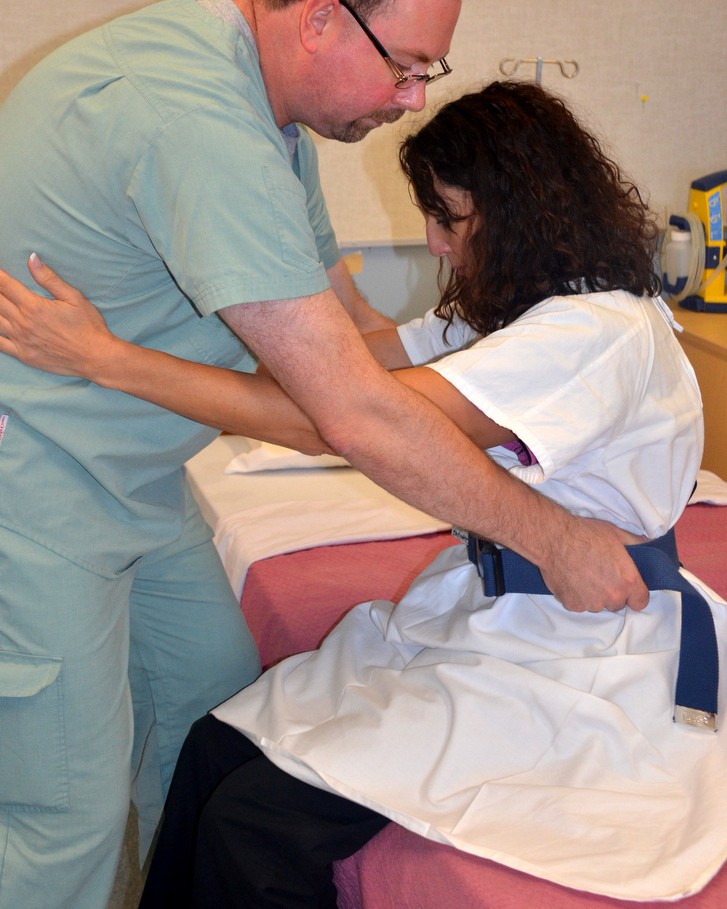
| 3. Assist patient by standing in front of the patient, grasping each side of the gait belt, keeping back straight and knees bent. | The patient should be cooperative and predictable, able to bear weight on own legs and to have good trunk control. Apply gait belt if required for additional support. | ||
| 4. While holding the belt, gently rock back and forth three times. On the third time, pull patient into a standing position. | This action provides momentum to help patient into a standing position.
  |
||
| 5. Once patient is standing and feels stable, move to the unaffected side and grasp the gait belt in the middle of the back. With the other hand, hold the patient’s hand closest to you.
If the patient does not require a gait belt, place hand closest to the patient around the upper arm and hold the patient’s hand with your other hand. |
Standing to the side of the patient provides assistance without blocking the patient.
 |
||
| 6. Before stepping away from the bed, ask the patient if they feel dizzy or lightheaded. If they do, sit patient back down on the bed.
If patient feels stable, begin walking, matching your steps to the patient’s. Instruct patient to look ahead and lift each foot off the ground. |
Always perform a risk assessment prior to ambulation.
Walk only as far as the patient can tolerate without feeling dizzy or weak. Ask patient how they feel during ambulation. |
||
| 7. To help a patient back to bed, have patient stand with back of knees touching the bed. Grasp the gait belt and help patient into a sitting position, keeping your back straight and knees bent. | Allowing a patient to rest after ambulation helps prevent fatigue. | ||
| 8. When patient is finished ambulating, remove gait belt and settle patient into bed or a chair. | This provides a safe place for the patient to rest.
|
||
| 9. When patient returns to bed, place the bed in lowest position, raise side rails as required, and ensure call bell is within reach. Perform hand hygiene. | Placing bed and side rails in a safe position reduces the likelihood of injury to patient. Proper placement of call bell facilitates patient’s ability to ask for assistance.
 Hand hygiene reduces the spread of microorganisms. |
||
| 10. Document patient’s ability to tolerate ambulation and type of assistance required. | This provides a baseline of patient’s abilities and promotes clear communication between health care providers. | ||
| Data source: ATI, 2015b; Interior Health, 2013; Perry et al., 2014; PHSA, 2010 | |||
Video 3.3
Video 3.4
Video 3.5
Critical Thinking Exercises
- A 90-year-old male patient is required to ambulate. He had a total hip arthroplasty and is post-operative day 3 (POD 3). What risk factors should be considered prior to ambulating an elderly patient who has been immobile after hip surgery?
- Does ambulation require a physician’s order?
- What should you do if a patient feels dizzy or lightheaded before ambulation?
