Chapter 7. Parenteral Medication Administration
7.4 Intramuscular Injections
Intramuscular (IM) injections deposit medications into the muscle fascia, which has a rich blood supply, allowing medications to be absorbed faster through muscle fibres than they are through the subcutaneous route (Malkin, 2008; Ogston-Tuck, 2014a; Perry et al., 2014). The IM site is used for medications that require a quick absorption rate but also a reasonably prolonged action (Rodgers & King, 2000). Due to their rich blood supply, IM injection sites can absorb larger volumes of solution, which means a range of medications, such as sedatives, anti-emetics, hormonal therapies, analgesics, and immunizations, can be administered intramuscularly in the community and acute care setting (Hunter, 2008; Ogston-Tuck, 2014a). In addition, muscle tissue is less sensitive than subcutaneous tissue to irritating solutions and concentrated and viscous medications (Greenway, 2014; Perry et al., 2014; Rodgers & King, 2000).
The technique of IM injections has changed over the past years due to evidence-based research and changes in equipment available for the procedure. An IM site is chosen based on the age and condition of the patient and the volume and type of medication injected. When choosing a needle size, the weight of the patient, age, amount of adipose tissue, medication viscosity, and injection site all influence the needle selection (Hunter, 2008; Perry et al., 2014; Workman, 1999).
Intramuscular injections must be done carefully to avoid complications. Complications with IM include muscle atrophy, injury to bone, cellulitis, sterile abscesses, pain, and nerve injury (Hunter, 2008; Ogston-Tuck, 2014a). With IMs, there is an increased risk of injecting the medication directly into the patient’s bloodstream. In addition, any factors that impair blood flow to the local tissue will affect the rate and extent of drug absorption. Because of the adverse and documented effects of pain associated with IM injections, always use this route of administration as a last alternative; consider other methods first (Perry et al., 2014).
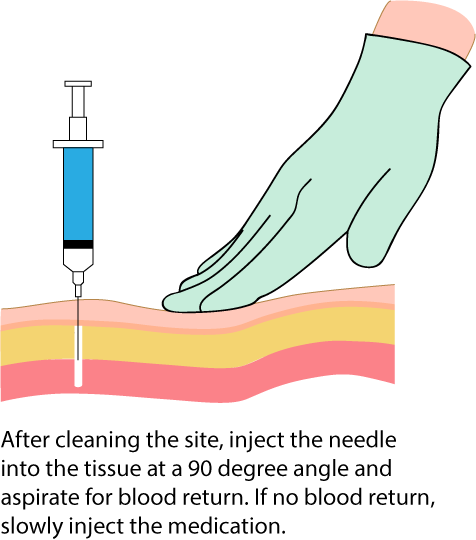
Sites for intramuscular injections include the ventrogluteal, vastus lateralis, and the deltoid site. Literature shows inconsistency in the selection of sites for deep muscular injections: selection may be based on familiarity and confidence rather than on “best practice” (Ogston-Tuck, 2014a). However, there is sufficient evidence that the ventrogluteal IM site is the preferred site whenever possible, and is an acceptable site for oily and irritating medications. The ventrogluteal site is free from blood vessels and nerves, and has the greatest thickness of muscle when compared to other sites (Cocoman & Murray, 2008; Malkin, 2008; Ogston-Tuck, 2014a). A longer needle with a larger gauge is required to penetrate deep muscle tissue. The needle is inserted at a 90-degree angle perpendicular to the patient’s body, or at as close to a 90-degree angle as possible. Use a quick, darting motion when inserting the needle.
Aspiration refers to the action of pulling back on the plunger for 5 seconds prior to injecting medication (Ipp, Sam, & Parkin, 2006). Current practice in the acute care setting is to aspirate IM injections to check for blood return in the syringe. Lack of blood in the syringe confirms that the needle is in the muscle and not in a blood vessel. If blood is aspirated, remove the needle, discard it appropriately, and re-prepare and administer the medications (Perry et al., 2014). Recent research has found that there is no evidence to support the practice of aspiration, but despite policy changes, the procedure of aspiration continues to be taught and practised (Canadian Agency for Drugs and Technologies in Health, 2014; Greenway, 2014; Sepah, Samad, & Altaf, 2014; Sisson, 2015). Vaccinations and immunizations given by IM injections are never aspirated (Centers for Disease Control, 2015).
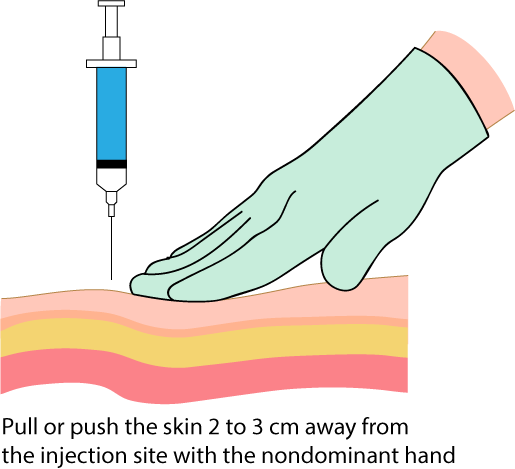
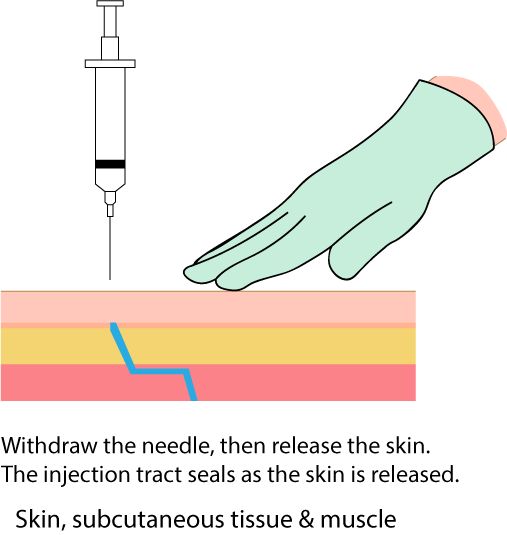
The Z-track method is a method of administrating an IM injection that prevents the medication being tracked through the subcutaneous tissue, sealing the medication in the muscle, and minimizing irritation from the medication. Using the Z-track technique, the skin is pulled laterally, away from the injection site, before the injection; then the medication is injected, the needle is withdrawn, and the skin is released. This method can be used if the overlying tissue can be displaced (Lynn, 2011).
IM Injection Sites
Table 7.7 describes the three injection sites for IM injections.
|
Site |
Additional Information |
||
| Ventrogluteal | The site involves the gluteus medius and minimus muscle and is the safest injection site for adults and children. The site provides the greatest thickness of gluteal muscles, is free from penetrating nerves and blood vessels, and has a thin layer of fat.
To locate the ventrogluteal site, place the patient in a supine or lateral position (on their side). The right hand is used for the left hip, and the left hand is used for the right hip. Place the heel or palm of your hand on the greater trochanter, with the thumb pointed toward the belly button. Extend your index finger to the anterior superior iliac spine and spread your middle finger pointing towards the iliac crest. Insert the needle into the V formed between your index and middle fingers. This is the preferred site for all oily and irritating solutions for patients of any age. Needle gauge is determined by the solution. An aqueous solution can be given with a 20 to 25 gauge needle. Viscous or oil-based solutions can be given with 18 to 21 gauge needles. The needle length is based on patient weight and body mass index. A thin adult may require a 16 mm to 25 mm (5/8 to 1 inch) needle, while an average adult may require a 25 mm (1 inch) needle, and a larger adult (over 70 kg) may require a 25 mm to 38 mm (1 to 1 1/2 inch) needle. Children and infants will require shorter needles. Refer to the agency policies regarding needle length for infants, children, and adolescents. For the ventrogluteal muscle of an average adult, give up to 3 ml of medication.  |
||
| Vastus lateralis
|
The vastus lateralis is commonly used for immunizations in children from infants through to toddlers. The muscle is thick and well developed. This muscle is located on the anterior lateral aspect of the thigh and extends from one hand’s breadth above the knee to one hand’s breadth below the greater trochanter. The middle third of the muscle is used for injections. The width of the muscle used extends from the mid-line of the thigh to the mid-line of the outer thigh. To help relax the patient, ask the patient to lie flat with knees slightly bent, or have the patient in a sitting position.
The length of the needle is based on the patient’s age, weight and body mass index. In general, the recommended needle length for an adult is 25 mm to 38 mm (1 to 1 1/2 inch). The gauge of the needle is determined by the type of medication administered. Aqueous solutions can be given with a 20 to 25 gauge needle; oily or viscous medication should be administered with 18 to 21 gauge needles. A smaller gauge needle (22 to 25 gauge) should be used with children. The length will be shorter for infants and children; see agency guidelines. The maximum amount of medication for a single injection is 3 ml. 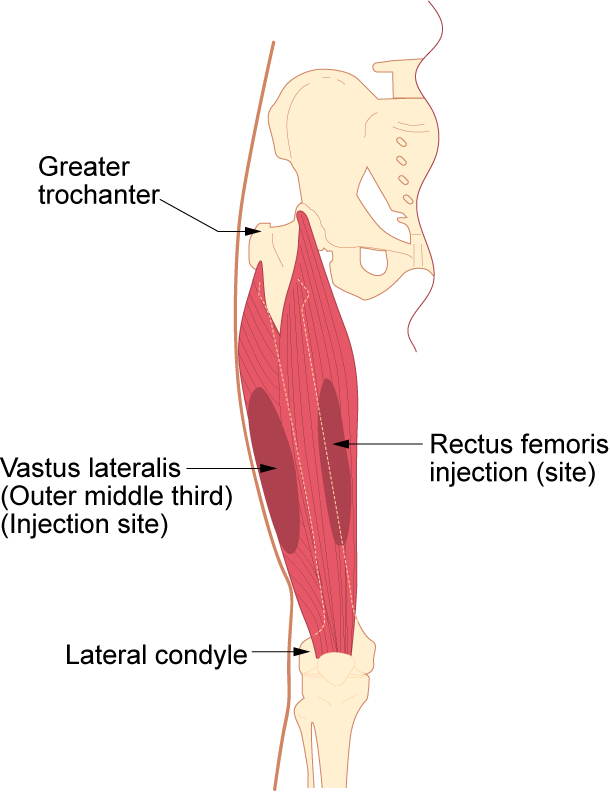 |
||
| Deltoid muscle | The deltoid muscle has a triangular shape and is easy to locate and access, but is commonly underdeveloped in adults. Begin by having the patient relax the arm. The patient can be standing, sitting, or lying down. To locate the landmark for the deltoid muscle, expose the upper arm and find the acromion process by palpating the bony prominence. The injection site is in the middle of the deltoid muscle, about 2.5 to 5 cm (1 to 2 inches) below the acromion process. To locate this area, lay three fingers across the deltoid muscle and below the acromion process. The injection site is generally three finger widths below, in the middle of the muscle.
Select needle length based on age, weight, and body mass. In general, for an adult male weighing 60 to 118 kg (130 to 260 lbs), a 25 mm (1 inch) needle is sufficient. For women under 60 kg (130 lbs), a 16 mm (5/8 inch) needle is sufficient, while for women between 60 and 90 kg (130 to 200 lbs), a 25 mm (1 inch) needle is required. A 38mm (1 1/2 inch) length needle may be required for women over 90 kg (200 lbs) for a deltoid IM injection. Refer to agency policy regarding specifications for infants, children, adolescents, and immunizations. The maximum amount of medication for a single injection is generally 1 ml. For immunizations, a smaller 22 to 25 gauge needle should be used. 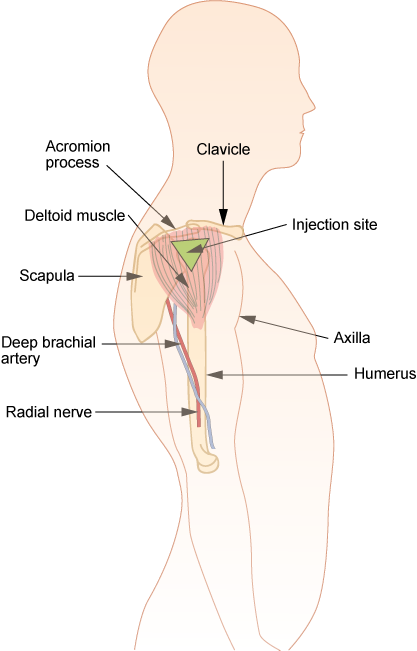 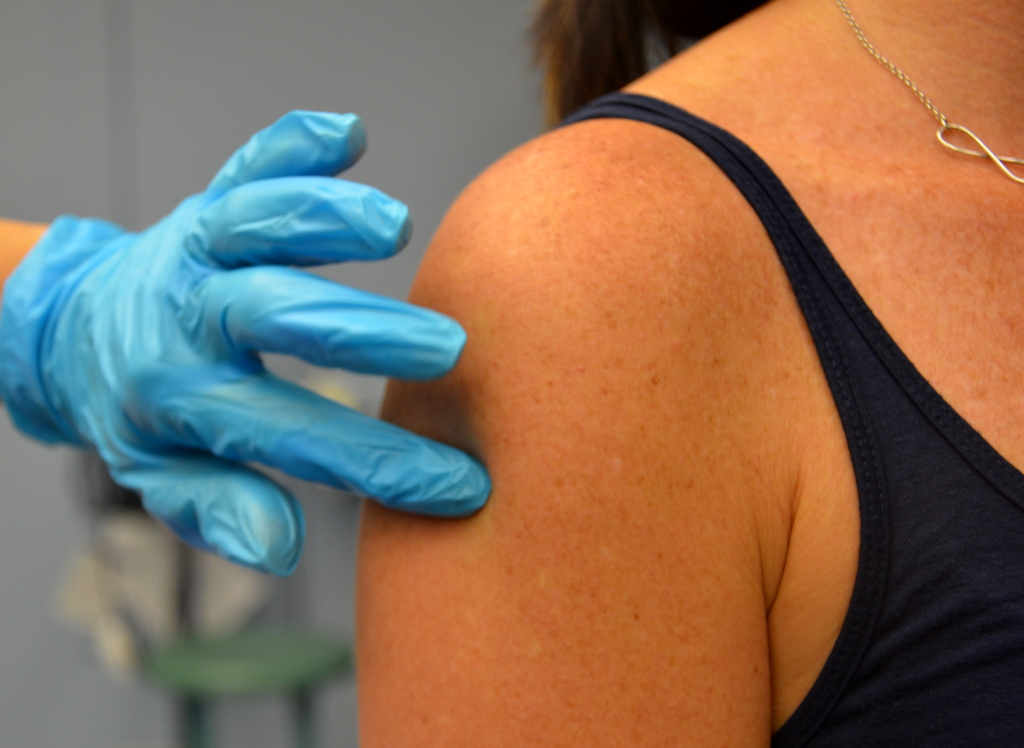 |
||
| Data source: Berman & Snyder, 2016; Davidson & Rourke, 2014; Ogston-Tuck, 2014a; Perry et al., 2014 | |||
Special Considerations:
- Avoid muscles that are emaciated or atrophied; they will absorb medications poorly.
- IM injection sites should be rotated to decrease the risk of hypertrophy.
- Older adults and thin patients may only tolerate up to 2 ml in a single injection.
- Choose a site that is free from pain, infection, abrasions, or necrosis.
- The dorsogluteal site should be avoided for intramuscular injections. If a needle hits the sciatic nerve, the patient may experience partial or permanent paralysis of the leg.
IM Injections
Consider the type of medication and the age, condition, and size of the patient when selecting an IM site. Rotate IM sites to avoid complications. Potential complications include lingering pain, tissue necrosis, abscesses, and injury to blood vessels, bones, or nerves. If administering a vaccination, always refer to the vaccination guidelines for site selection. Checklist 58 outlines the steps to perform an IM injection.
Disclaimer: Always review and follow your hospital policy regarding this specific skill. |
|||
Safety Considerations:
|
|||
Steps |
Additional Information |
||
| Assessment | |||
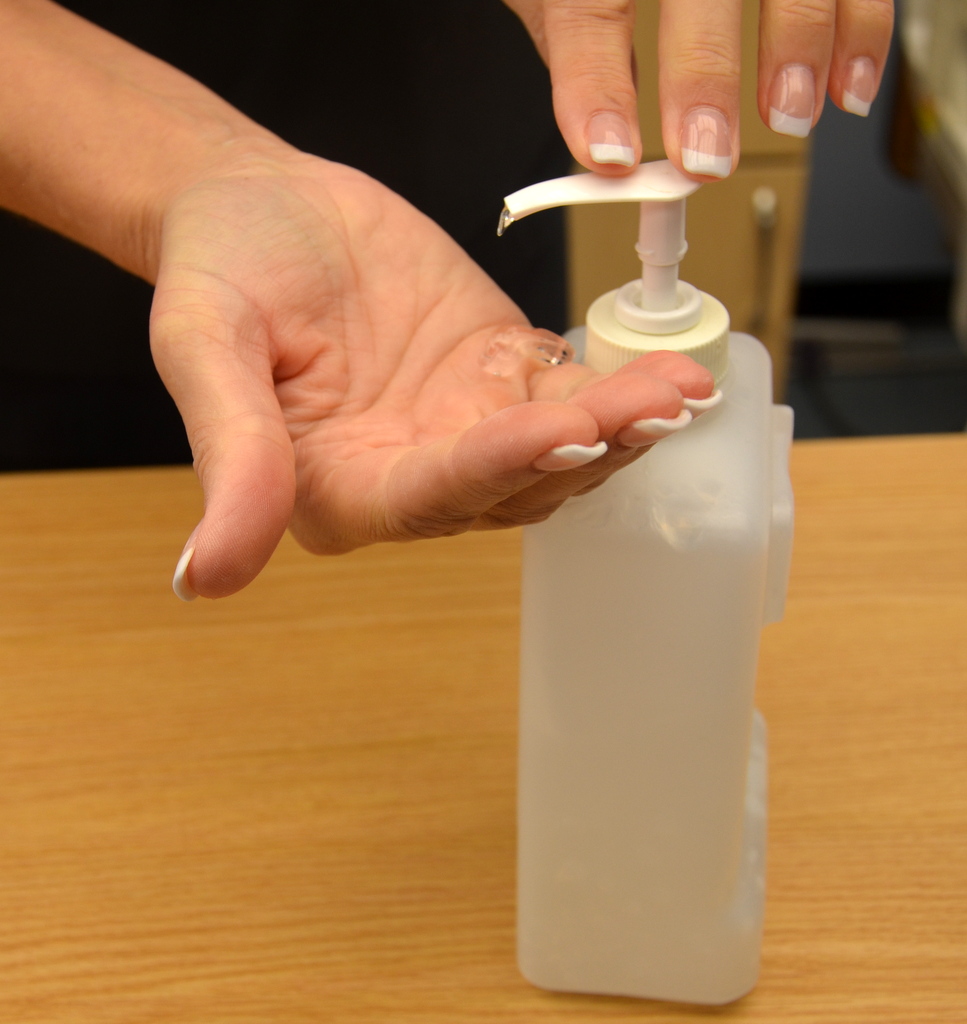
| 1. Perform hand hygiene. | Hand hygiene prevents the spread of microorganisms.
 |
||
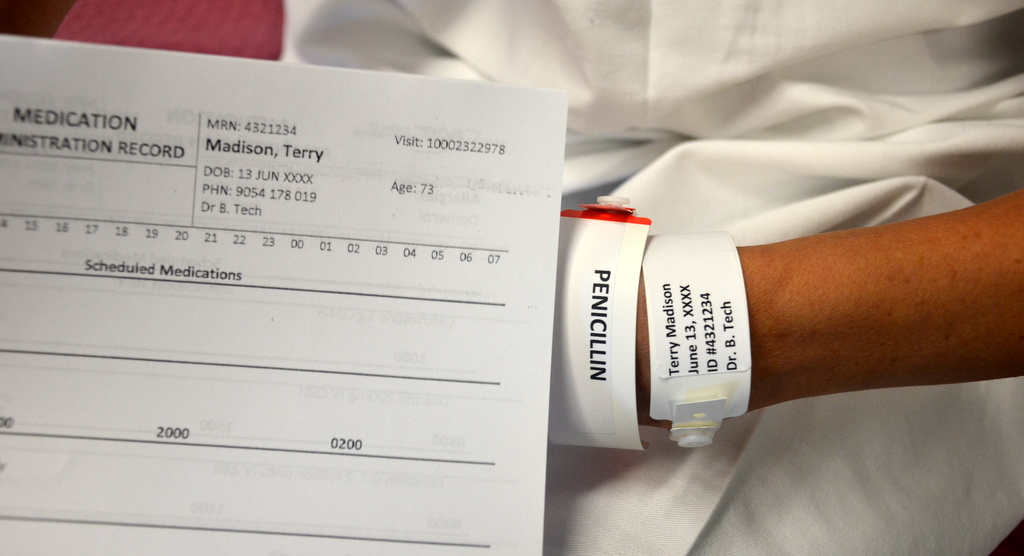
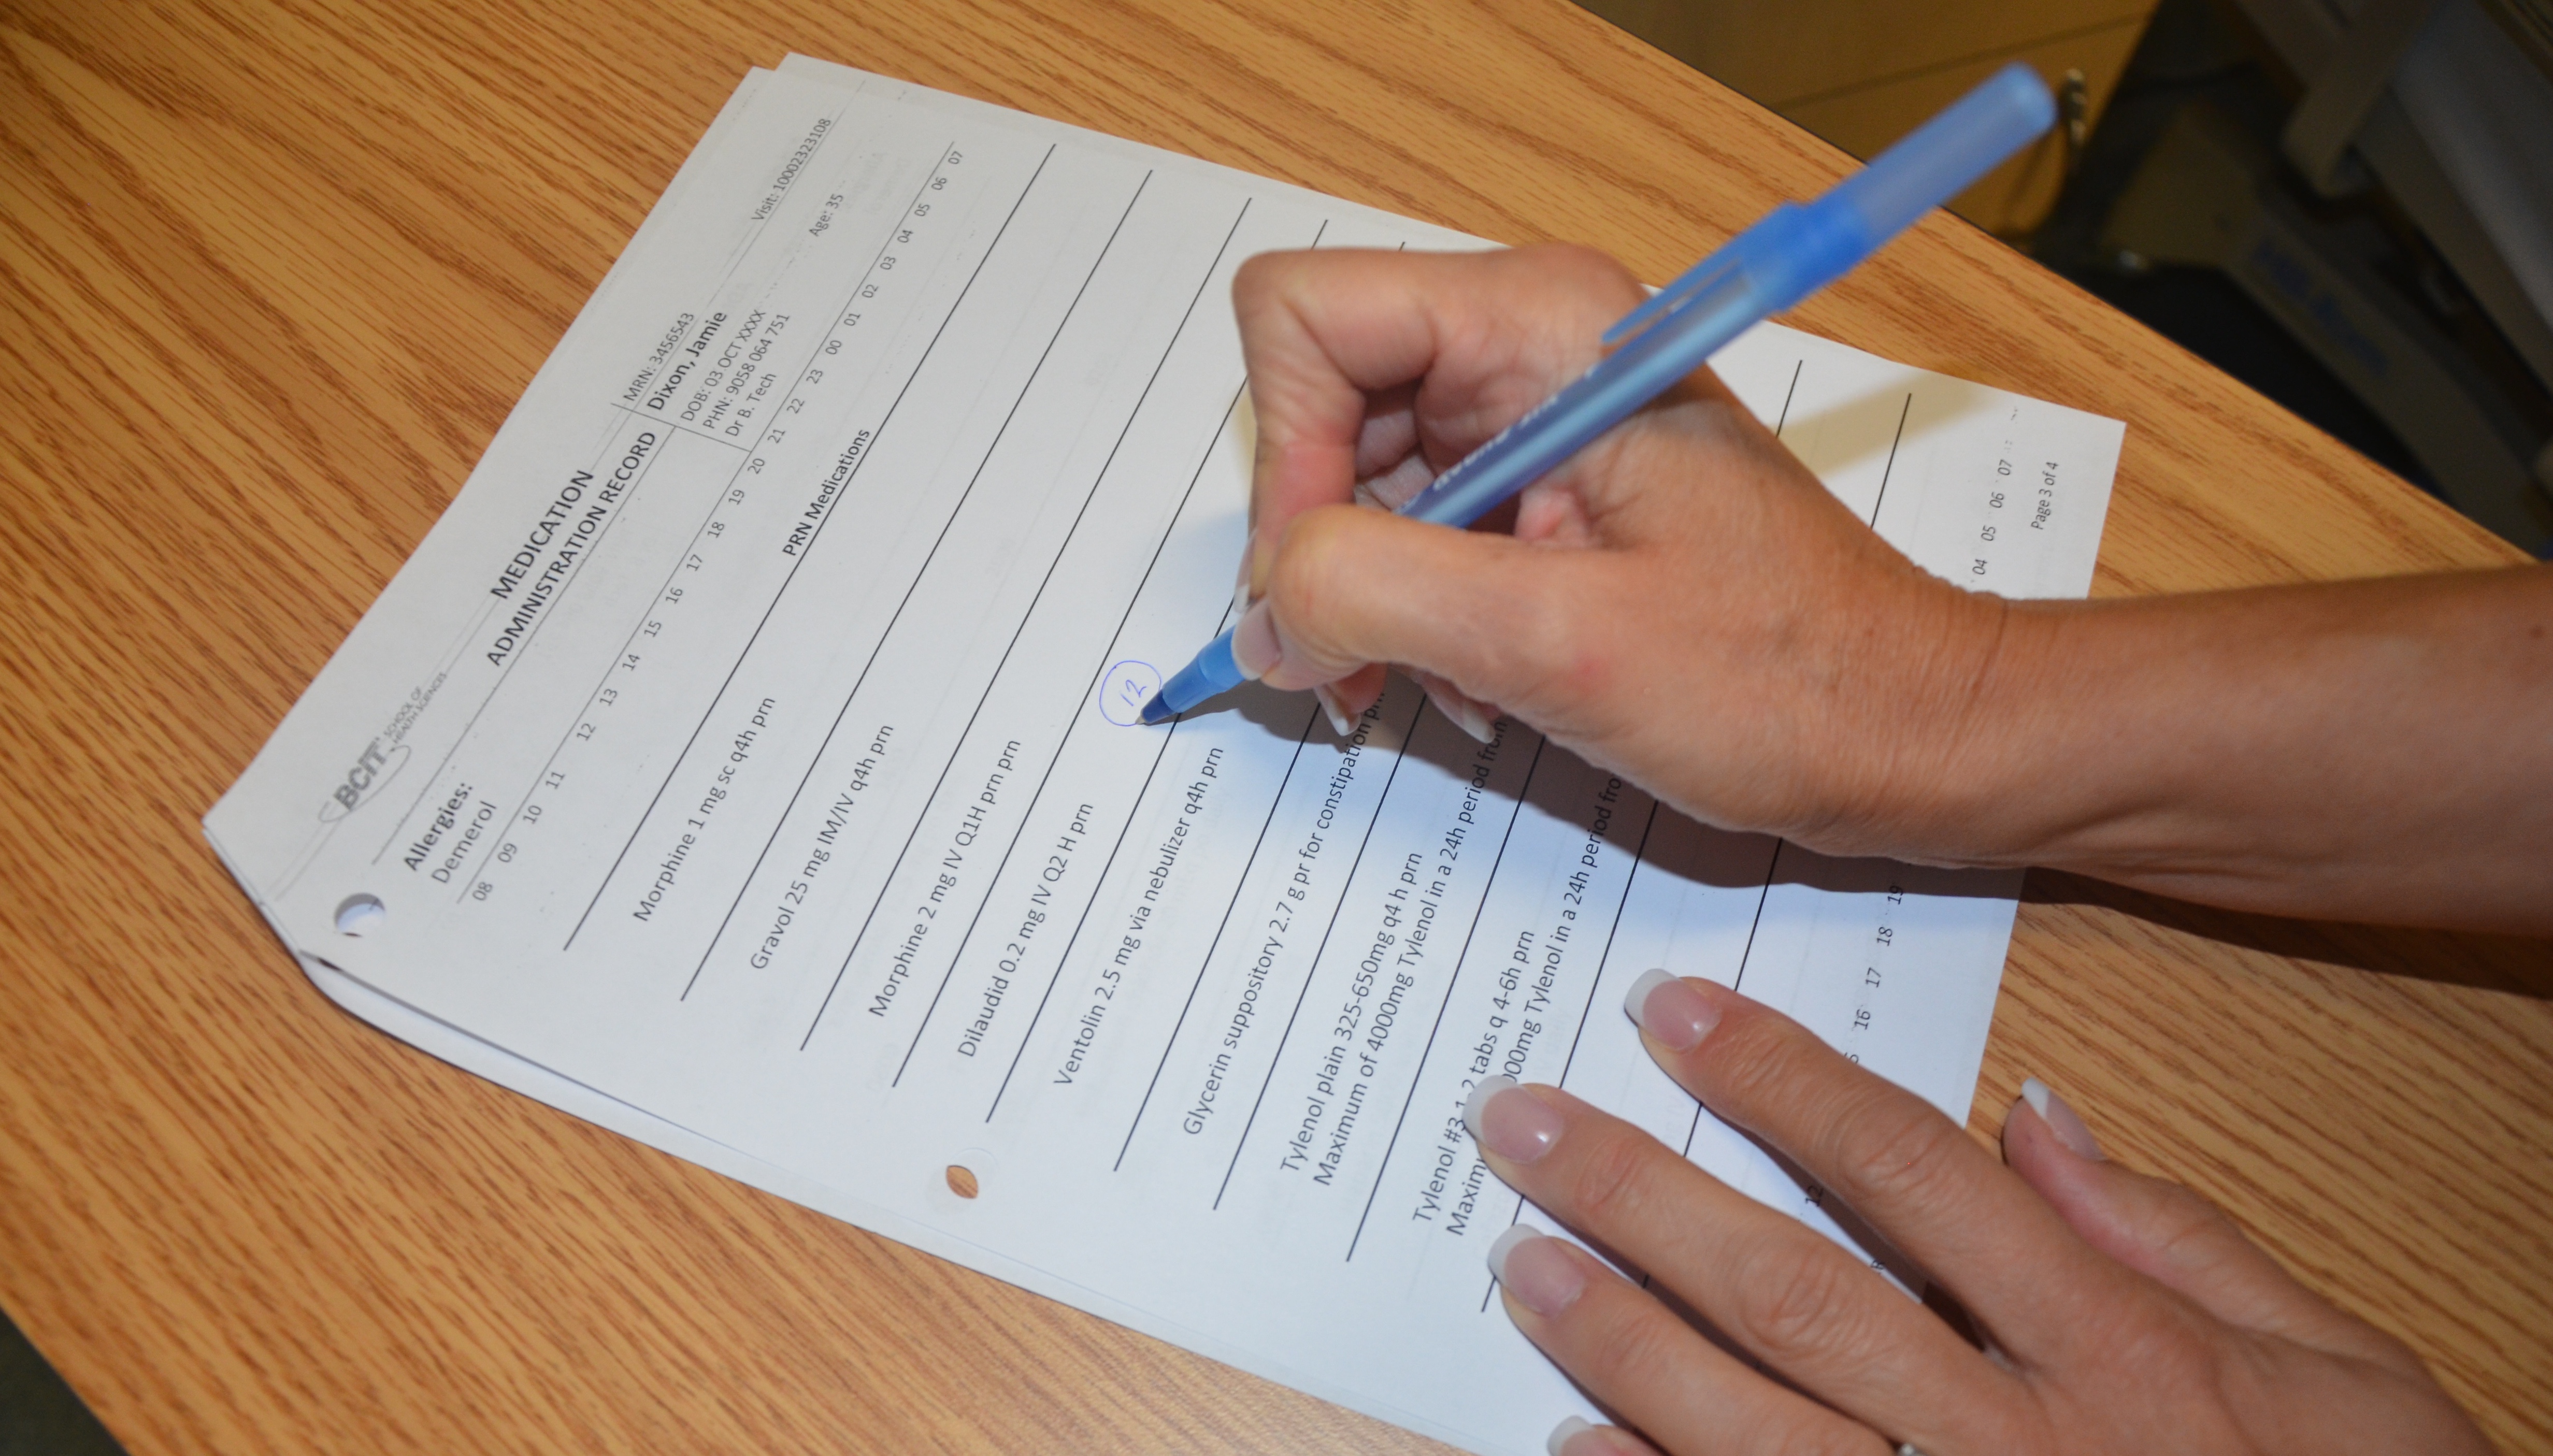
| 2. Compare MAR to patient wristband and use two patient identifiers to confirm patient. | Using two identifiers improves medication safety by ensuring you have selected the correct patient.
 |
||
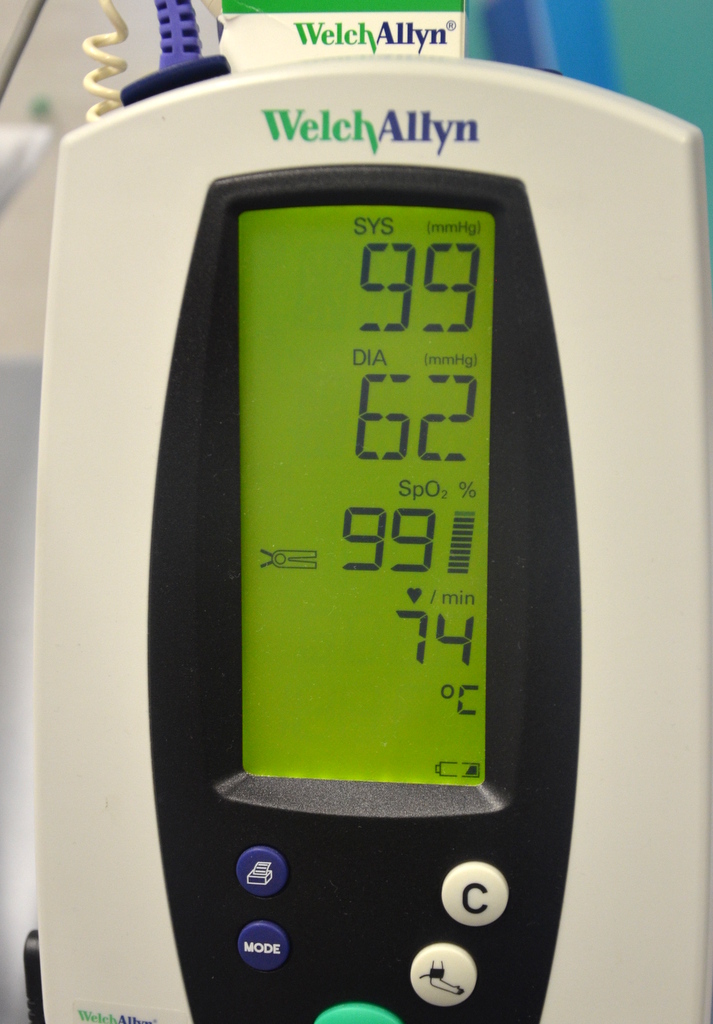
| 3. Assess the patient’s symptoms, knowledge of the medication to be received, history of allergies, drug allergies, and types of allergic reactions. | Assess patient data such as vital signs, laboratory values, and allergies before preparing and administering medications by injection.
 |
||
| 4. Assess for any factors that may contraindicate an IM injection. | Factors to look for include circulatory shock, surgery, or muscle atrophy. | ||
| Preparation | |||
| 5. Verify practitioner’s order and MAR. |
 |
||
| 6. Review medication information, such as purpose, action, side effects, normal dose, rate of administration, time of onset, peak and duration, and nursing implications. | Knowledge of the medication ensures the correct patient receives the correct dose of the correct medication at the correct time via the correct route for the correct reason using the correct documentation. | ||
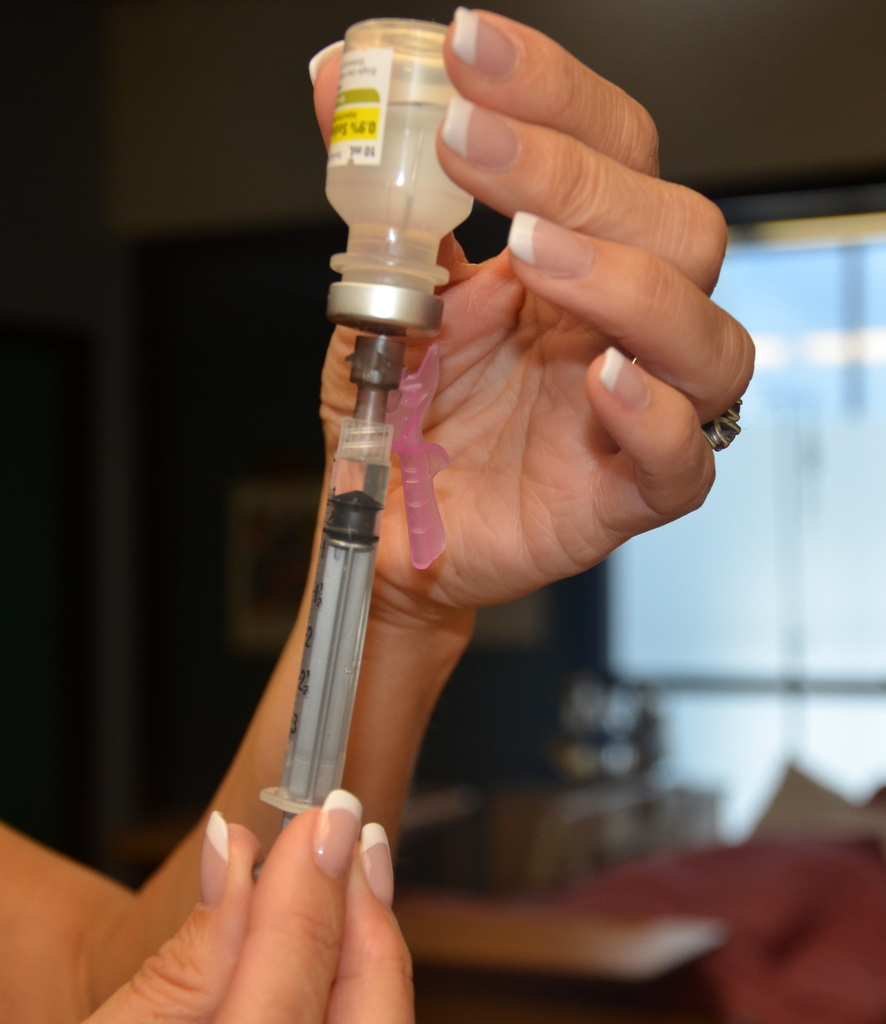
| 7. Assemble supplies. | Assemble medication, non-sterile gloves, alcohol swabs, syringes, needles, and sharps container. | ||
| 8. Prepare medication from an ampule or a vial as per hospital policy. Always compare MAR to the practitioner’s original orders to ensure accuracy and completeness. | This prevents medication errors by providing an additional check.
 |
||
| 9. NEVER leave the medication unsupervised once prepared. | Medications left unattended may lead to medication errors. | ||
| Procedure | |||
| 10. Perform hand hygiene. | Hand hygiene prevents the transmission of microorganisms.
|
||
| 11. Close curtains or door. | This creates privacy for the patient. | ||
| 12. Verify patient using two unique identifiers and compare to MAR. | This step confirms the correct identity of the patient.
|
||
| 13. Explain the procedure and the medication, and give the patient time to ask questions. | Knowing what is happening helps minimize patient anxiety. Let the patient know there may be mild burning at the injection site. | ||
| 14. Don non-sterile gloves and prepare the patient in the correct position. Ensure a sharps disposal container is close by for disposal of needle after administration. | This prepares the patient for injection.
Ensuring the sharps container is close by allows for safe disposal of the needle. |
||
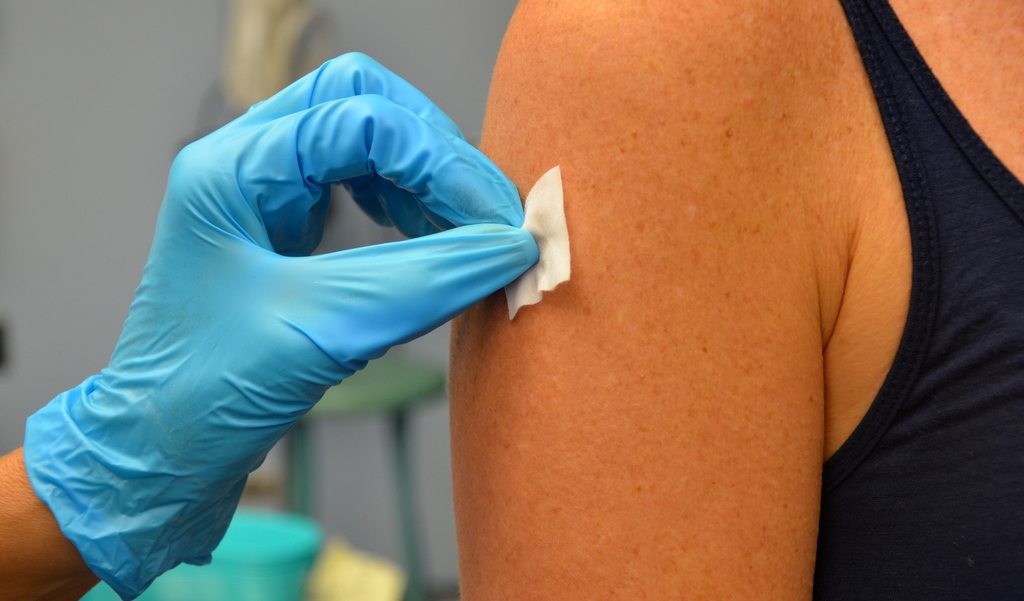
| 15. Locate correct site using landmarks, and clean area with alcohol or antiseptic swab. Allow site to dry completely. | Allowing the site to dry prevents stinging during injection.
 |
||
| 16. Place a clean swab or dry gauze between your third and fourth fingers. | This allows for easy access to dry gauze after injection.
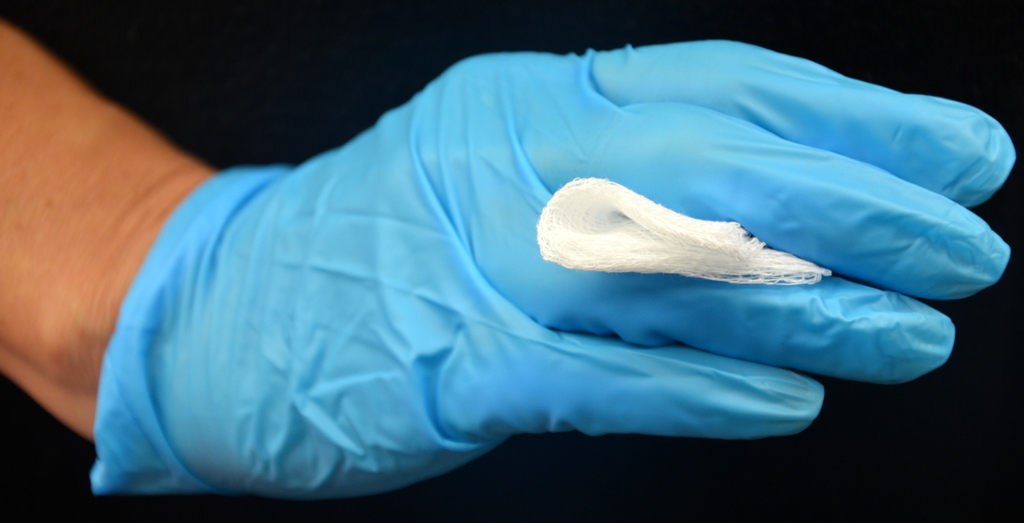 |
||
| 17. Remove needle cap by pulling it straight off the needle. Hold syringe between thumb and forefinger on dominant hand as if holding a dart. | This prevents needle from touching side of the cap and prevents contamination.
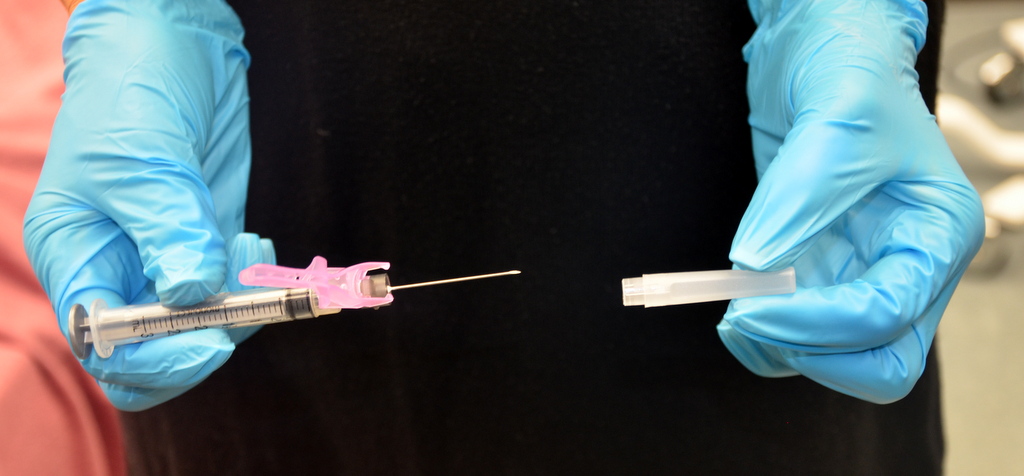 |
||
| 18. With non-dominant hand, hold the skin around the injection site. | This secures the area for injection. | ||
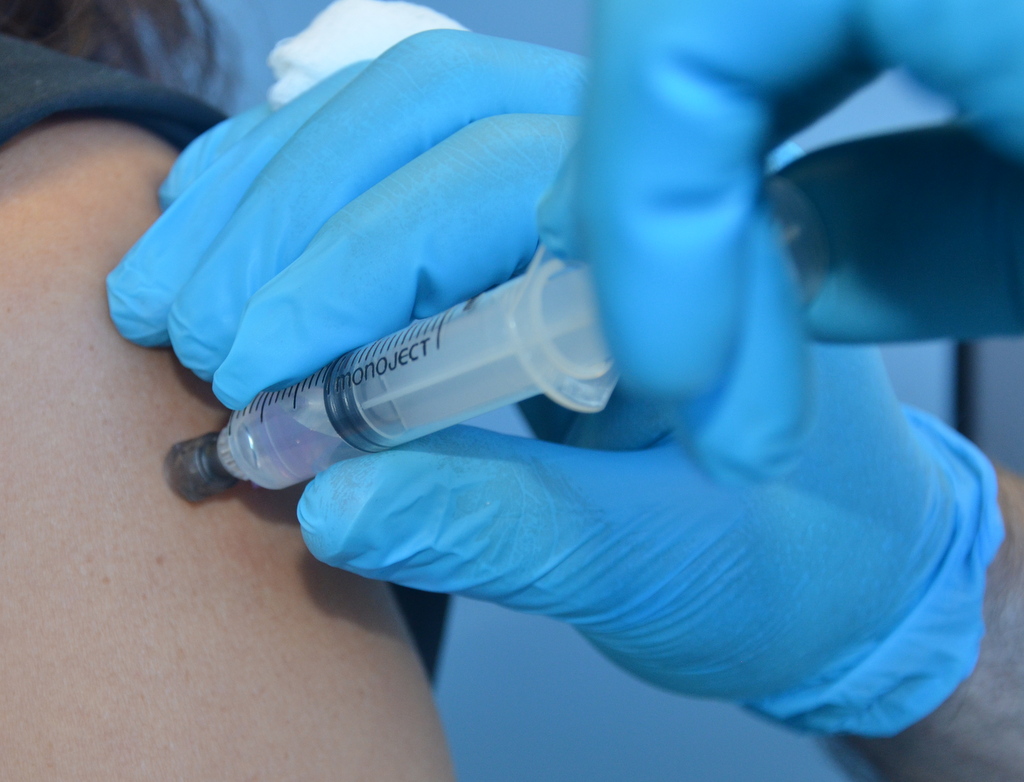
| 19. With the dominant hand, inject the needle quickly into the muscle at a 90-degree angle, using a steady and smooth motion. | Insert the needle with a dart-like motion.
 |
||
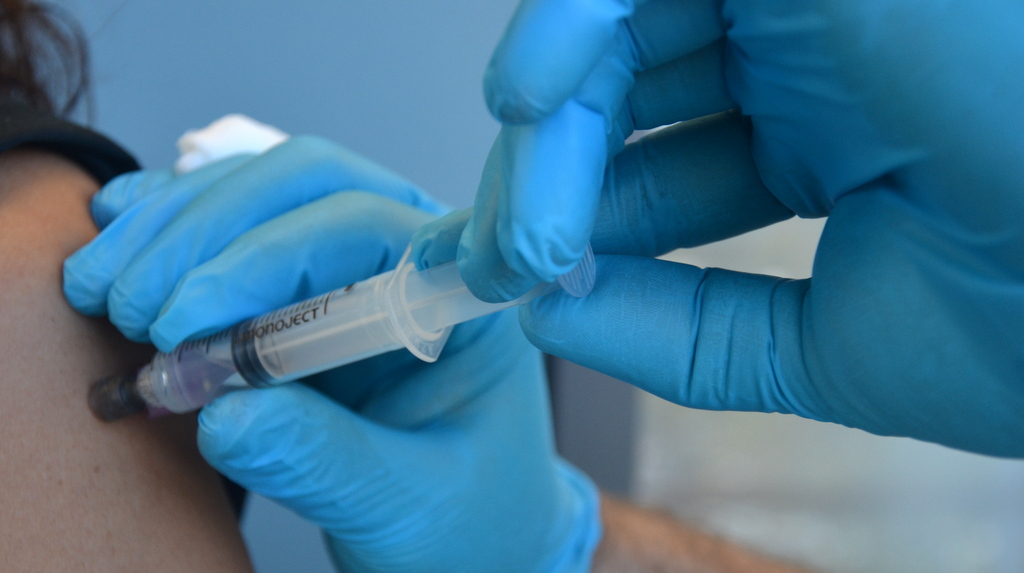
| 20. After the needle pierces the skin, use the thumb and forefinger of the non-dominant hand to hold the syringe. | Movement of the needle once injected can cause additional discomfort for the patient.
 |
||
| 21. If required by agency policy, aspirate for blood. If no blood appears, inject the medication slowly and steadily.
If blood appears, discard syringe and needle, and prepare the medication again. |
Because the injection sites recommended for immunizations do not contain large blood vessels, aspiration is not necessary when immunizing.
 |
||
| 22. Once medication is completely injected, remove the needle using a smooth, steady motion. Remove the needle at the same angle at which it was inserted. | Using a smooth motion prevents any unnecessary pain to the patient.
|
||
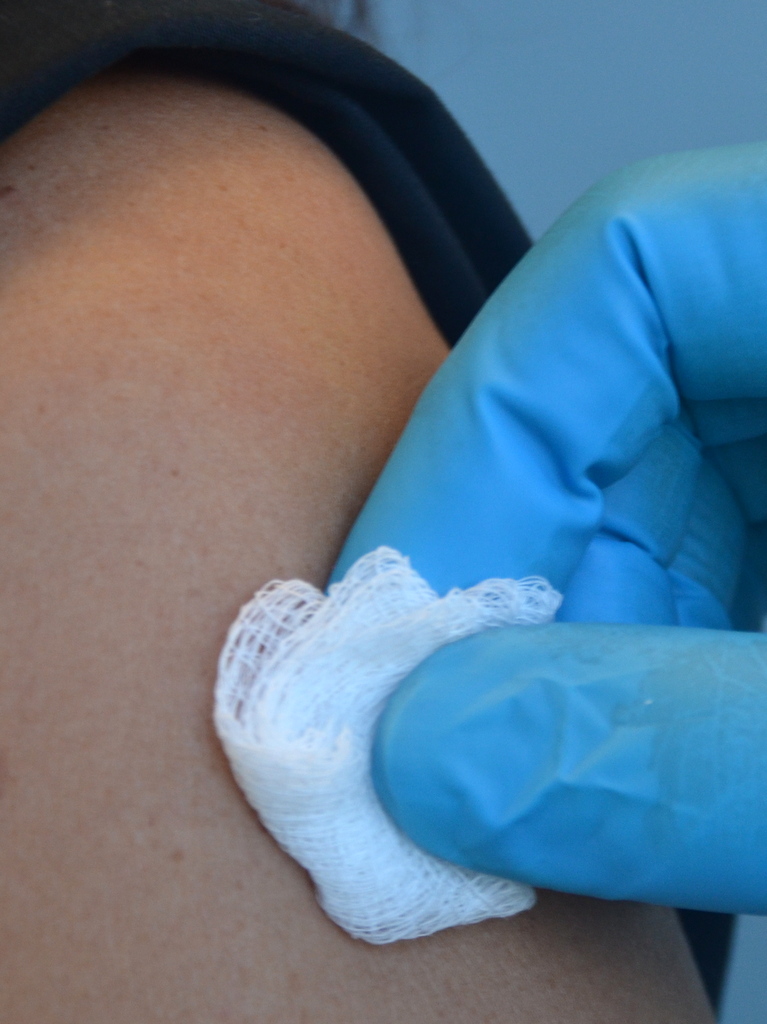
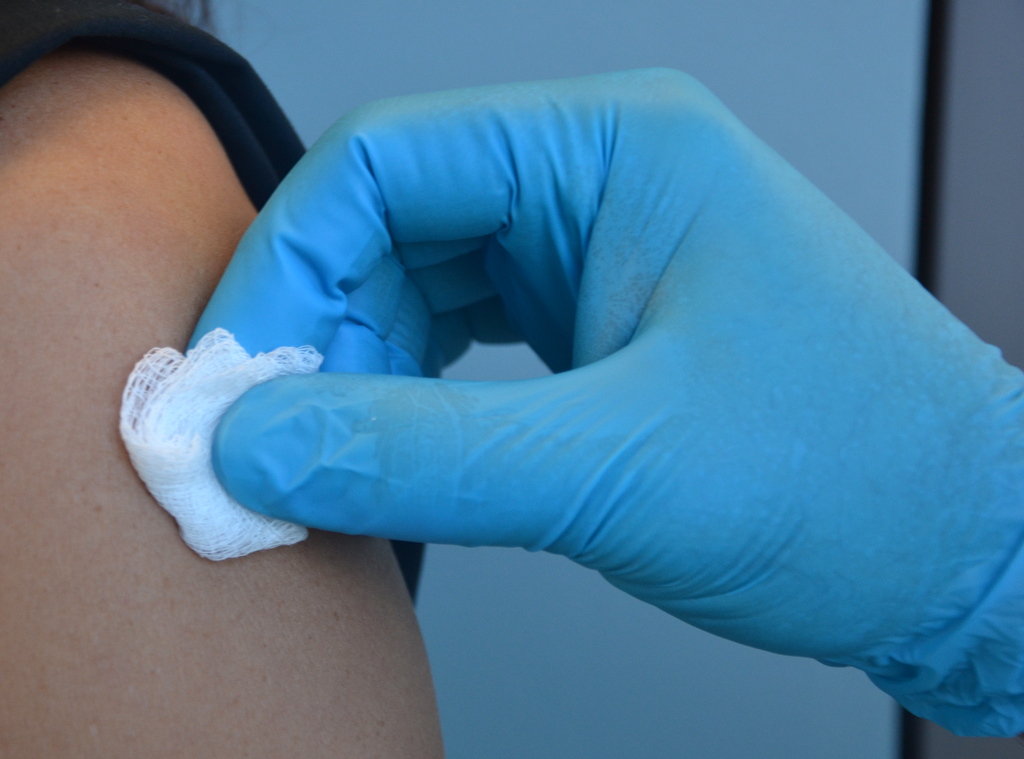
| 23. Cover injection site with sterile gauze, using gentle pressure, and apply Band-Aid as required. | Covering prevents infection at the injection site.
 |
||
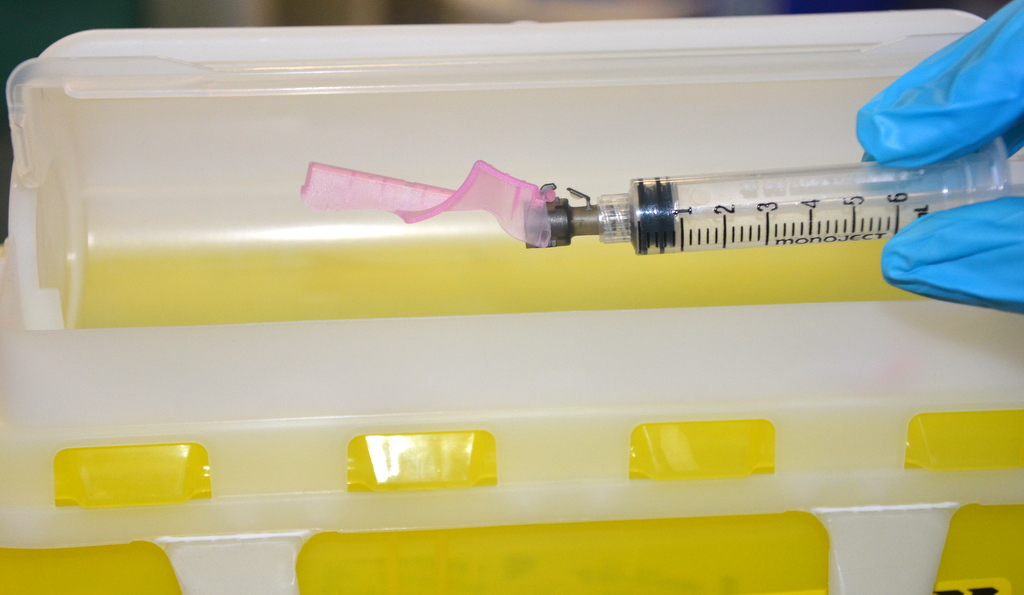
| 24. Place safety shield on needle and discard syringe in appropriate sharps container. | Placing sharps in appropriate puncture-proof and leak-proof receptacles prevents accidental needle-stick injuries.
 |
||
| 25. Discard supplies, remove gloves, and perform hand hygiene. | This step prevents the spread of microorganisms.
|
||
| 26. Document procedure as per agency policy. | Document the medication, time, route, site, date of administration, and effect of the medication; any adverse effects; unexpected outcomes; and any interventions applied. | ||
| 27. Assess patient’s response to the medication after the appropriate time frame. | Assess for effectiveness of the medication (onset, peak, and duration). Assess injection site for pain, bruising, burning, or tingling. | ||
| Data source: CDC, 2013, 2015; Perry et al., 2014 | |||
Checklist 59 outlines the steps to perform a Z-track IM injection.
Disclaimer: Always review and follow your hospital policy regarding this specific skill. |
|||
Safety Considerations:
|
|||
Steps |
Additional Information |
||
| Assessment | |||
| 1. Perform hand hygiene. | Hand hygiene prevents the spread of microorganisms.
|
||
| 2. Compare Mar to the patient’s wristband and use two patient identifiers to confirm patient. | Using two identifiers improves medication safety by ensuring you have selected the correct patient.
|
||
| 3. Assess the patient’s symptoms, knowledge of the medication to be received, history of allergies, drug allergies, and types of allergic reactions. | Assess patient data such as vital signs, laboratory values, and allergies before preparing and administering medications by injection. | ||
| 4. Assess for any factors that may contraindicate an injection. | Factors to look for include circulatory shock, surgery, or muscle atrophy. | ||
| Preparation | |||
| 5. Verify practitioner’s order and MAR. |
 |
||
| 6. Review medication information such as purpose, action, side effects, normal dose, rate of administration, time of onset, peak and duration, and nursing implications. | Knowledge of the medication ensures the correct patient receives the correct dose of the correct medication at the correct time via the correct route for the correct reason using the correct documentation. | ||
| 7. Verify expiry date and check for particulates, discoloration, or loss of integrity (sterility). | Discoloured or outdated medication may be harmful. If a medication is discoloured or cloudy, always check manufacturer’s specification for the medication. | ||
| 8. Assemble supplies. | Assemble medication, non-sterile gloves, syringes, needles, and sharps container. | ||
| 9. Prepare medication from an ampule or a vial as per hospital policy. Always compare MAR to the practitioner’s original orders to ensure accuracy and completeness. | This prevents medication errors by providing an additional check.
|
||
| 10. NEVER leave the medication unsupervised once prepared. | Unsupervised medication may lead to medication errors | ||
| Procedure | |||
| 11. Perform hand hygiene. | Hand hygiene prevents transmission of microorganisms | ||
| 12. Close curtains or door. | This creates privacy for the patient. | ||
| 13. Verify patient using two unique identifiers and compare to MAR. | This confirms the correct identity of the patient.
Follow policy for safe medication administration. |
||
| 14. Explain the procedure and the medication, and give the patient time to ask questions. | Knowing what is happening helps minimize patient anxiety. Let the patient know there may be mild burning at the injection site. | ||
| 15. Don non-sterile gloves, select the correct site, and prepare the patient in the correct position. Ensure a sharp disposal container is close by for disposal of needle after administration. | This prepares the patient for injection.
Ensuring the sharps container is close by allows for safe disposal of the needle. |
||
| 16. Locate correct site using landmarks, and clean area with alcohol or antiseptic swab. Allow site to dry completely. | Allowing the site to dry prevents stinging during injection.
|
||
| 17. Place a clean swab or dry gauze between your third and fourth fingers. |
This allows for easy access to dry gauze after injection. |
||
| 18. Remove needle cap by pulling it straight off the needle. Hold syringe between thumb and forefinger on dominant hand as if holding a dart. | This prevents needle from touching side of the cap and prevents contamination.
|
||
| 19. Displace skin in a Z-track manner by pulling the skin down or to one side about 2 cm (1 in.) with your non-dominant hand. | The Z-track method creates a zigzag path to prevent medication from leaking into the subcutaneous tissue. This method may be used for all injections, or may be specified by the medication.
|
||
| 20. With skin held to one side, quickly insert needle at a 90-degree angle.
After needle pierces skin, continue pulling on skin with non-dominant hand, and at the same time grasp lower end of syringe barrel with fingers of non-dominant hand to stabilize it. Move dominant hand to end of plunger. If required by agency policy, aspirate for blood. If no blood appears, inject the medication slowly. |
Insert the needle with a dart-like motion. A quick injection is less painful. Inject medication at 10 seconds/ml.
Because the injection sites recommended for immunizations do not contain large blood vessels, aspiration is not necessary when immunizing.
|
||
| 21. Once medication is given, leave the needle in place for 10 seconds. Avoid moving the syringe. | Leaving the needle in place allows the medication to be displaced.
Movement of the needle can cause additional discomfort for the patient. |
||
| 22. Once medication is completely injected, remove the needle using a smooth, steady motion. Then release the skin. | Using a smooth motion prevents any unnecessary pain to the patient.
|
||
| 23. Cover injection site with sterile gauze, using gentle pressure, and apply Band-Aid as required. Do not massage site. | Covering prevents infection at the injection site.
 |
||
| 24. Place safety shield or needle guard on needle and discard syringe in appropriate sharps container. | Placing sharps in appropriate puncture-proof and leak-proof receptacles prevents accidental needle-stick injuries.
|
||
| 25. Discard supplies, remove gloves, and perform hand hygiene. | This step prevents the spread of microorganisms.
|
||
| 26. Document procedure as per agency policy. | Document the medication, time, route, site, date of administration, and effect of the medication; any adverse effects; unexpected outcomes; and any interventions applied. | ||
| 27. Assess patient’s response to the medication after the appropriate time frame. | Assess for effectiveness of the medication (onset, peak, and duration). Assess injection site for pain, bruising, burning, or tingling. | ||
| Data source: Centers for Disease Control, 2013, 2015; Perry et al., 2014 | |||
Video 7.5
Video 7.6
Video 7.7
Critical Thinking Exercises
- How can you make an injection less painful for a patient? Name four techniques.
- When giving an IM injection, how can you avoid injury to a patient who is very thin?
