Want to create or adapt books like this? Learn more about how Pressbooks supports open publishing practices.
Chapter 8. Intravenous Therapy
8.5 Flushing a Saline Lock and Converting a Saline Lock to a Continuous IV Infusion
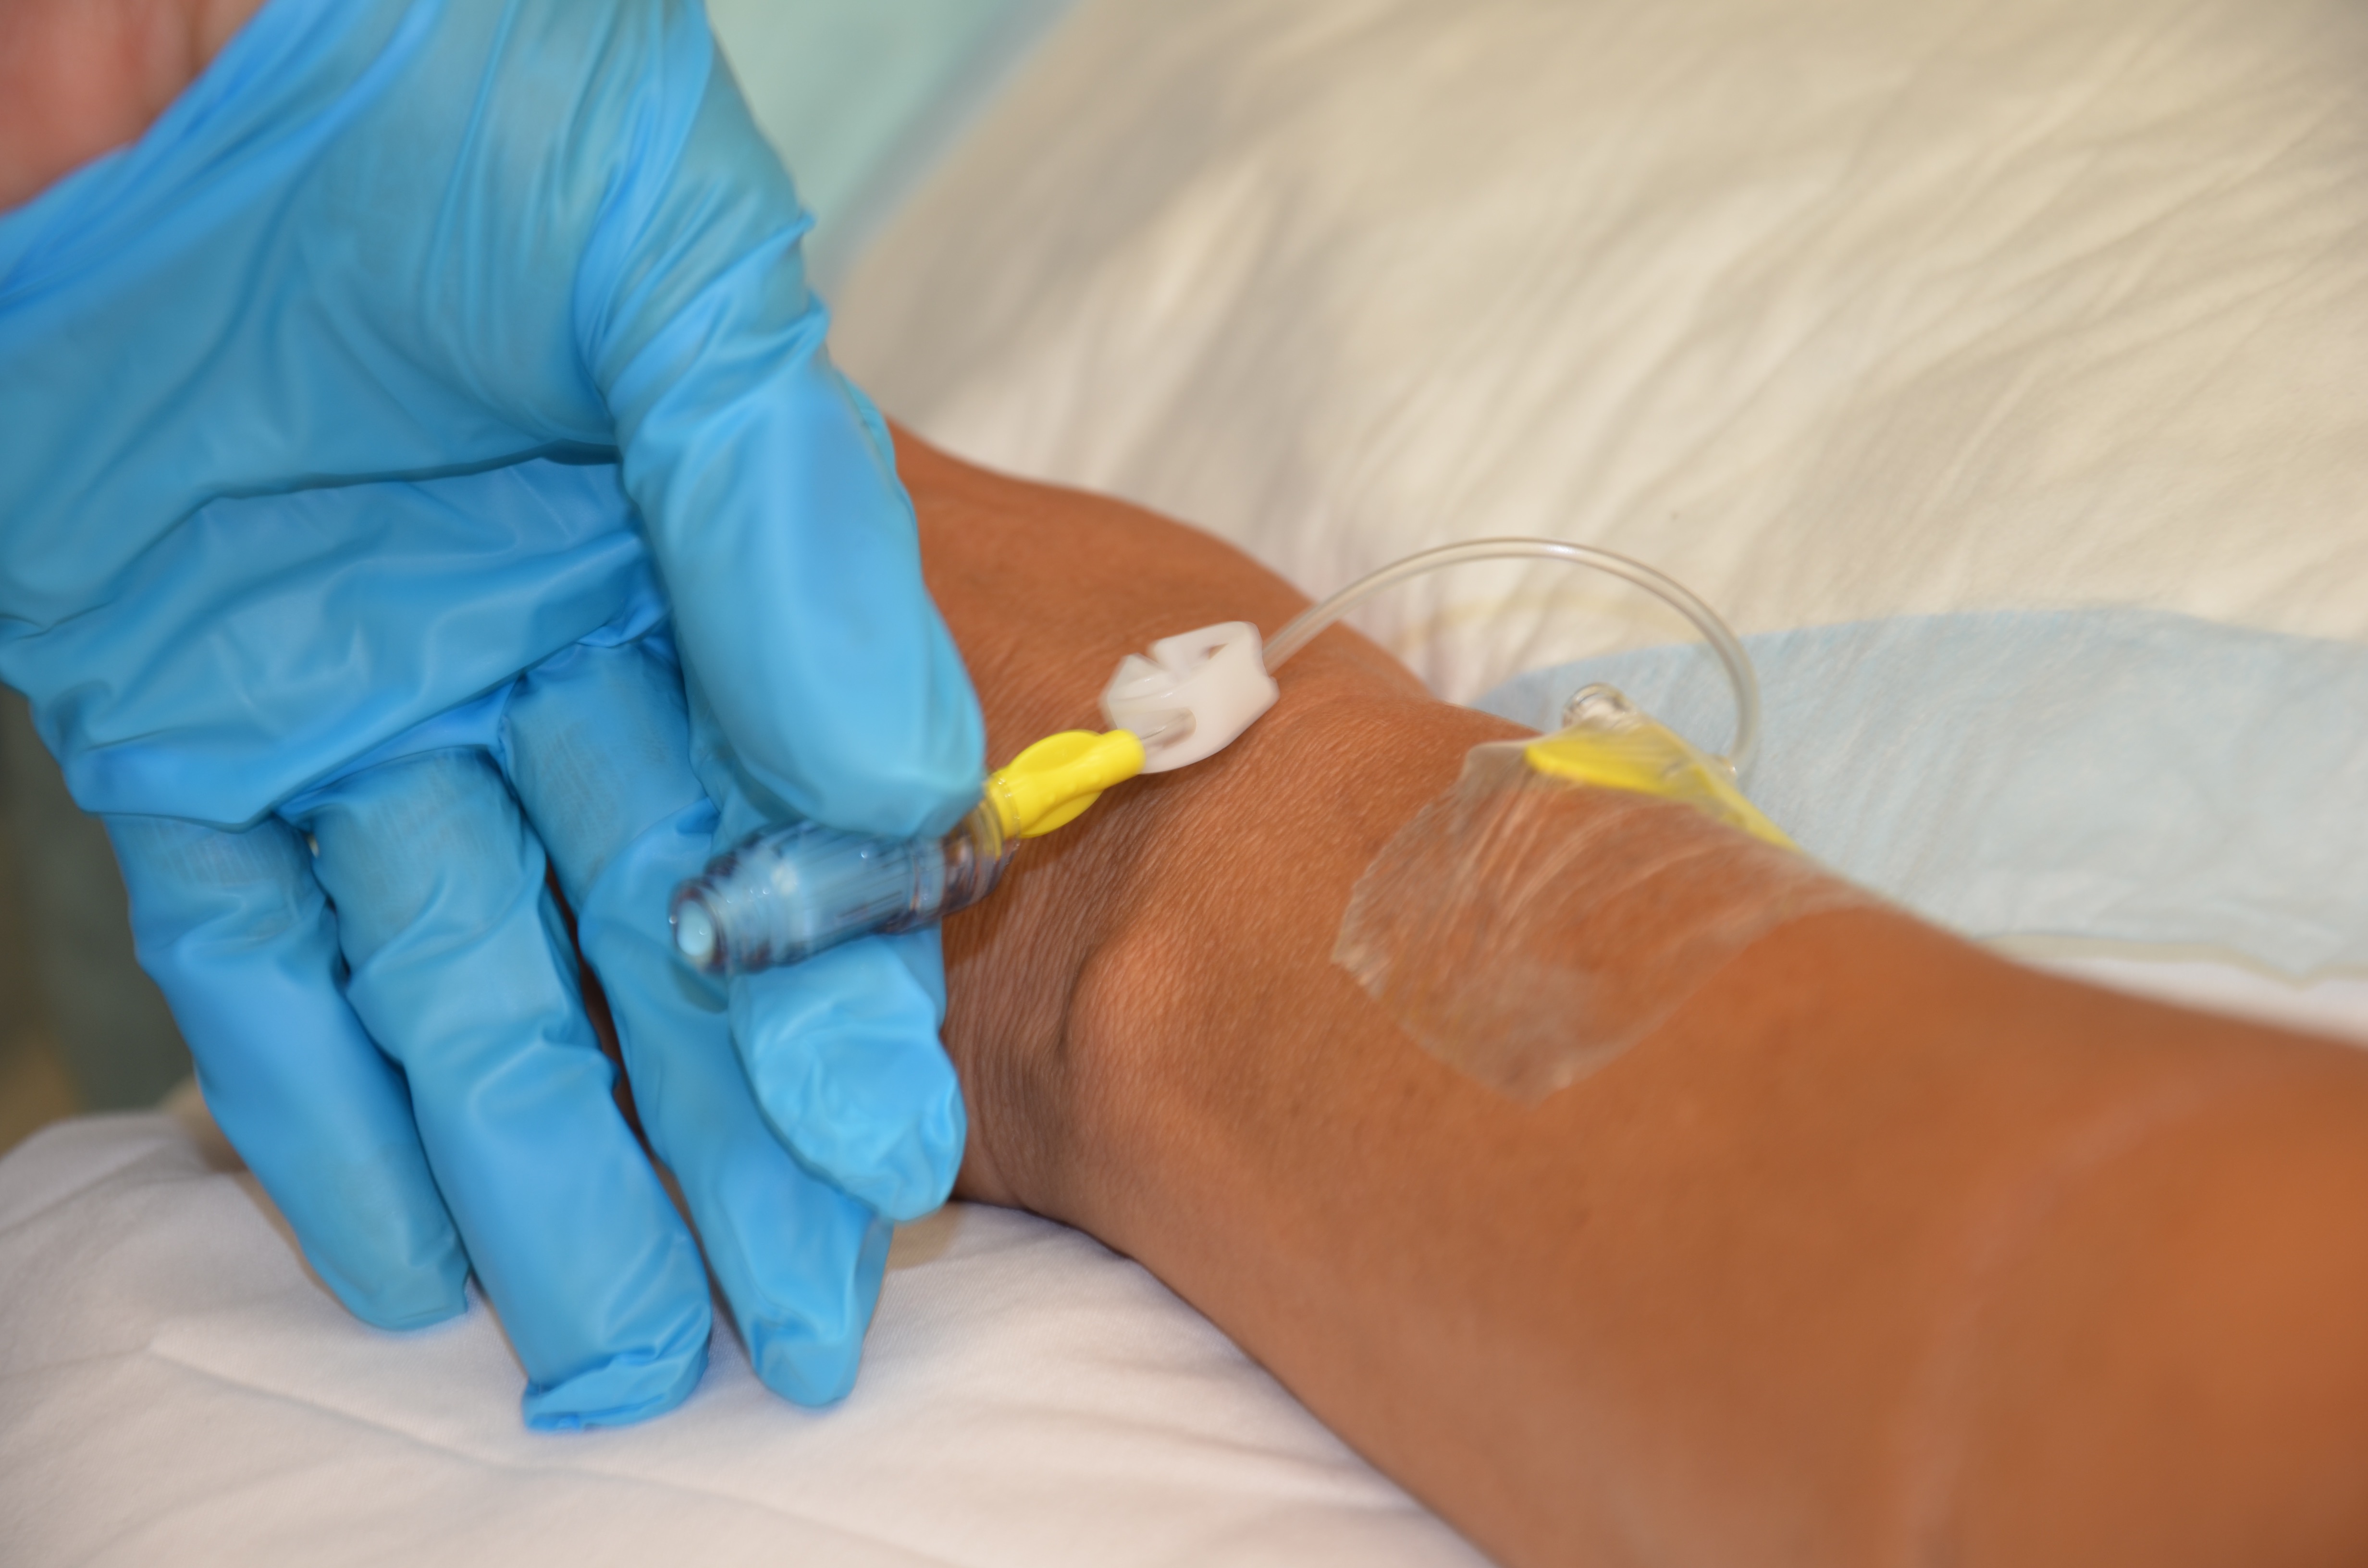
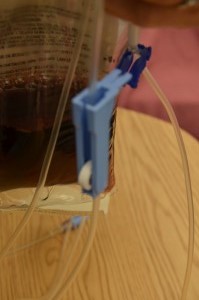
A saline lock (SL), also known as a heparin lock, is a peripheral intravenous cannula connected to extension tubing with a positive pressure cap (see Figure 8.7). This device allows easy access to the peripheral vein for intermittent IV fluids or medications (Perry, et al., 2014). The saline lock is “flushed” or filled with normal saline to prevent clotting when not in use. To use an SL, the cannula is flushed with 3 to 5 ml of normal saline to assess patency. After the saline lock is used, the cannula is flushed again with 3 to 5 ml of normal saline or heparin to “lock” the saline in the cannula in order to keep it patent. Once the saline lock is inserted, it can be left in a vein for up to 72 hours or as per agency policy. Saline locks are usually inserted in the arm or hand. If a saline lock is removed, the extension tubing and positive pressure cap are also changed (Vancouver Coastal Health, 2012).
Figure 8.7 Saline lock with positive pressure cap (Max Plus)
A saline lock can be used for continuous and intermittent short-term IV therapy. Flushing is performed:
Before and after administering IV fluids or medications to assess placement and patency of PIV
After blood sampling
After each infusion to prevent mixing of incompatible medications and solutions
Every 12 hours when the saline lock is not in use
A saline lock must be flushed in a specific manner to prevent blood being drawn into the IV catheter and occluding the device between uses. Checklist 69 describes the process of flushing an SL.
Checklist 69: Flushing a Saline Lock
Disclaimer: Always review and follow your hospital policy regarding this specific skill.
Safety considerations:
Poor standards of aseptic technique are the primary cause of health care infections. Be diligent with disinfecting and sterile technique. Sterile technique must be used with all IV procedures.
An alcohol swab (70% isopropyl alcohol) must be used to clean the hub prior to access. The hub is scrubbed for 15 seconds and allowed to dry completely (30 seconds).
Never attempt to flush a “blocked” saline lock. If unable to flush, remove the SL.
Never use a needle to access a positive pressure cap. Attach a Luer lock syringe to the positive pressure cap to flush.
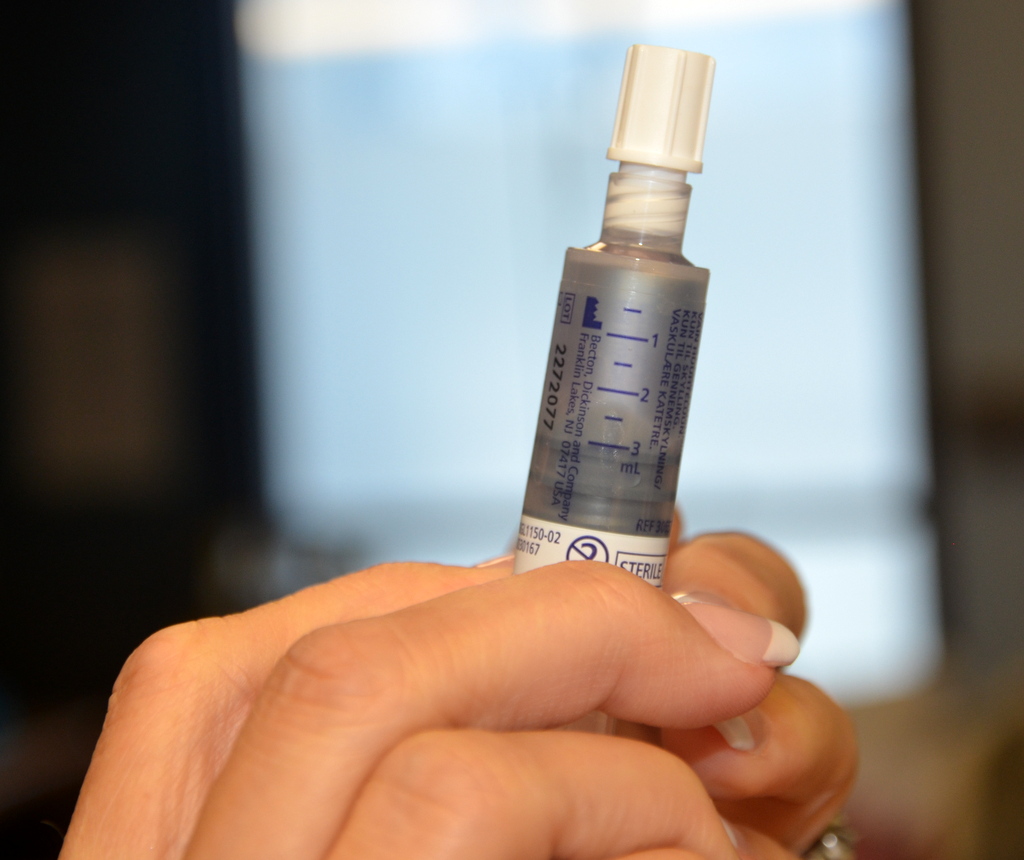
You will need alcohol swabs, 3 to 5 ml syringe prefilled with 0.9% normal saline, clean gloves.
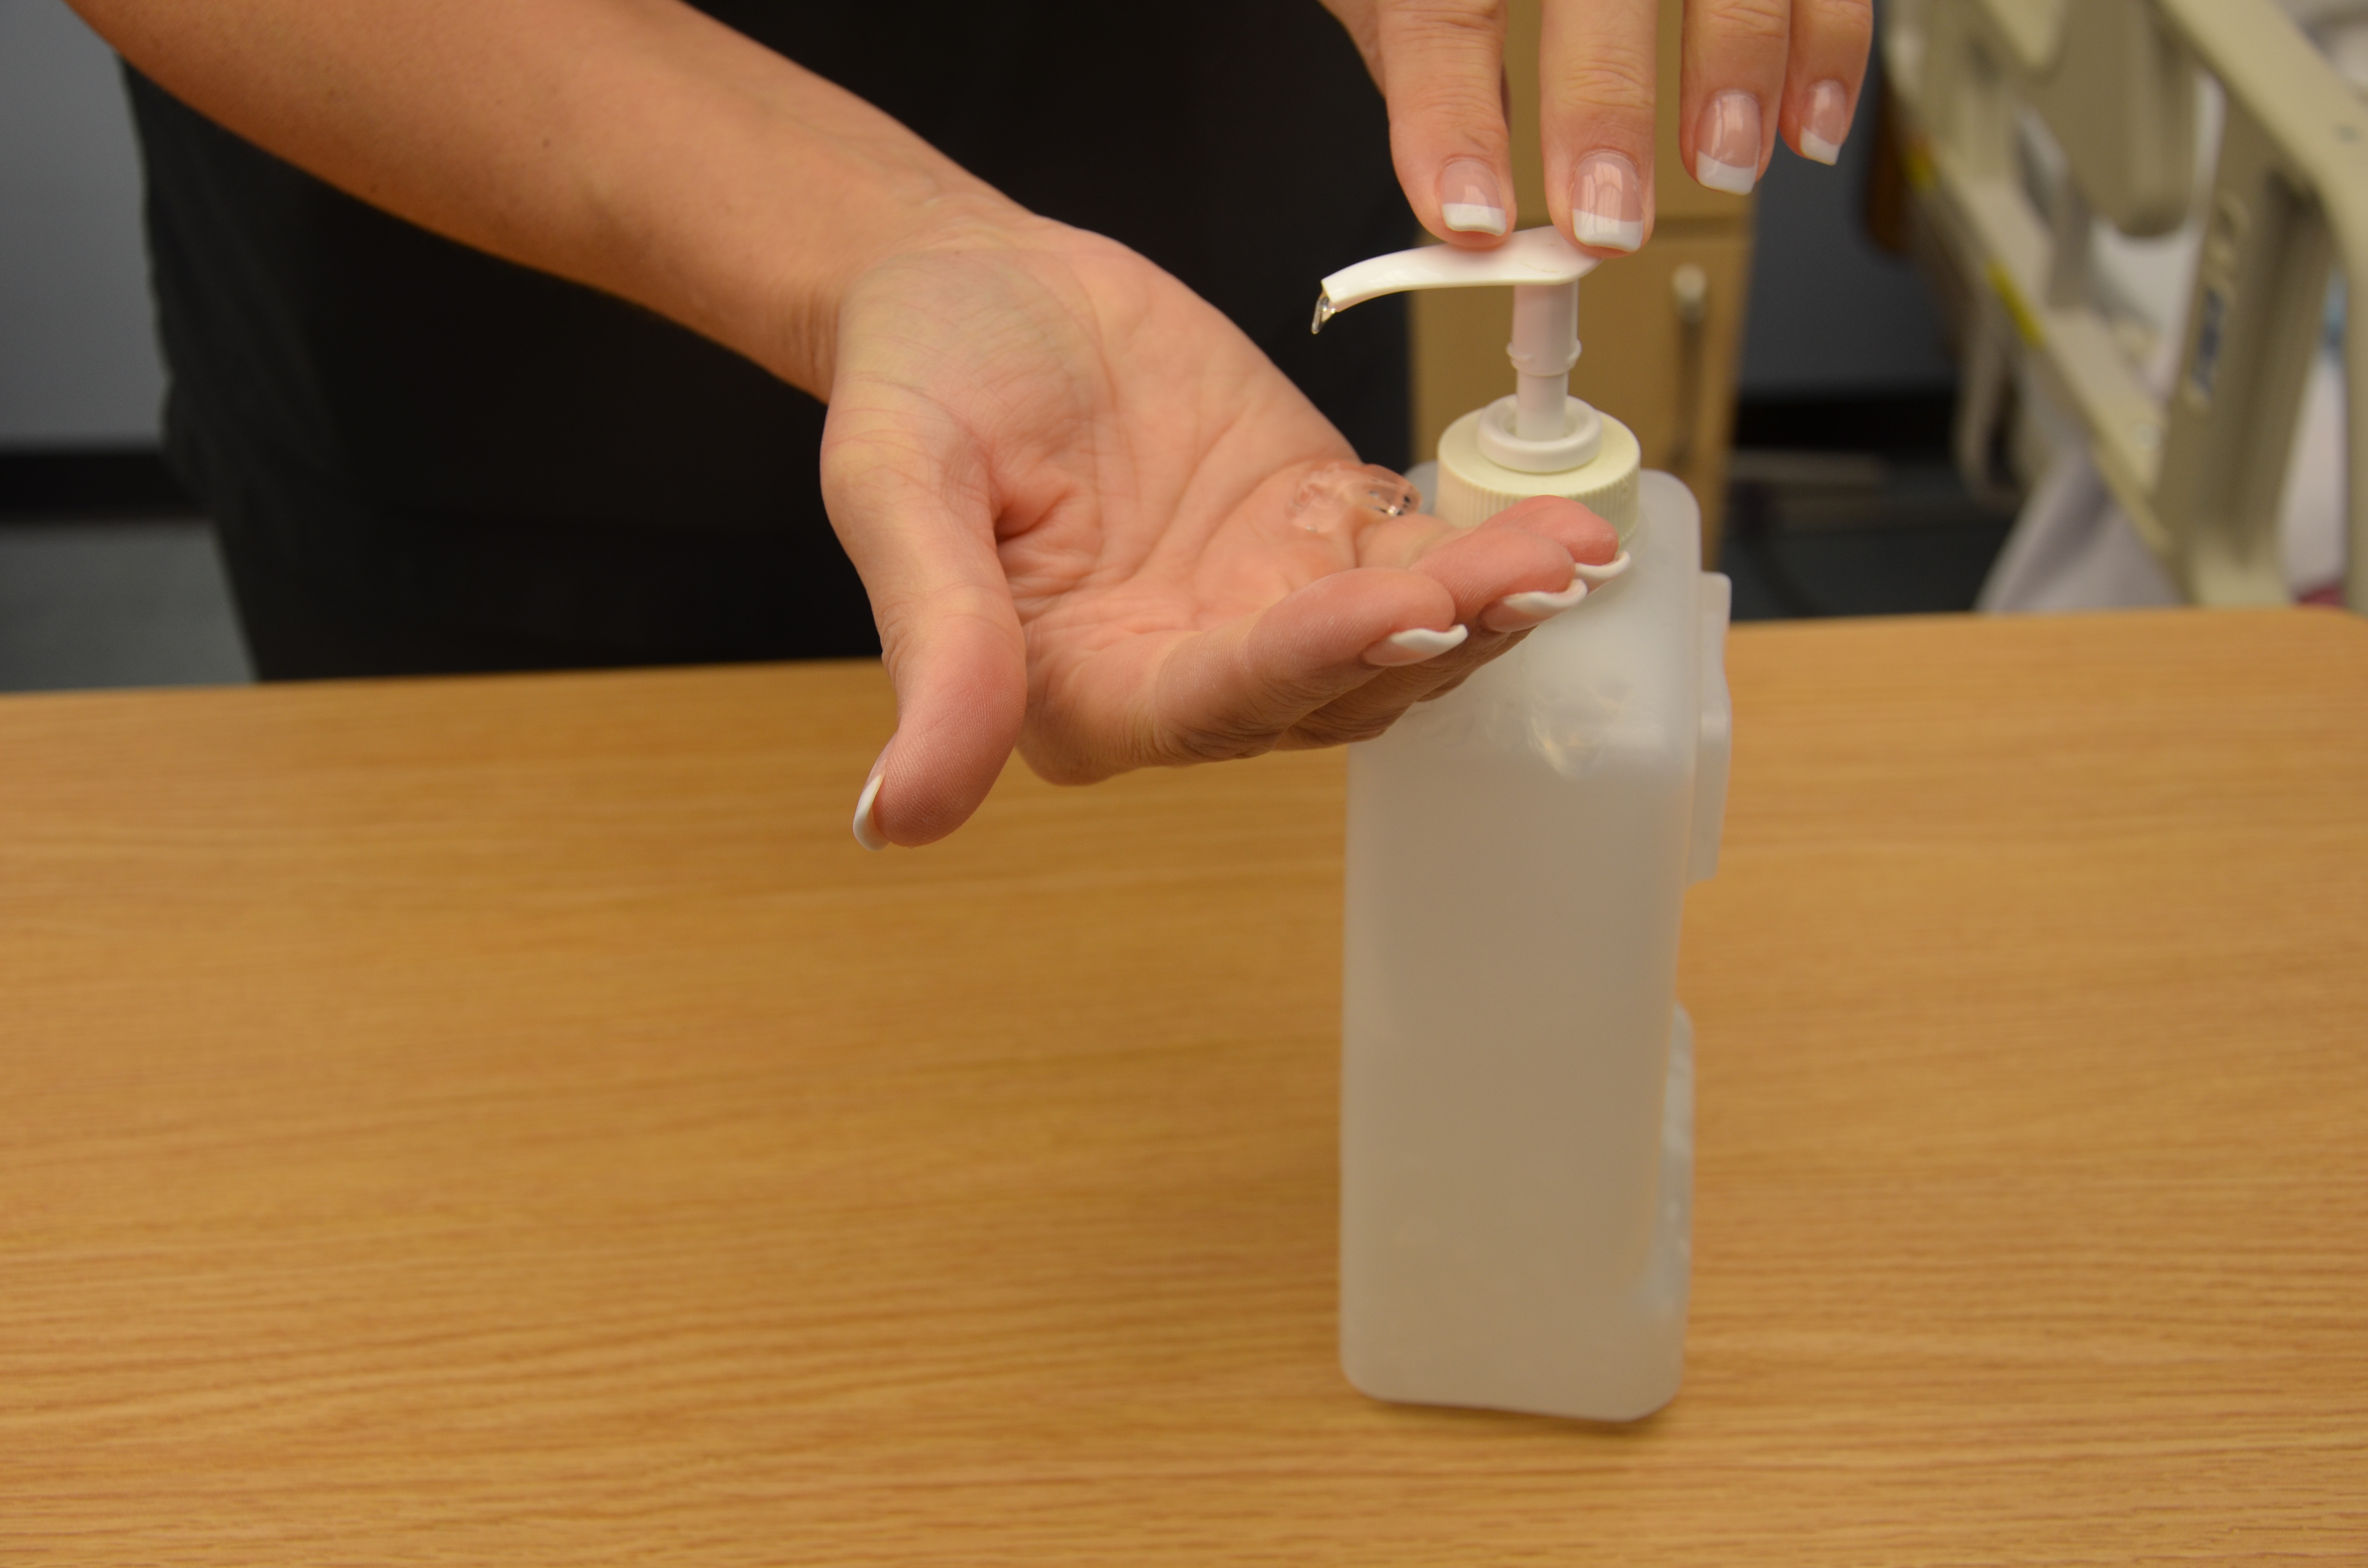
Hand hygiene with ABHR
2. Compare MAR to patient’s wristband, identify patient using two identifiers, and explain procedure to patient.
Follow agency policy for proper patient identification.
Compare MAR with patient wristband
3. Clean work surface with CaviWipes and let dry.
This prevents the spread of microorganisms.
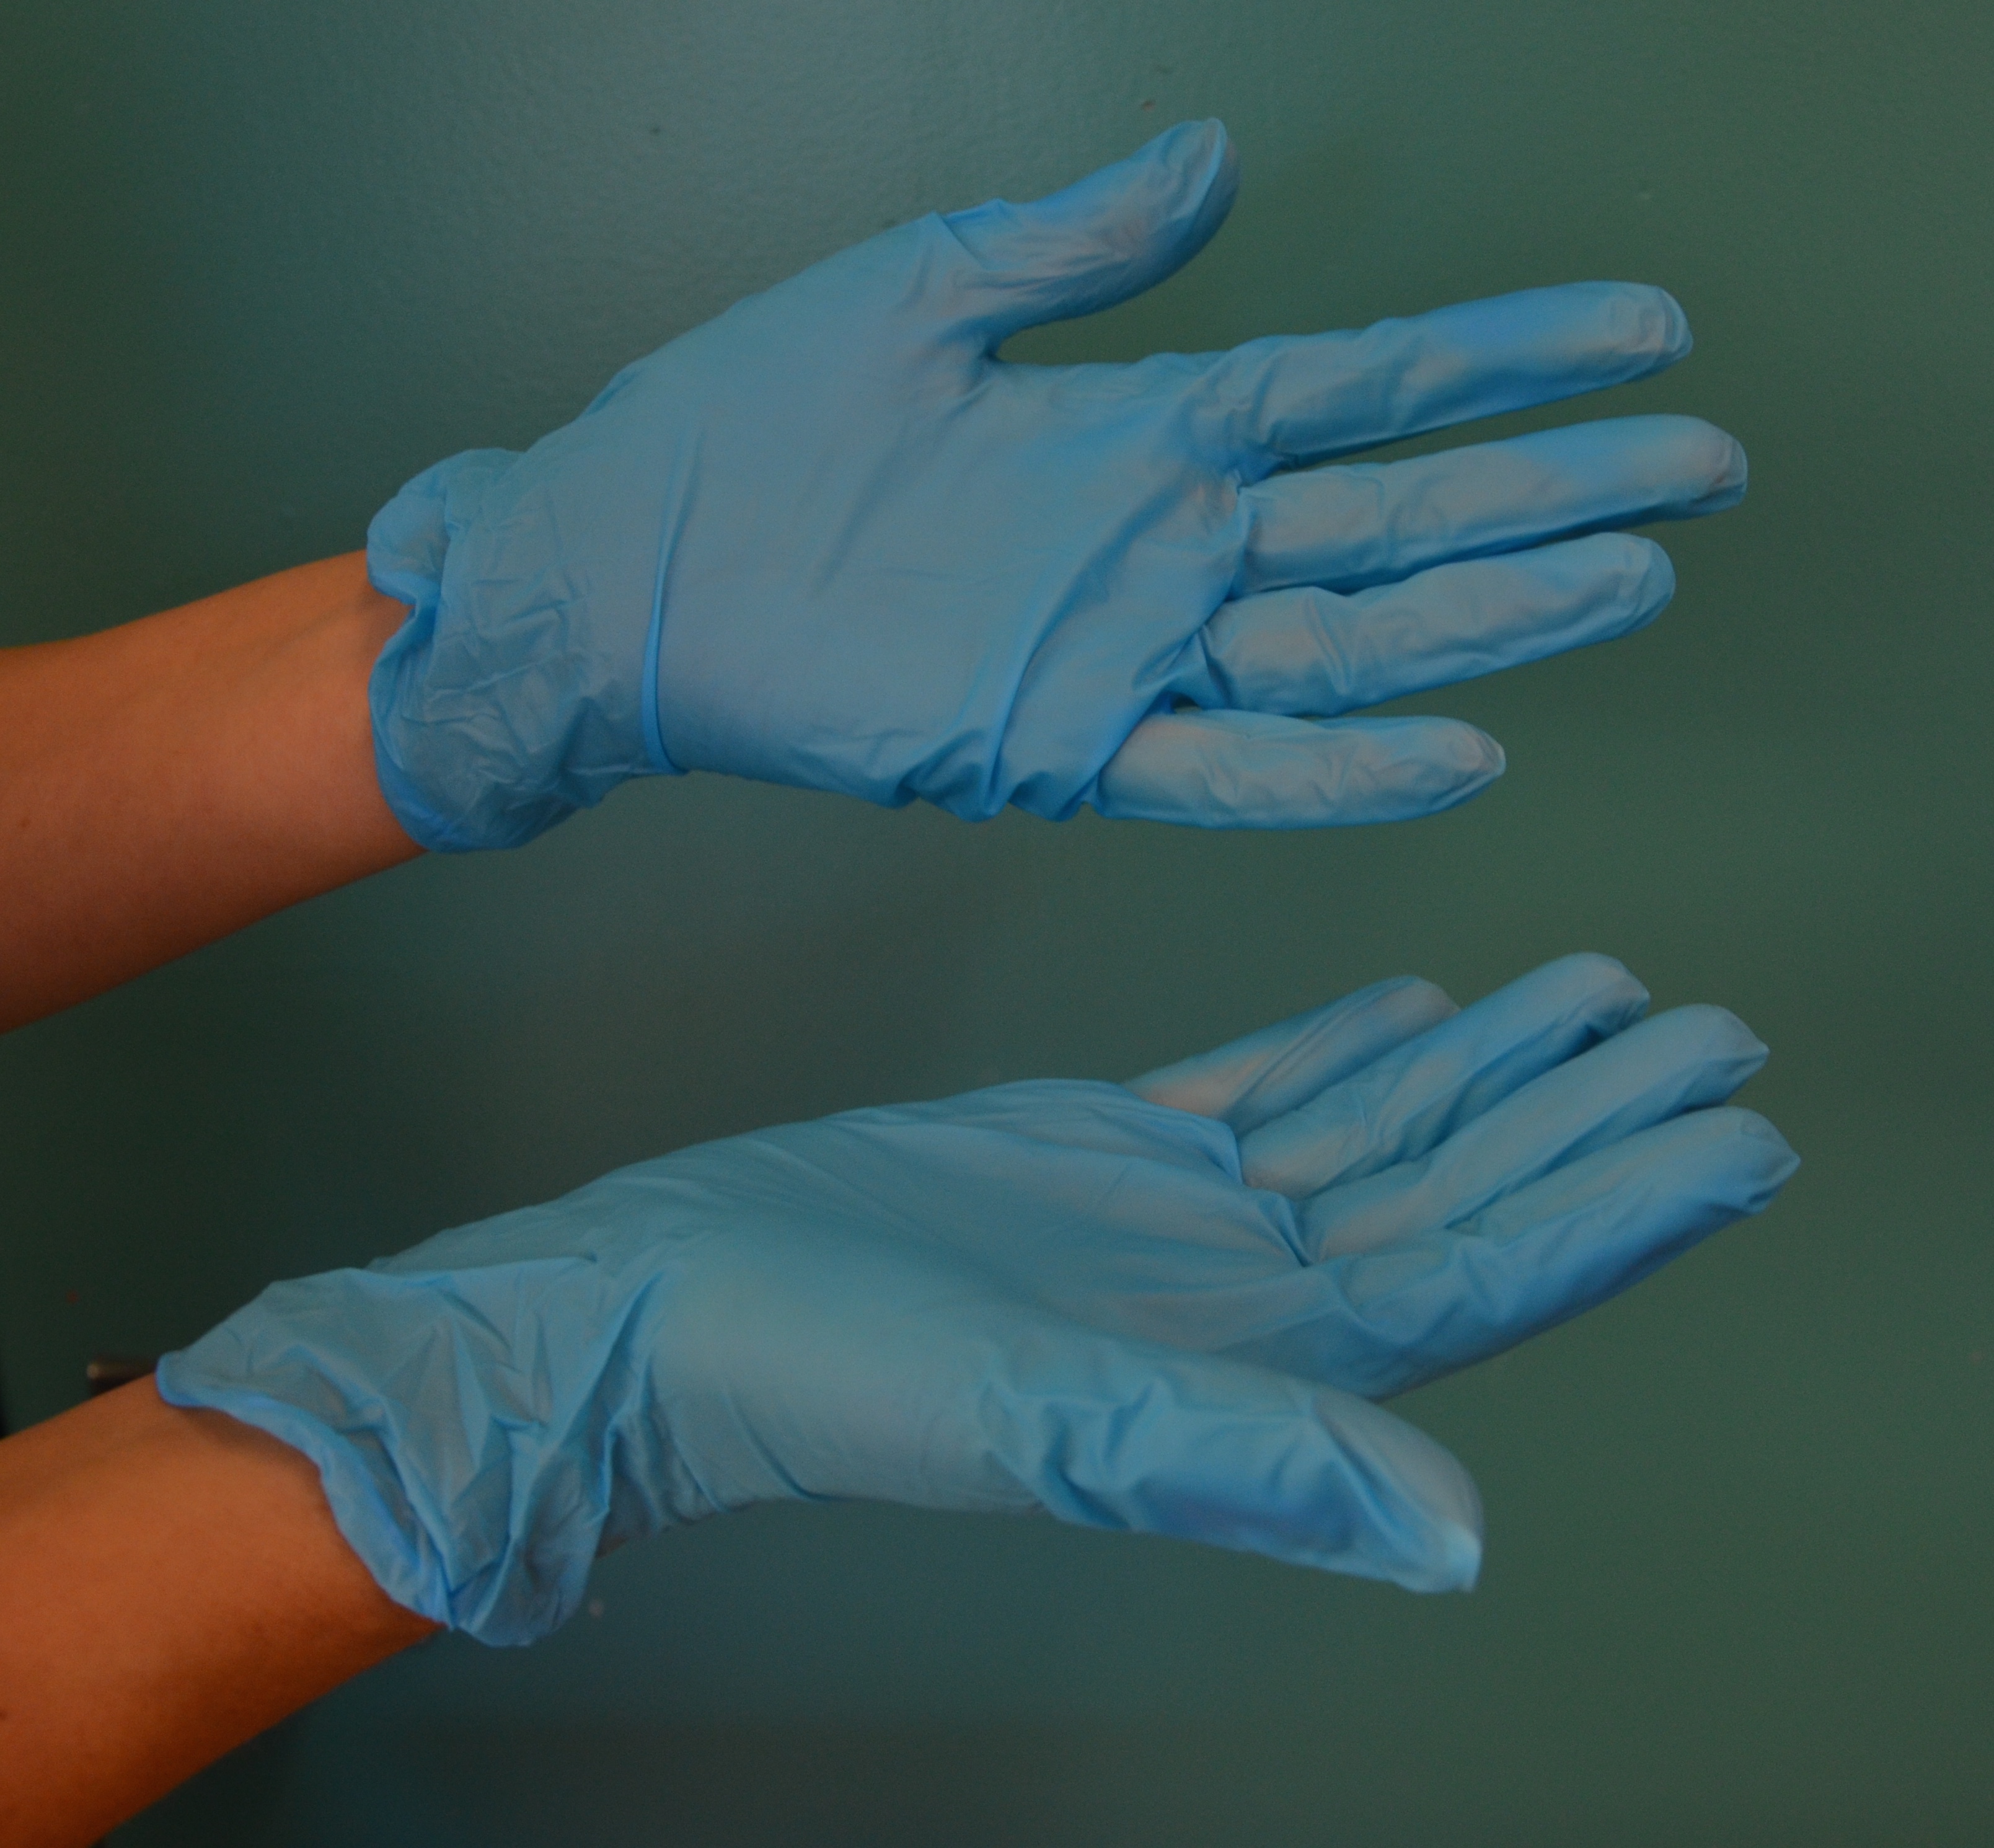
4. Perform hand hygiene and apply clean gloves.
This prevents and minimizes the spread of microorganisms.
Apply non-sterile gloves
5. Assess IV site for signs and symptoms of phlebitis.
If IV site is red, tender, or swollen, the SL needs to be discontinued; do not flush.
Assess site for phlebitis
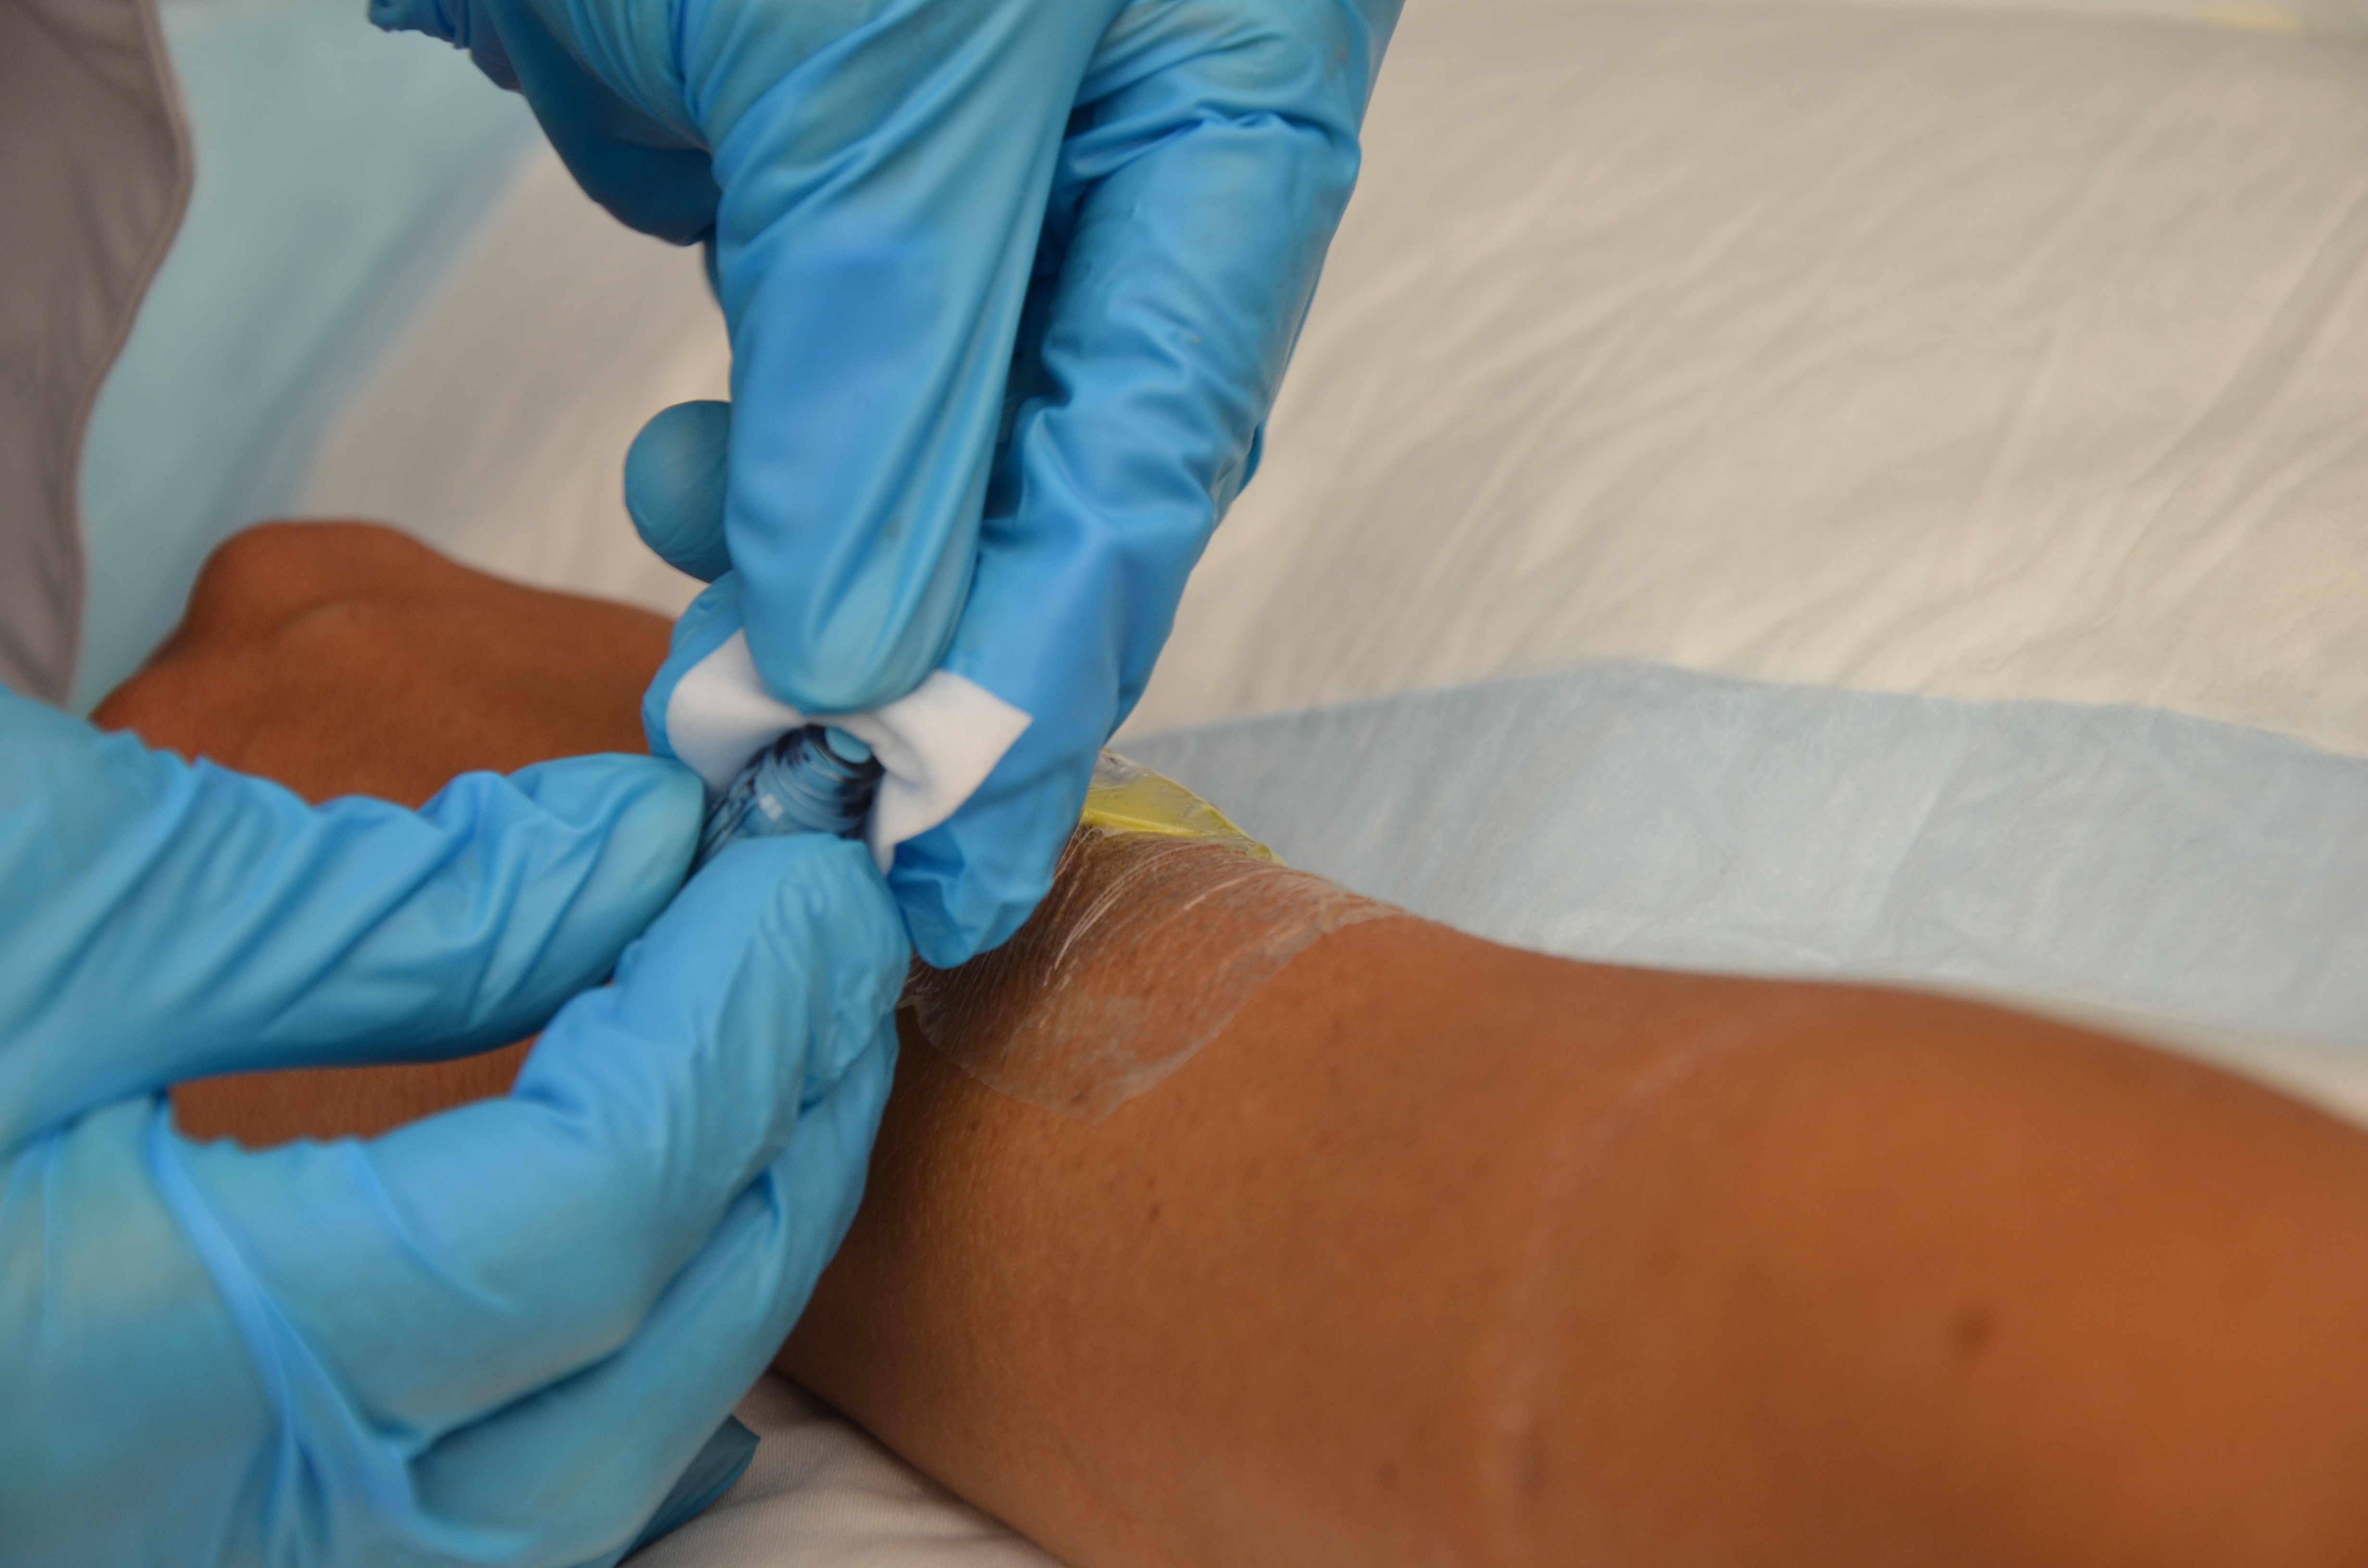
6. Scrub the top of the positive pressure cap for 15 seconds and let dry for 30 seconds.
Aseptic technique is required for all IV procedures. All access ports must be disinfected to decrease the bacterial load prior to use.
Clean the positive pressure device (Max Plus) prior to use
7. Open clamp on extension tubing.
Clamp must be open to flush the saline lock.
Open clamp on saline lock
8. If using a prefilled normal saline syringe for flushing, the air must be “purged” from the syringe. To remove air from a syringe, apply gentle pressure to the syringe plunger until a click, snap, or pop sound is heard.
Next, remove the sterile dead-ender on the Luer lock end of the syringe, and remove the air by gently pushing the plunger upwards, keeping the syringe vertical.
Purging the air prevents it from being injected into the patient. Air should never be injected into a patient.
Apply pressure to the plunger until a click, snap, or pop sound is heardPurge a prefilled syringe
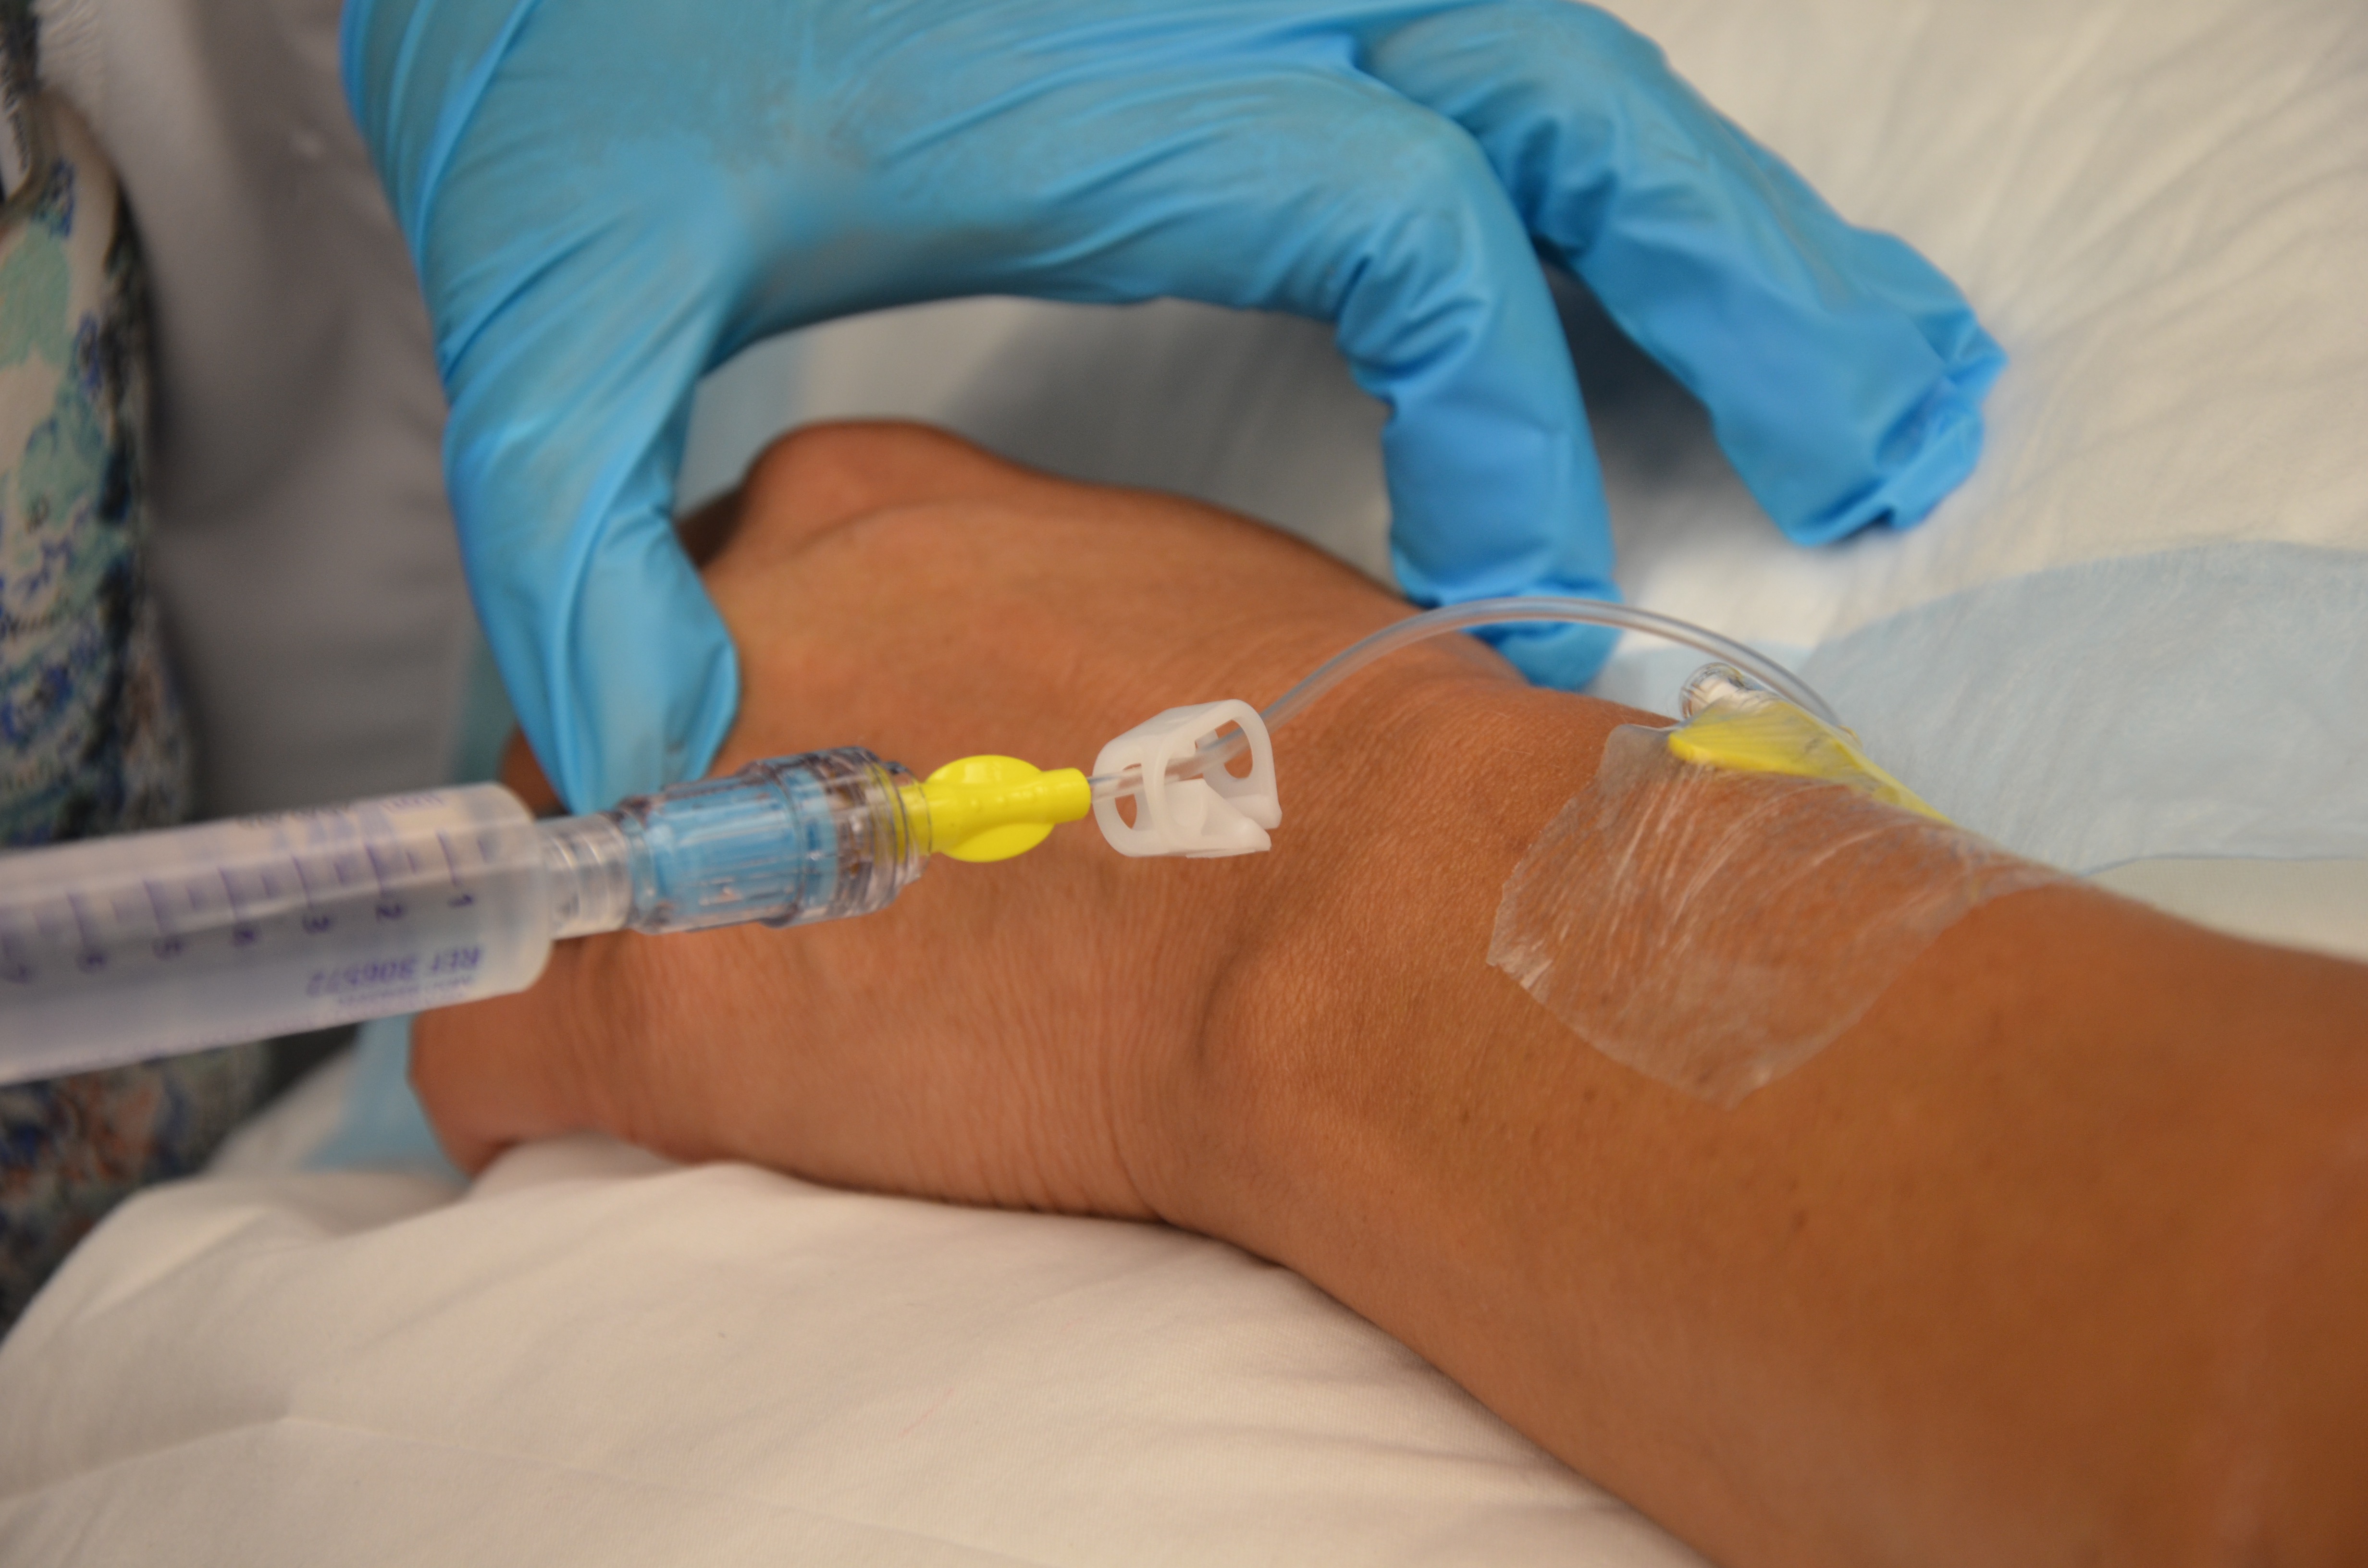
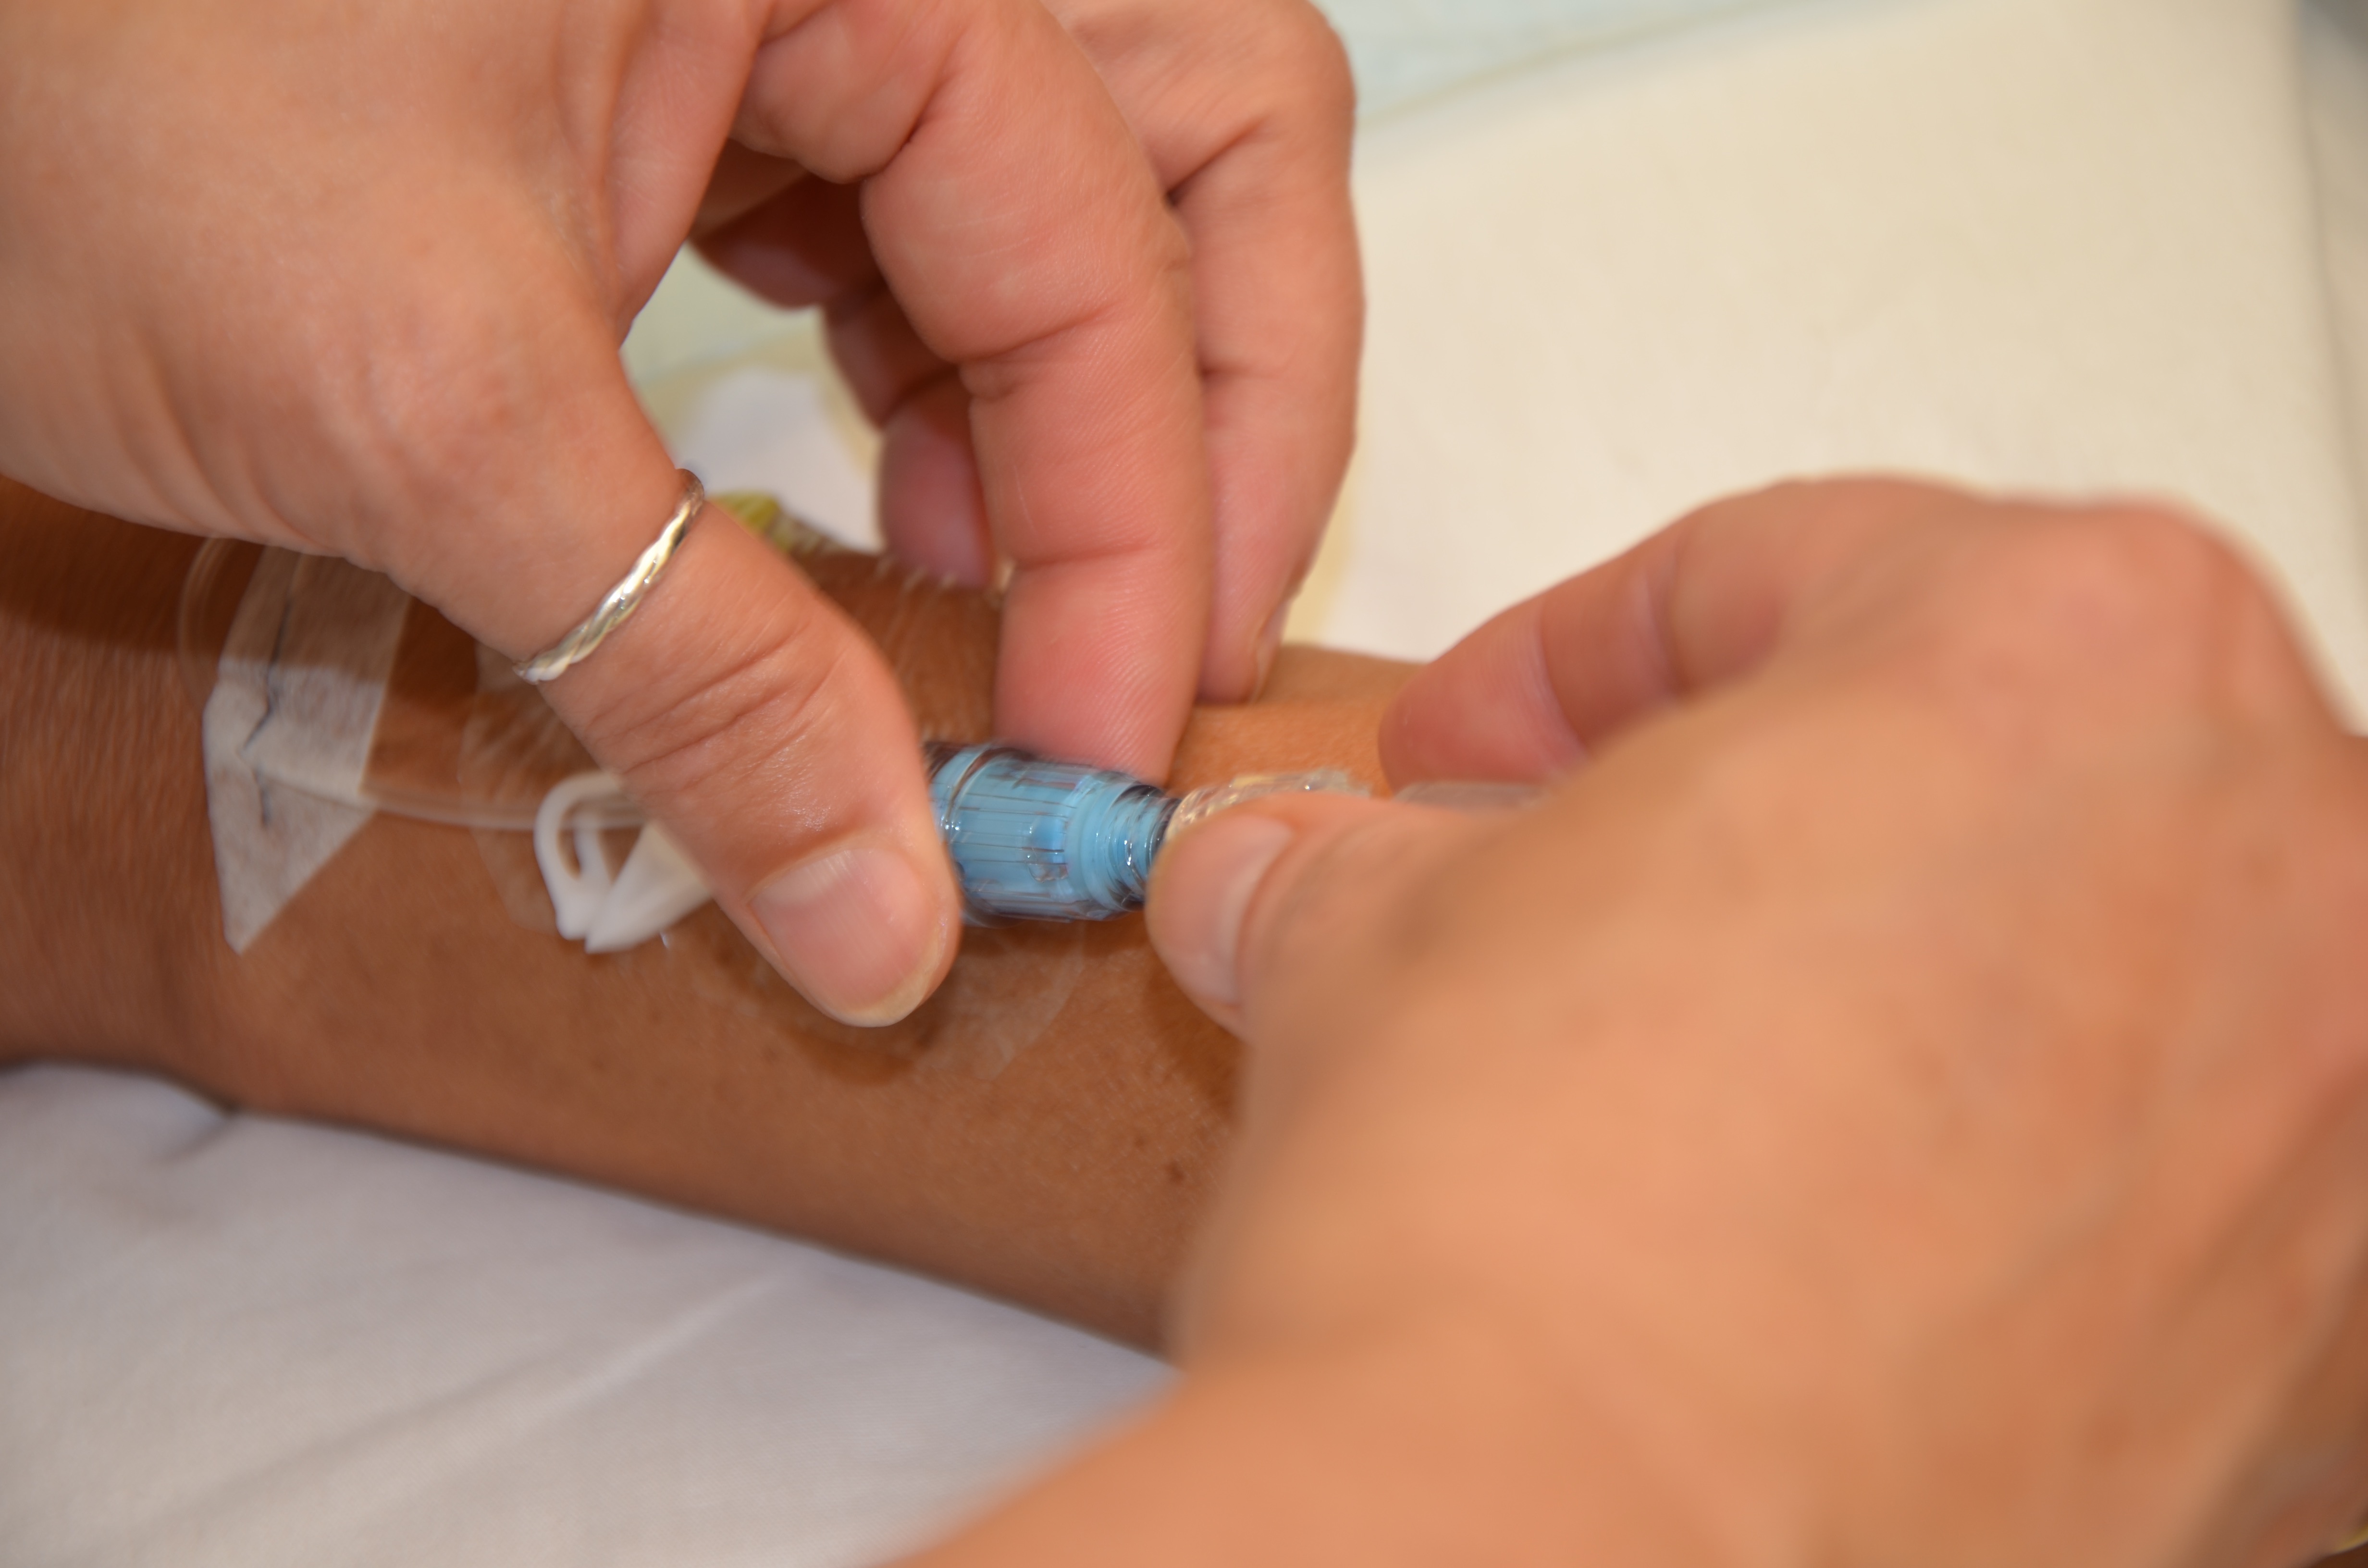
9. Attach NS prefilled Luer lock syringe by twisting the syringe onto the positive pressure cap. Undo clamp on extension tubing. Inject 3 to 5 ml of solution using turbulent stop-start technique. Flush until visibly clear. Do not bottom out syringe (leave 0.2 to 0.5 ml in the syringe).
Turbulent stop-start flush ensures full flushing of the catheter.
Bottoming out the saline syringe with the plunger can cause reflux of fluid back into the catheter.
If resistance is felt, do not force flush.
Flush the saline lock
10. Remove syringe from positive pressure cap; THEN clamp the extension tubing.
Always clamp after removing syringe from the positive pressure cap. Positive displacement occurs when the syringe is disconnected from the positive pressure cap.
Close clamp on saline lock
Clamp the extension tubing as close to the IV site as possible to prevent negative fluid displacement and accidental aspiration of blood at the catheter tip.
11. Wipe top of the positive pressure cap with an alcohol swab to remove fluid residue.
Moisture promotes the growth of microorganisms.
Wipe top of pressure cap
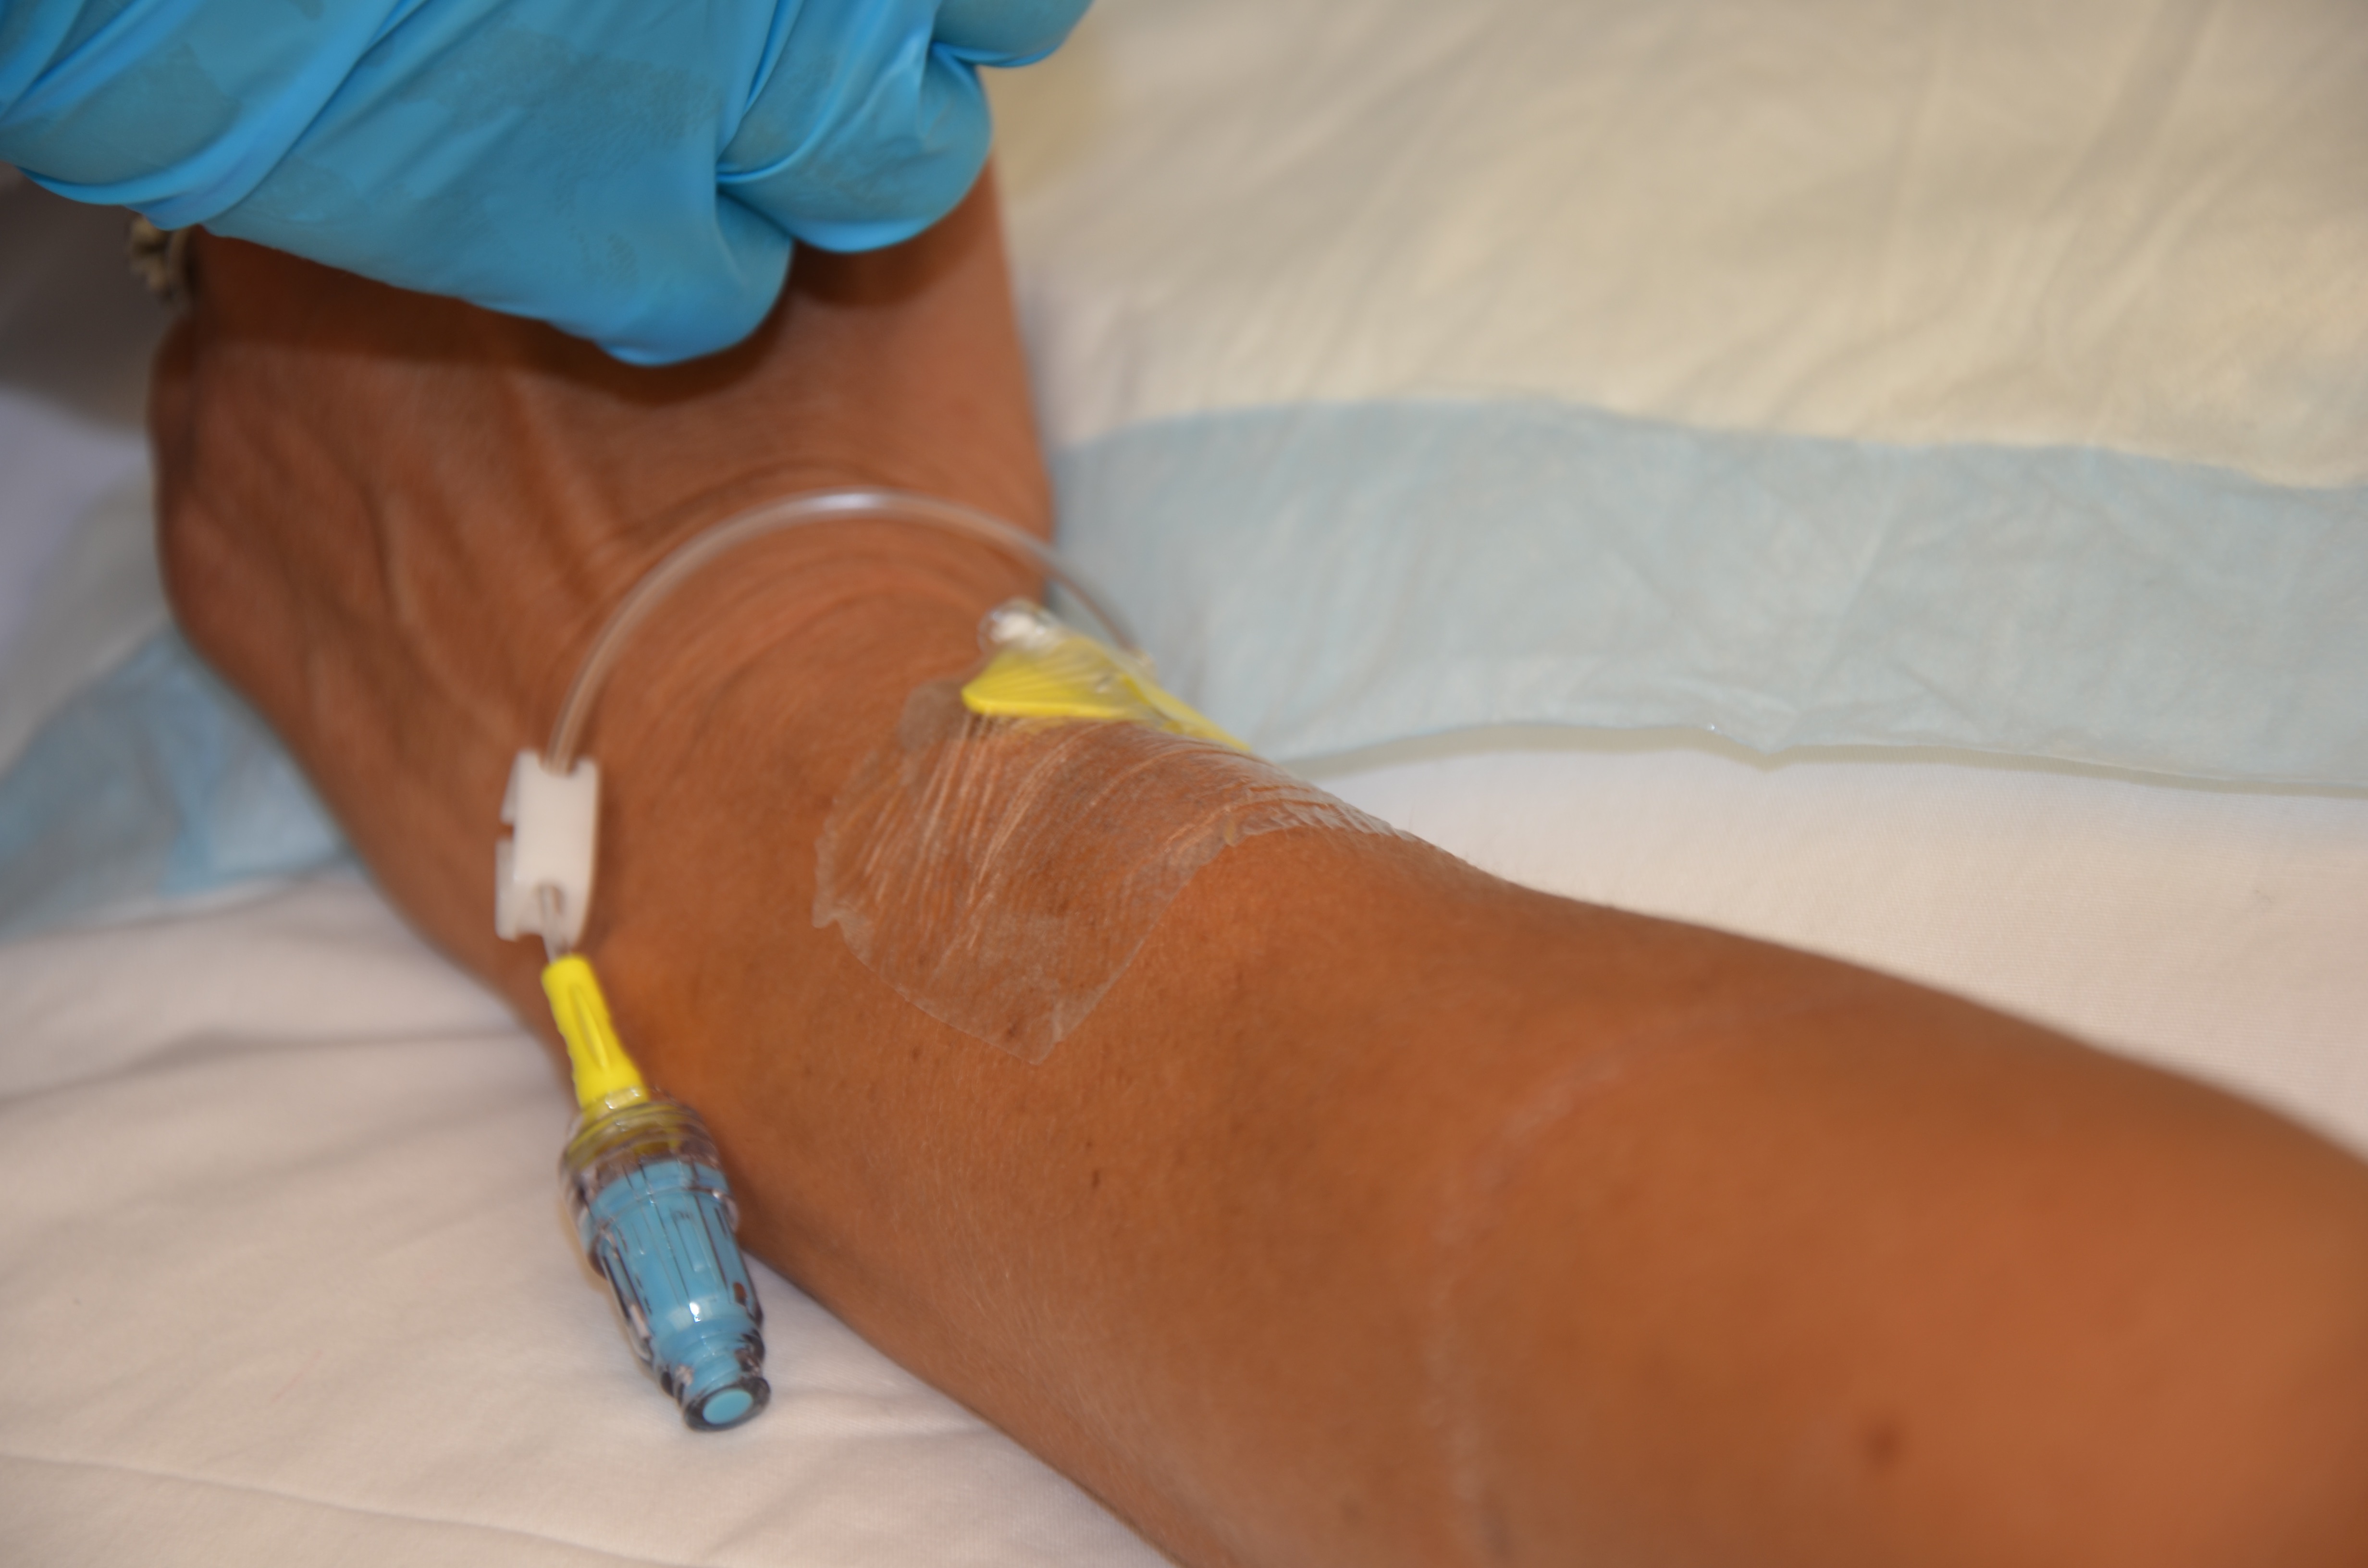
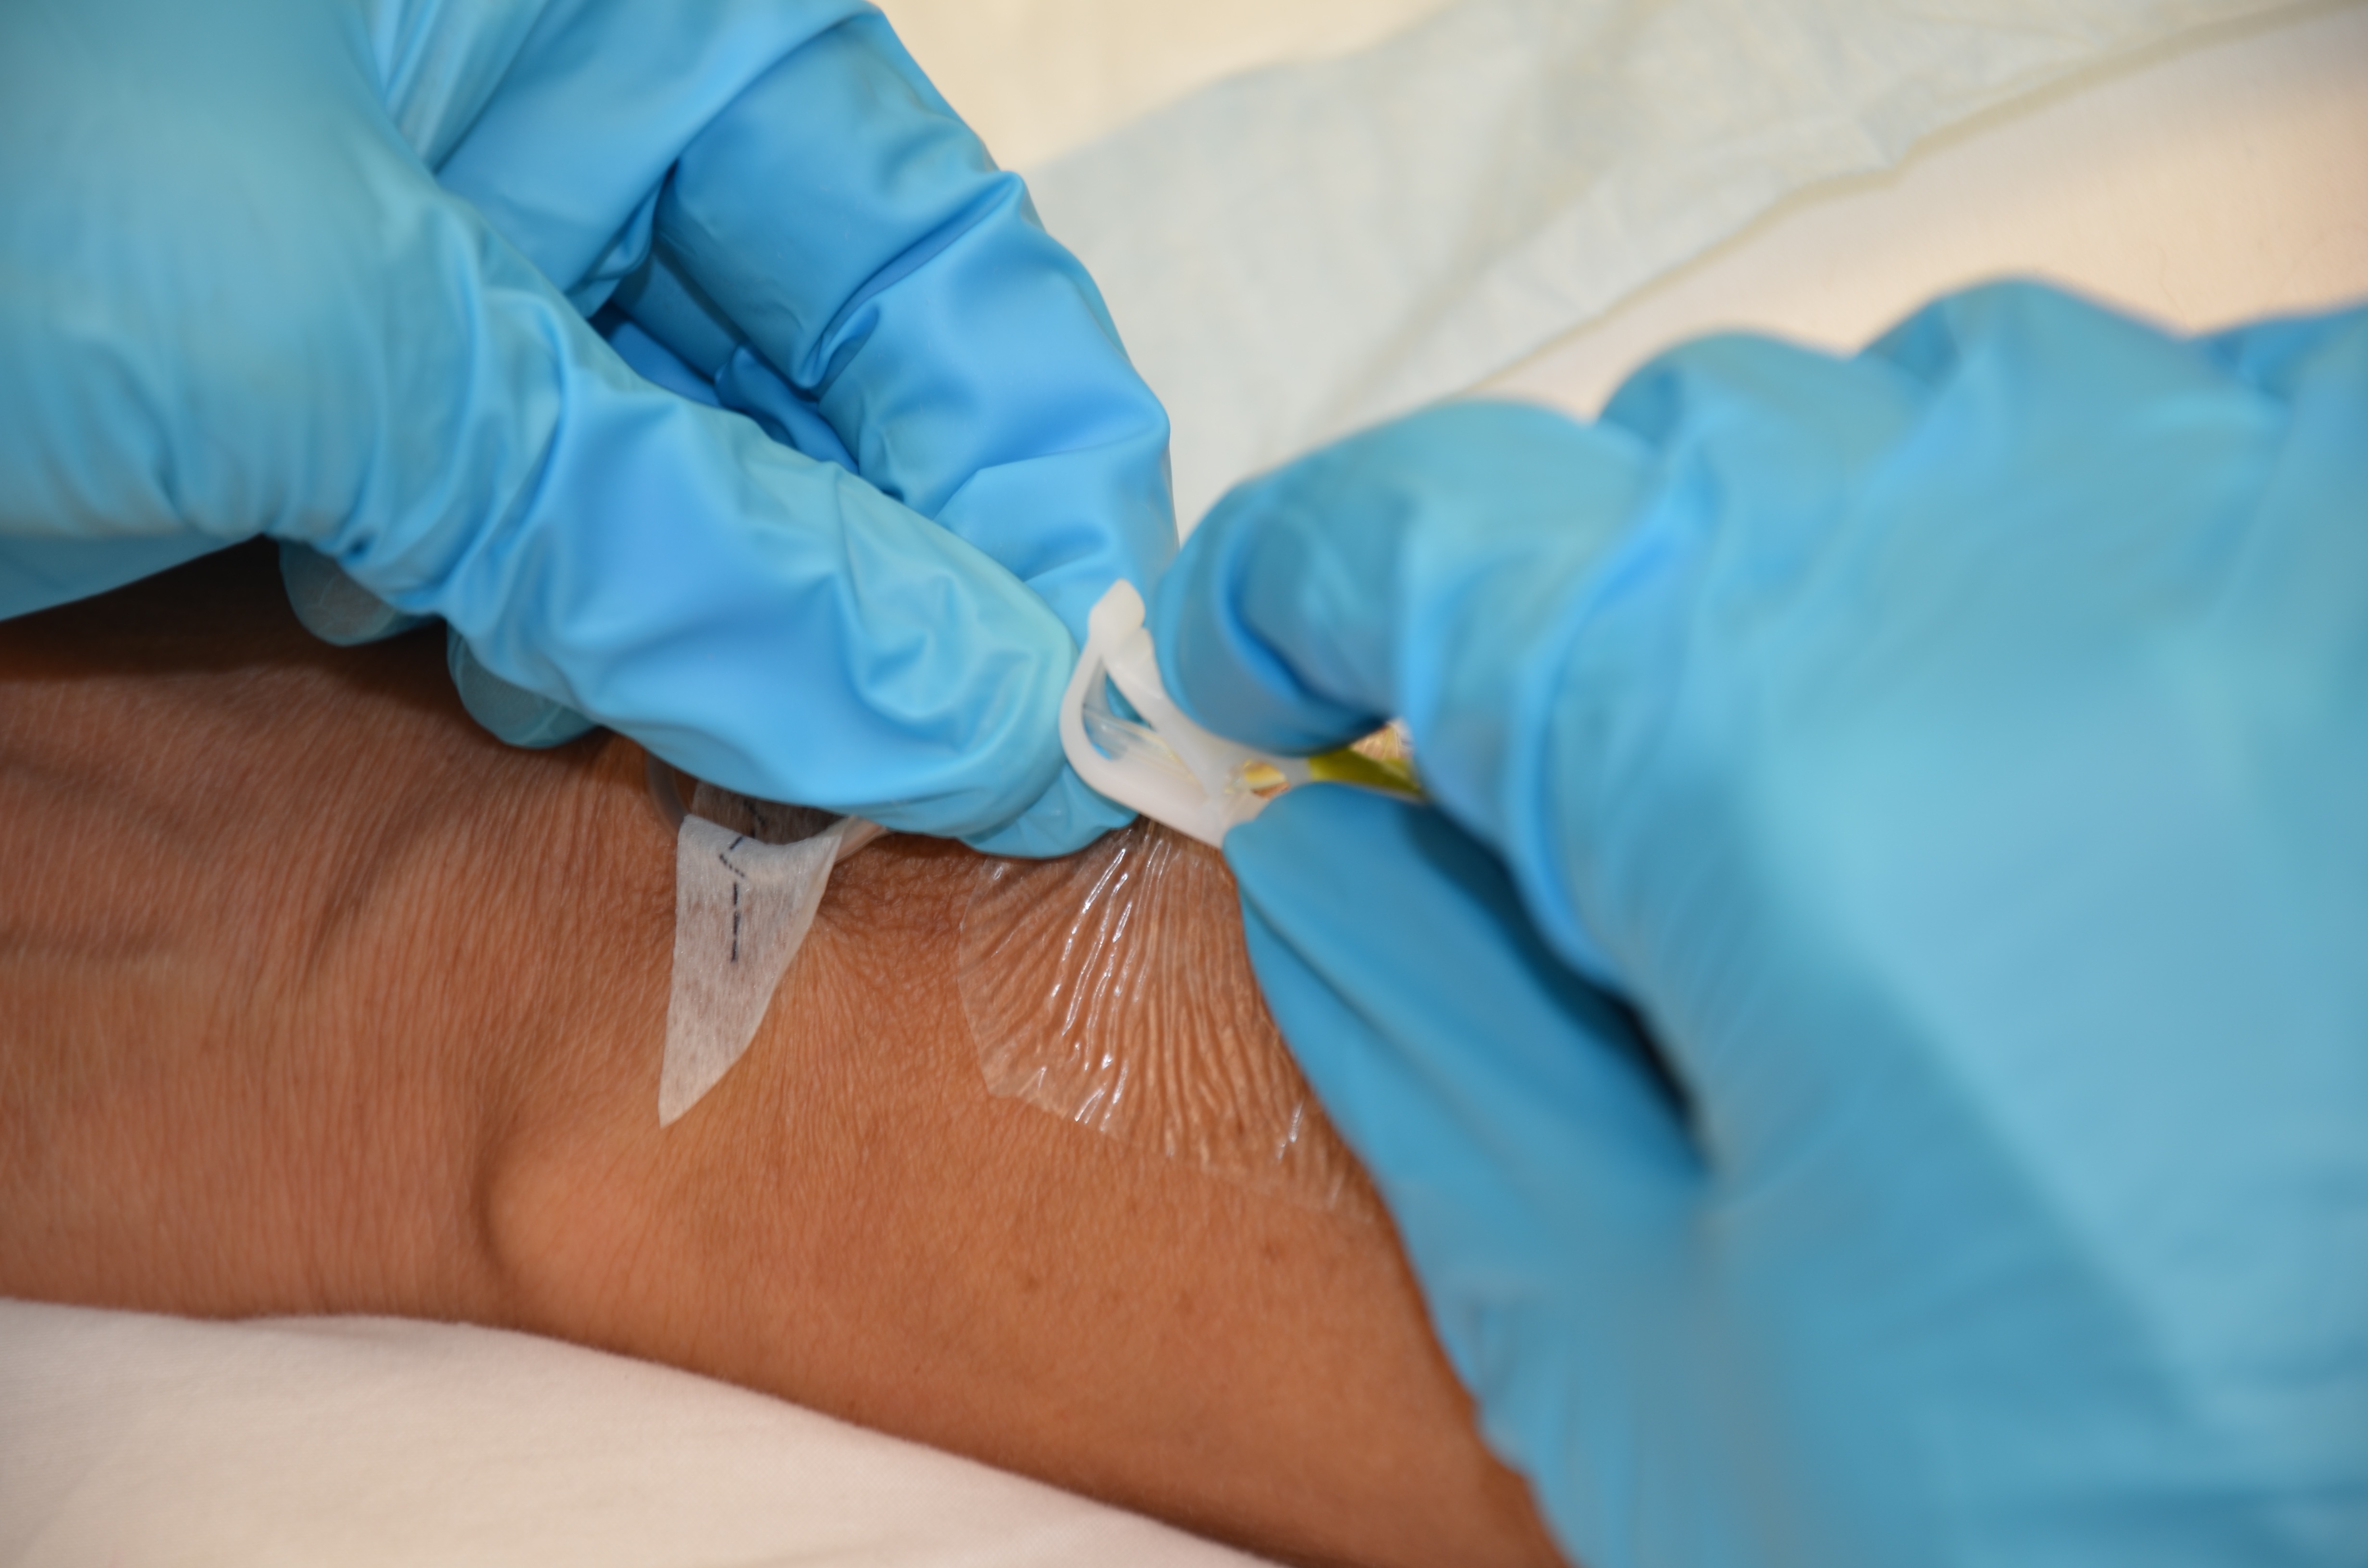
12. Ensure dressing is dry and intact, and the extension tubing is properly secured with tape.
Properly secured extension tubing prevents accidental dislodgement of SL.
Dry and intact dressing
13. Remove gloves; discard supplies and perform hand hygiene.
Proper disposal of equipment prevents the spread of microorganisms.
Hand hygiene with ABHR
14. Document procedure.
Document IV site assessment, location of PIV, procedure, date, and time.
Data source: Perry et al., 2014; Vancouver Coastal Health, 2008
An SL can be converted to a continuous or intermittent IV to infuse fluids or medications. Prior to converting an SL to a continuous infusion, review the physician’s orders for type of solution, infusion rate, additives, and duration. IV solutions are considered a medication. Follow the seven rights × 3 when preparing IV solution. To convert a saline lock to a continuous IV, review Checklist 70.
Checklist 70: Converting a Saline Lock to a Continuous IV Infusion
Disclaimer: Always review and follow your hospital policy regarding this specific skill.
Safety considerations:
If at any time you think a piece of equipment has been contaminated, dispose of it immediately and obtain a new sterile piece.
Always assess IV site and flush SL prior to initiating an IV infusion.
Always follow the safety seven rights x 3 for IV fluids and medications.
Educate the patient on signs and symptoms of phlebitis and when to call for assistance (unexpected or adverse reactions).
IV solutions must be recorded on the in-and-out sheet or patient chart.
Patients on continuous IV solutions are at risk for fluid overload, especially patients with renal or cardiac conditions. Monitor output and input when patients are on a continuous infusion.
Steps
Additional Information
1. Verify physician orders and collect supplies.
You will need clean gloves, 3 to 5 ml prefilled 0.9% normal saline syringe, IV solution, IV pump if indicated.
Verify the rate and duration of solution.
Review the rationale/reason for the IV fluids to provide an explanation to the patient.
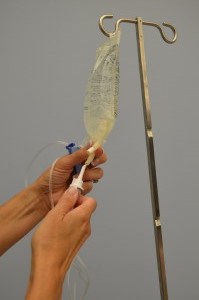
2. Perform hand hygiene and prime IV tubing with IV solution.
Prime IV tubing with correct IV solution as per Checklist 66. Ensure IV tubing and IV solution bag are labelled.
Prime IV tubing
3. Enter room and identify patient using two identifiers.
Identifying patient correctly prevents errors and enhances safe practices.
Compare MAR with patient wristband
4. Explain procedure, clean work surface and let dry, and perform hand hygiene.
Educate patient about why IV fluids are being initiated.
Hand hygiene prevents the spread of microorganisms.
Hand hygiene with ABHR
5. Apply gloves, scrub the top of the positive pressure cap for 15 seconds, and let dry for 30 seconds.
Appropriately disinfecting the positive pressure cap decreases the bacterial count and adheres to the principles of infection control.
Clean positive pressure cap (Max Plus) with alcohol swab
6. Open clamp on extension tubing and assess IV site.
Open clamp on saline lock
Clamp must be released to flush the extension tubing.
7. If using a prefilled normal saline syringe for flushing, the air must be “purged” from the syringe. To remove air from a syringe, apply gentle pressure to the syringe plunger until a click, snap, or pop sound is heard.
Next, remove the sterile dead-ender on the Luer lock end of the syringe, and remove the air by gently pushing the plunger upwards.
Purging the air prevents it from being injected into the patient. Air should never be injected into a patient.
Push up gently on plunger until a click is heardTo purge air, remove the sterile dead-ender and push up gently on the plunger until all air is removed
8. Attach NS prefilled Luer lock syringe by twisting the syringe to the positive pressure cap. Inject 3 to 5 ml of solution using turbulent stop-start technique. Flush until visibly clear. Do not bottom out syringe (leave 0.2 to 0.5 ml in the syringe).
Turbulent stop-start flush ensures full flushing of the catheter.
Bottoming out the saline syringe with the plunger can cause reflux of fluid back into the catheter.
If resistance is felt, do not force flush.
Flush with normal saline
9. Remove syringe and discard.
Proper disposal of equipment decreases the spread of microorganisms.
10. Scrub the top of the positive pressure cap for 15 seconds and let dry for 30 seconds.
Appropriately disinfecting the positive pressure cap decreases the bacterial count and adheres to the principles of infection control.
Clean positive pressure cap (Max Plus) with alcohol swab
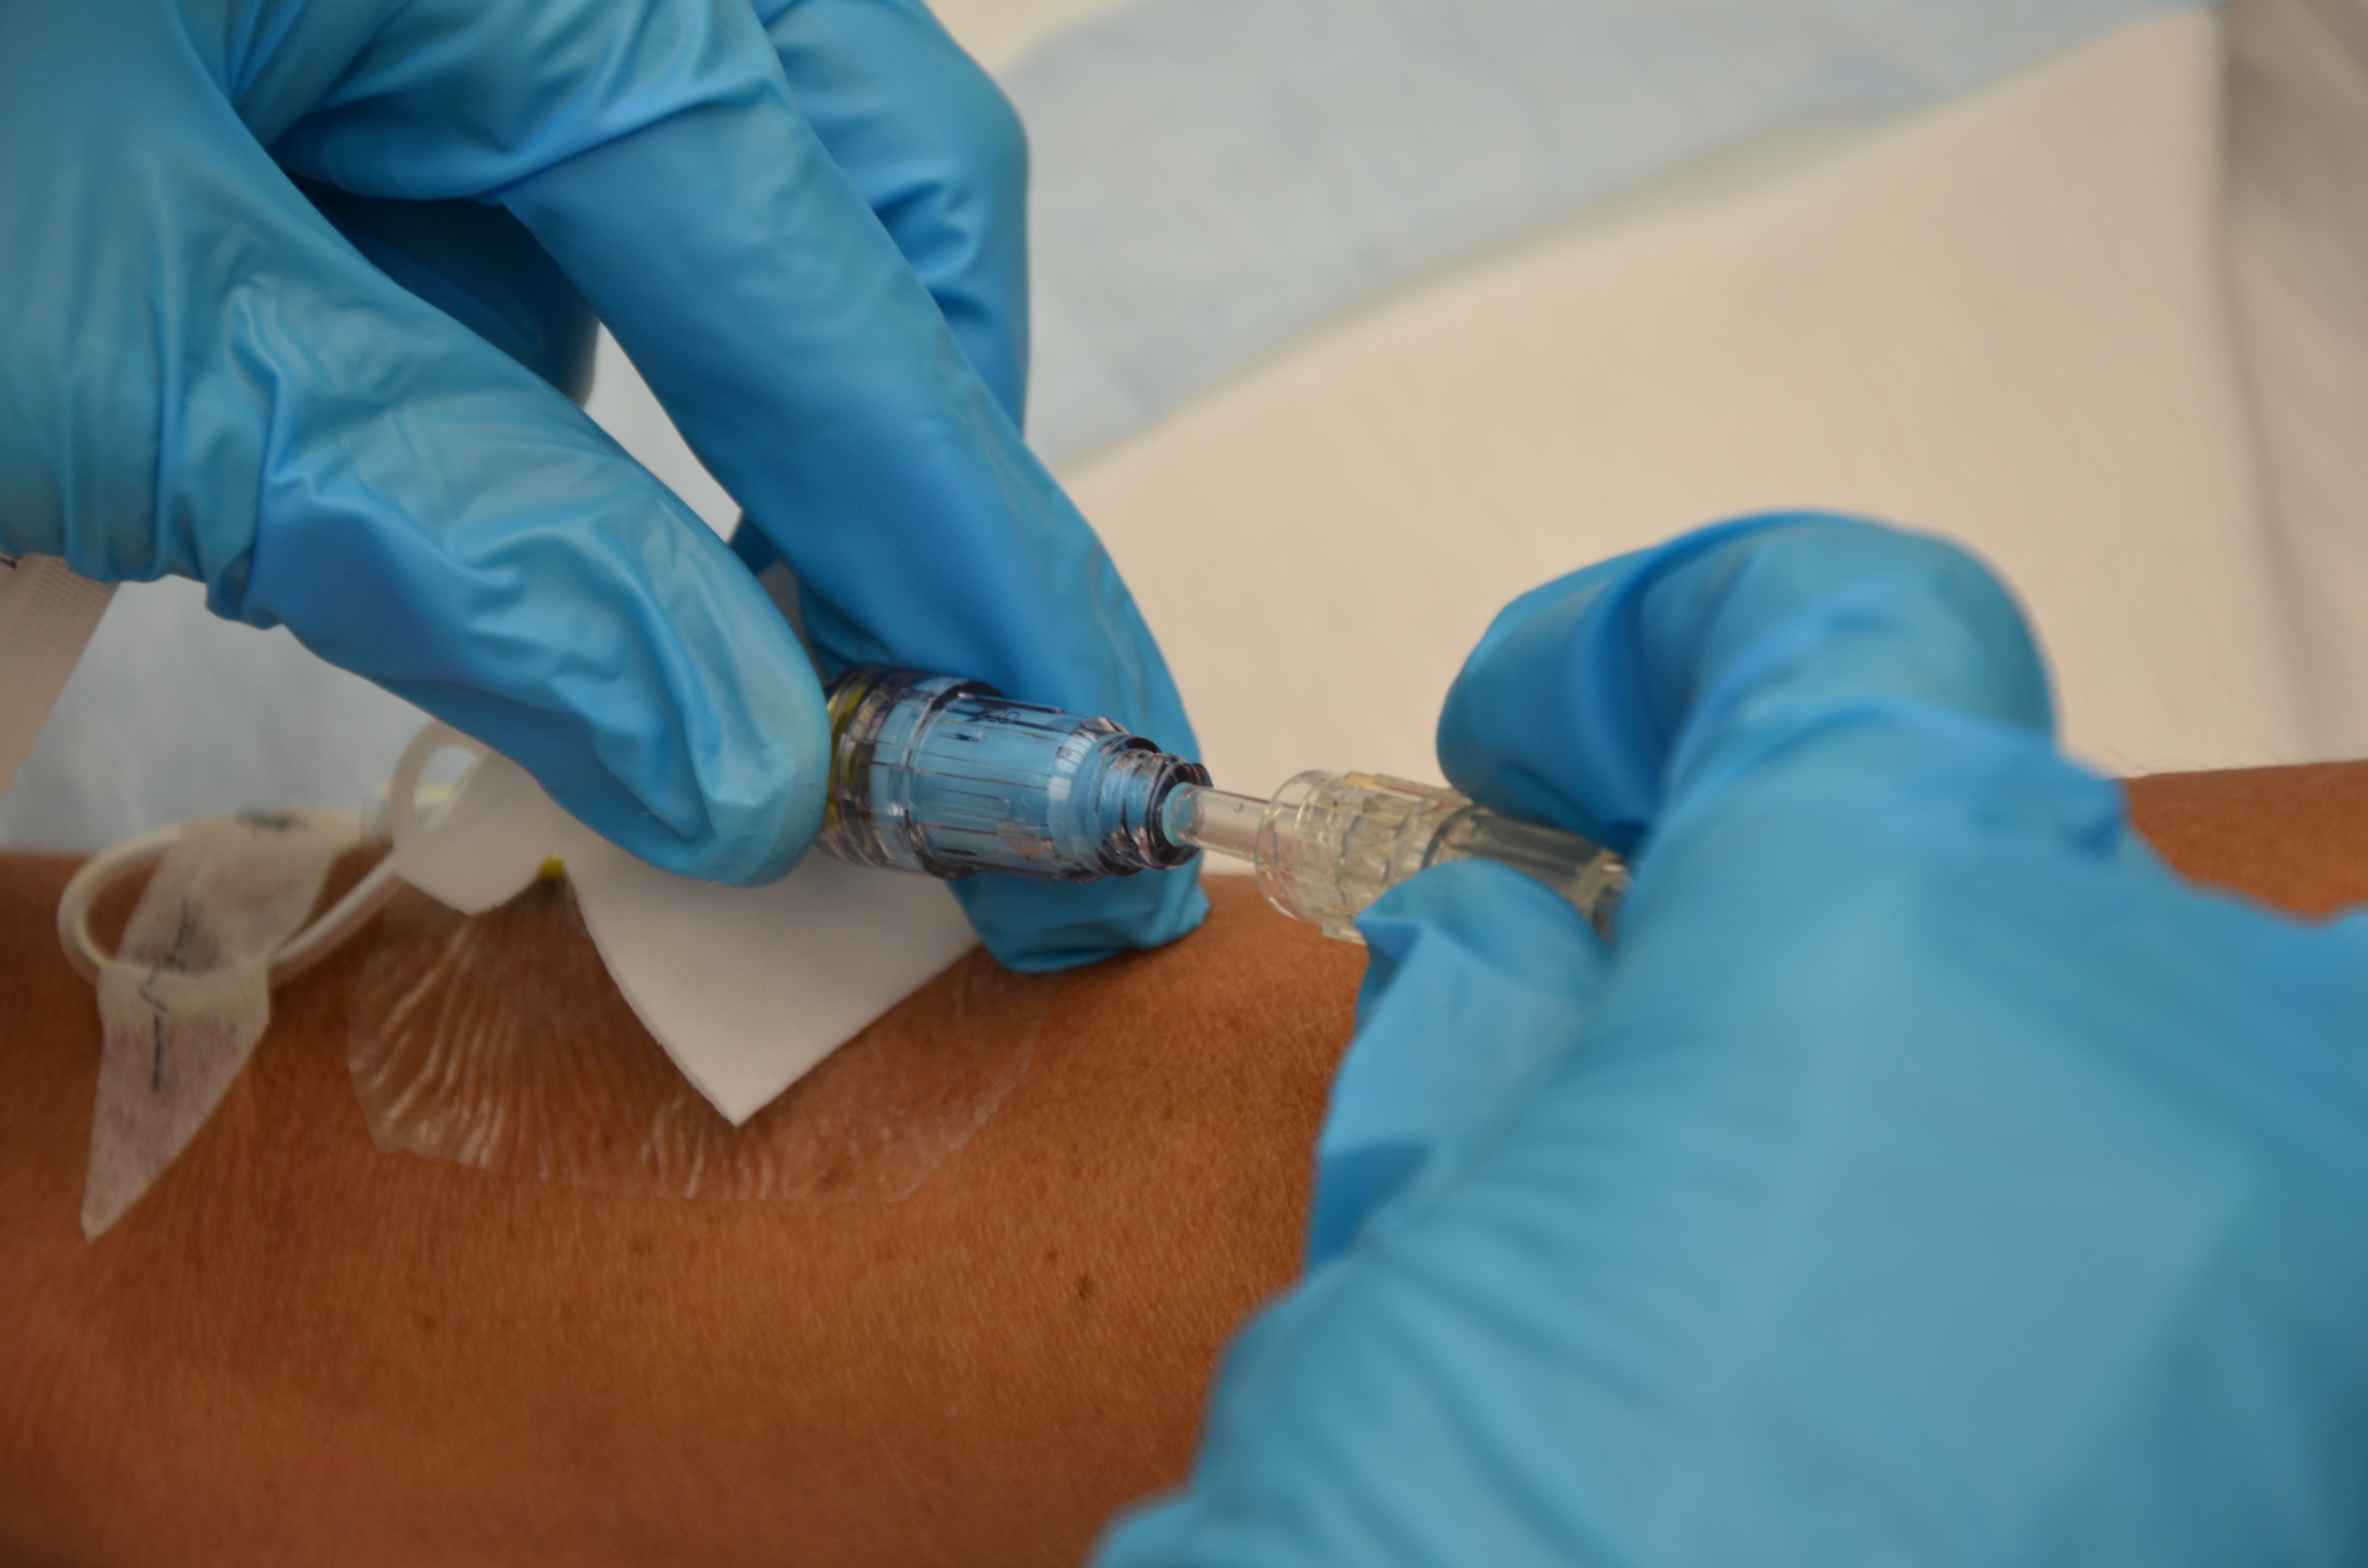
11. Without breaking sterile technique, remove the cap on the distal end of the IV tubing. Using a twisting motion, connect Max Plus end to IV tubing.
Do not let the positive pressure cap touch any non-sterile surface prior to attaching the IV tubing. If required, place the positive pressure cap on sterile gauze while preparing tubing.
Connect IV tubing to saline lockContinuous IV infusion
12. Initiate IV infusion.
Adjust IV infusion rate by gravity or IV pump as per physician’s orders. Monitor for factors that may affect flow rate.
Adjust IV rate
13. Secure IV tubing to patient with tape.
Properly secured extension tubing prevents accidental dislodgement of tubing.
Secure IV tubing with tape
14. Document procedure and monitor expected response to IV fluids.
Chart type of solution, rate, date, and time of infusion as per agency policy.
Data source: Perry et al., 2014; Vancouver Coastal Health, 2008
Critical Thinking Exercises
A continuous infusion is started on your patient. As you leave the room, your patient complains of pain at the insertion site. What should you do?
When flushing a positive pressure cap, when do you clamp the extension tubing?