Chapter 10. Tubes and Attachments
10.4 Urinary Catheters
Urinary elimination is a basic human function that can be compromised by illness, surgery, and other conditions. Urinary catheterization may be used to support urinary elimination in patients who are unable to void naturally. Urinary catheterization may be required:
- In cases of acute urinary retention
- When intake and output are being monitored
- For preoperative management
- To enhance healing in incontinent patients with open sacral and perineal wounds
- For patients on prolonged bedrest
- For patients needing end-of-life care
Catheter-Associated Urinary Tract Infections
Catheter-associated urinary tract infections (CAUTI) are a common complication of indwelling urinary catheters and have been associated with increased morbidity, mortality, hospital cost, and length of stay (Gould et al., 2009). Urinary drainage systems are often reservoirs for multidrug-resistant organisms (MDROs) and a source of the transmission of microorganisms to other patients (Gould et al., 2009). The most important risk factor for developing a CAUTI, a health care associated infection (HAI), is the prolonged use of a urinary catheter (Centers for Disease Control and Prevention [CDC], 2015). Urinary tract infections (UTIs) are the most commonly reported HAIs in acute care hospitals and account for more than 30% of all reported infections (Gould et al., 2009). Catheters in place for more than a few days place the patient at risk for a CAUTI. A health care provider must assess patients for signs and symptoms of CAUTIs and report immediately to the primary health care provider. Signs and symptoms of a CAUTI include:
- Fever, chills
- Lethargy
- Lower abdominal pain
- Back or flank pain
- Urgency, frequency of urination
- Painful urination
- Hematuria
- Change in mental status (confusion, delirium, or agitation), most commonly seen in older adults
The following are practices for preventing CAUTIs (Perry et al., 2014):
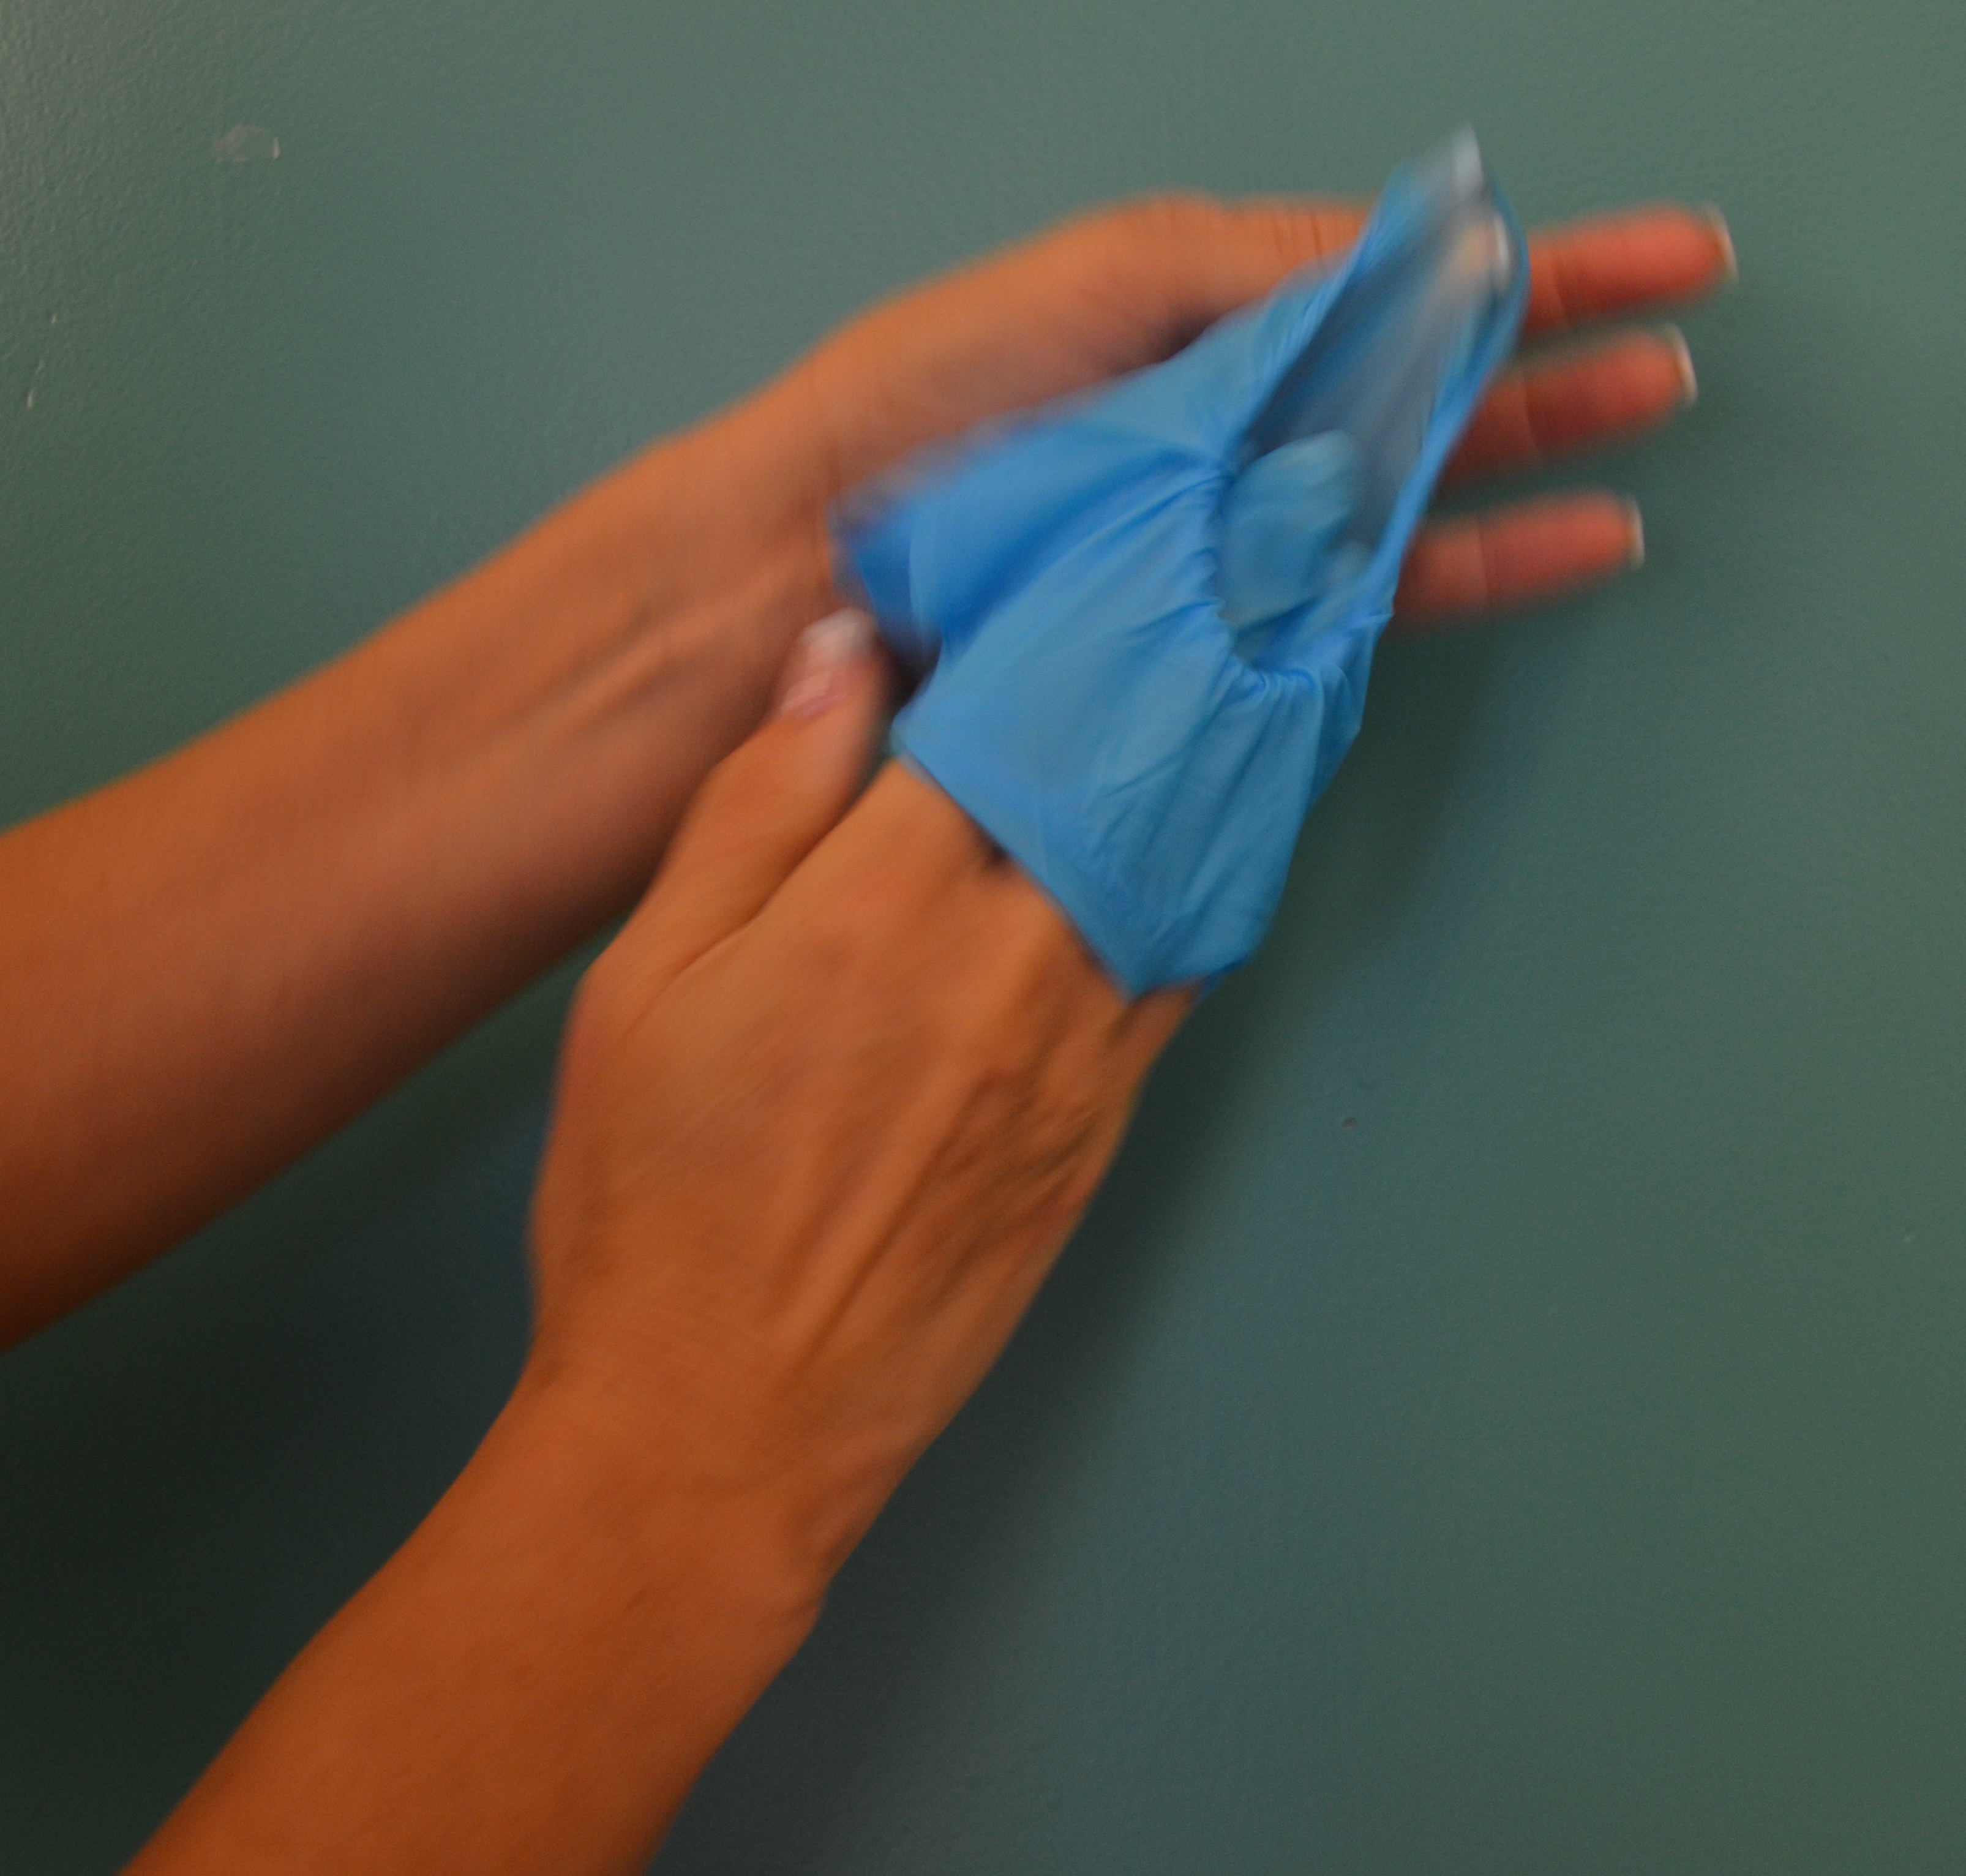
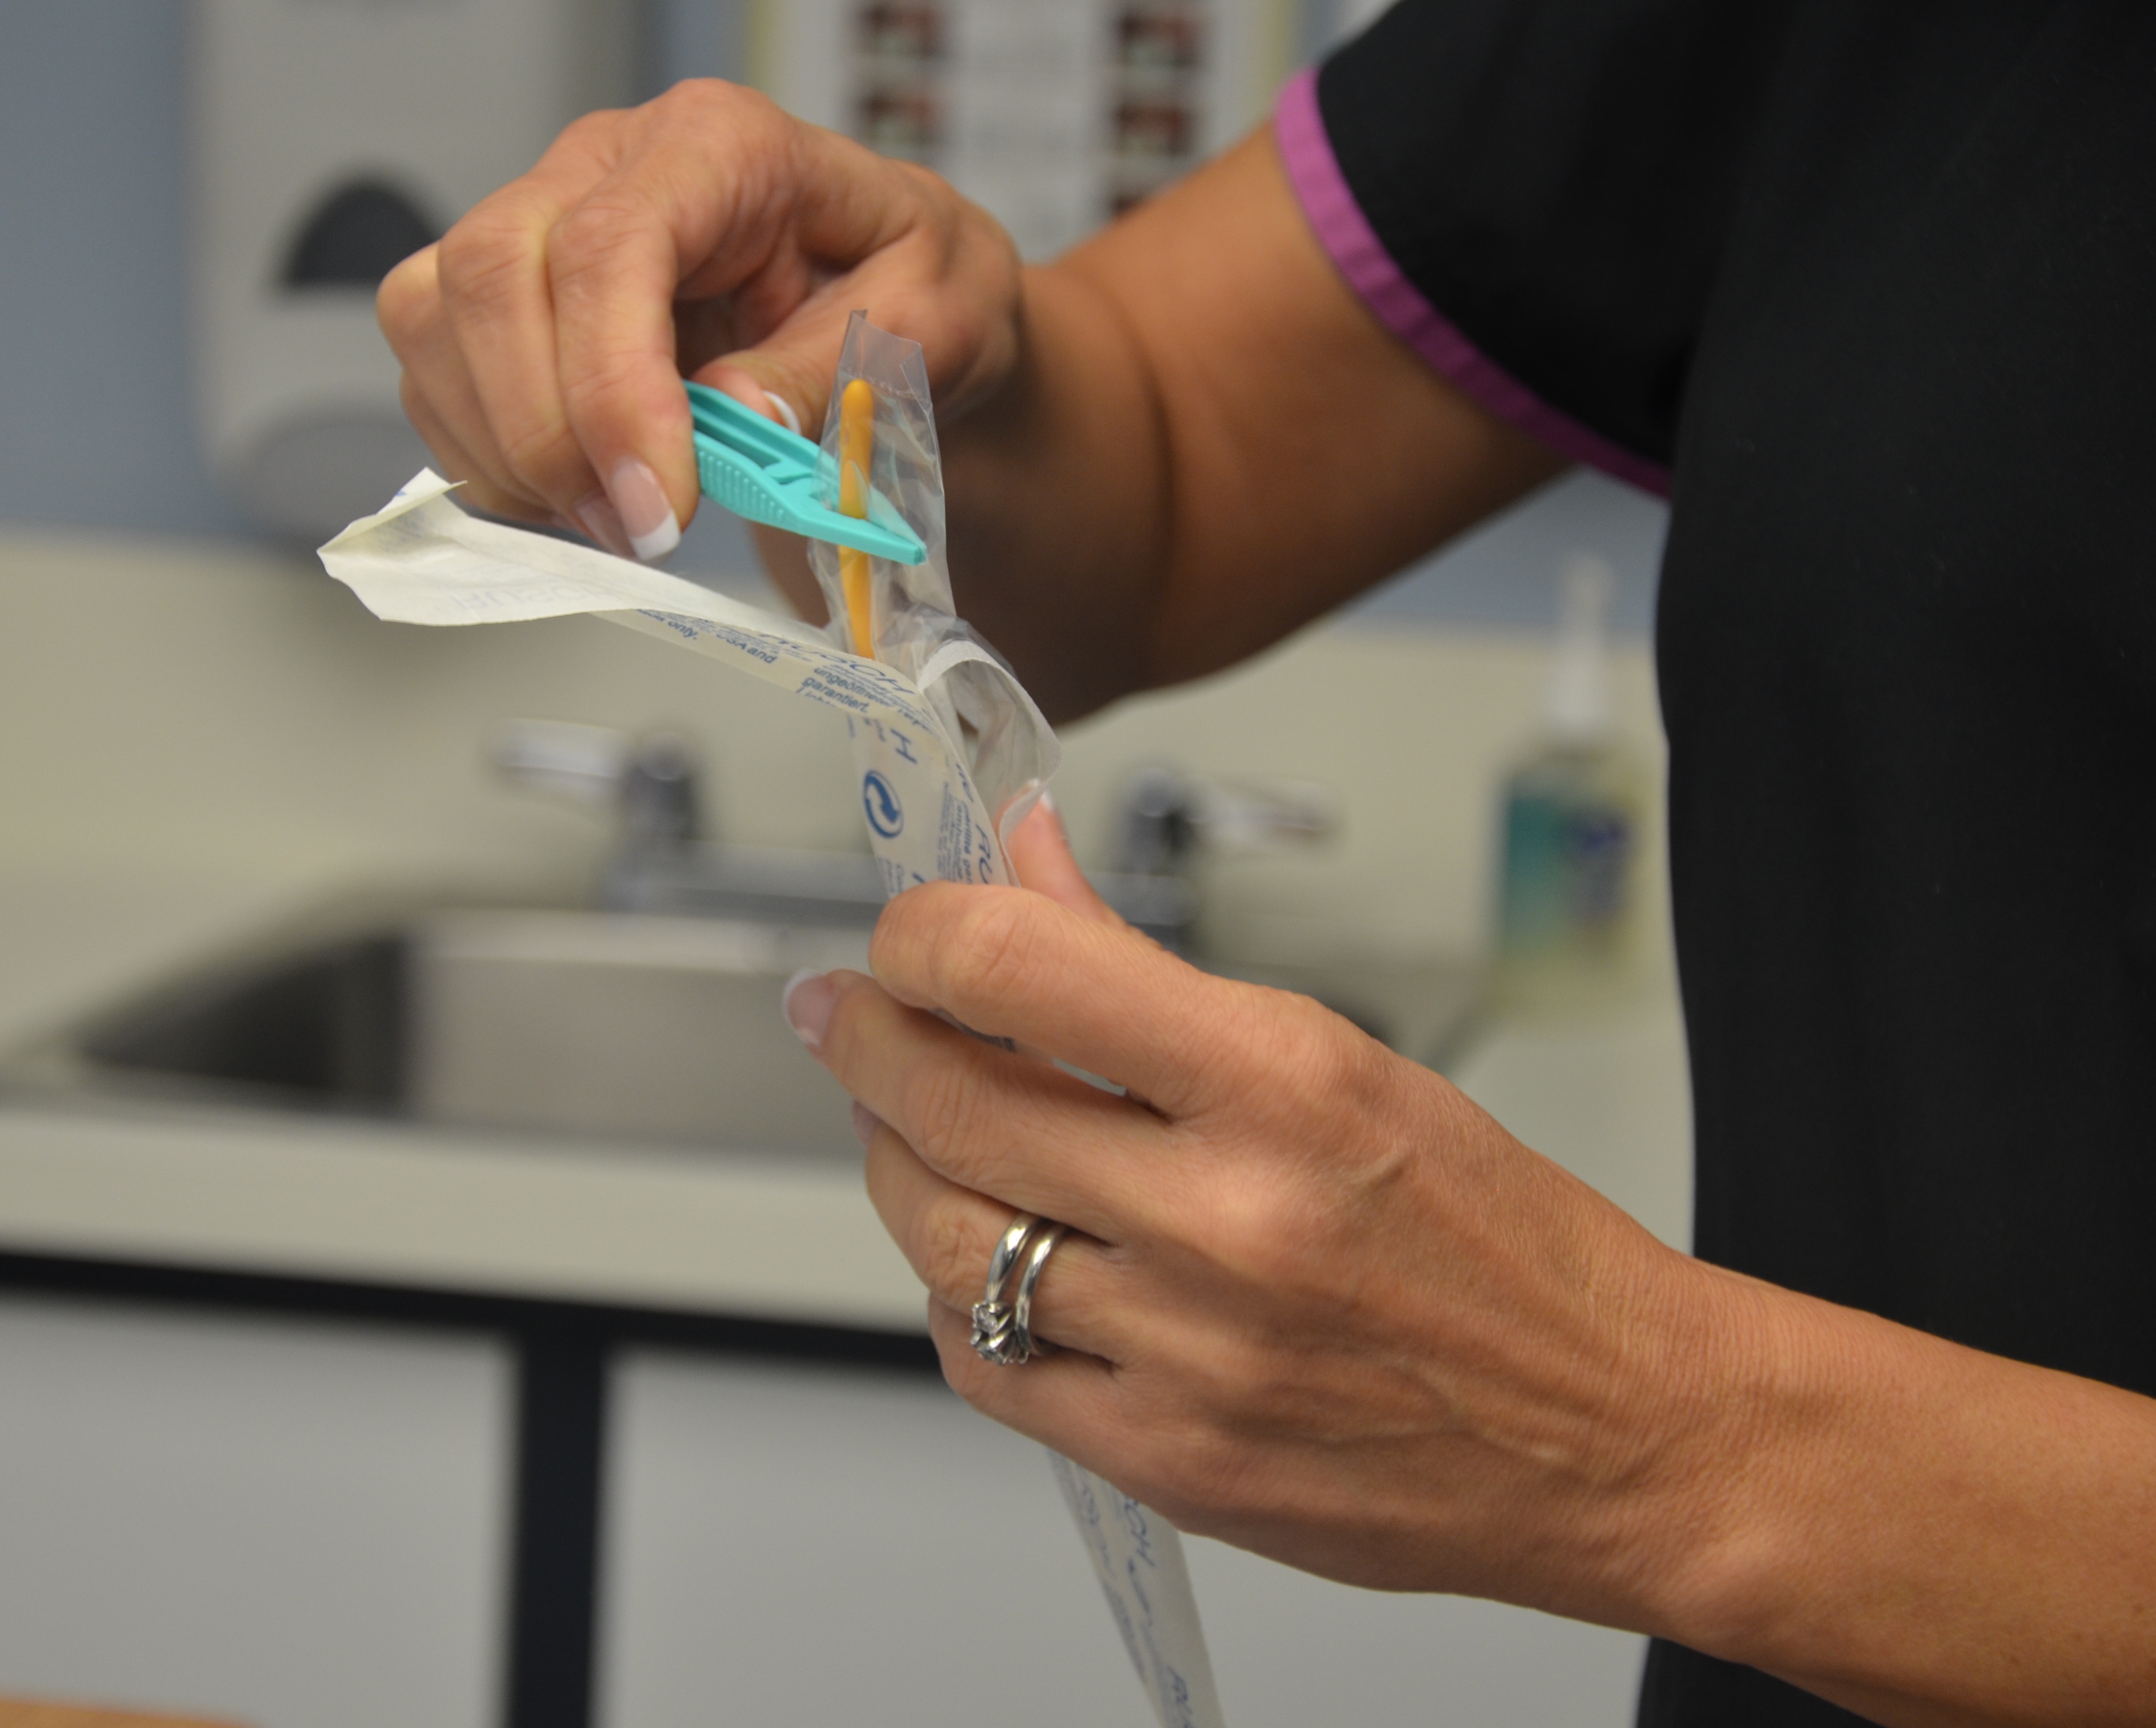
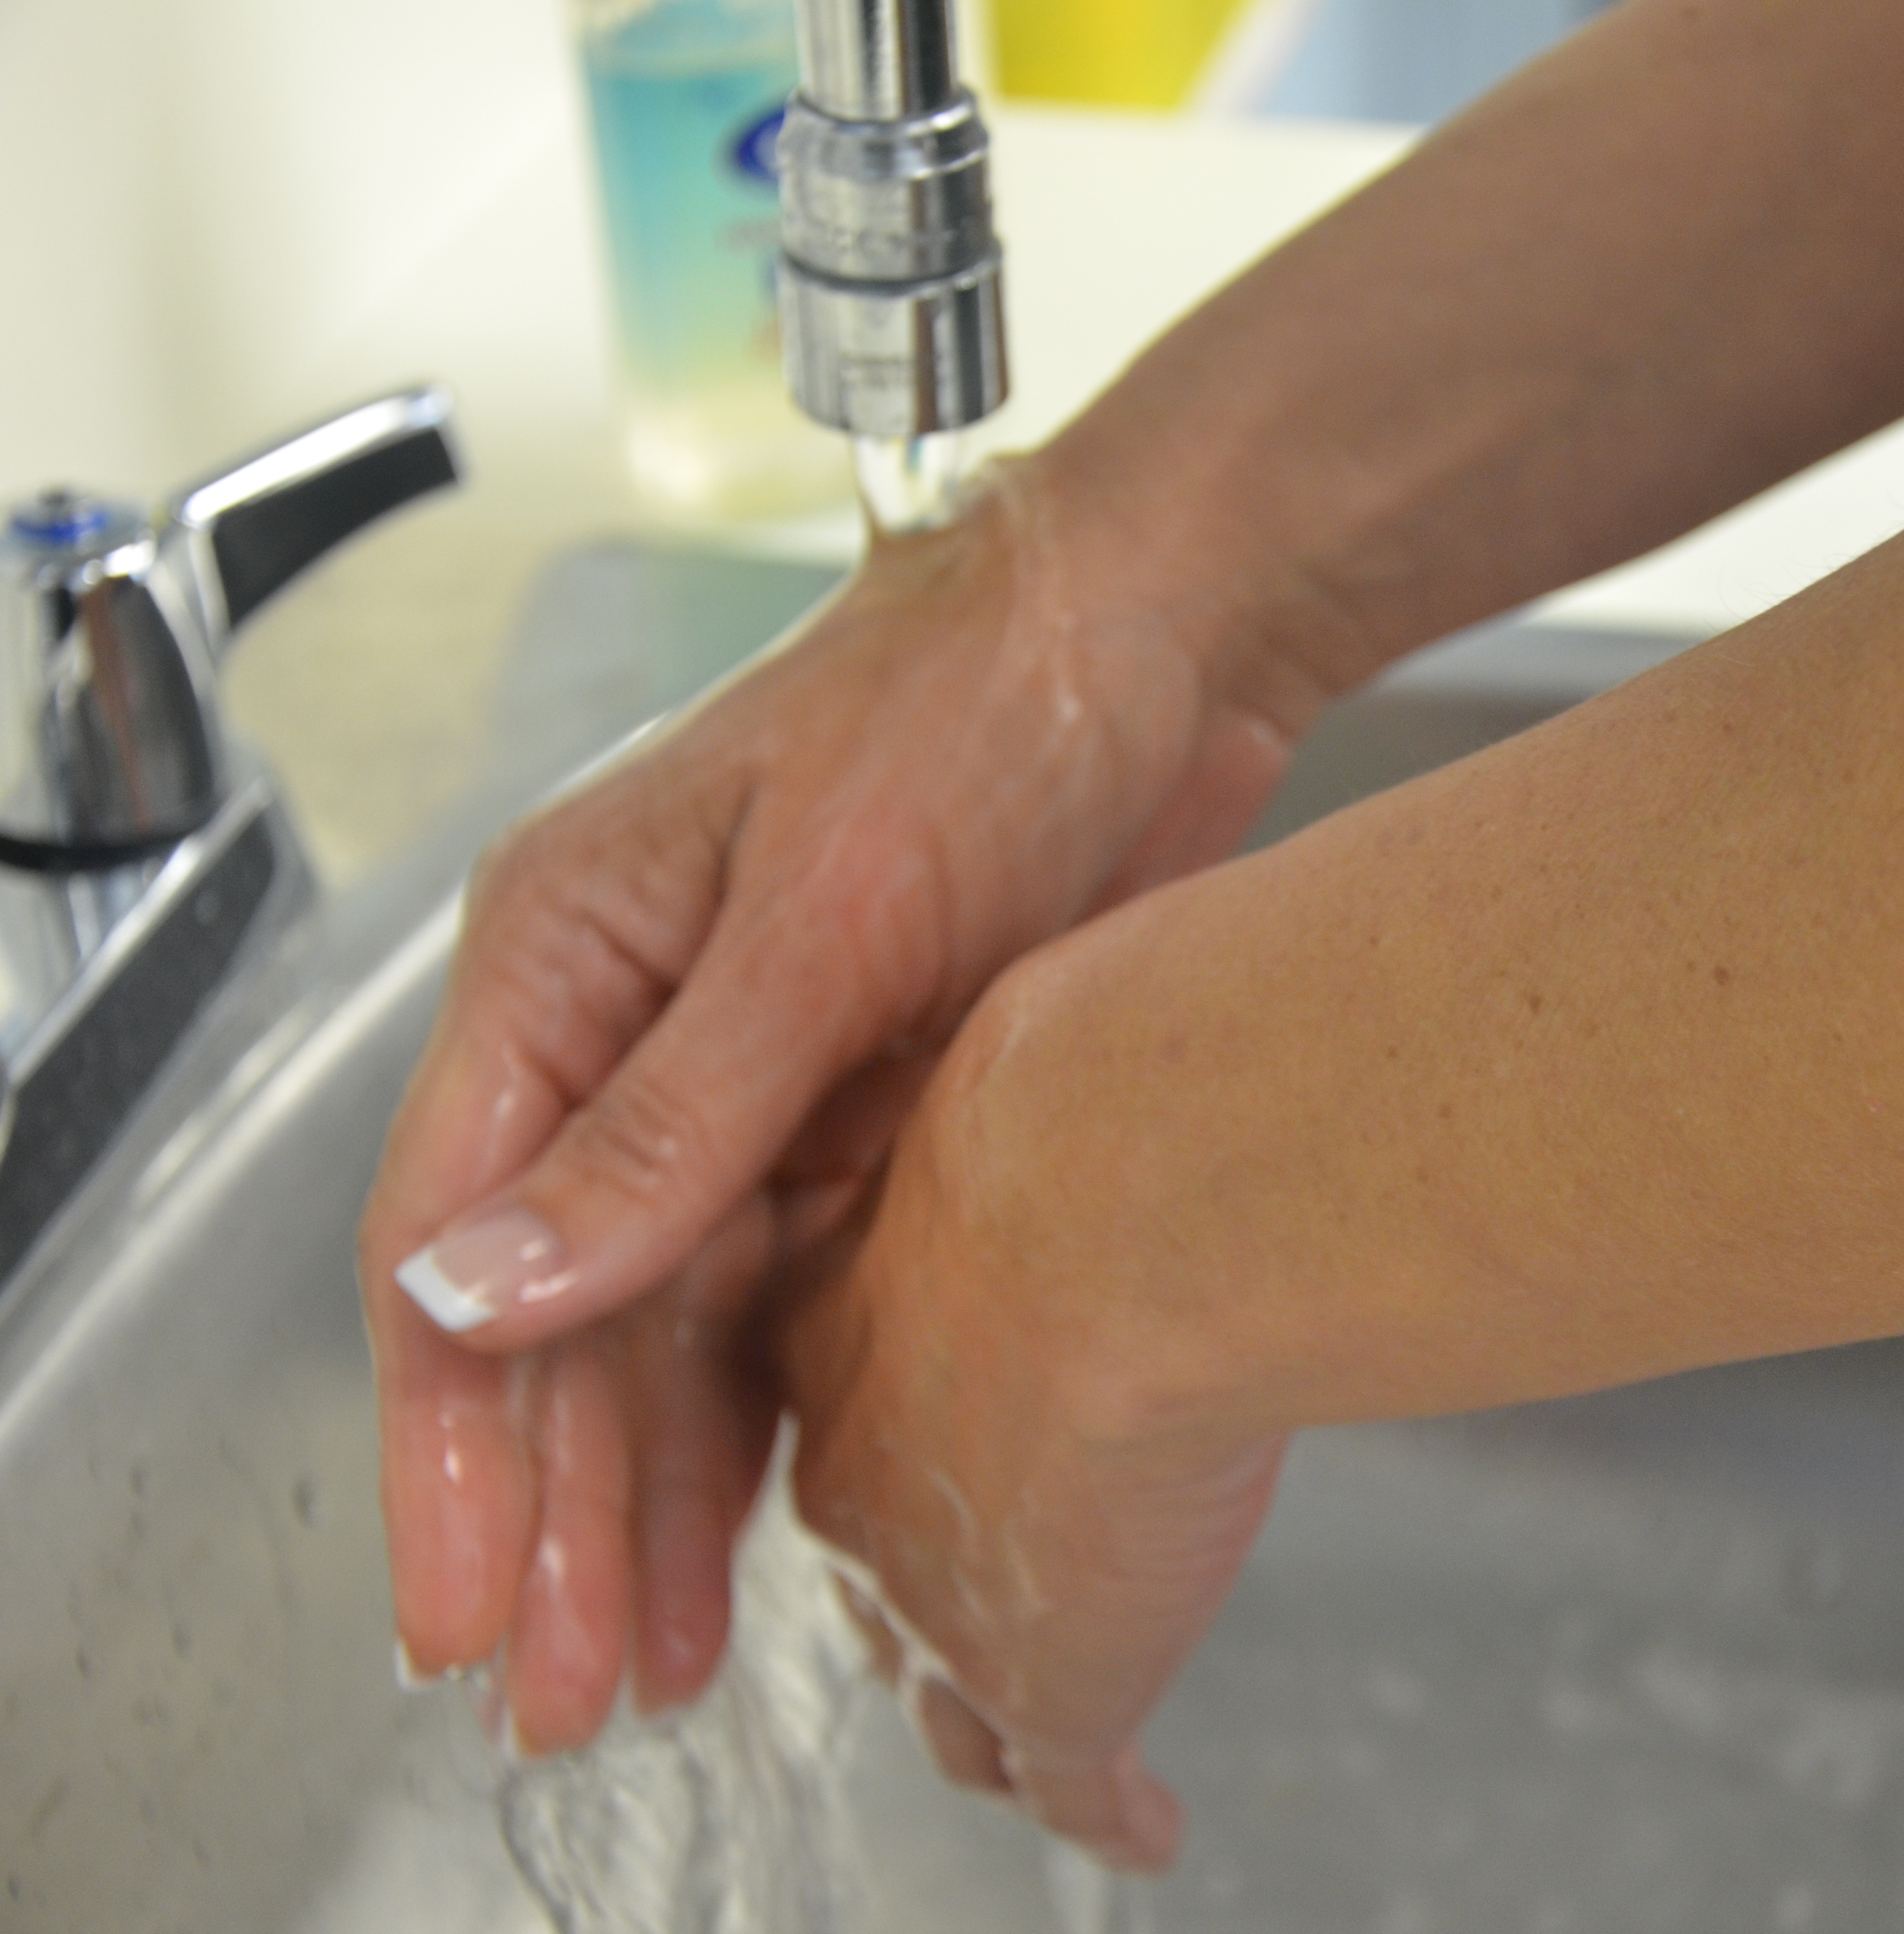
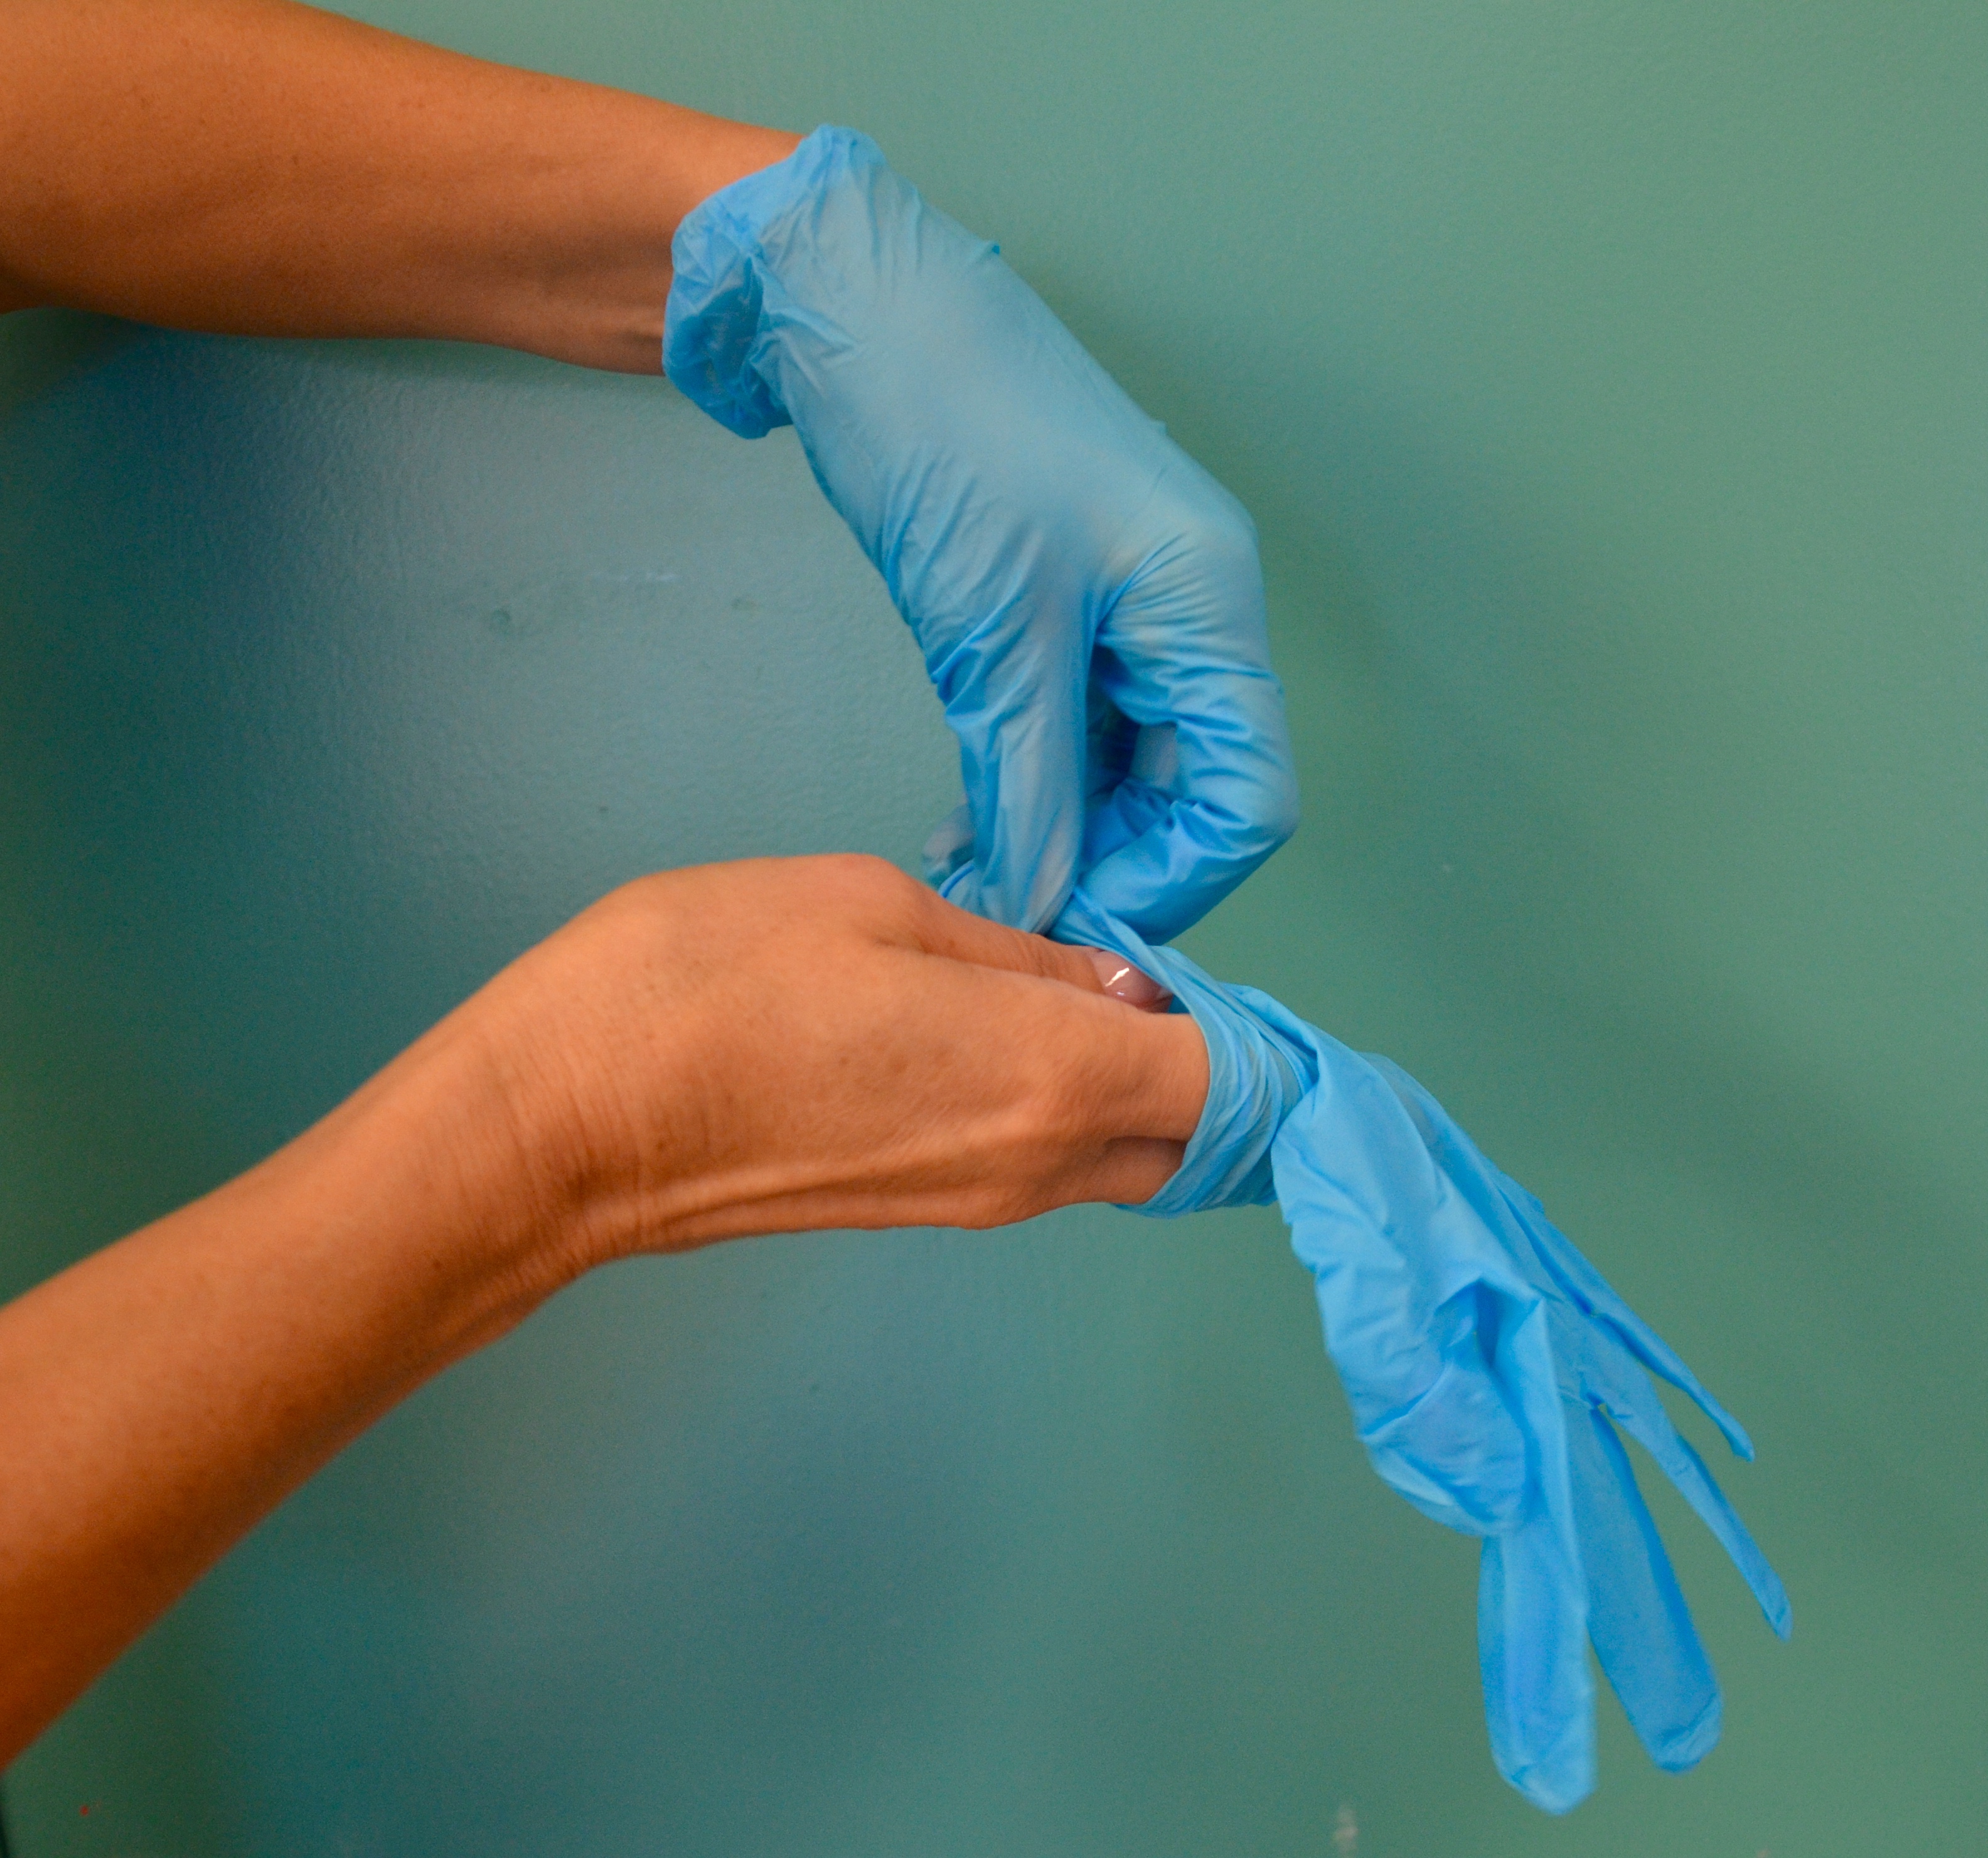
- Insert urinary catheters using sterile technique.
- Only insert indwelling catheters when essential, and remove as soon as possible.
- Use the narrowest tube size (gauge) possible.
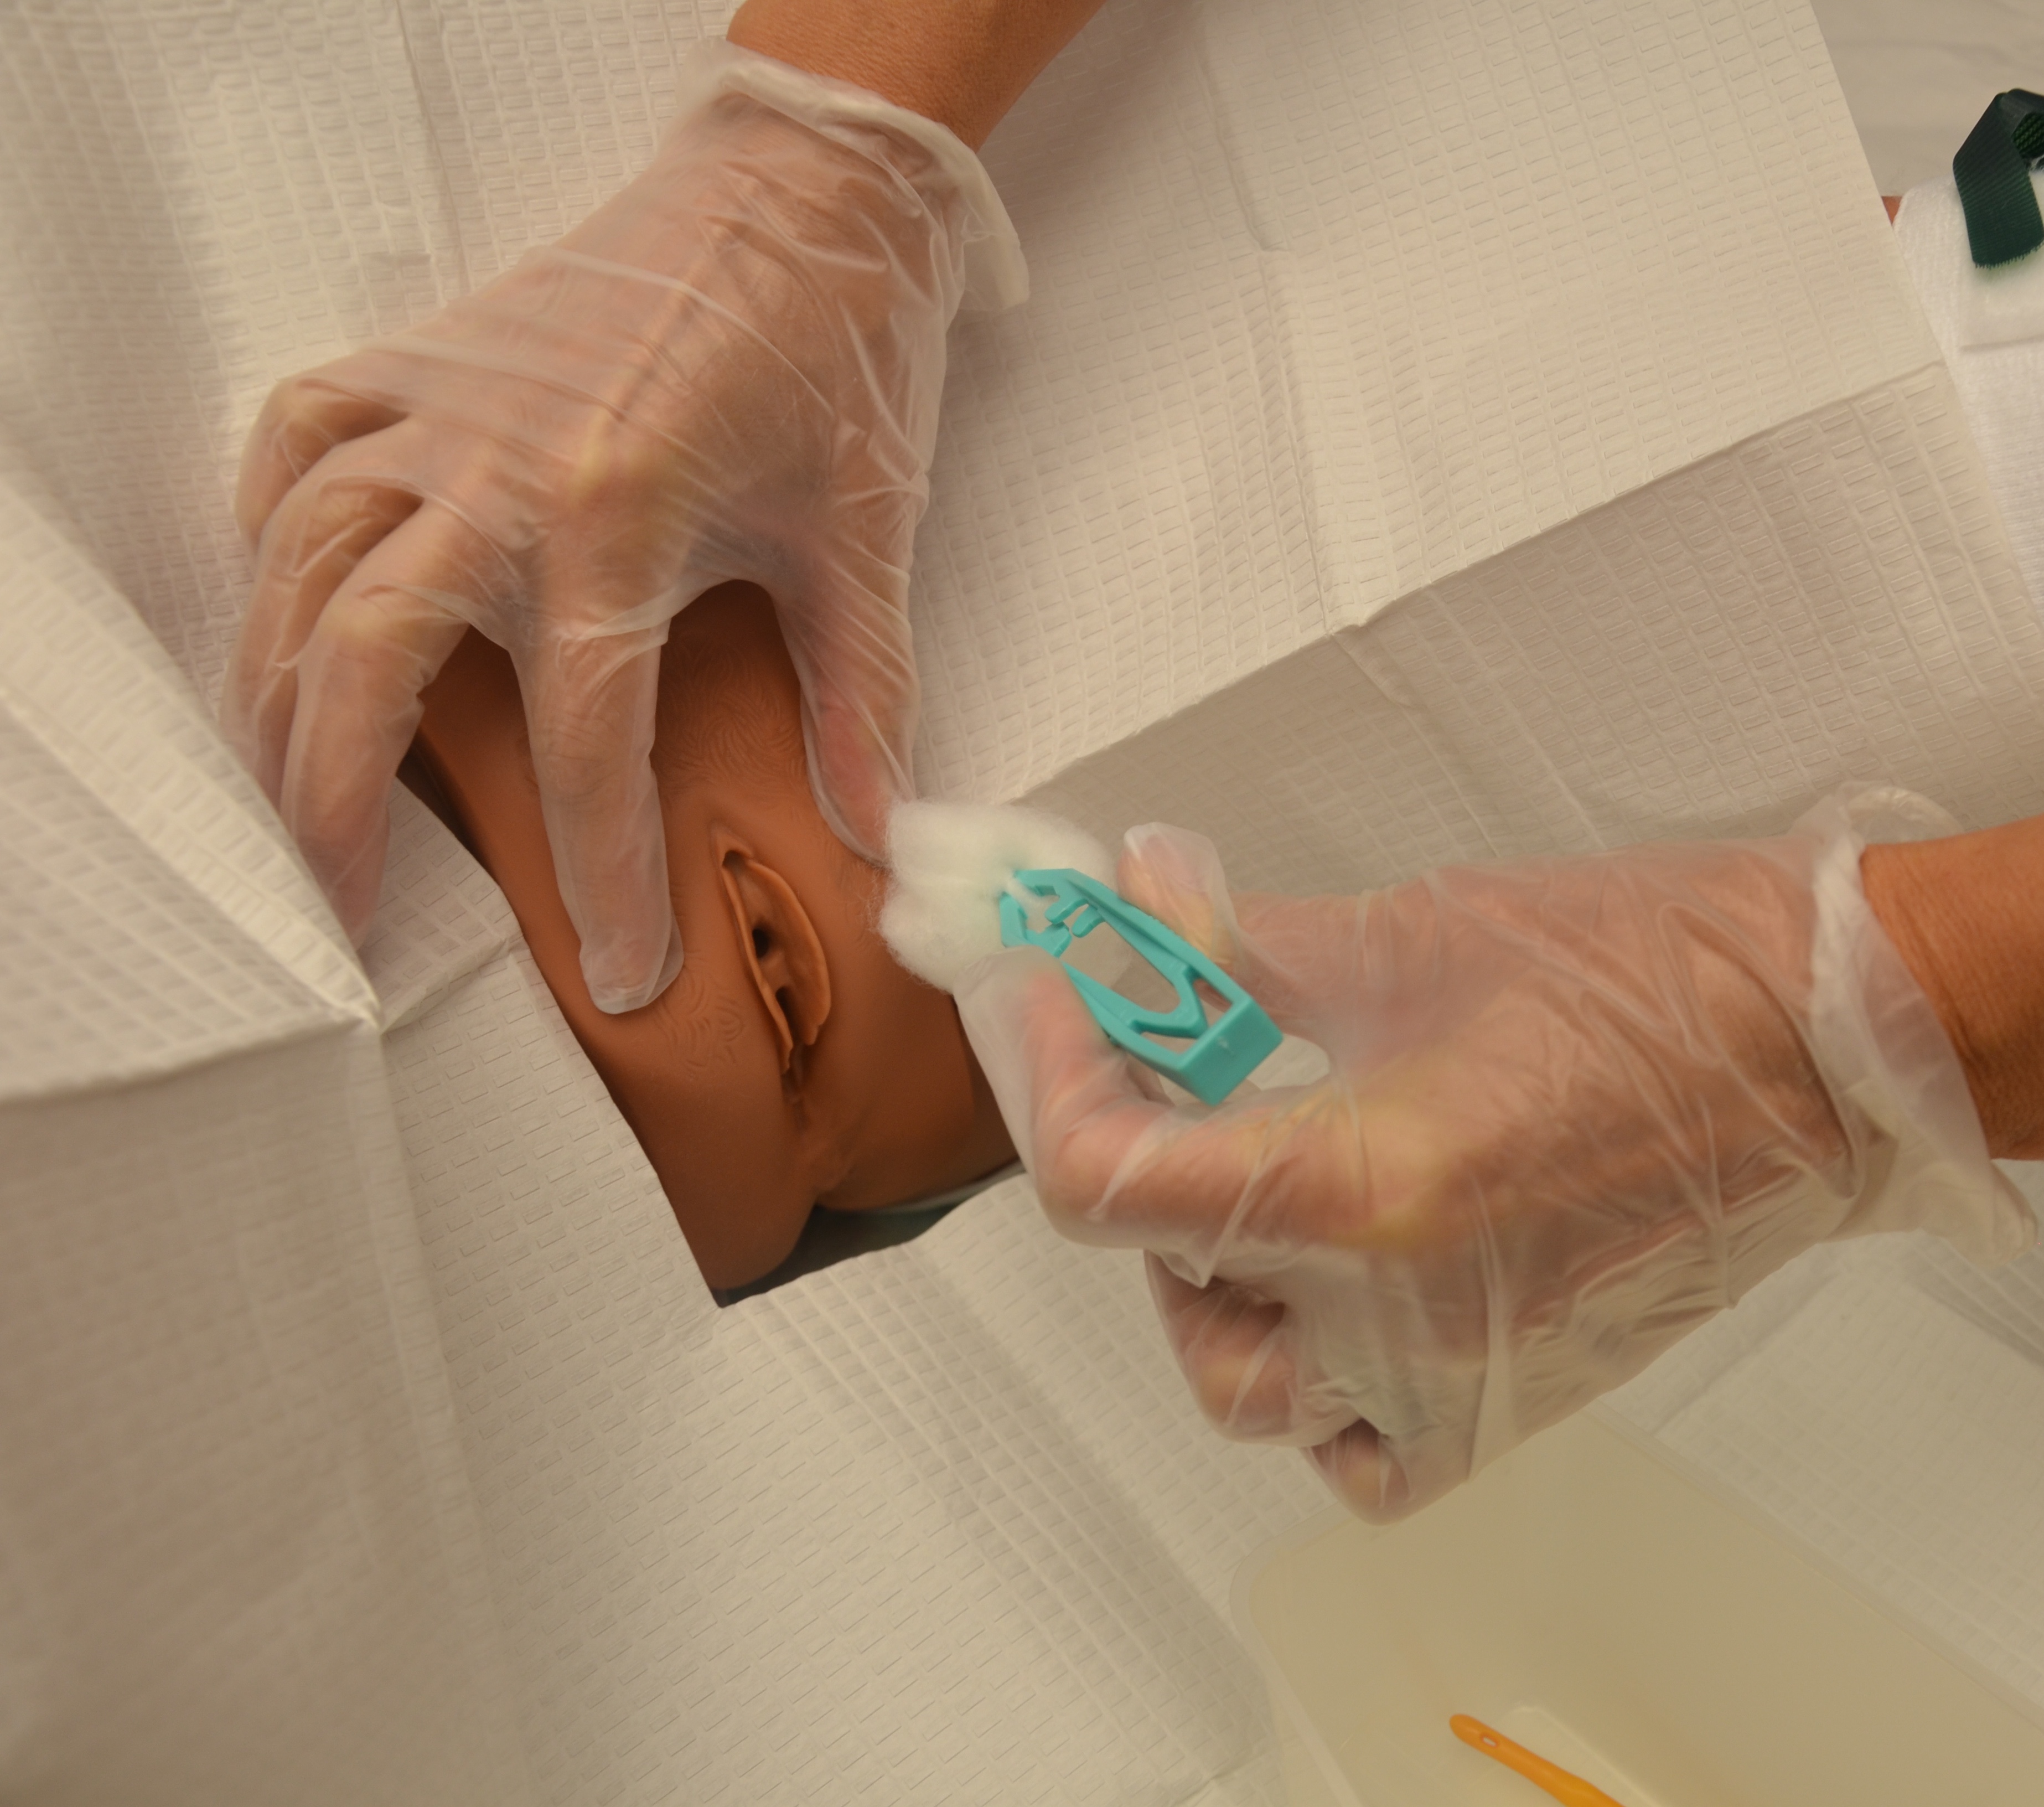
- Provide daily cleansing of the urethral meatus with soap and water or perineal cleanser, following agency policy.
- Ensure a closed drainage system.
- Ensure that no kinks or blockages occur in the tubing.
- Secure the catheter tube to prevent urethral damage.
- Avoid use of antiseptic solutions on the urethral meatus and/or in the urinary bag.
Urinary Catheterization
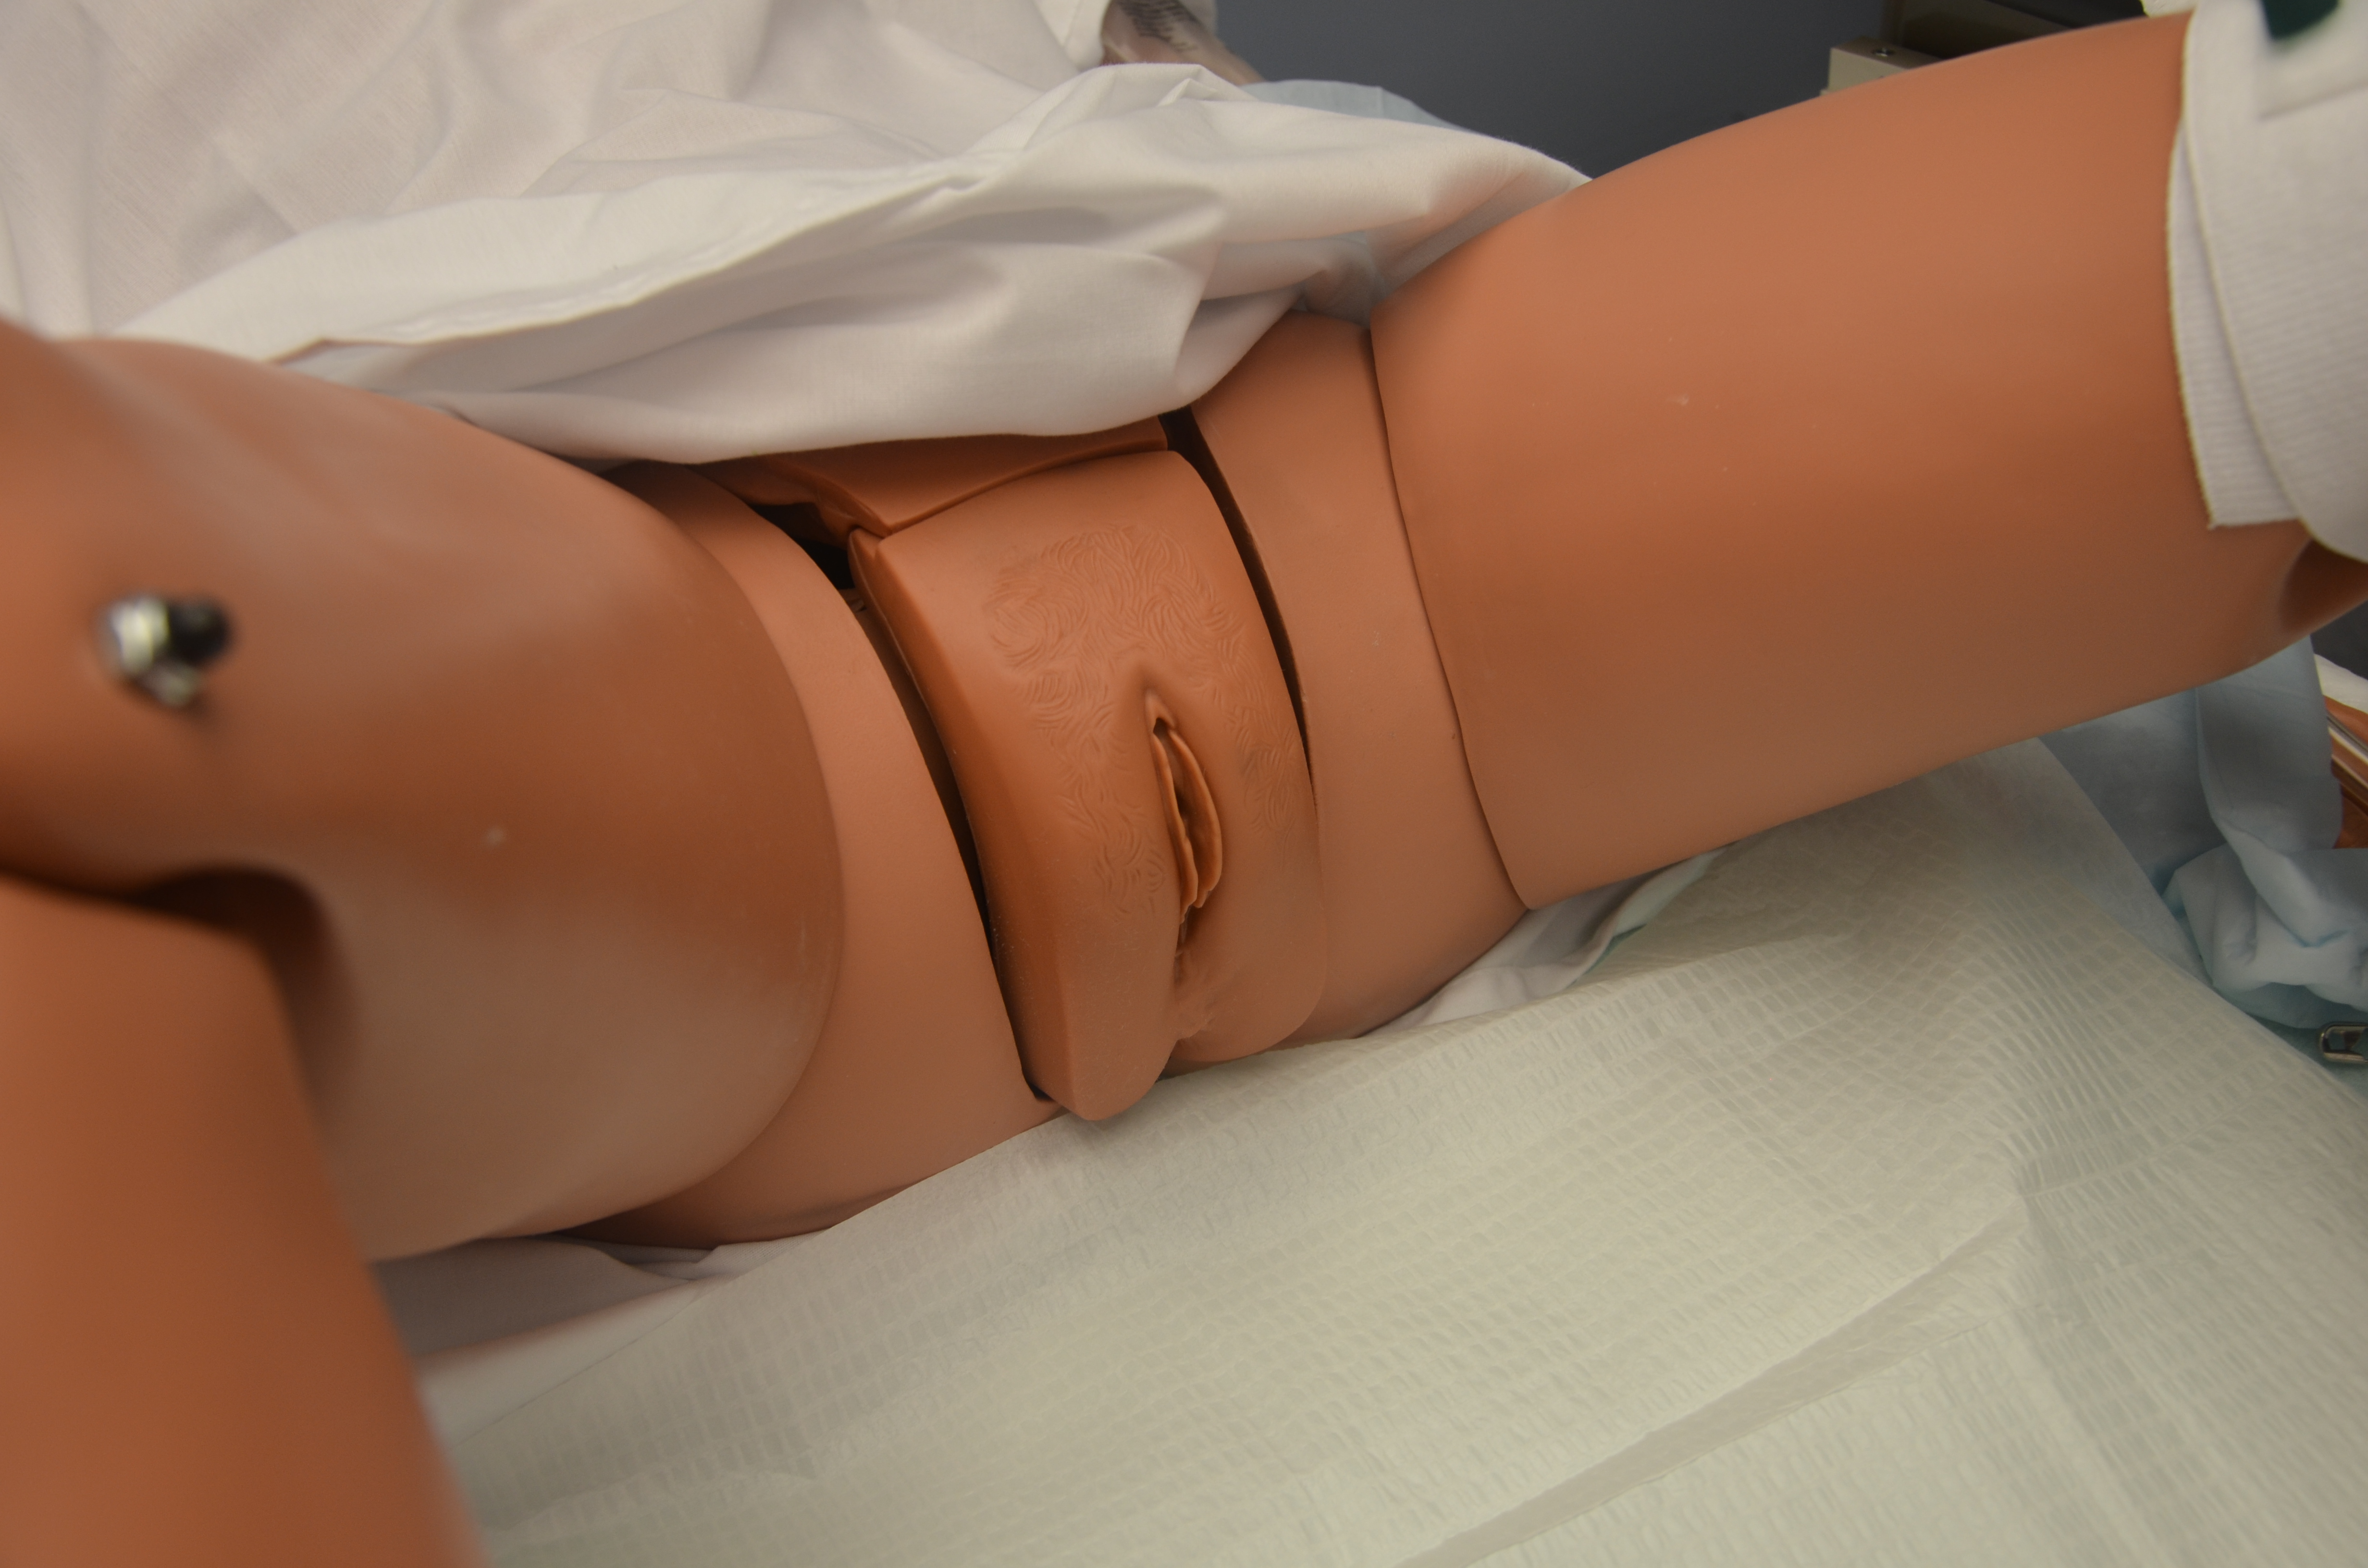
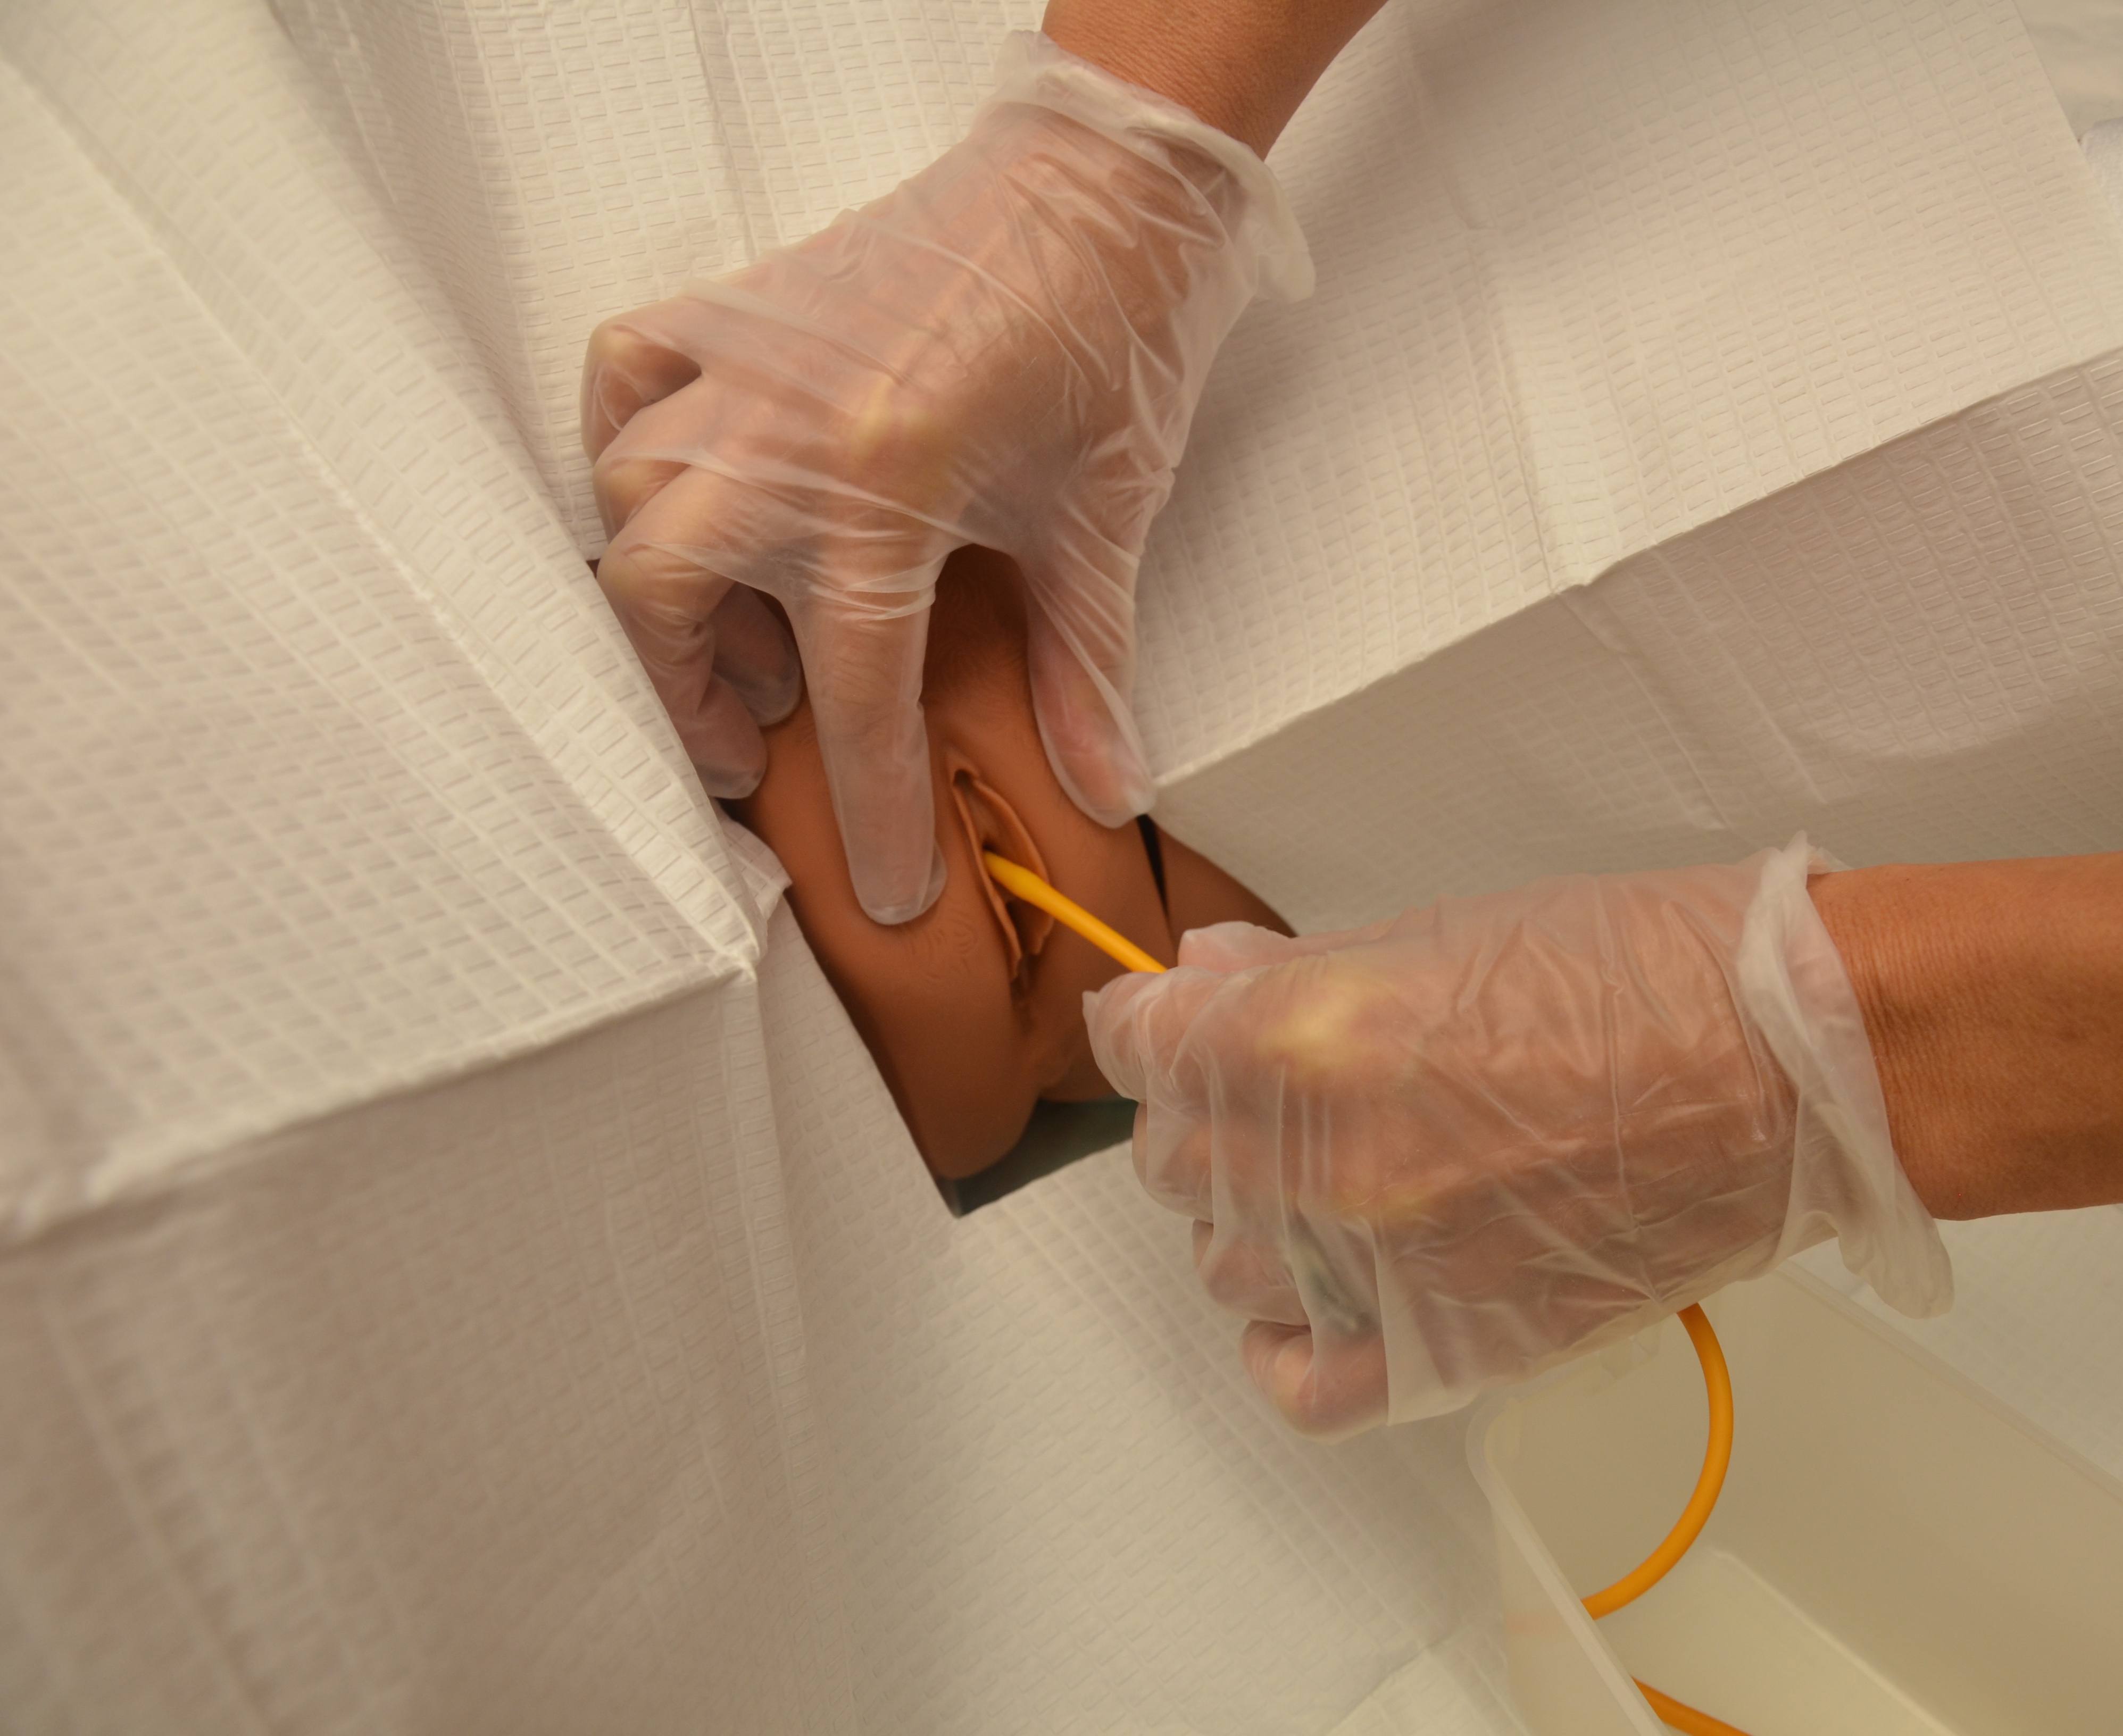
Urinary catheterization refers to the insertion of a catheter tube through the urethra and into the bladder to drain urine. Although not a particularly complex skill, urethral catheterization can be difficult to master. Both male and female catheterizations present unique challenges.
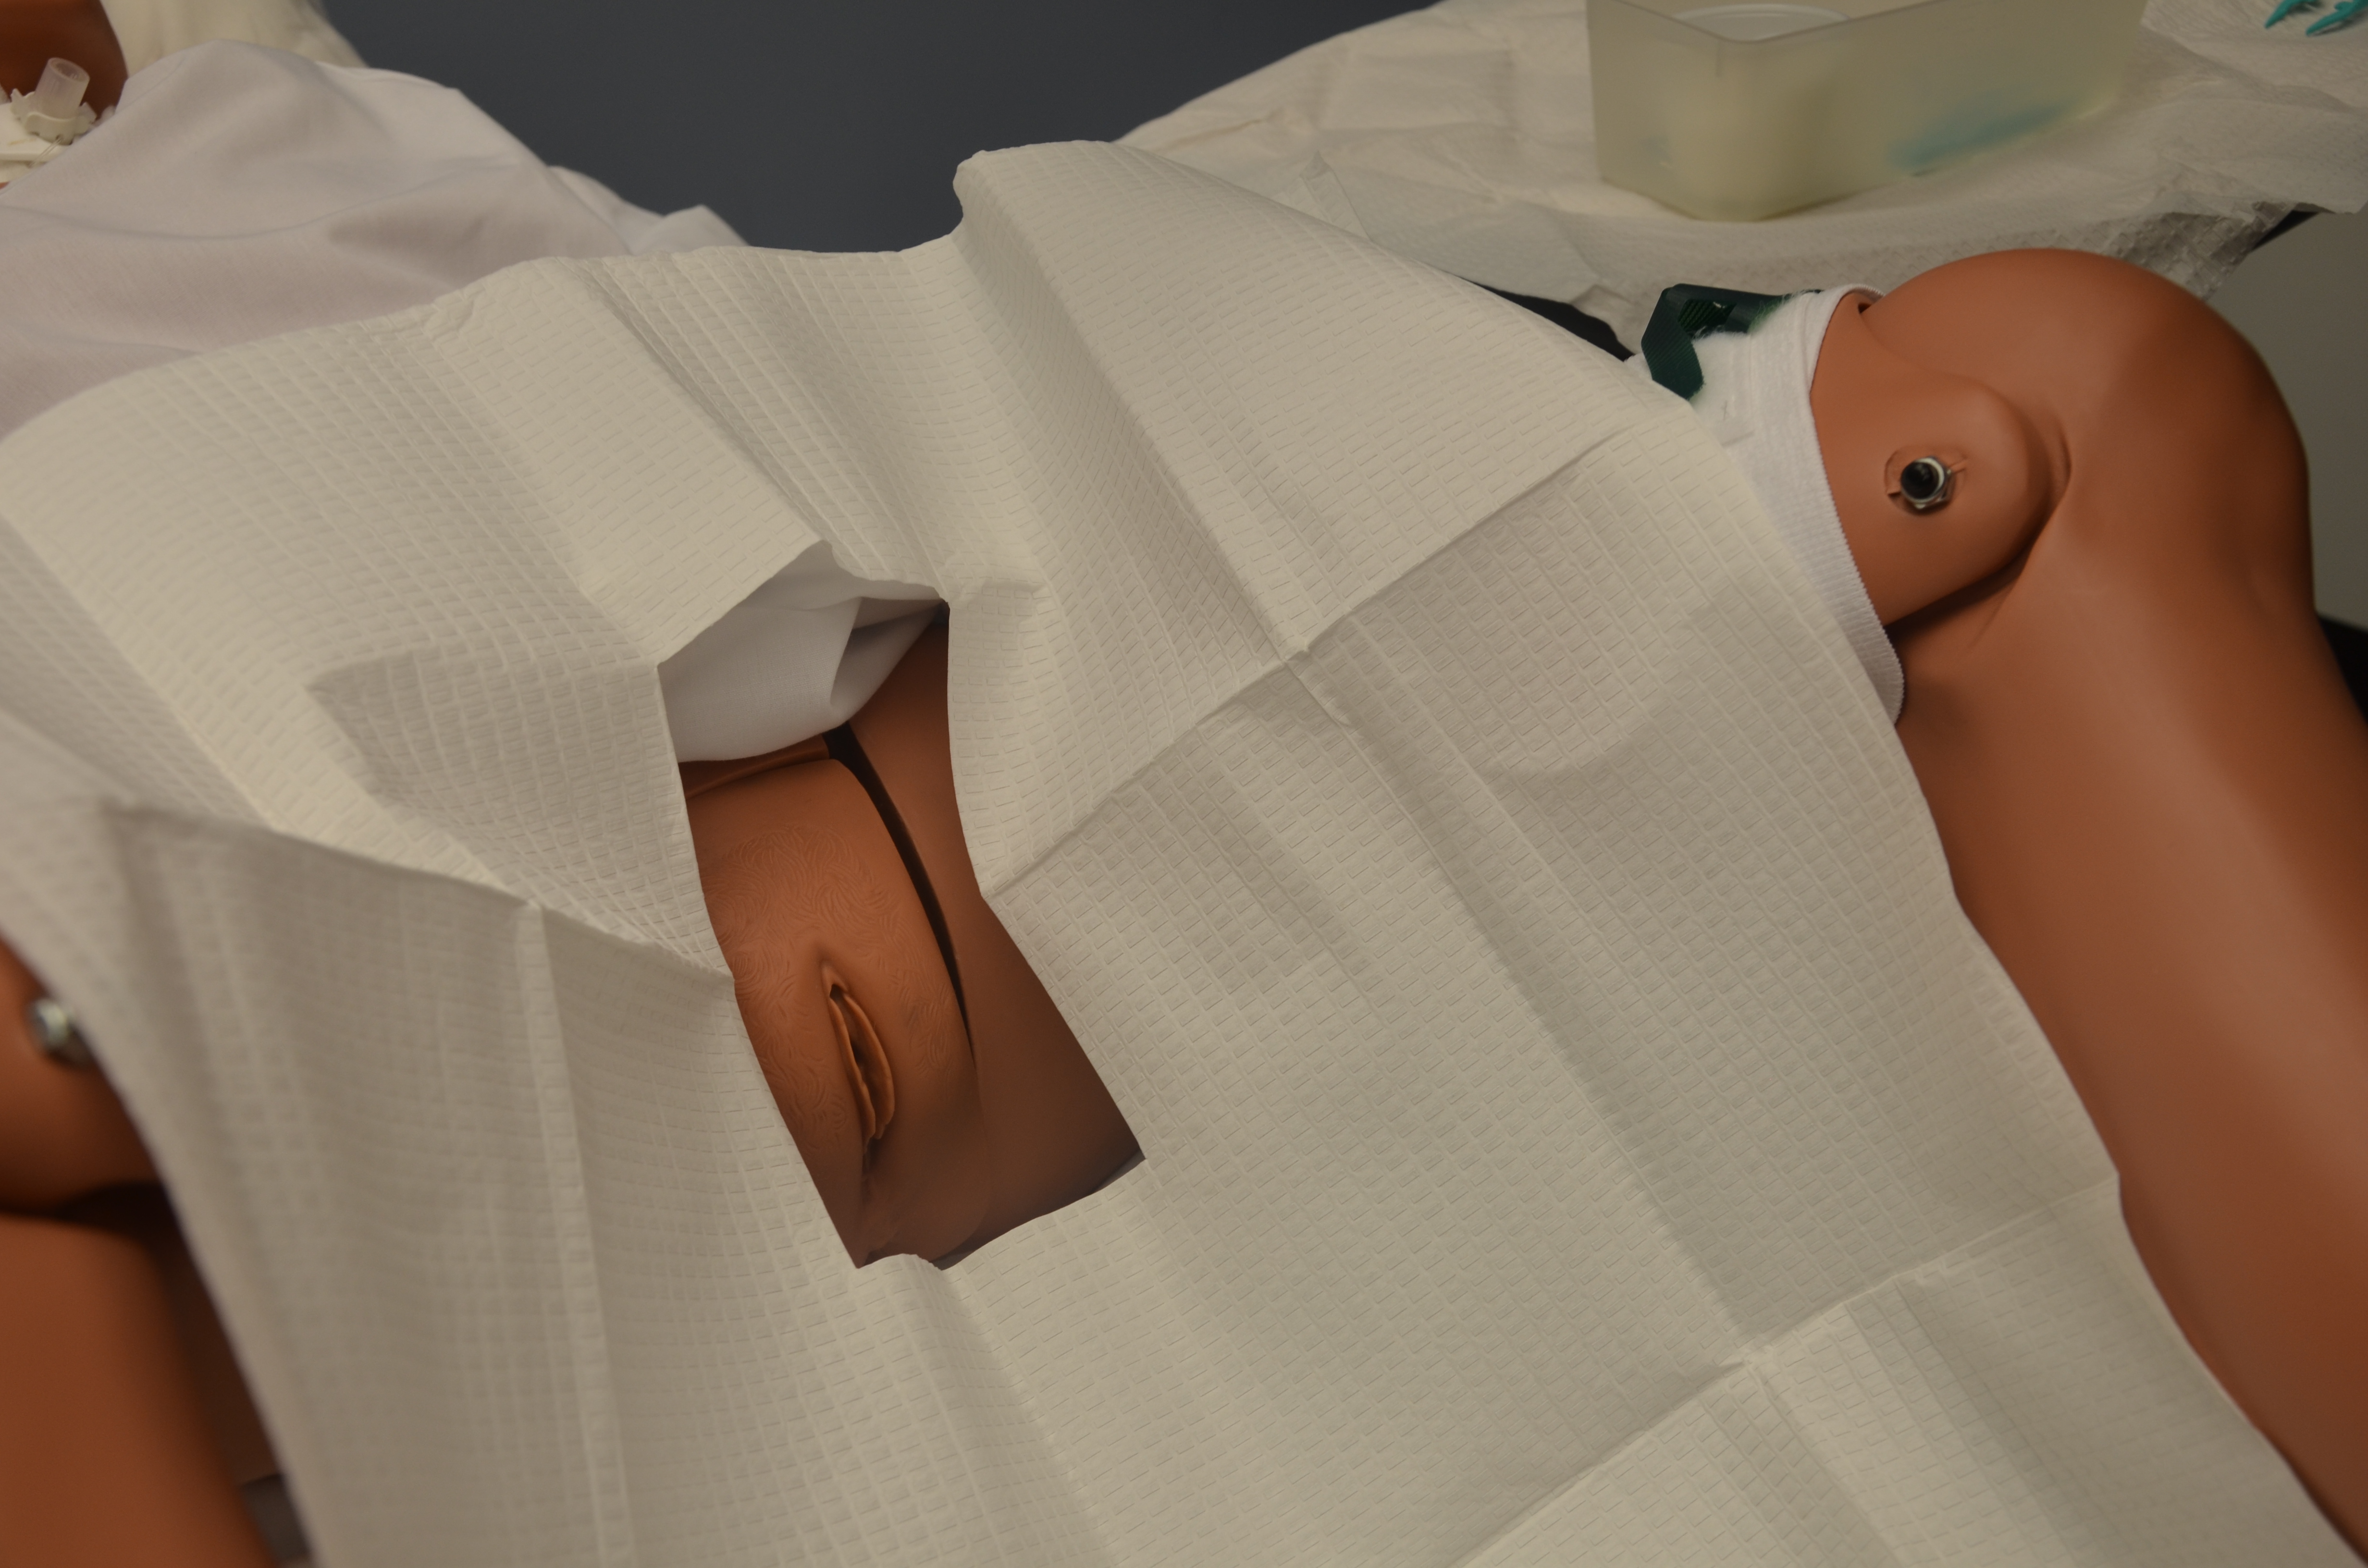
Having adequate lighting and visualization is helpful, but does not ensure entrance of the catheter into the female urethra. It is not uncommon for the catheter to enter the vagina. Leaving the catheter in the vagina can assist in the correct insertion of a new catheter into the urethra, but you must remember to remove the one in the vagina.
For some women, the supine lithotomy position can be very uncomfortable or even dangerous. For example, patients in the last trimester of pregnancy may faint with decreased blood supply to the fetus in this position. Patients with arthritis of the knees and hips may also find this position extremely uncomfortable. Catheterization may also be accomplished with the patient in the lateral to Sims position (three-quarters prone).
The male urinary sphincter may also be difficult to pass, particularly for older men with prostatic hypertrophy.
There are two types of urethral catheterization: intermittent and indwelling.
Intermittent catheterization (single-lumen catheter) is used for:
- Immediate relief of urinary retention
- Long-term management of incompetent bladder
- Obtaining a sterile urine specimen
- Assessing residual urine in the bladder after voiding (if a bladder scanner is not available)
Indwelling catheterization (double- or triple-lumen catheter) is used for:
- Promoting urinary elimination
- Measuring accurate urine output
- Preventing skin breakdown
- Facilitating wound management
- Allowing surgical repair of urethra, bladder, or surrounding structures
- Instilling irrigation fluids or medications
- Assessing abdominal/pelvic pain
- Investigating conditions of the genitourinary system
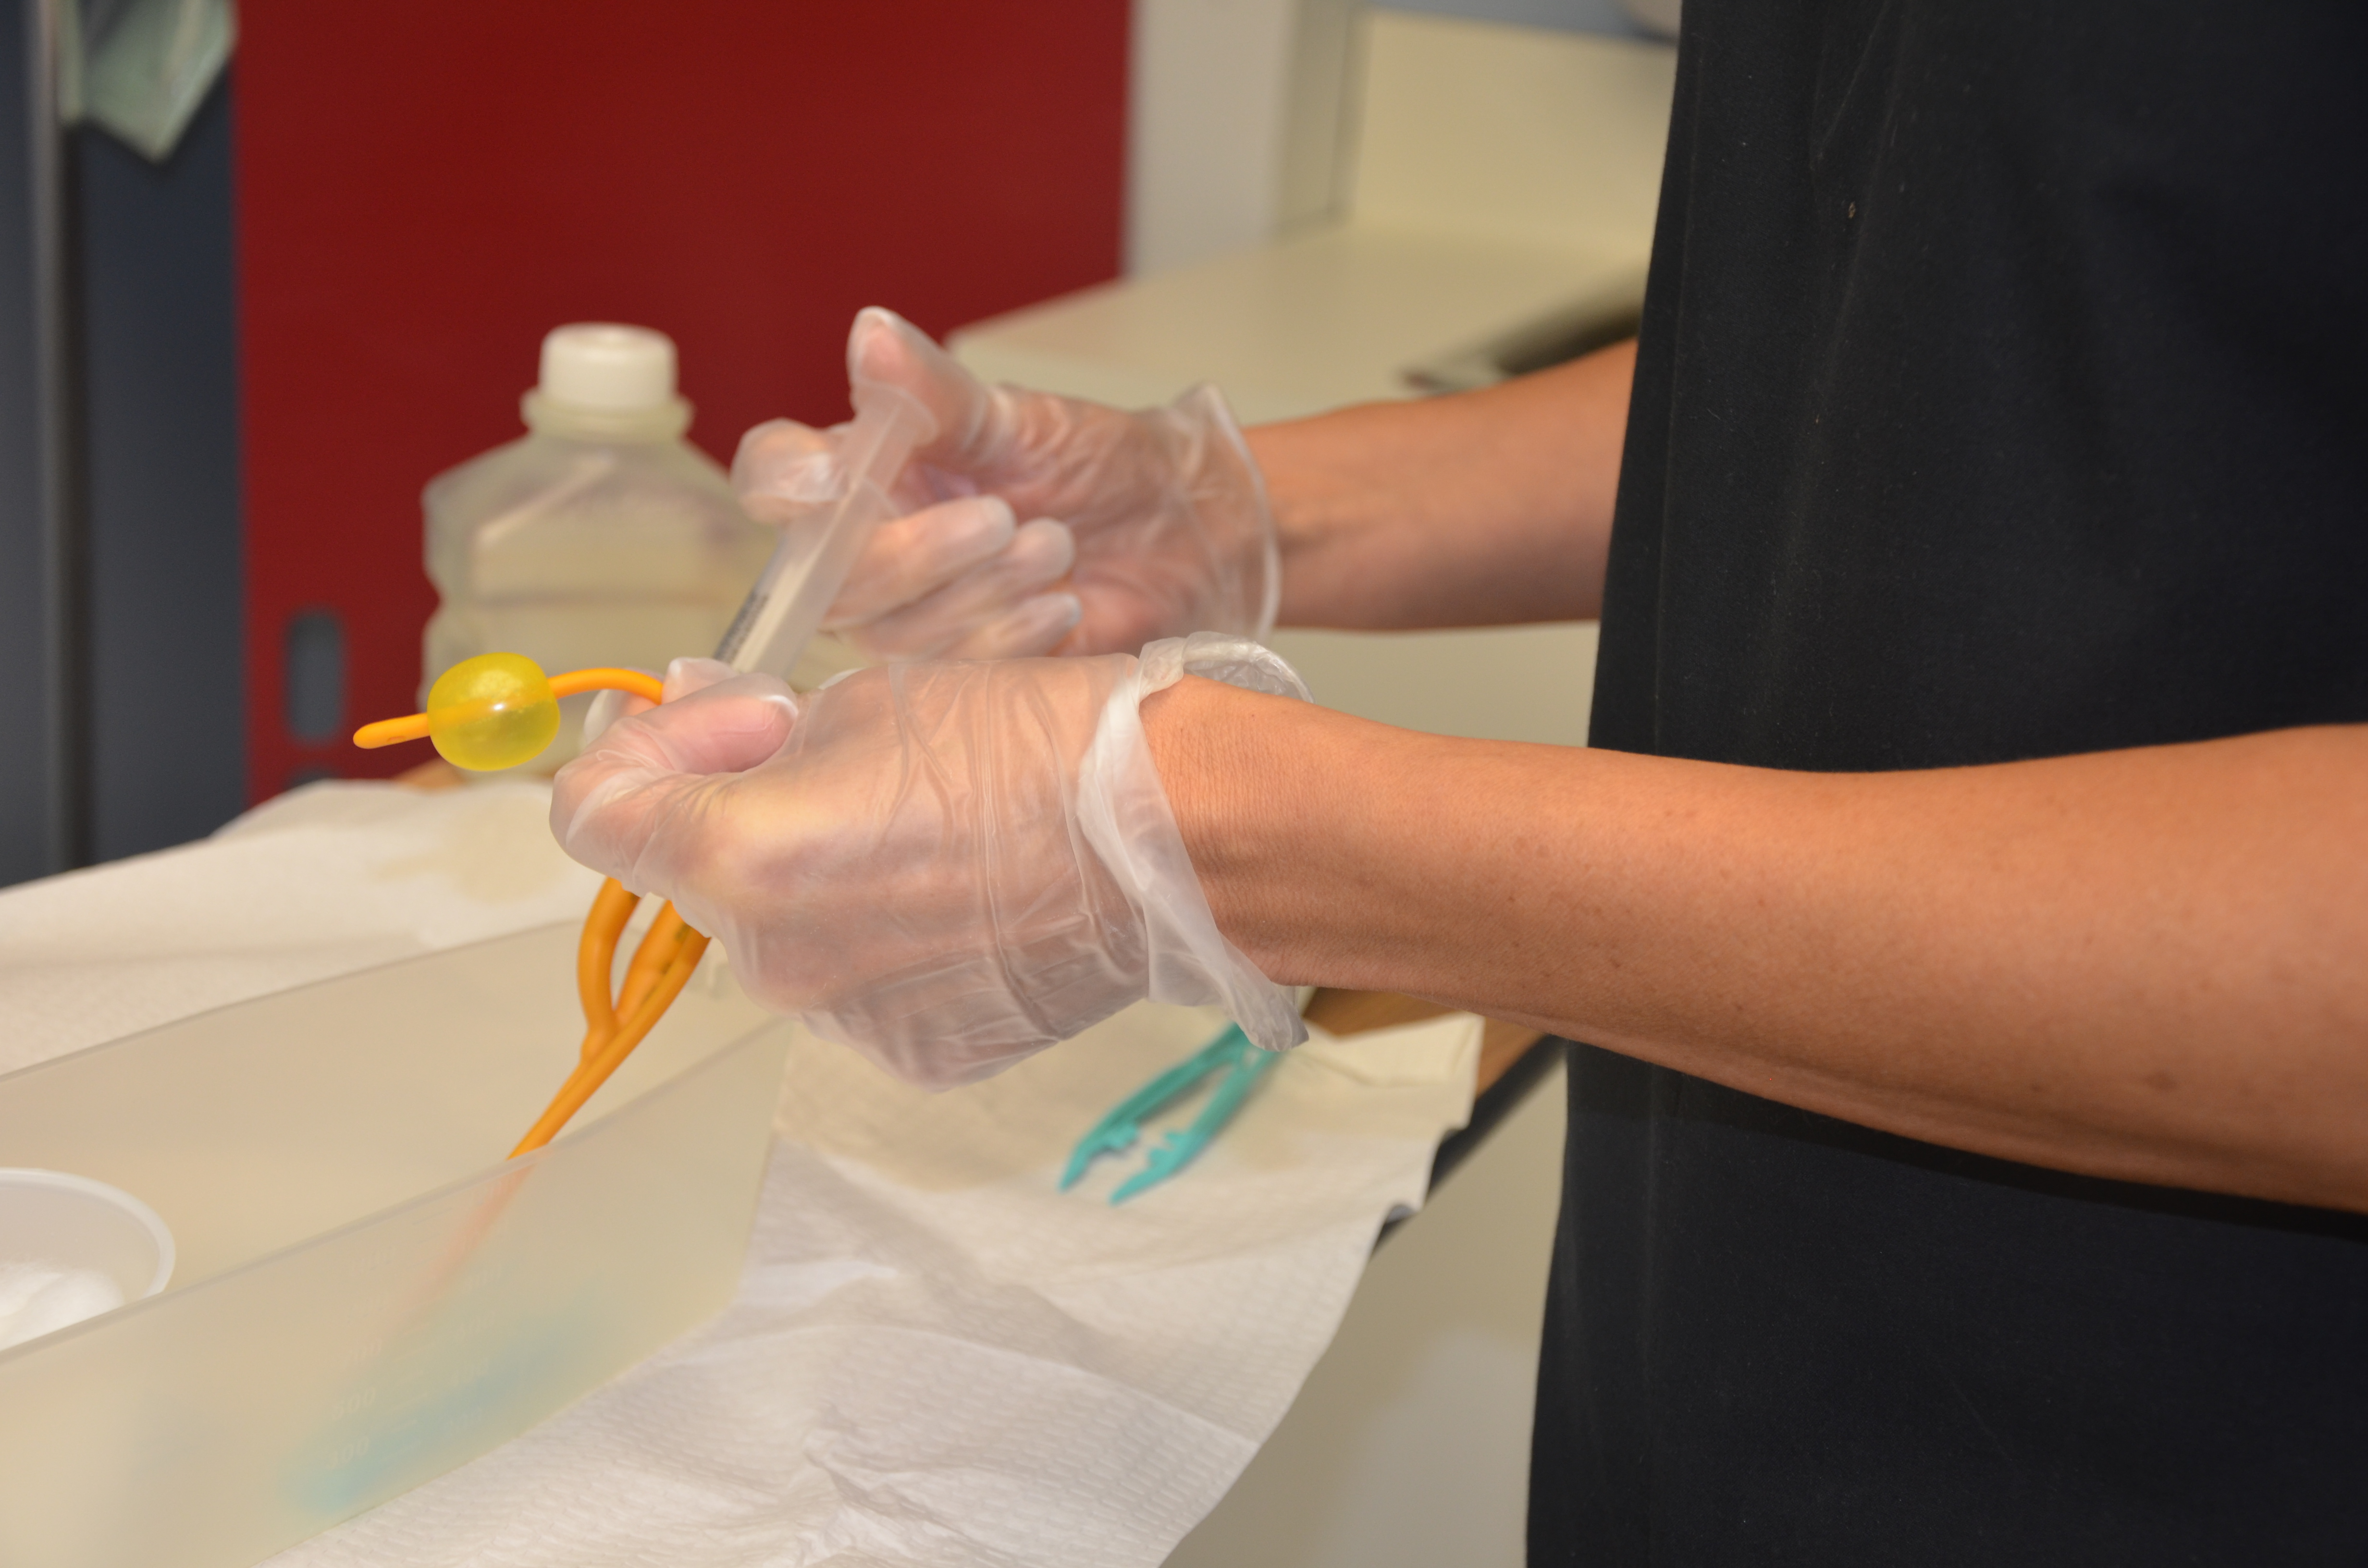
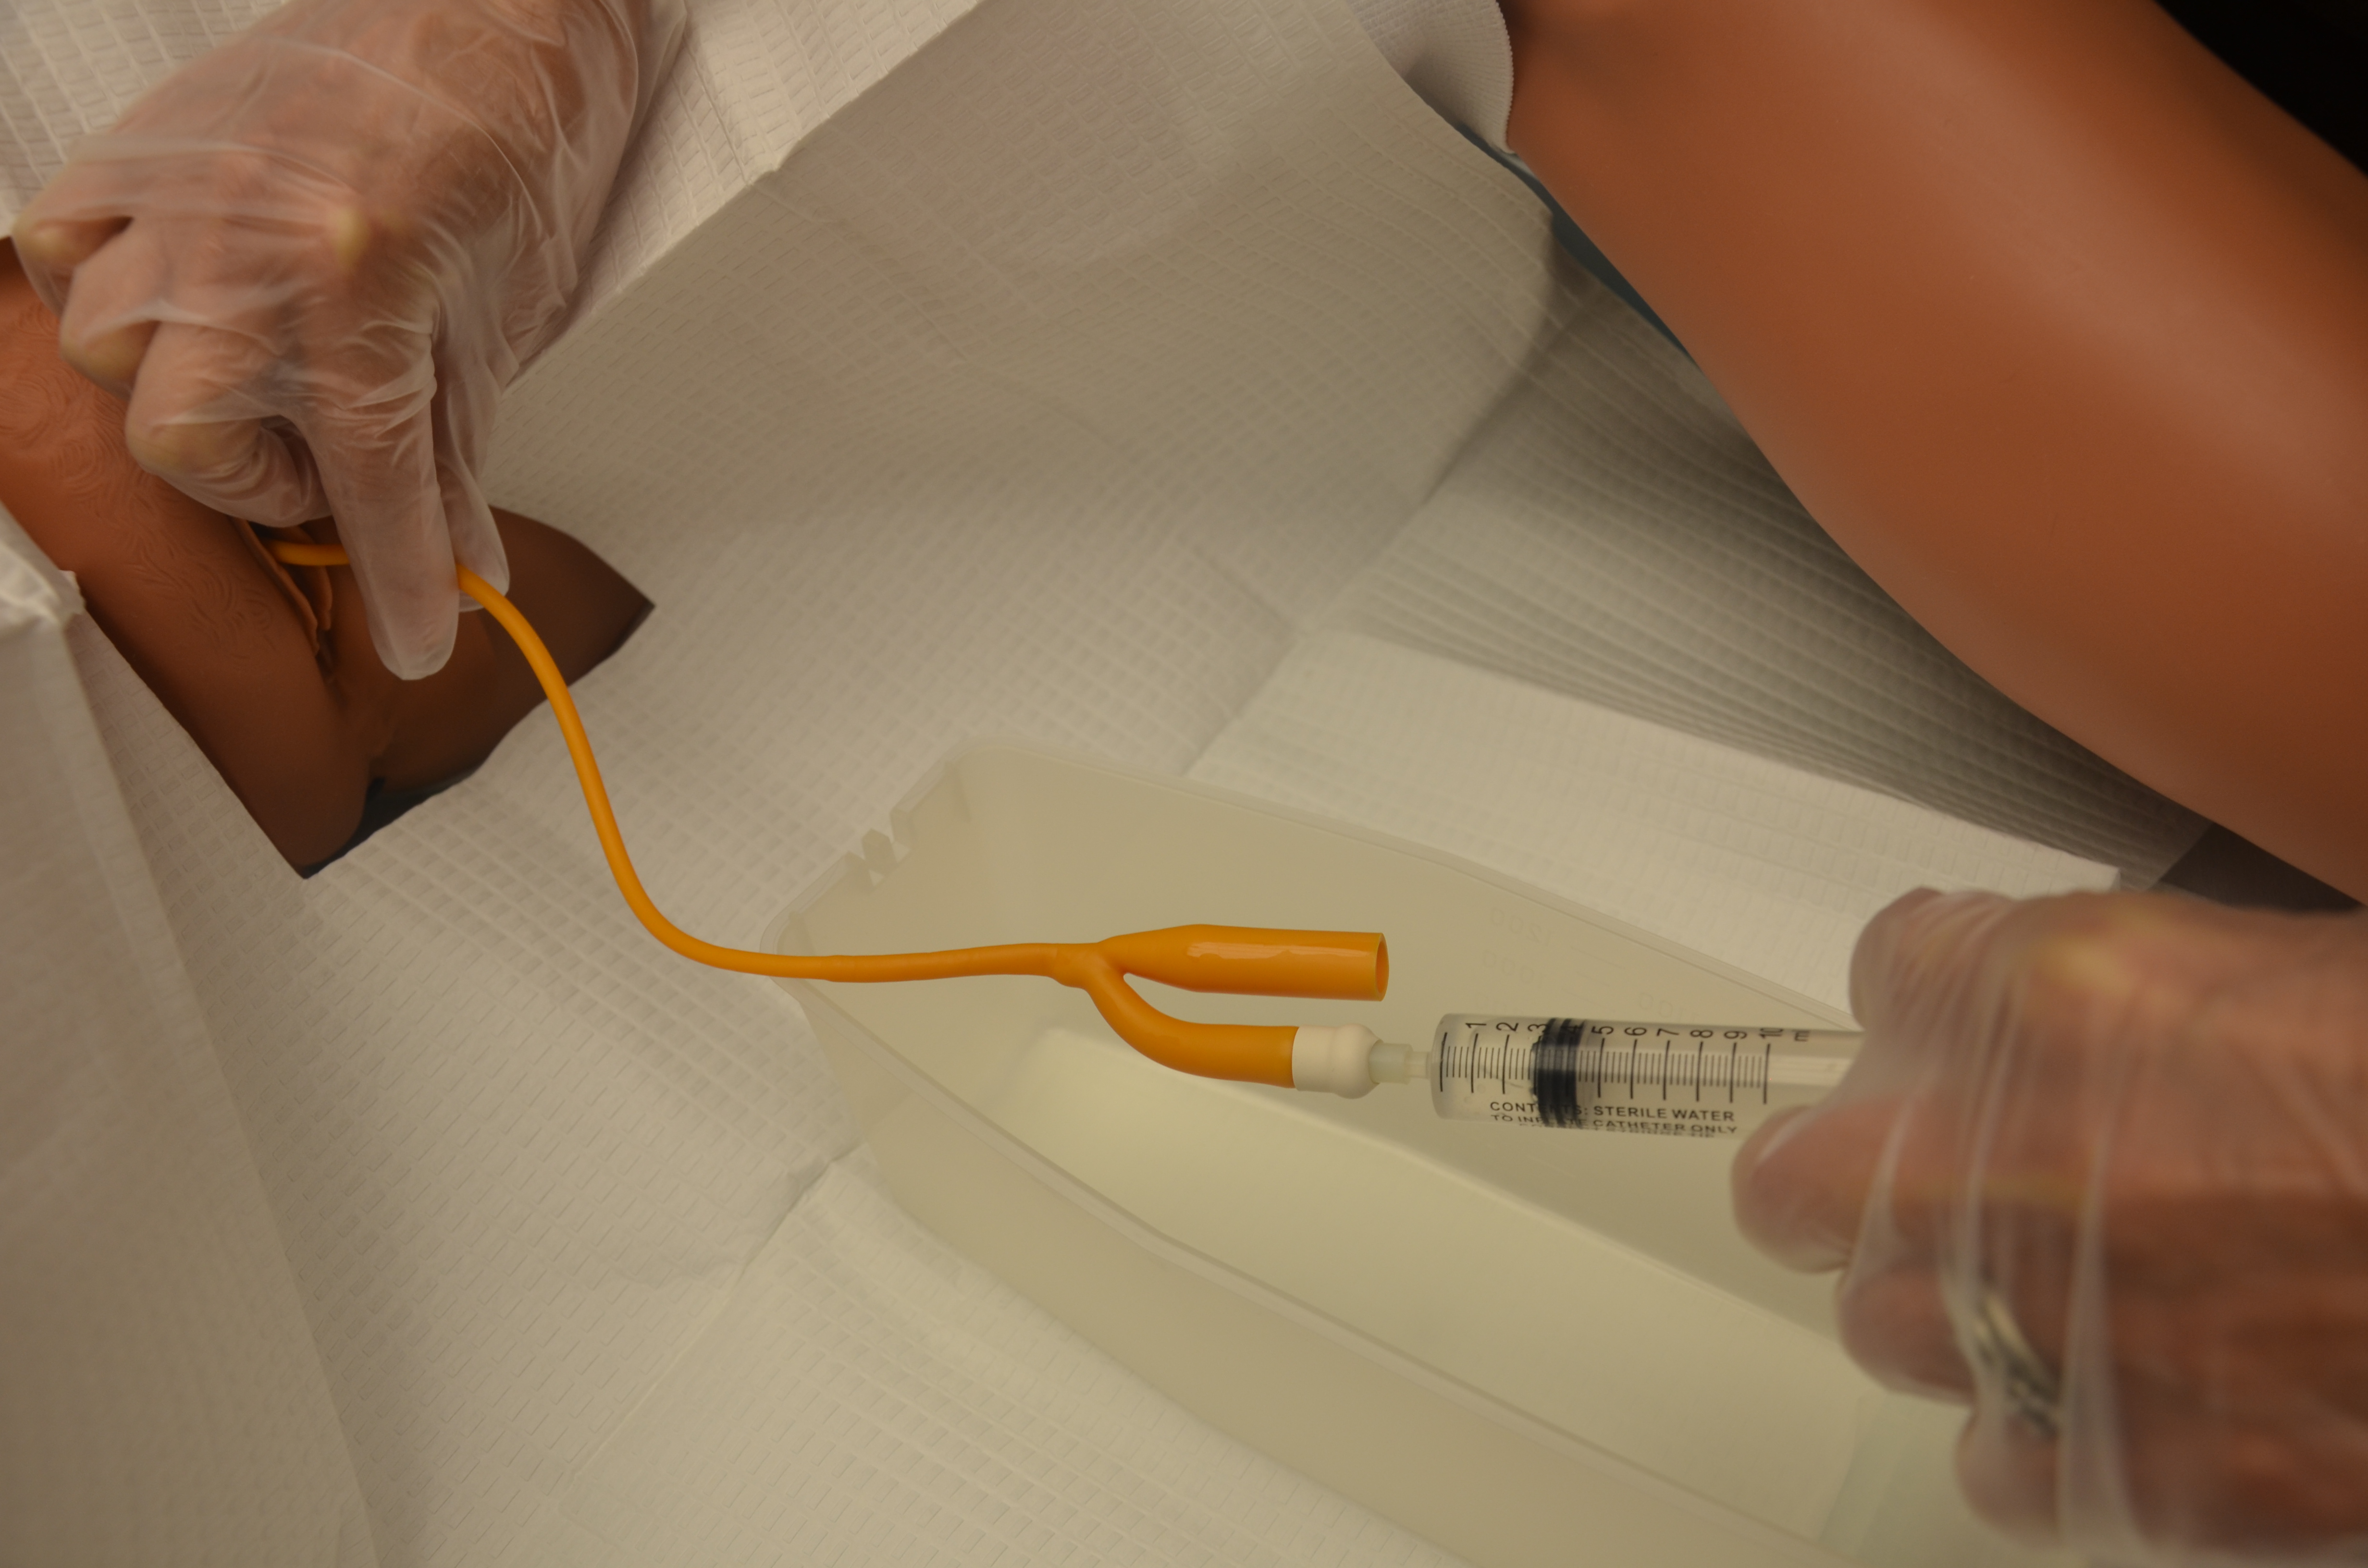
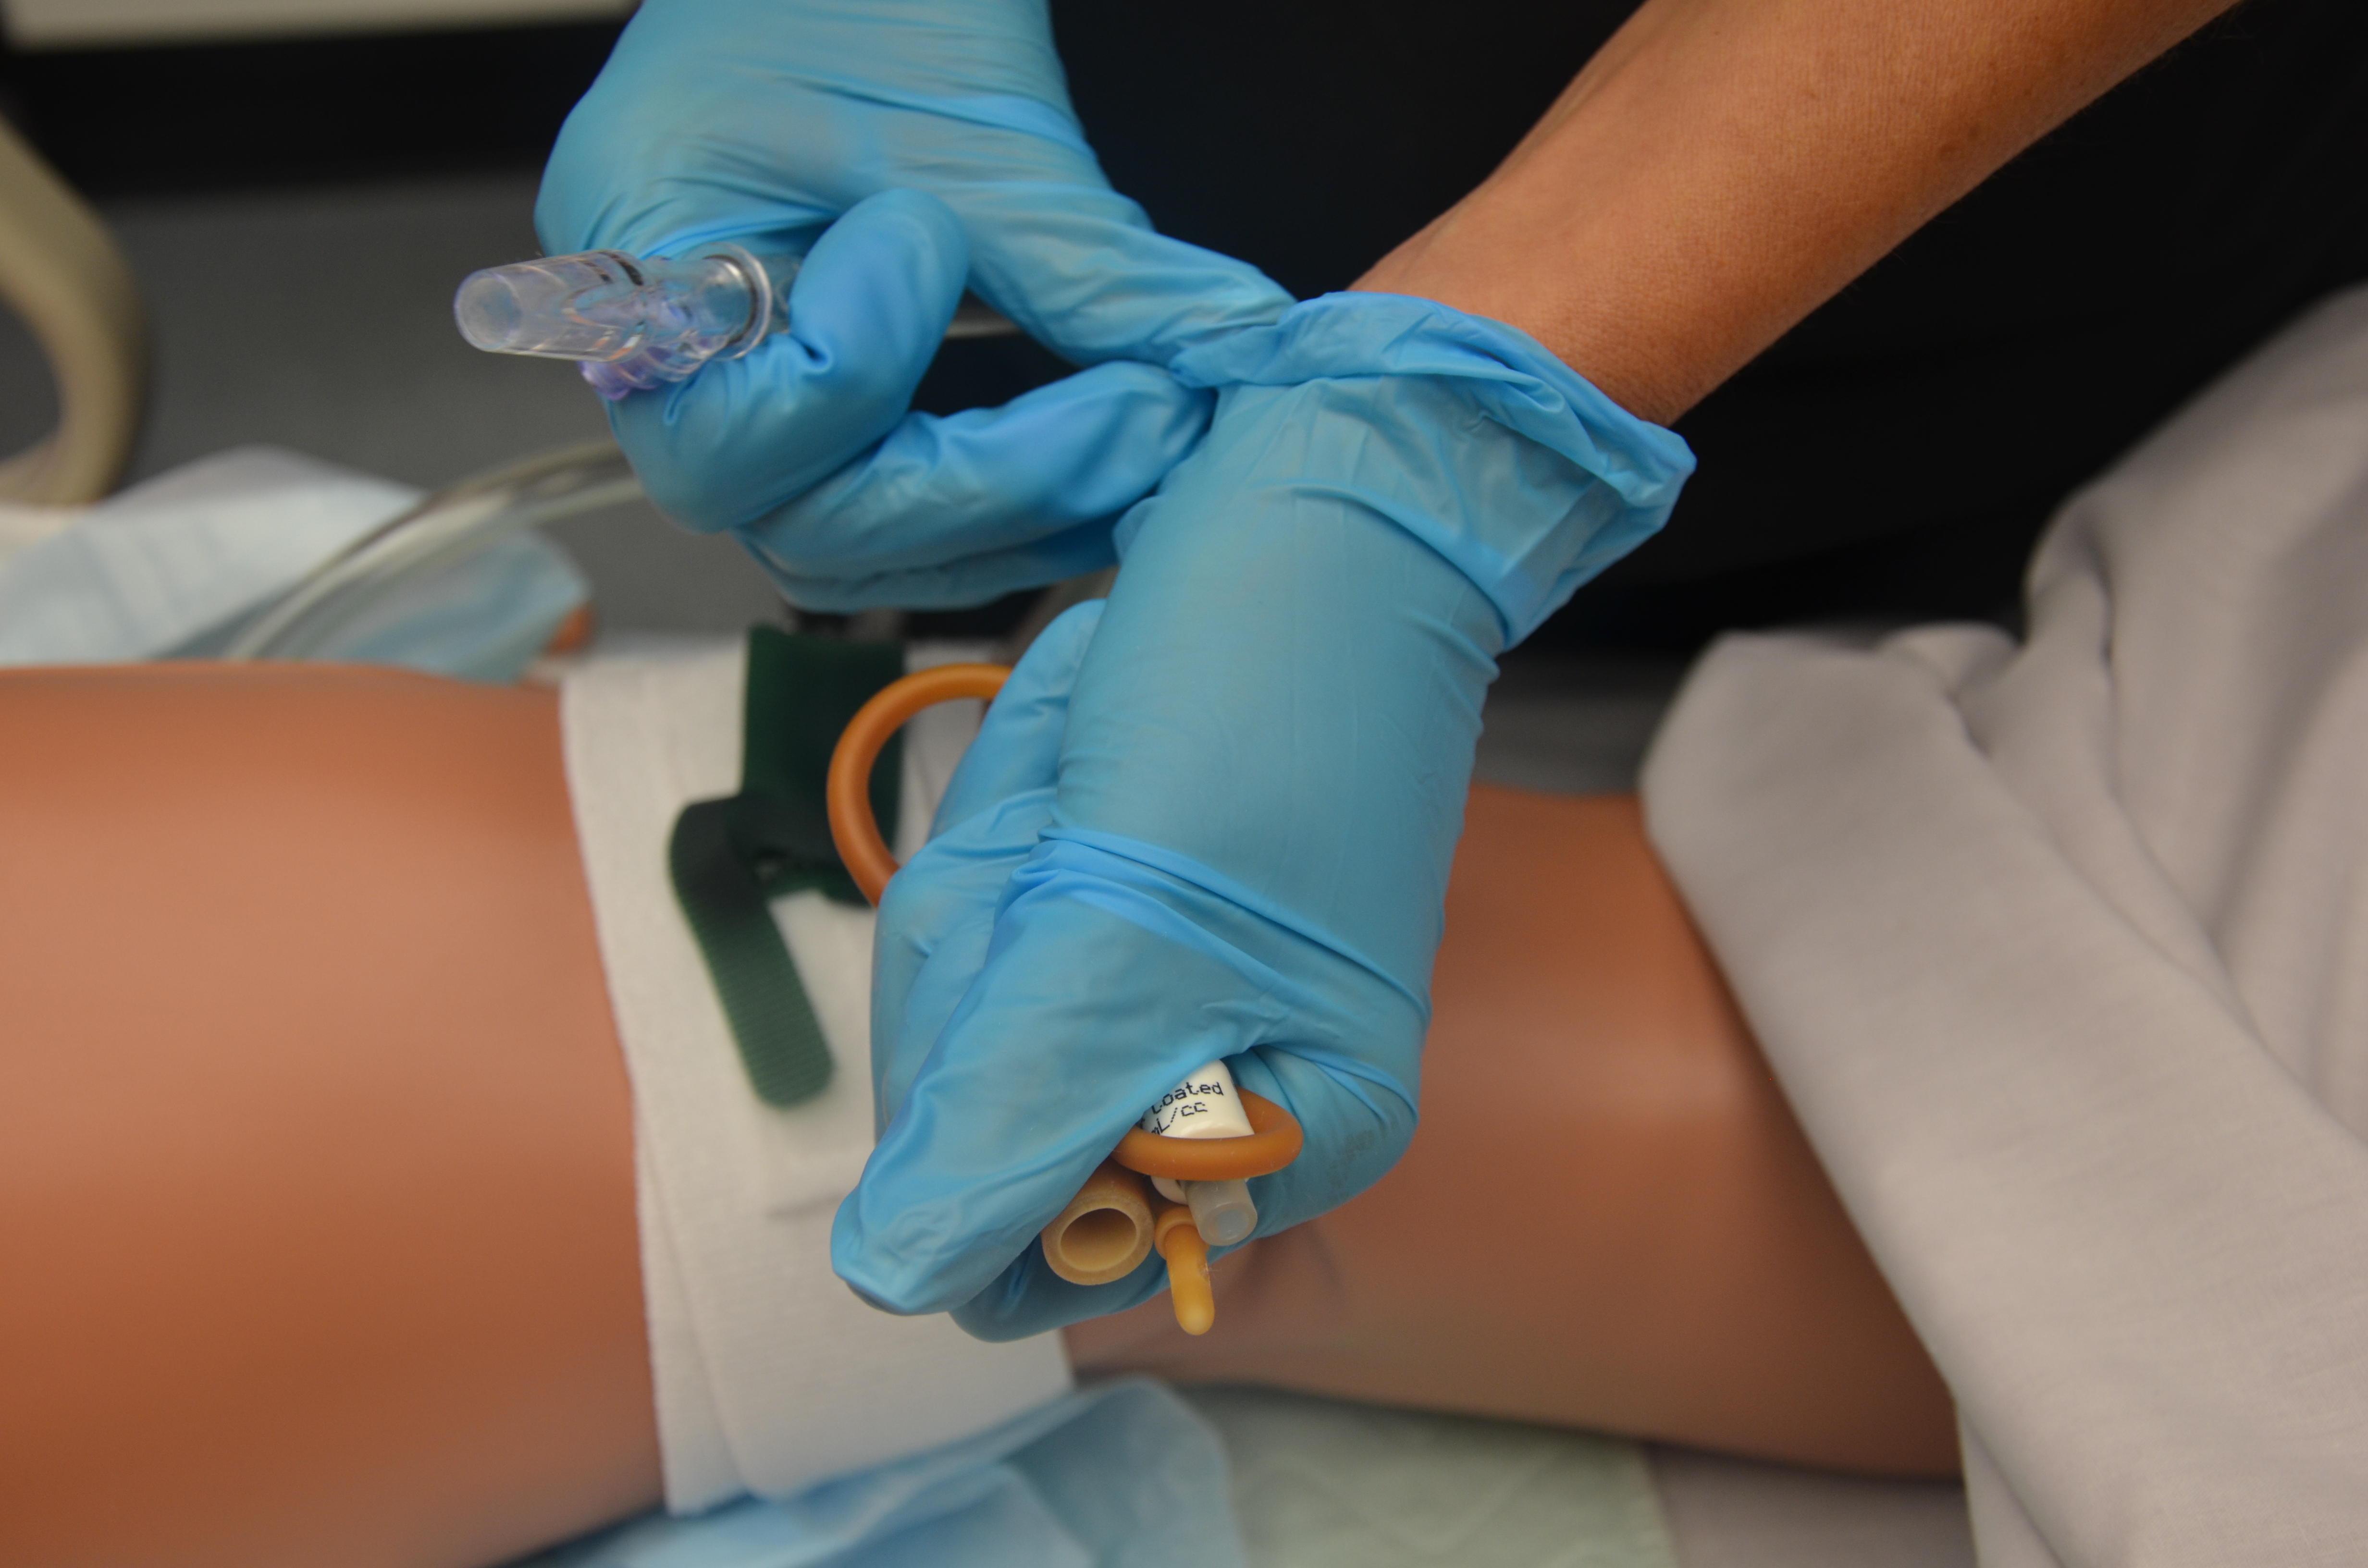
The steps for inserting an intermittent or an indwelling catheter are the same, except that the indwelling catheter requires a closed drainage system and inflation of a balloon to keep the catheter in place. Indwelling catheters may have two or three lumens (double or triple lumens). Double-lumen catheters comprise one lumen for draining the urine and a second lumen for inflating a balloon that keeps the catheter in place. Triple-lumen catheters are used for continuous bladder irrigation and for instilling medications into the bladder; the additional lumen delivers the irrigation fluid into the bladder.
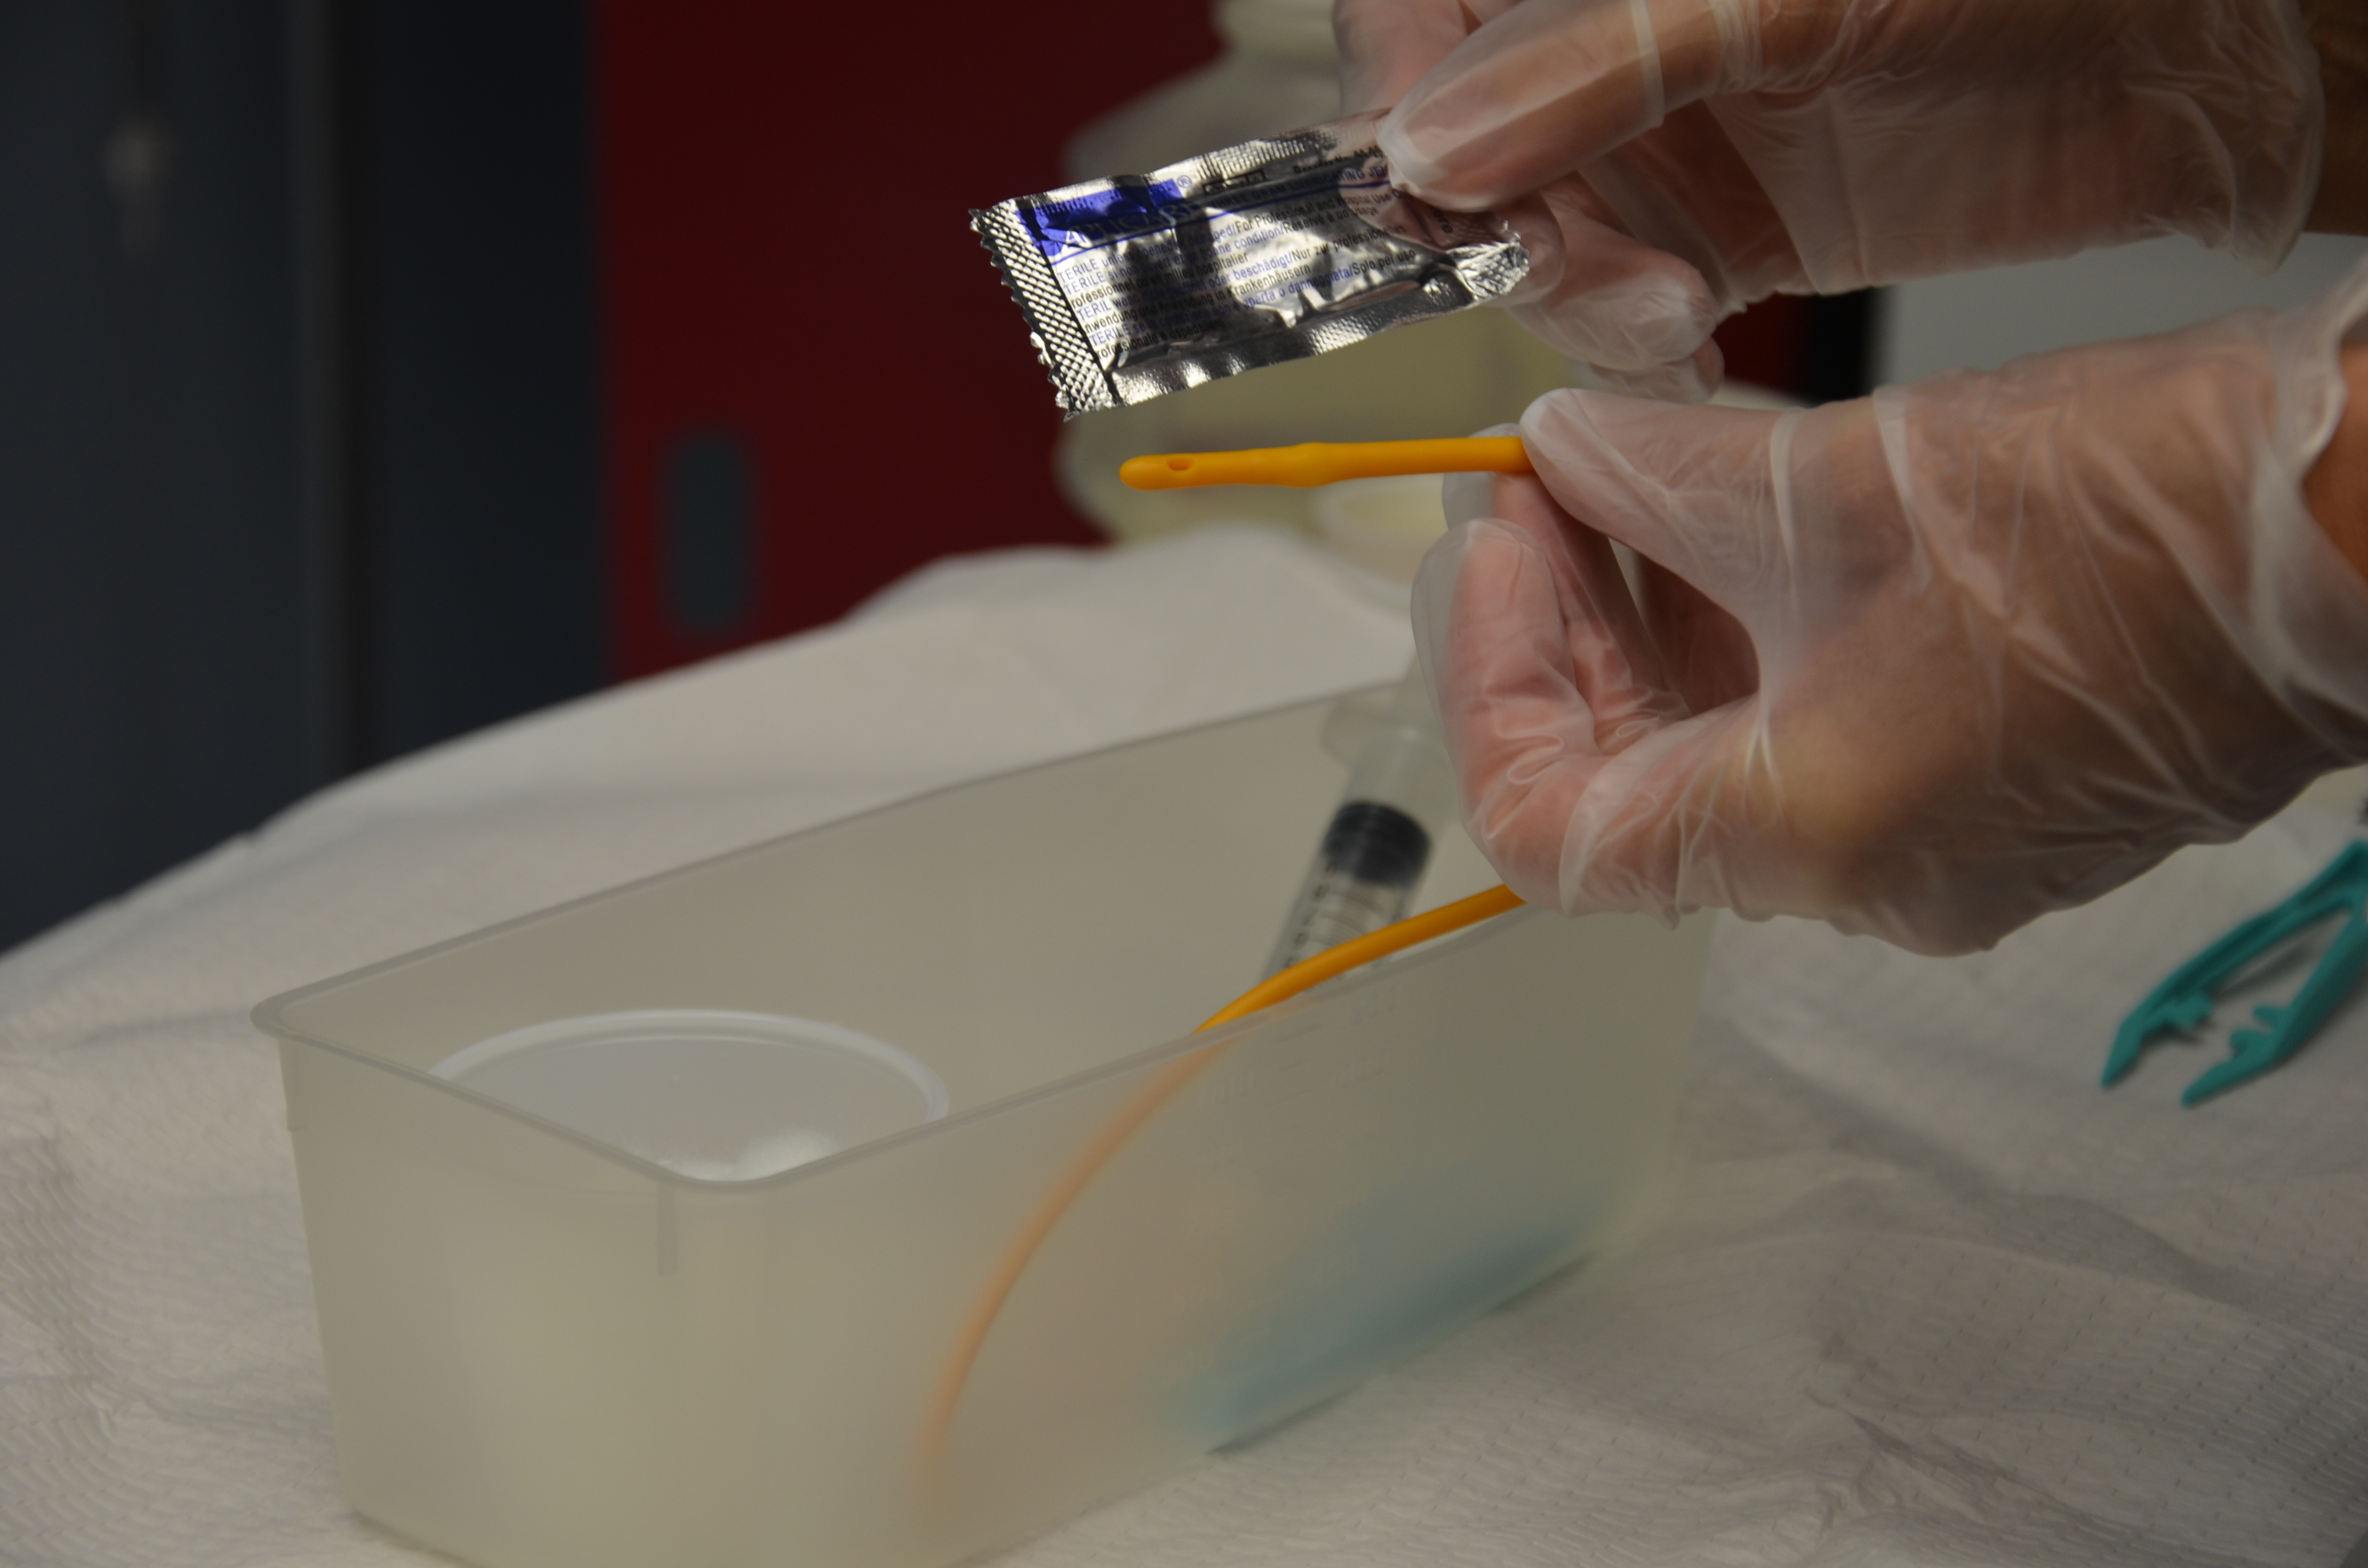
Indwelling urinary catheters are made of latex or silicone. Intermittent catheters may be made of rubber or polyvinyl chloride (PVC), making them softer and more flexible than indwelling catheters (Perry et al., 2014). The size of a urinary catheter is based on the French (Fr) scale, which reflects the internal diameter of the tube. Recommended catheter size is 12 to 16 Fr for females, and 14 to 16 Fr for males. Smaller sizes are used for infants and children. The balloon size also varies with catheters: smaller for children (3 ml) and larger for continuous bladder irrigation (30 ml). The size of the catheter is usually printed on the side of the catheter port.
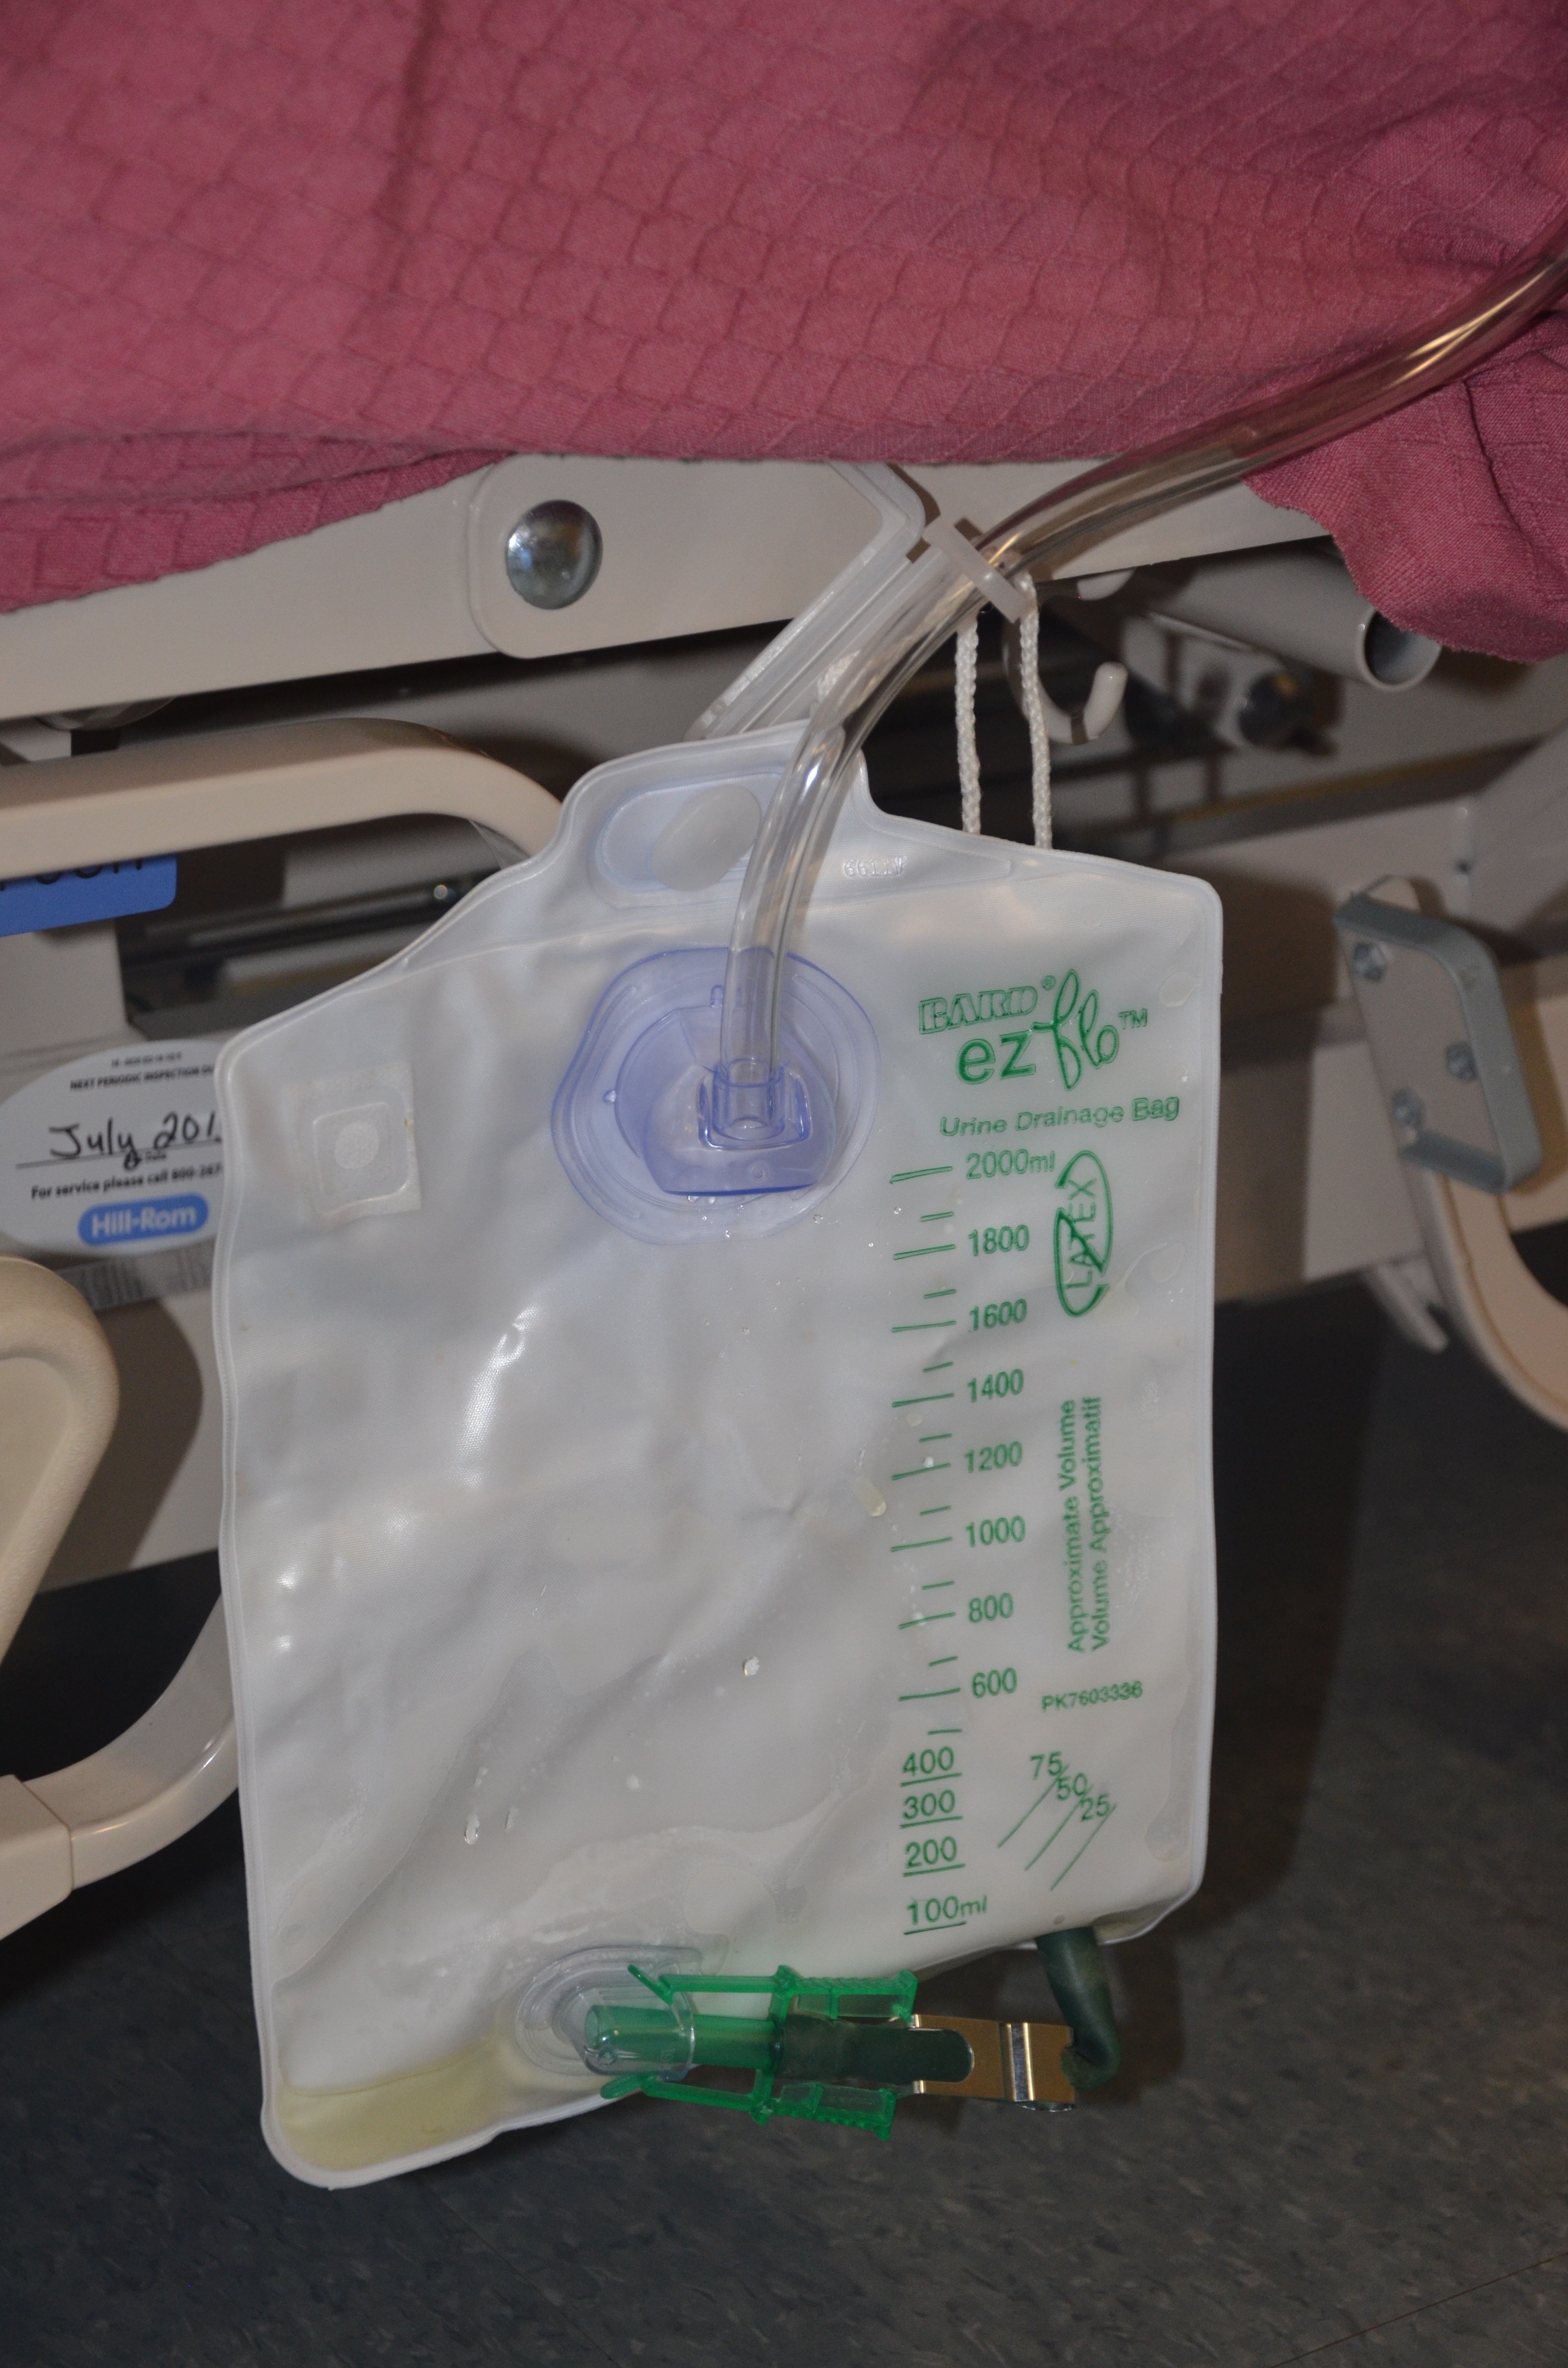
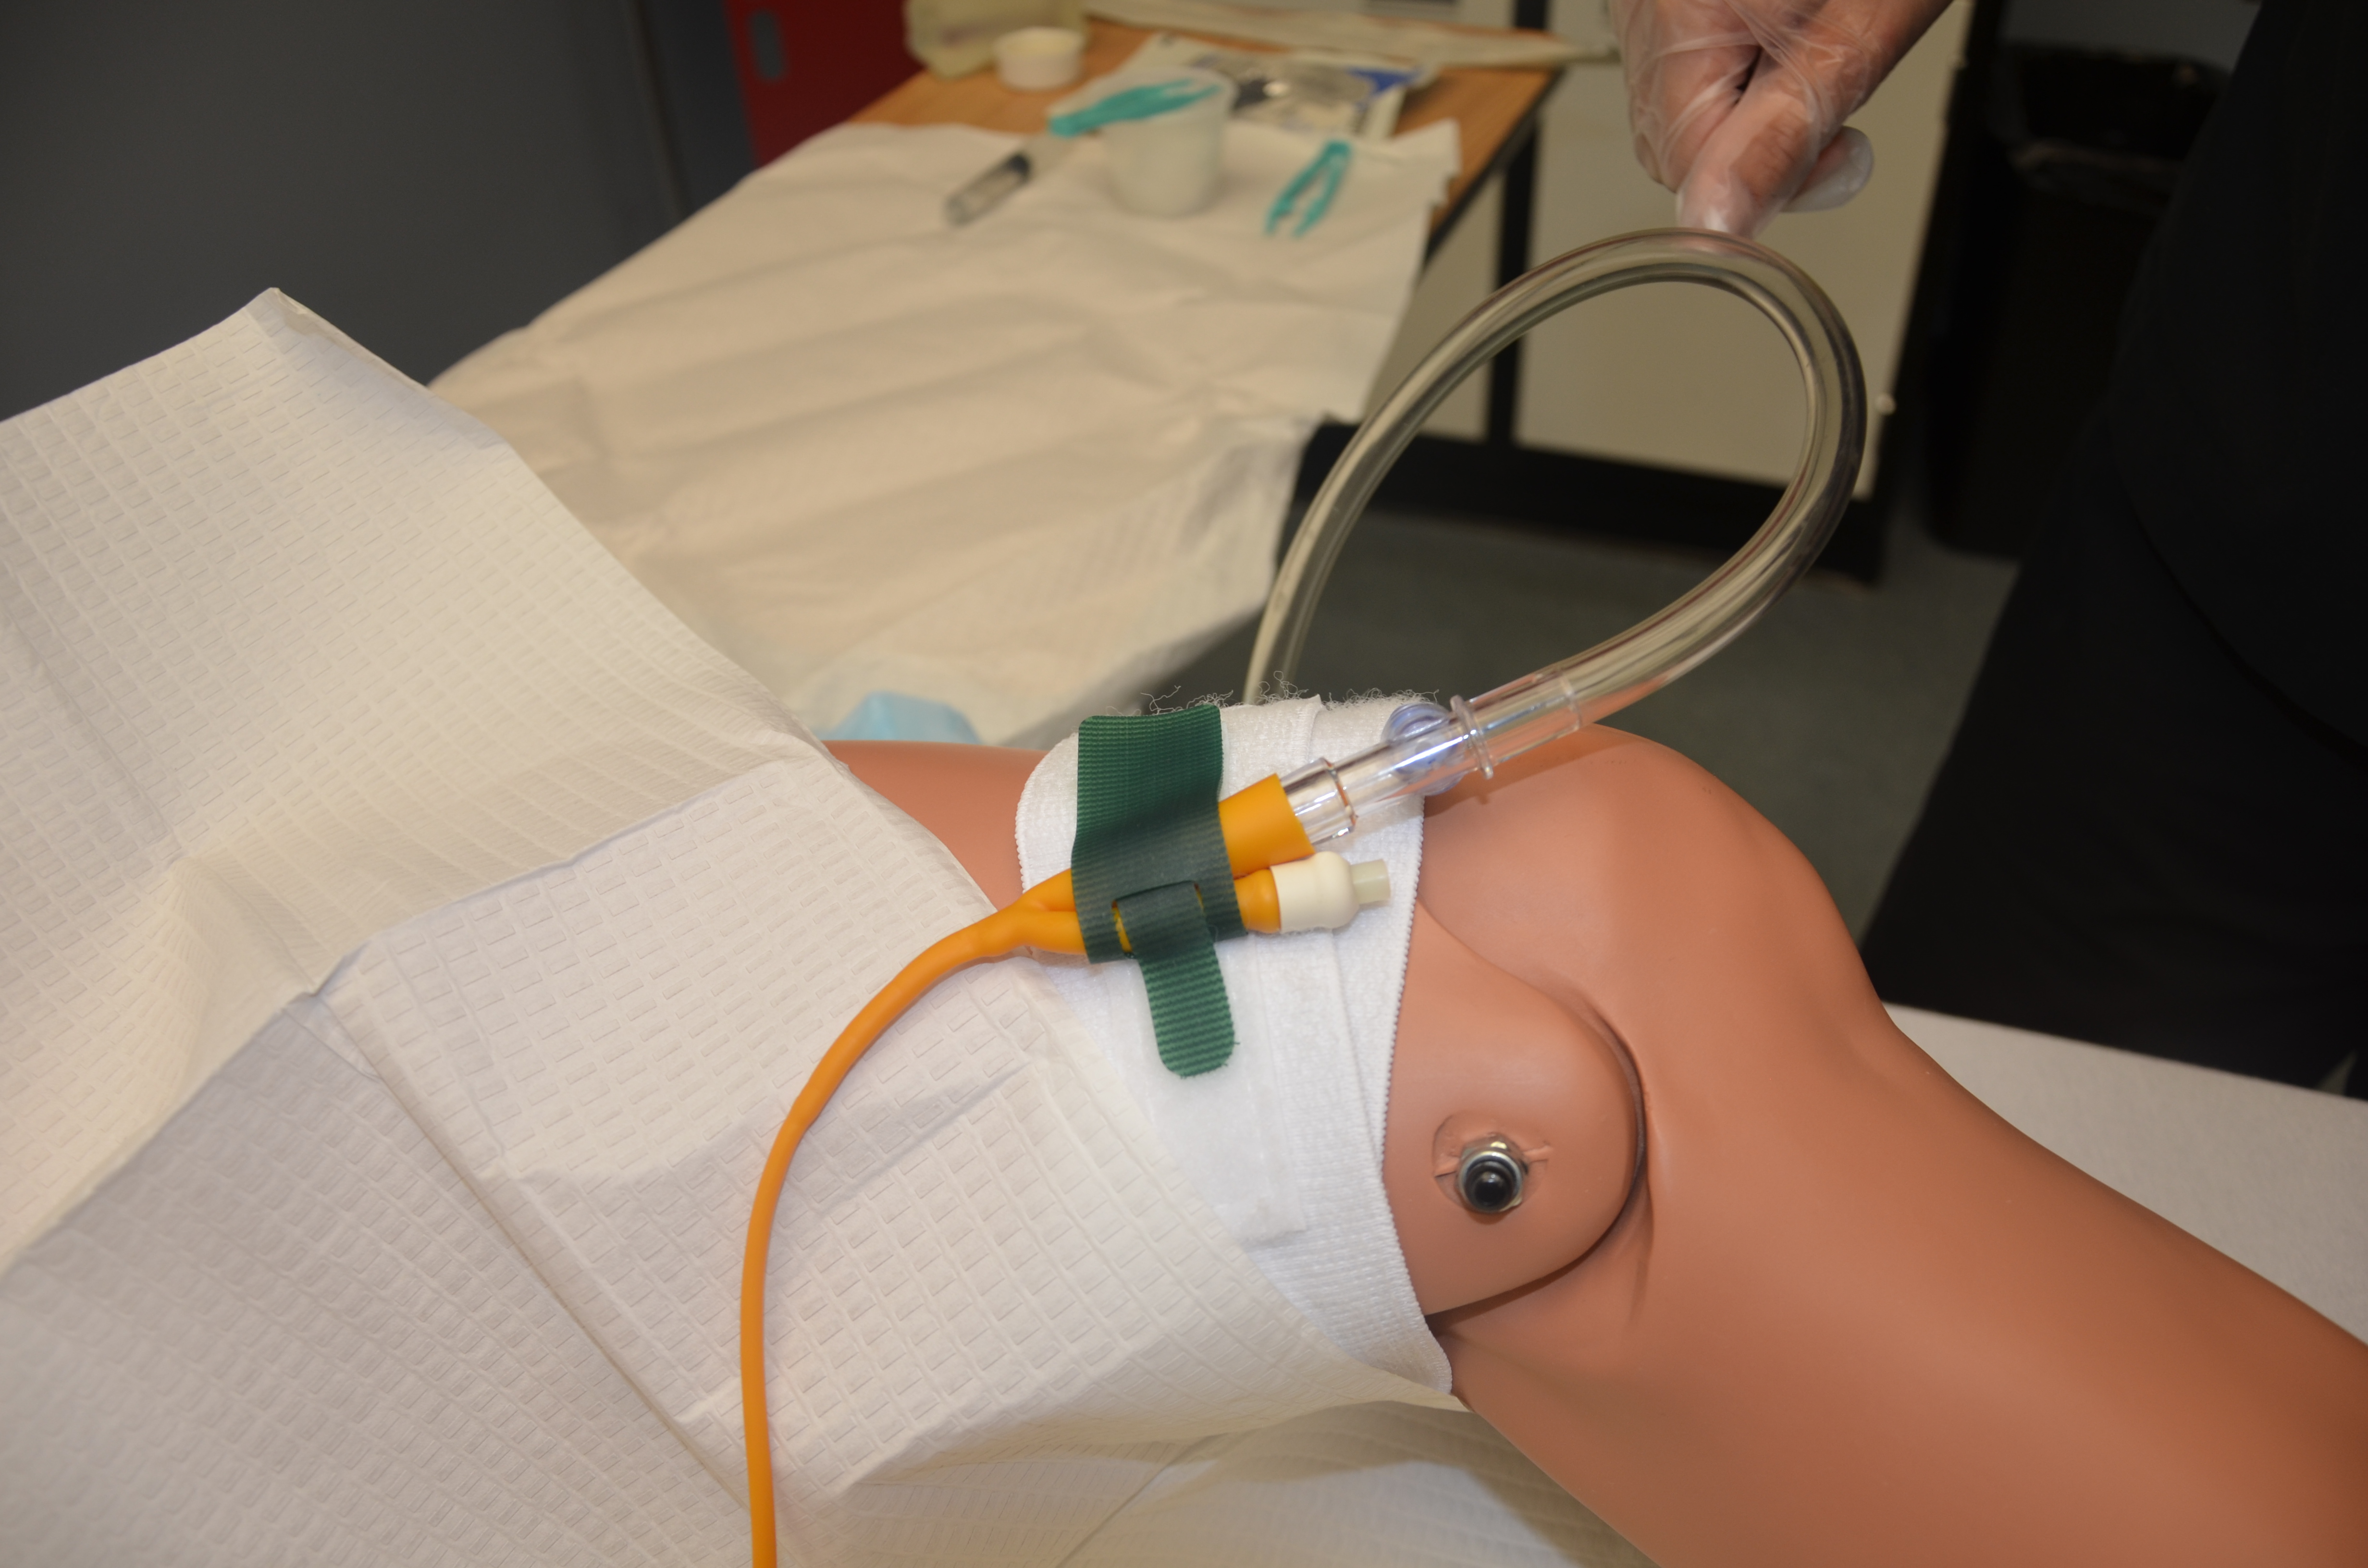
An indwelling catheter is attached to a drainage bag to allow for unrestricted flow of urine. Make sure that the urinary bag hangs below the level of the patient’s bladder so that urine flows out of the bladder. The bag should not touch the floor, and the patient should carry the bag below the level of the bladder when ambulating. To review how to insert an indwelling catheter, see Checklist 80.


Video 10.2
Video 10.3
Removing a Urinary Catheter
Patients require an order to have an indwelling catheter removed. Although an order is required, it remains the responsibility of the health care provider to evaluate if the indwelling catheter is necessary for the patient’s recovery.
A urinary catheter should be removed as soon as possible when it is no longer needed. For post-operative patients who require an indwelling catheter, the catheter should be removed preferably within 24 hours. The following are appropriate uses of an indwelling catheter (Gould et al., 2009):
- Improved comfort for end-of-life care
- Assisting in the healing process of an open sacral or perineal pressure ulcer
- Patients requiring prolonged immobilization (unstable thoracic or lumbar fractures, multiple traumatic injuries)
- Select surgical procedures (prolonged procedures, urological surgeries, etc.)
- Intra-operative monitoring of urinary output
- Patients receiving large-volume infusions or diuretic intra-operatively
When a urinary catheter is removed, the health care provider must assess if normal bladder function has returned. The health care provider should report any hematuria, inability or difficulty voiding, or any new incontinence after catheter removal. Prior to removing a urinary catheter, the patient requires education on the process of removal, and on expected and unexpected outcomes (e.g., a mild burning sensation with the first void) (VCH Professional Practice, 2014). The health care provider should instruct patients to
- Increase or maintain fluid intake (unless contraindicated)
- Void when able and within six to eight hours after removal of the catheter
- Inform the health care provider when he or she has voided, and measure the amount, colour, and any abnormal findings; ensure first void (urine output) is measured as per agency policy
- Report any burning, pain, discomfort, or small amount of urine volume
- Report an inability to void, bladder tenderness, or distension
- Report any signs of a CAUTI
Review the steps in Checklist 81 on how to remove an indwelling catheter.
Disclaimer: Always review and follow your hospital policy regarding this specific skill. |
|||
Safety considerations:
|
|||
Steps |
Additional Information |
||
| 1. Verify physician orders, perform hand hygiene, and gather supplies. | Supplies include non-sterile gloves, sterile syringe (verify size of balloon on Foley catheter), waterproof pad, garbage bag, and cleaning supplies for perineal care. | ||
| 2. Identify patient using two identifiers. Create privacy and explain procedure for catheter removal. | This ensures you have the correct patient and follows agency policy on proper patient identification. | ||
| 3. Educate patient on catheter removal and post-urinary catheter care. | Patient must be informed of what to expect after catheter is removed and how to measure urine output, etc. | ||
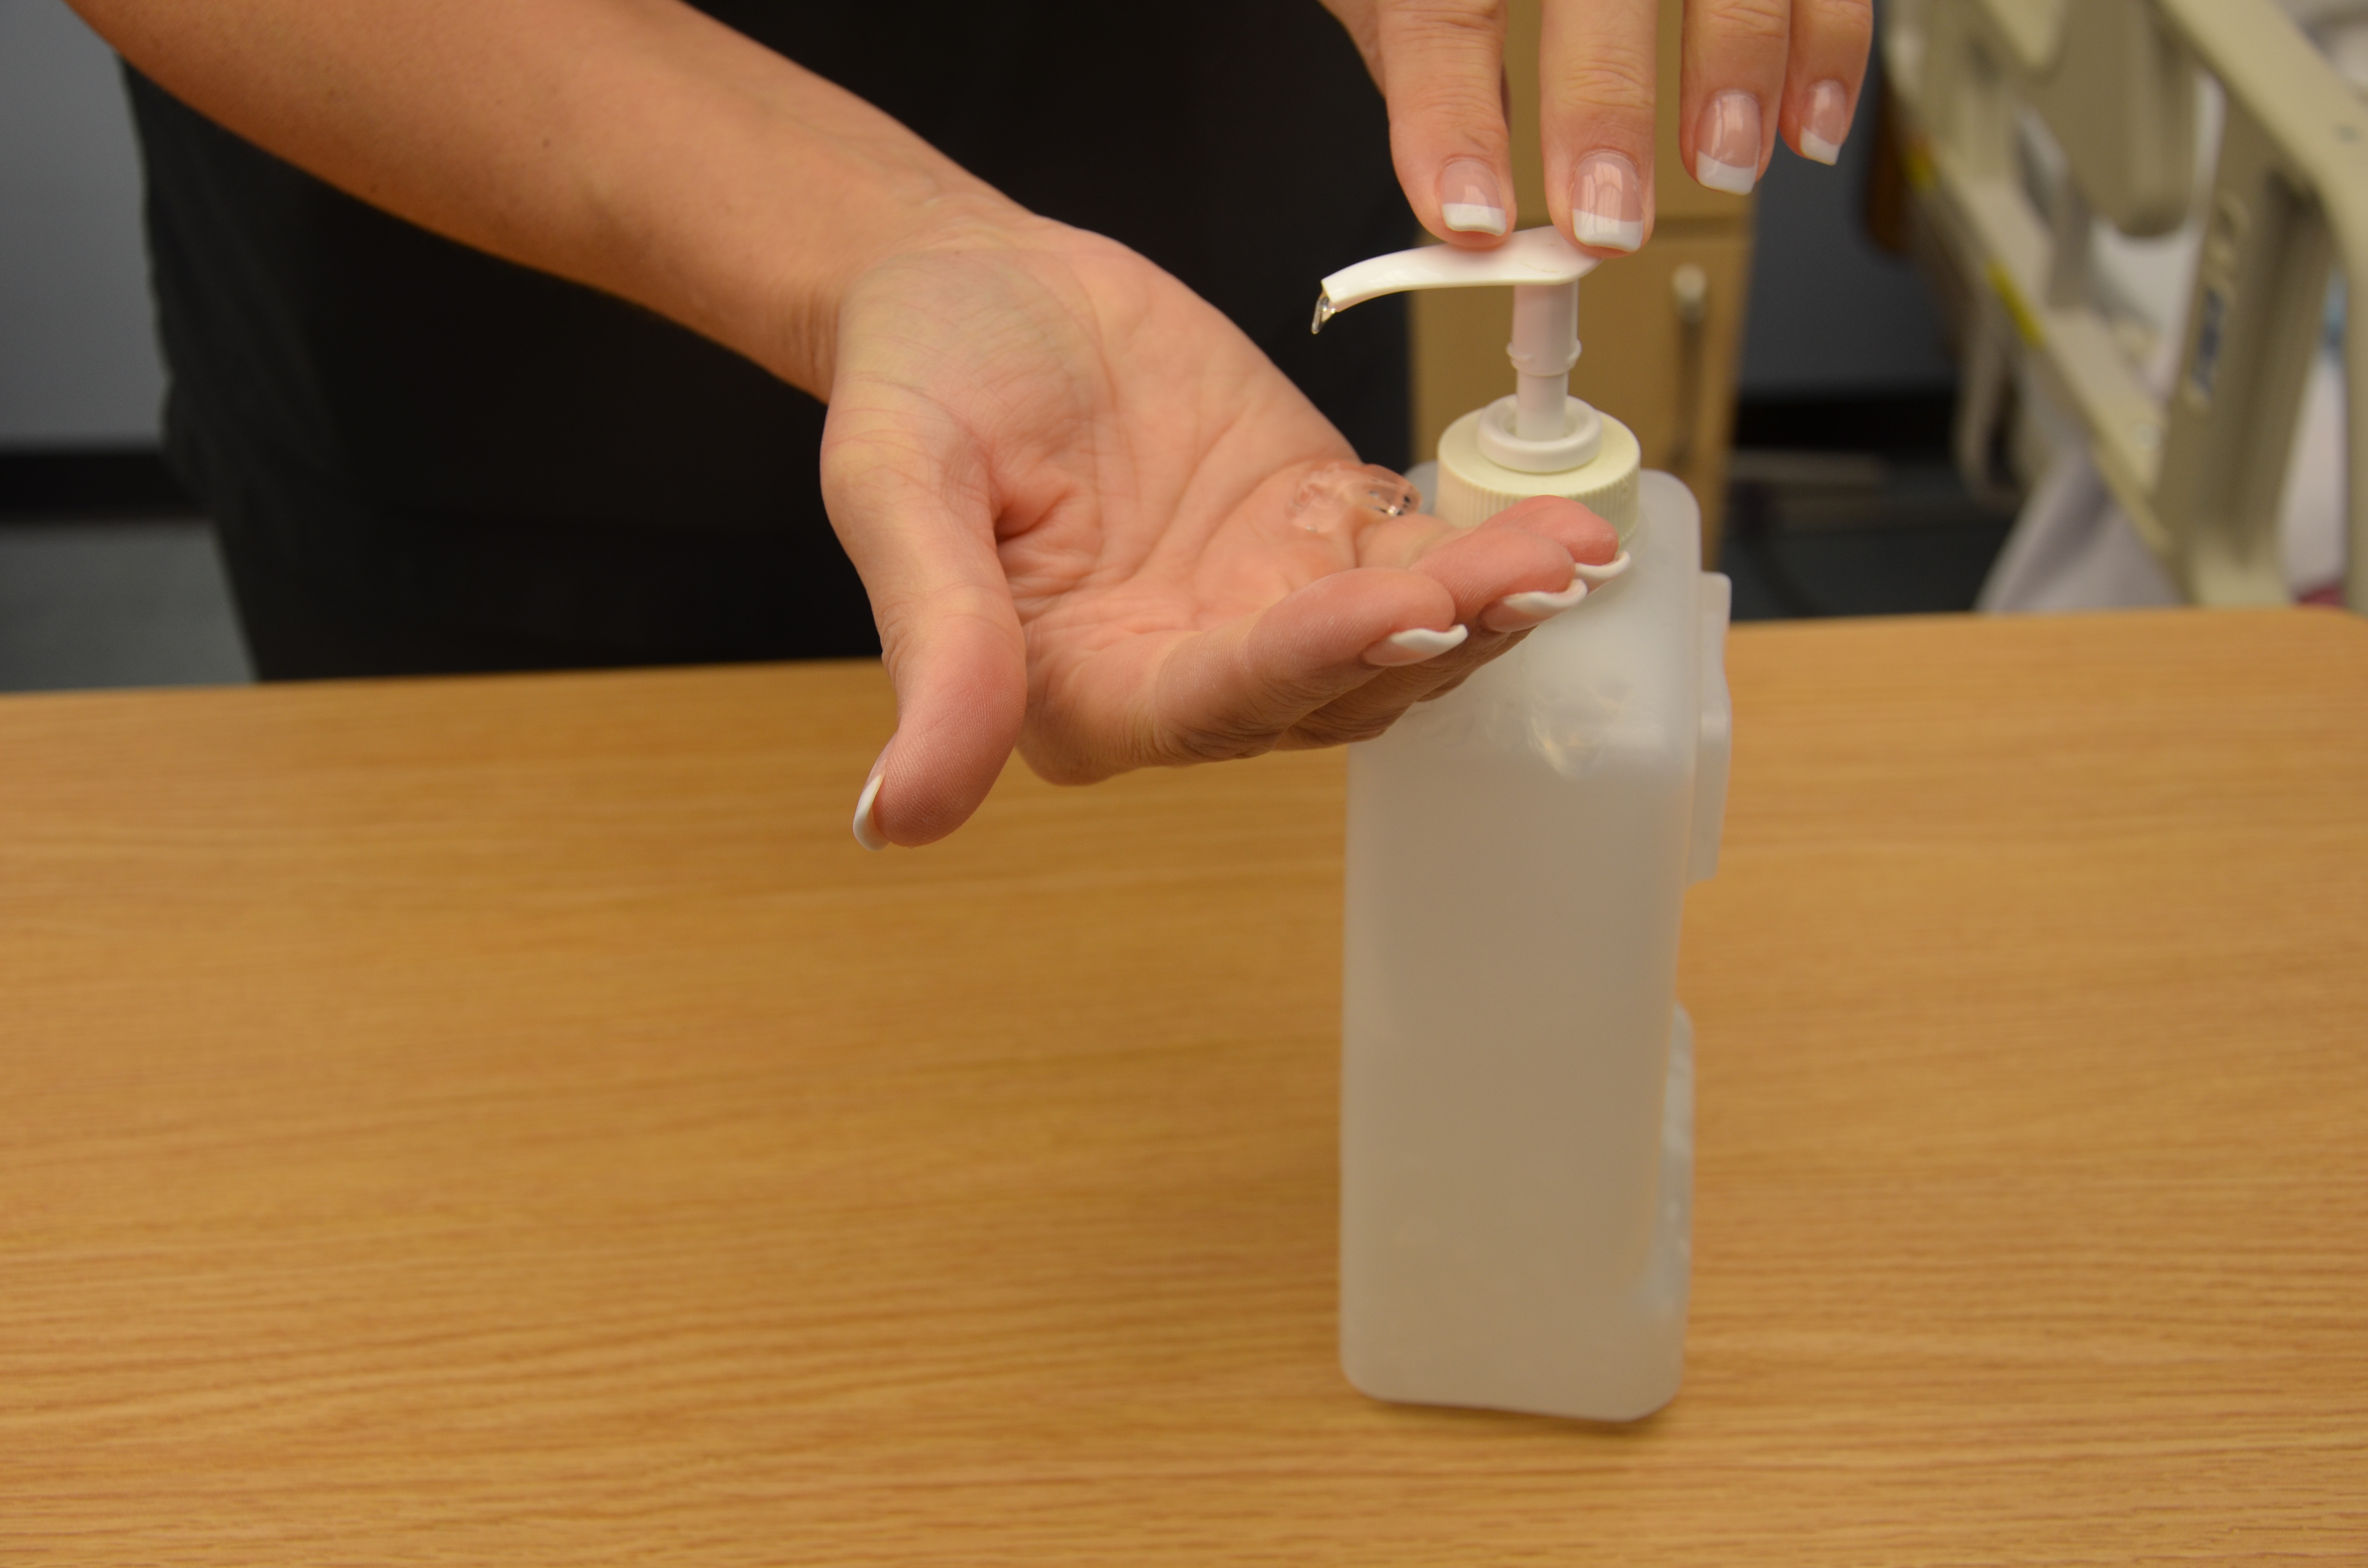
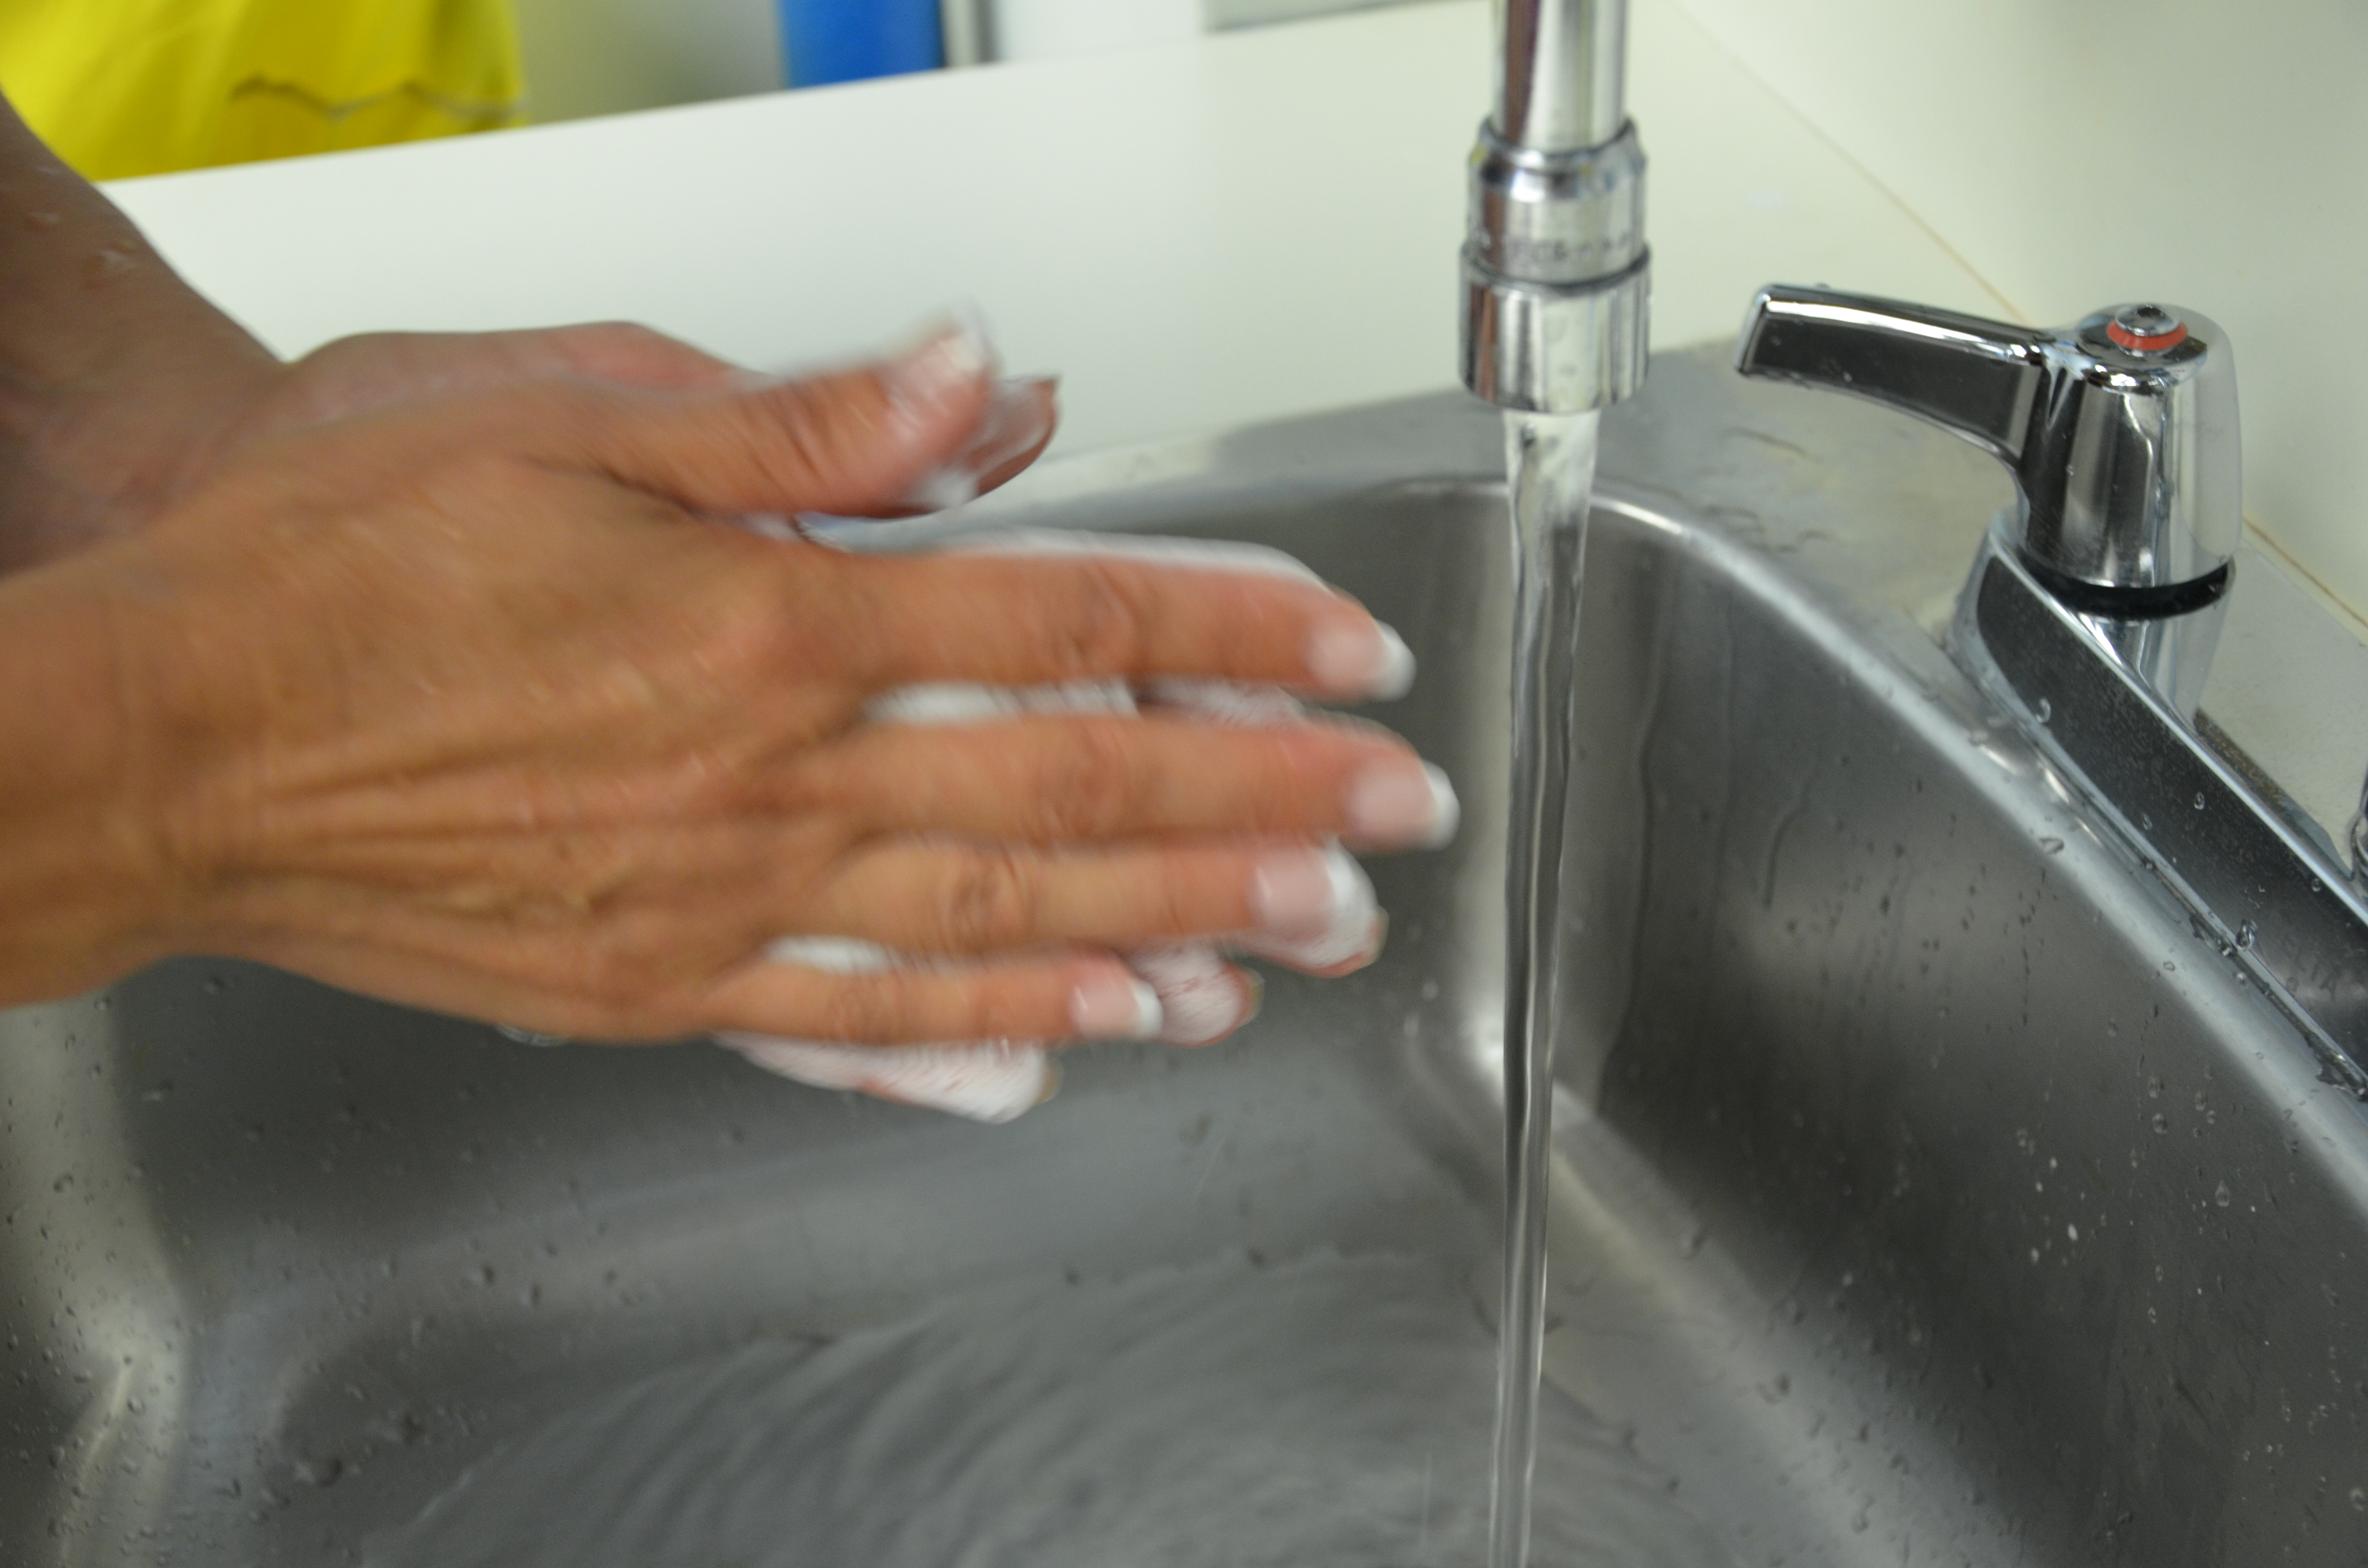
| 4. Perform hand hygiene and set up supplies. |
 Raise bed to working height. Organize supplies. Position patient supine for easy access. |
||
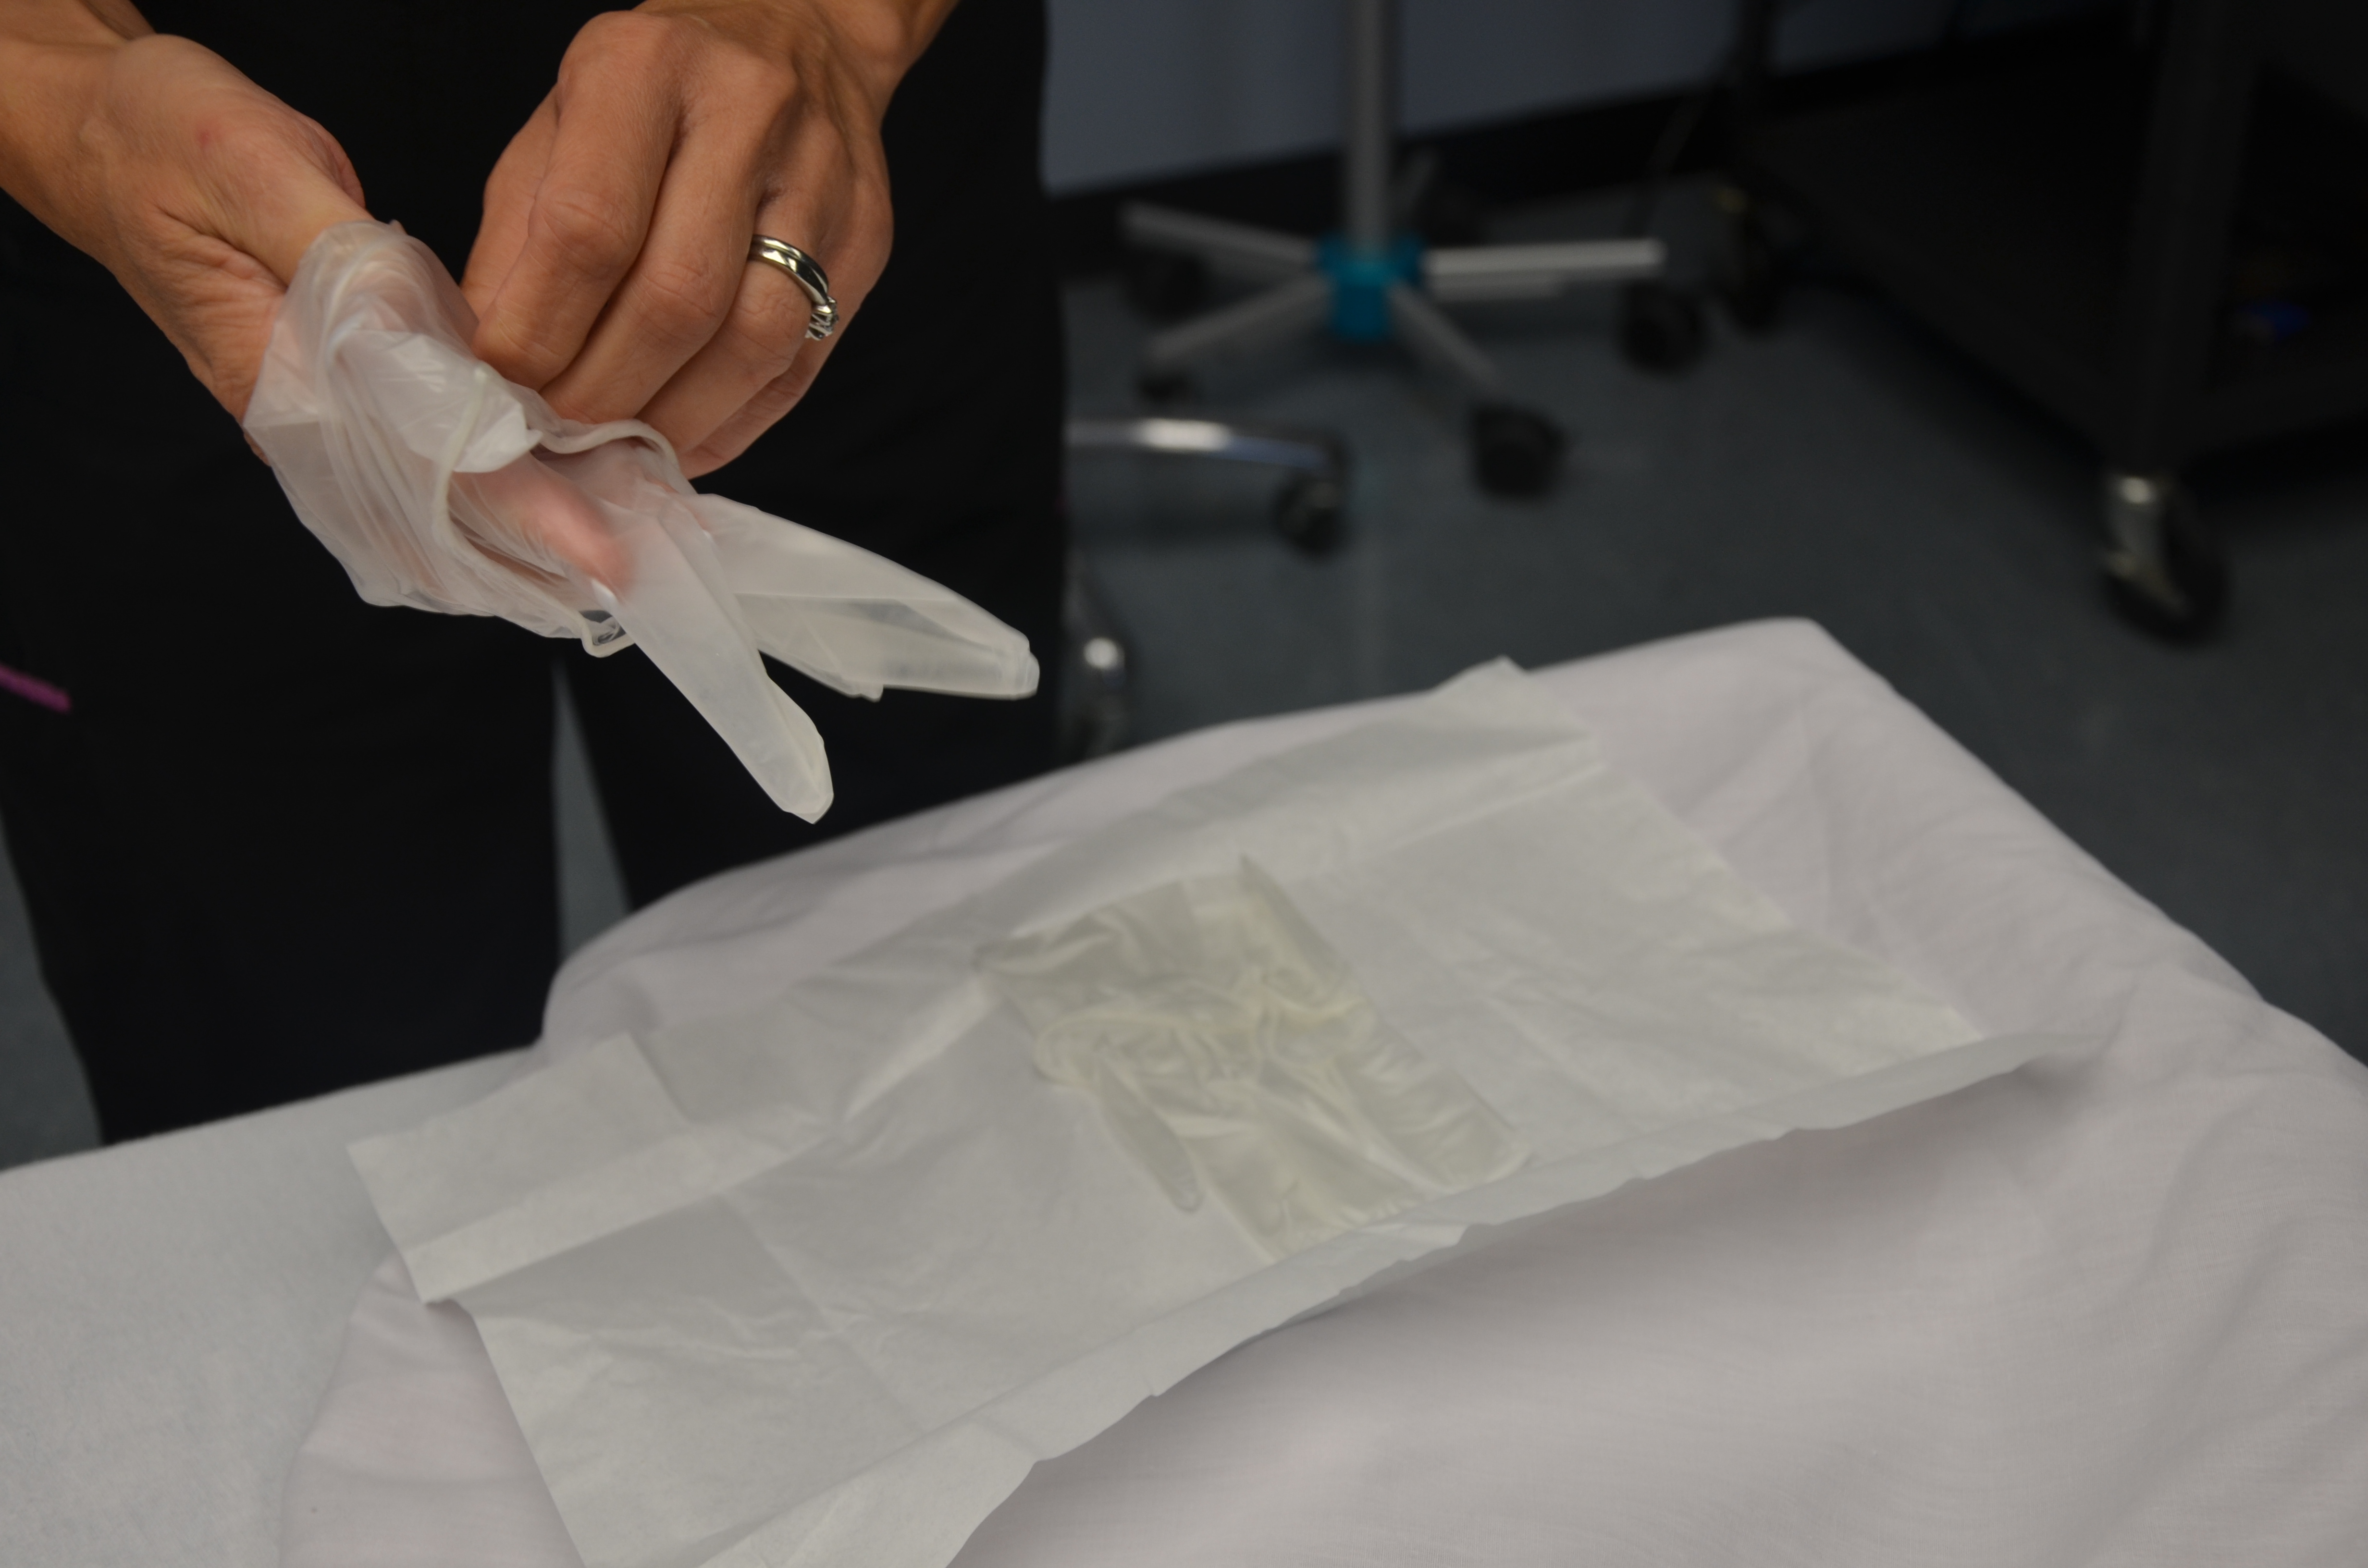
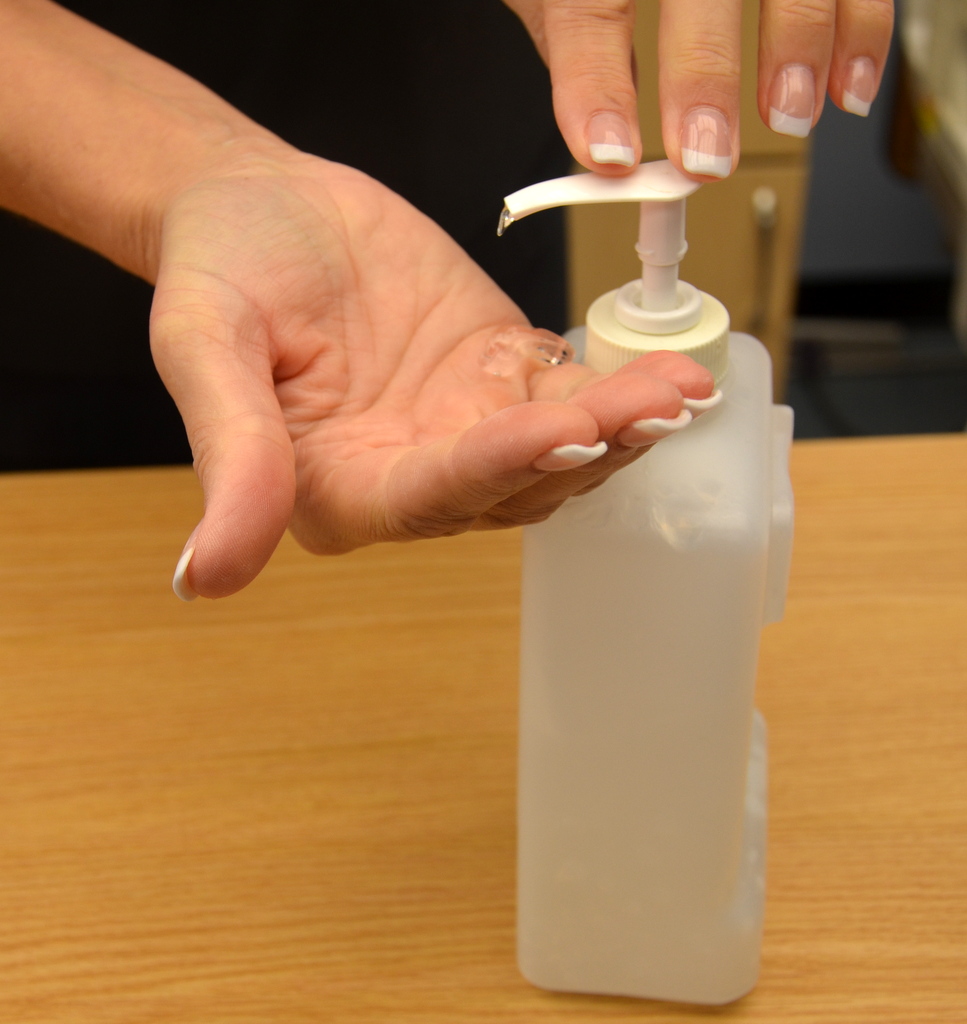
| 5. Apply non-sterile gloves. | This reduces the transfer of microorganisms.
 |
||
| 6. Measure, empty, and record contents of catheter bag. Remove gloves, perform hand hygiene, and apply new non-sterile gloves.
Remove catheter securement/anchor device. |
Record drainage amount, colour, and consistency according to agency policy.
Always change gloves after handling a urinary catheter bag. Removing catheter securement device provides easy access to catheter for cleaning and removing. 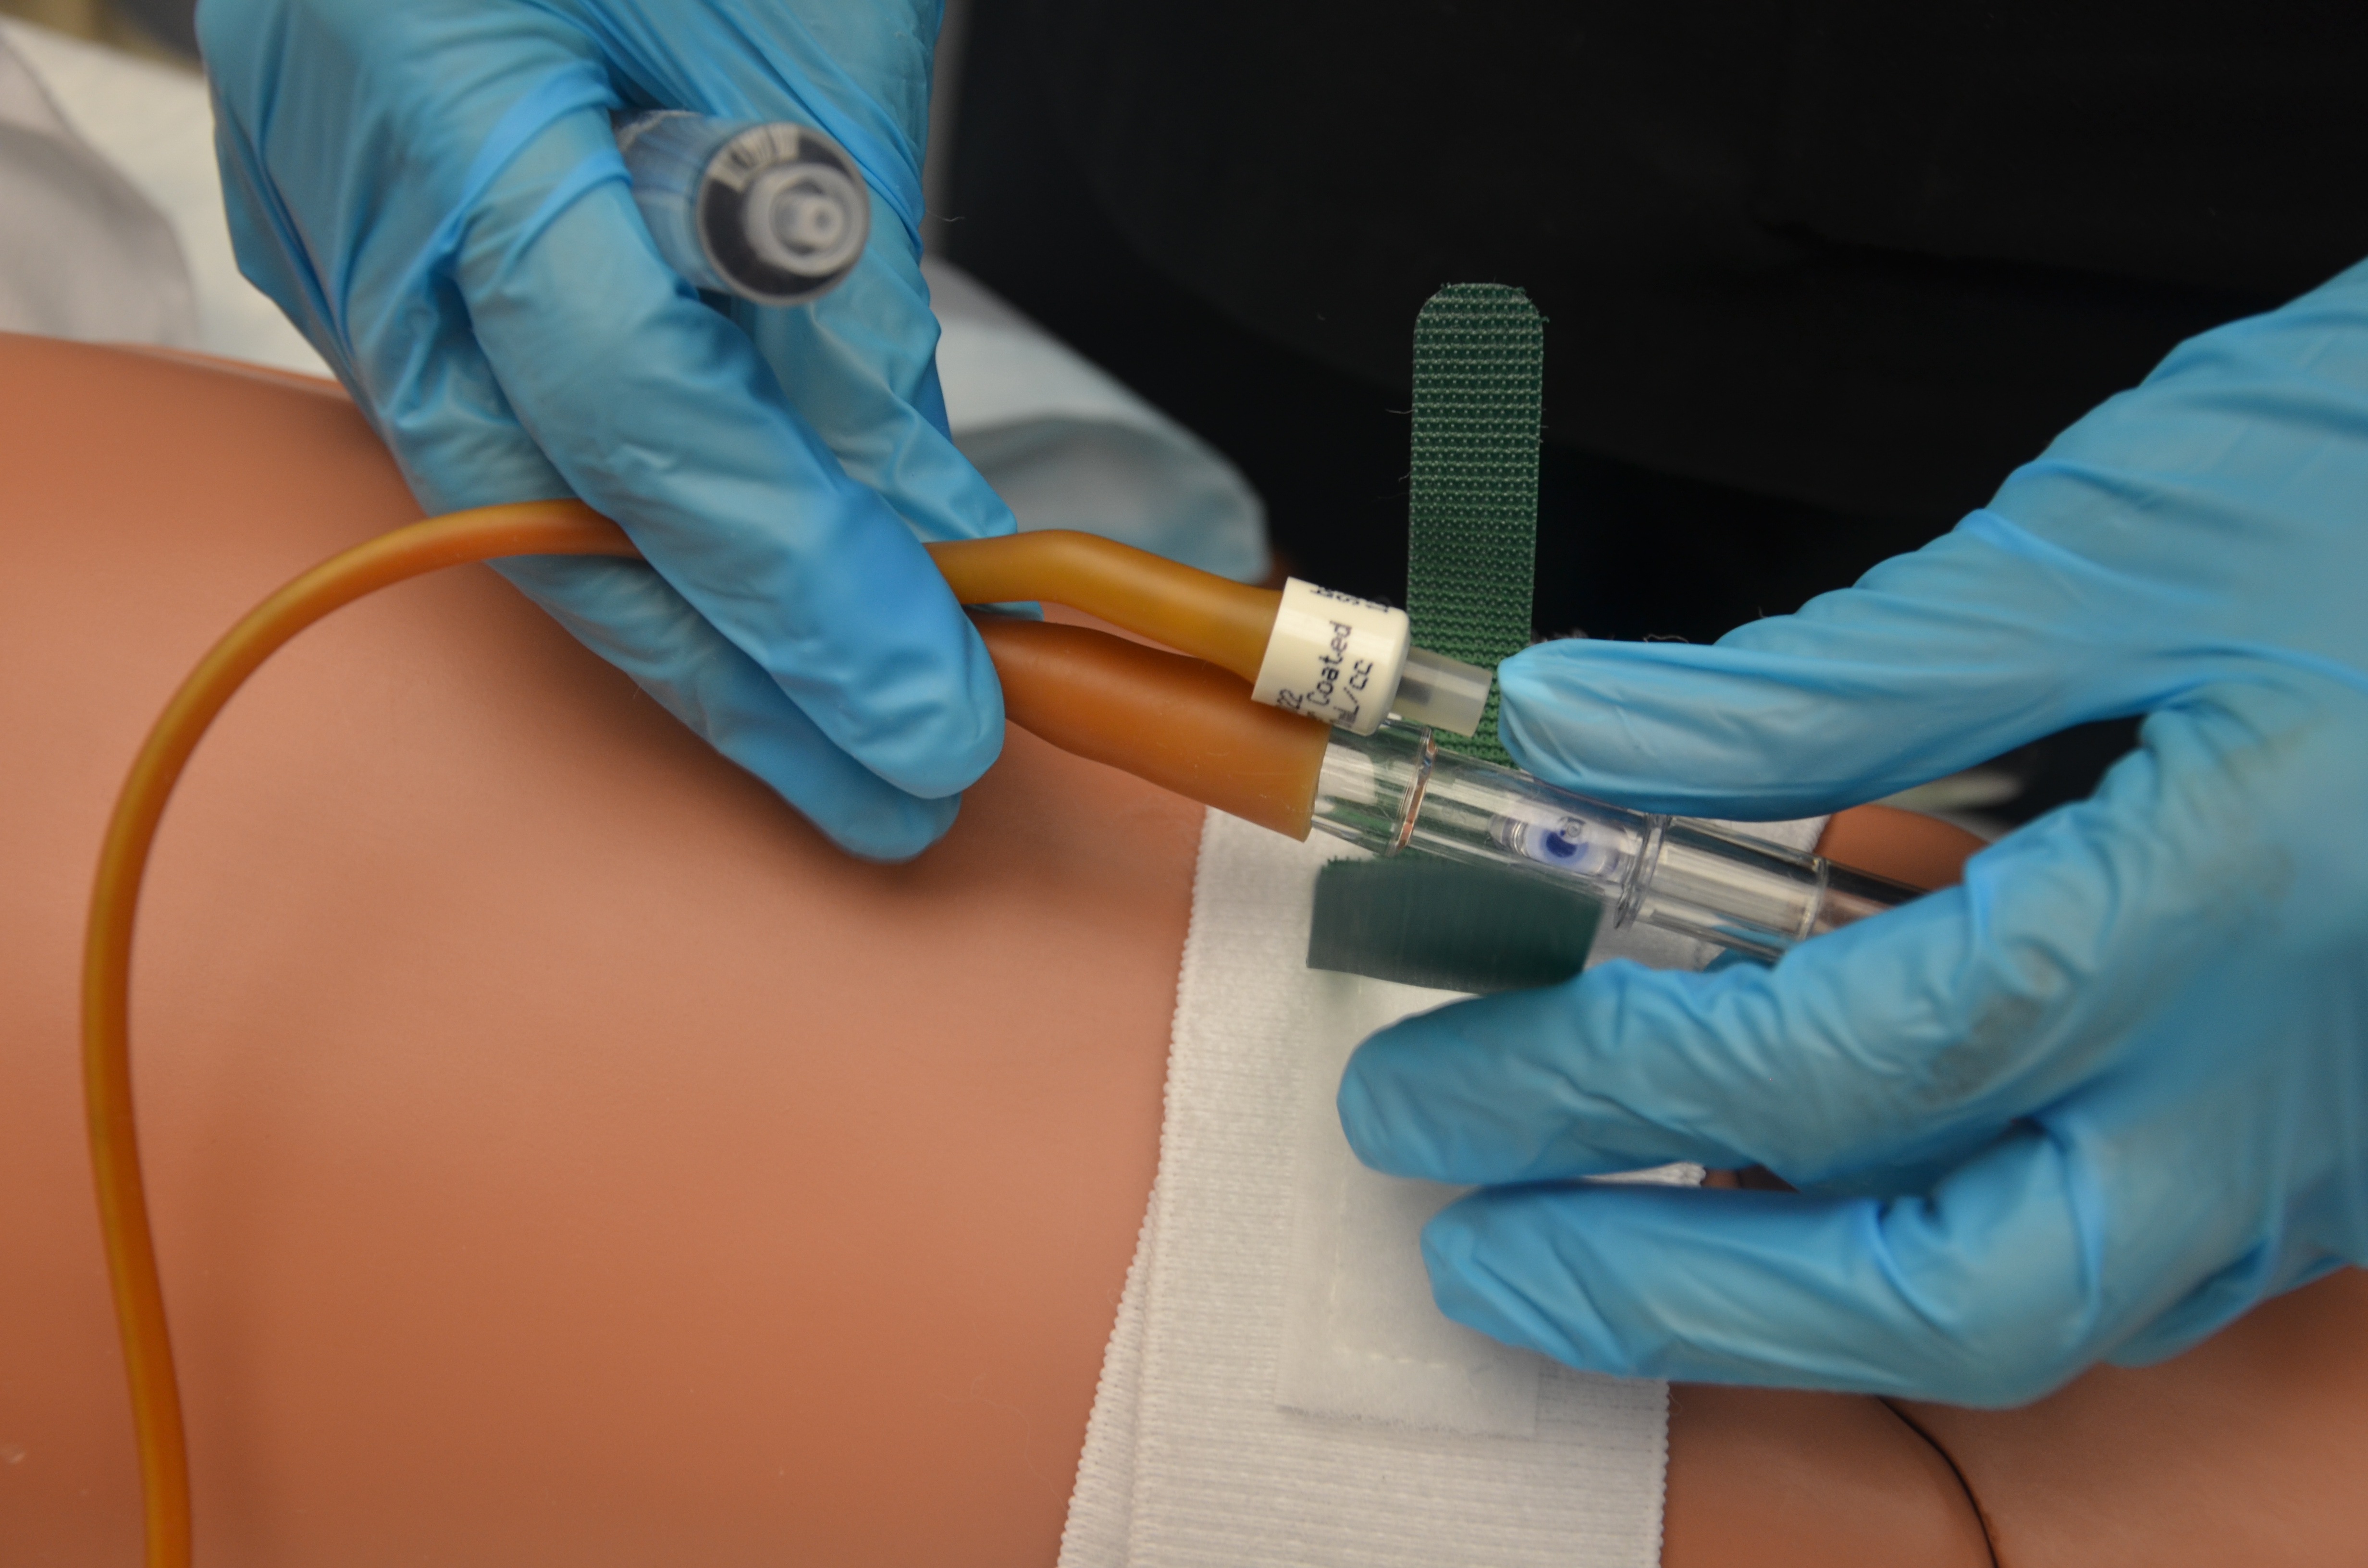 |
||
| 7. Perform catheter care with warm water and soap or according to agency protocol. | This reduces the transfer of microorganisms into the urethra. | ||
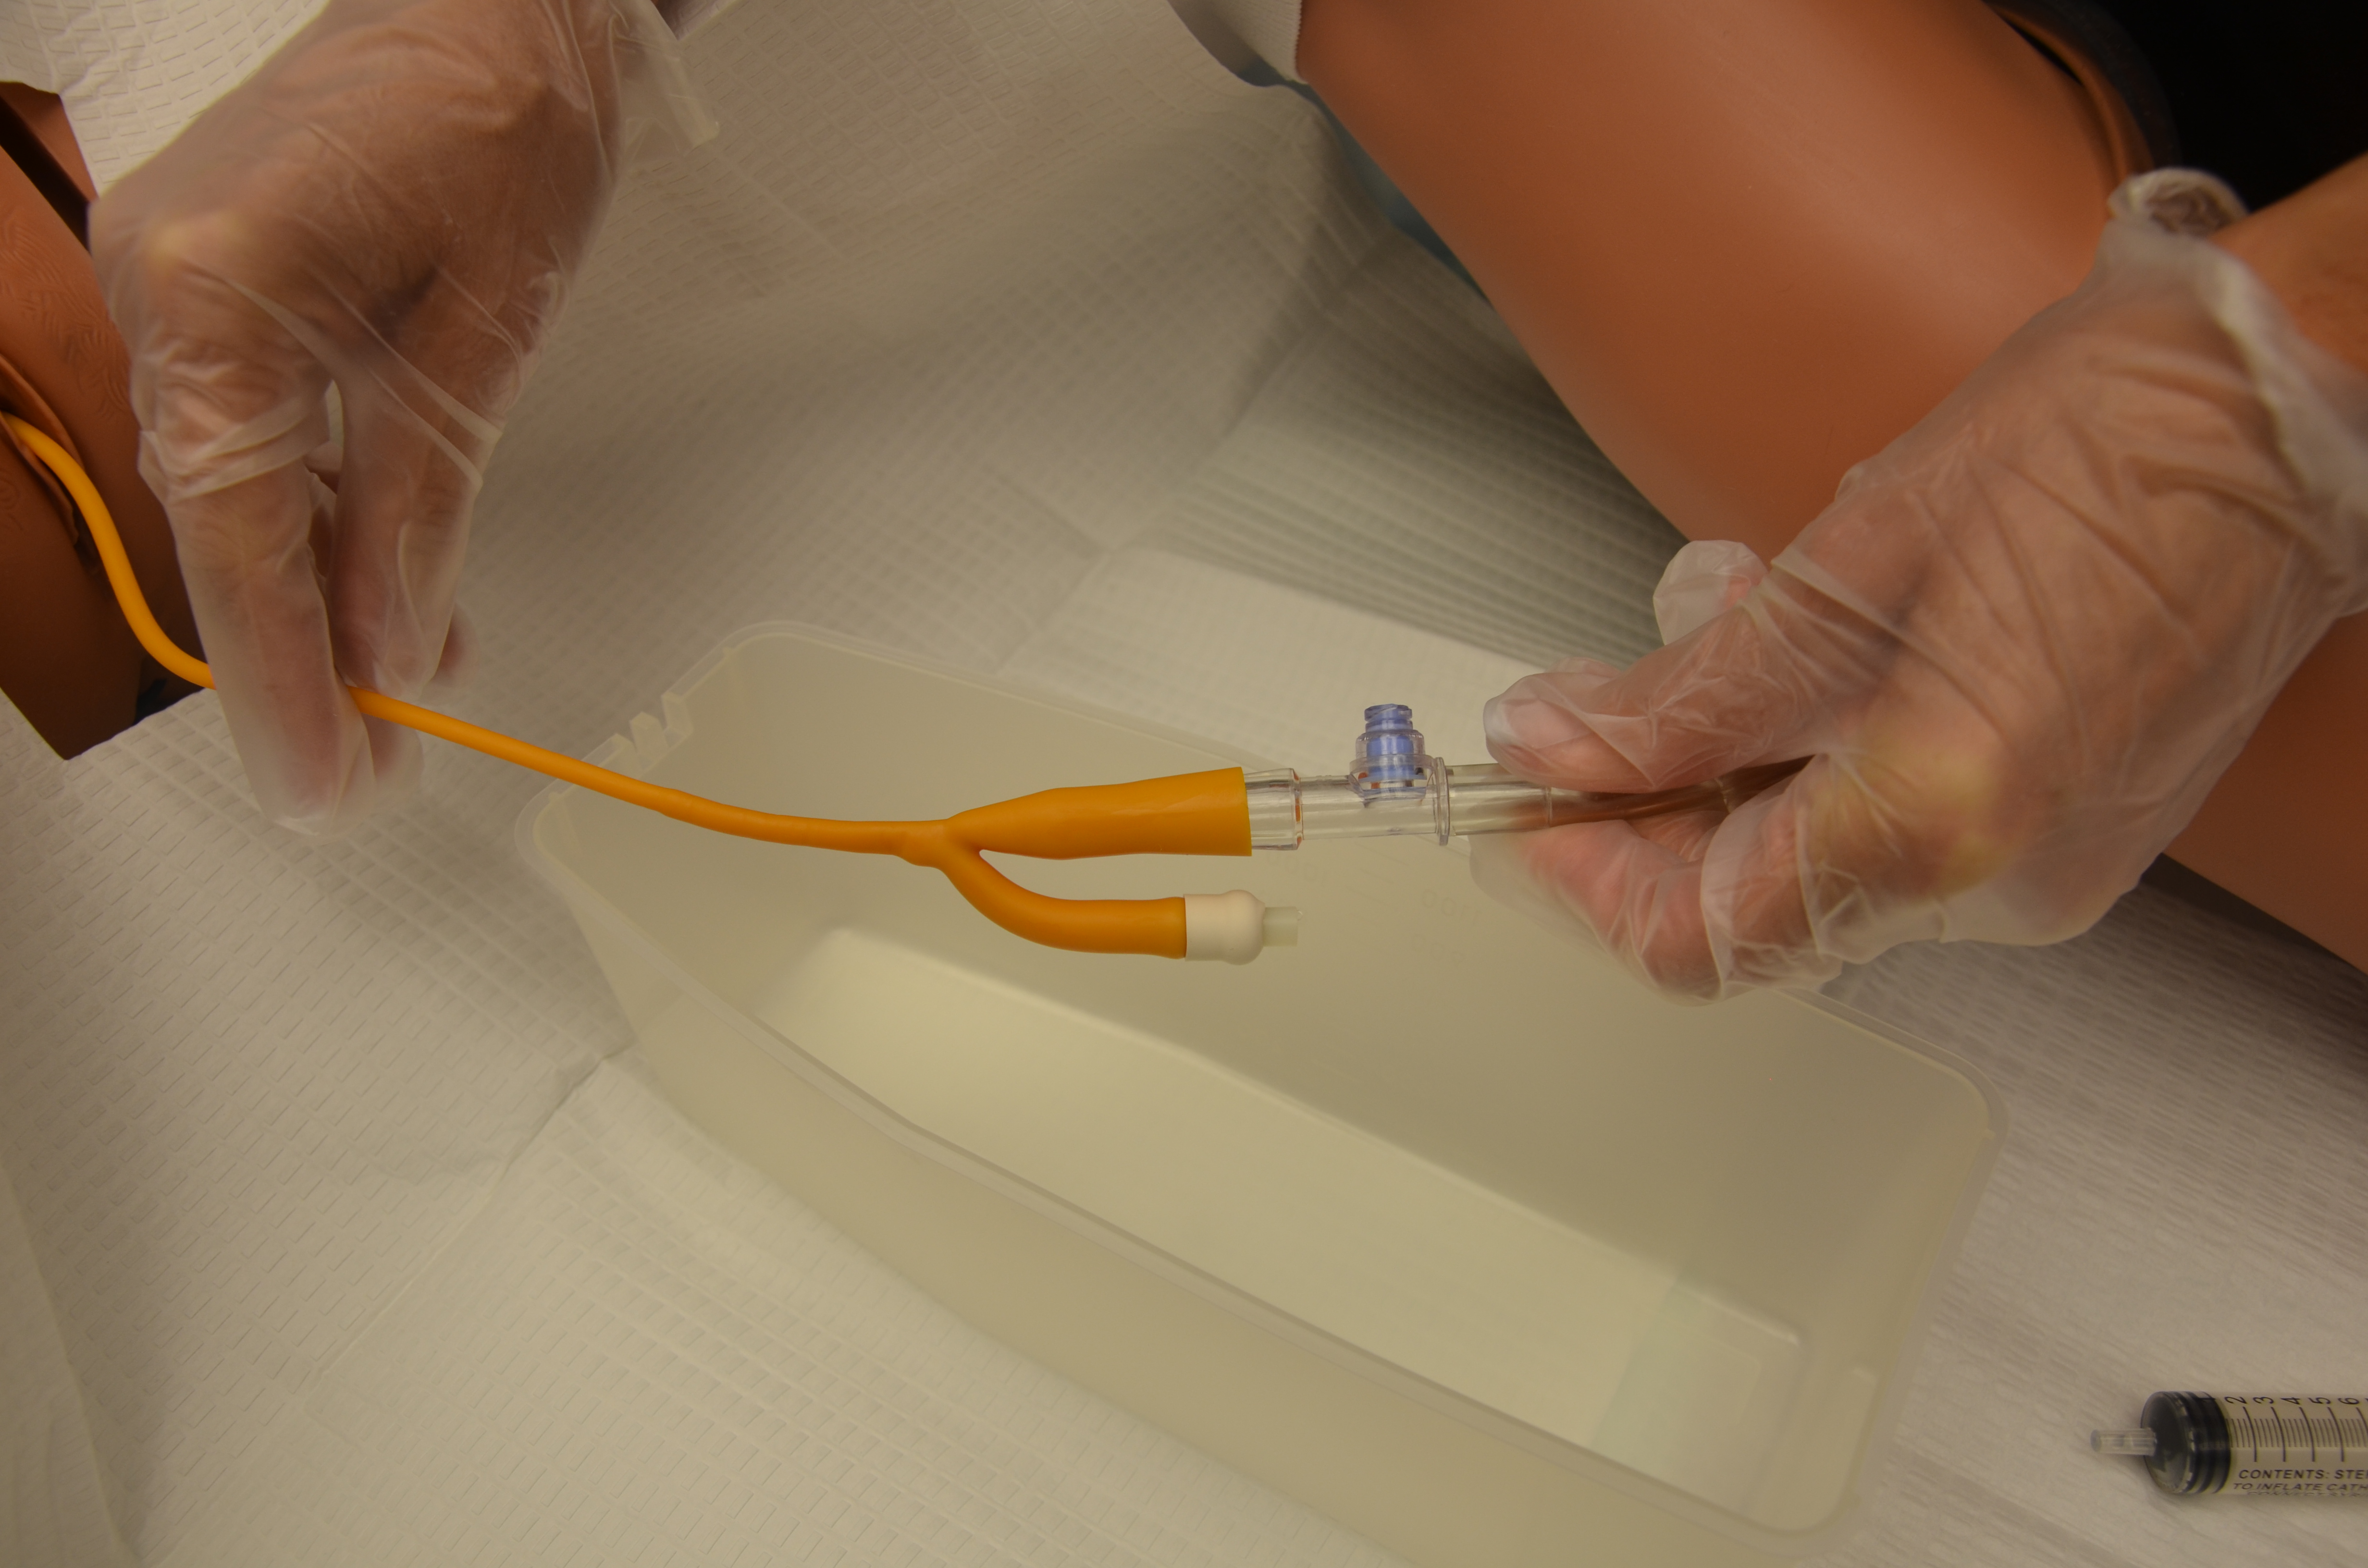
| 8. Insert syringe in balloon port and drain fluid from balloon. Verify balloon size on catheter to ensure all fluid is removed from balloon. | A partially deflated balloon will cause trauma to the urethra wall and pain.
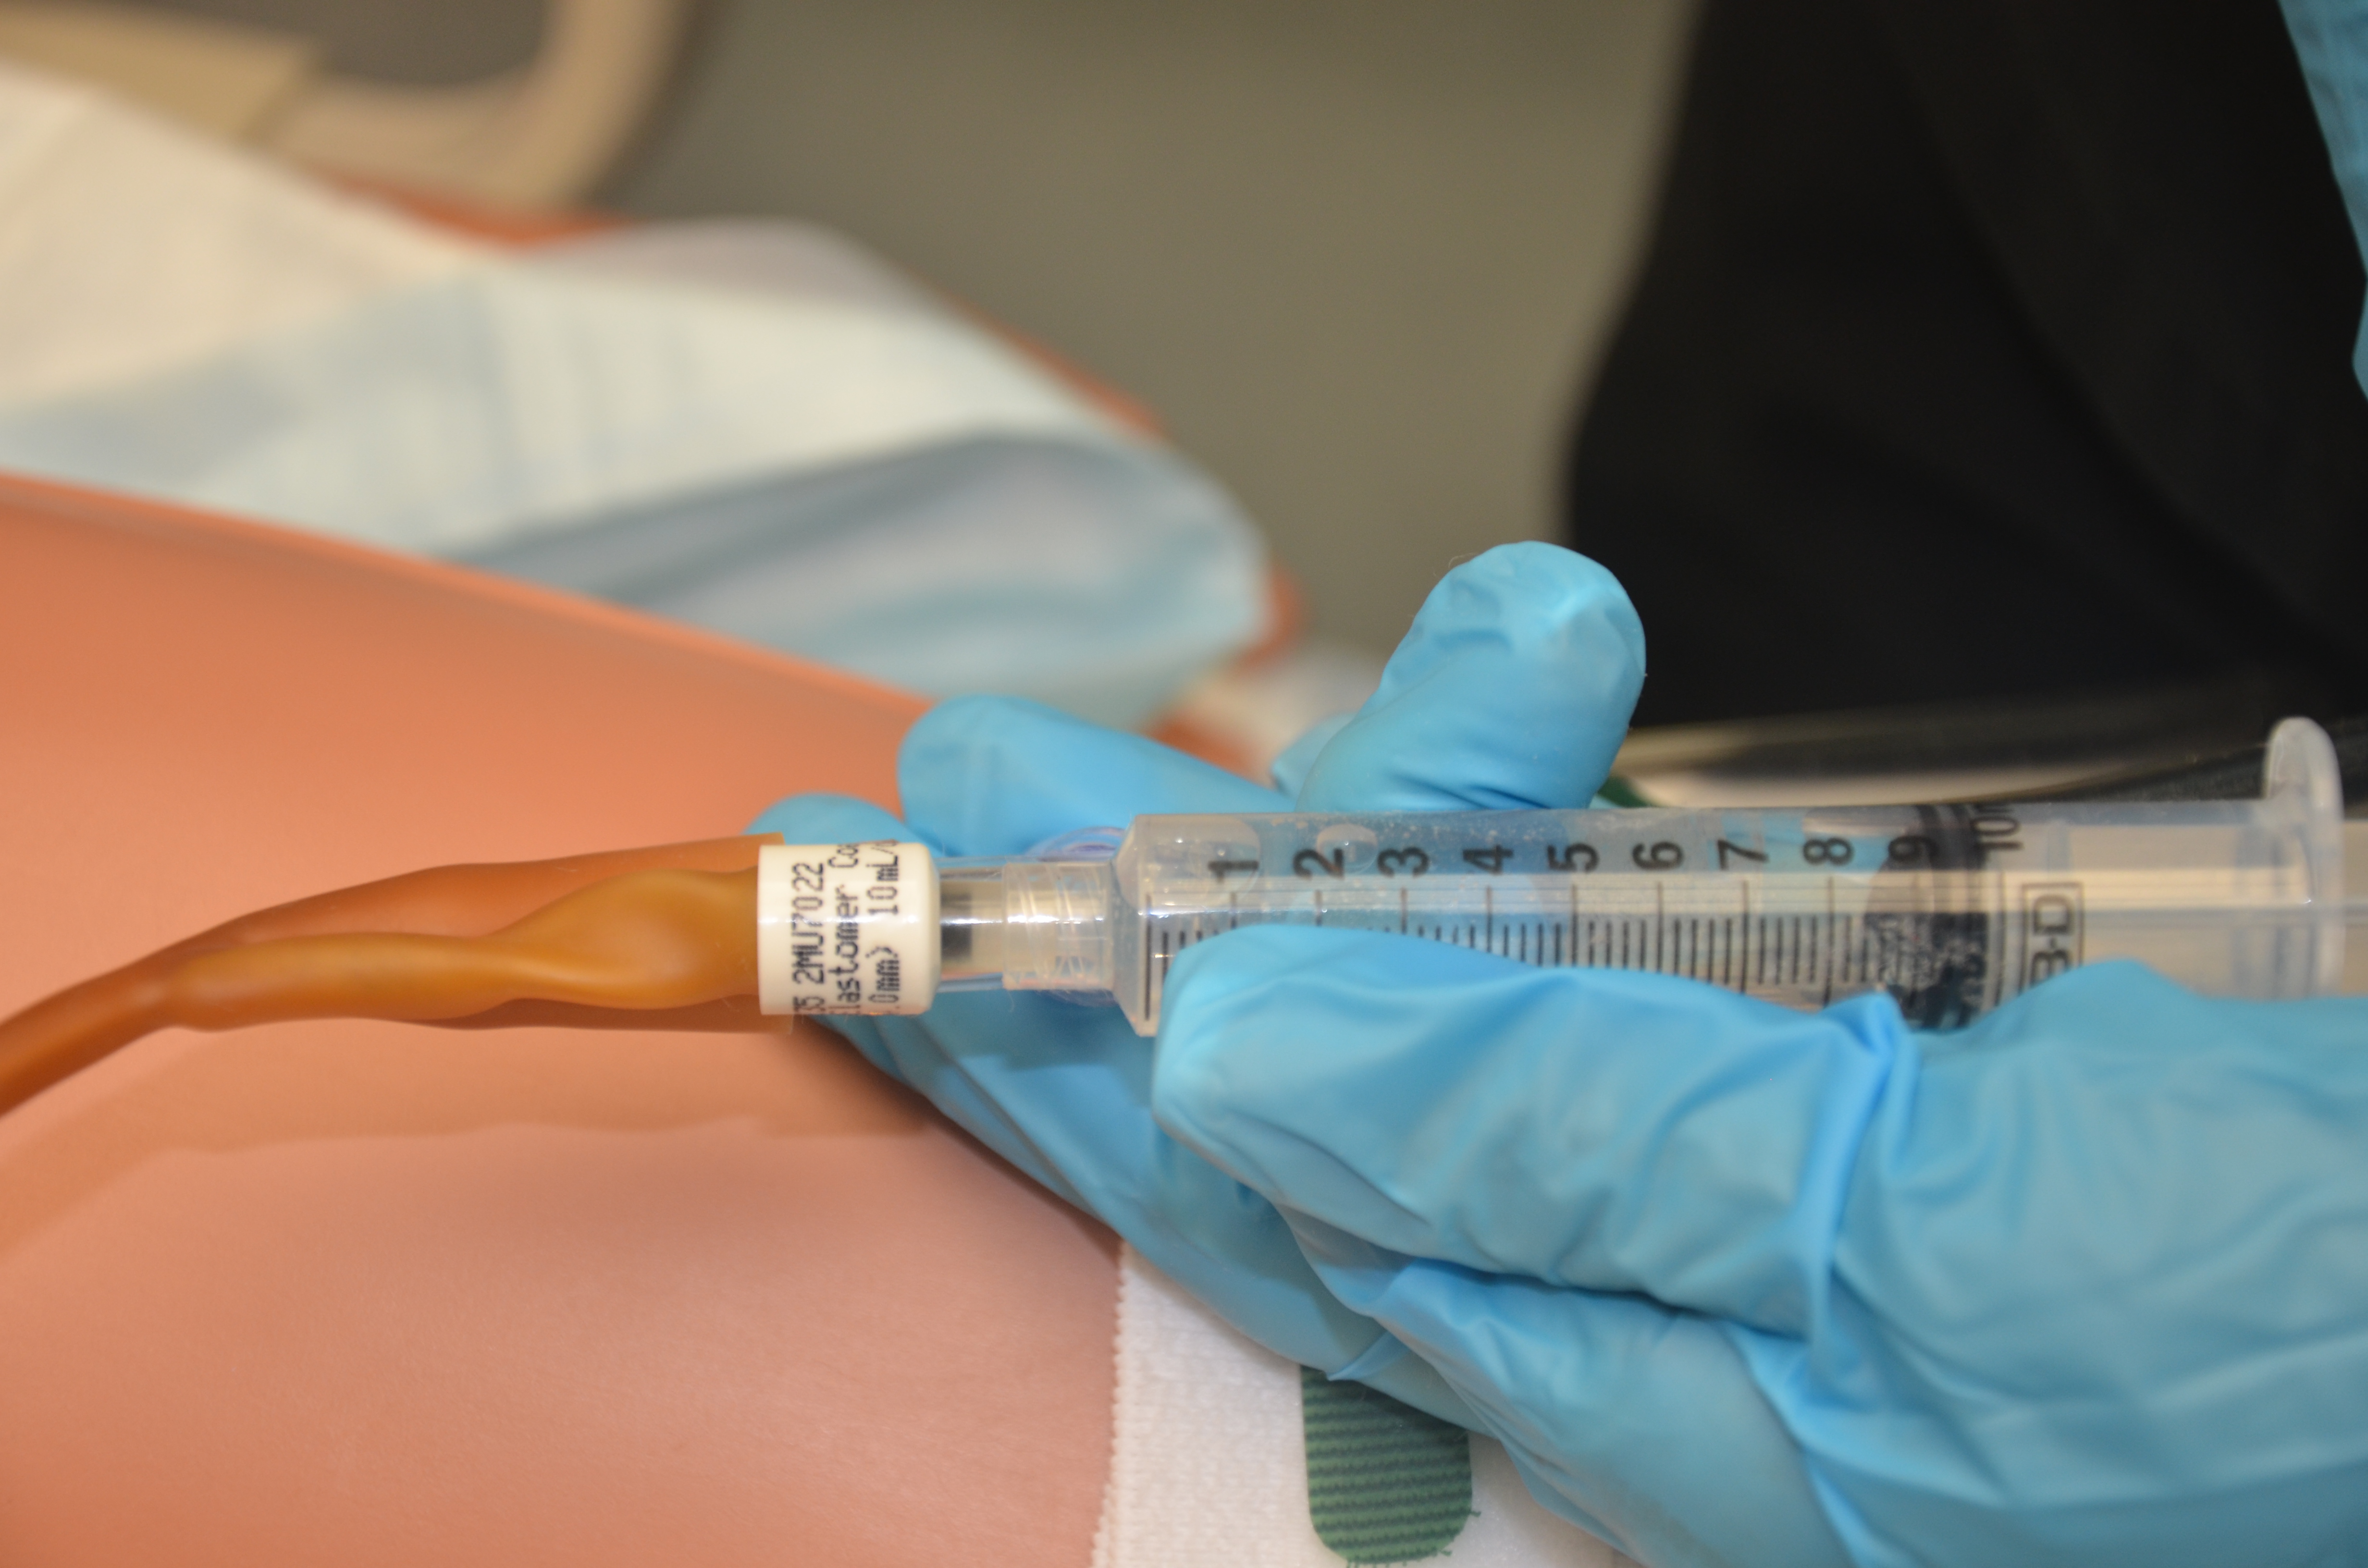 |
||
| 9. Pull catheter out slowly and smoothly. Catheter should slide out slowly and smoothly. | If resistance is felt, stop removal and reattempt to remove the fluid from the balloon. Attempt removal again. If unable to remove the catheter, stop and notify physician.
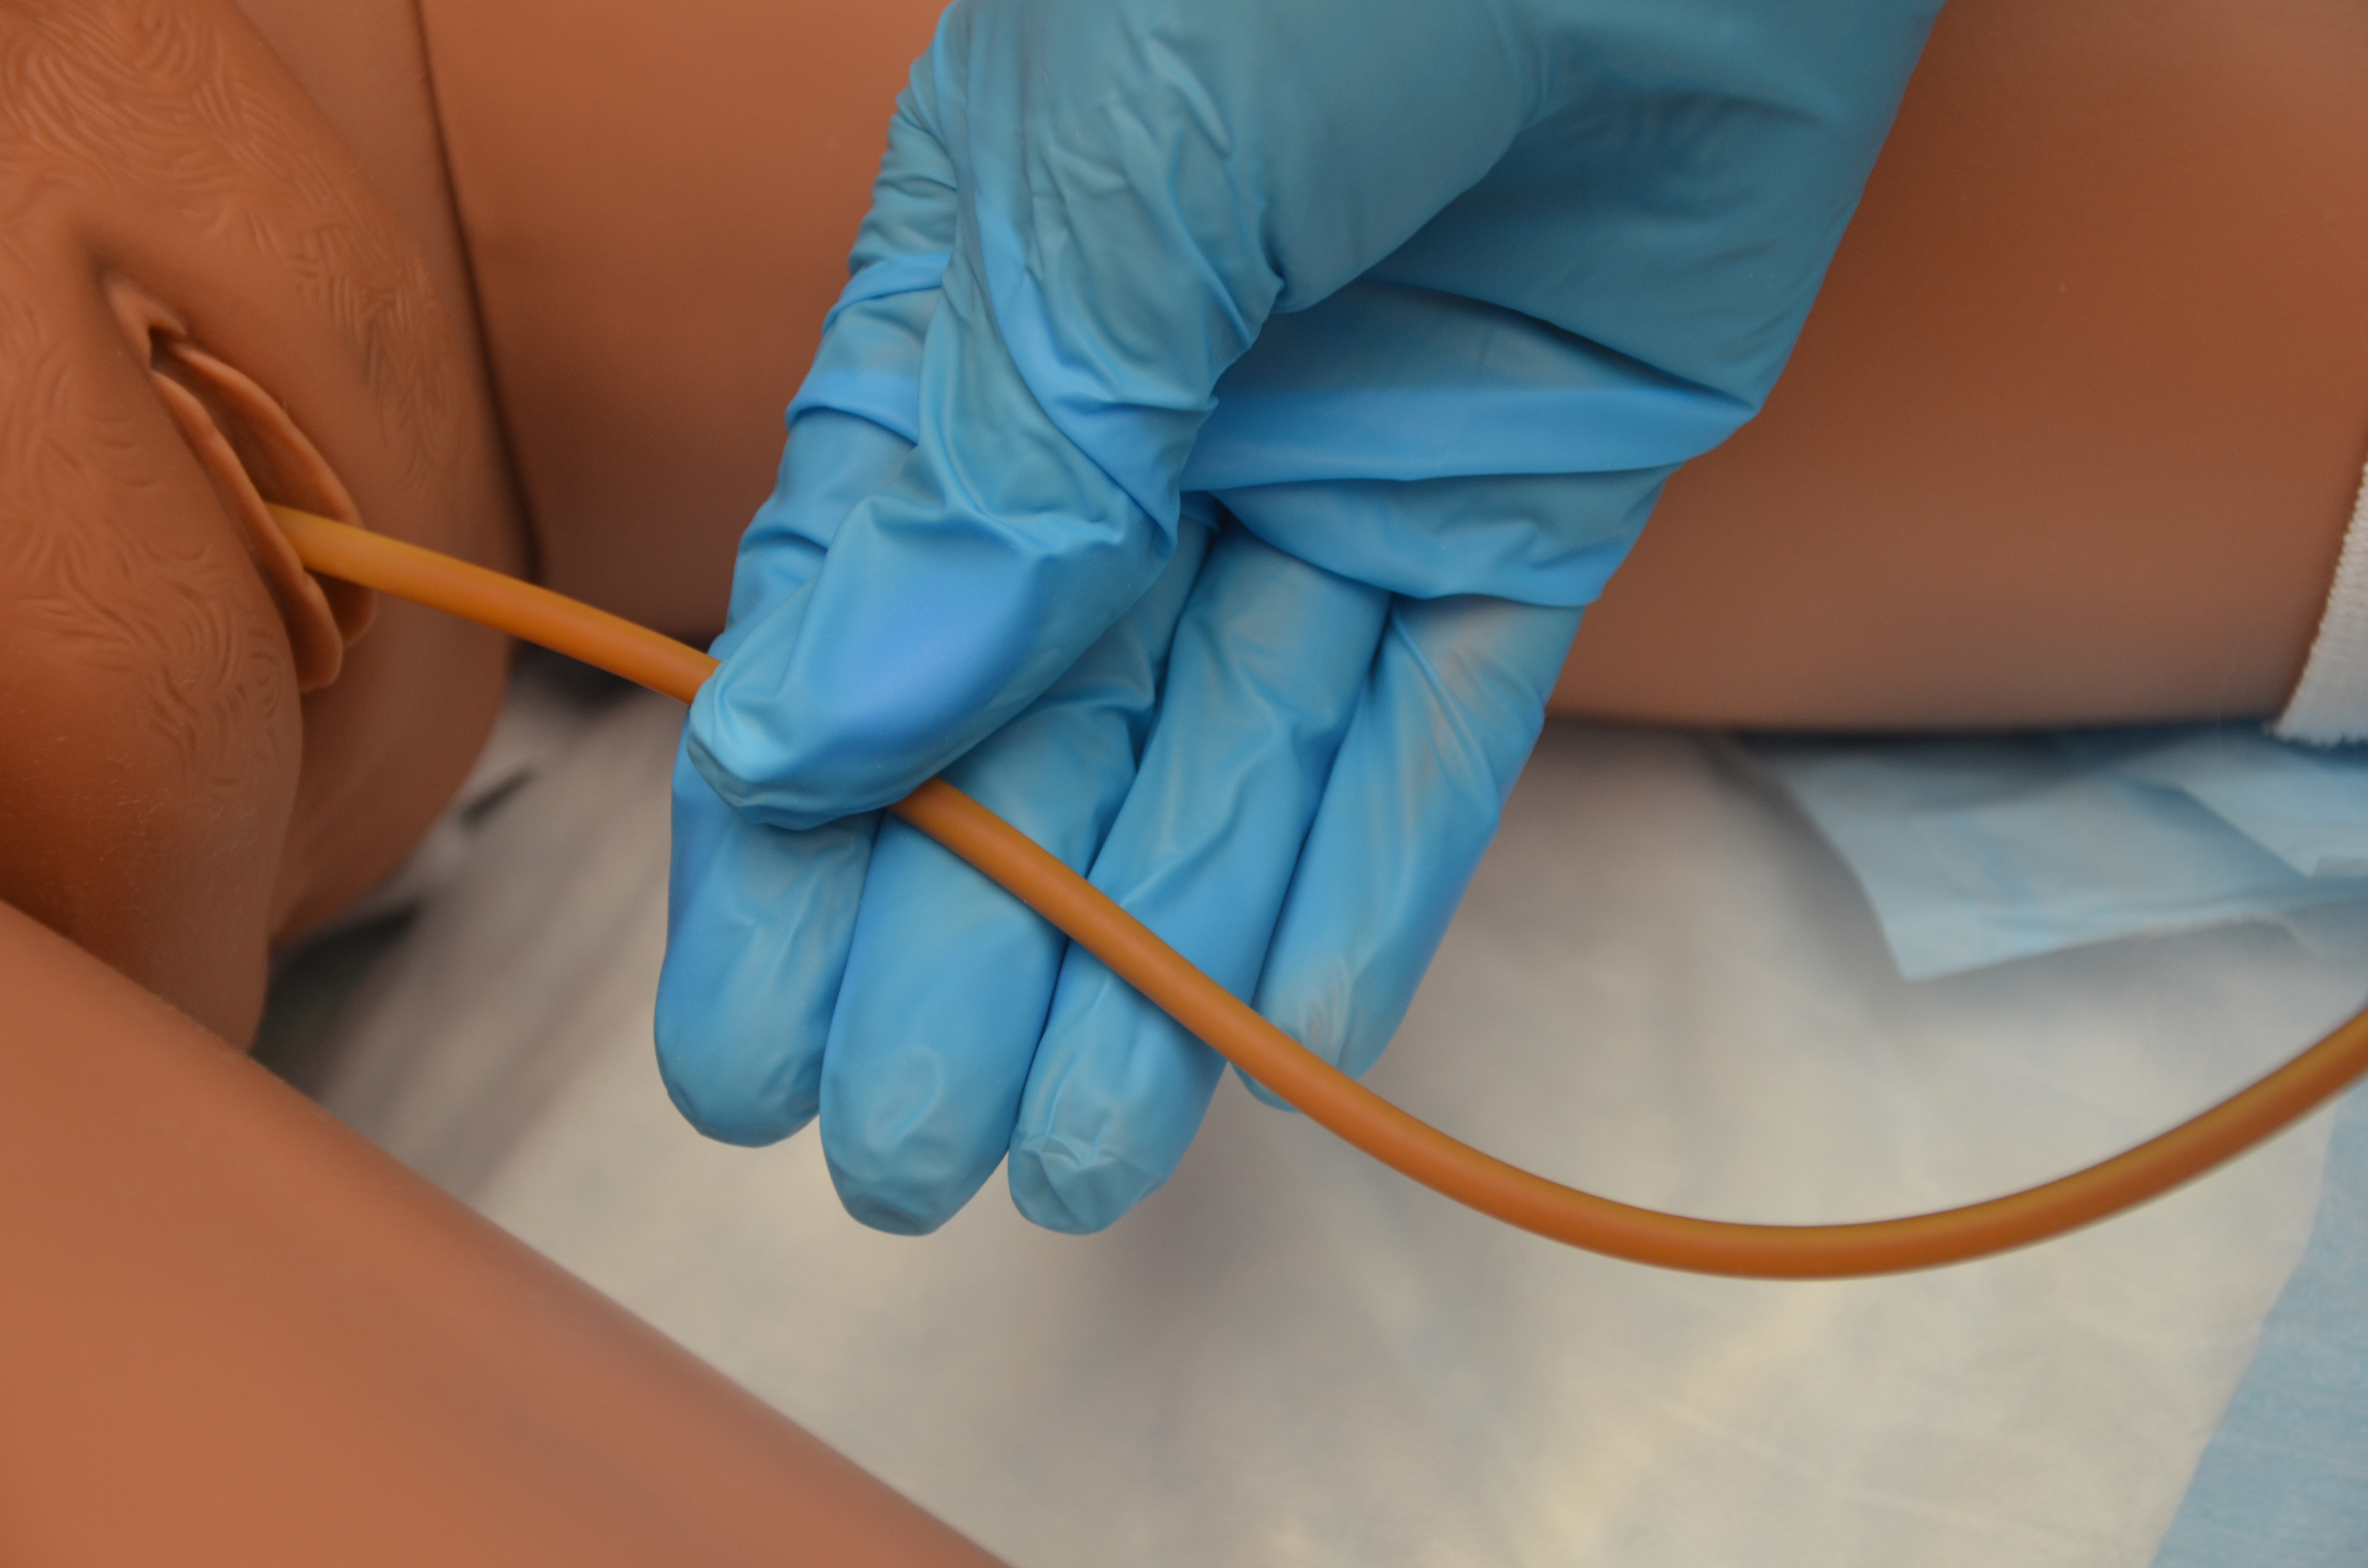 |
||
| 10. Wrap used catheter in waterproof pad or gloves. Unhook catheter tube from urinary bag. Discard equipment and supplies according to agency policy. | This prevents accidental spilling of urine from the catheter.
 |
||
| 11. Provide perineal care as required and reposition patient to a comfortable position. | This promotes patient comfort. | ||
| 12. Review post-catheter care, fluid intake, and expected and unexpected outcomes with patient. | Ensure patient has access to toilet, commode, bedpan, or urinal. Place call bell within reach. Ensure first void (urine output) is measured as per agency policy. Encourage patient to maintain or increase fluid intake to maintain normal urine output (unless contraindicated). |
||
| 13. Lower bed to safe position, remove gloves, and perform hand hygiene. | Lowering the bed helps prevent falls. Hand hygiene prevents the transmission of microorganisms from patient to health care provider.
 |
||
| 14. Document procedure according to agency policy. | Document time of catheter removal, condition of urethra, and any teaching related to post-catheter care and fluid intake.
Document time, amount, and characteristics of first void after catheter removal. |
||
| Data source: ATI, 2015d; BCIT, 2015b; Perry et al., 2014; VCH Professional Practice, 2014 | |||
If a patient is unable to void after six to eight hours of removing a urinary catheter, or has the sensation of not emptying the bladder, or is experiencing small voiding amounts with increased frequency, a bladder scan may be performed. A bladder scan can assess if excessive urine is being retained. Notify the health care provider if patient is unable to void within six to eight hours of removal of a urinary catheter. If a patient is found to have retained urine in the bladder and is unable to void, an intermittent/straight catheterization should be performed (Perry et al., 2014).
Video 10.4
Critical Thinking Exercises
- Describe the different techniques for cleansing a female and a male patient prior to catheterization.
- Your male patient complains of pain while you are inserting a urinary catheter. Describe your next steps.
