Chapter 8. Intravenous Therapy
8.4 Priming IV Tubing and Changing IV Fluids and Tubing
Primary and secondary IV tubing and add-on devices (extension tubing) must be primed with IV solution to remove air from the tubing. Priming refers to placing IV fluid in IV tubing to remove all air prior to attaching the IV tube to the patient. IV tubing is primed to prevent air from entering the circulatory system. An air embolism is a potential complication of IV therapy and can enter a patient’s blood system through cut tubing, unprimed IV tubing, access ports, and drip chambers with too little fluid (Perry et al., 2014). It is unknown how much air will cause death, but deaths have been reported with as little as 10 ml of air. The best way to avoid air bubbles in IV tubing is to prevent them in the first place (Perry et al., 2014). New IV tubing may also be required if leaking occurs around the tube connecting to the IV solution, if the tubing becomes damaged, or if it becomes contaminated. Checklist 66 outlines the process of priming IV tubing.
Disclaimer: Always review and follow your hospital policy regarding this specific skill. |
||||
Safety considerations:
|
||||
Steps |
Additional Information |
|||
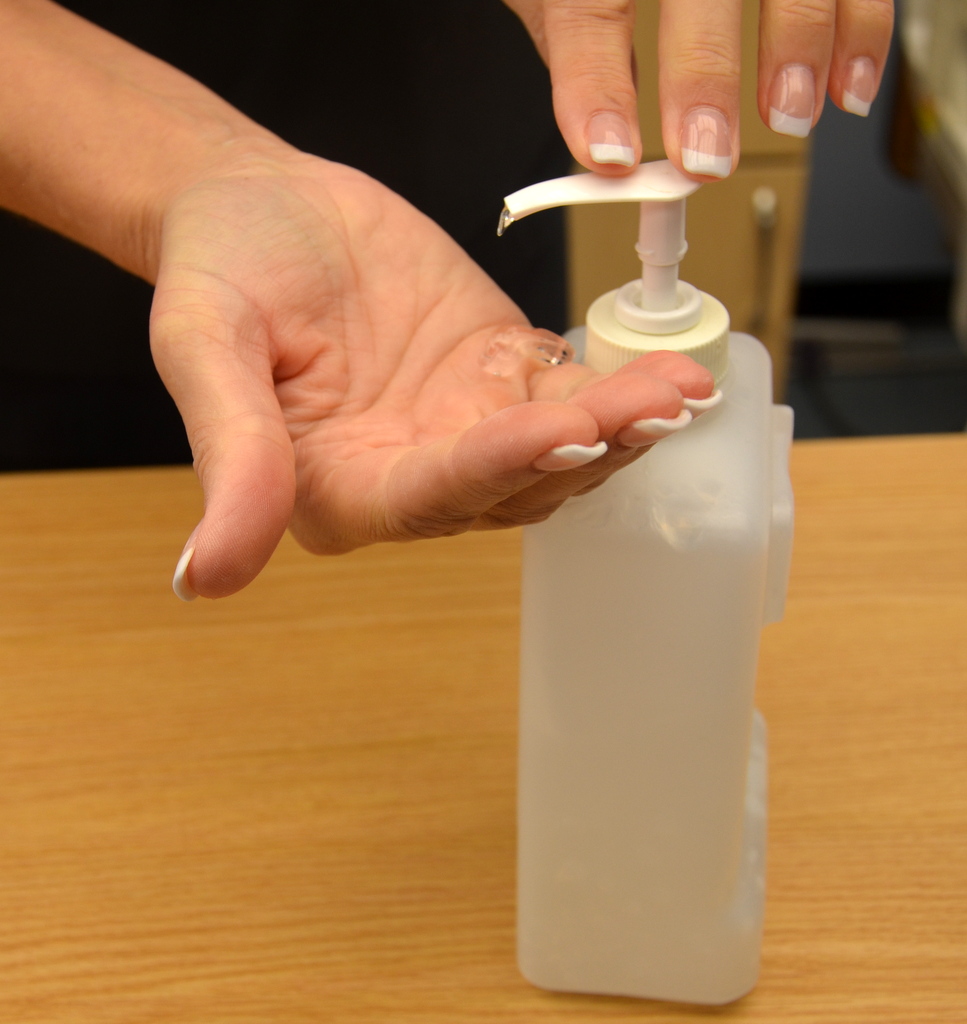
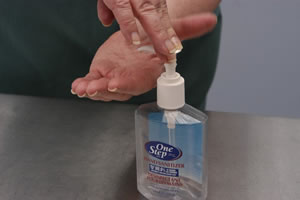
| 1. Perform hand hygiene. | This step prevents the transmission of microorganisms. | |||
| 2. Check order to verify solution, rate, and frequency. | This ensures IV solution is correct and helps prevent medication error. | |||
| 3. Gather supplies. | You will need IV solution, primary IV tubing, time label, change label, alcohol swab, and basin or sink.
 |
|||
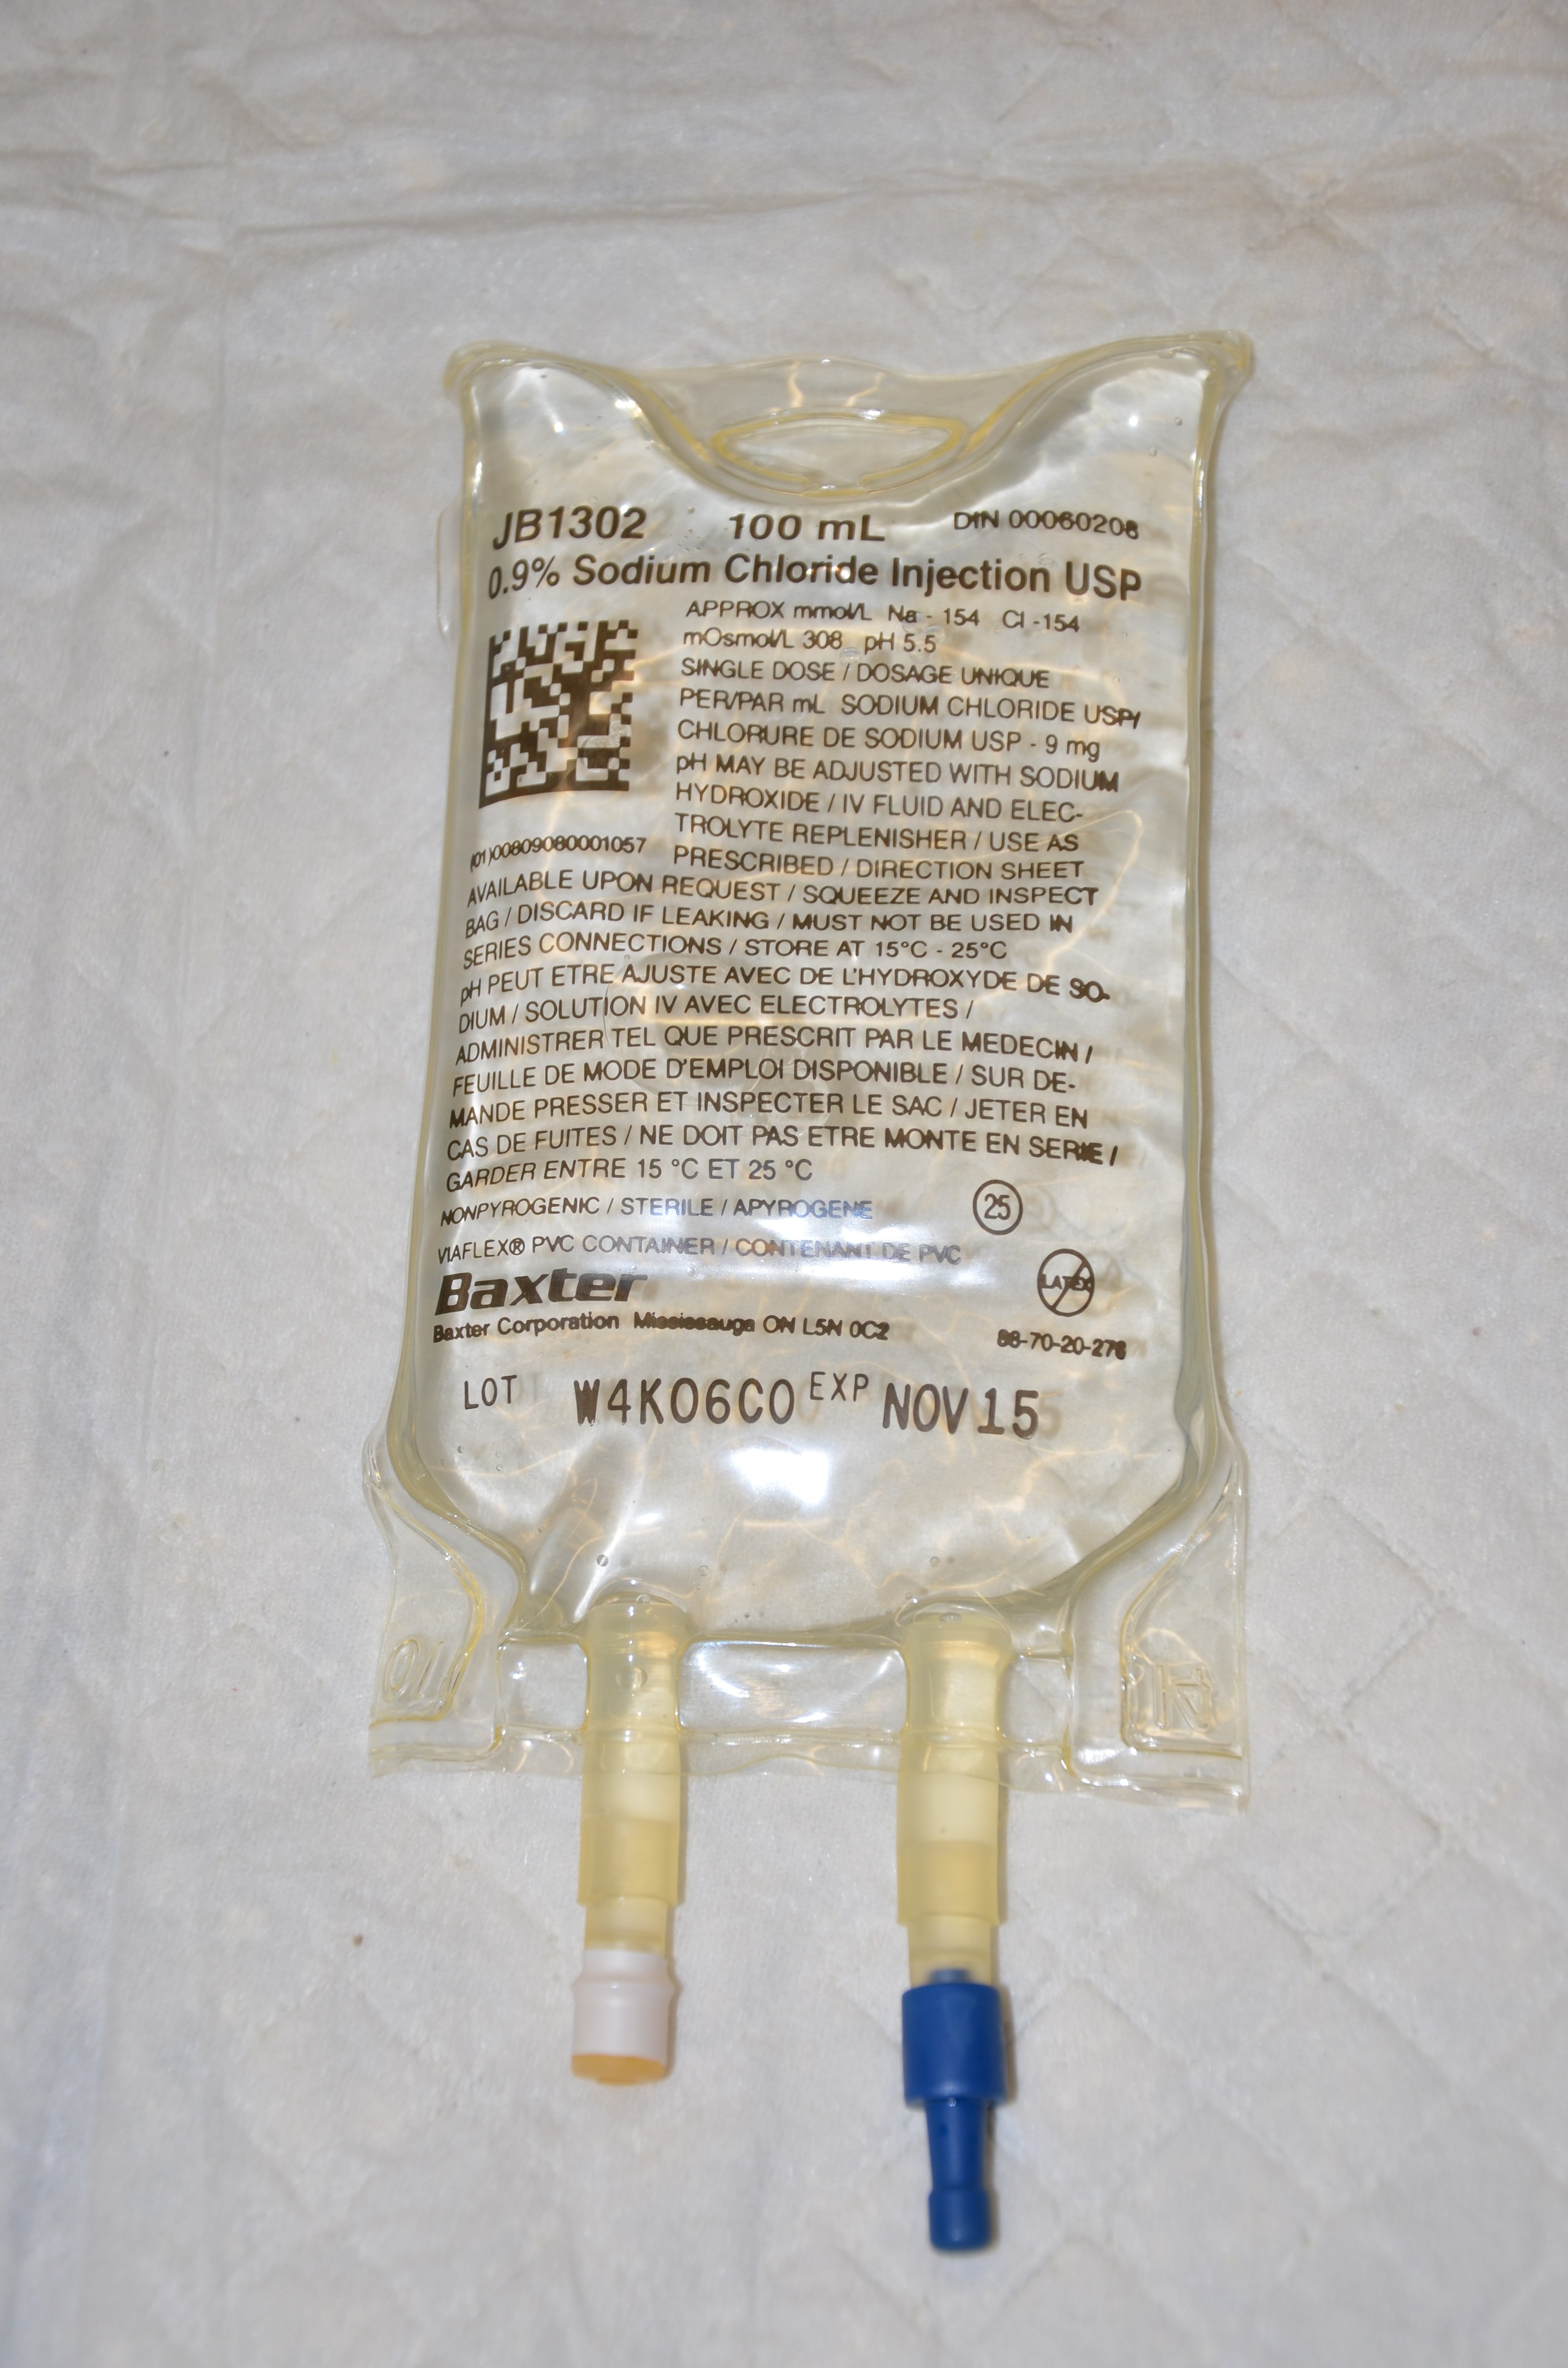
| 4. Remove IV solution from outer packaging and gently squeeze. | Tear the perforated corner of the outer packaging; check colour, clarity, and expiration date.
 |
|||
| 5. Remove primary IV tubing from outer packaging. |
 |
|||
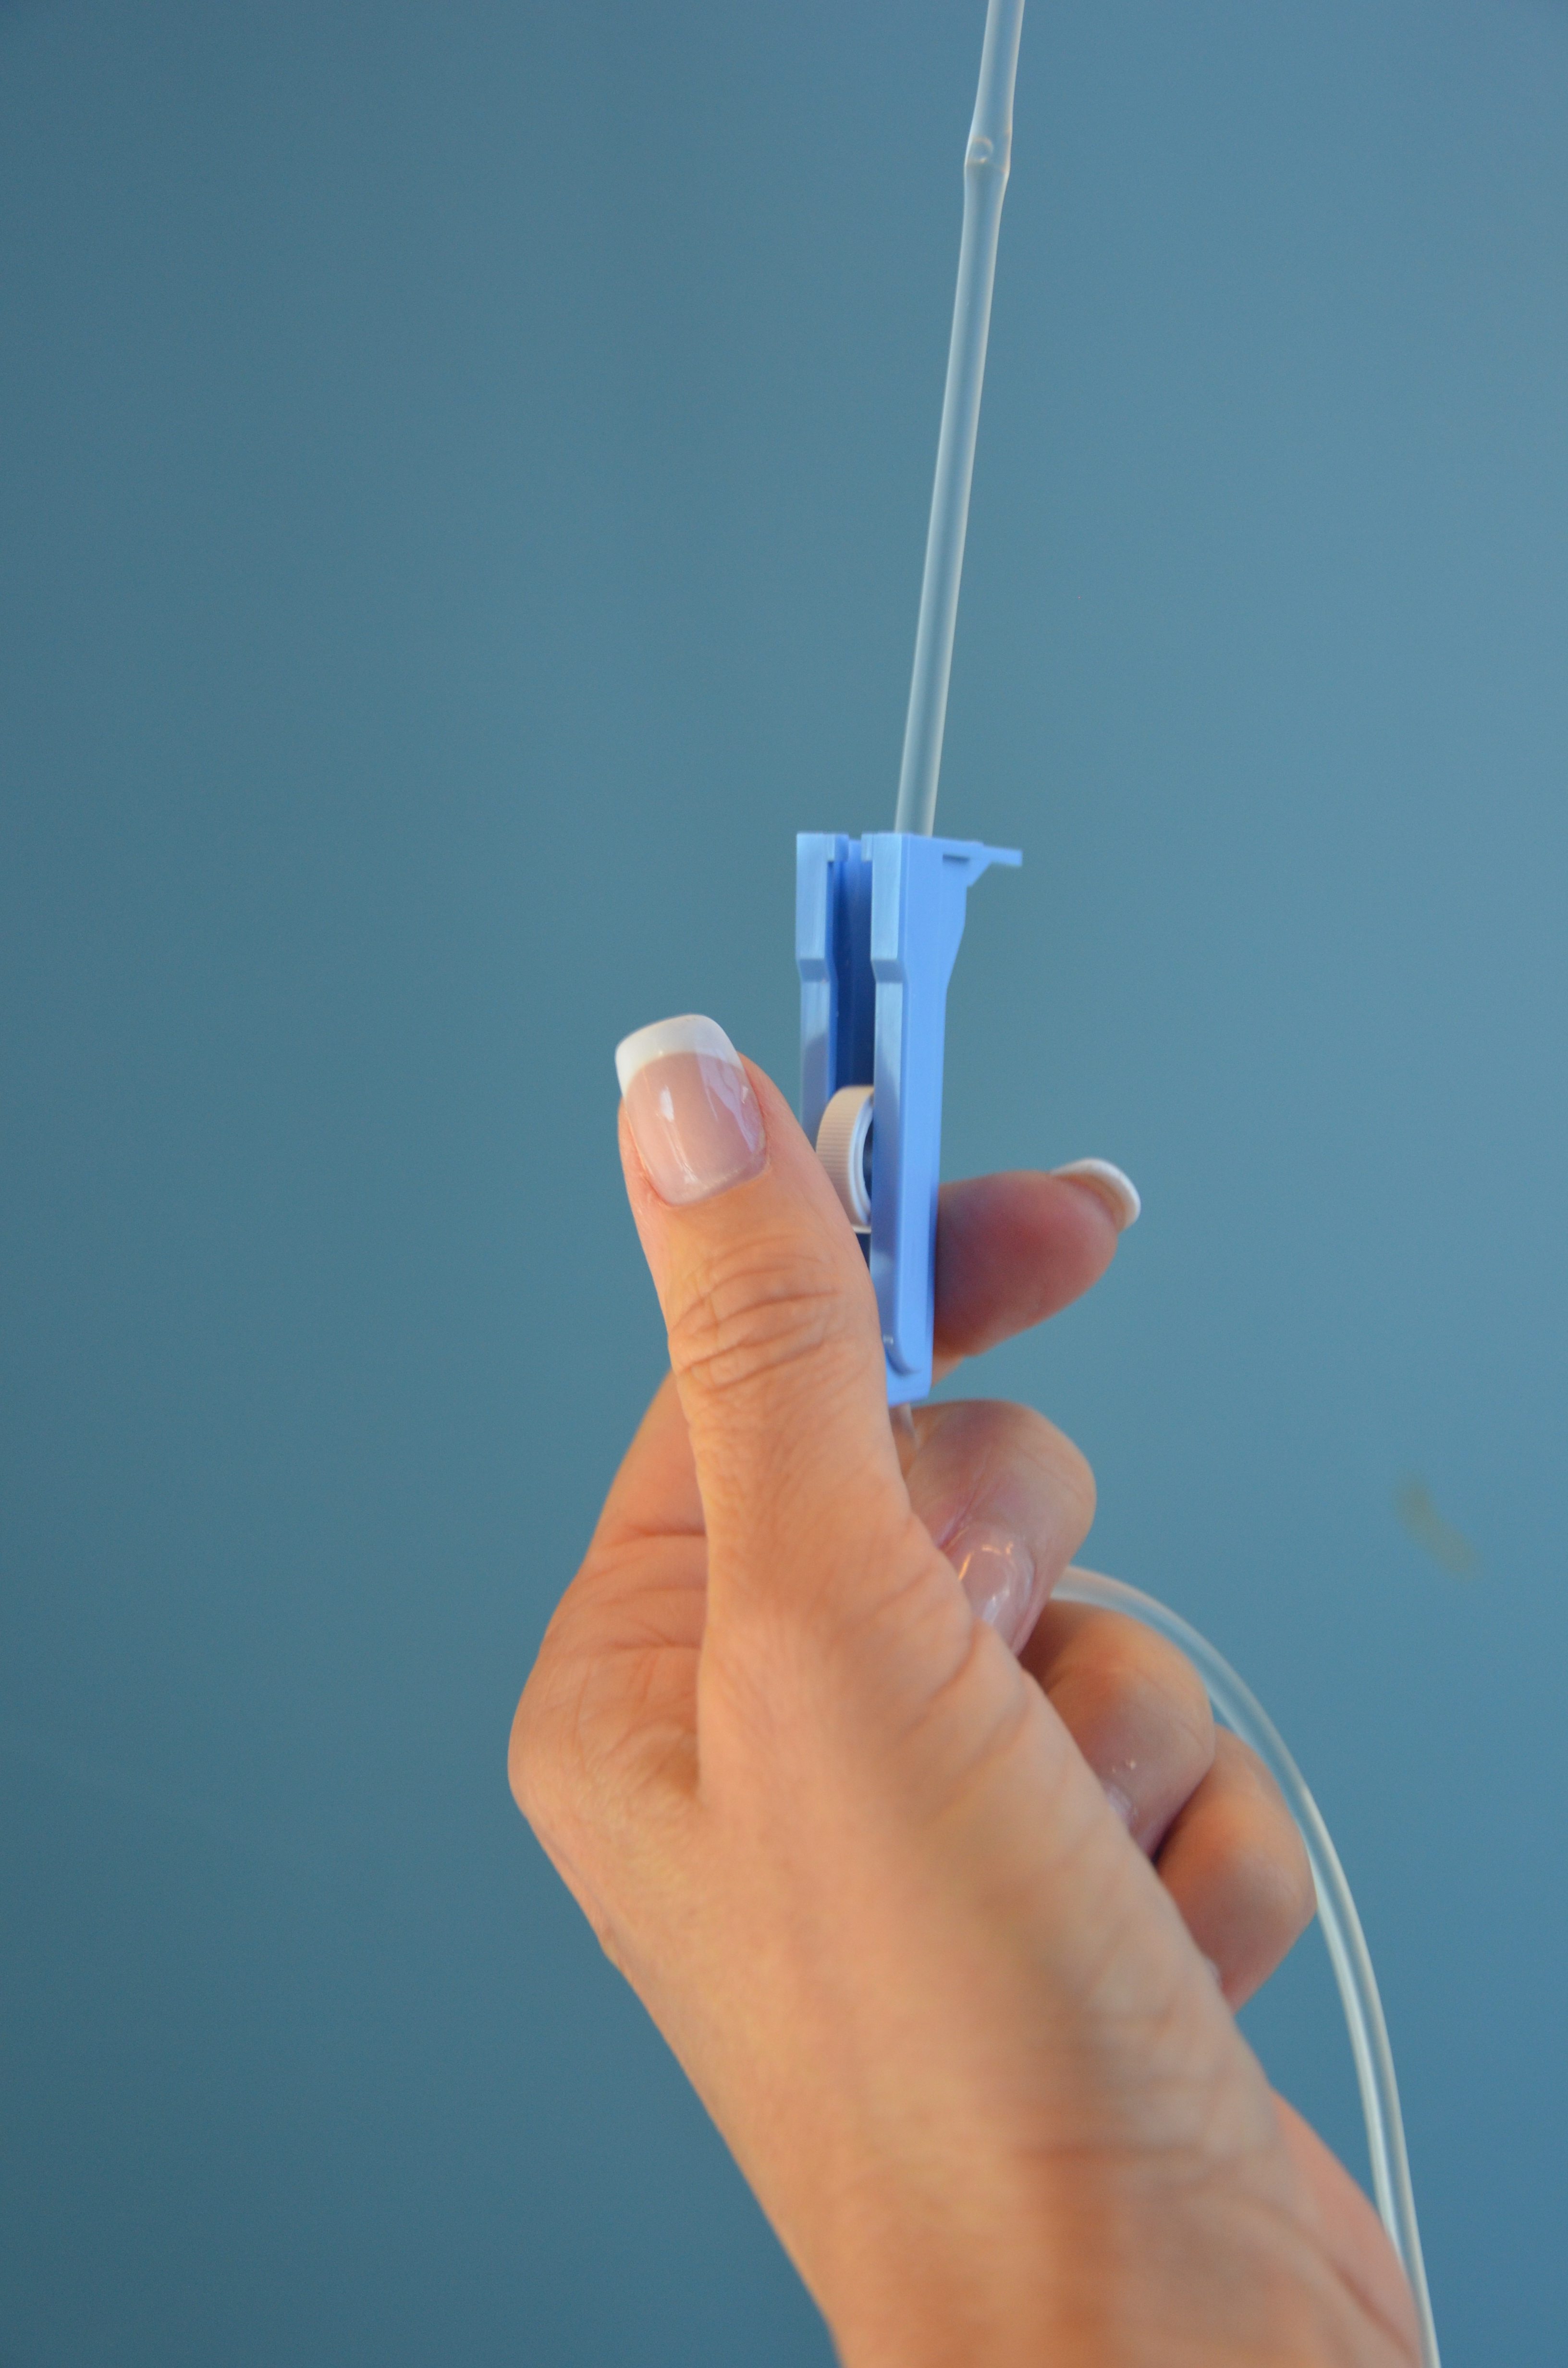
| 6. Move the roller clamp about 3 cm below the drip chamber and close the clamp. |
 |
|||
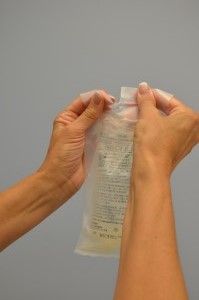
| 7. Remove the protective cover on the IV solution port and keep sterile. Remove the protective cover on the IV tubing spike. | Be careful and do not contaminate the spike.
 |
|||
| 8. Without contaminating the solution port, carefully insert the IV tubing spike into the port, gently pushing and twisting. |
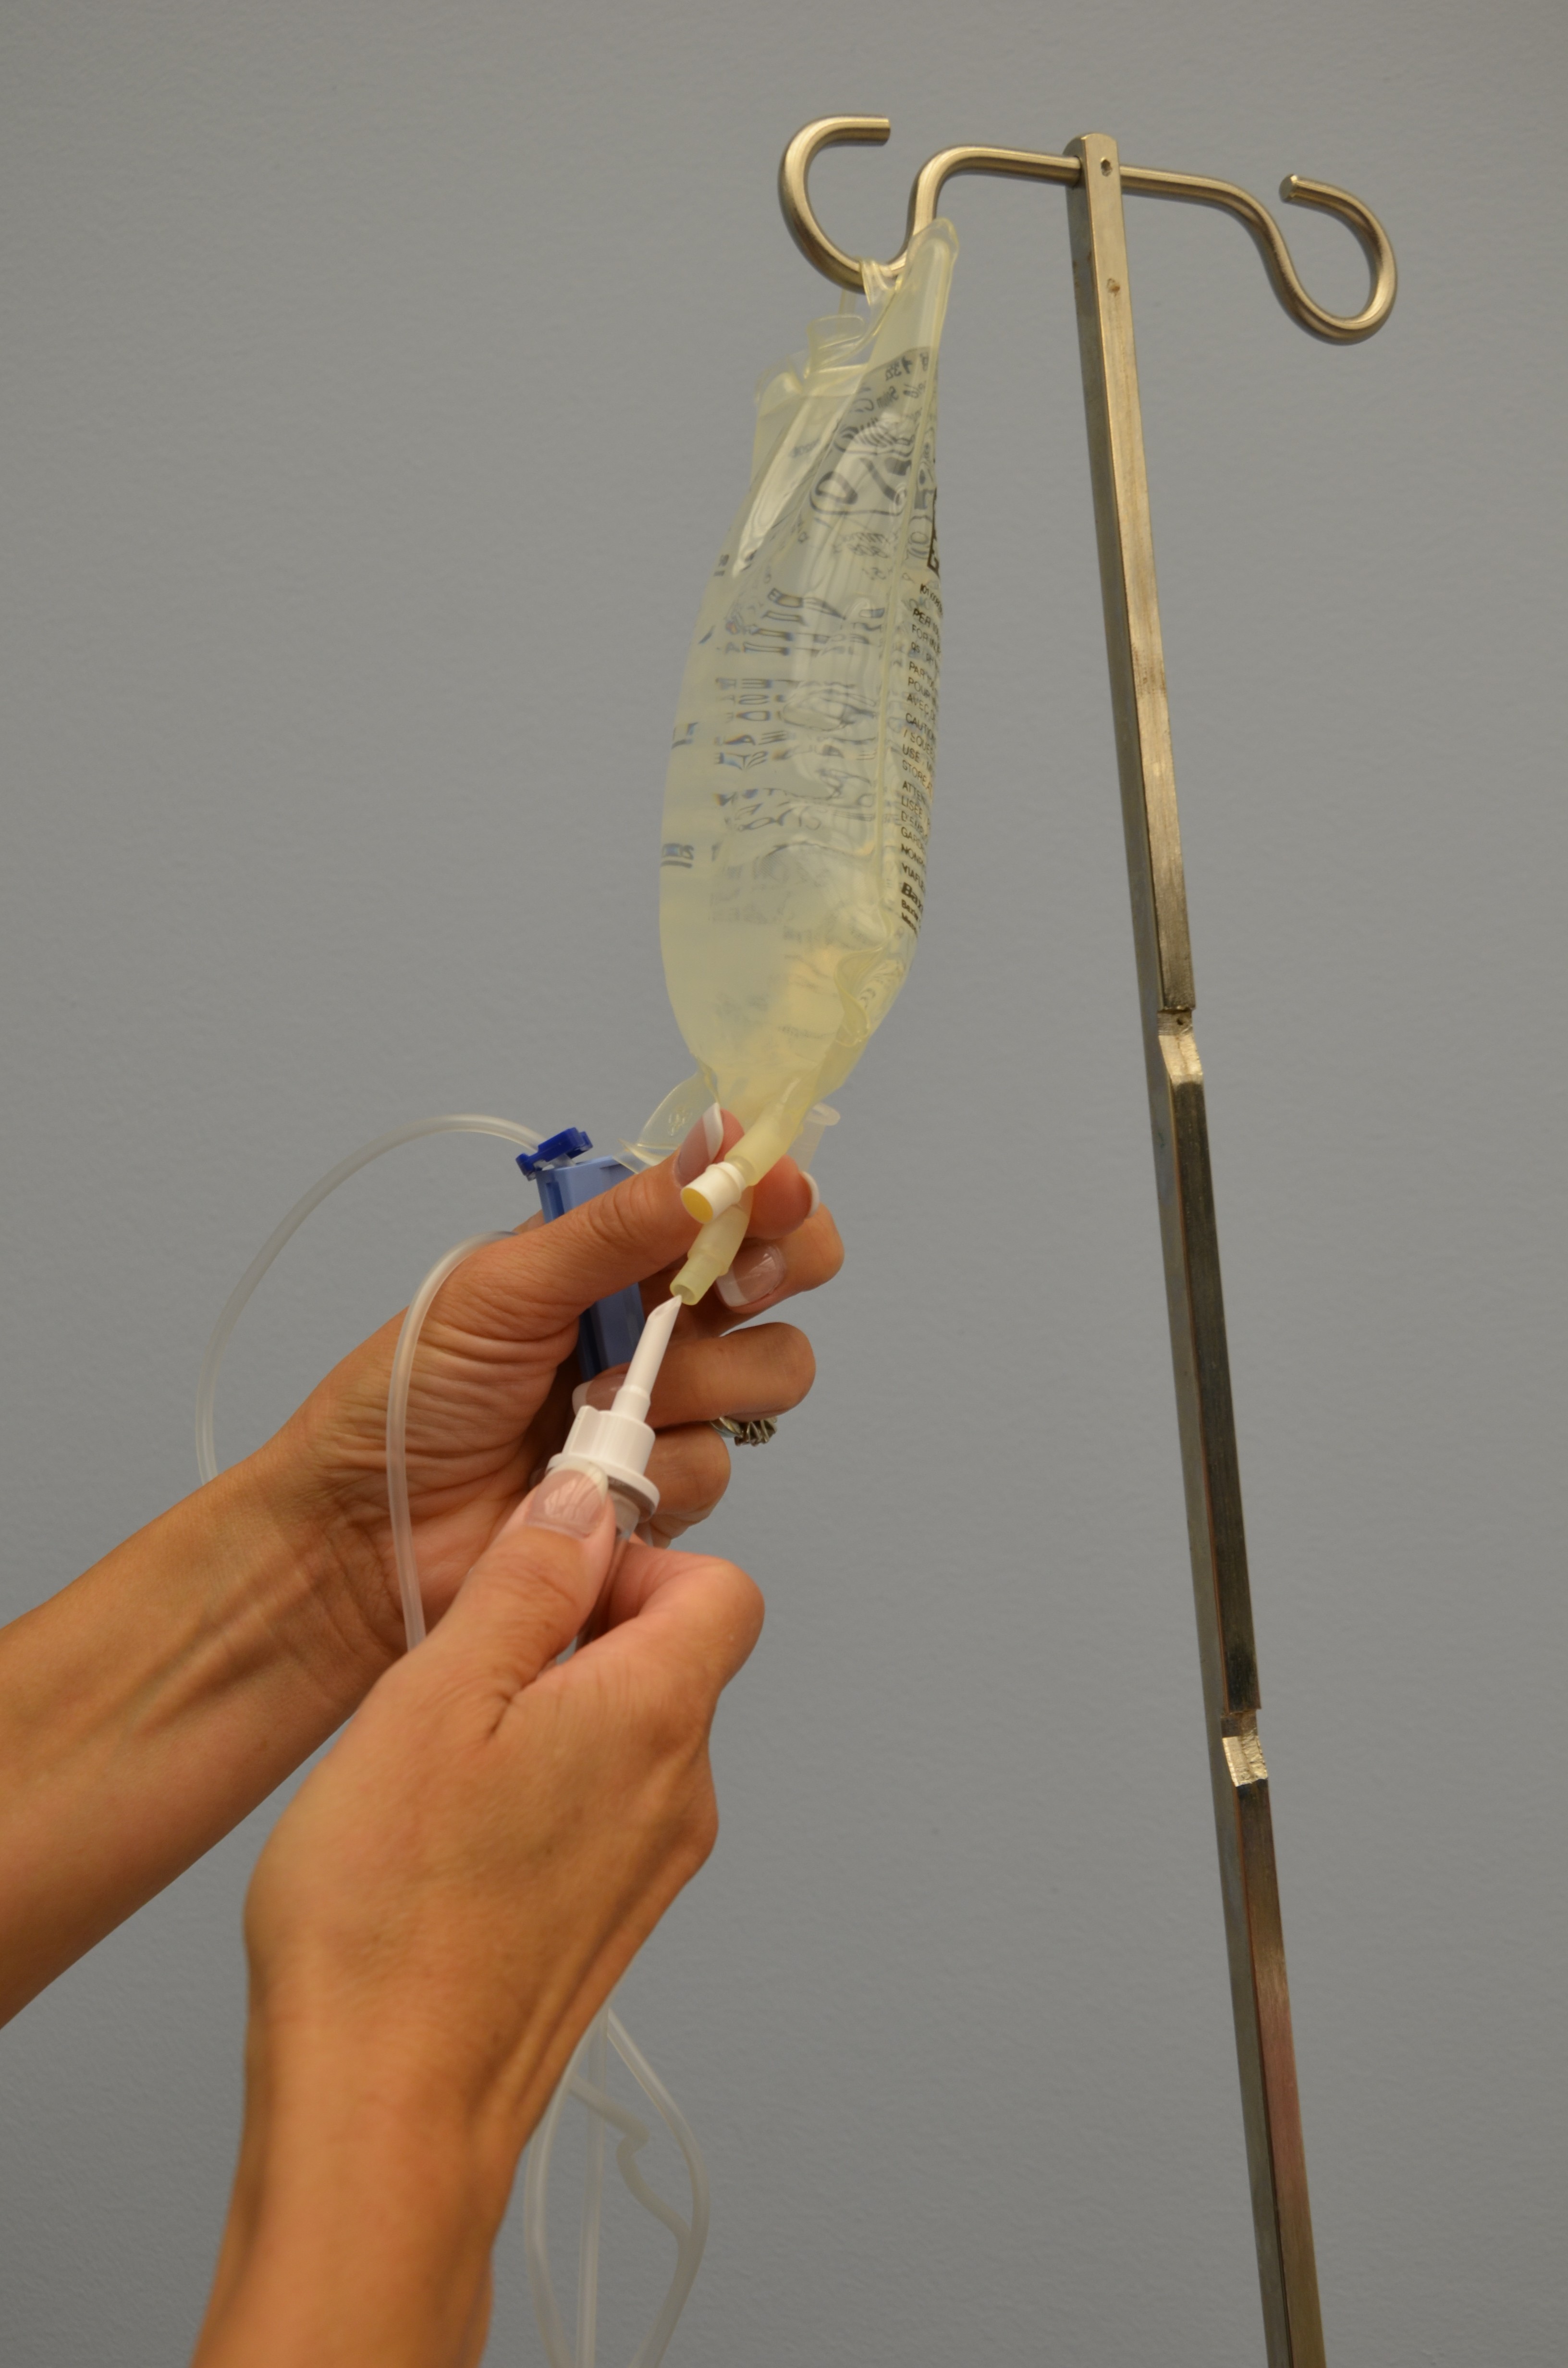 |
|||
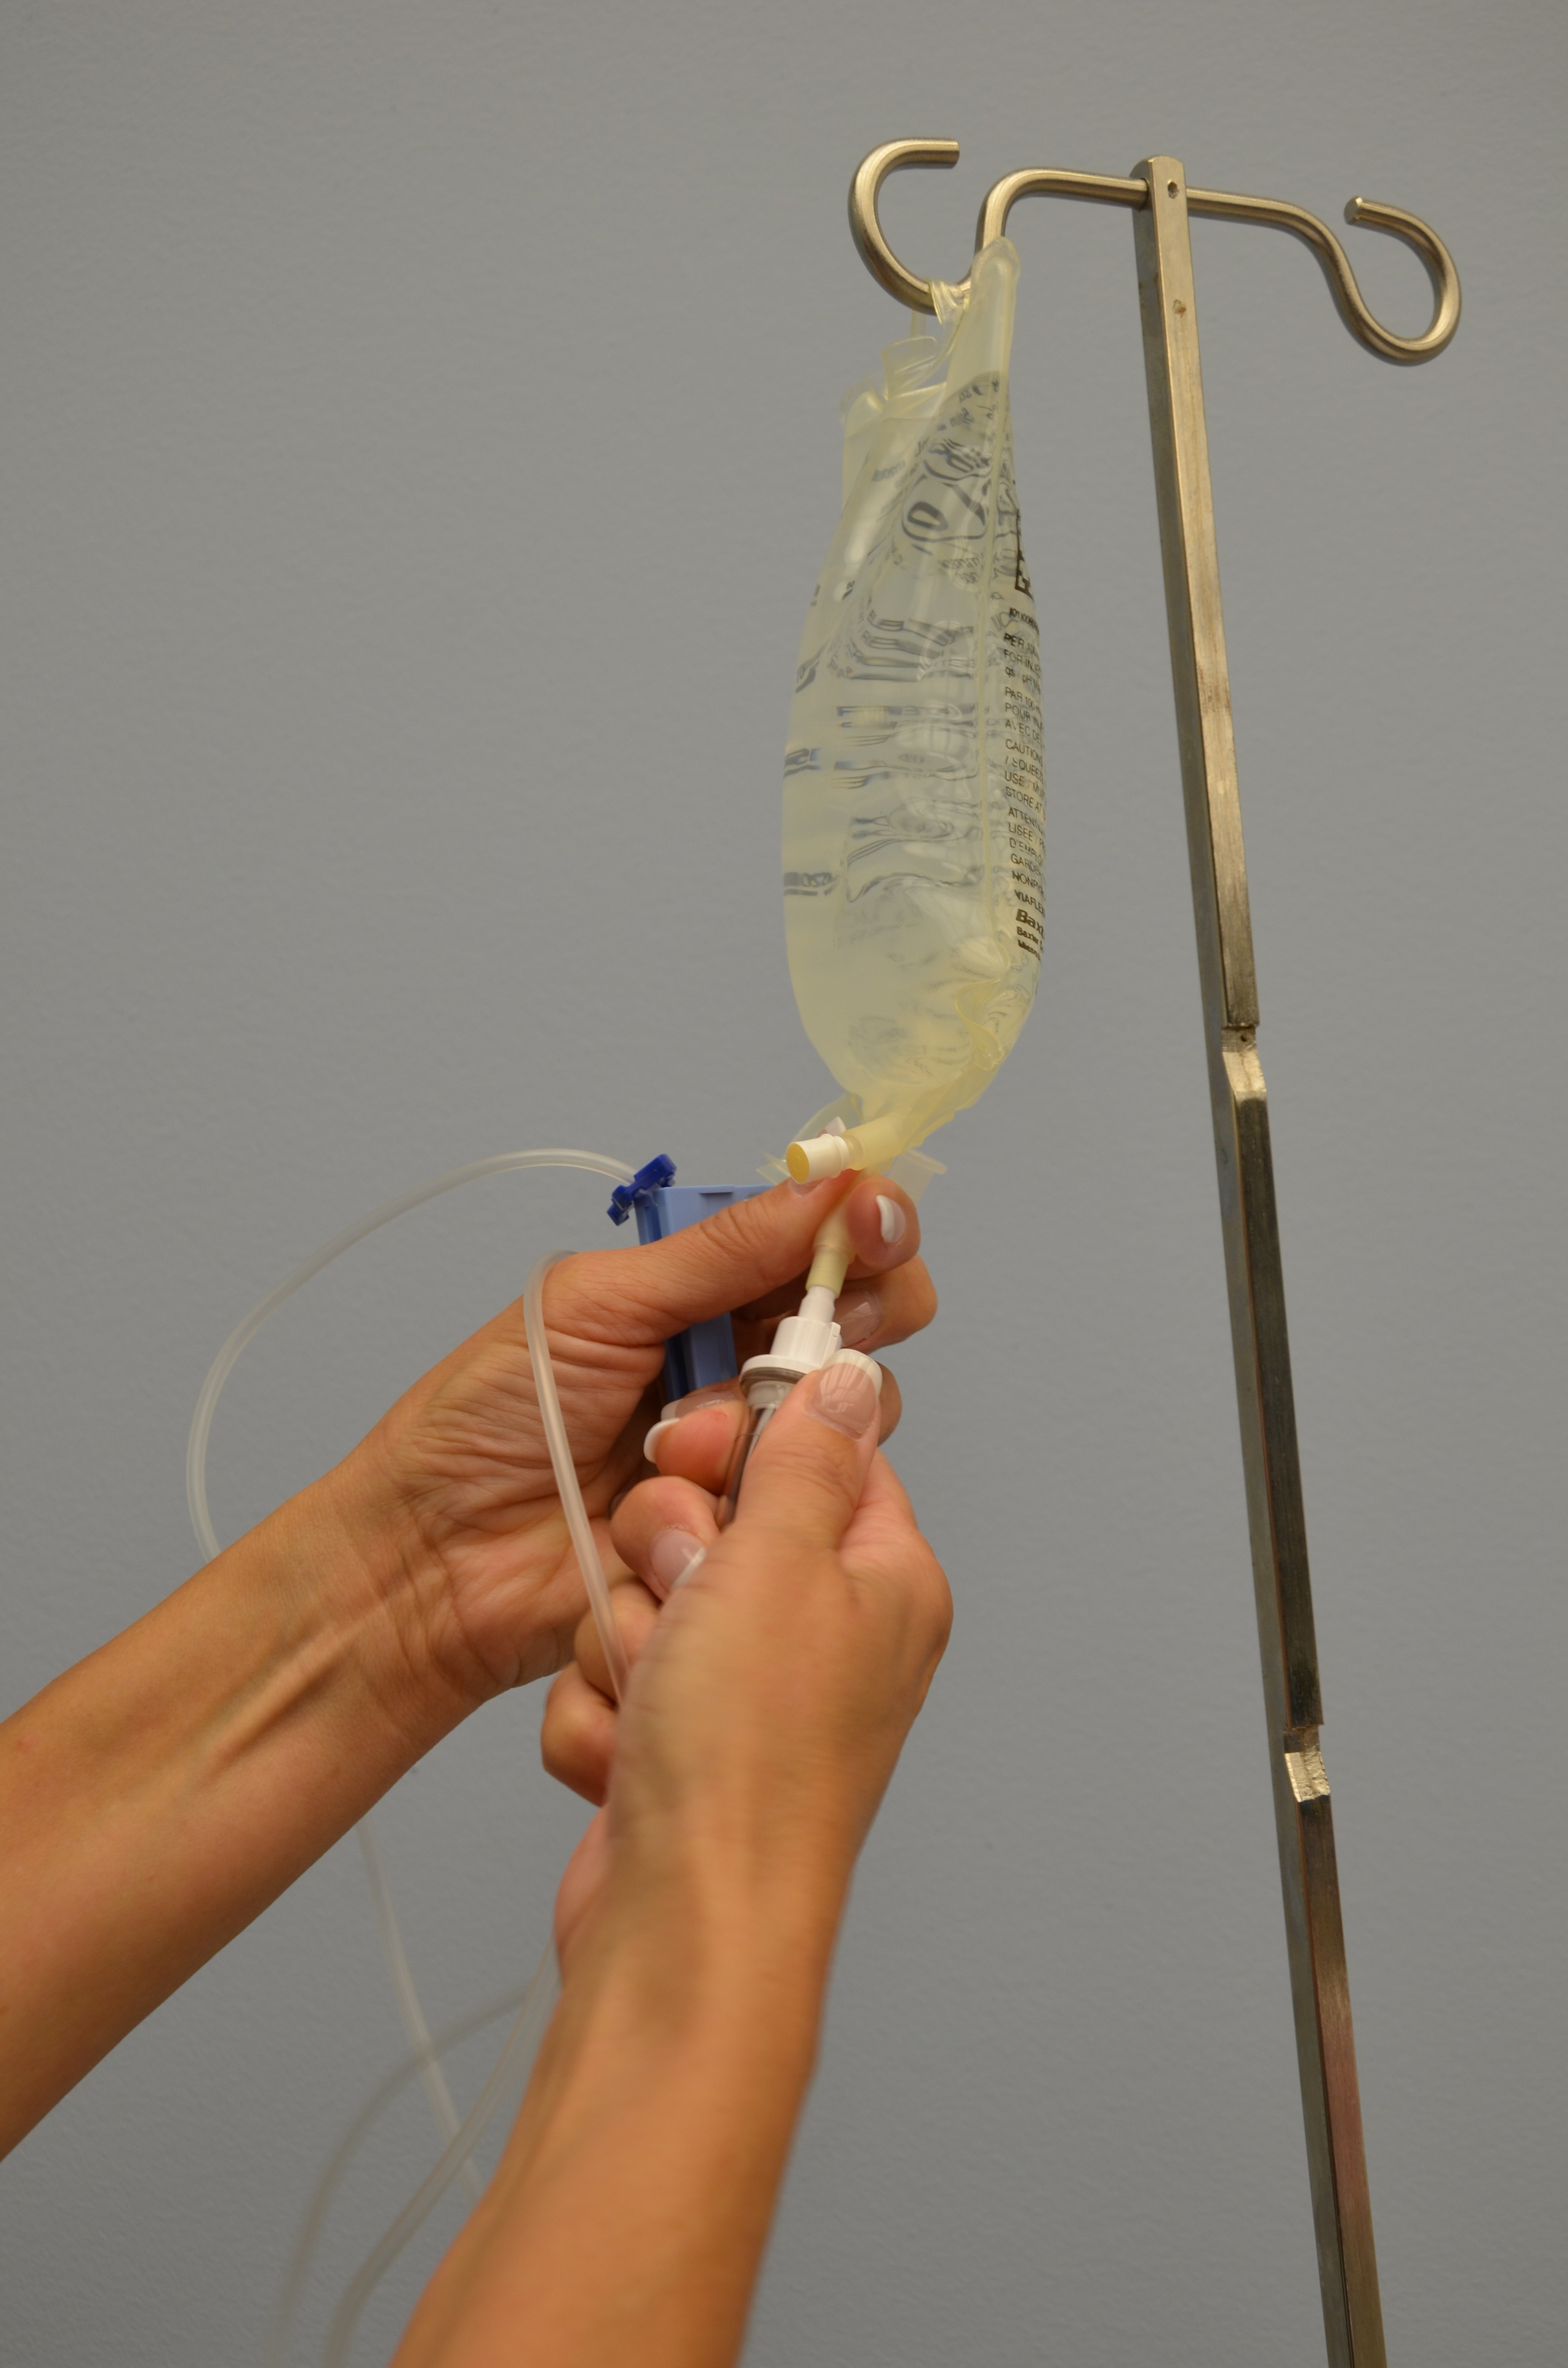
| 9. Hang bag on IV pole. | The IV bag should be approximately one metre above the IV insertion site. | |||
| 10. Fill the drip chamber one-third to one-half full by gently squeezing the chamber. Remove protective cover on the end of the tubing and keep sterile. | Filling the drip chamber prevents air from entering the IV tubing.
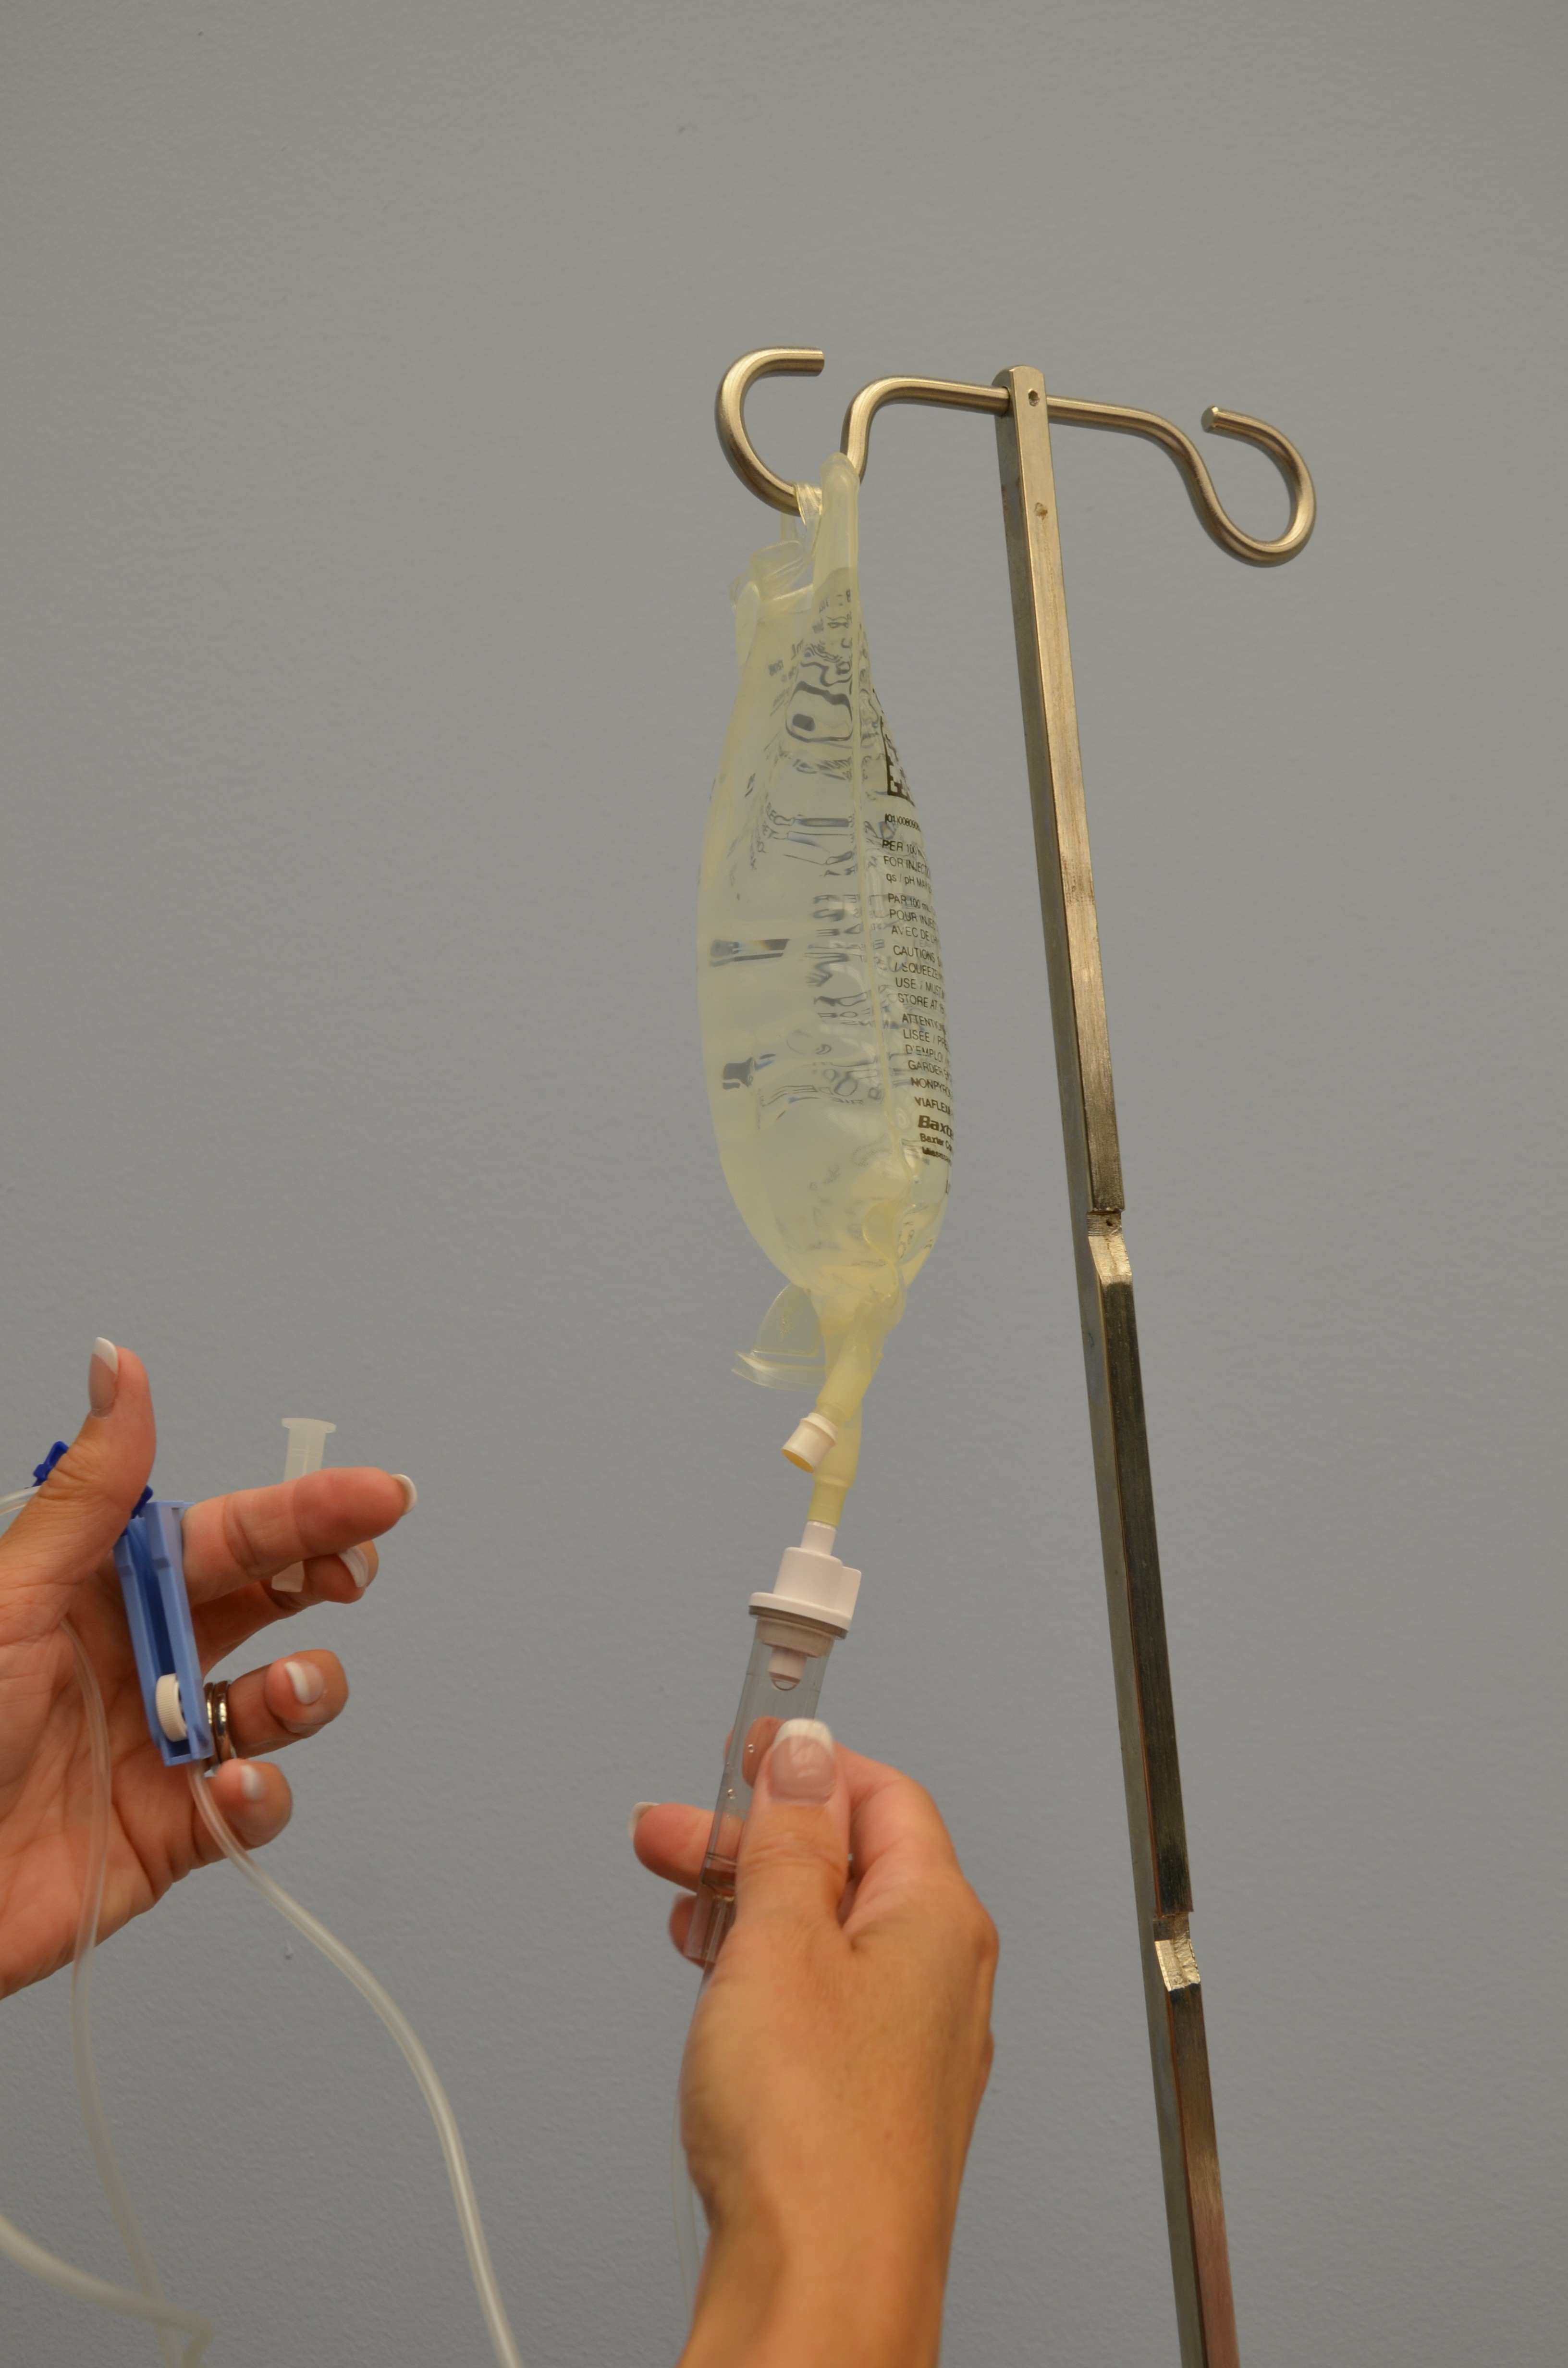 |
|||
| 11. With distal end of tubing over a basin or sink, slowly open roller clamp to prime the IV tubing. Invert backcheck valve and ports as the fluid passes through the tubing. Tap gently to remove air and to fill with fluid. | Inverting and tapping the access ports and backcheck valve helps displace and remove air when priming the IV tubing.
 |
|||
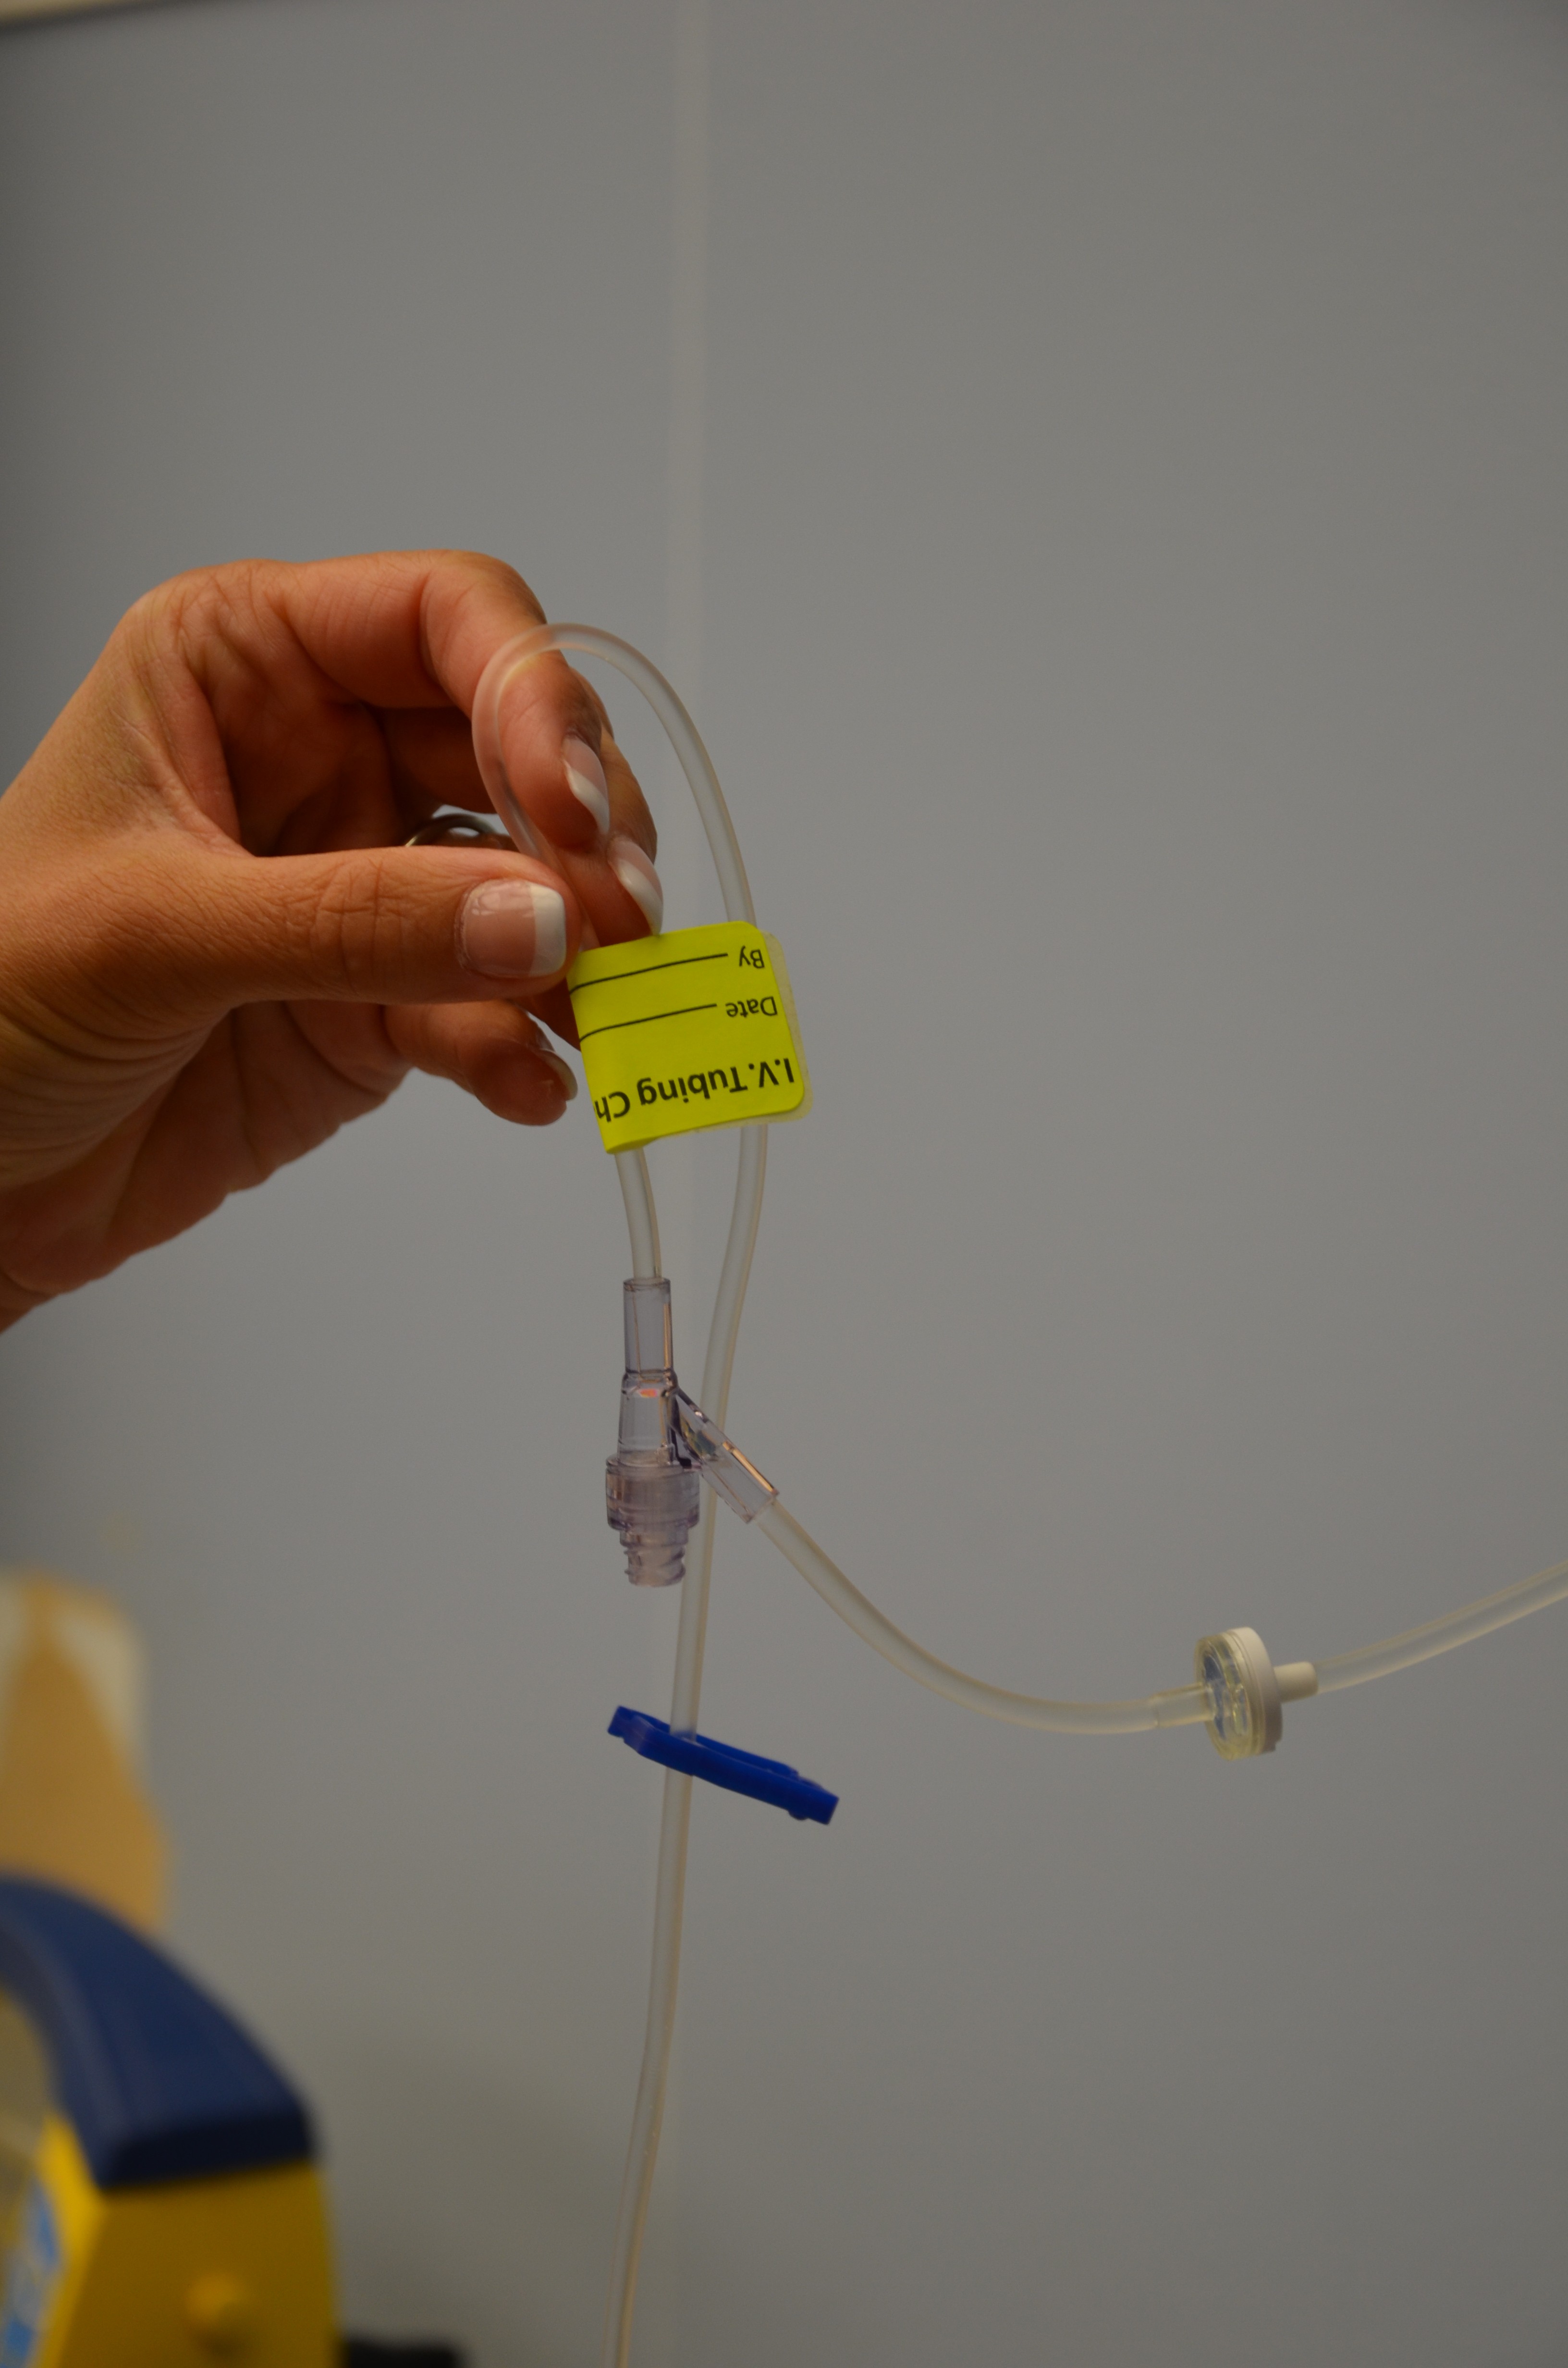
| 12. Once IV tubing is primed, check the entire length of tubing to ensure no air bubbles are present. | This step confirms that air is out of the IV tubing. | |||
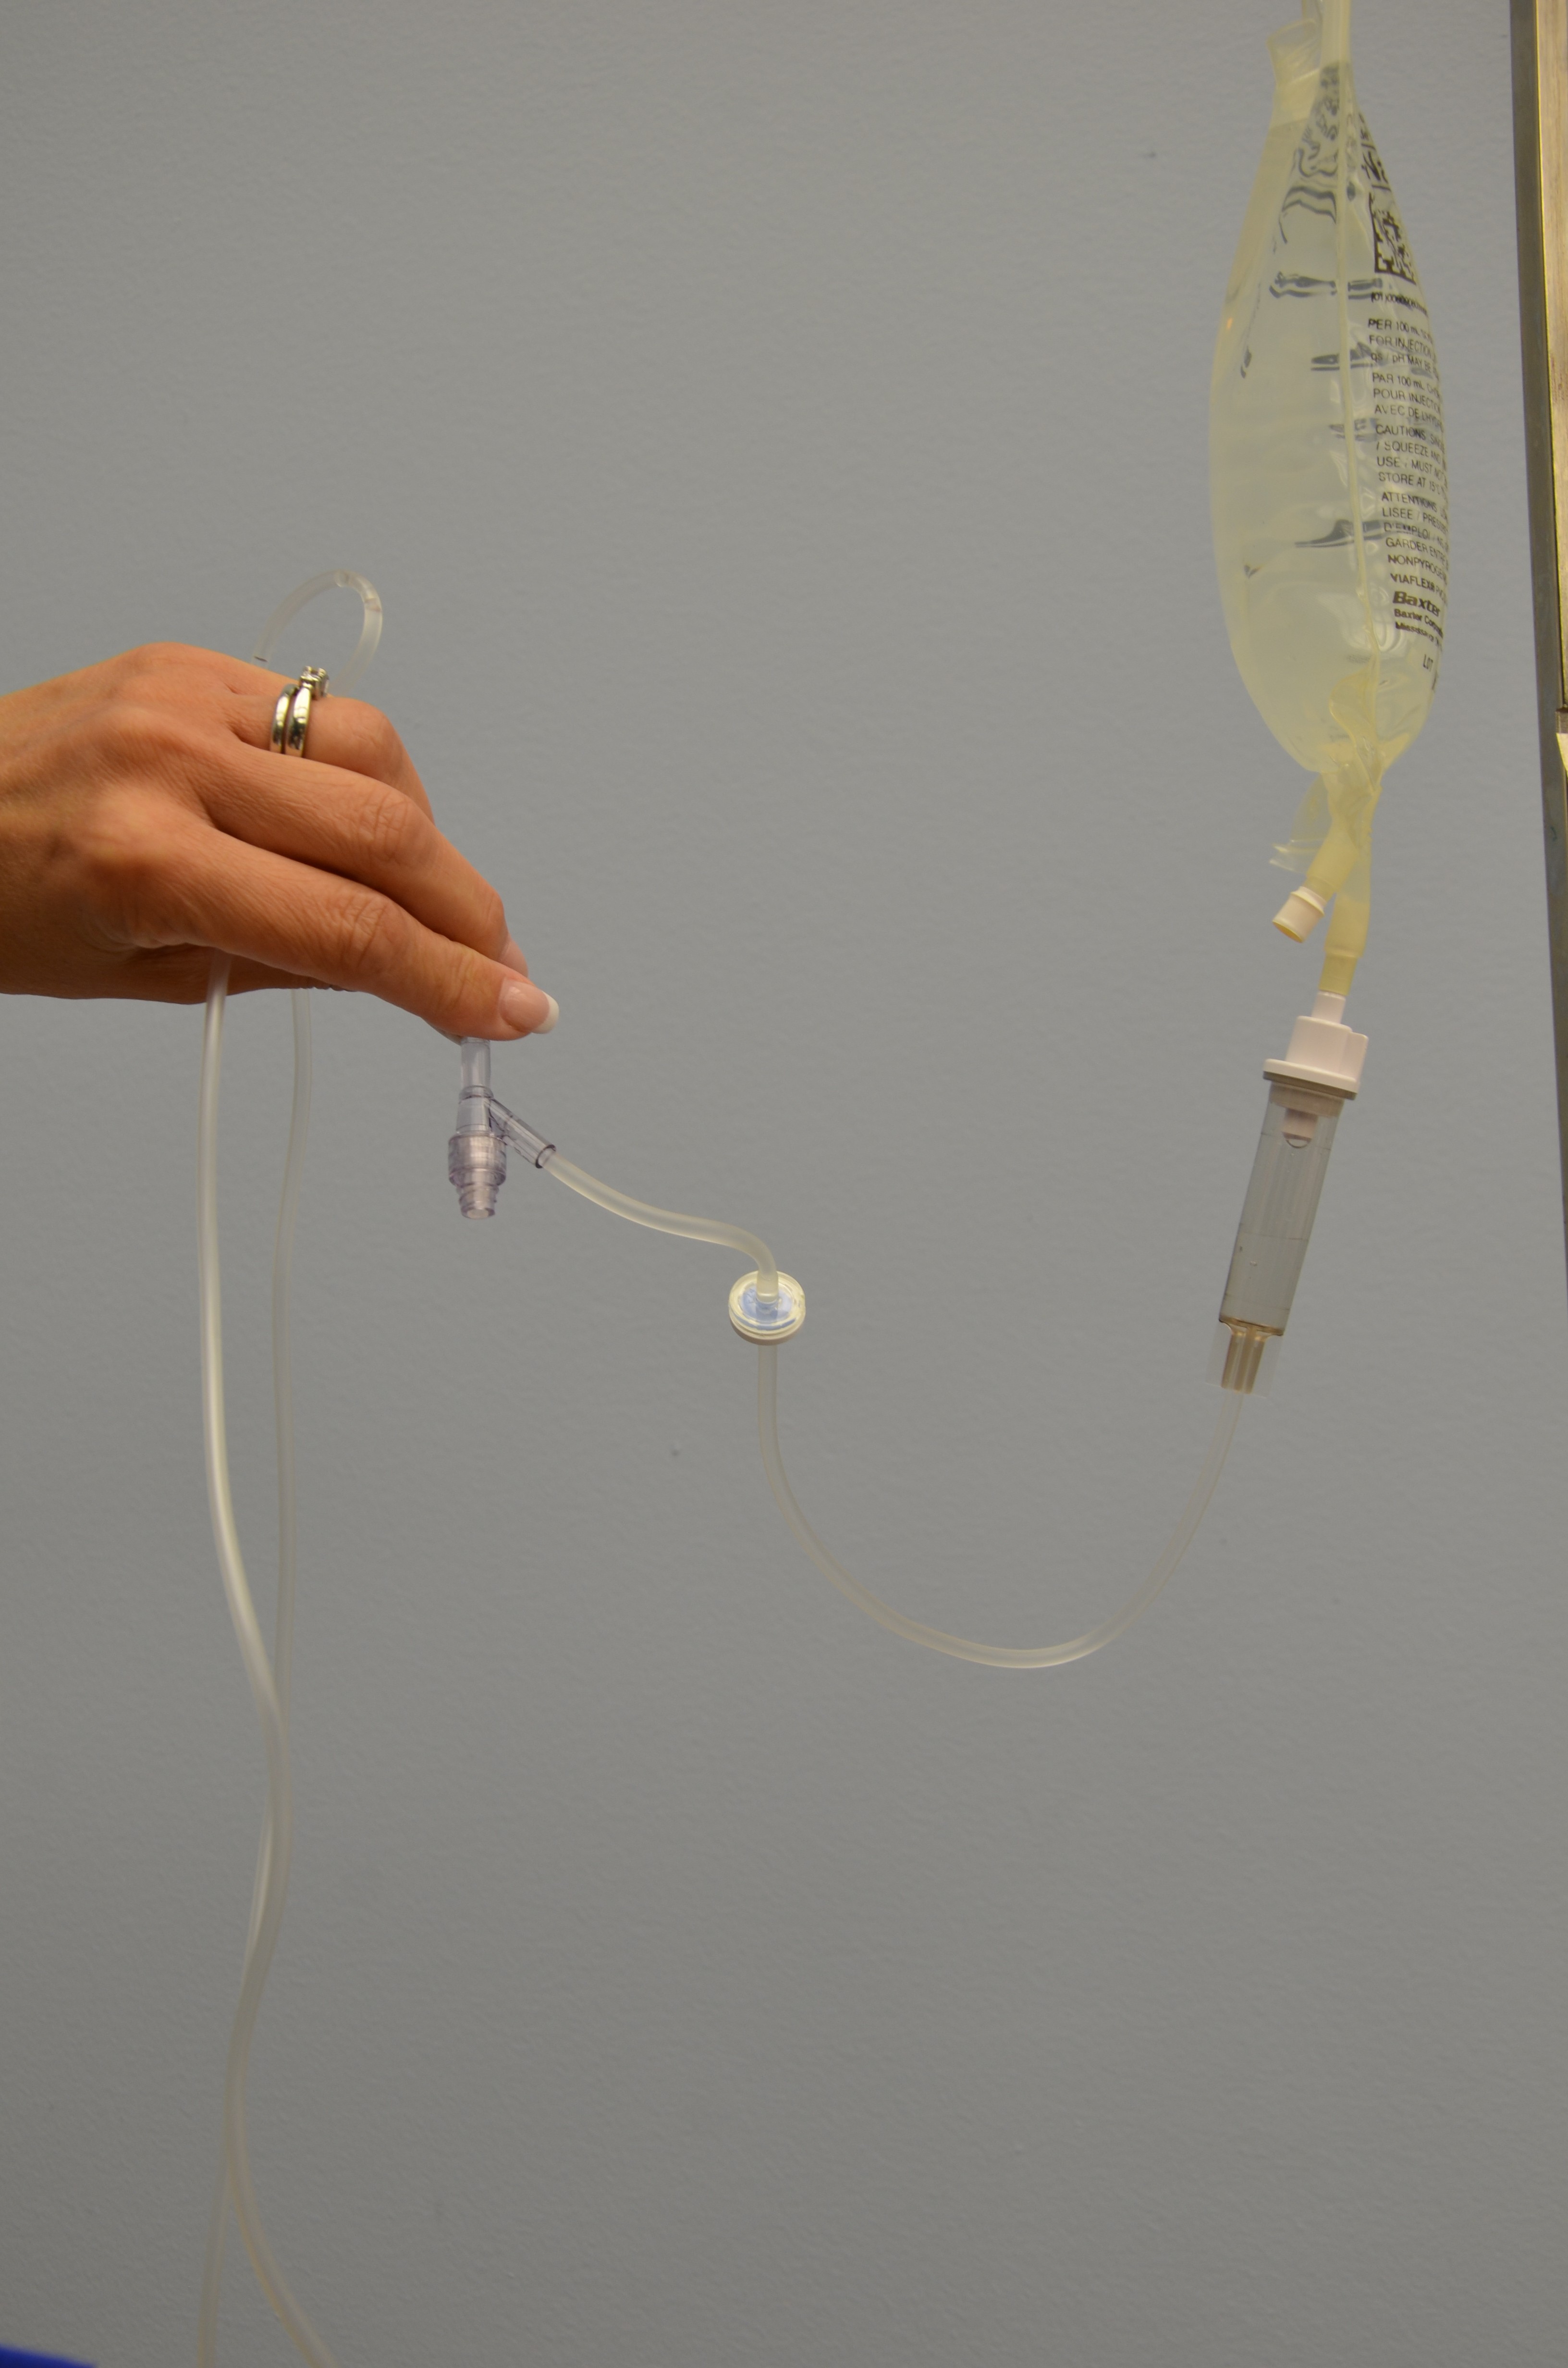
| 13. Close roller clamp. Cover end with sterile dead-ender or sterile protective cover. Hang tubing on IV pole to prevent from touching the ground. | Keep the distal end sterile prior to connecting IV to patient. | |||
| 14. Label tubing and IV bag with date, time, and initials. | Label IV solution bag as per agency policy. Do not write directly on the IV bag.
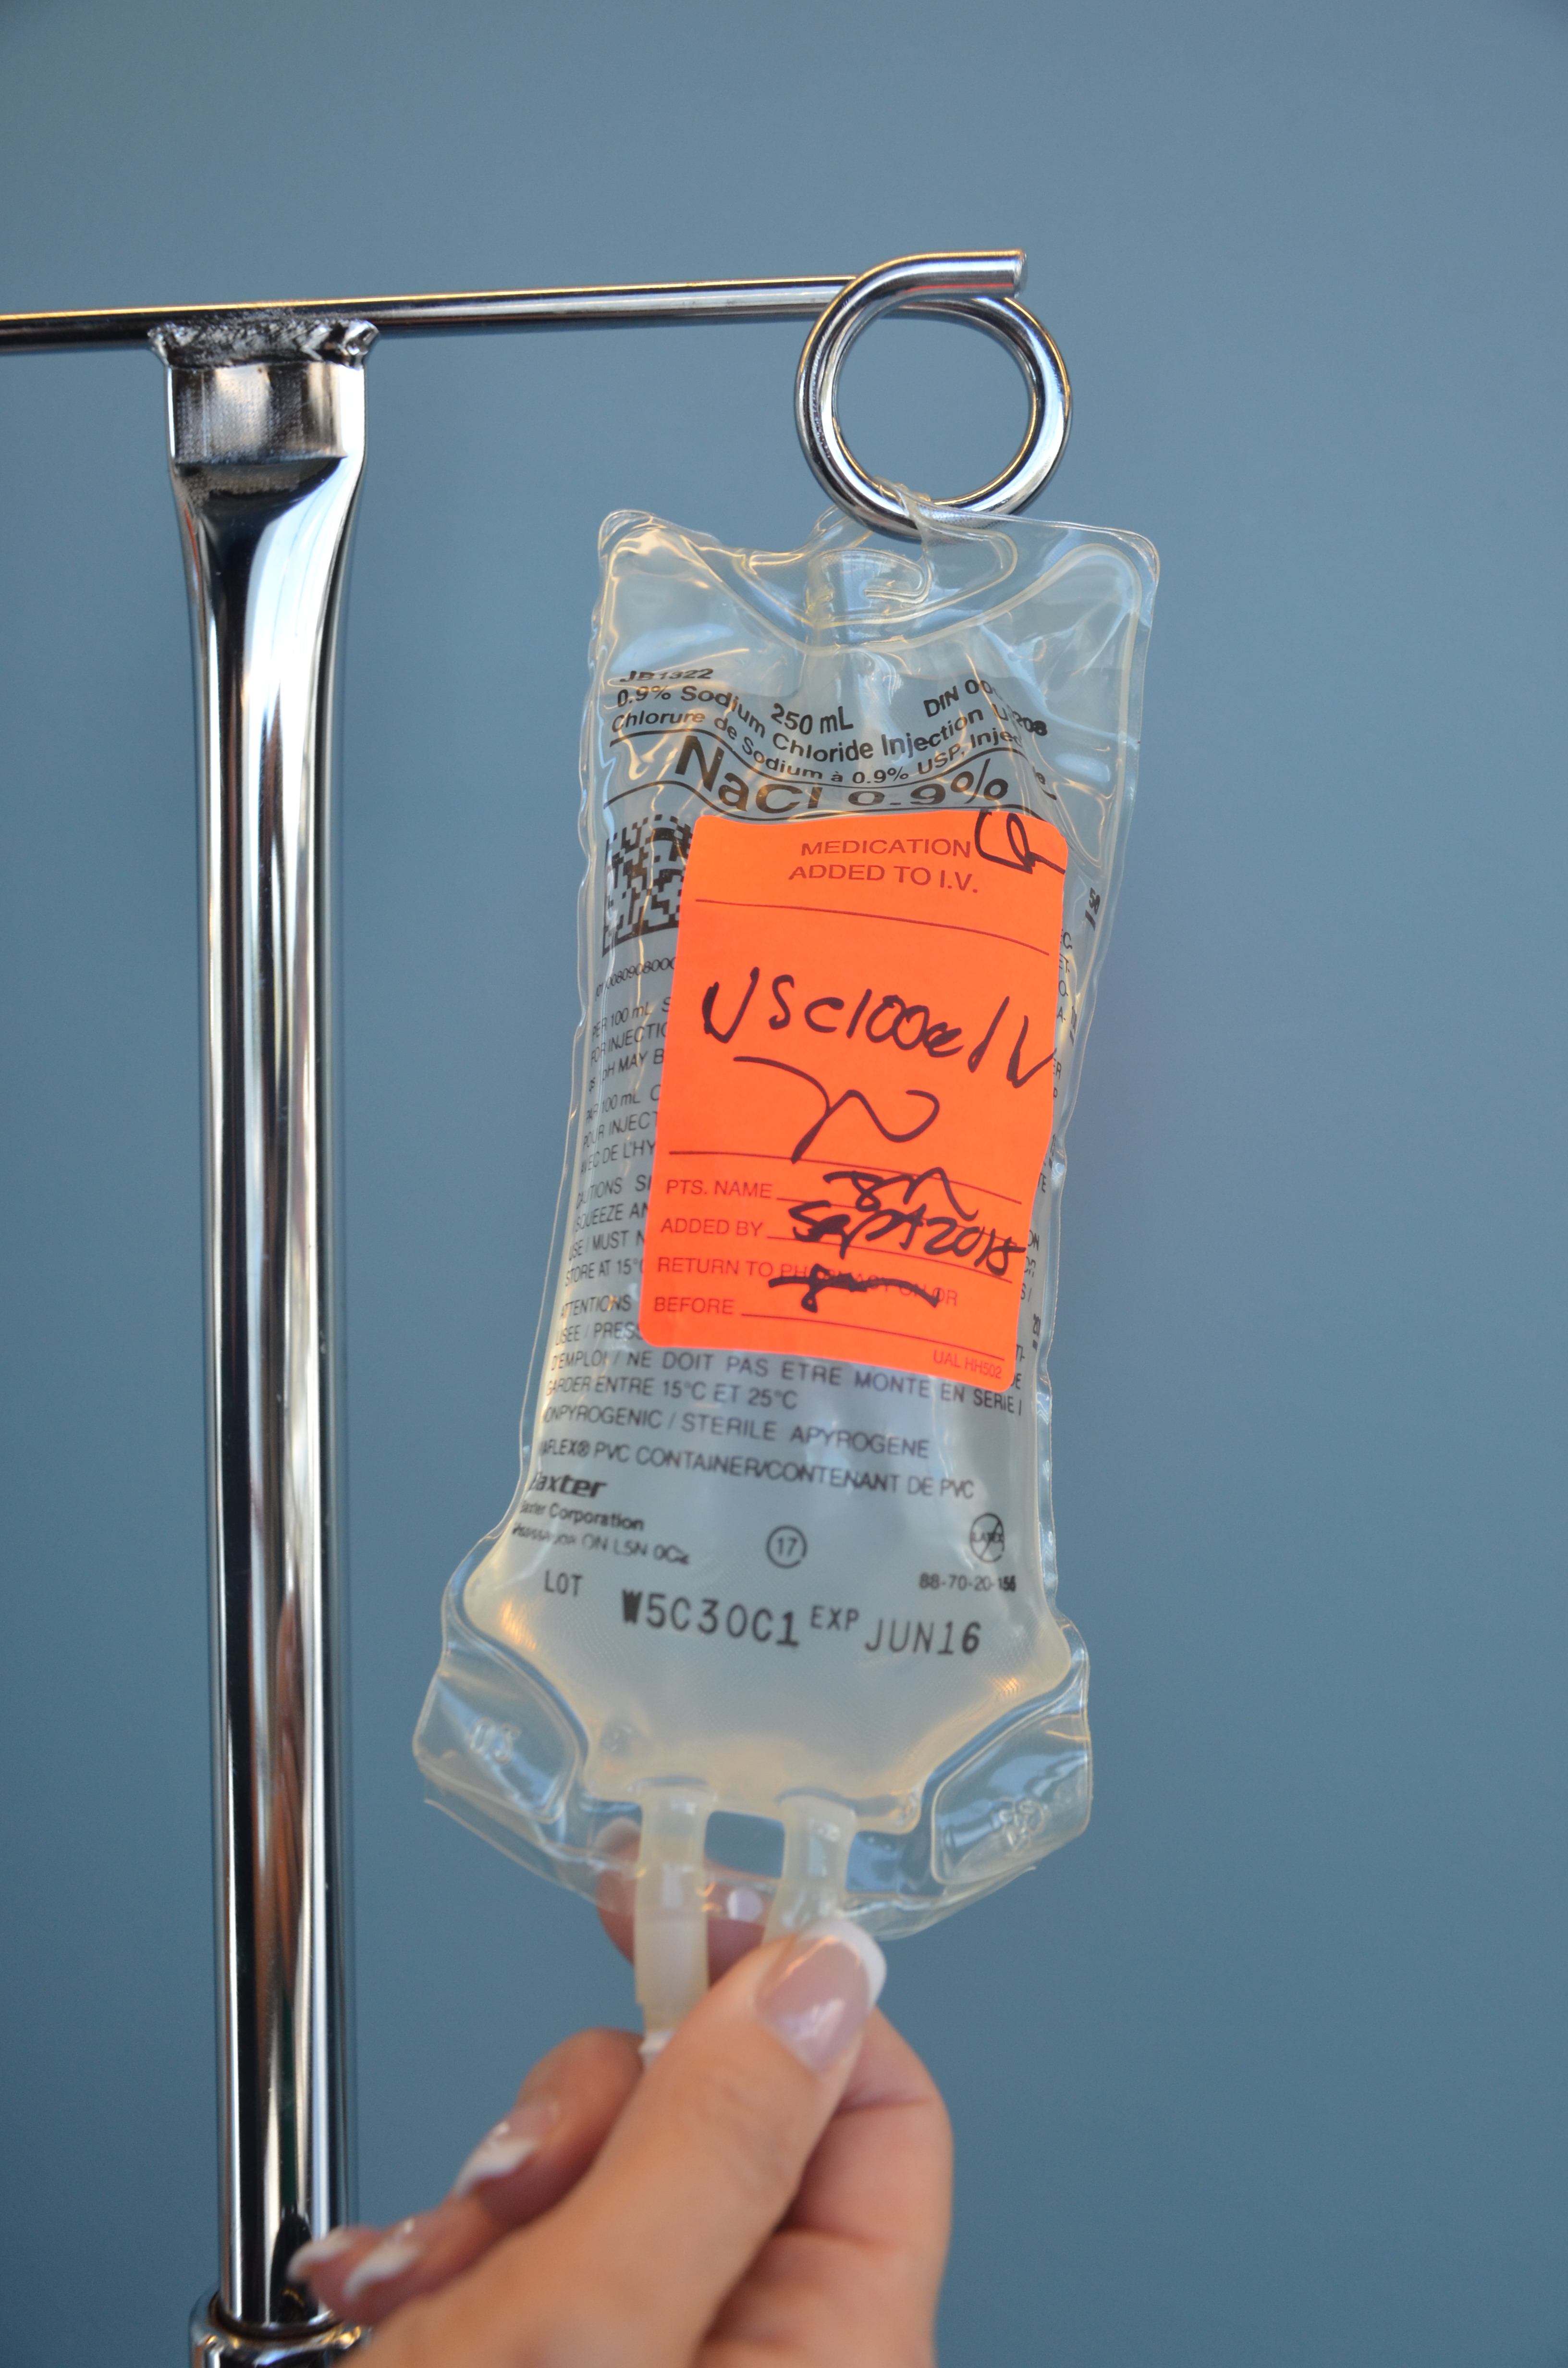 |
|||
| 15. Perform hand hygiene. | This reduces the transmission of microorganisms.
 |
|||
| Data source: Fulcher & Frazier, 2007; Perry et al., 2014. | ||||
Video 8.1
IV solutions are considered sterile for 24 hours. An IV solution may be changed if the physician’s order changes, if an IV solution infusing at TKVO is expired after 24 hours, or if the IV solution becomes contaminated. To change an IV solution bag, follow Checklist 67.

Video 8.2
Checklist 68 describes how to change the IV tubing administration set and IV solution at the same time.
Disclaimer: Always review and follow your hospital policy regarding this specific skill. |
||||
Steps |
Additional Information |
|||
| 1. Verify physician orders for the type of solution, rate, and duration. Collect necessary supplies. | This step verifies the patient’s need for IV fluids/medications. It also confirms the correct rate and solution for patient safety. | |||
| 2. Perform hand hygiene. | Hand hygiene prevents the transmission of microorganisms. | |||
| 3. Identify yourself, identify the patient using two identifiers, and explain the procedure to the patient. | Proper identification of patient prevents errors.
 |
|||
| 4. Prime new administration set using a new IV solution bag and new IV tubing. | IV solutions are considered a medication. Prime as per Checklist 66. Keep distal protective cap attached to IV tubing to ensure sterility of distal end. Label IV solution and IV tubing as per agency policy.
 |
|||
| 5. Hang new administration set (primed primary line and IV solution) on IV pole. | This prepares the equipment and adheres to the principles of aseptic technique. | |||
| 6. Clamp old IV administration set. Remove IV tubing if on an EID. | Stop the flow of infusion during tubing and solution change. | |||
| 7. Clean the connection between the distal end of old IV tubing and the positive pressure cap. Scrub the area for 15 seconds and let it dry for 30 seconds. | Proper disinfection of equipment decreases bacterial load and prevents infections.
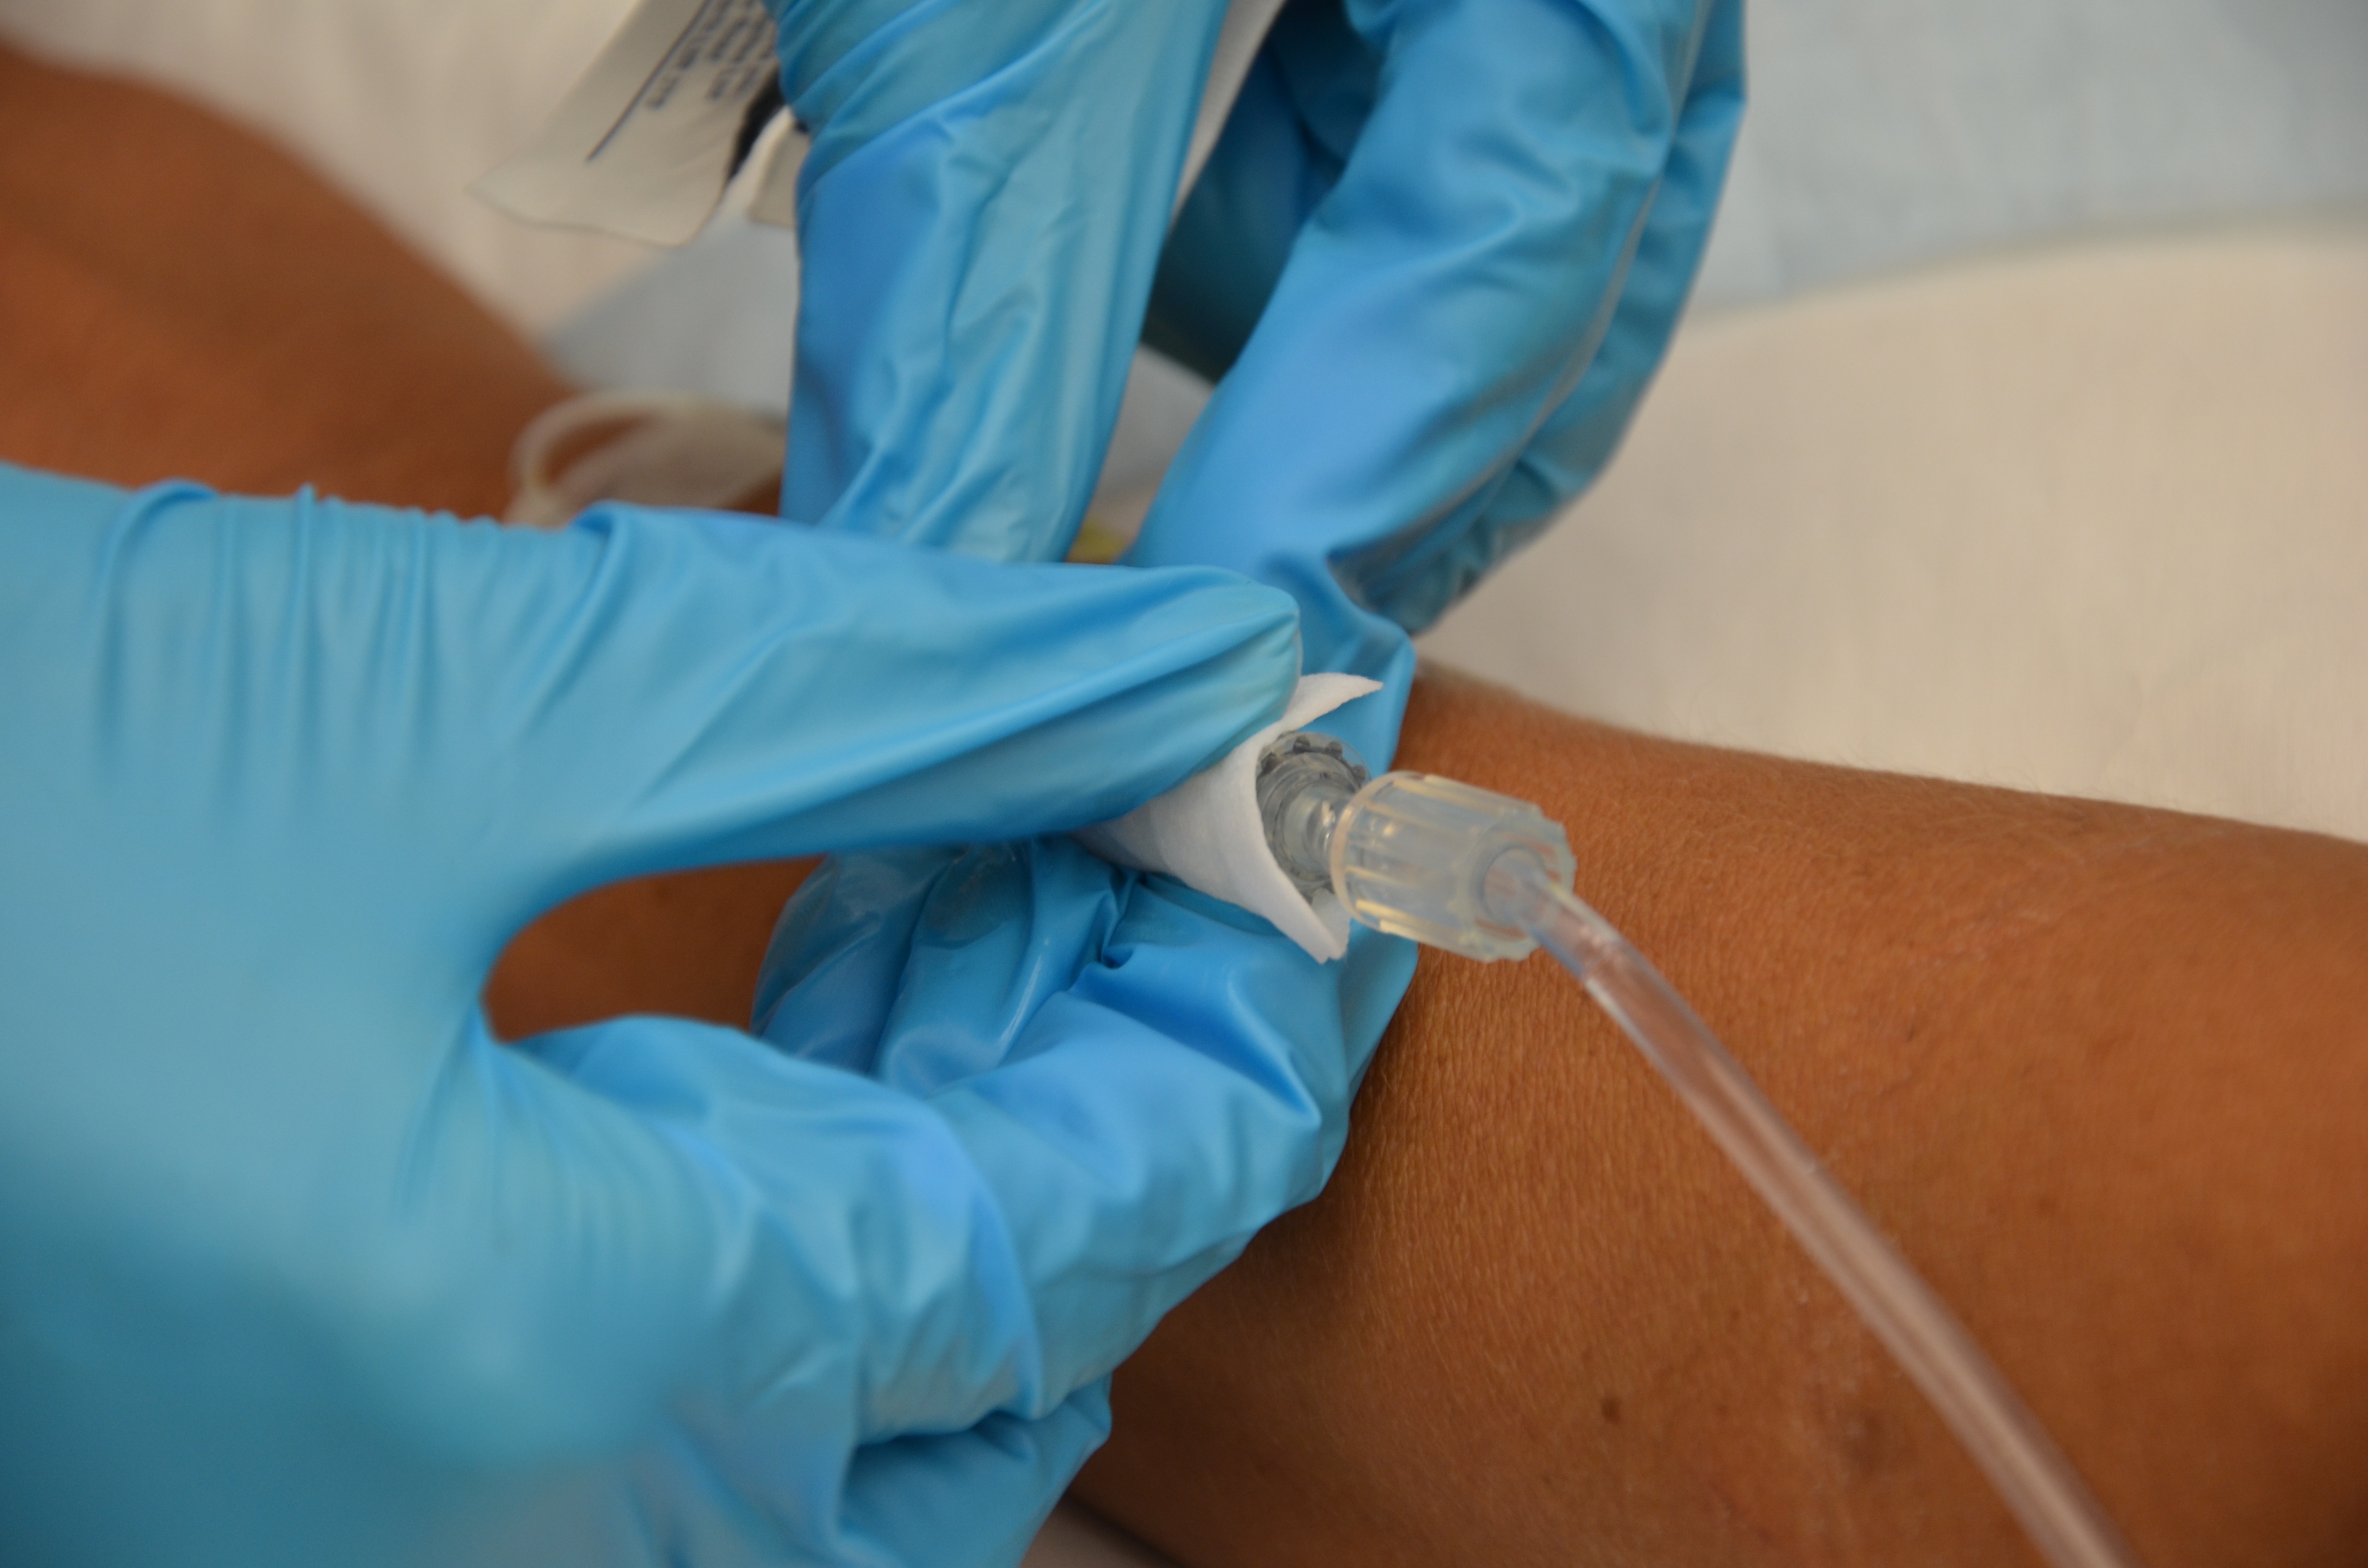 |
|||
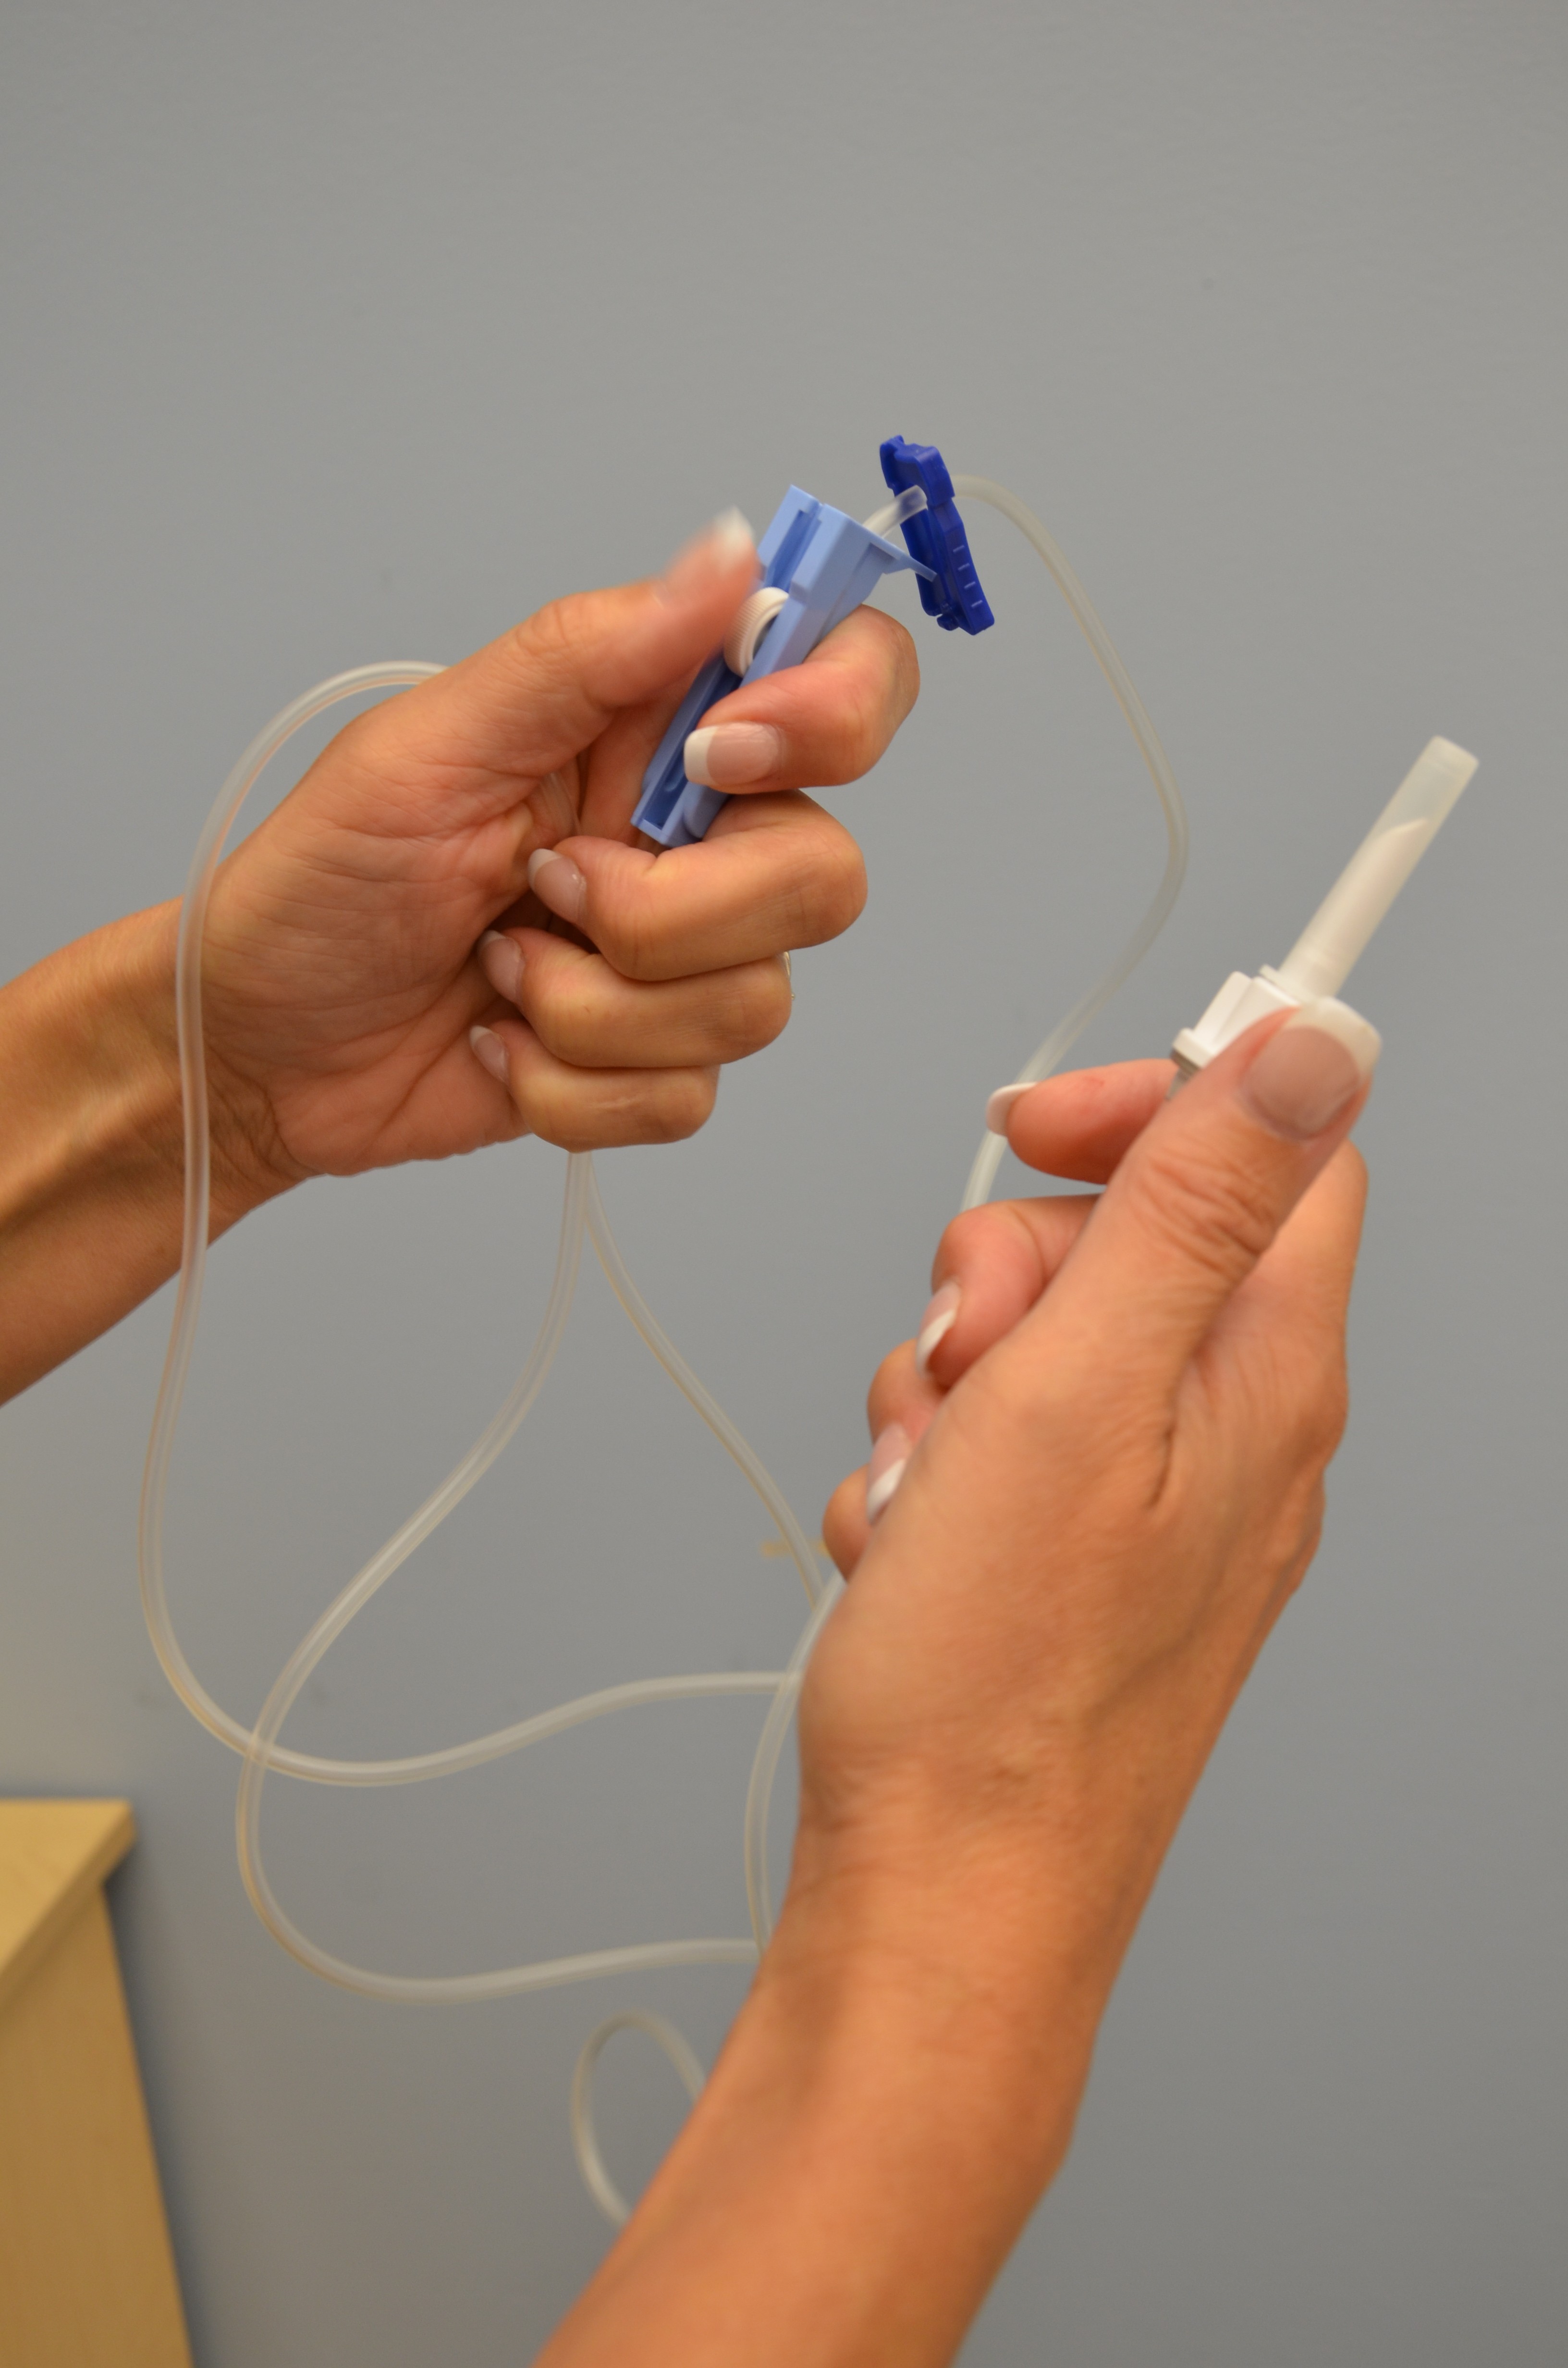
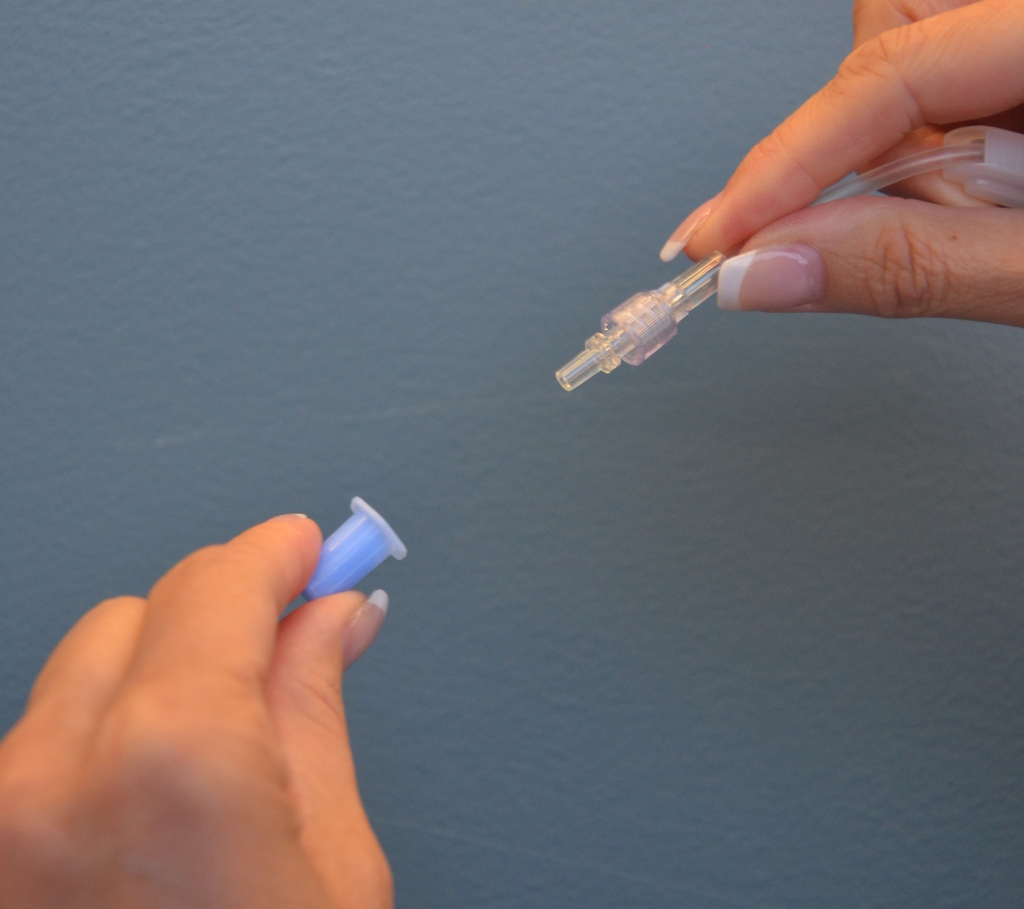
| 8. Remove the protective cap on the distal end of the new IV administration set. |
|
|||
| 9. Carefully disconnect the old tubing from the positive pressure cap and insert the new IV tubing into the positive pressure cap attached to the extension tubing. |
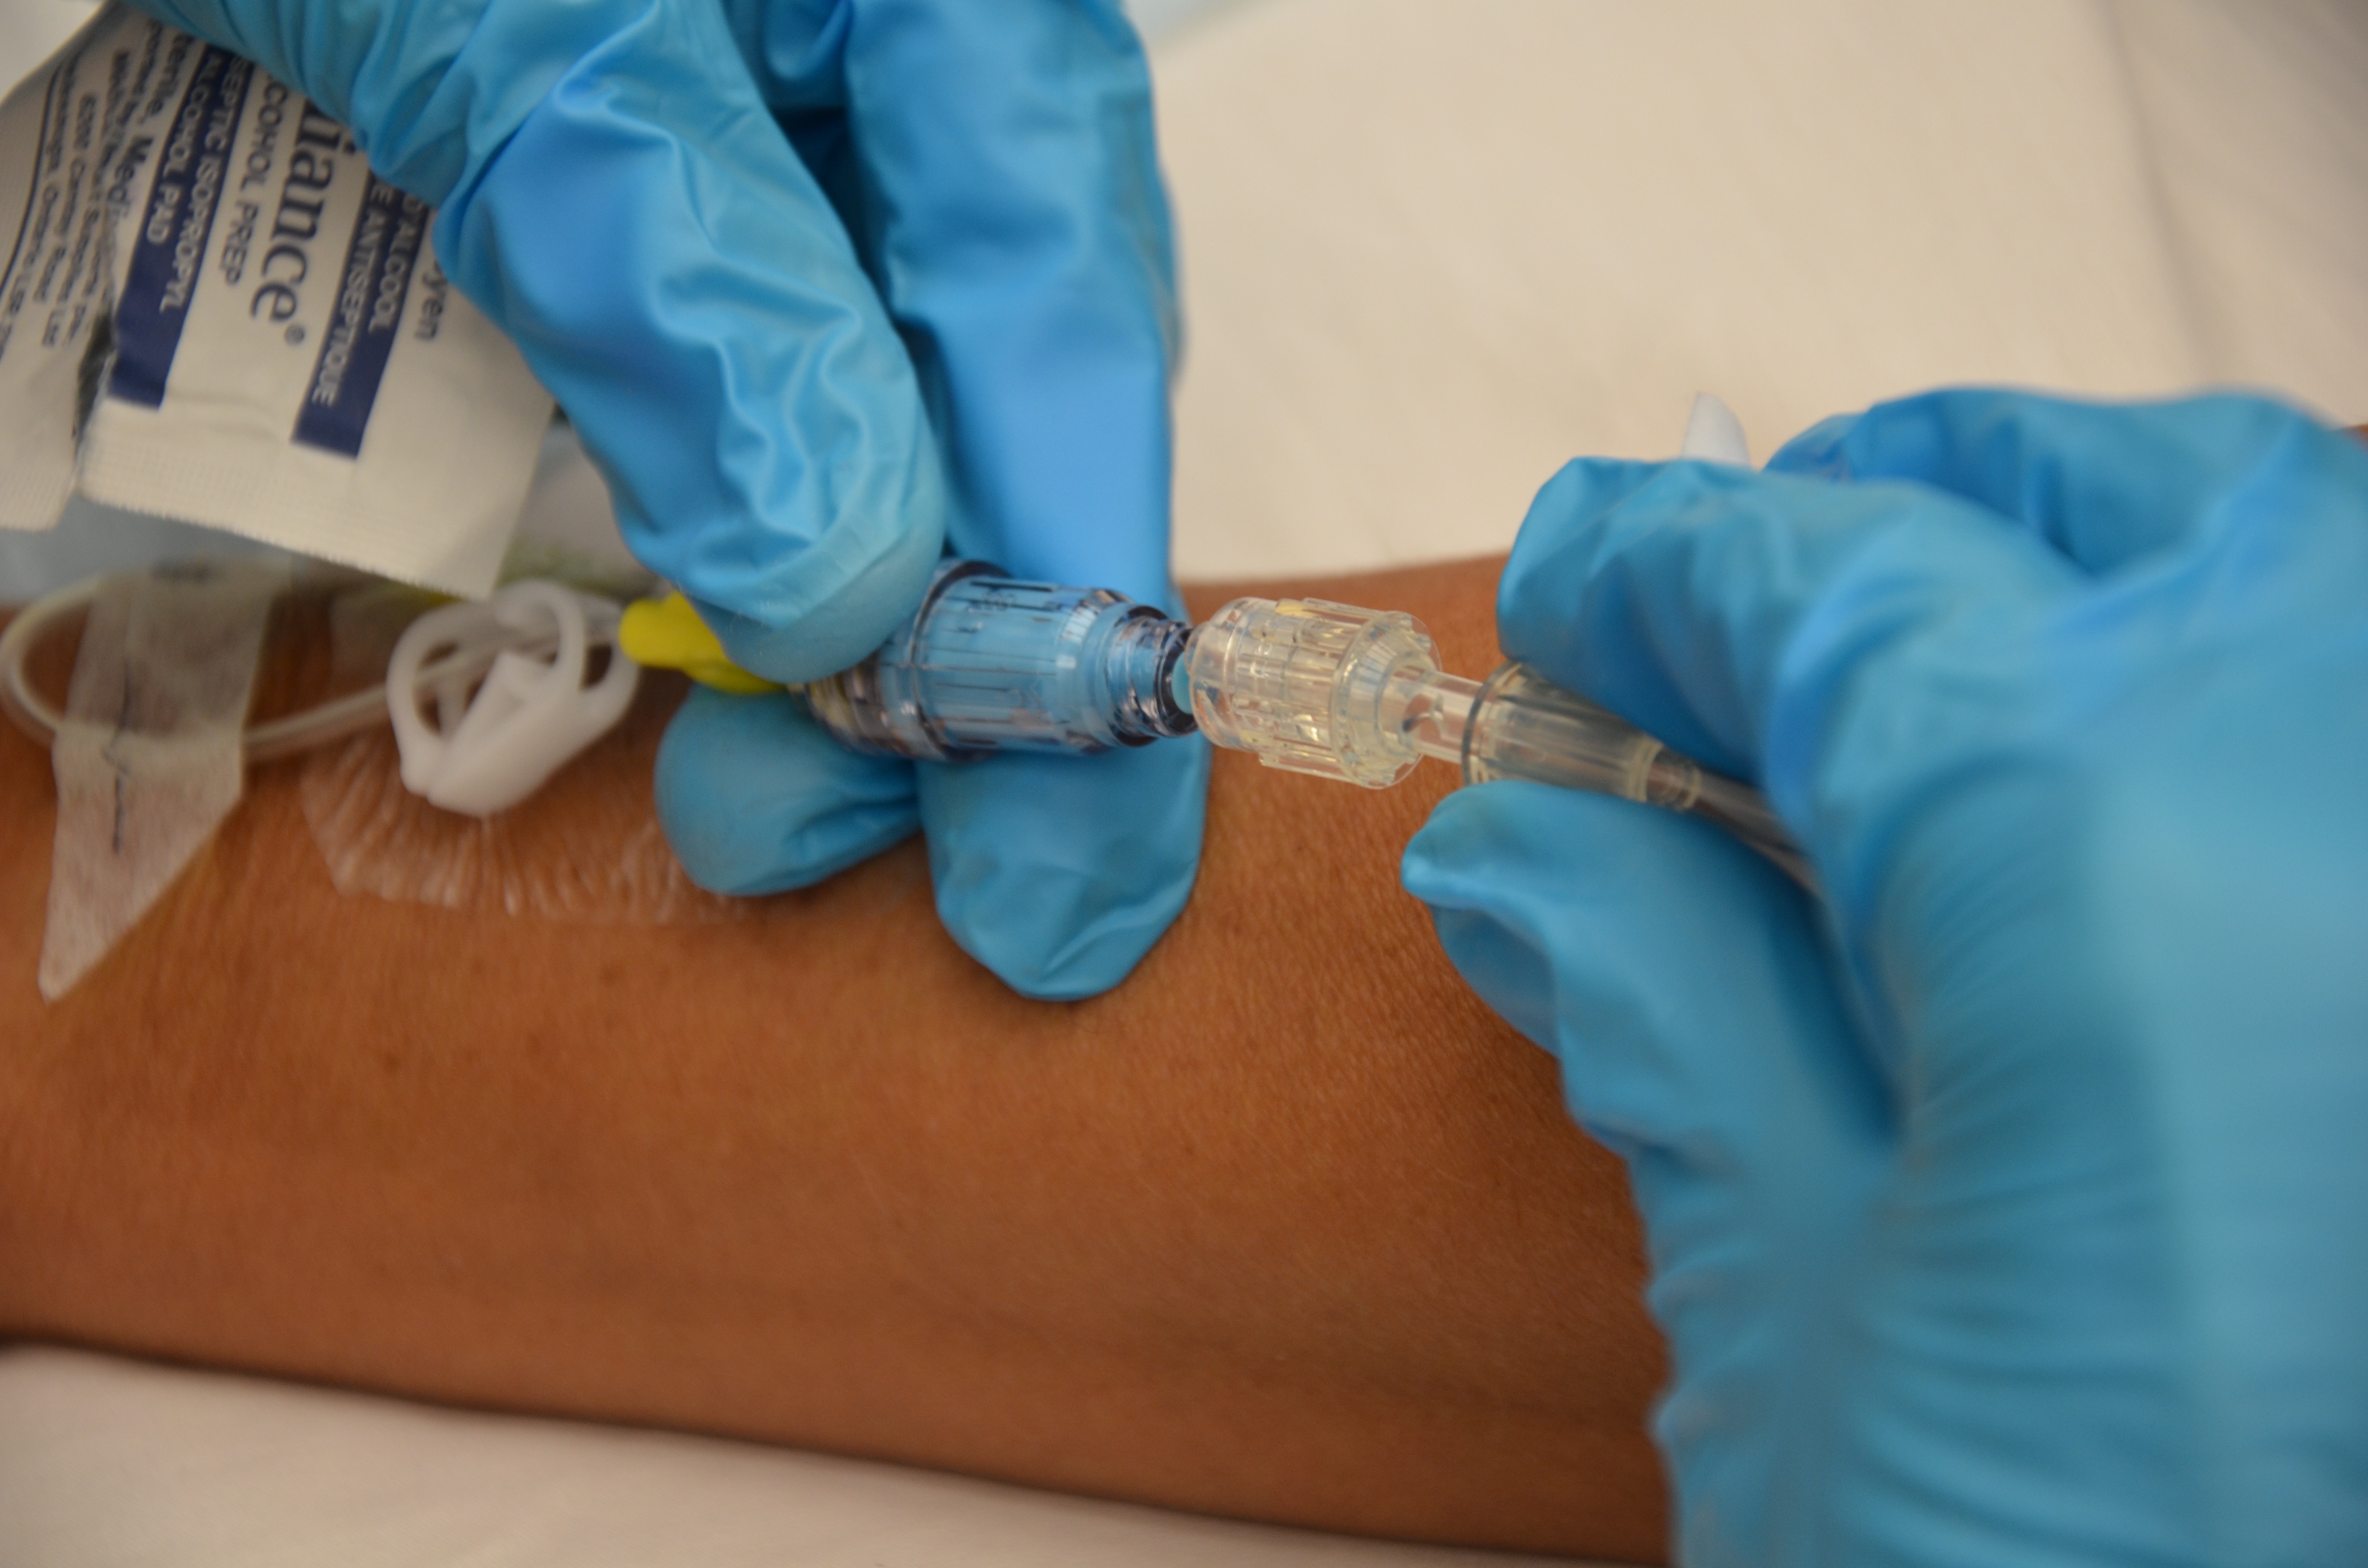 |
|||
| 10. Open the roller clamp on the new tubing to regulate flow rate, or insert new tubing into the EID and restart IV rate. | This step ensures the IV solution is infusing at the correct rate.
 |
|||
| 11. Check IV site for patency, and signs and symptoms of phlebitis. | IV site should be free from redness, swelling, and pain. Dressing on IV site should be dry and intact.
 |
|||
| 12. Discard old supplies and perform hand hygiene. | This step prevents the spread of microorganisms.
 |
|||
| 13. Document procedure as per agency policy. | Document the date and time of IV tubing and solution change. | |||
| Data source: BCIT, 2015b; Fulcher & Frazier, 2007; Perry et al., 2014 | ||||
Critical Thinking Exercises
- How long can IV solution be used?
- What is the purpose of removing air from IV tubing?
