Chapter 1. Infection Control
1.3 Hand Hygiene and Non-Sterile Gloves
Hand Hygiene
Hand hygiene is the most important part of practice for health care workers and is the single most effective way to stop the spread of infections; failure to properly perform hand hygiene is the leading cause of HAIs and the spread of multi-drug-resistant organisms (MDROs) (BC Centre for Disease Control, 2014; WHO, 2009a). Hand hygiene is a general term used to describe any action of hand cleaning and refers to the removal or destruction of soil, oil, or organic material, as well as the removal of microbial contamination acquired by contact with patients or the environment. Hand hygiene may be performed using an alcohol-based hand rub (ABHR) or soap and water. A surgical hand scrub is also a method of hand hygiene (WHO, 2009a).
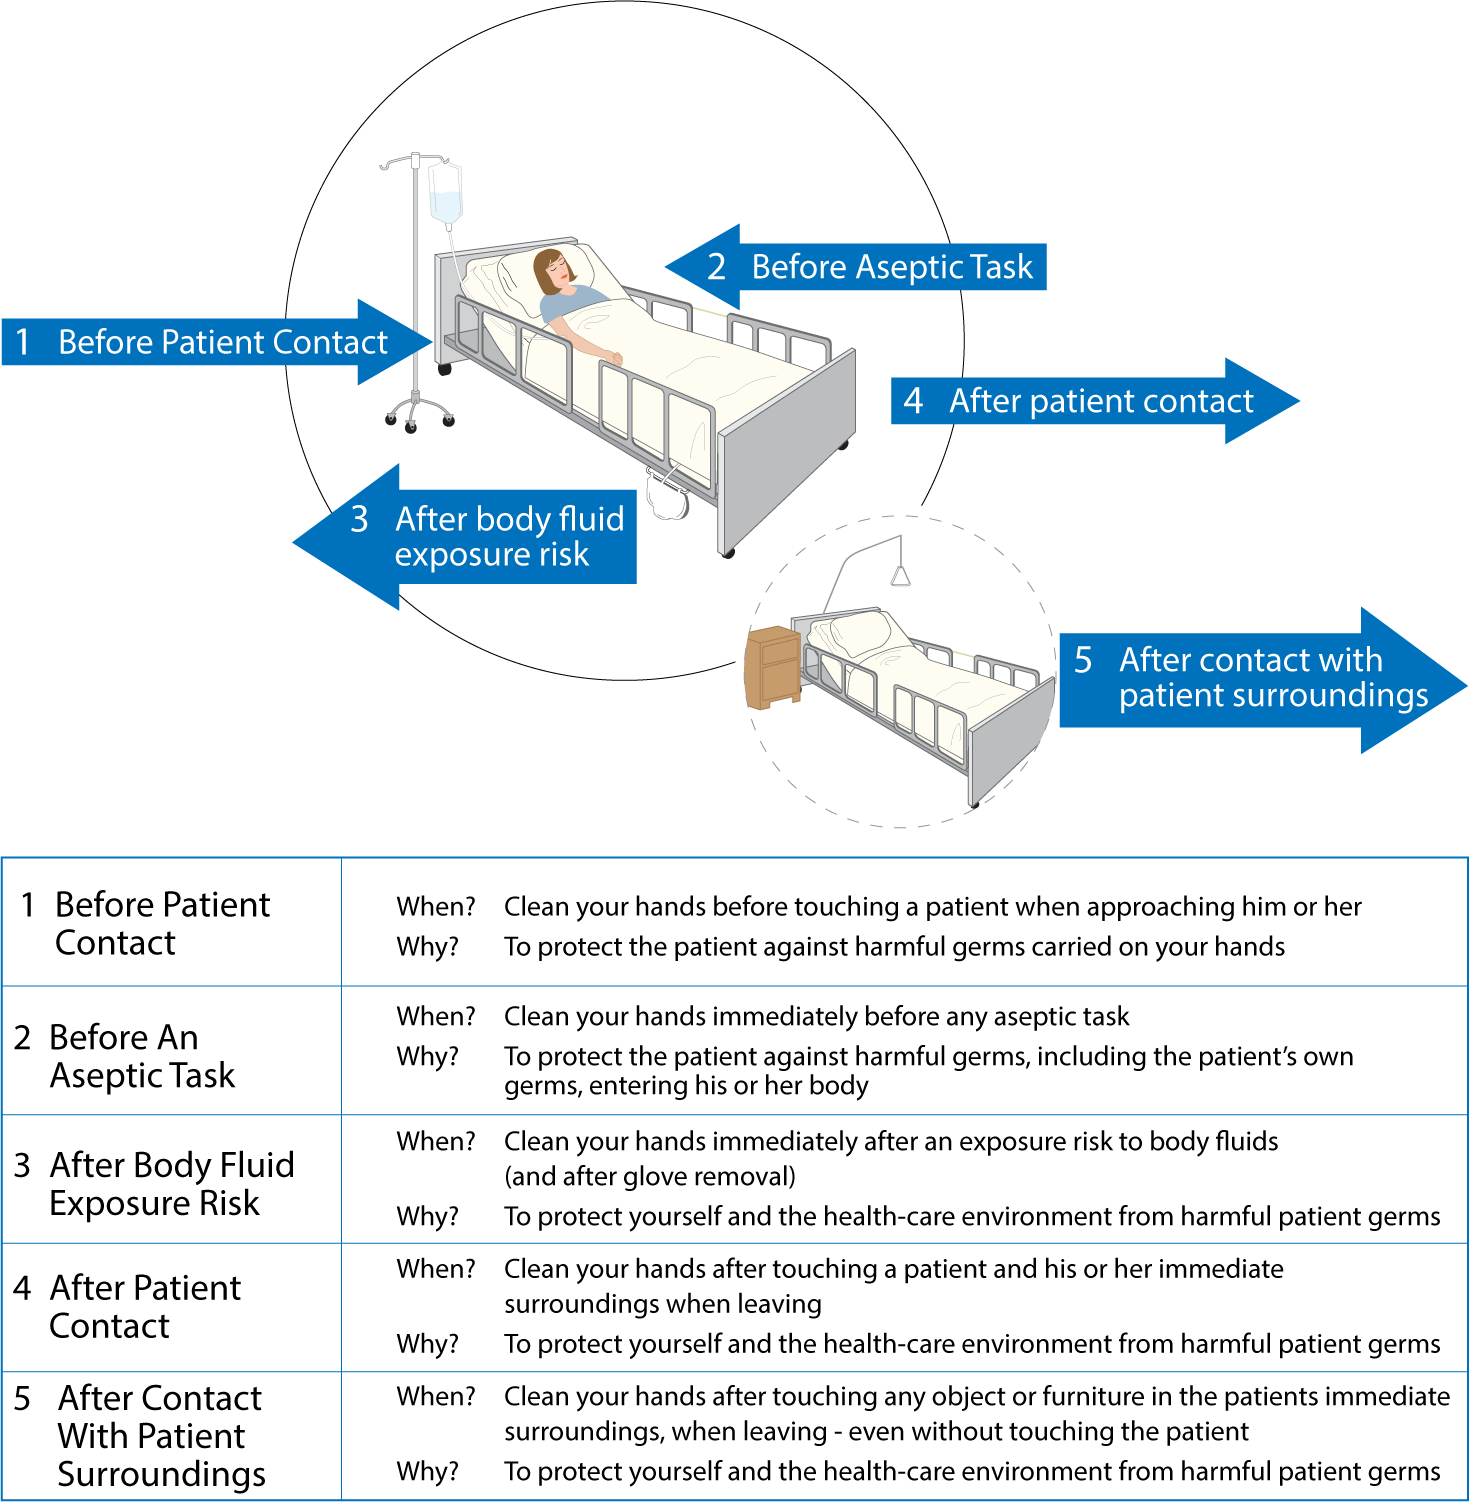
To break the chain of infection, there are five key moments at which to perform hand hygiene when working in health care, as outlined in Checklist 2 and illustrated in Figure 1.1.
Safety Alert: Factors that Reduce Hand Hygiene Effectiveness
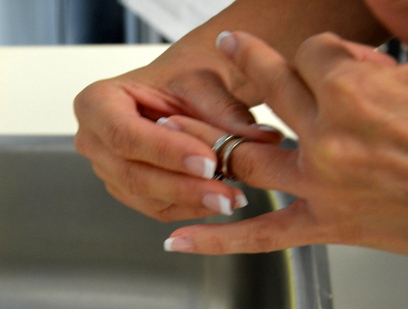
- Jewellery: Rings and bracelets increase microbial count on hands. Rings also increase the risk of torn or pierced gloves. Jewellery should not be worn during patient care (Longtin, Sax, Allegranzi, Schneider, & Pittet, 2011). All jewellery must be removed. In an instance where a bracelet may not be removed due to religious reasons, the bracelet may be pushed as high as possible above the wrist before performing hand hygiene.
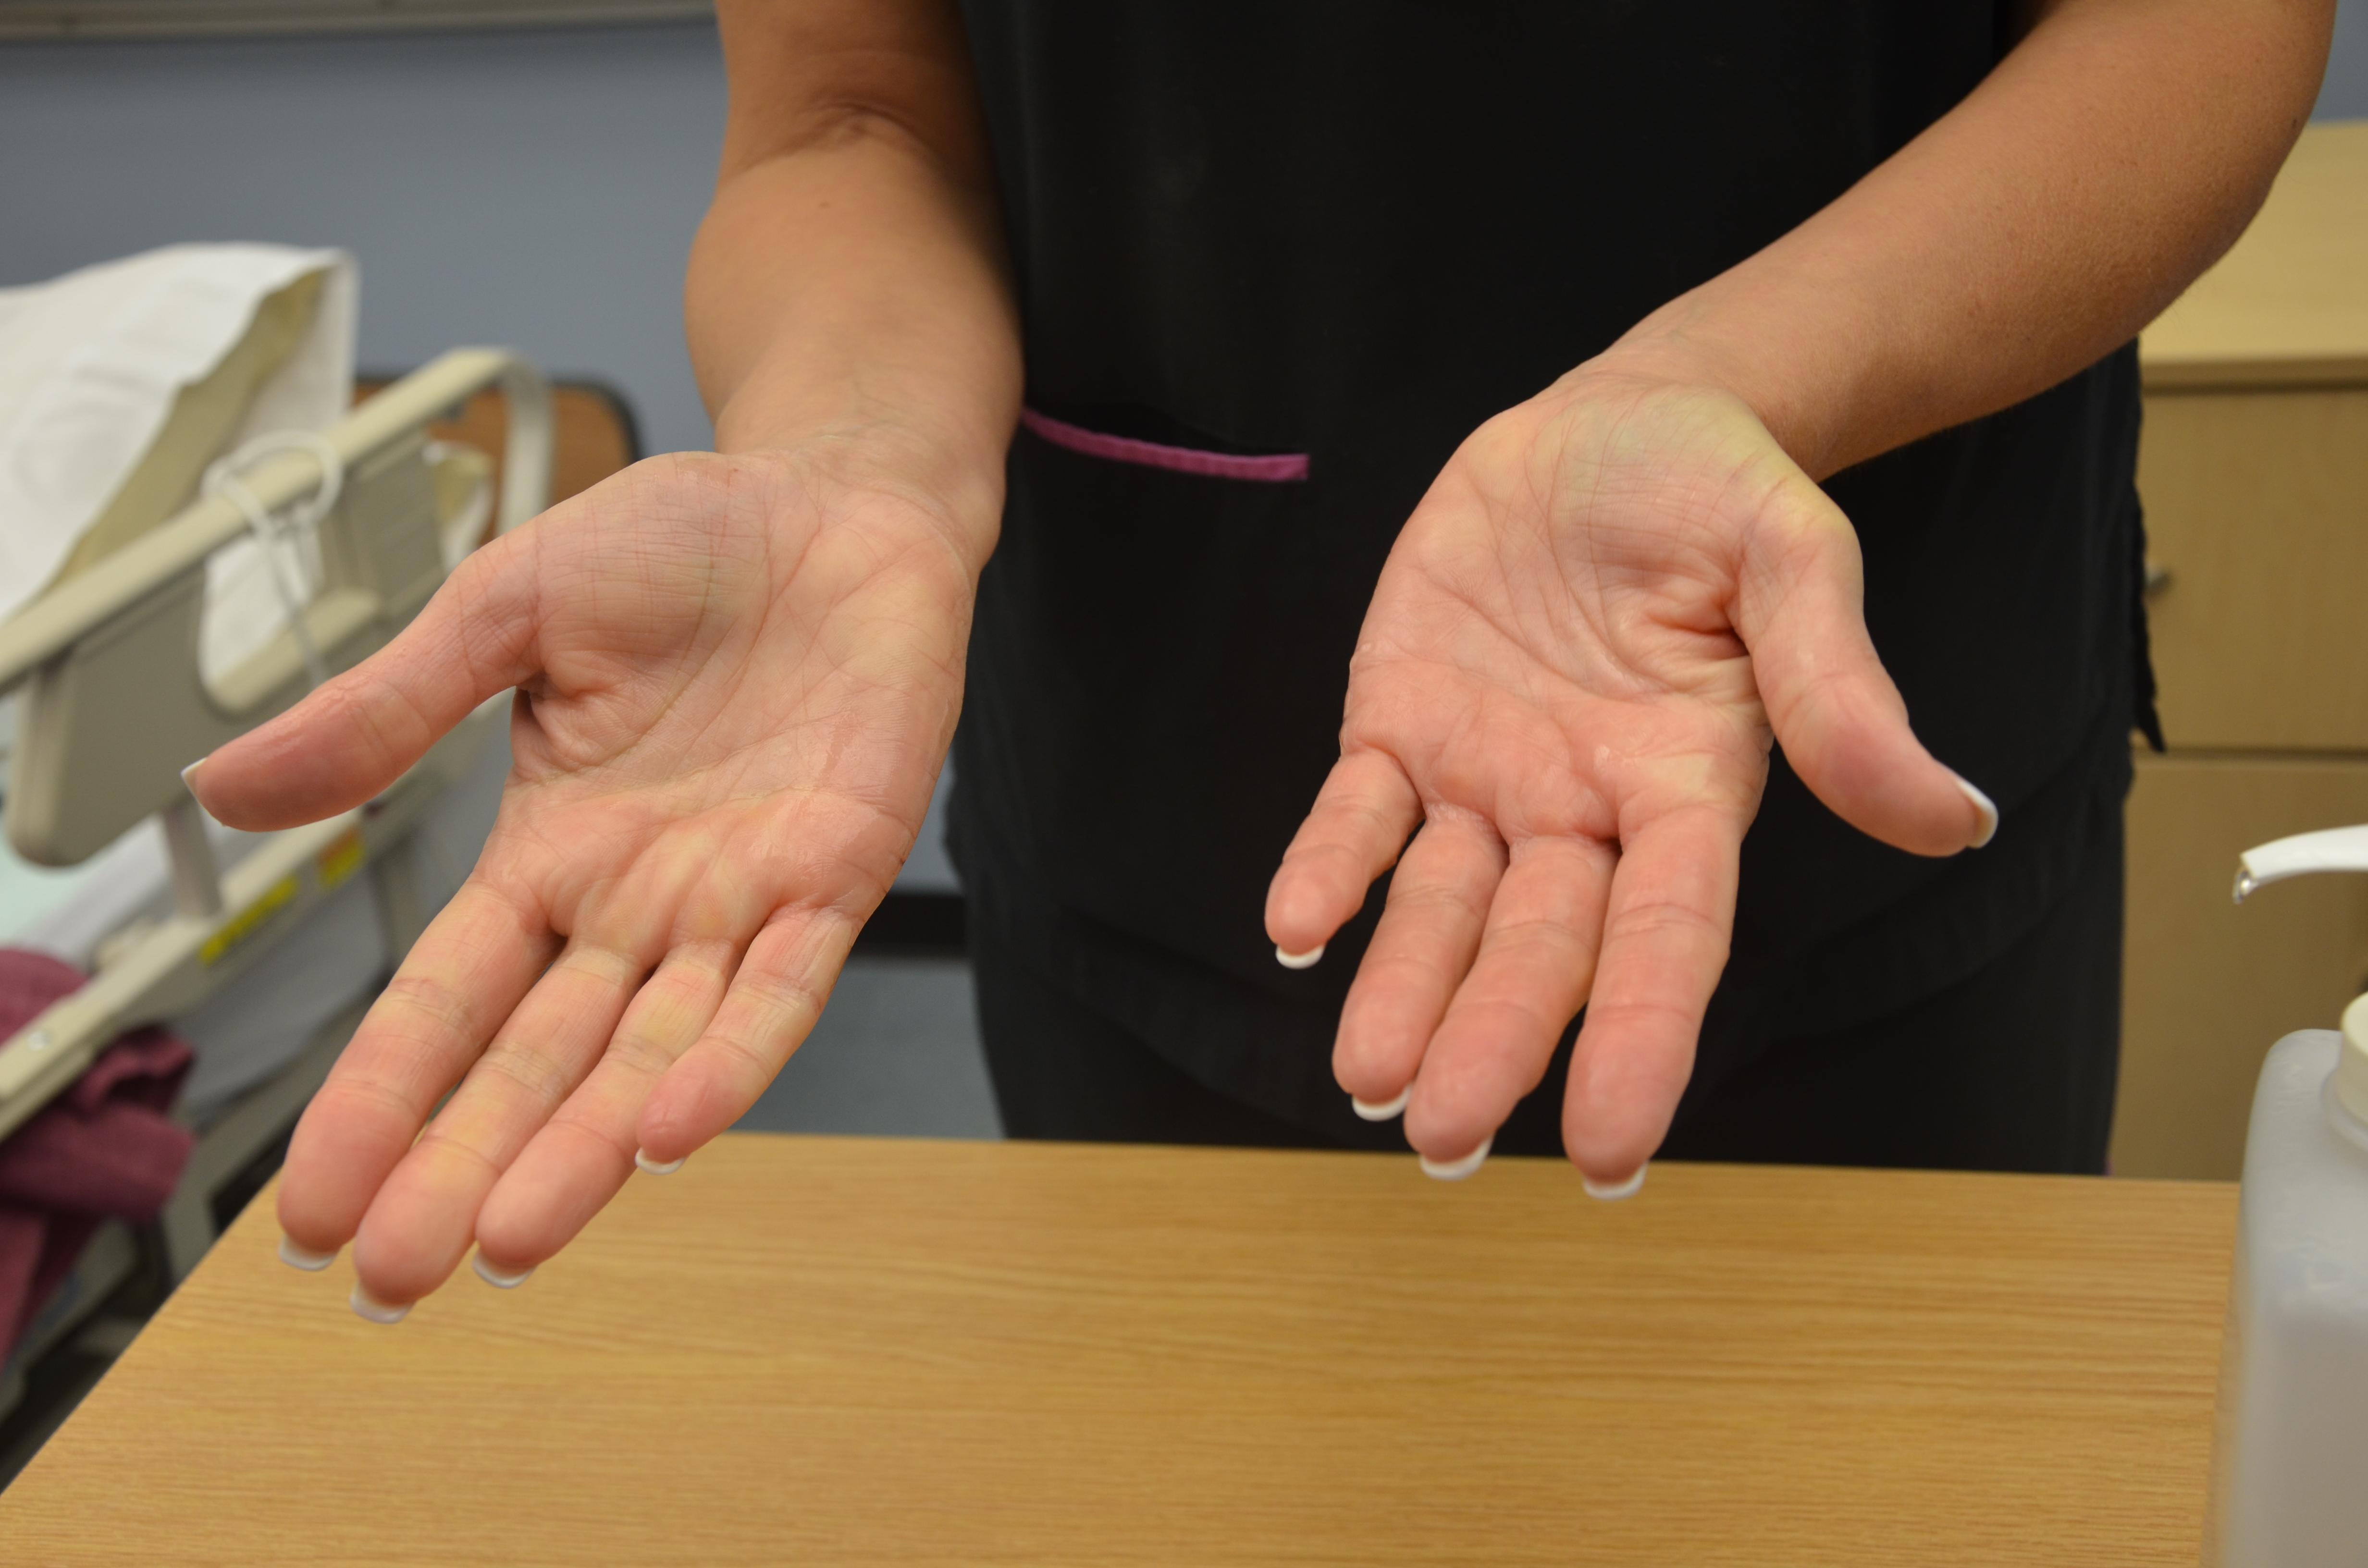
- Skin integrity: The condition of the hands can influence the effectiveness of hand hygiene, and proper skin care is essential for infection control (Bissett, 2007). Skin cracks, dermatitis, or cuts can trap bacteria and may place patients at an increased risk (CDC, 2007). Inspect hands for cuts and open sores, and cuticles for tears. Open cuts, sores, or abrasions should be covered prior to starting work. Use barrier creams and lotion after patient care to keep skin healthy and hydrated.
- Artificial nails and nail extenders: Artificial nails and nail extenders increase the viral load of bacteria up to nine times compared with bacteria found on hands. Extenders or artificial nails are not recommended for health care workers (Kennedy, 2013).
- Nail length: Nails should be a maximum of 1/4-inch long and should not extend past the end of the finger (Patrick & Van Wicklin, 2012). Most microbes on hands come from under the fingernails. Subungual areas (under the fingernails) can harbour higher concentrations of microorganisms (Kennedy, 2013). In addition, long nails are harder to clean and may lead to more frequent puncture in gloves from the thumb and forefinger (Patrick & Van Wicklin, 2012).
- Nail polish: Nail polish should be freshly applied and be free from chips or cracks. Studies have shown that chipped nail polish and polish older than four days can harbour microorganisms (Patrick & Van Wicklin, 2012).
- Water temperature and products: Warm water removes less protective oils than hot water, whereas hot water increases the likelihood of skin damage (WHO, 2009a). To prevent contamination, products must be dispensed in a disposable pump container that is not topped up. An adequate amount of soap is required to dissolve fatty materials and oils from hands as water alone is not sufficient to clean soiled hands (WHO, 2009a).
How to Wash Hands: Types of Hand Hygiene
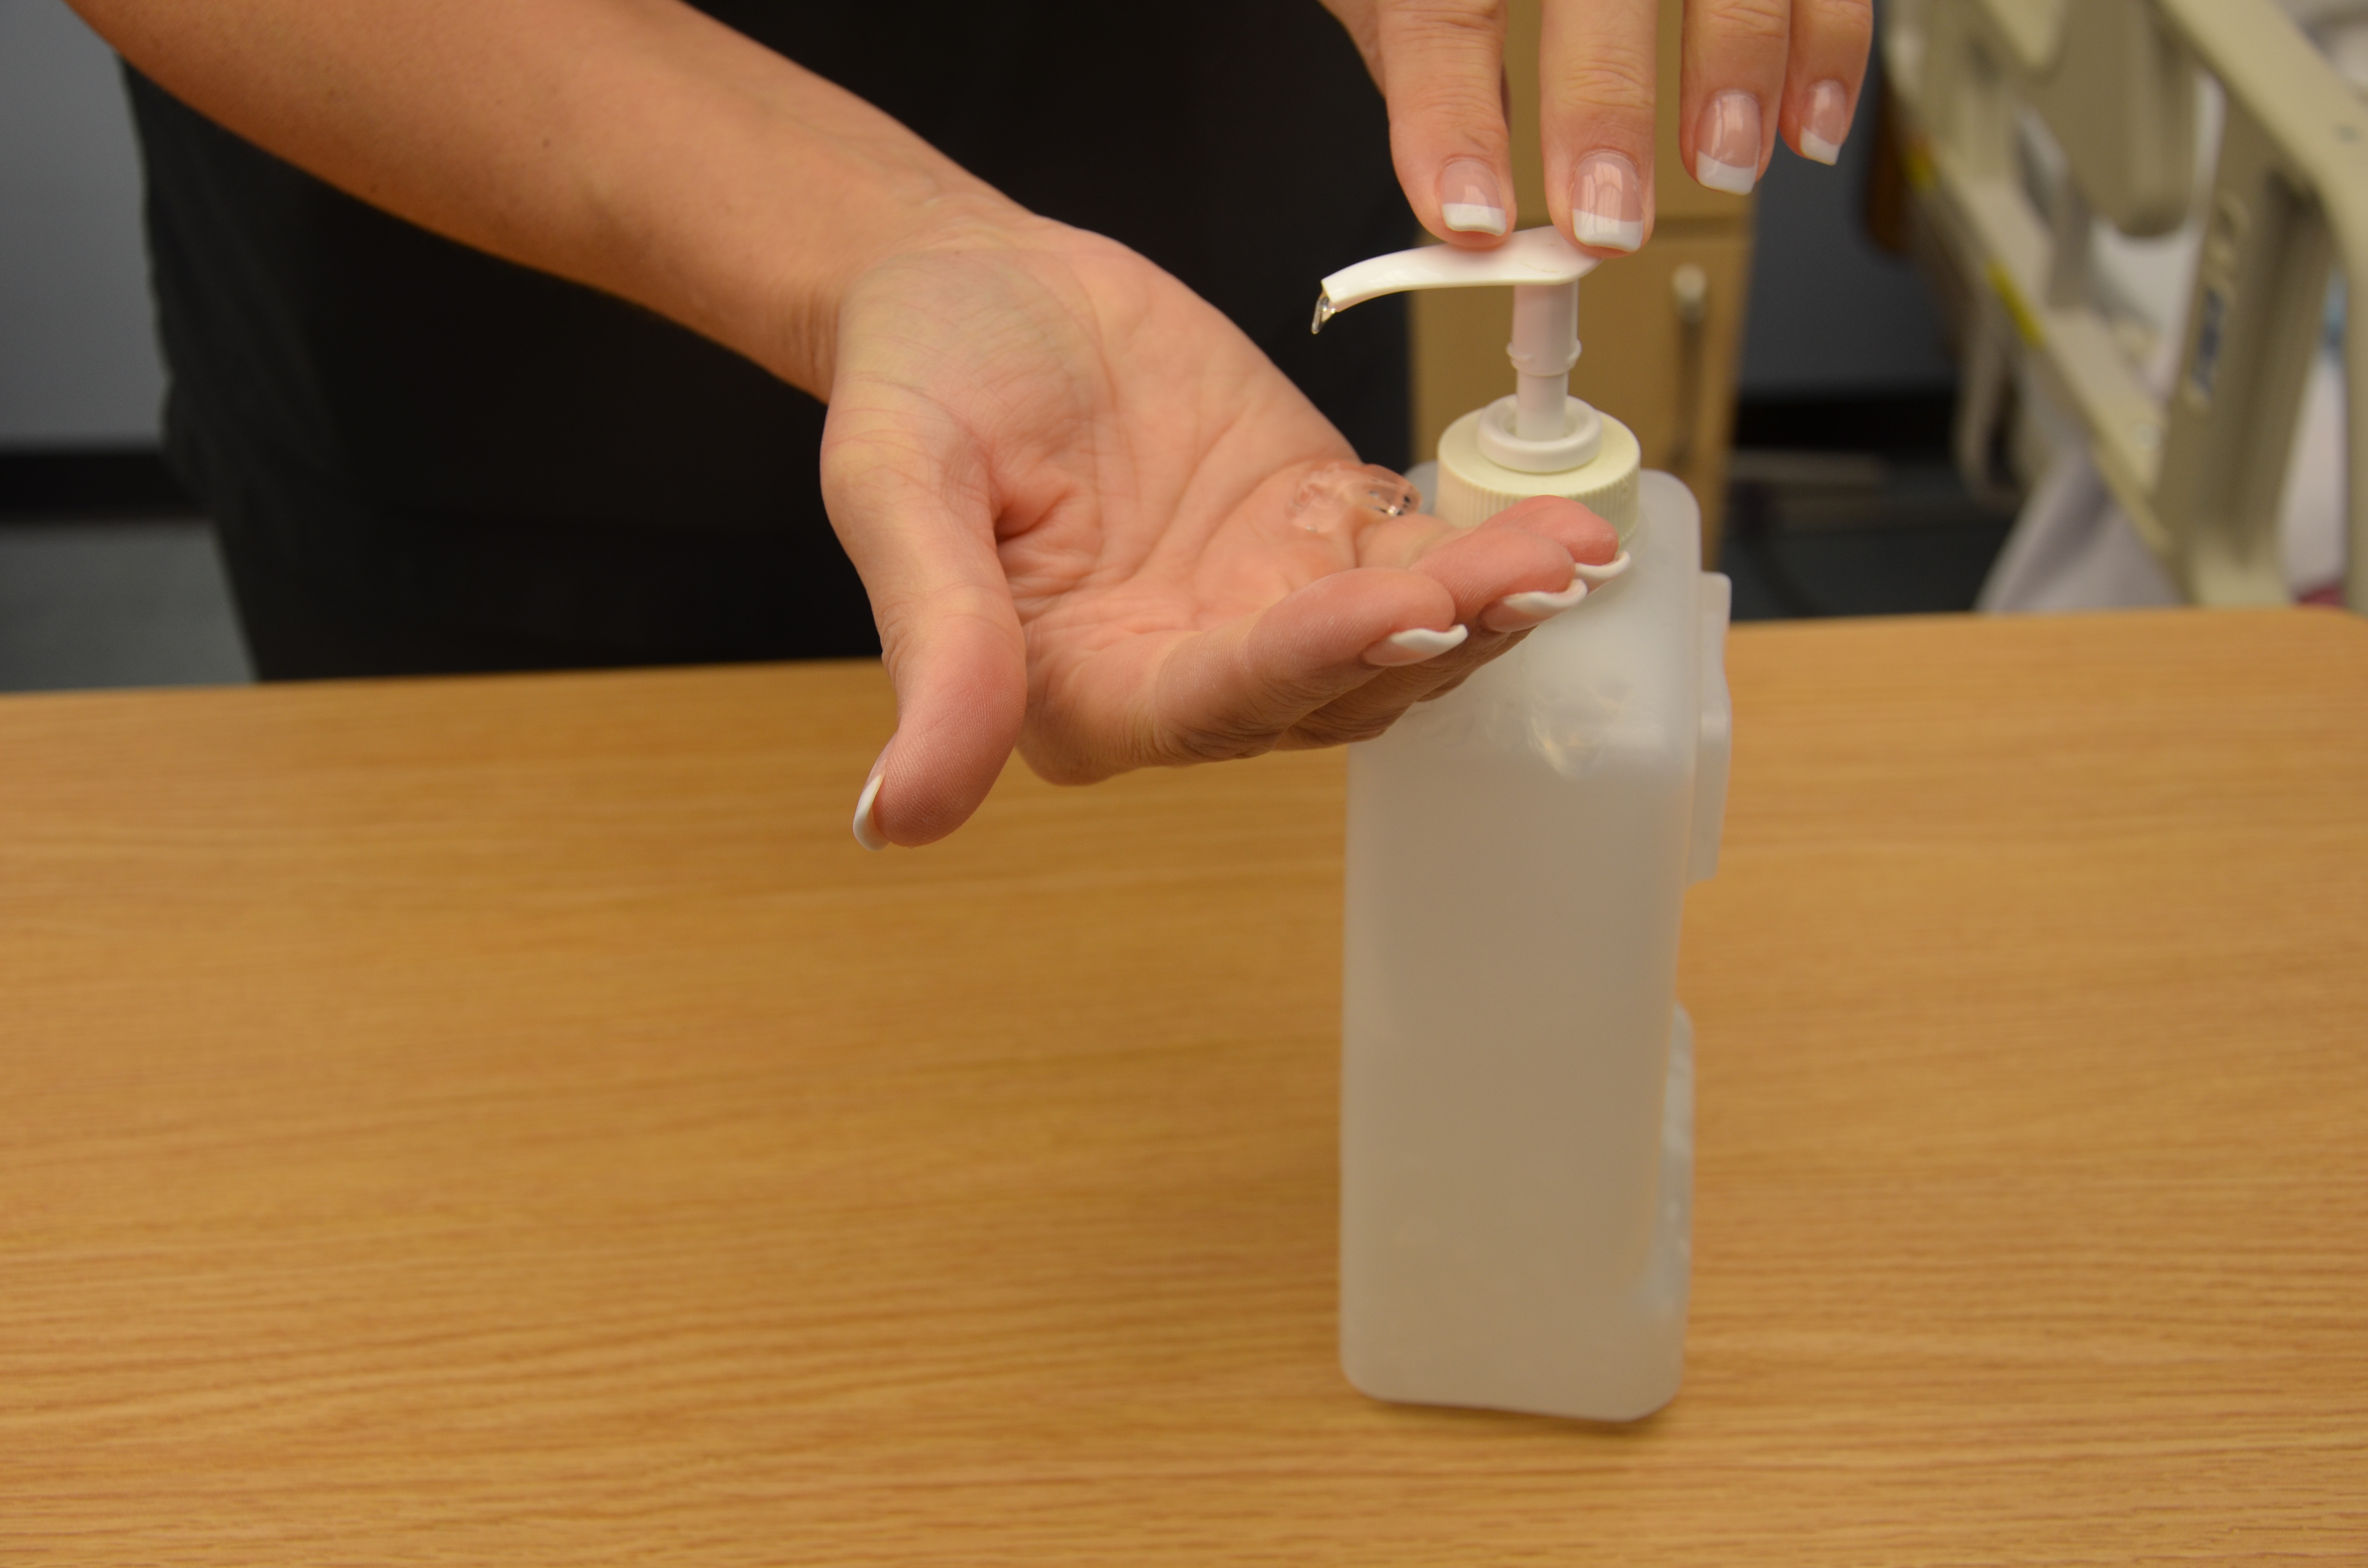
Two types of hand hygiene are commonly used in the health care setting: hand hygiene with an alcohol-based hand rub (see Figure 1.2) and hand hygiene with soap and water.
Alcohol-based hand rub (ABHR) is a product containing 60% to 90% alcohol concentration and is recommended for hand hygiene in health care settings (CDC, 2012). ABHR is the preferred method of hand hygiene and is more effective than washing hands with soap and water (WHO, 2009a). ABHRs:
- Kill the majority of germs (including viruses) from hands
- Require less time to use than soap and water (20 to 30 seconds)
- Are easy to use and have high levels of availability at the point of care
- Provide better skin tolerability
See Checklist 3 for the steps to take when washing hands with ABHR.
Disclaimer: Always review and follow your hospital policy regarding this specific skill. |
|||
Safety considerations:
|
|||
Steps |
Additional Information |
||
| 1. Remove all jewellery on hands. Apply 1 to 2 pumps of product into palm of dry hands. |
 Product should not be applied to wet hands, as this will dilute the product. Enough product should be applied to thoroughly wet hands and fingers for the entire procedure of 20 to 30 seconds. 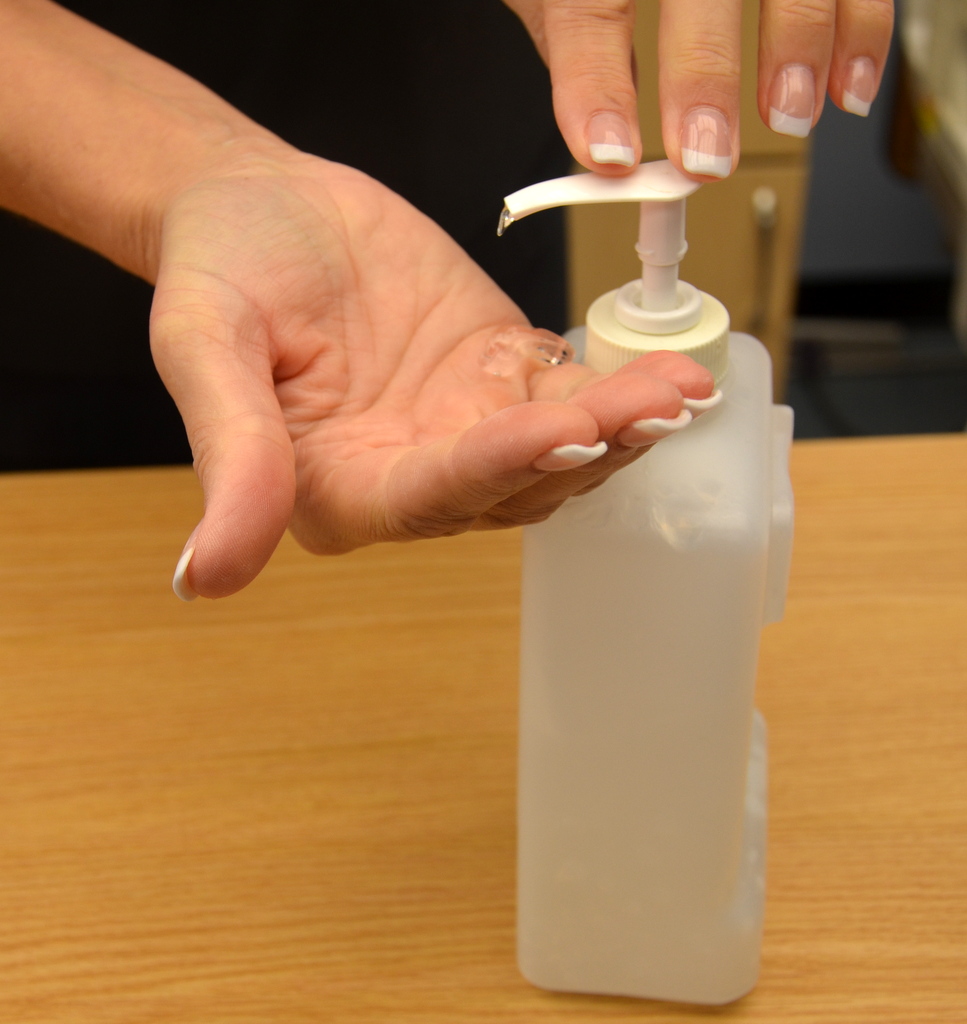 Always follow the manufacturer’s guidelines. |
||
| 2. Rub hands together, palm to palm. | Rubbing hands together ensures palm surfaces are covered by the product.
 |
||
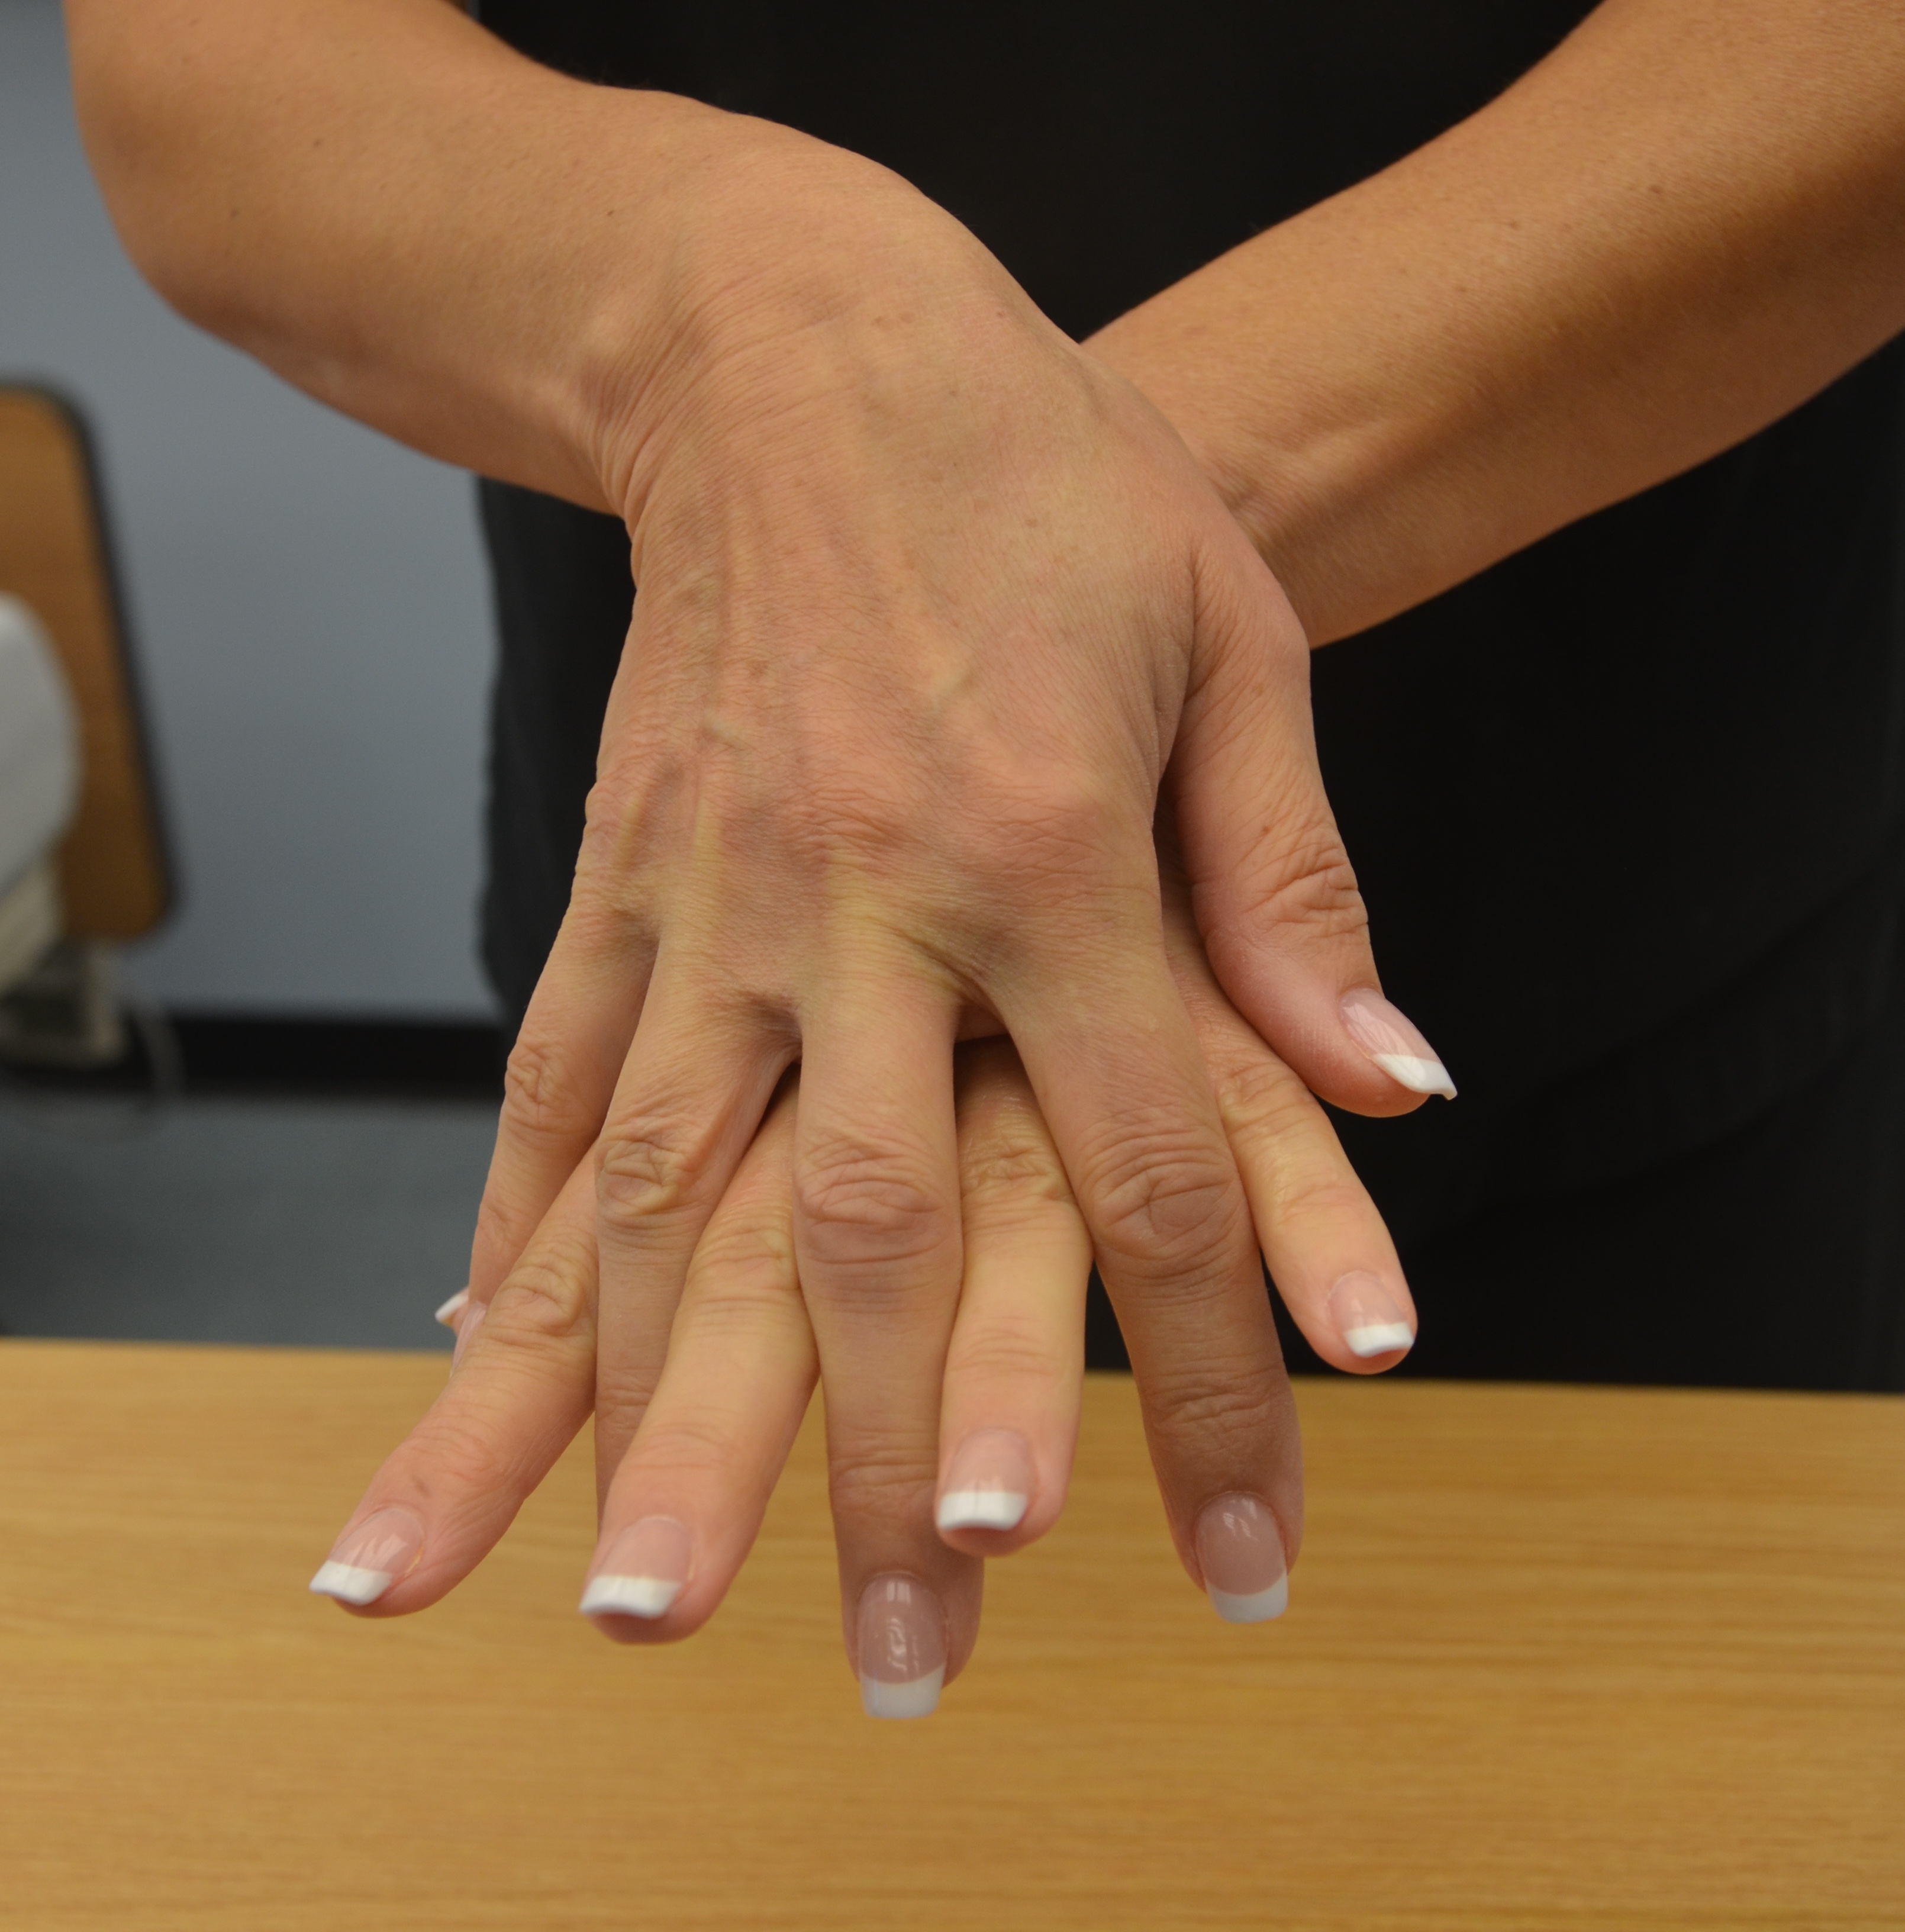
| 3. Rub the back of the hands. | Rubbing the back of the hands allows all surfaces of the fingers to be exposed to the product.
 |
||
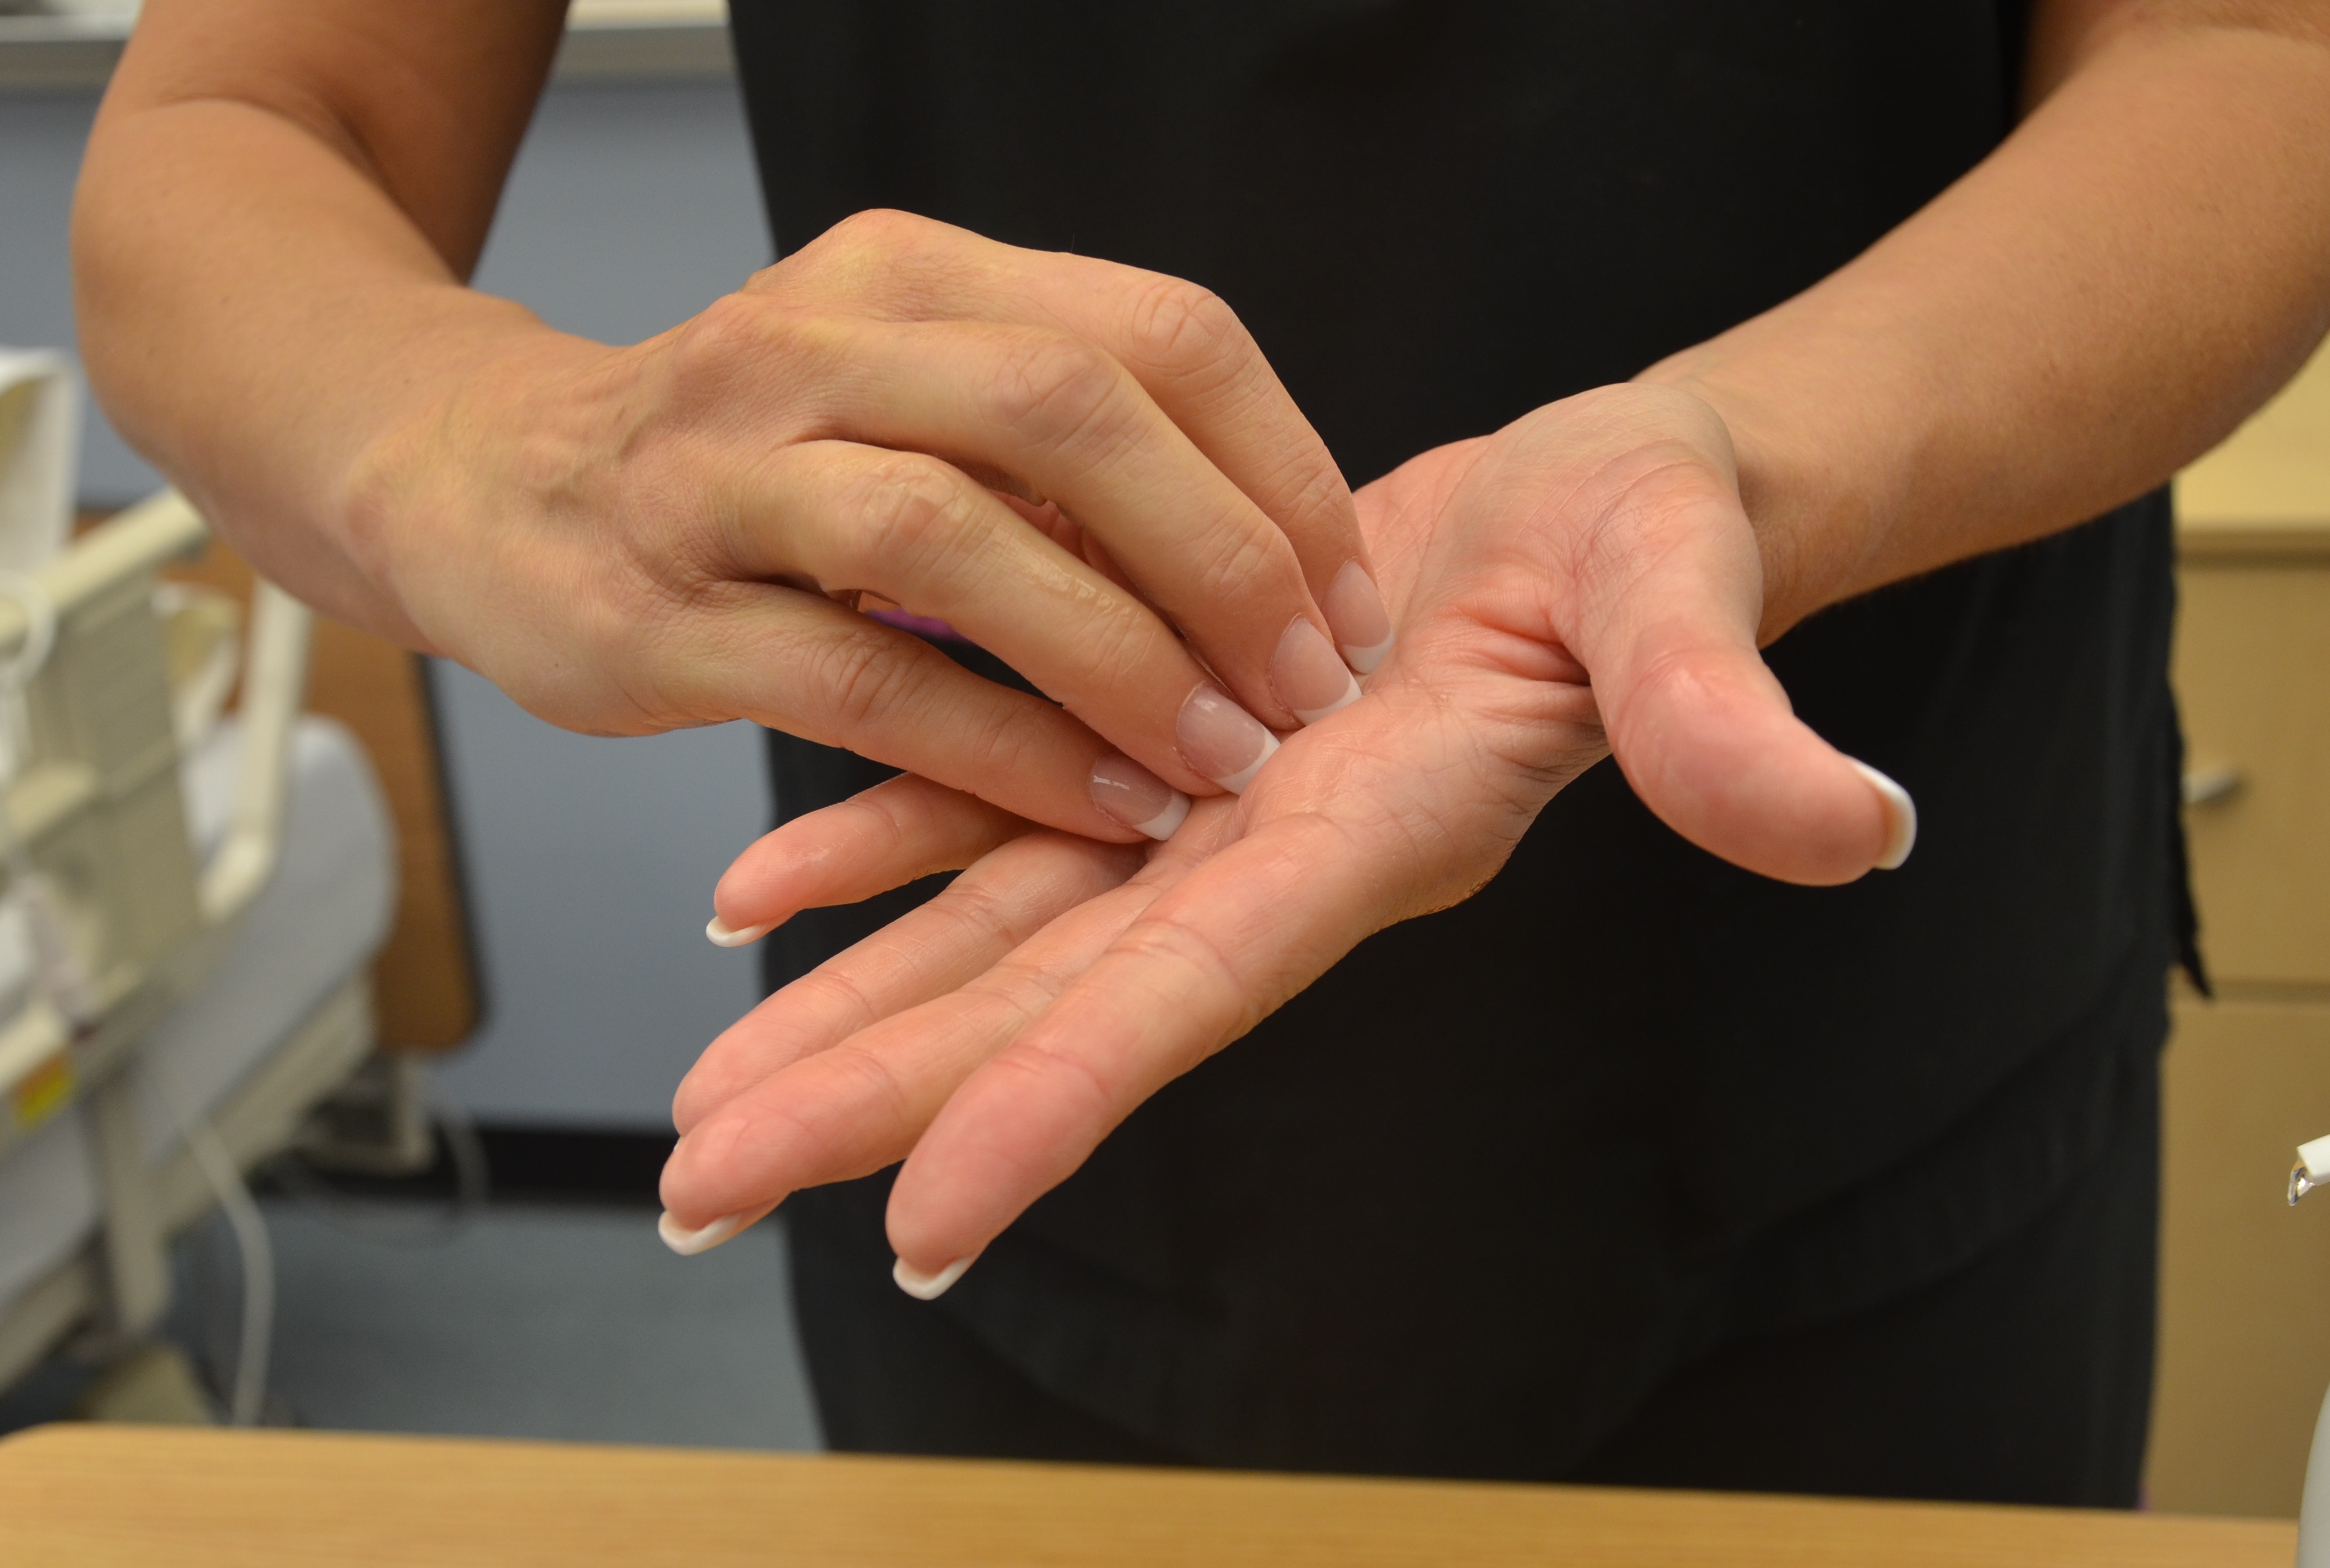
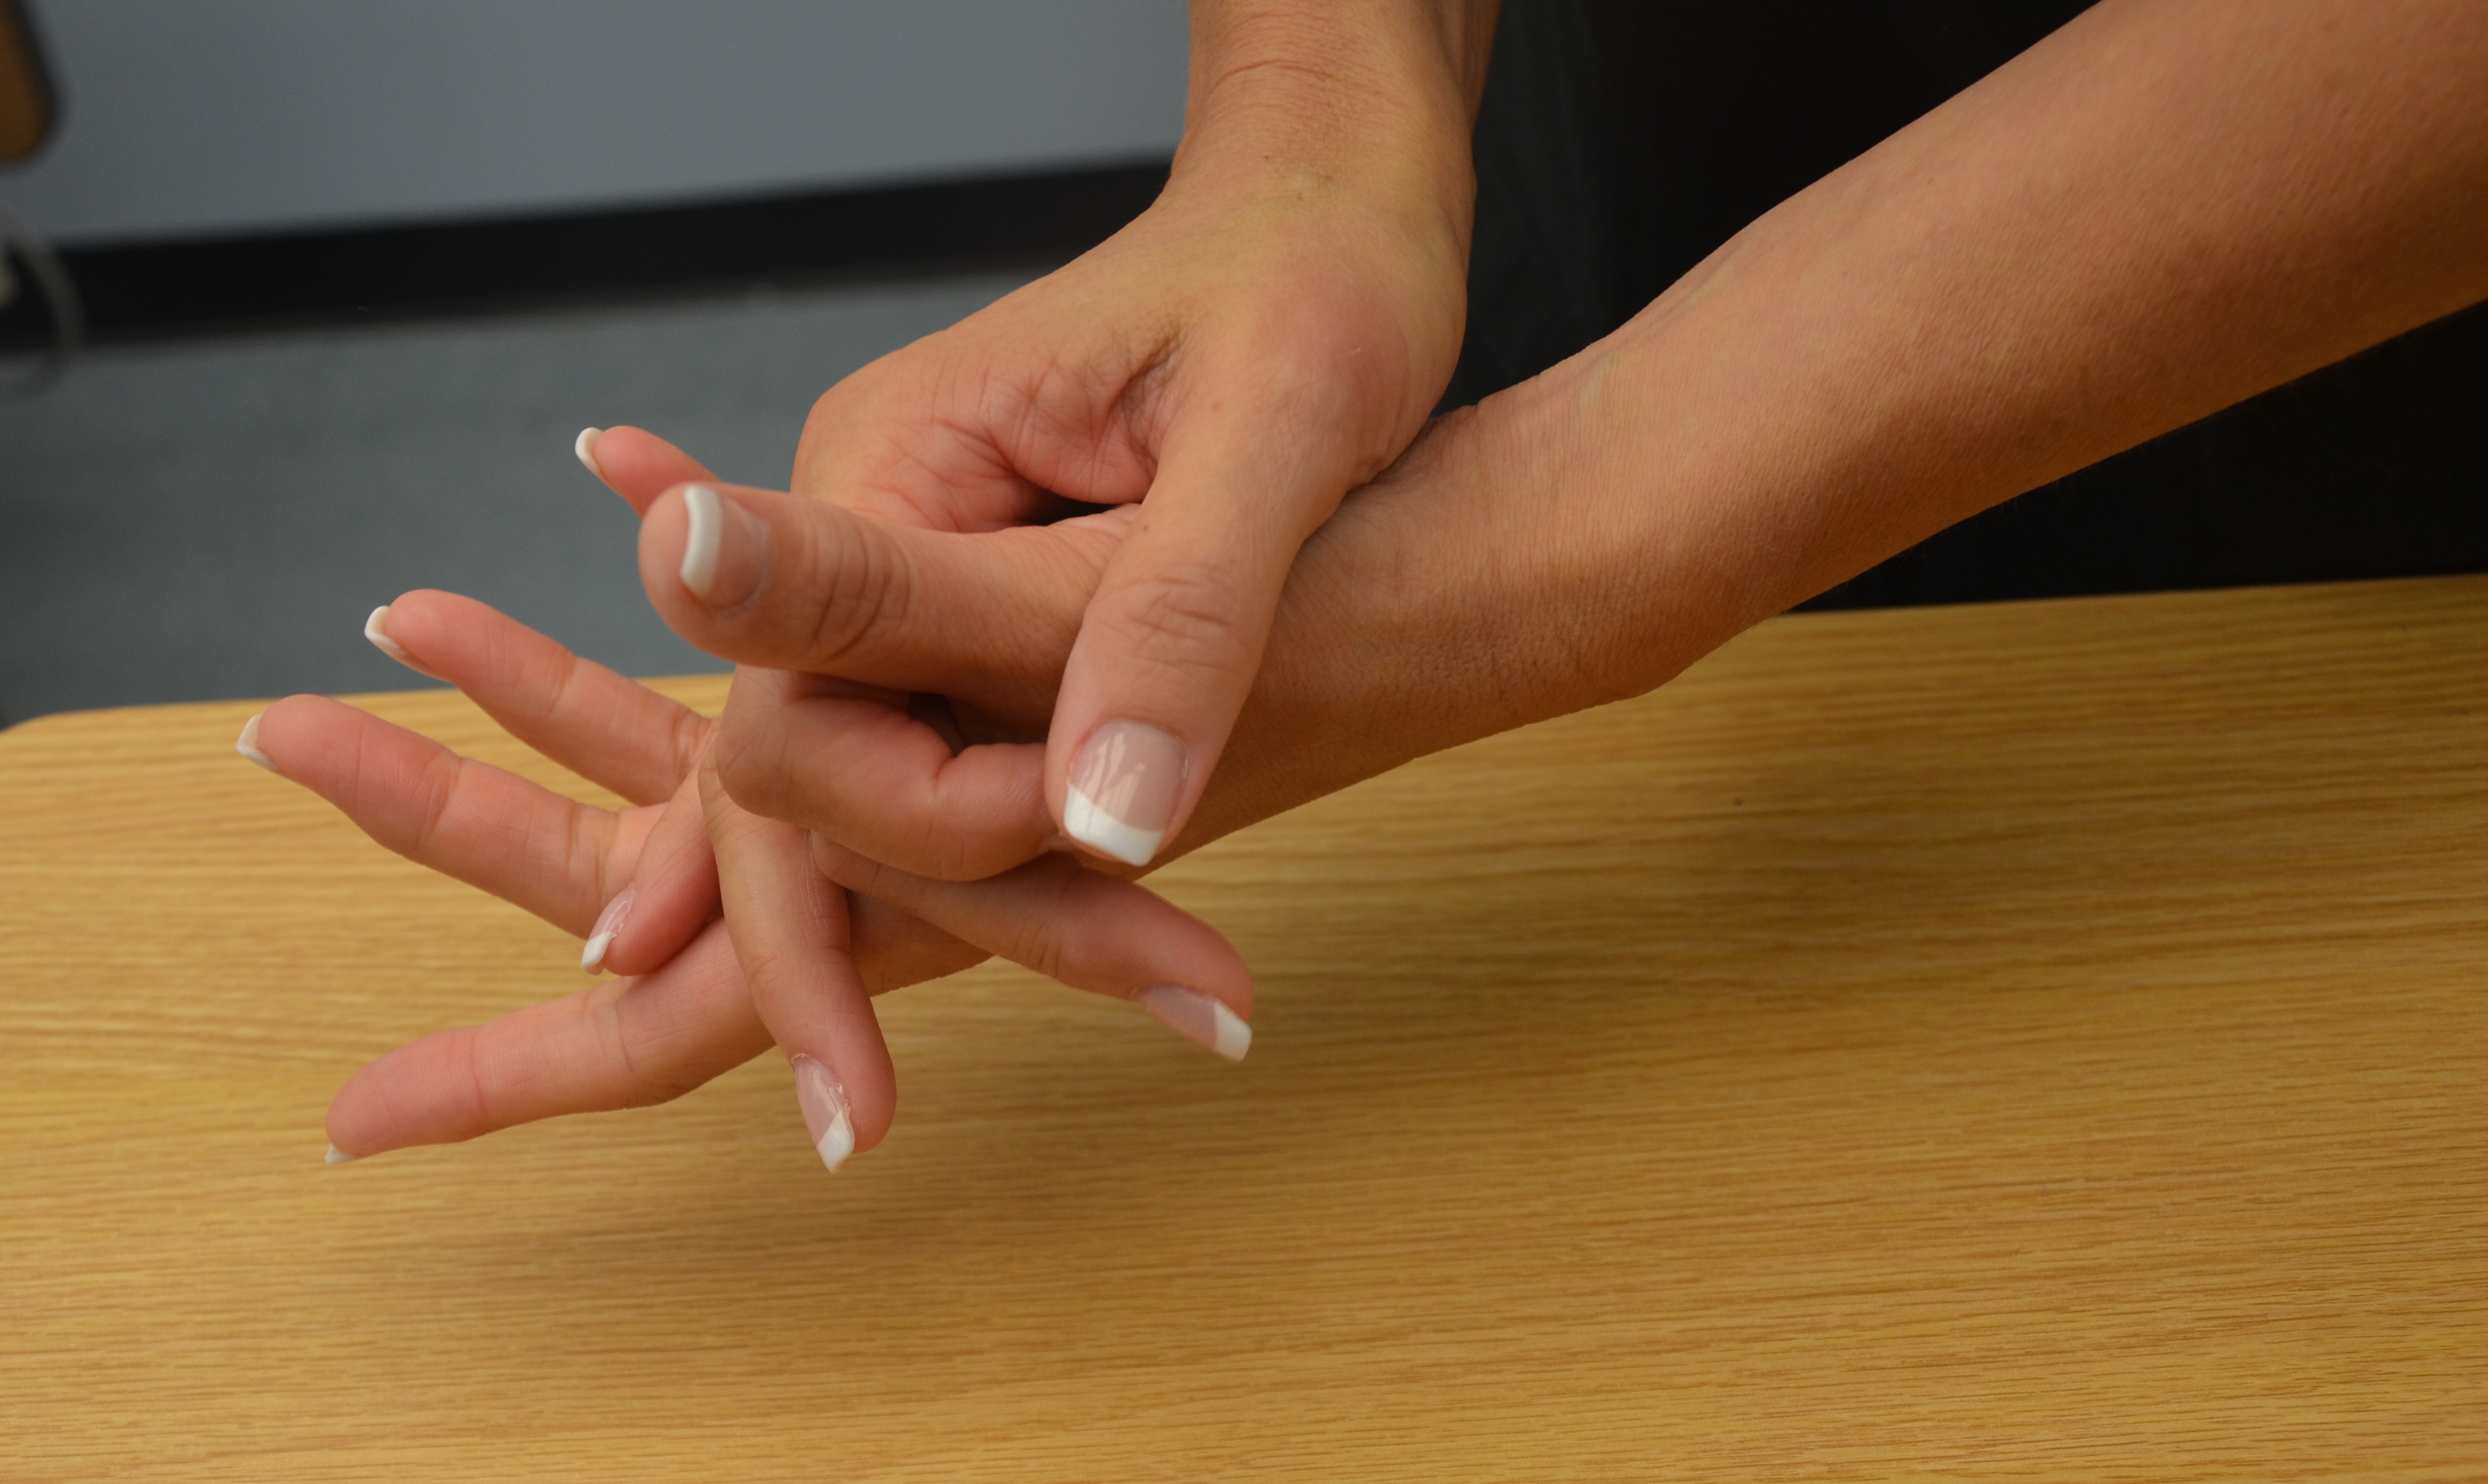
| 4. Rub the alcohol between all the fingers to cover all the fingers. | Rubbing between the fingers allows all surfaces of the hands to be exposed to the product.
 |
||
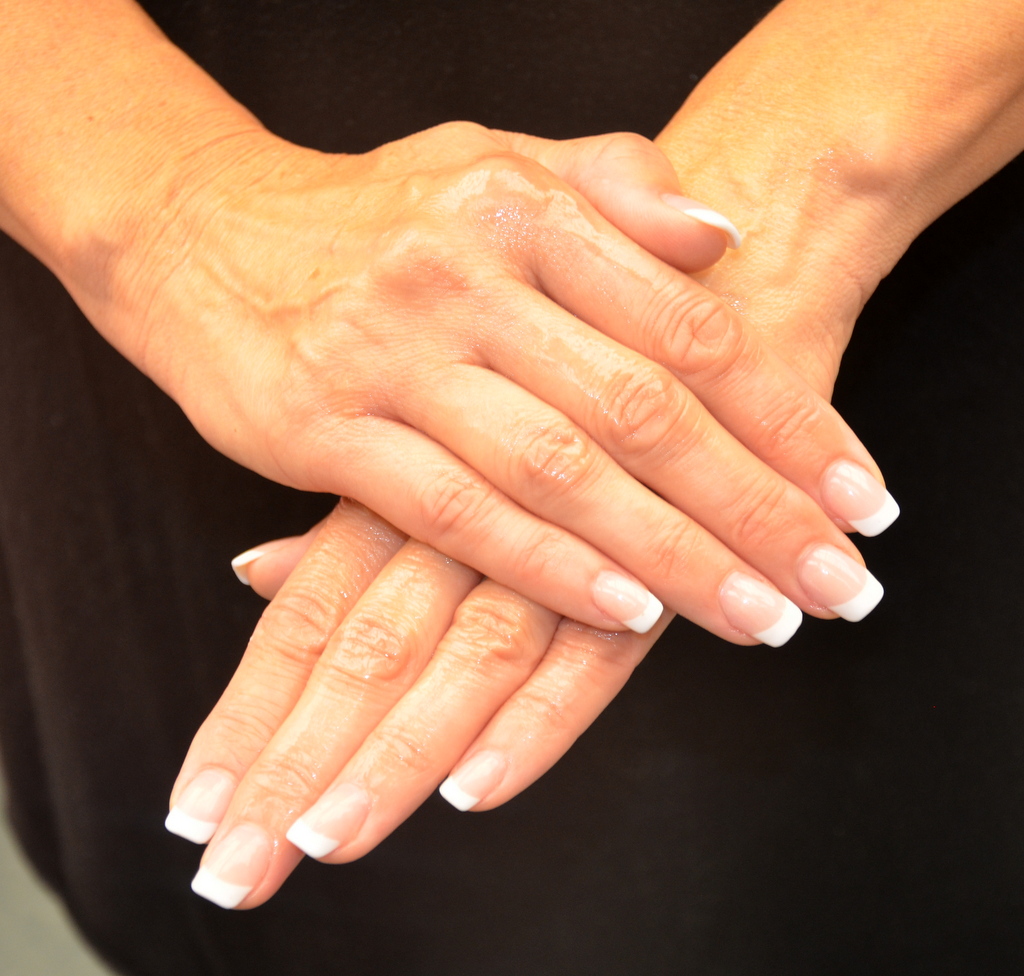
| 5. Press fingertips into the palm of opposing hand and rub back and forth. | Pressing fingertips into opposing palms and rubbing ensures fingertips and nails are exposed to the cleaning product. Nails harbour more bacteria than do hands.
 |
||
| 6. Rub each thumb in a circle in the palm of the opposite hand. | Rubbing each thumb provides complete coverage of the product on the thumb.
 |
||
| 7. Rub hands together until they are dry. Do not use a paper towel to dry hands. | Rubbing hands together provides adequate time for the alcohol to dry. The minimum time required for proper rubbing technique when using ABHR is 20 to 30 seconds.
|
||
| 8. Hands are now safe to use. |
 |
||
| Data source: CDC, 2012; PIDAC, 2012; PHAC, 2012b; WHO, 2009a, 2009b | |||
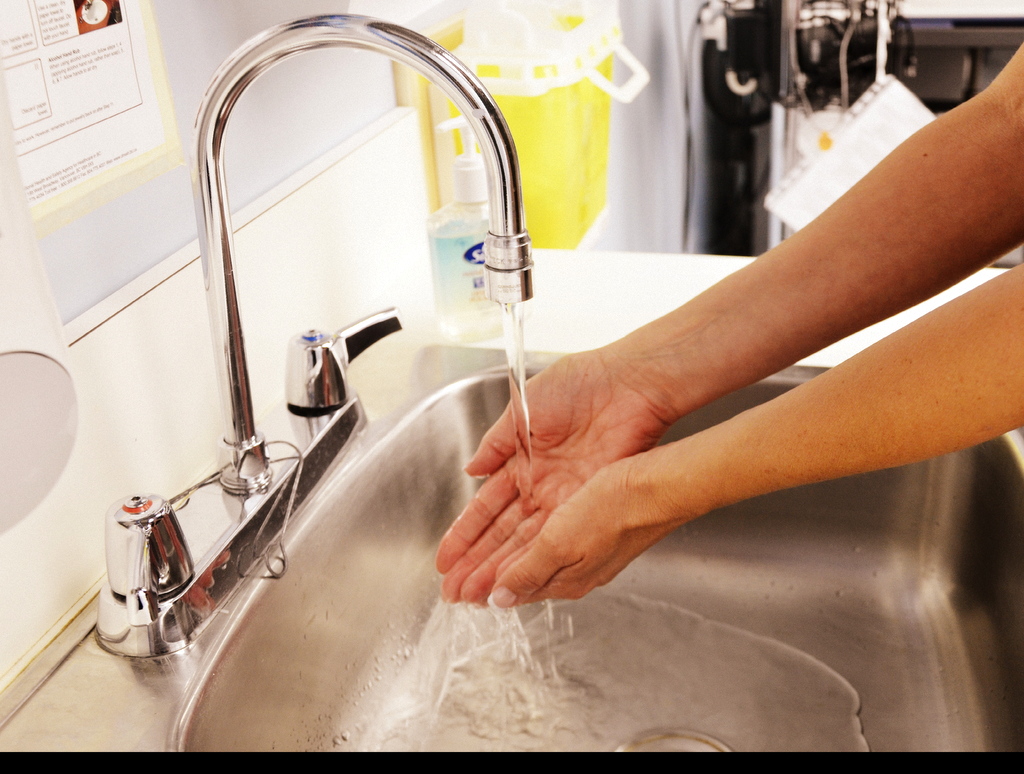
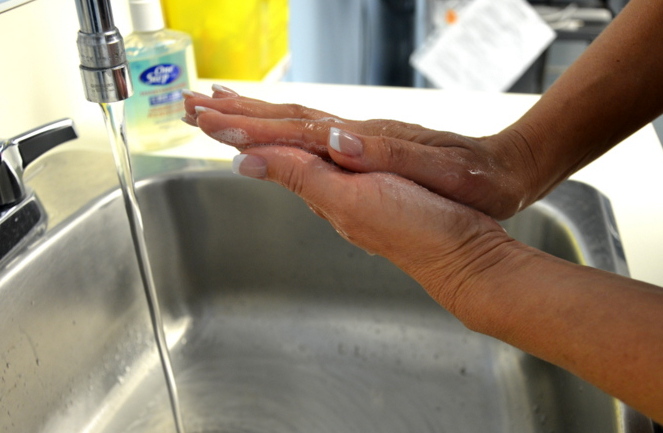
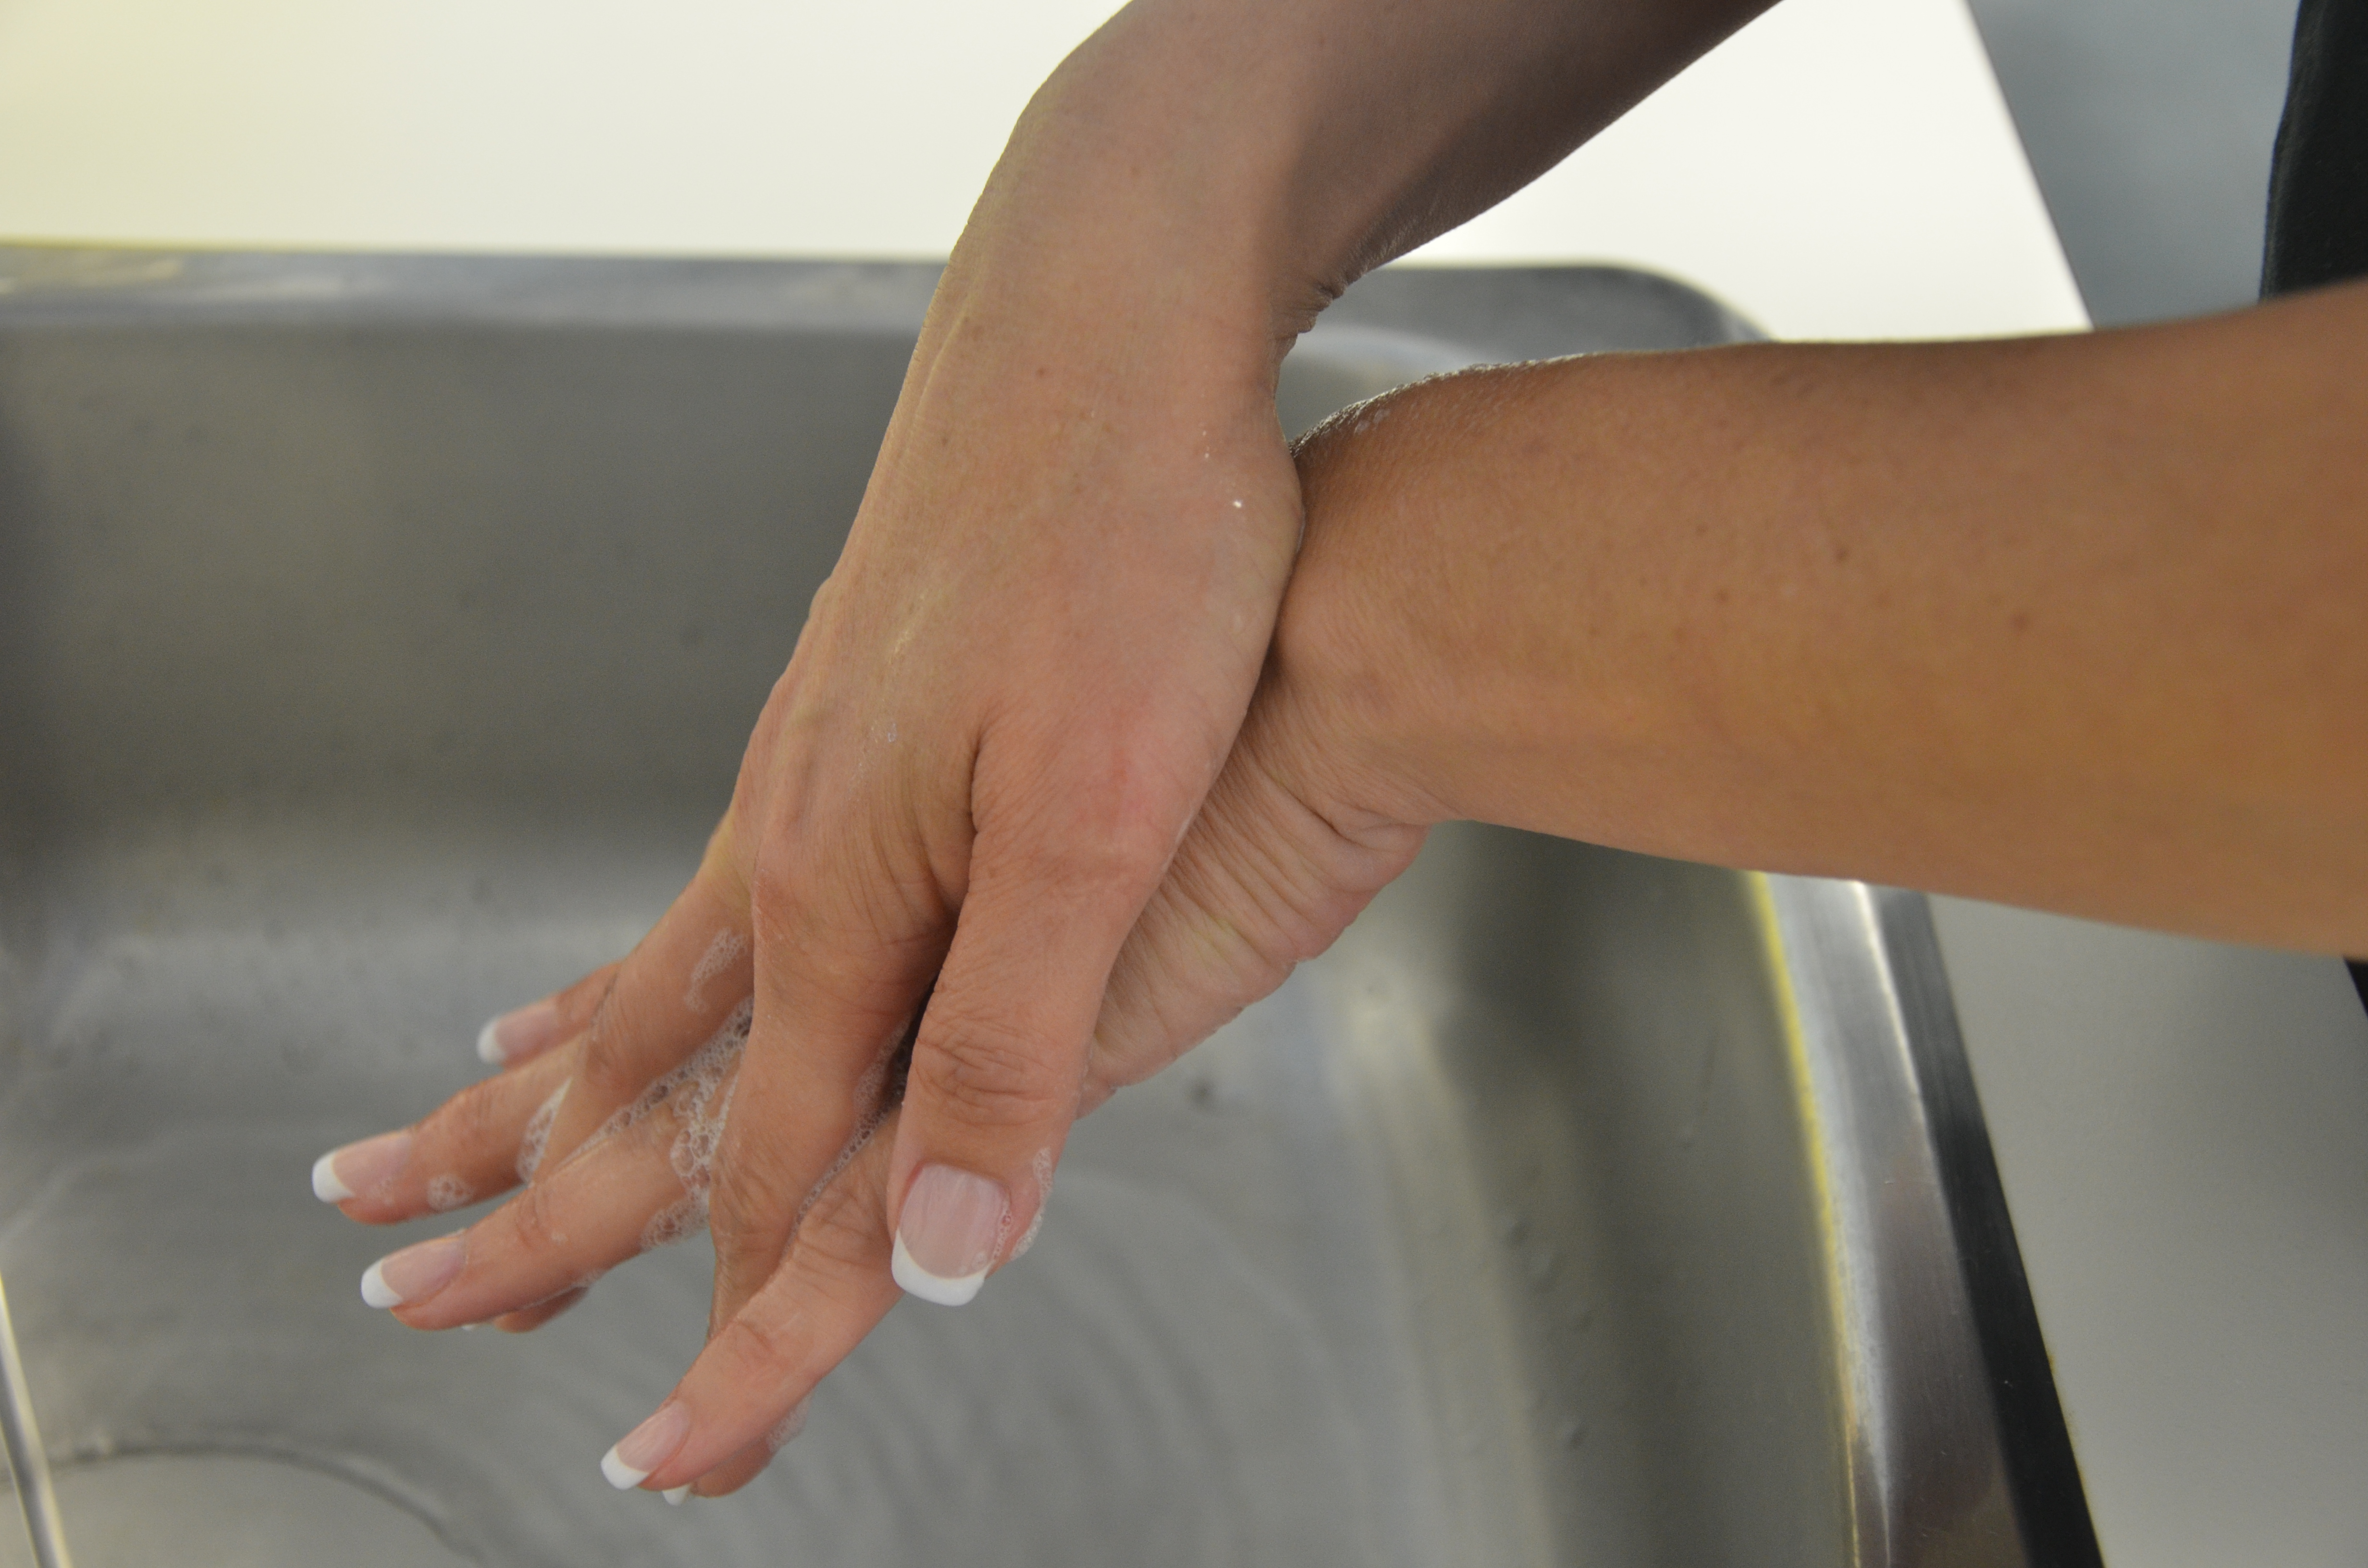
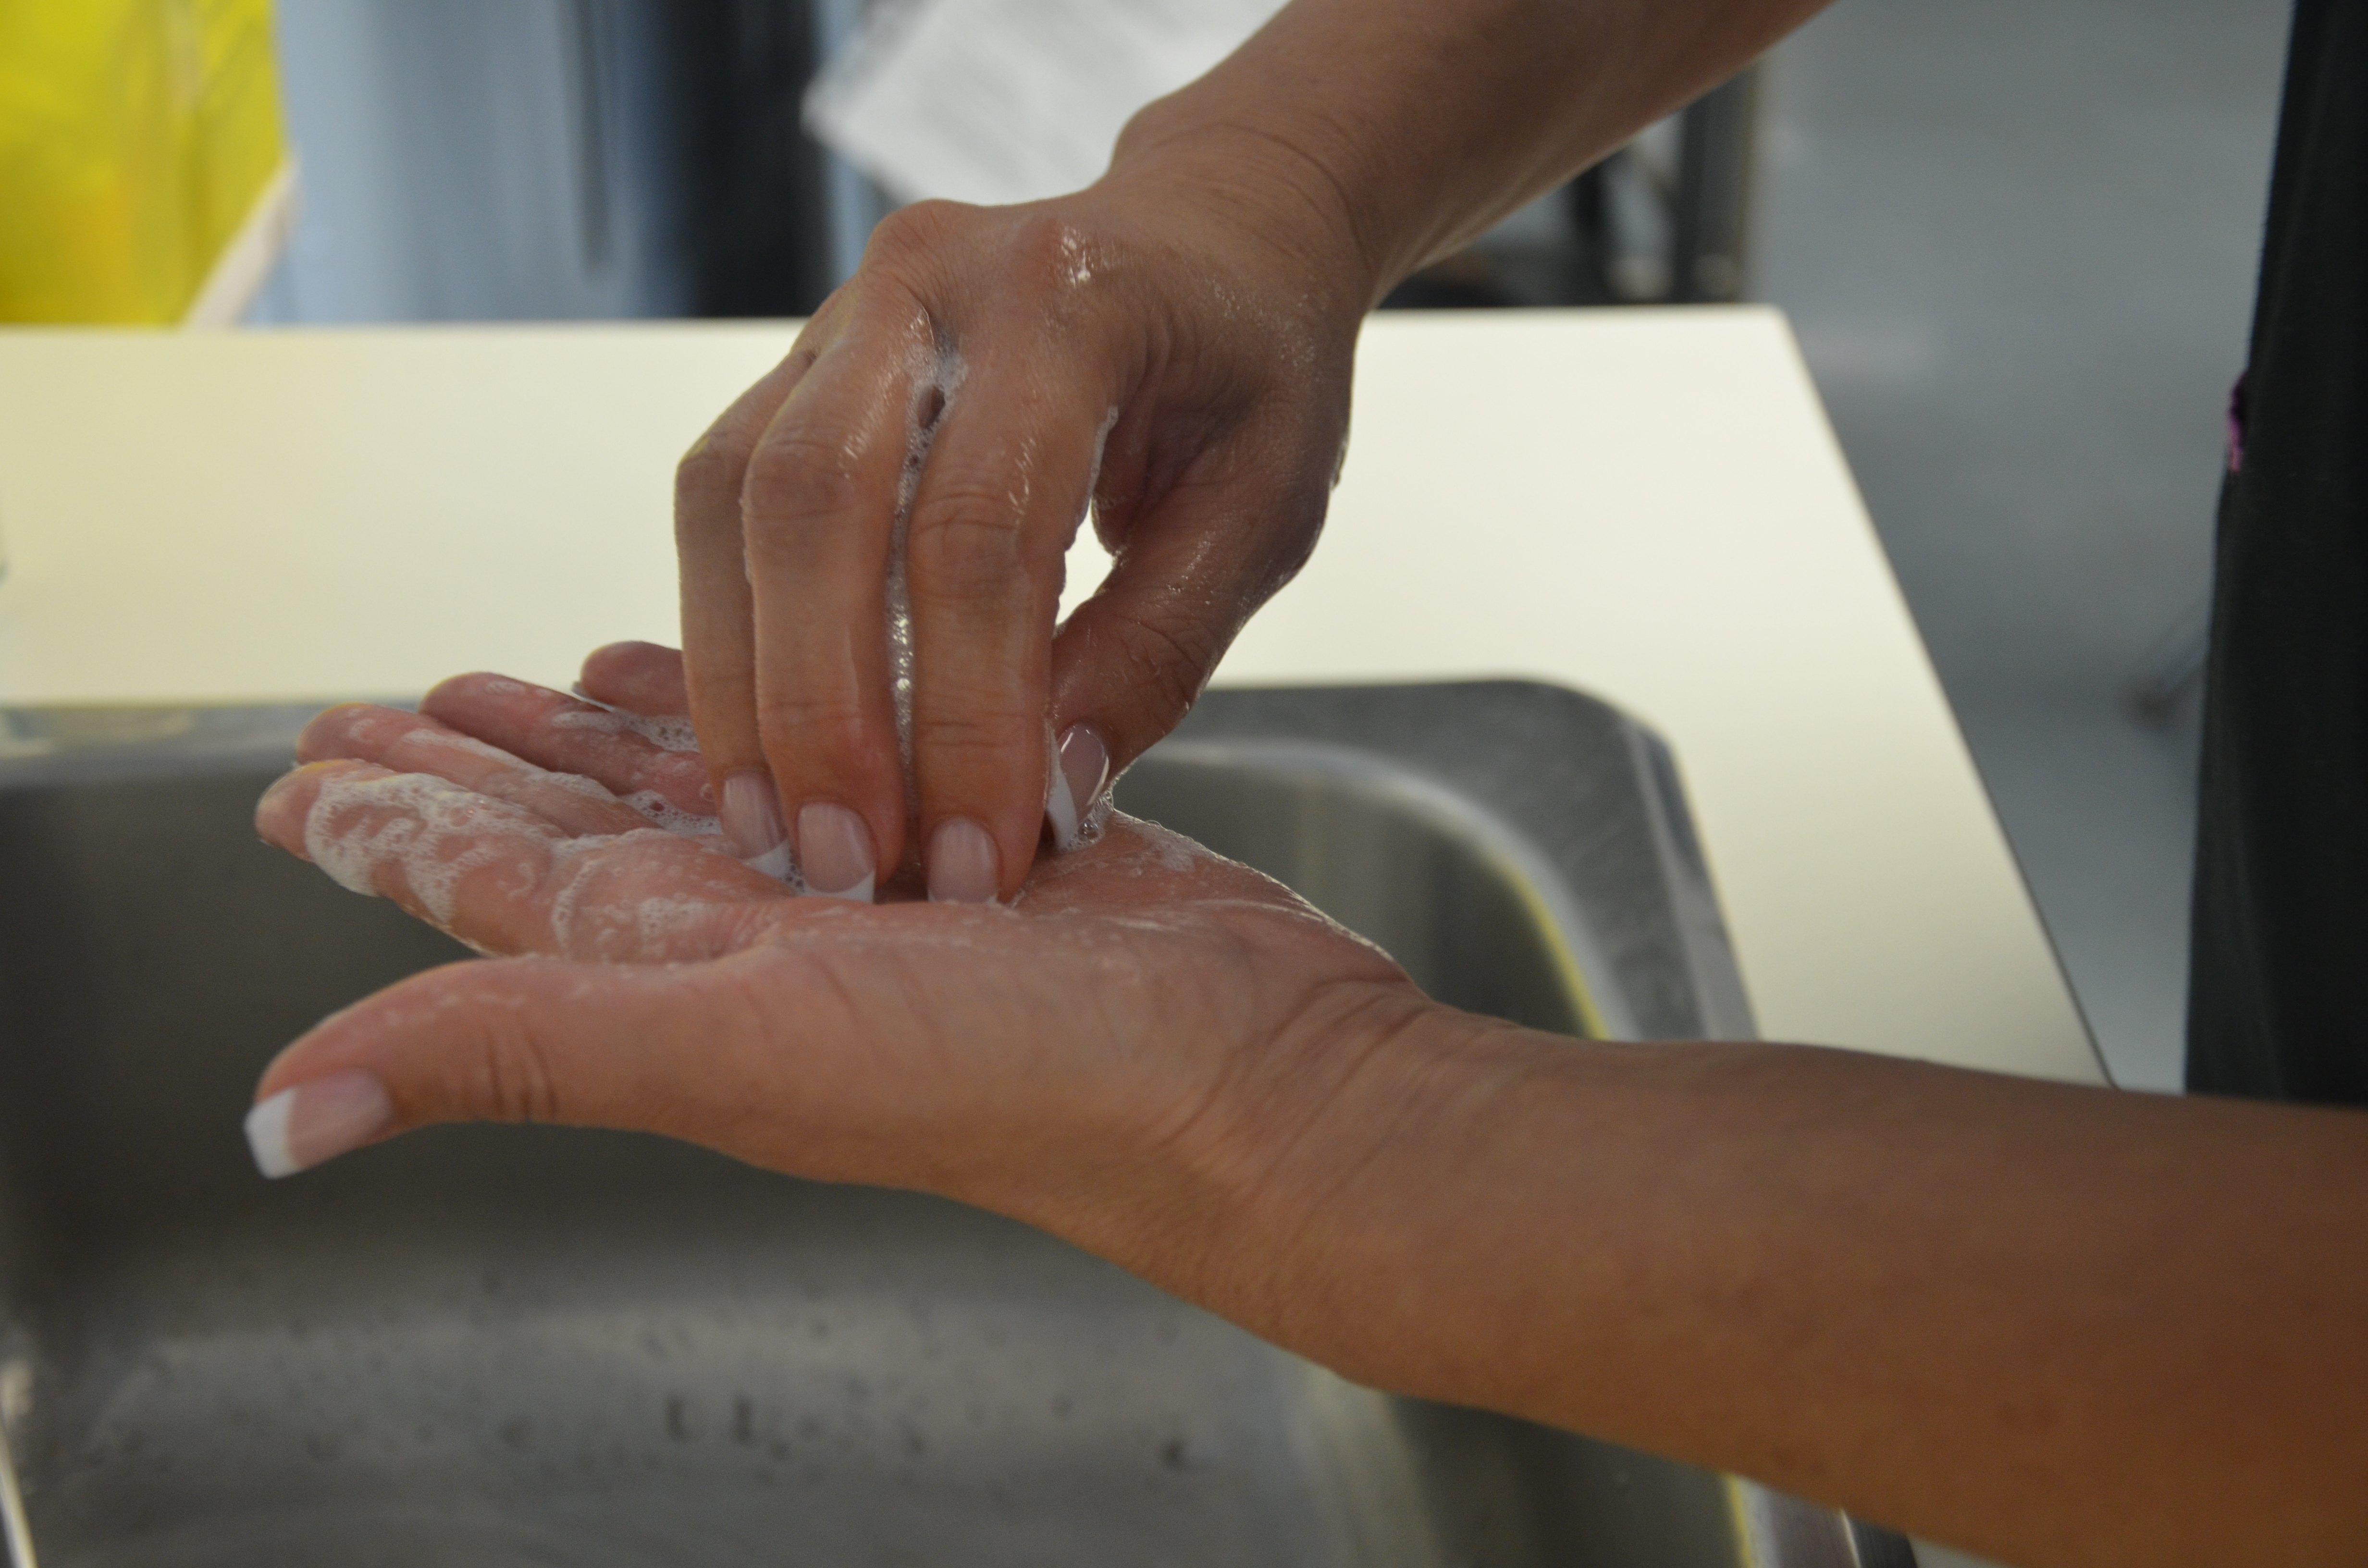
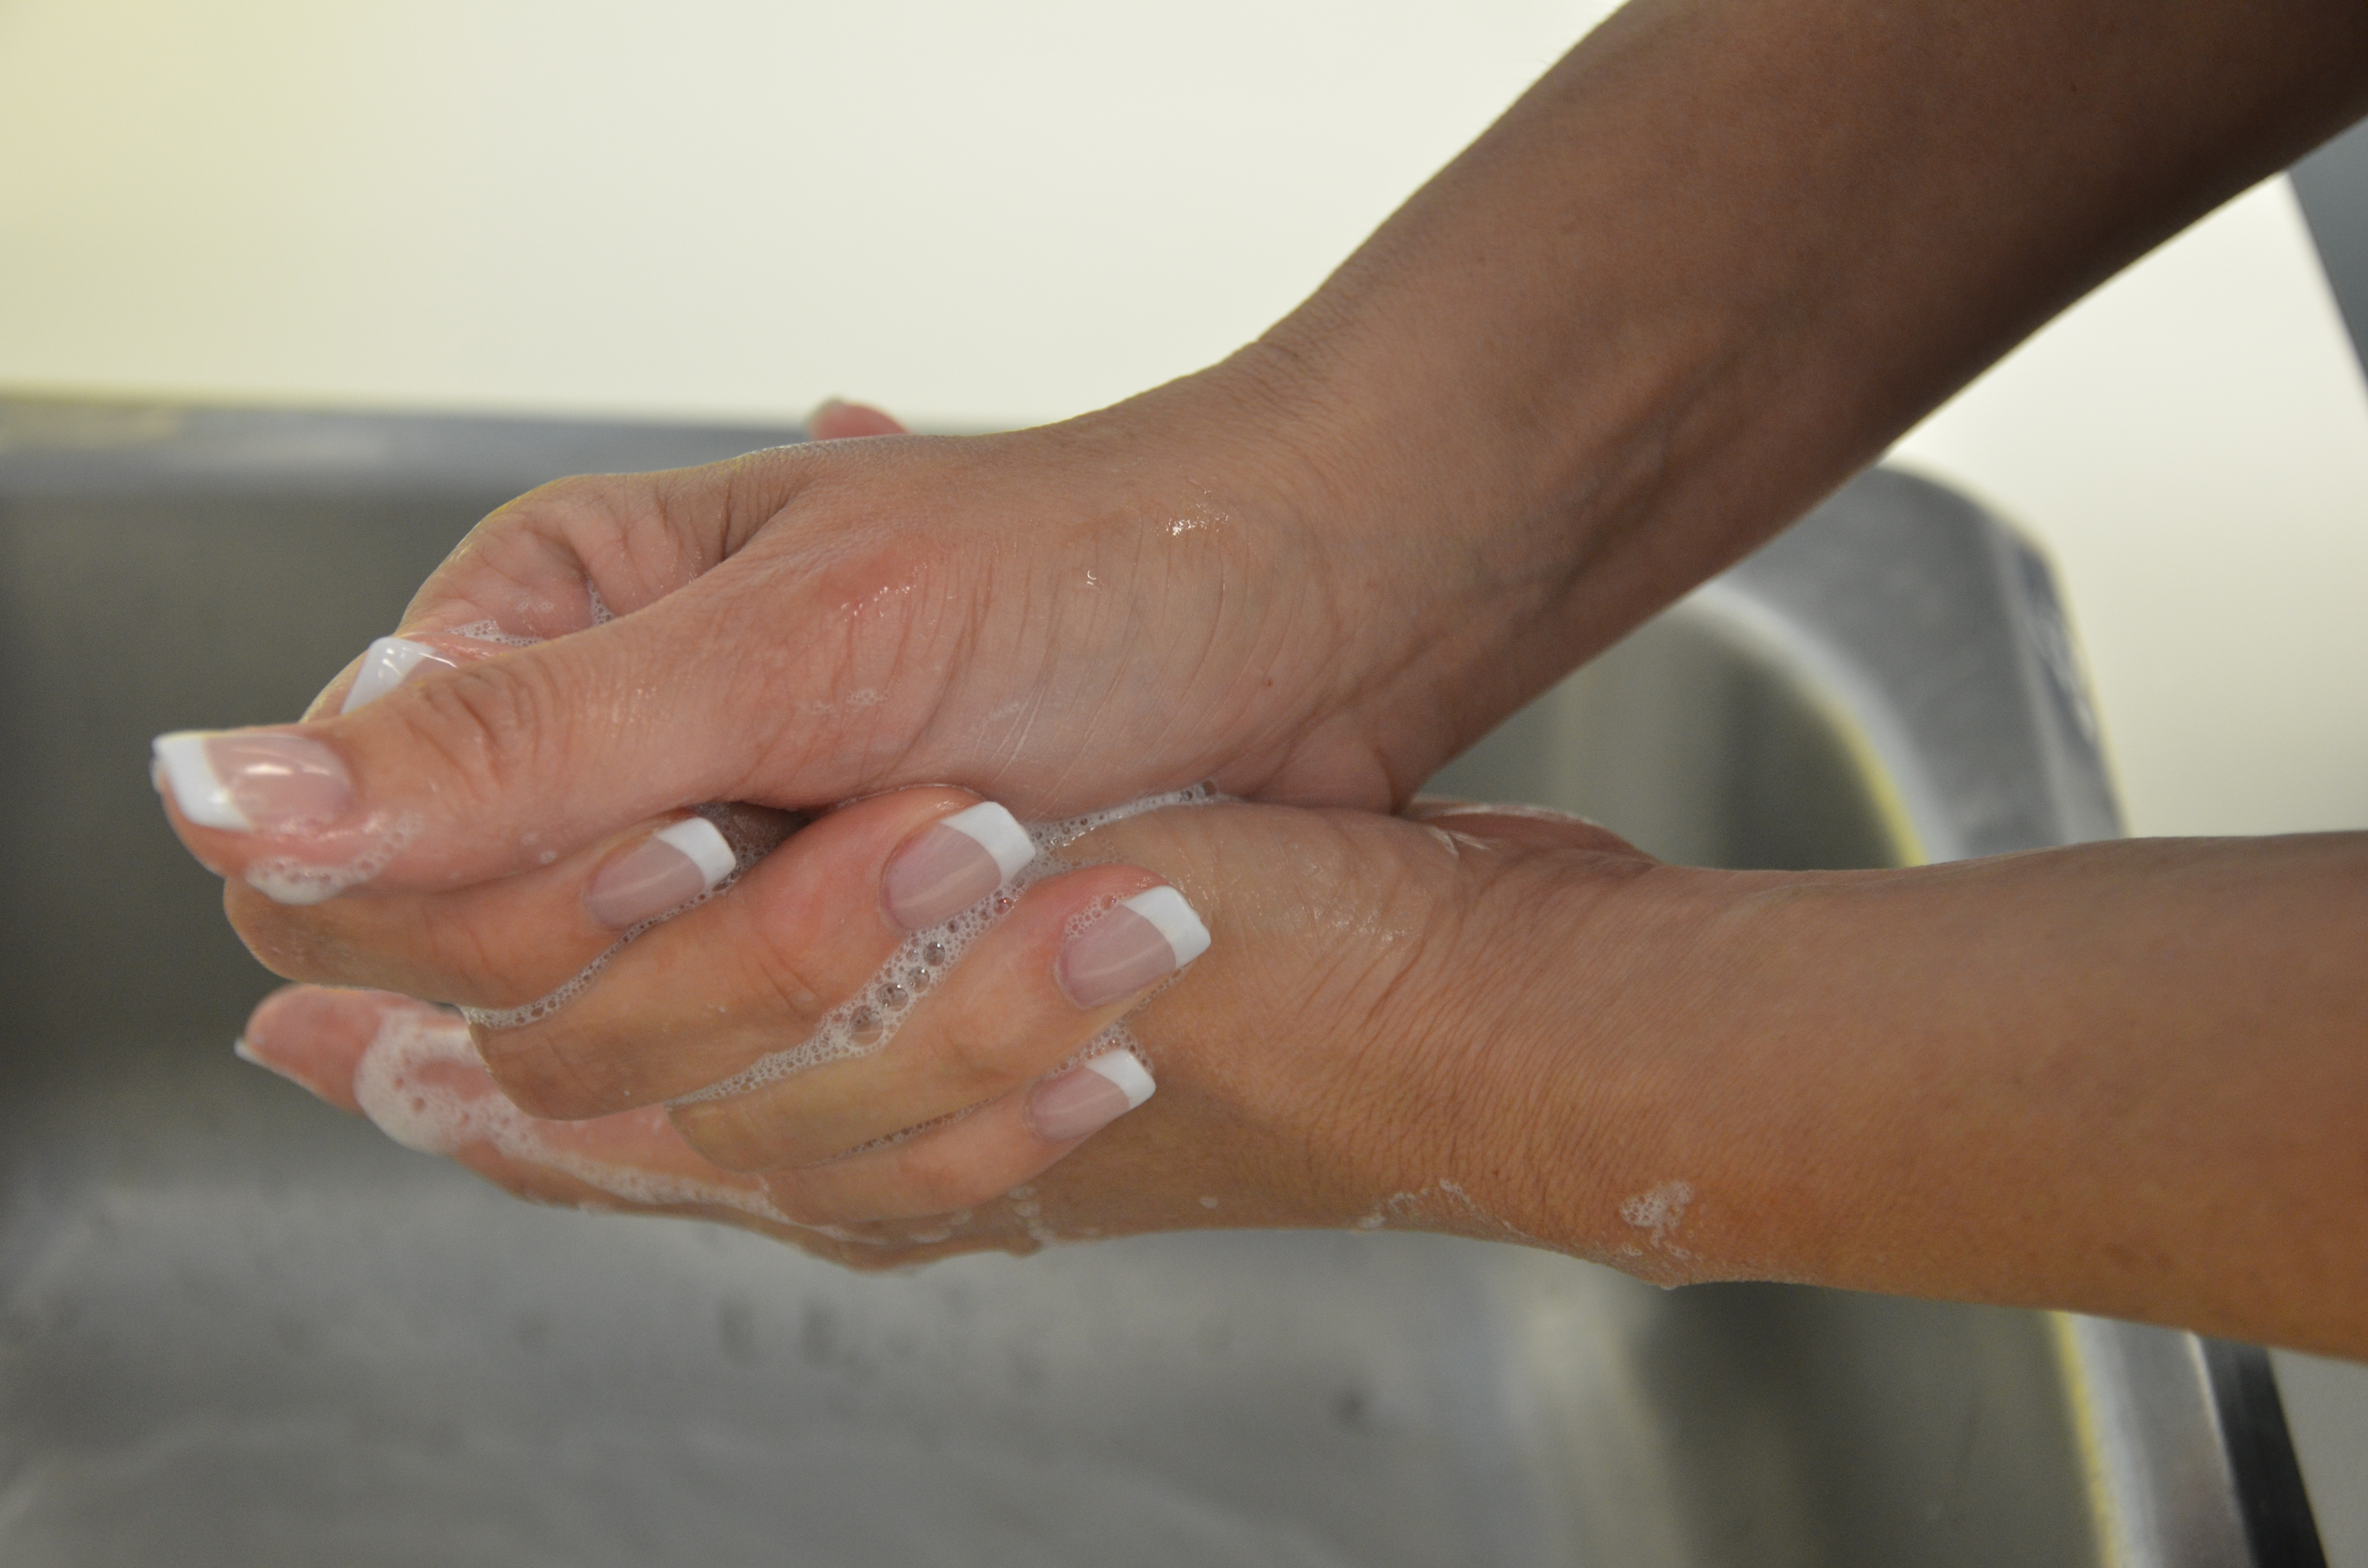
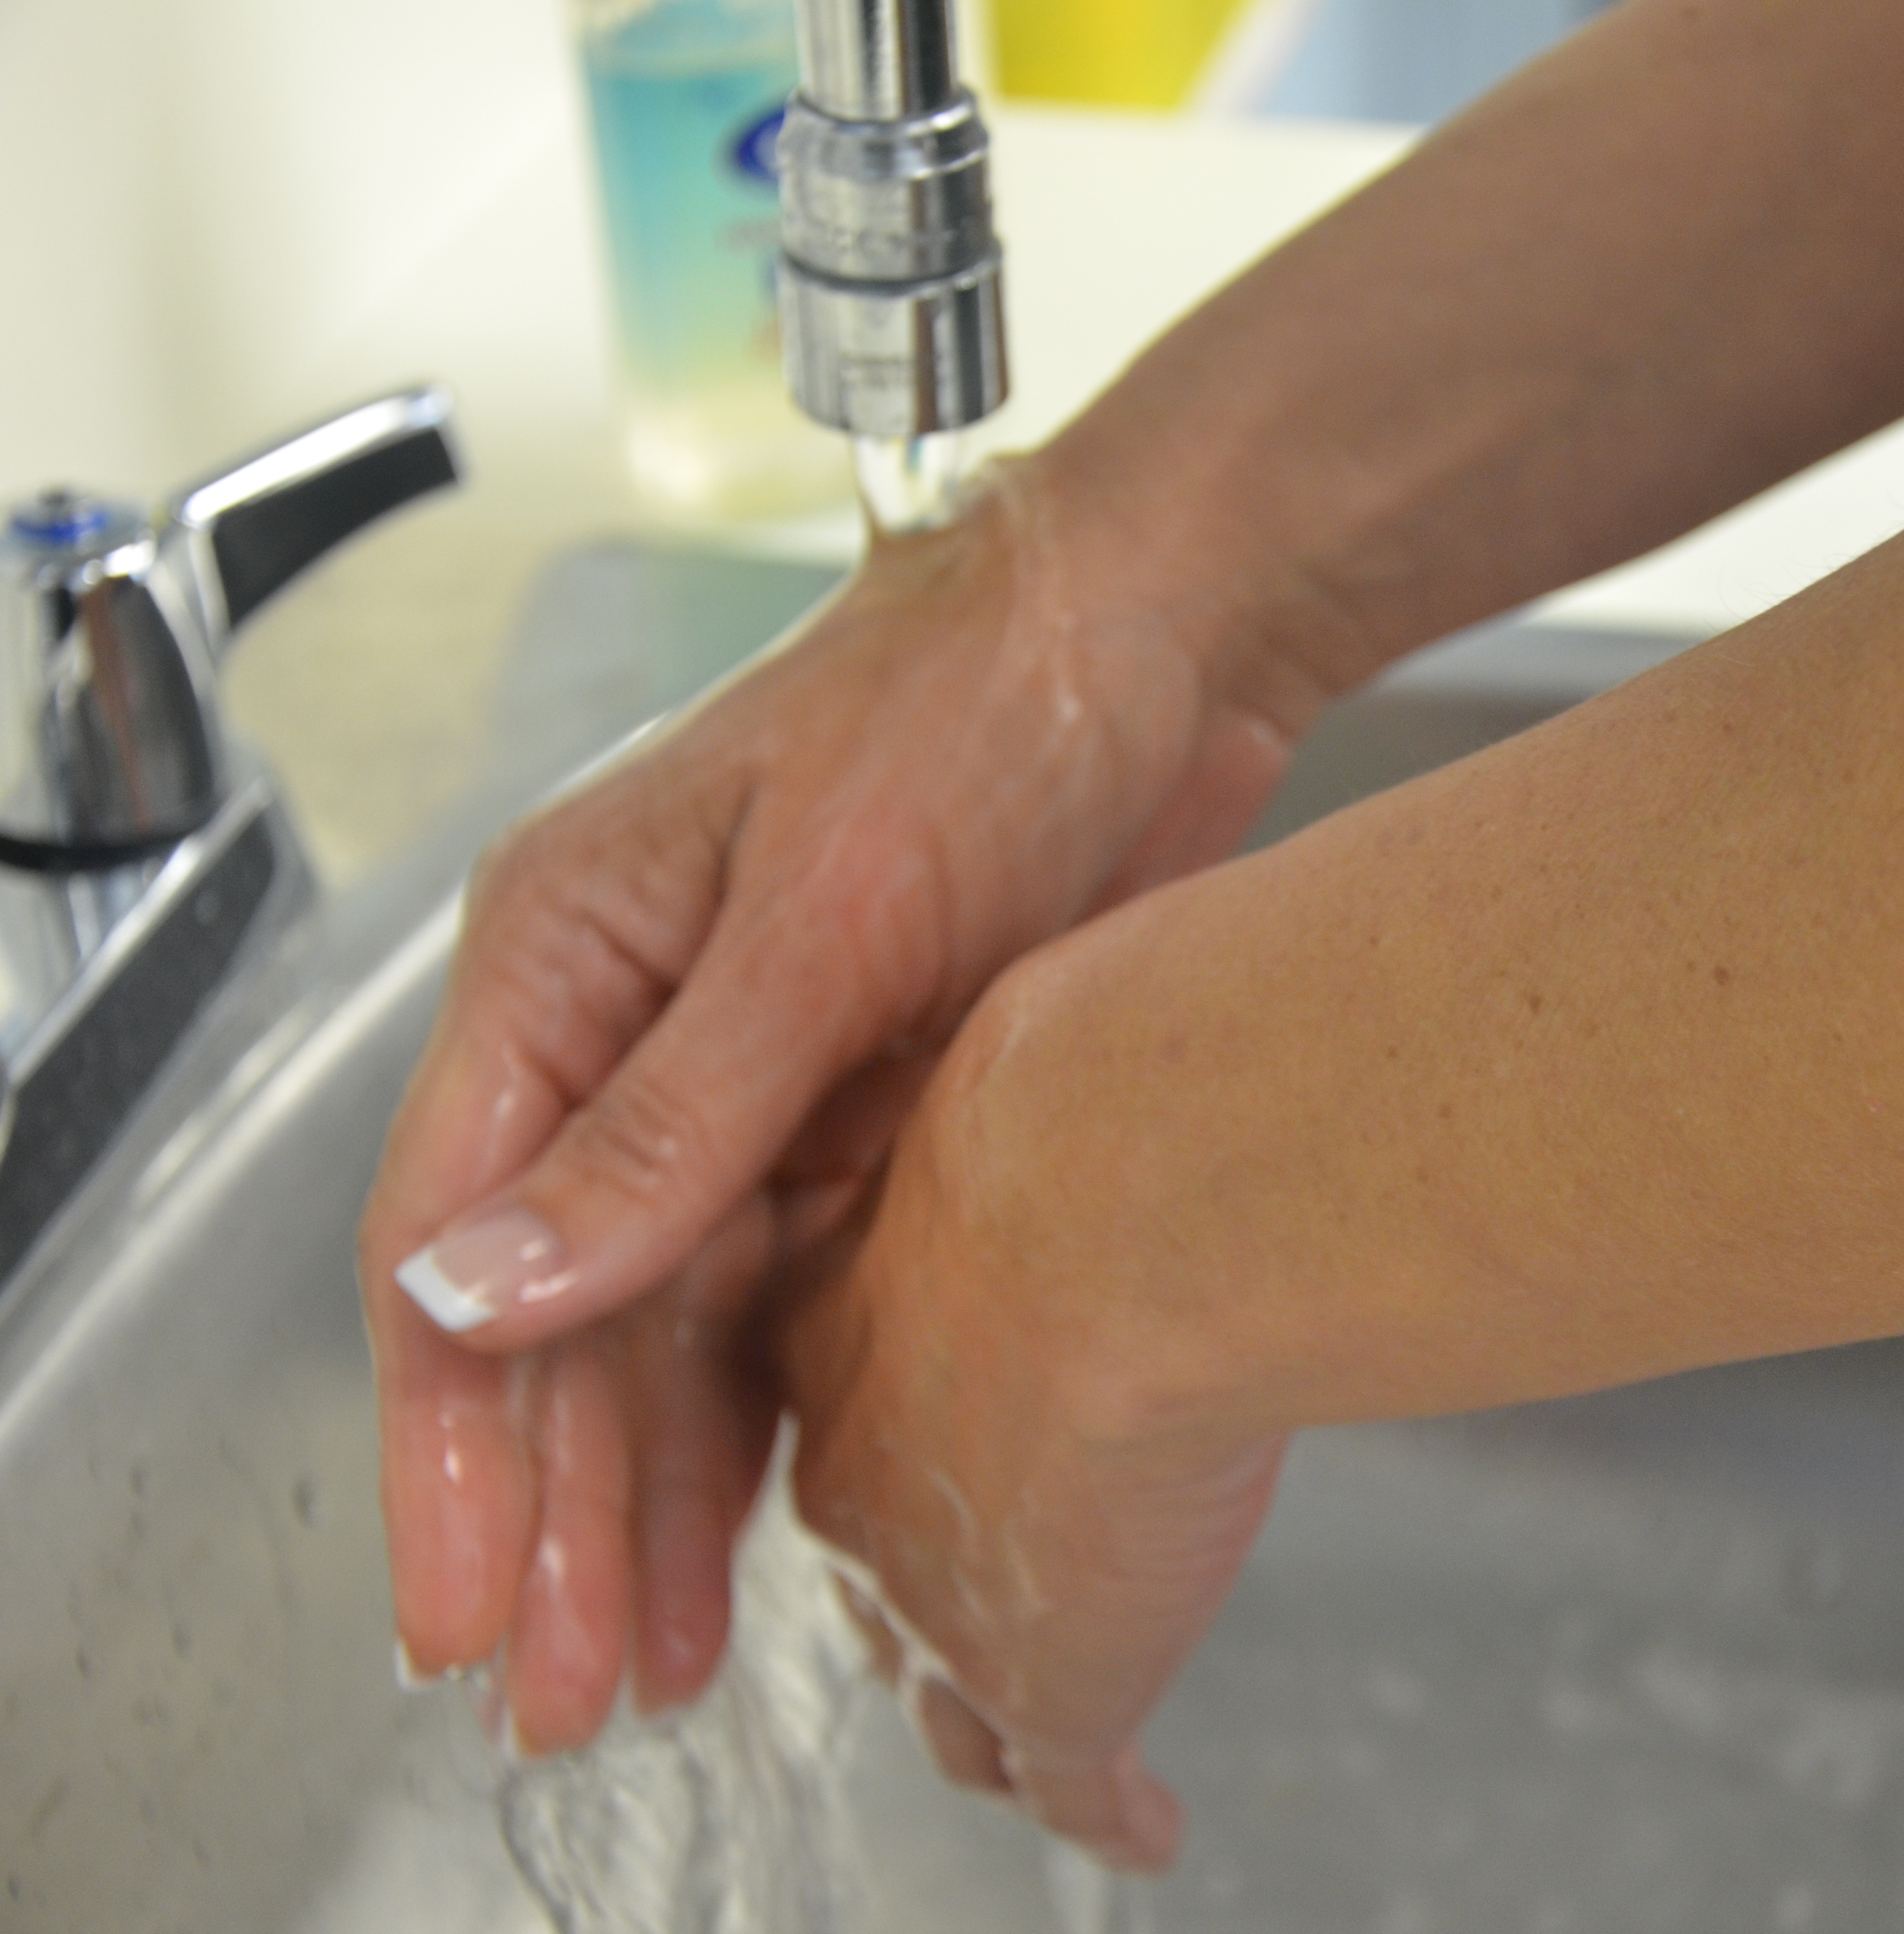
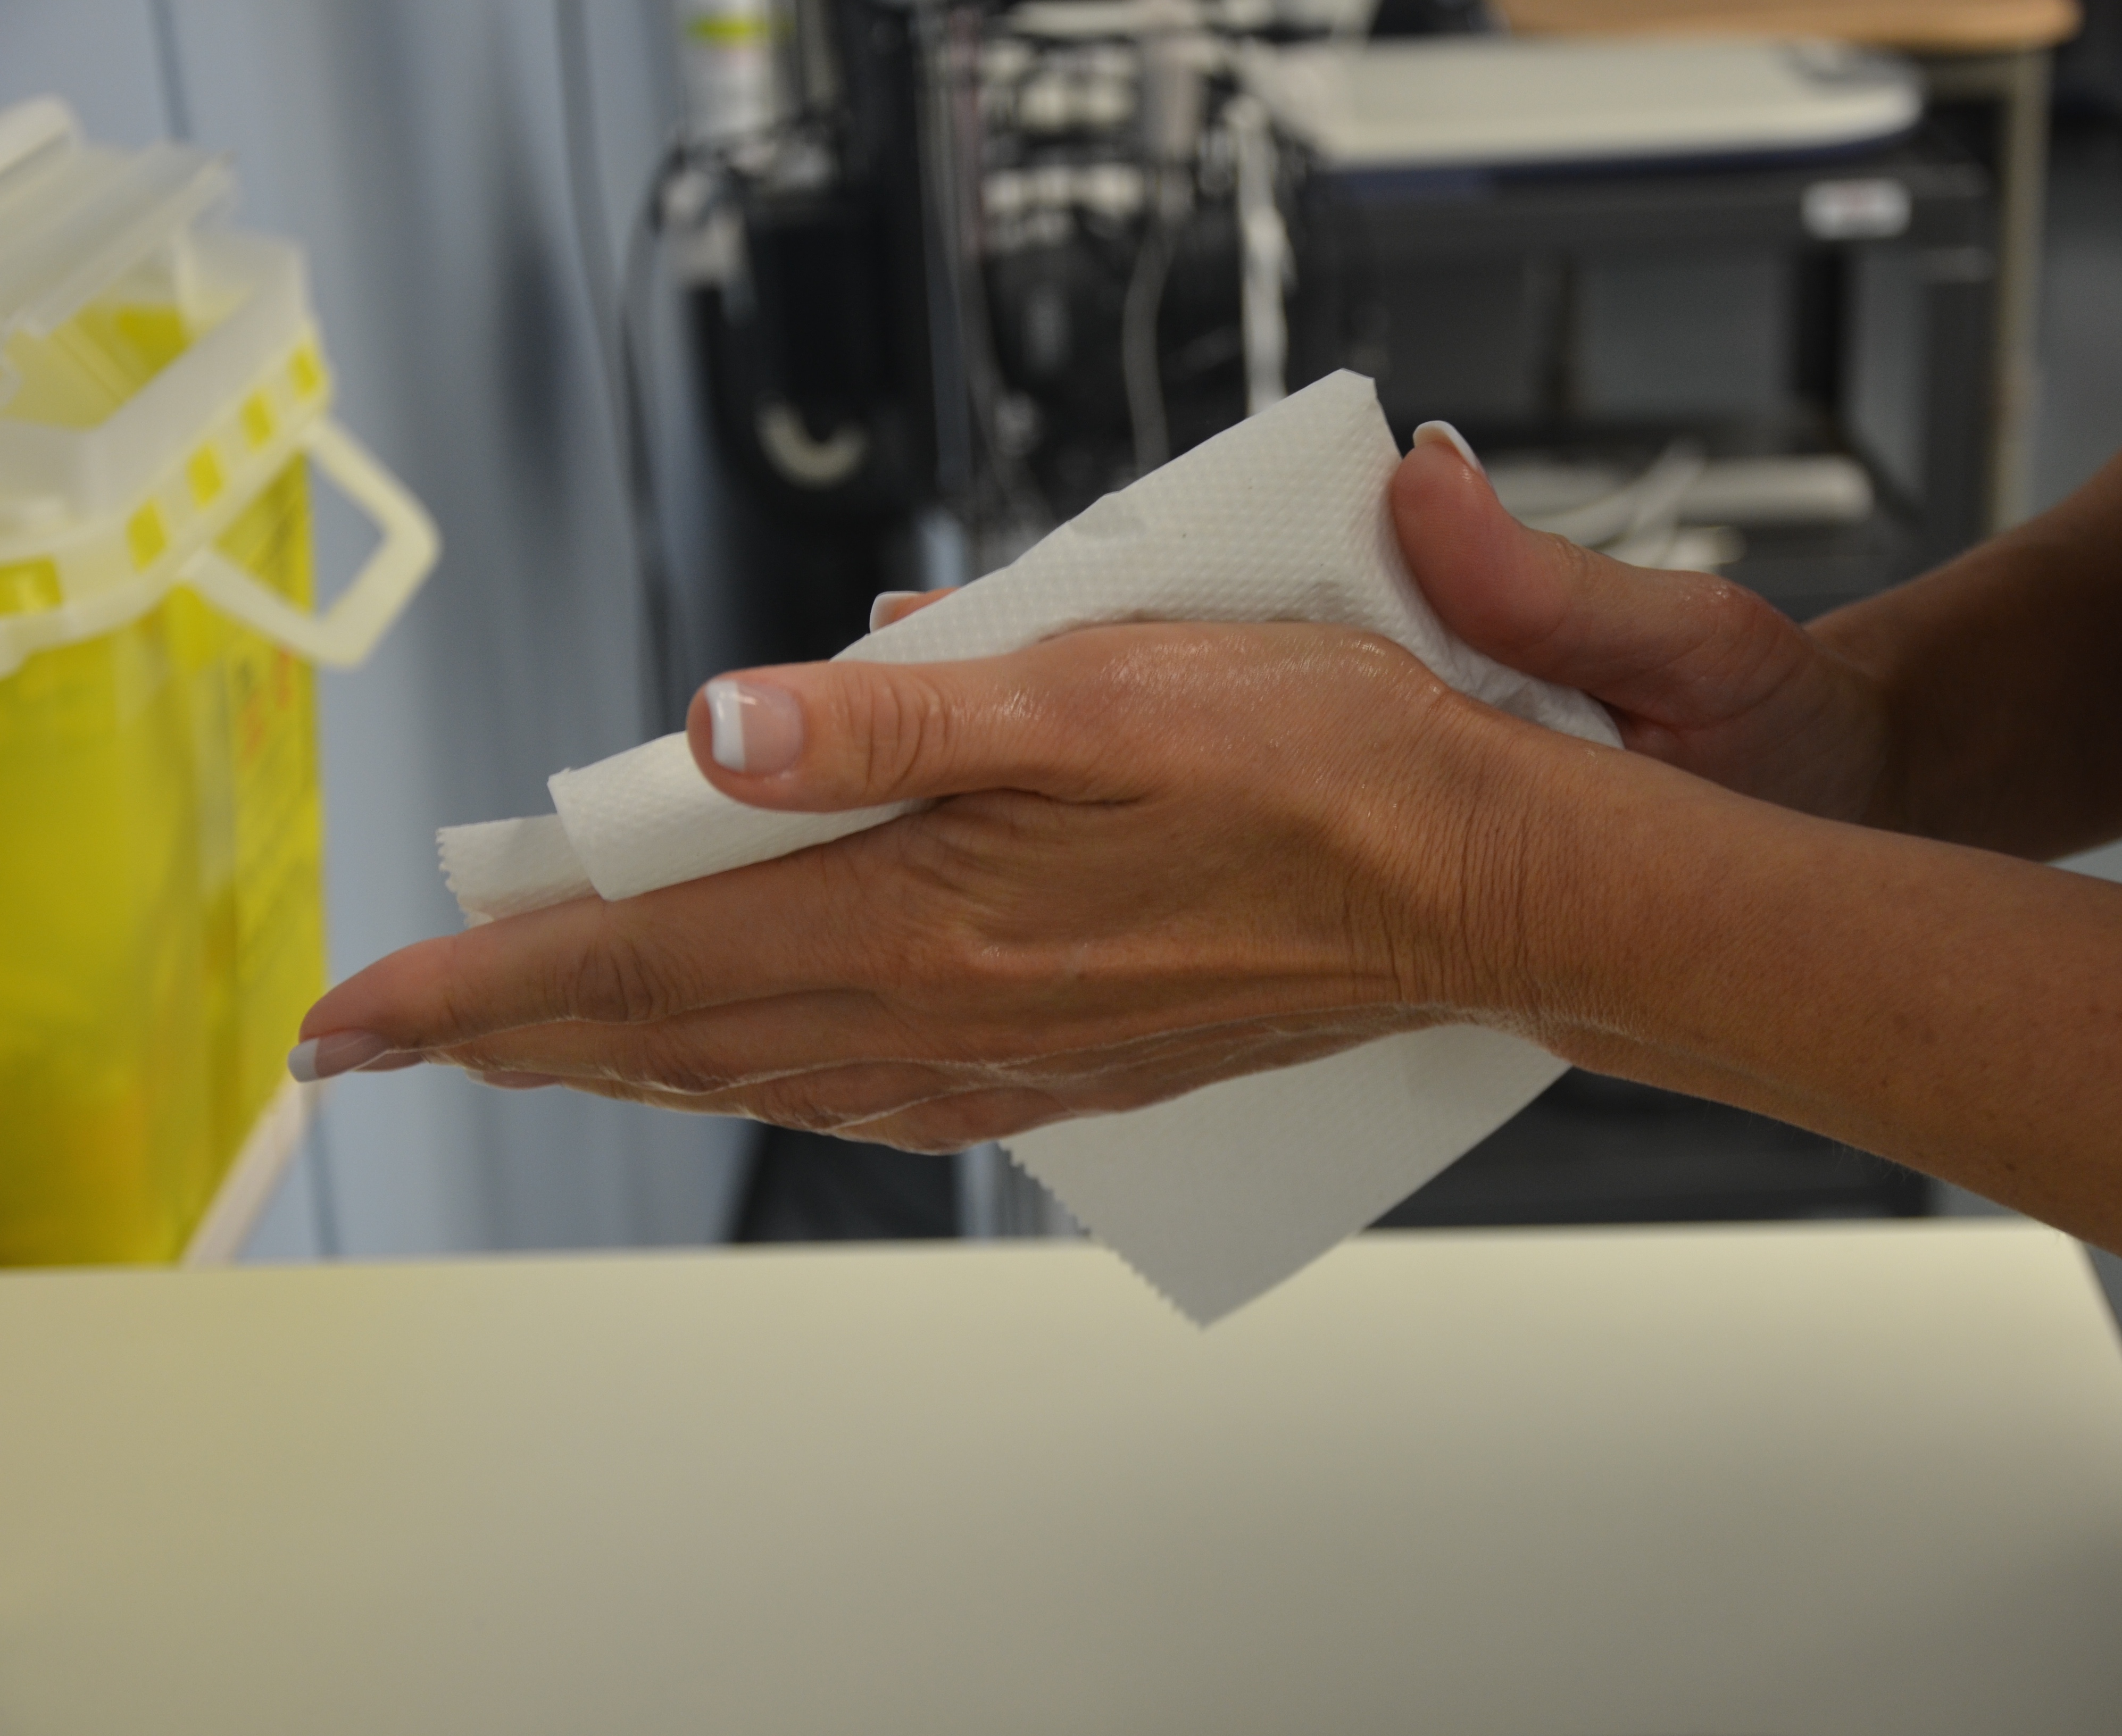
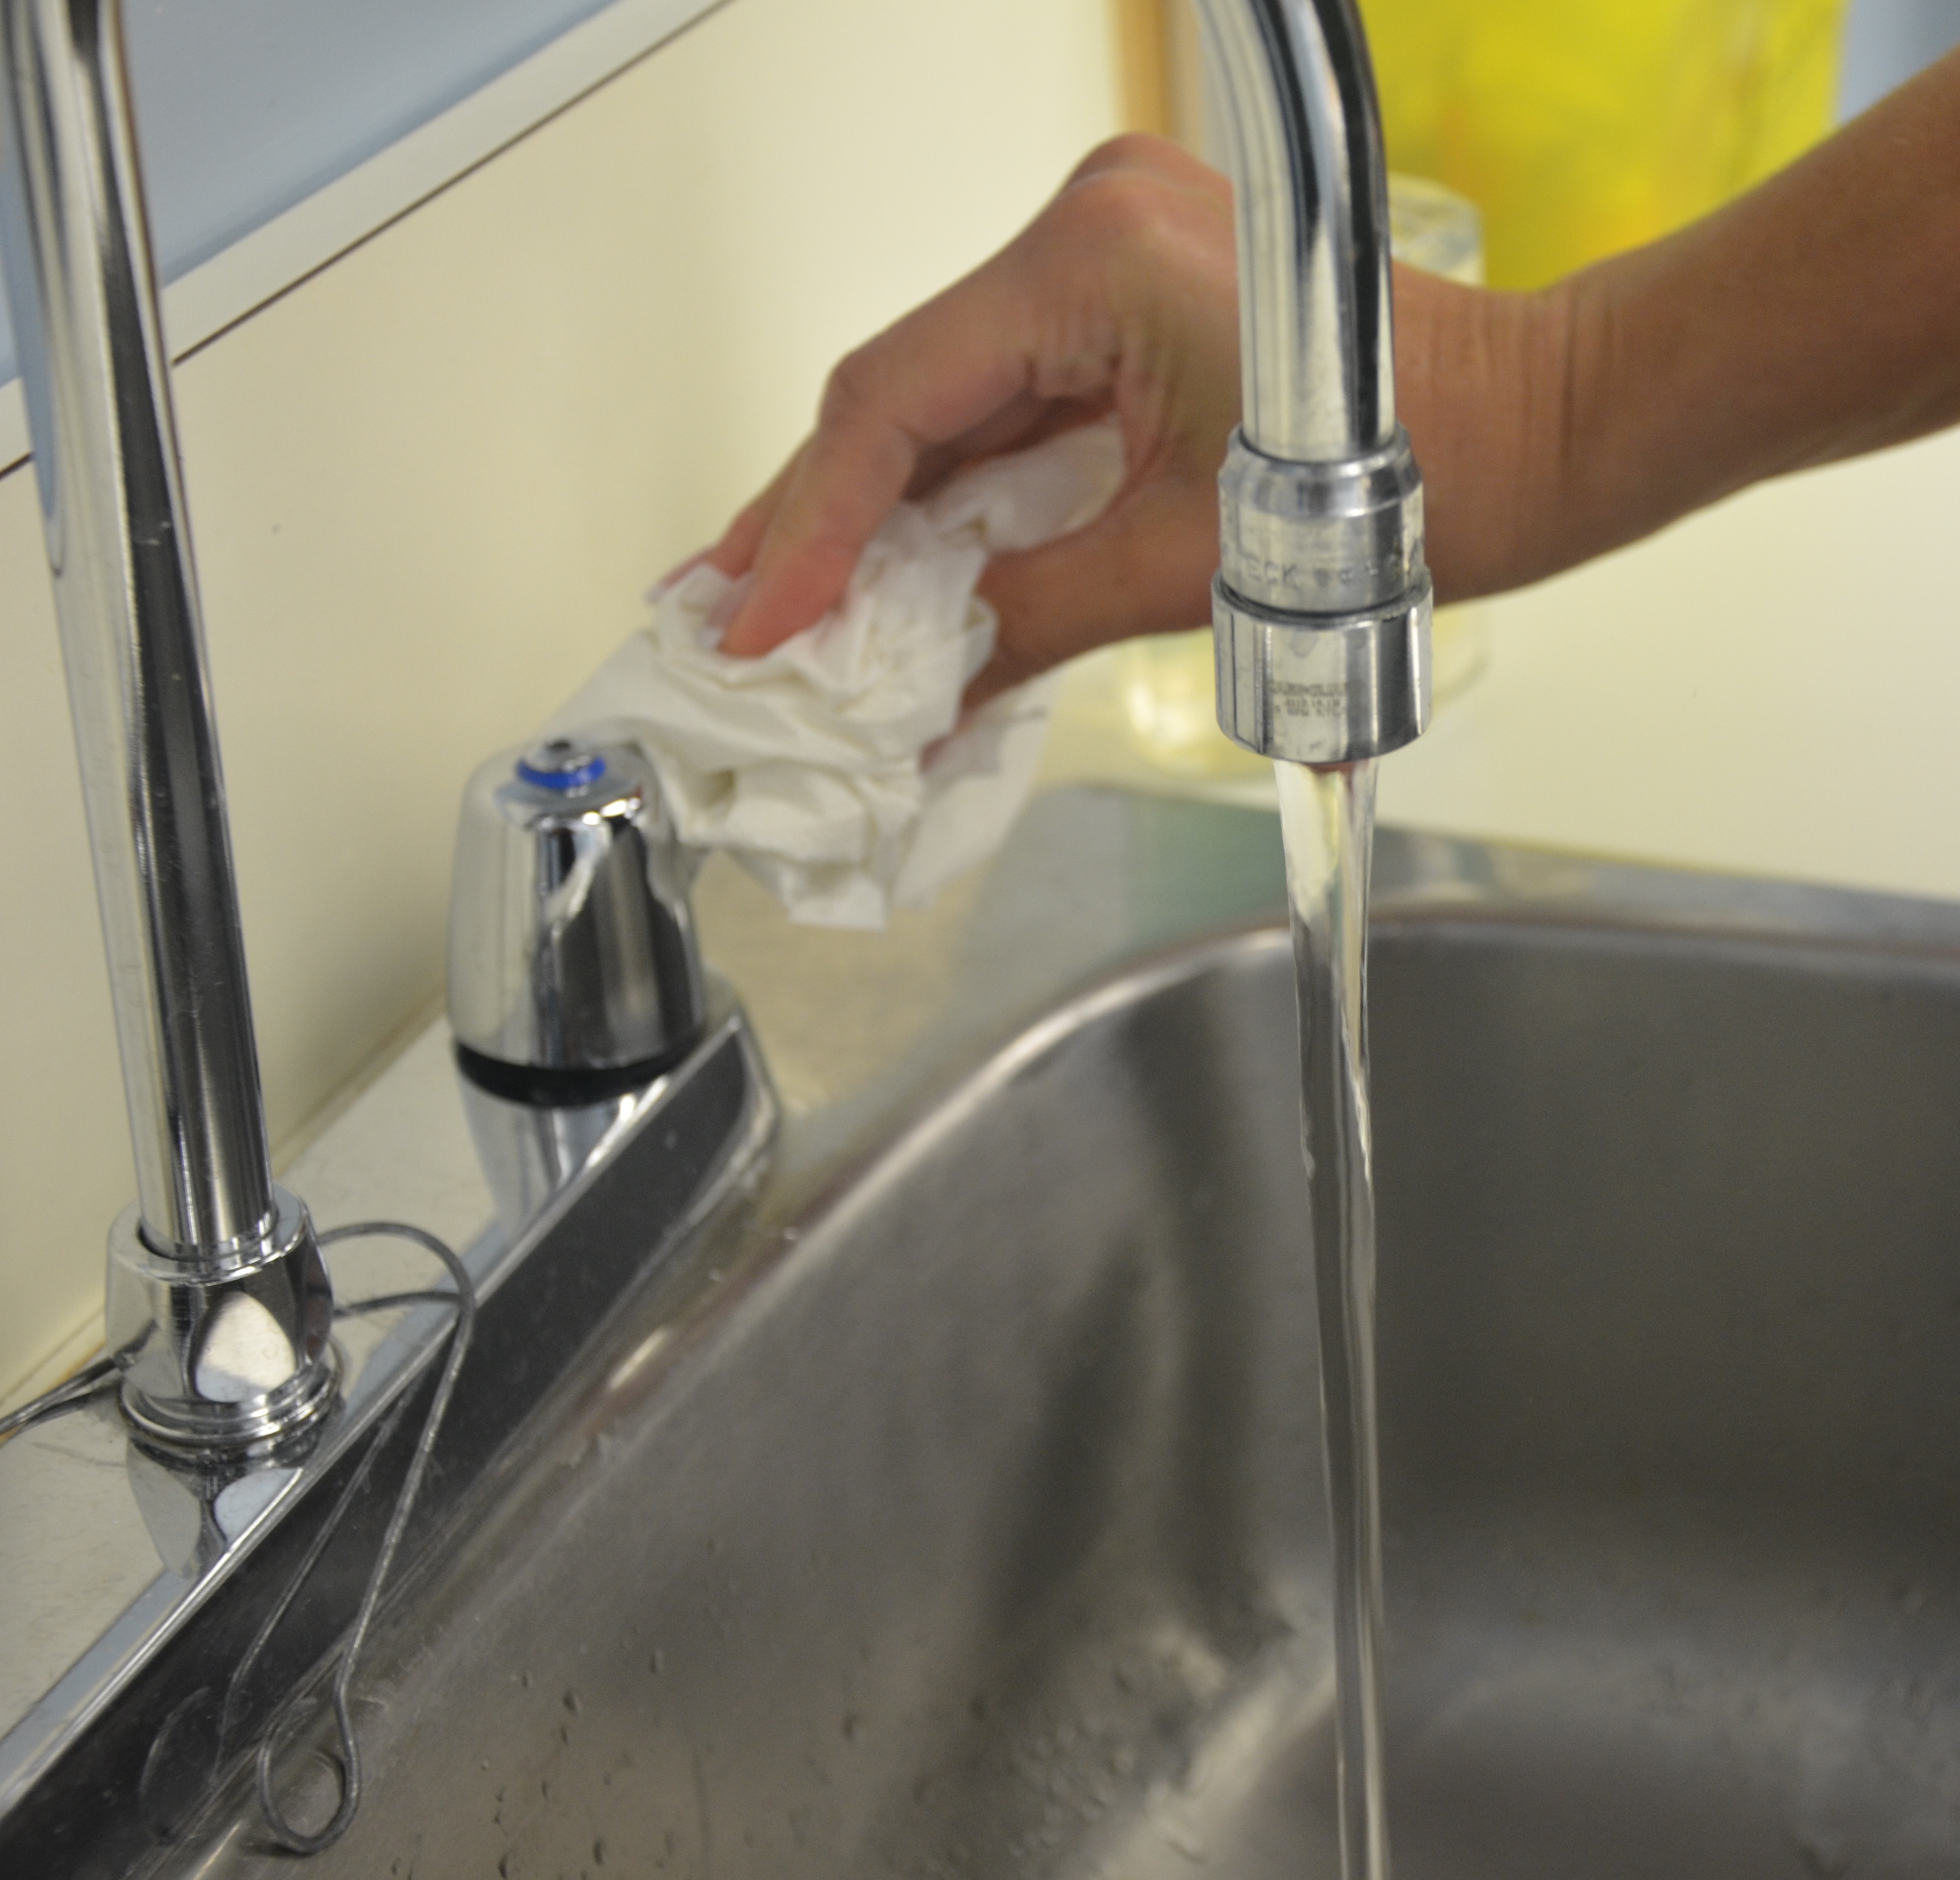
Hand Hygiene with Soap and Water
Hand hygiene with water requires soap to dissolve fatty materials and facilitate their subsequent flushing with water. Soap must be rubbed on all surfaces of both hands followed by thorough rinsing and drying, Water alone is not suitable for cleaning soiled hands (WHO, 2009a). The entire procedure should last 40 to 60 seconds and should use soap approved by the health agency. See the steps in Checklist 4.


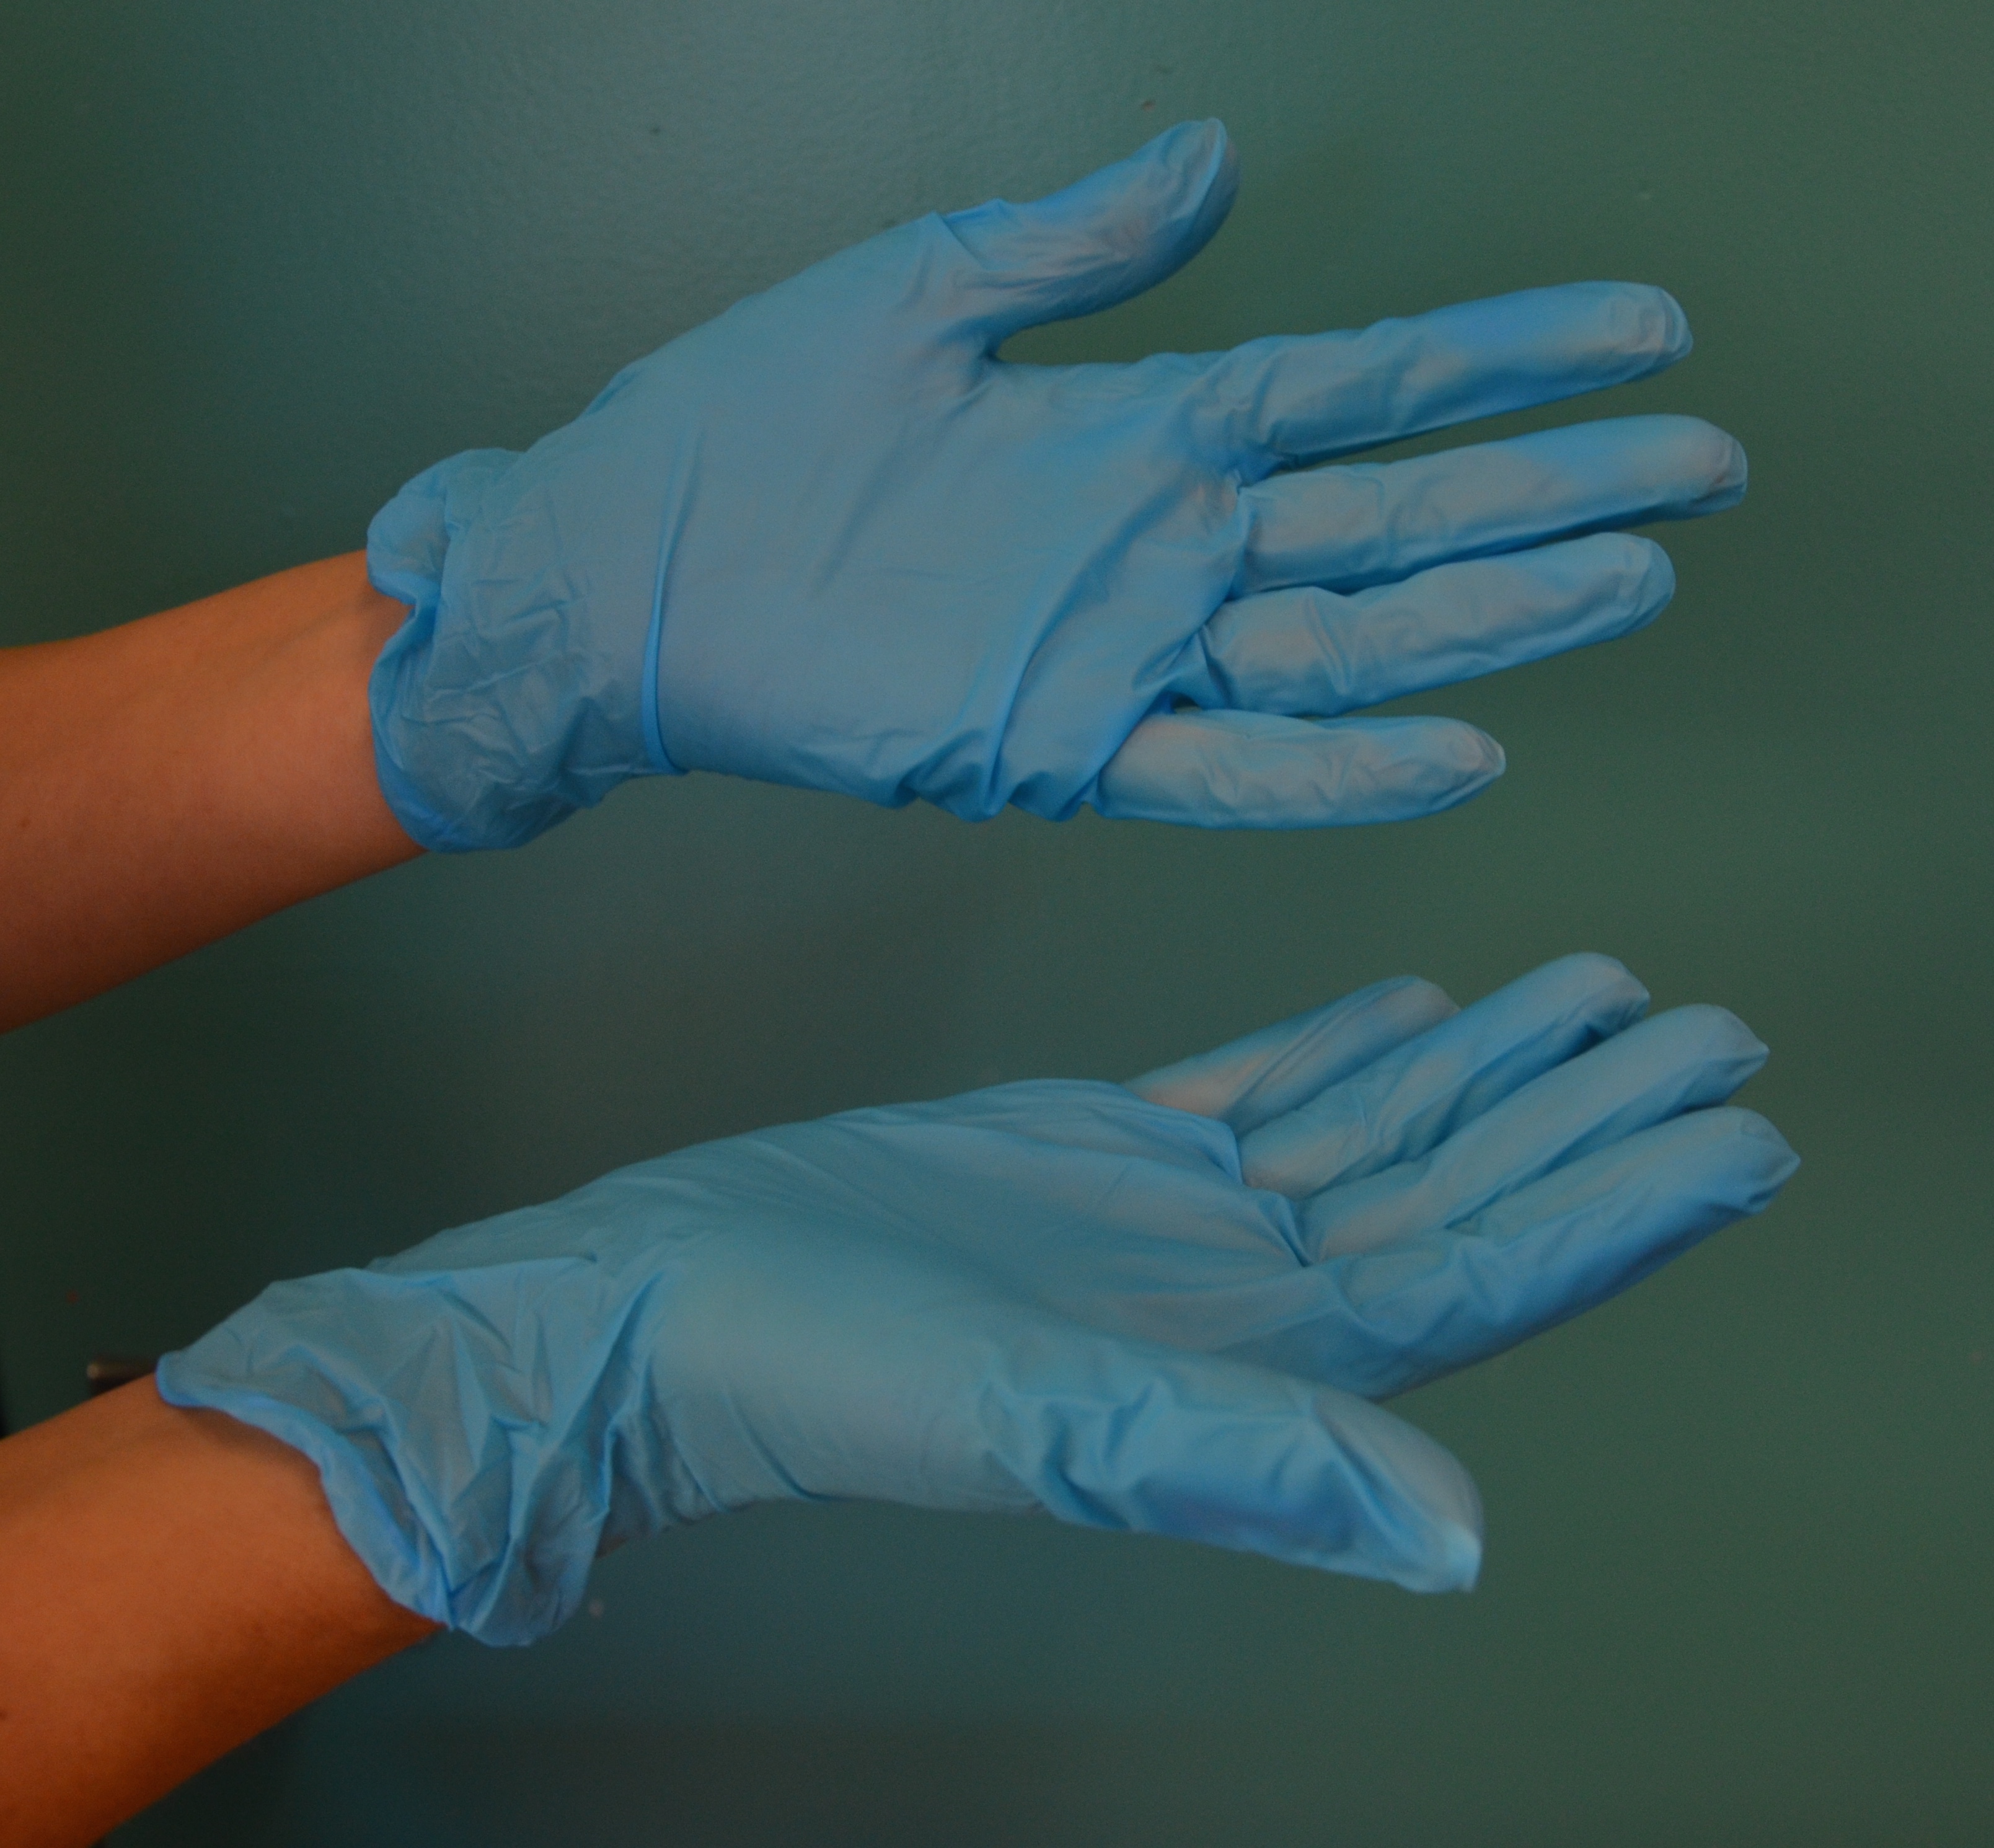
Non-sterile (Clean) Gloves
Both hand hygiene and clean glove use are strategies to prevent transmission of infections through hand contact. In the context of patient care, it makes sense to think of glove use and hand hygiene as complementary strategies to prevent transmission of pathogens. Gloves are critical to prevent the transmission of organisms when hand hygiene alone is not enough in an outbreak such as Clostridium difficile or the norovirus, or when a patient has a suspected or known pathogen. Studies have shown that gloves reduce transmission of microbes from the hands of health care workers (PIDAC, 2012).
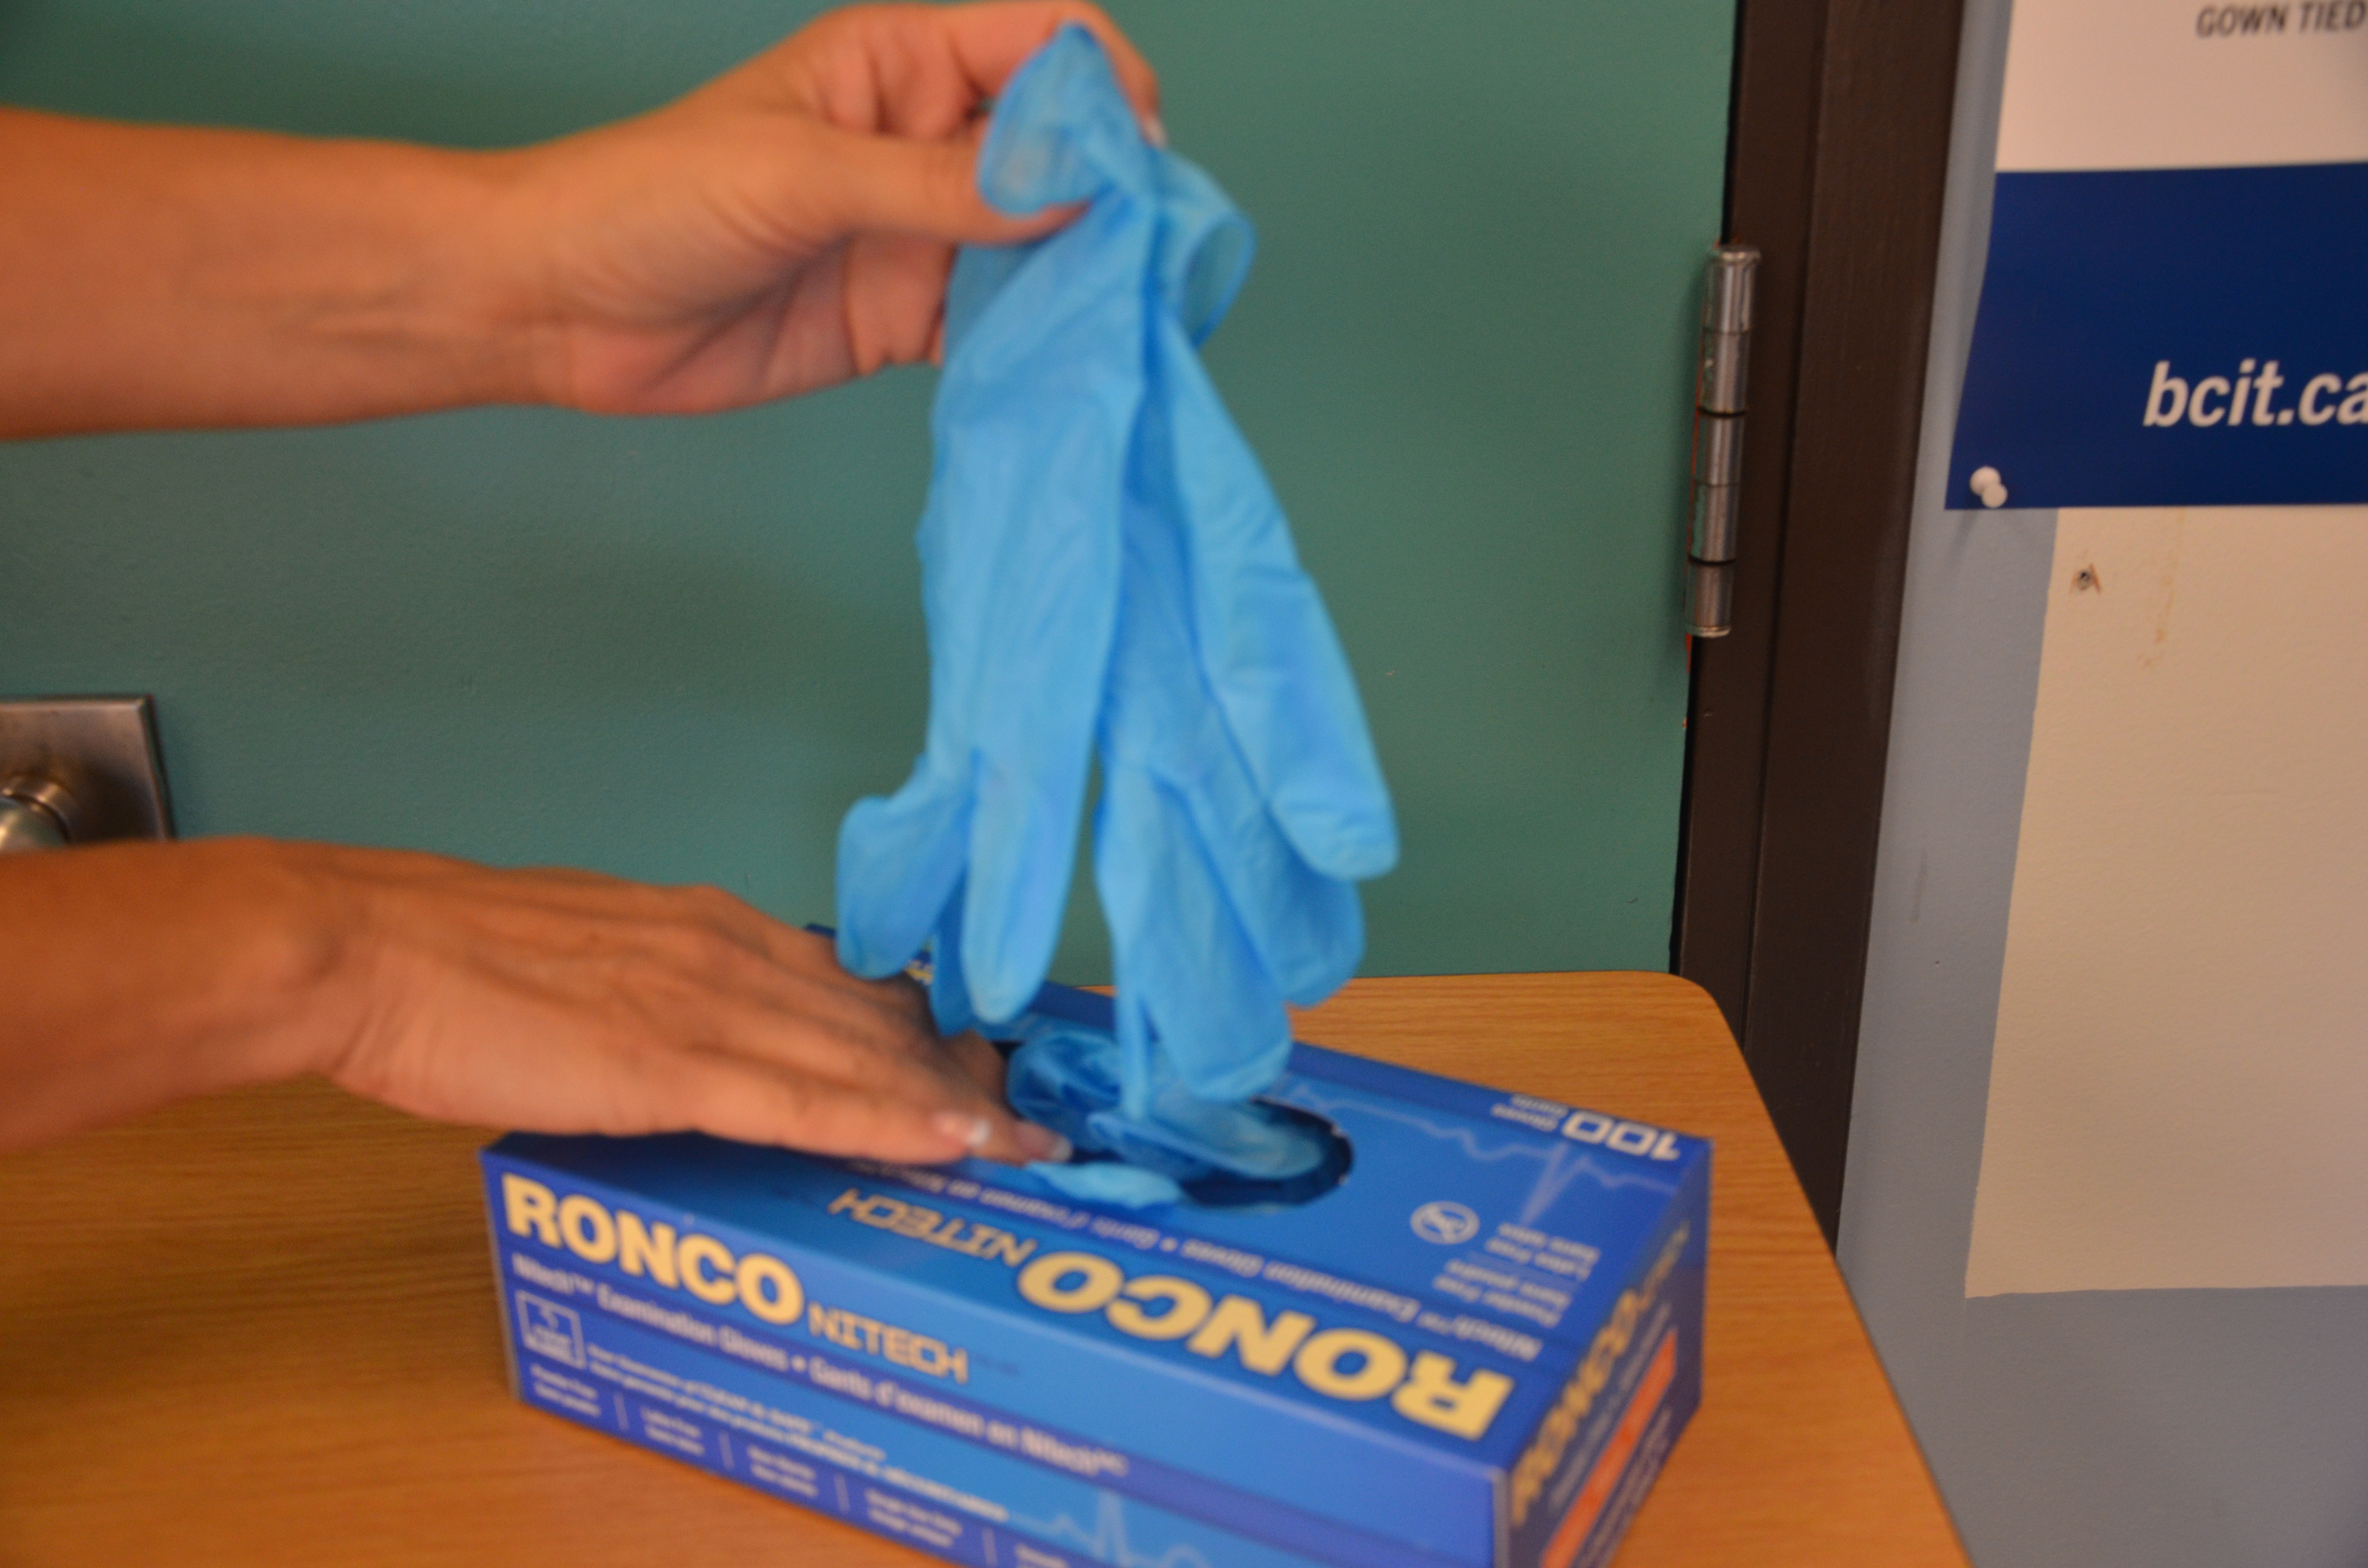
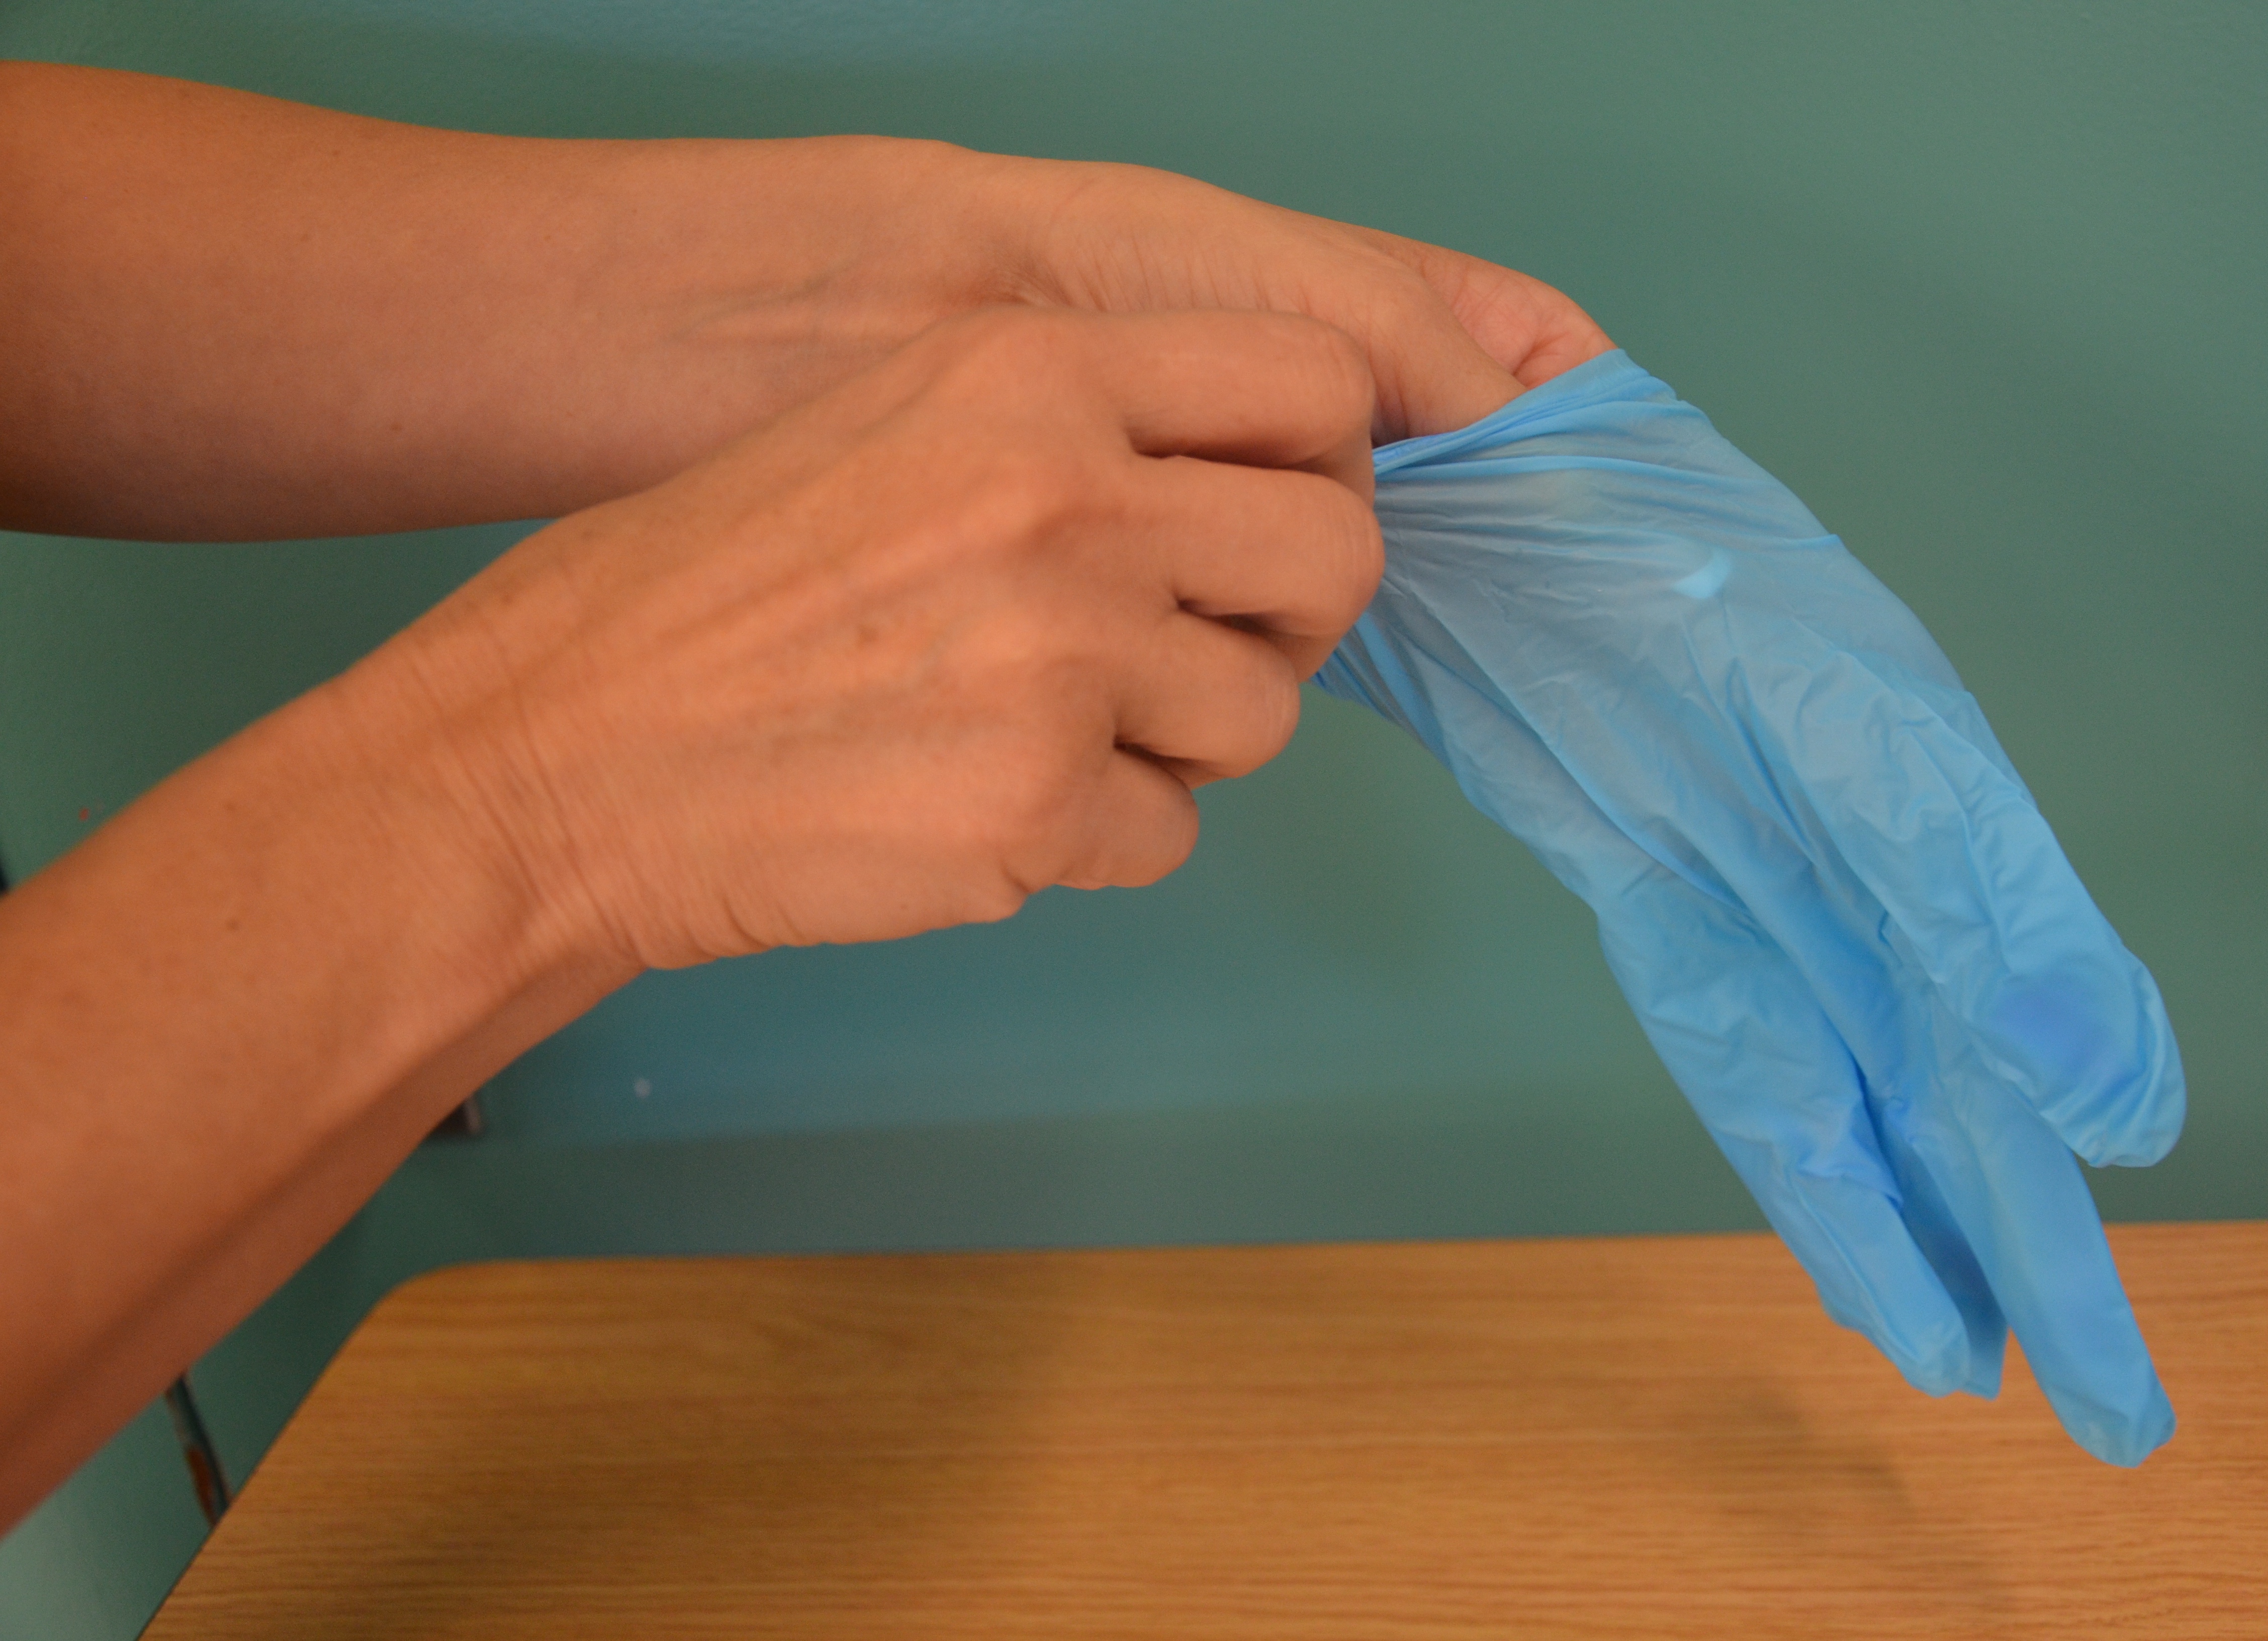
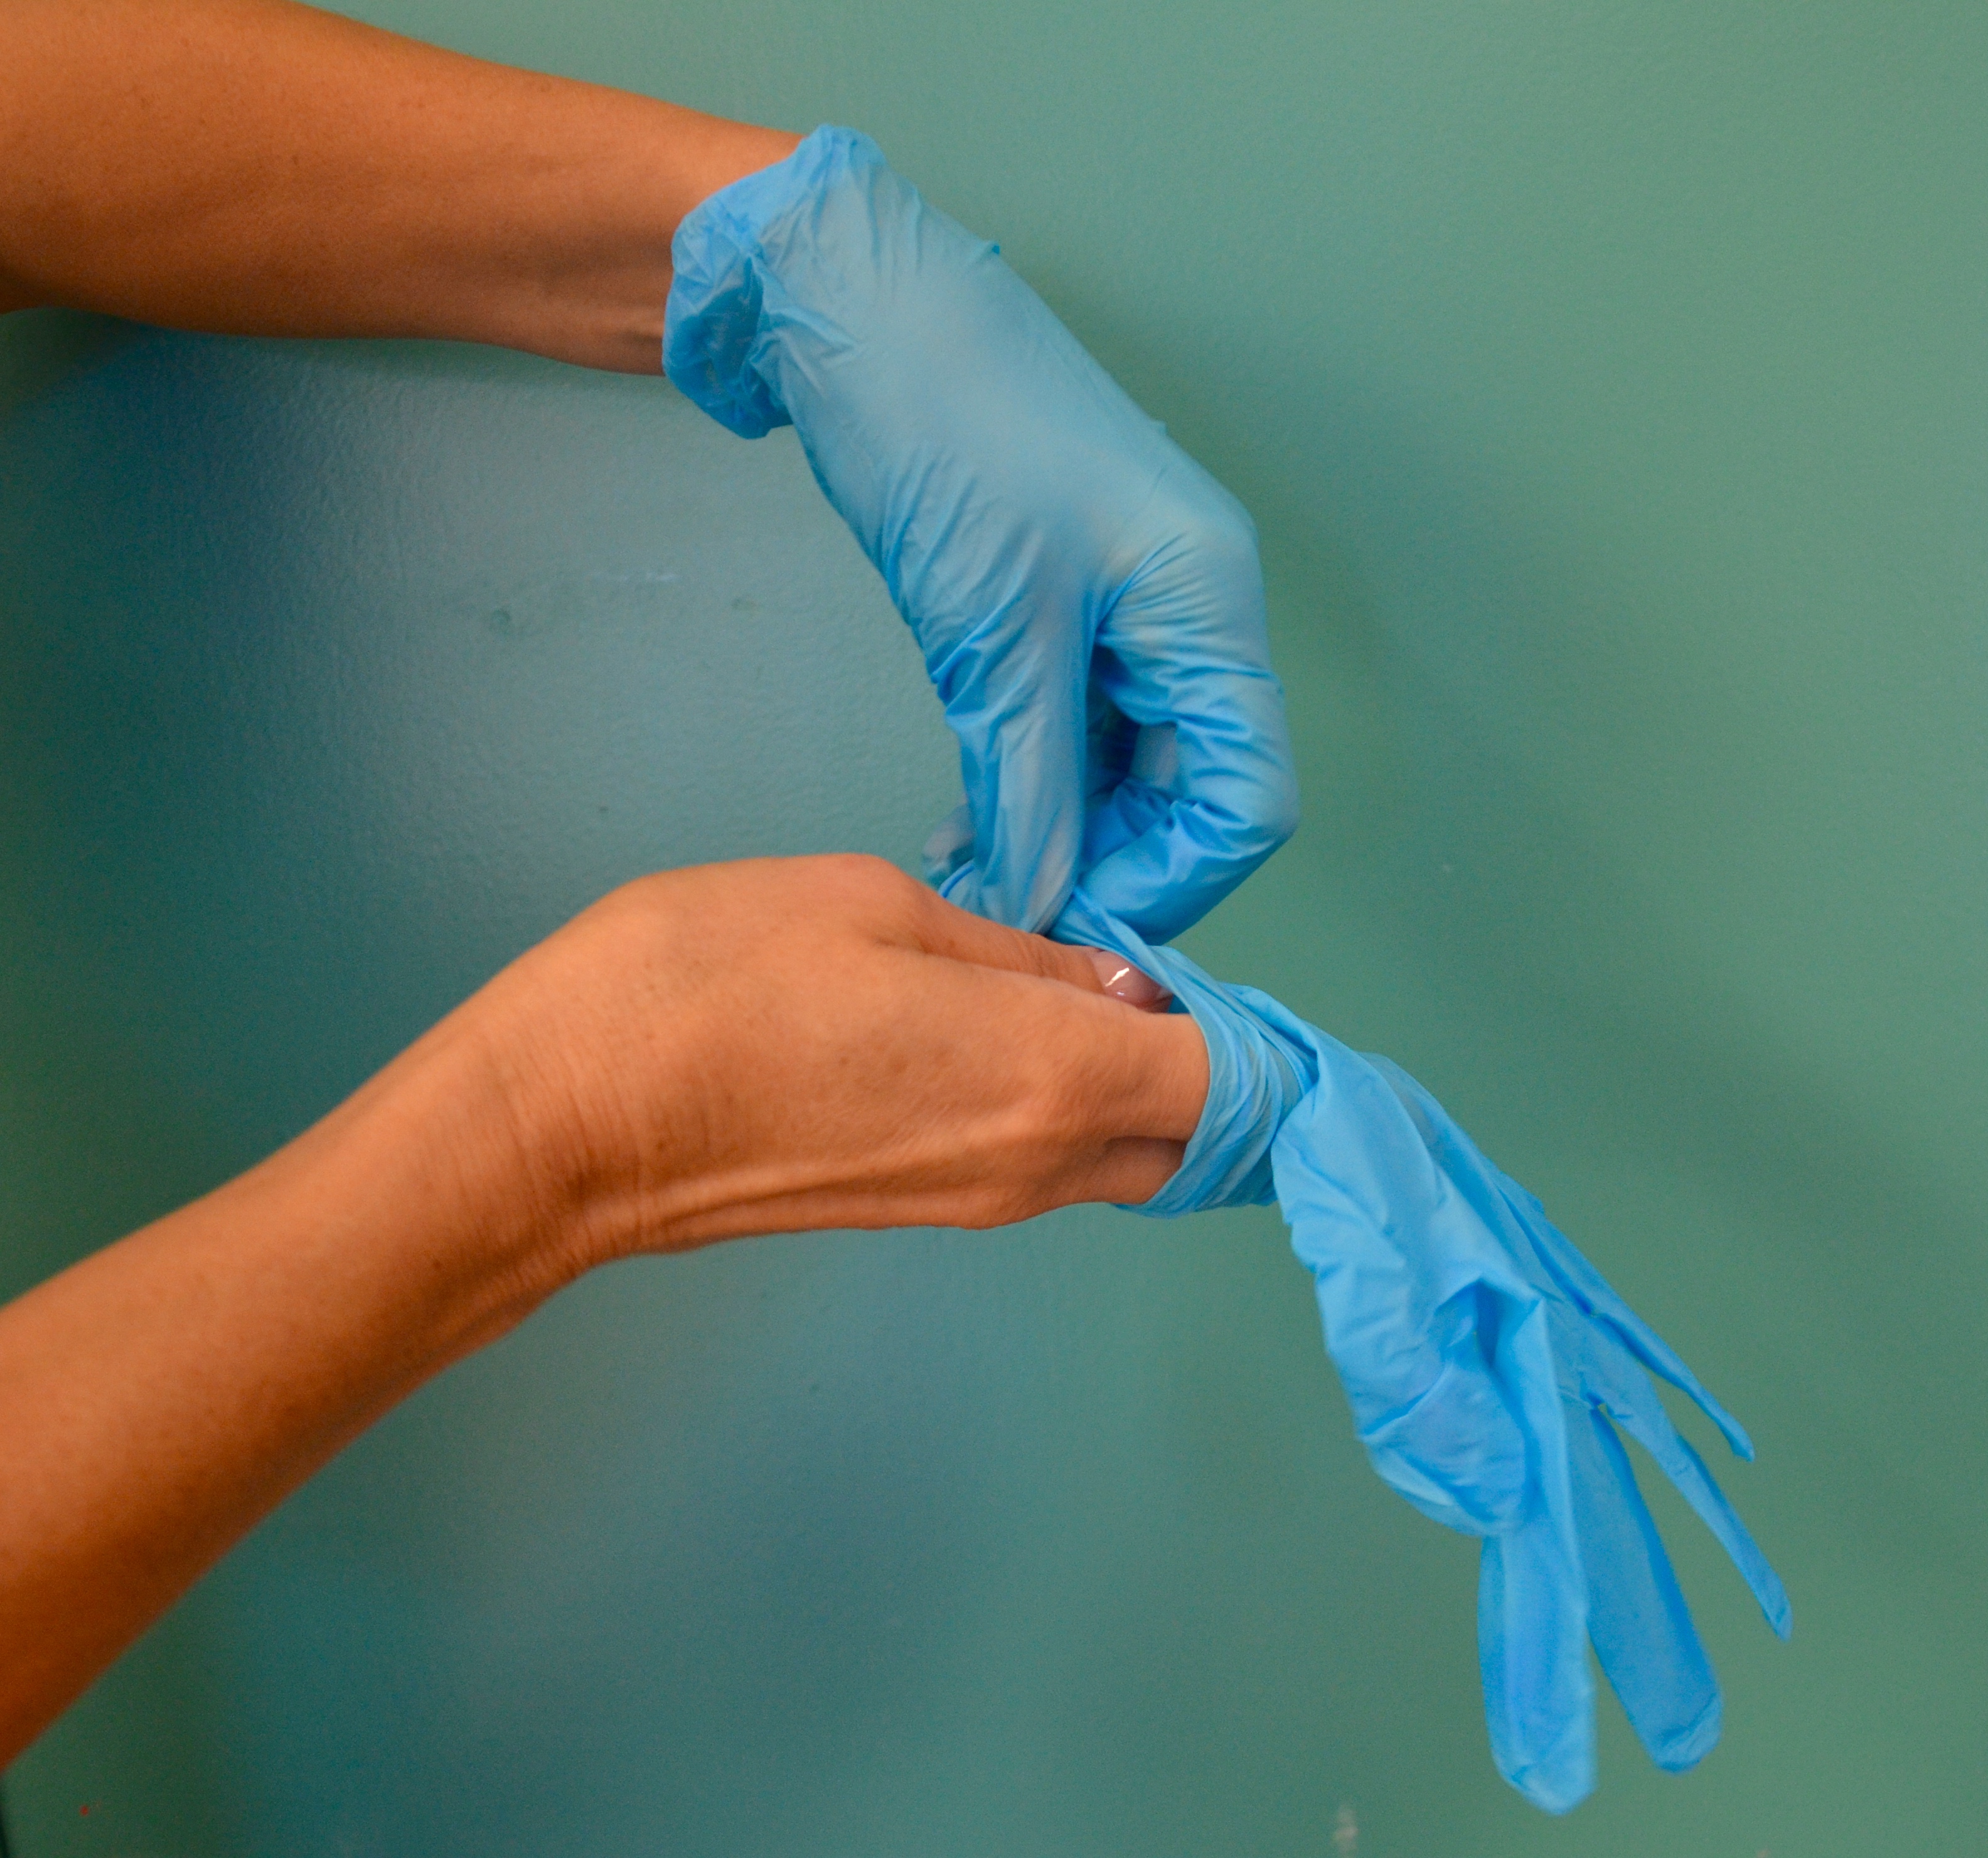
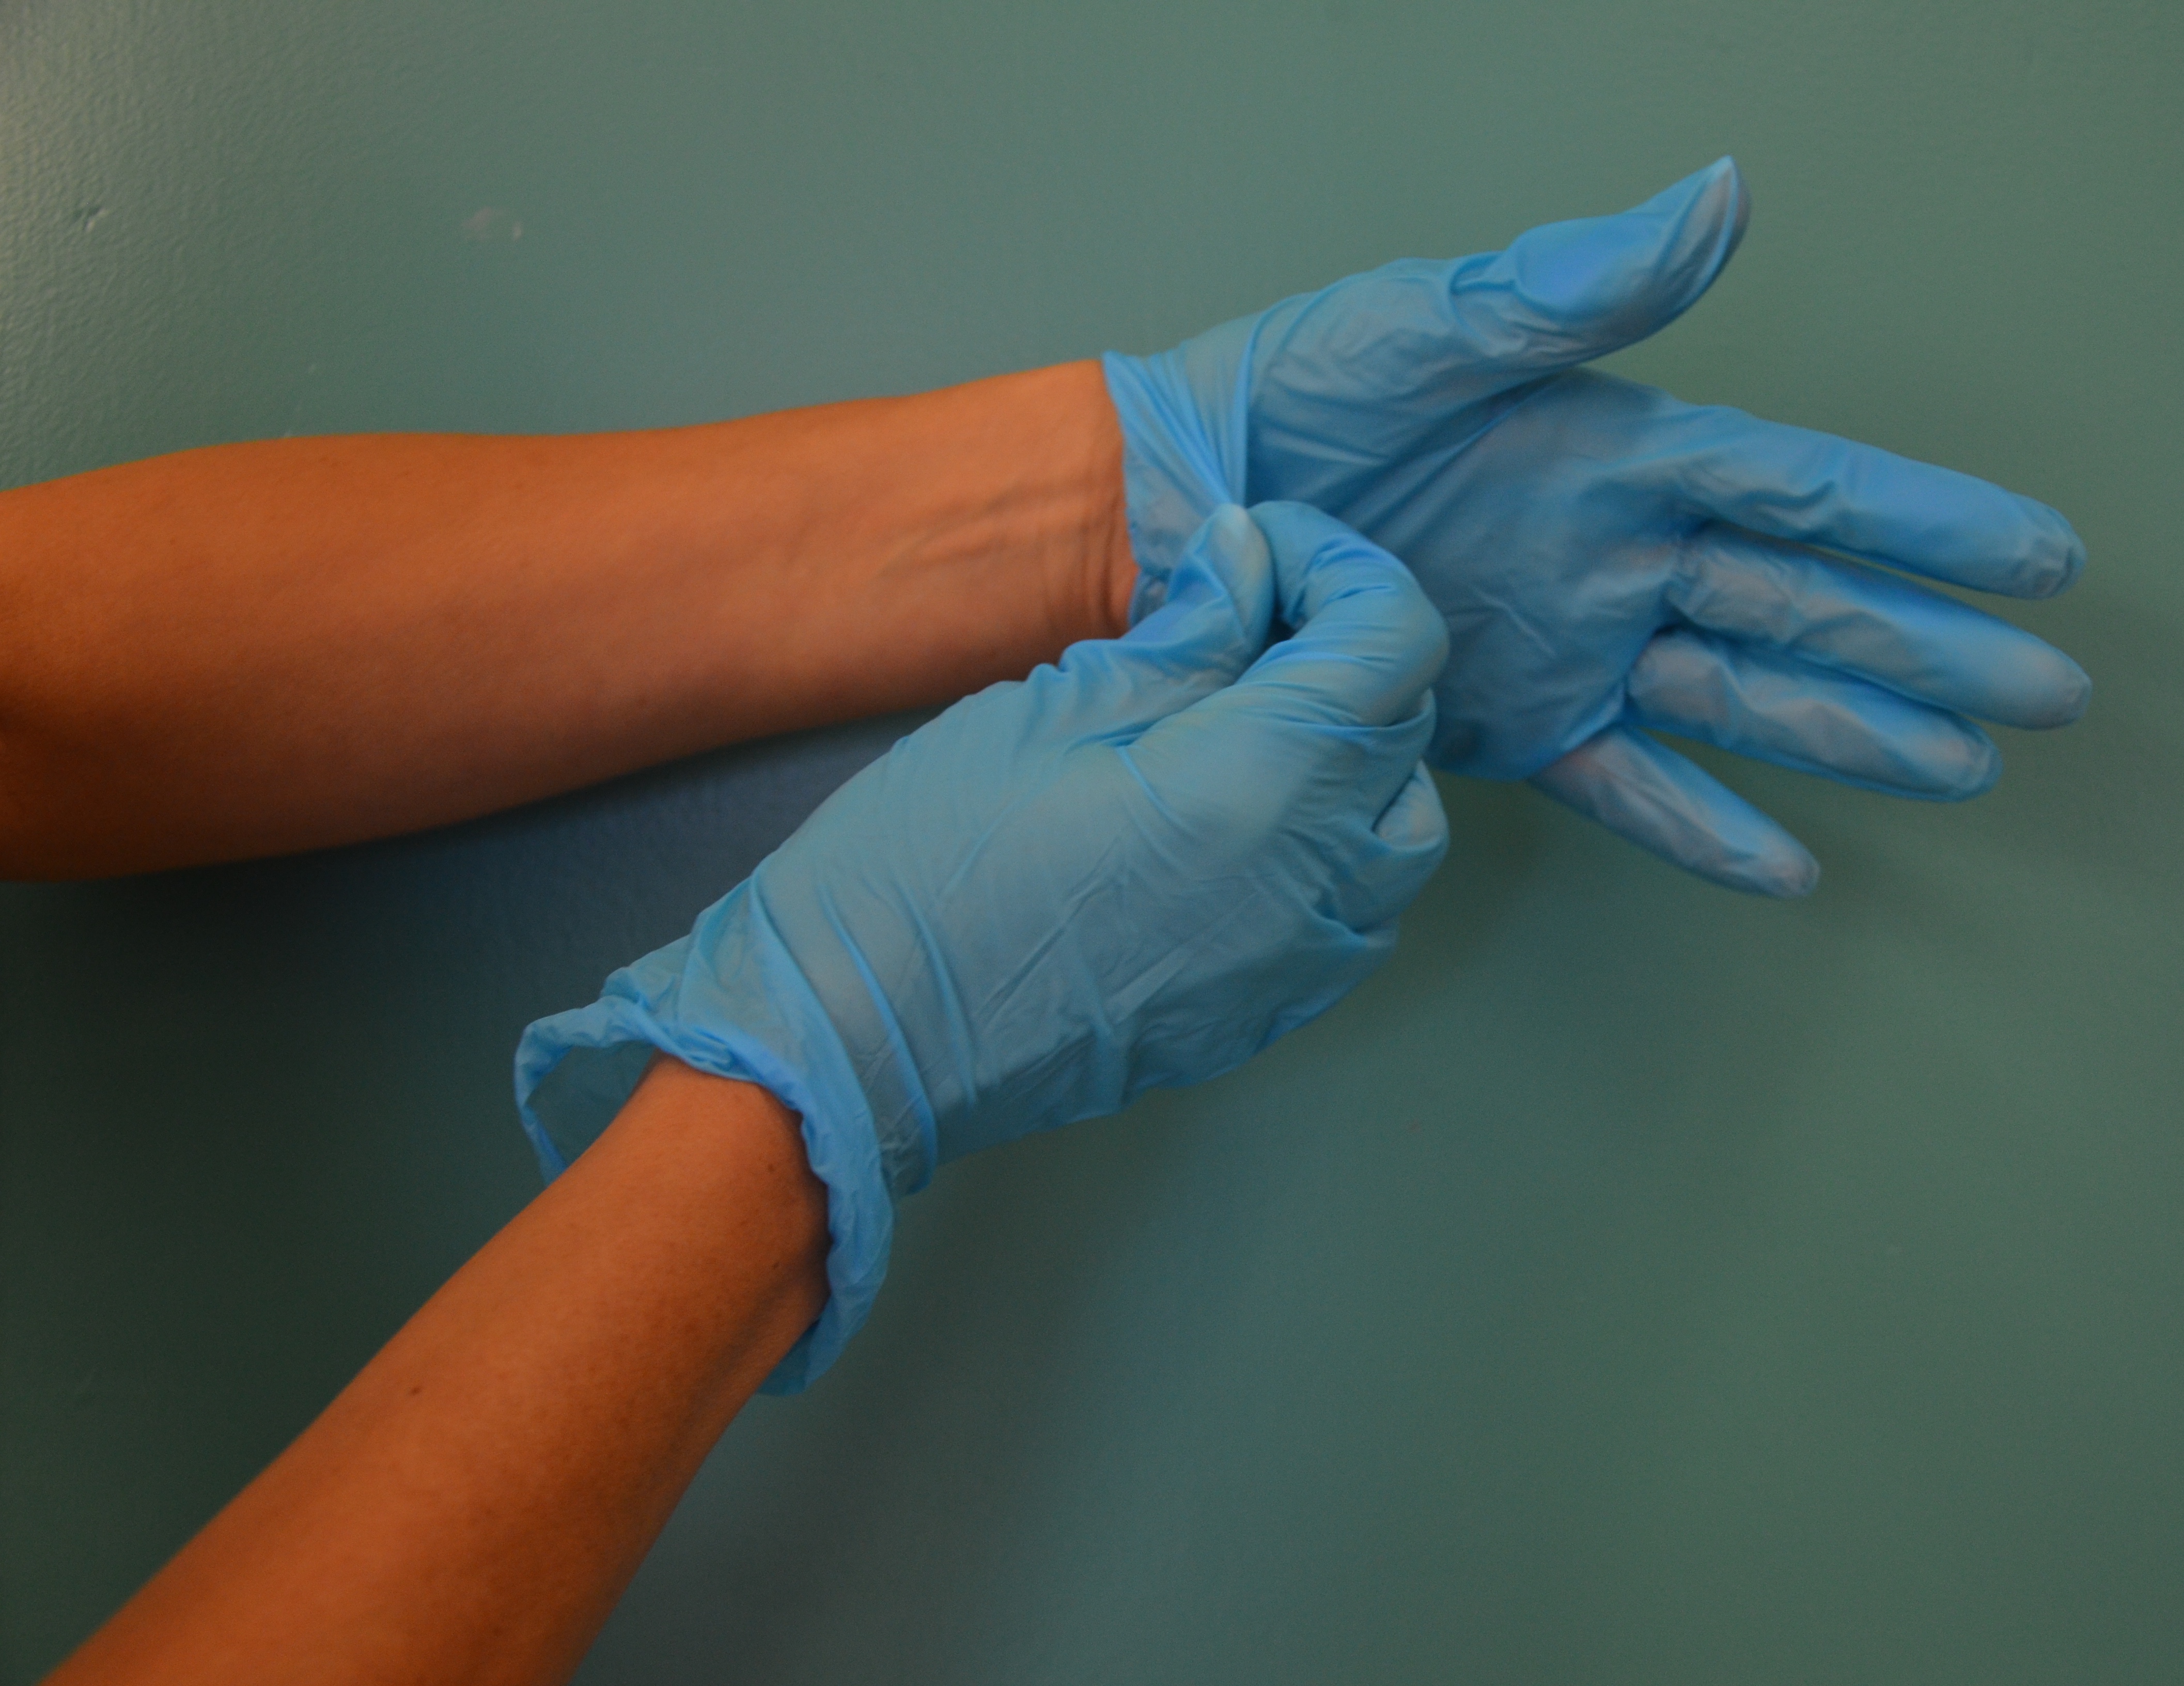
Non-sterile gloves are single use and should be applied:
- Before an aseptic procedure
- When anticipating contact with blood or body fluid, non-intact skin, secretions, excretions, mucous membranes, or equipment/environmental surfaces contaminated with the above blood or body fluids
- When in contact with a patient or patient equipment/environment during additional precautions
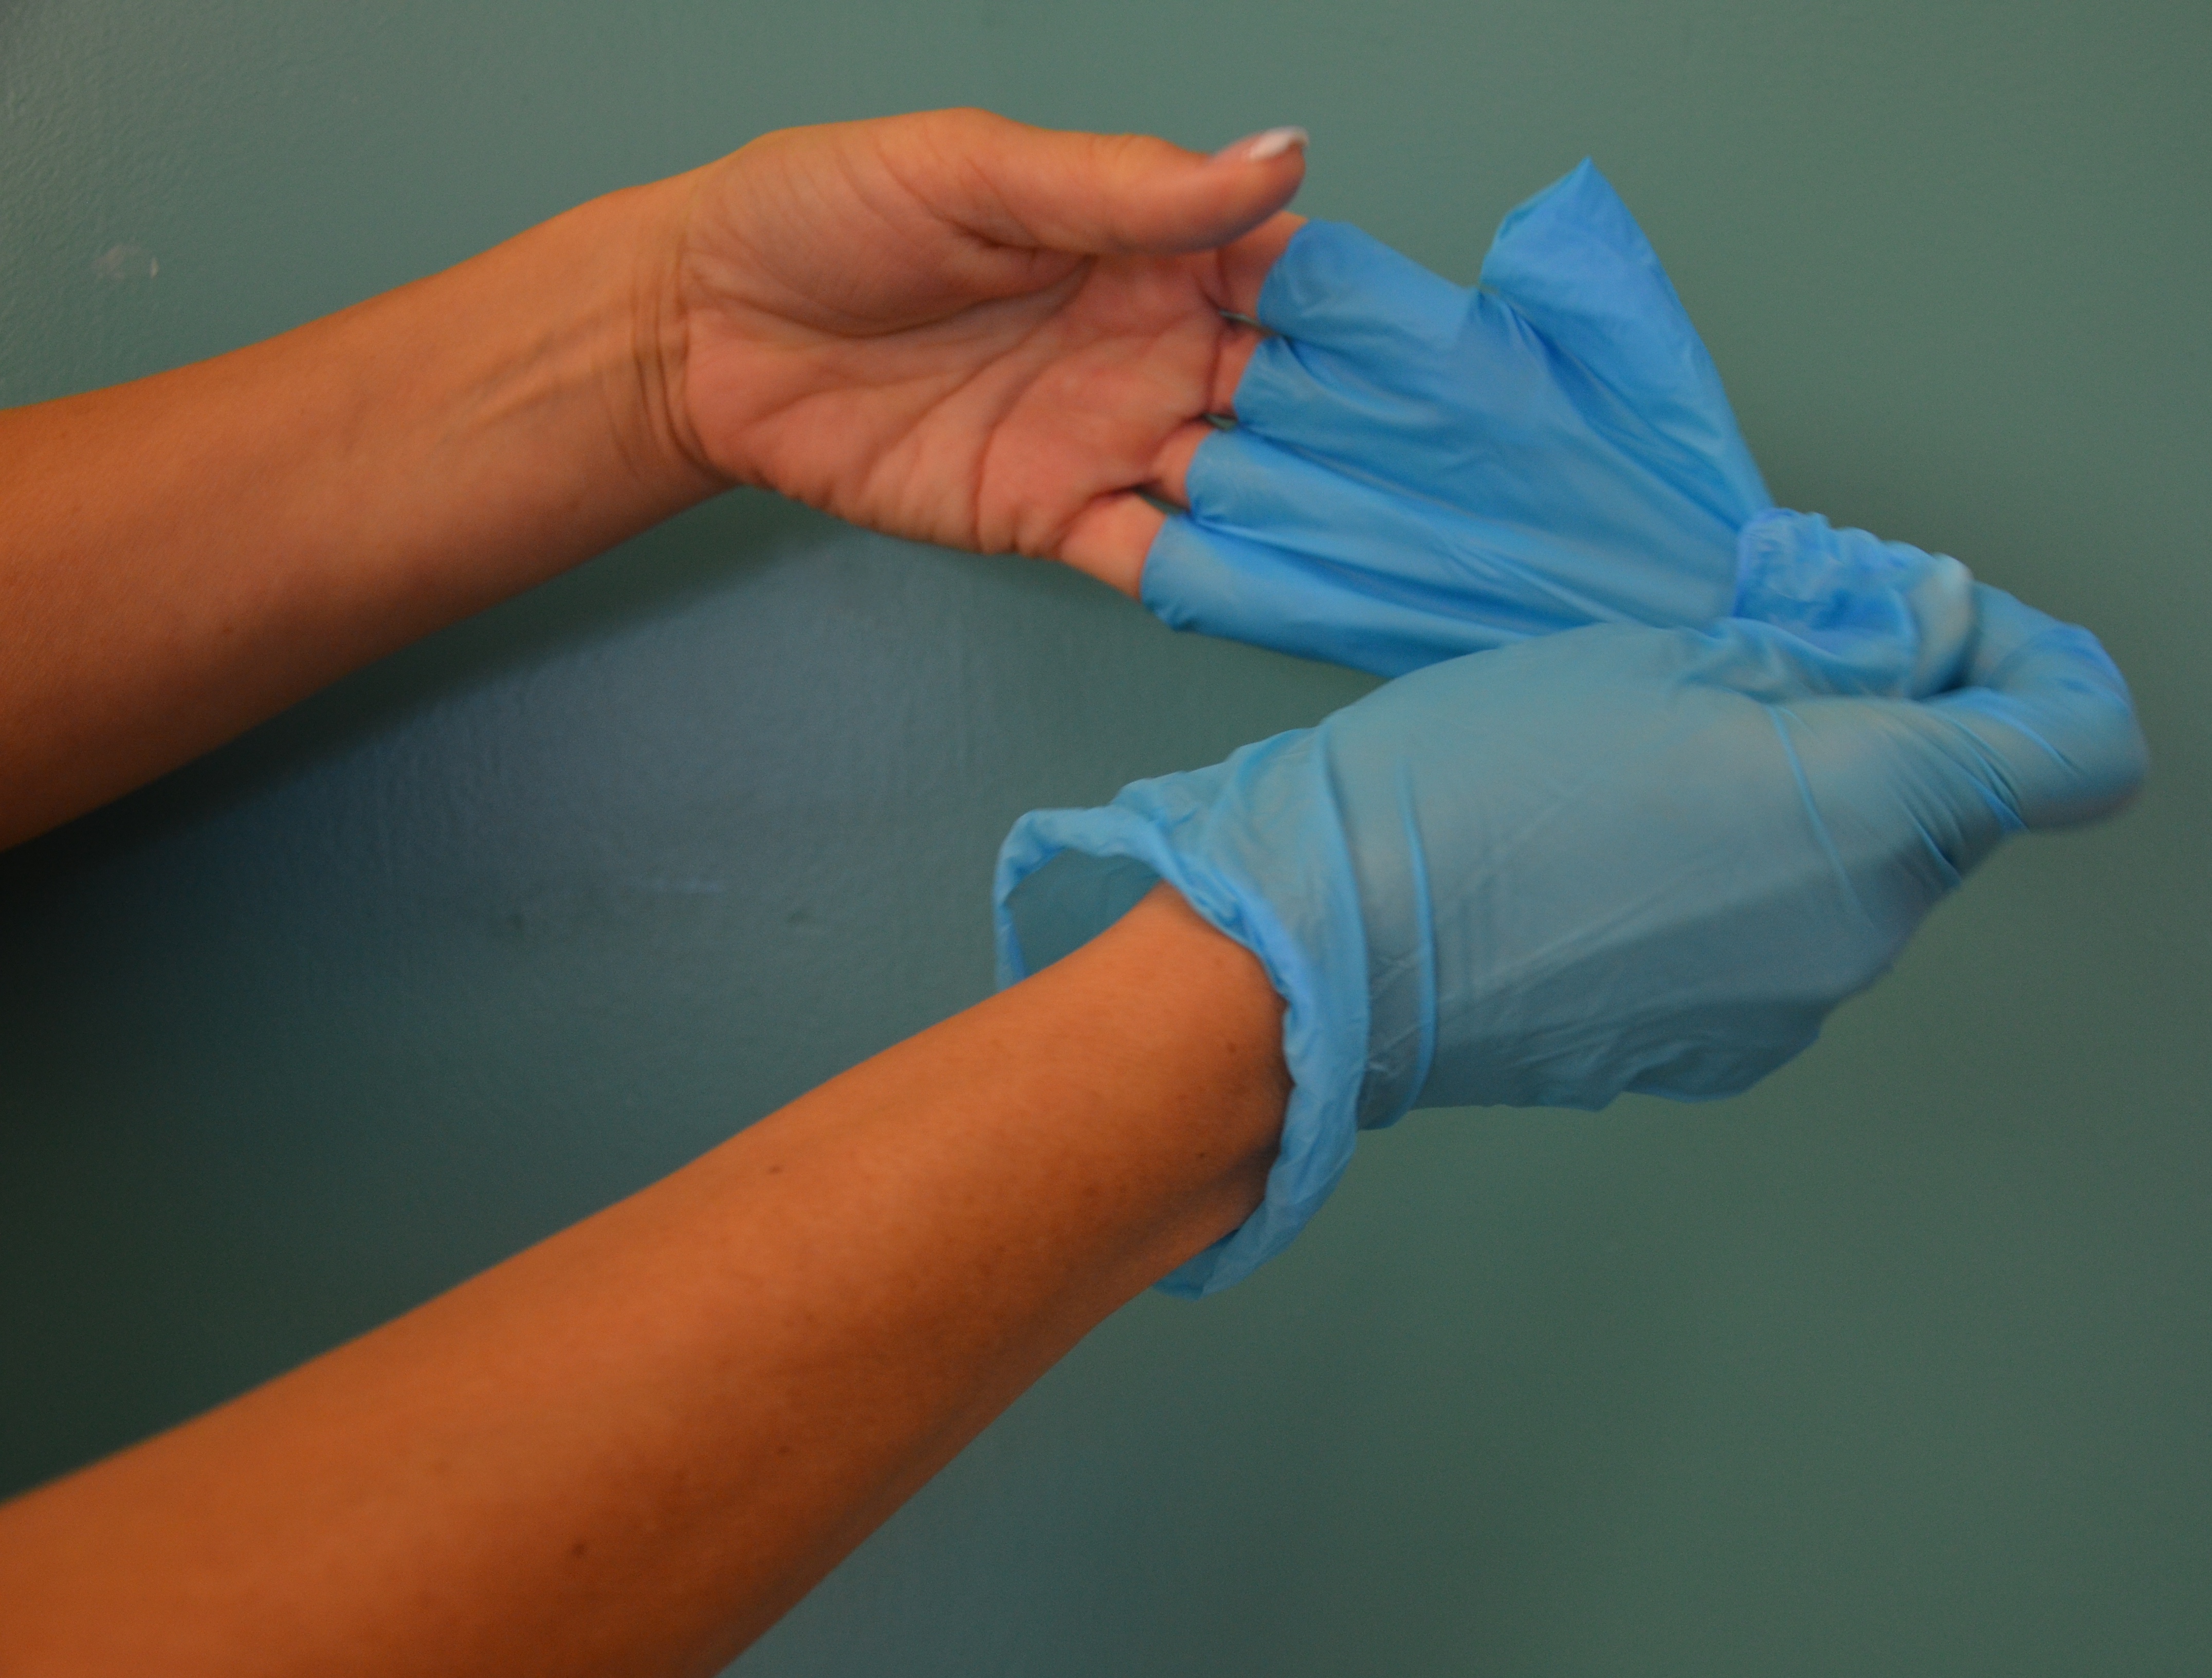
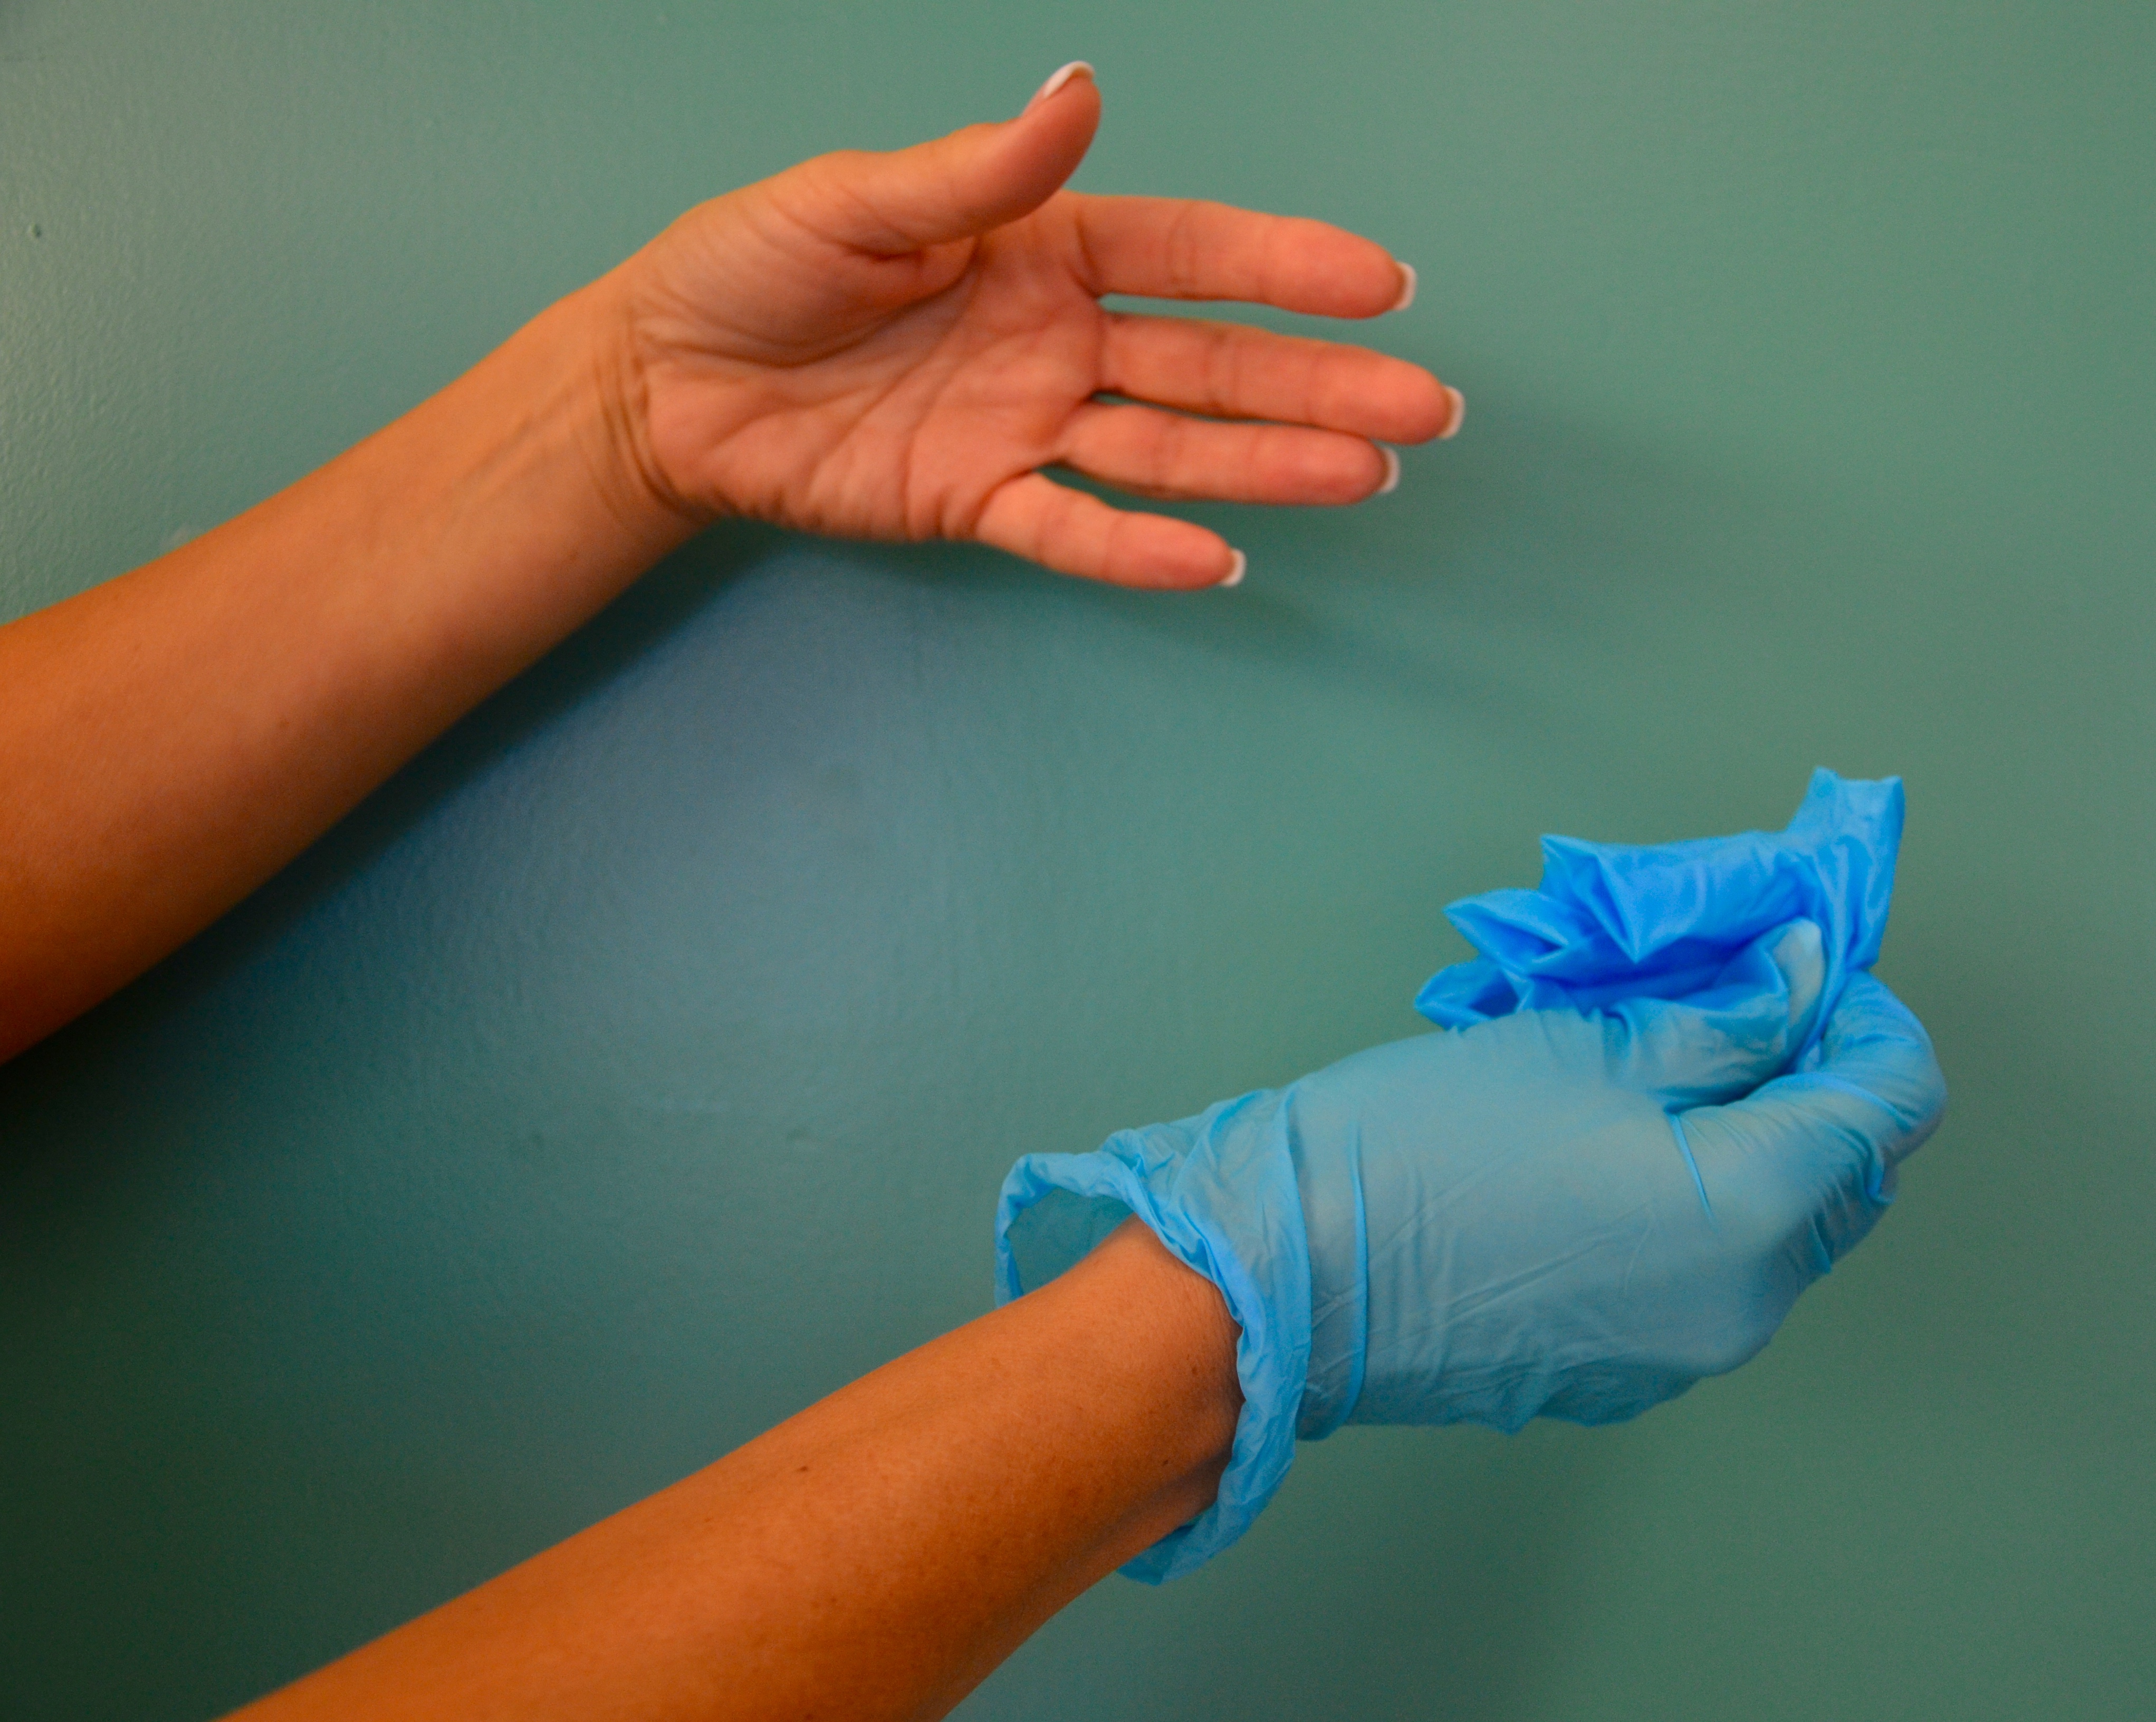
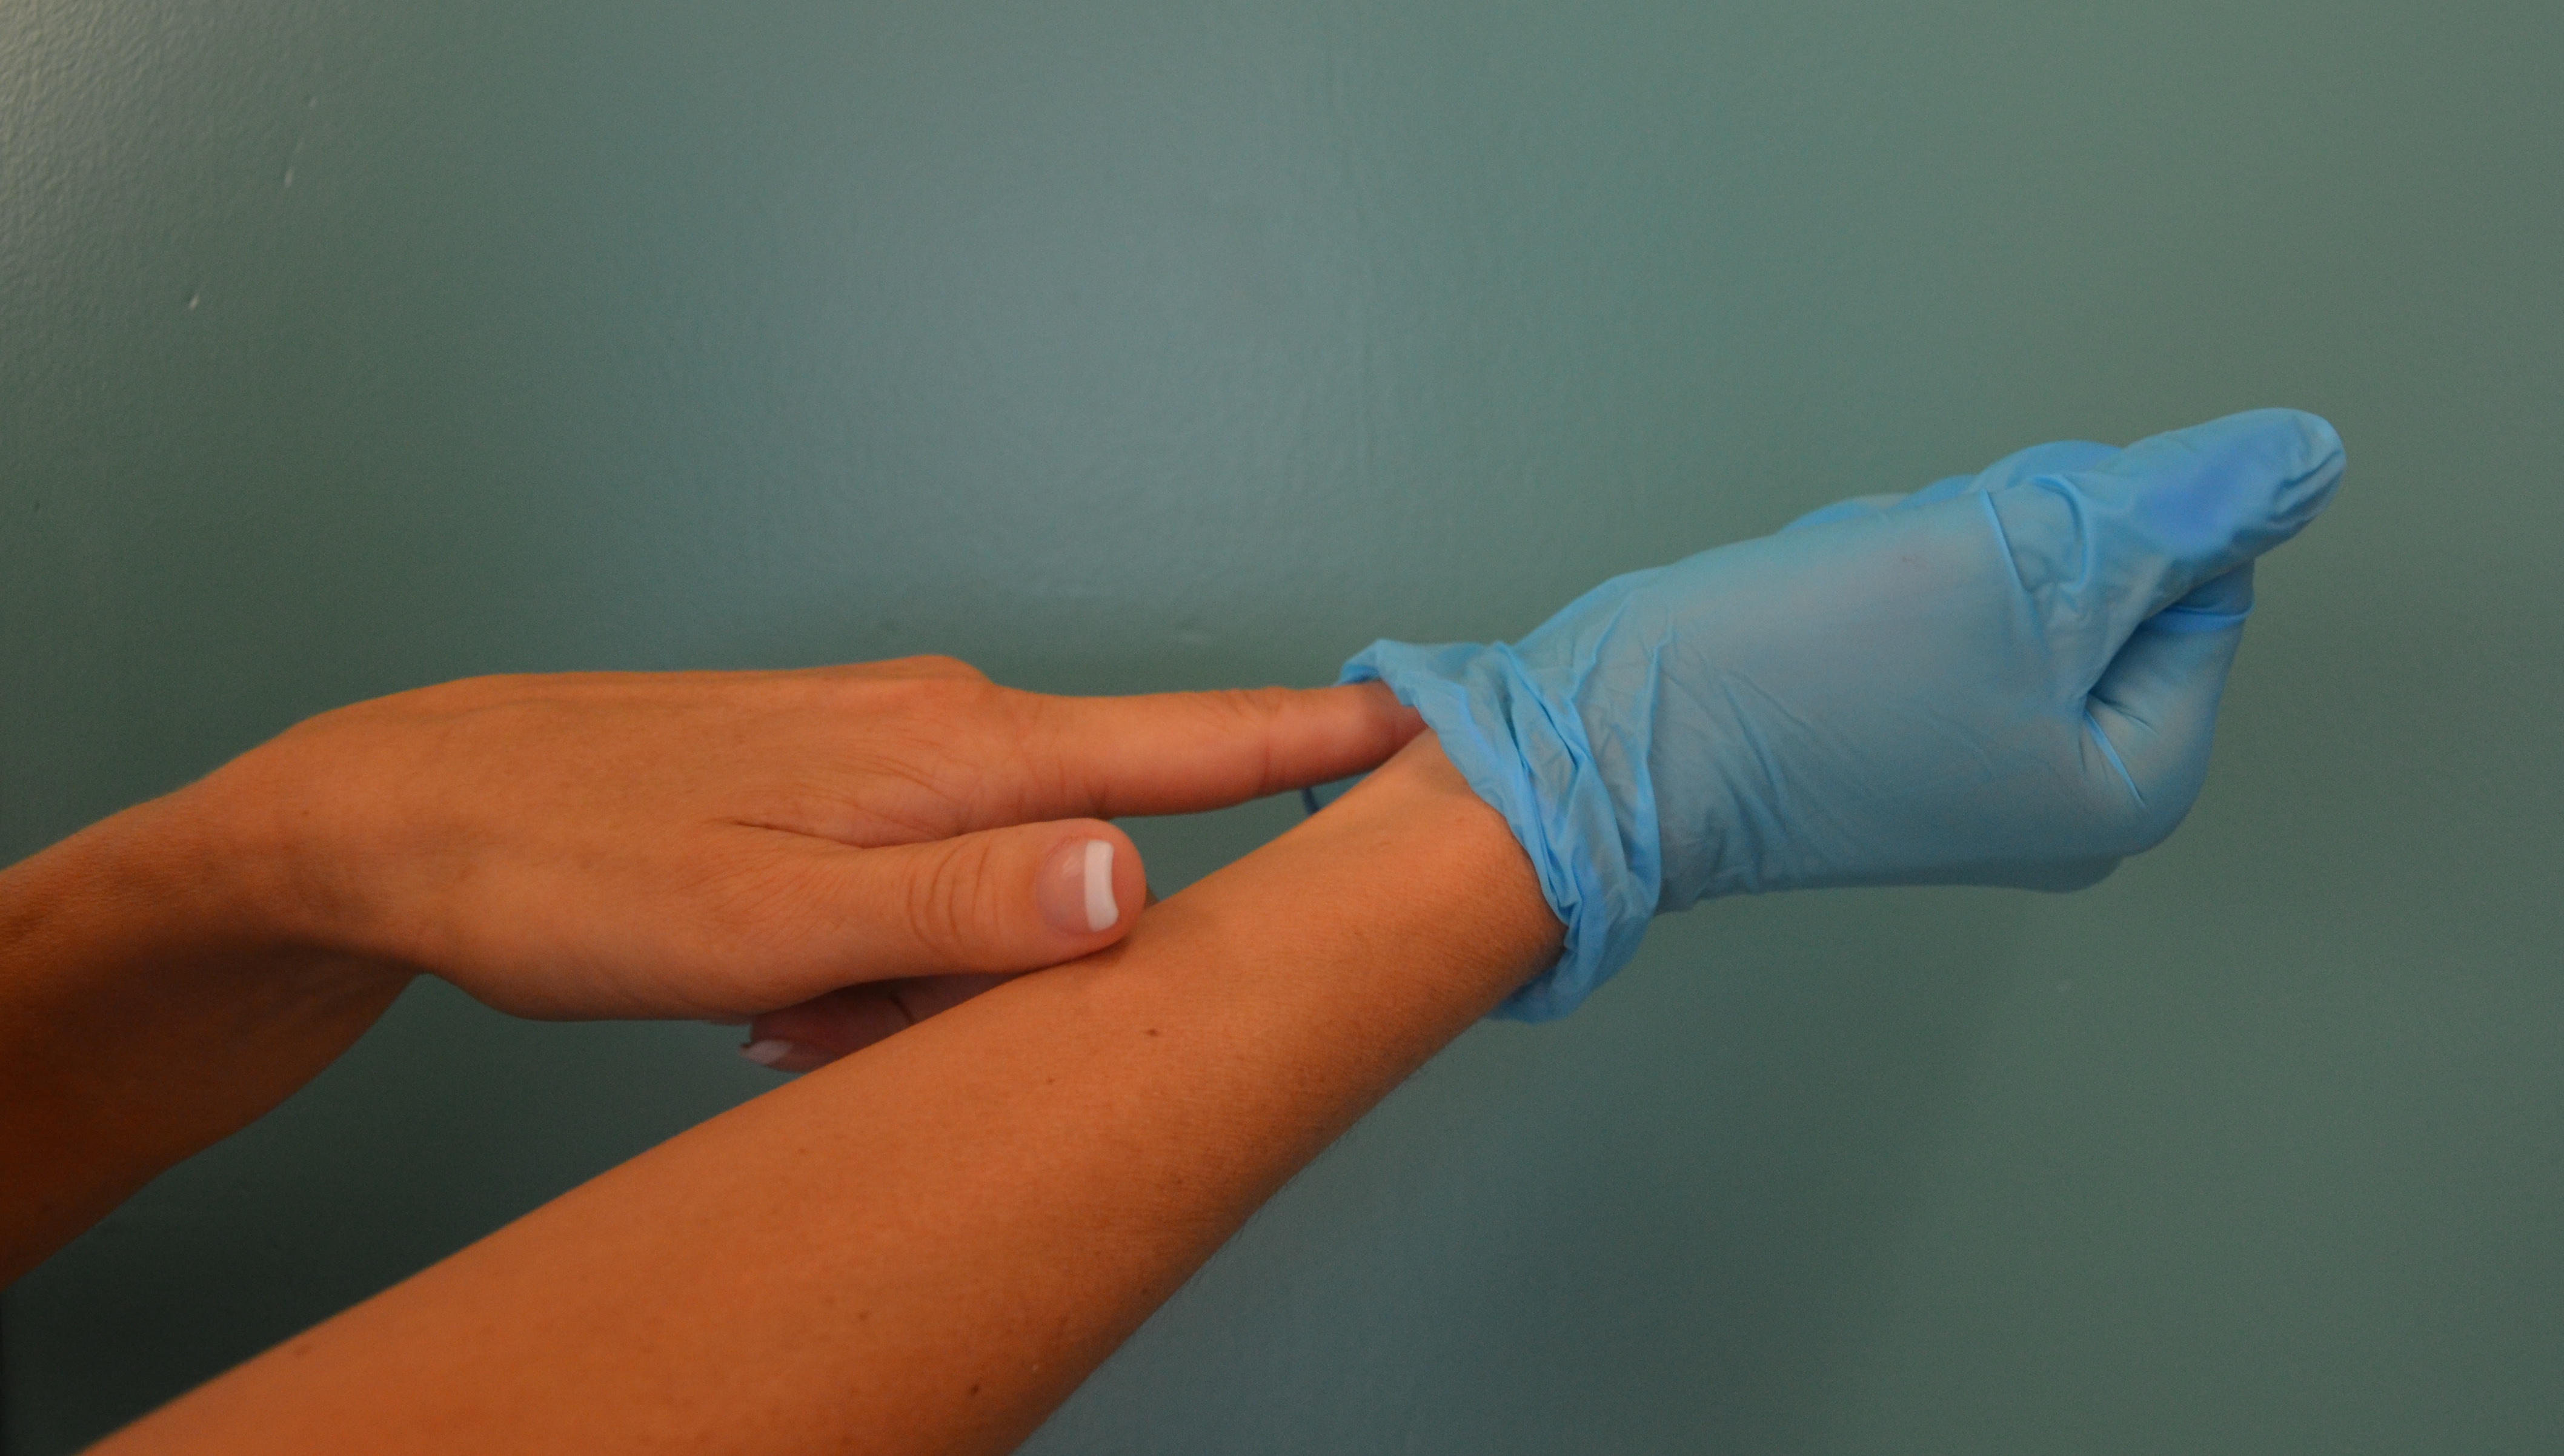
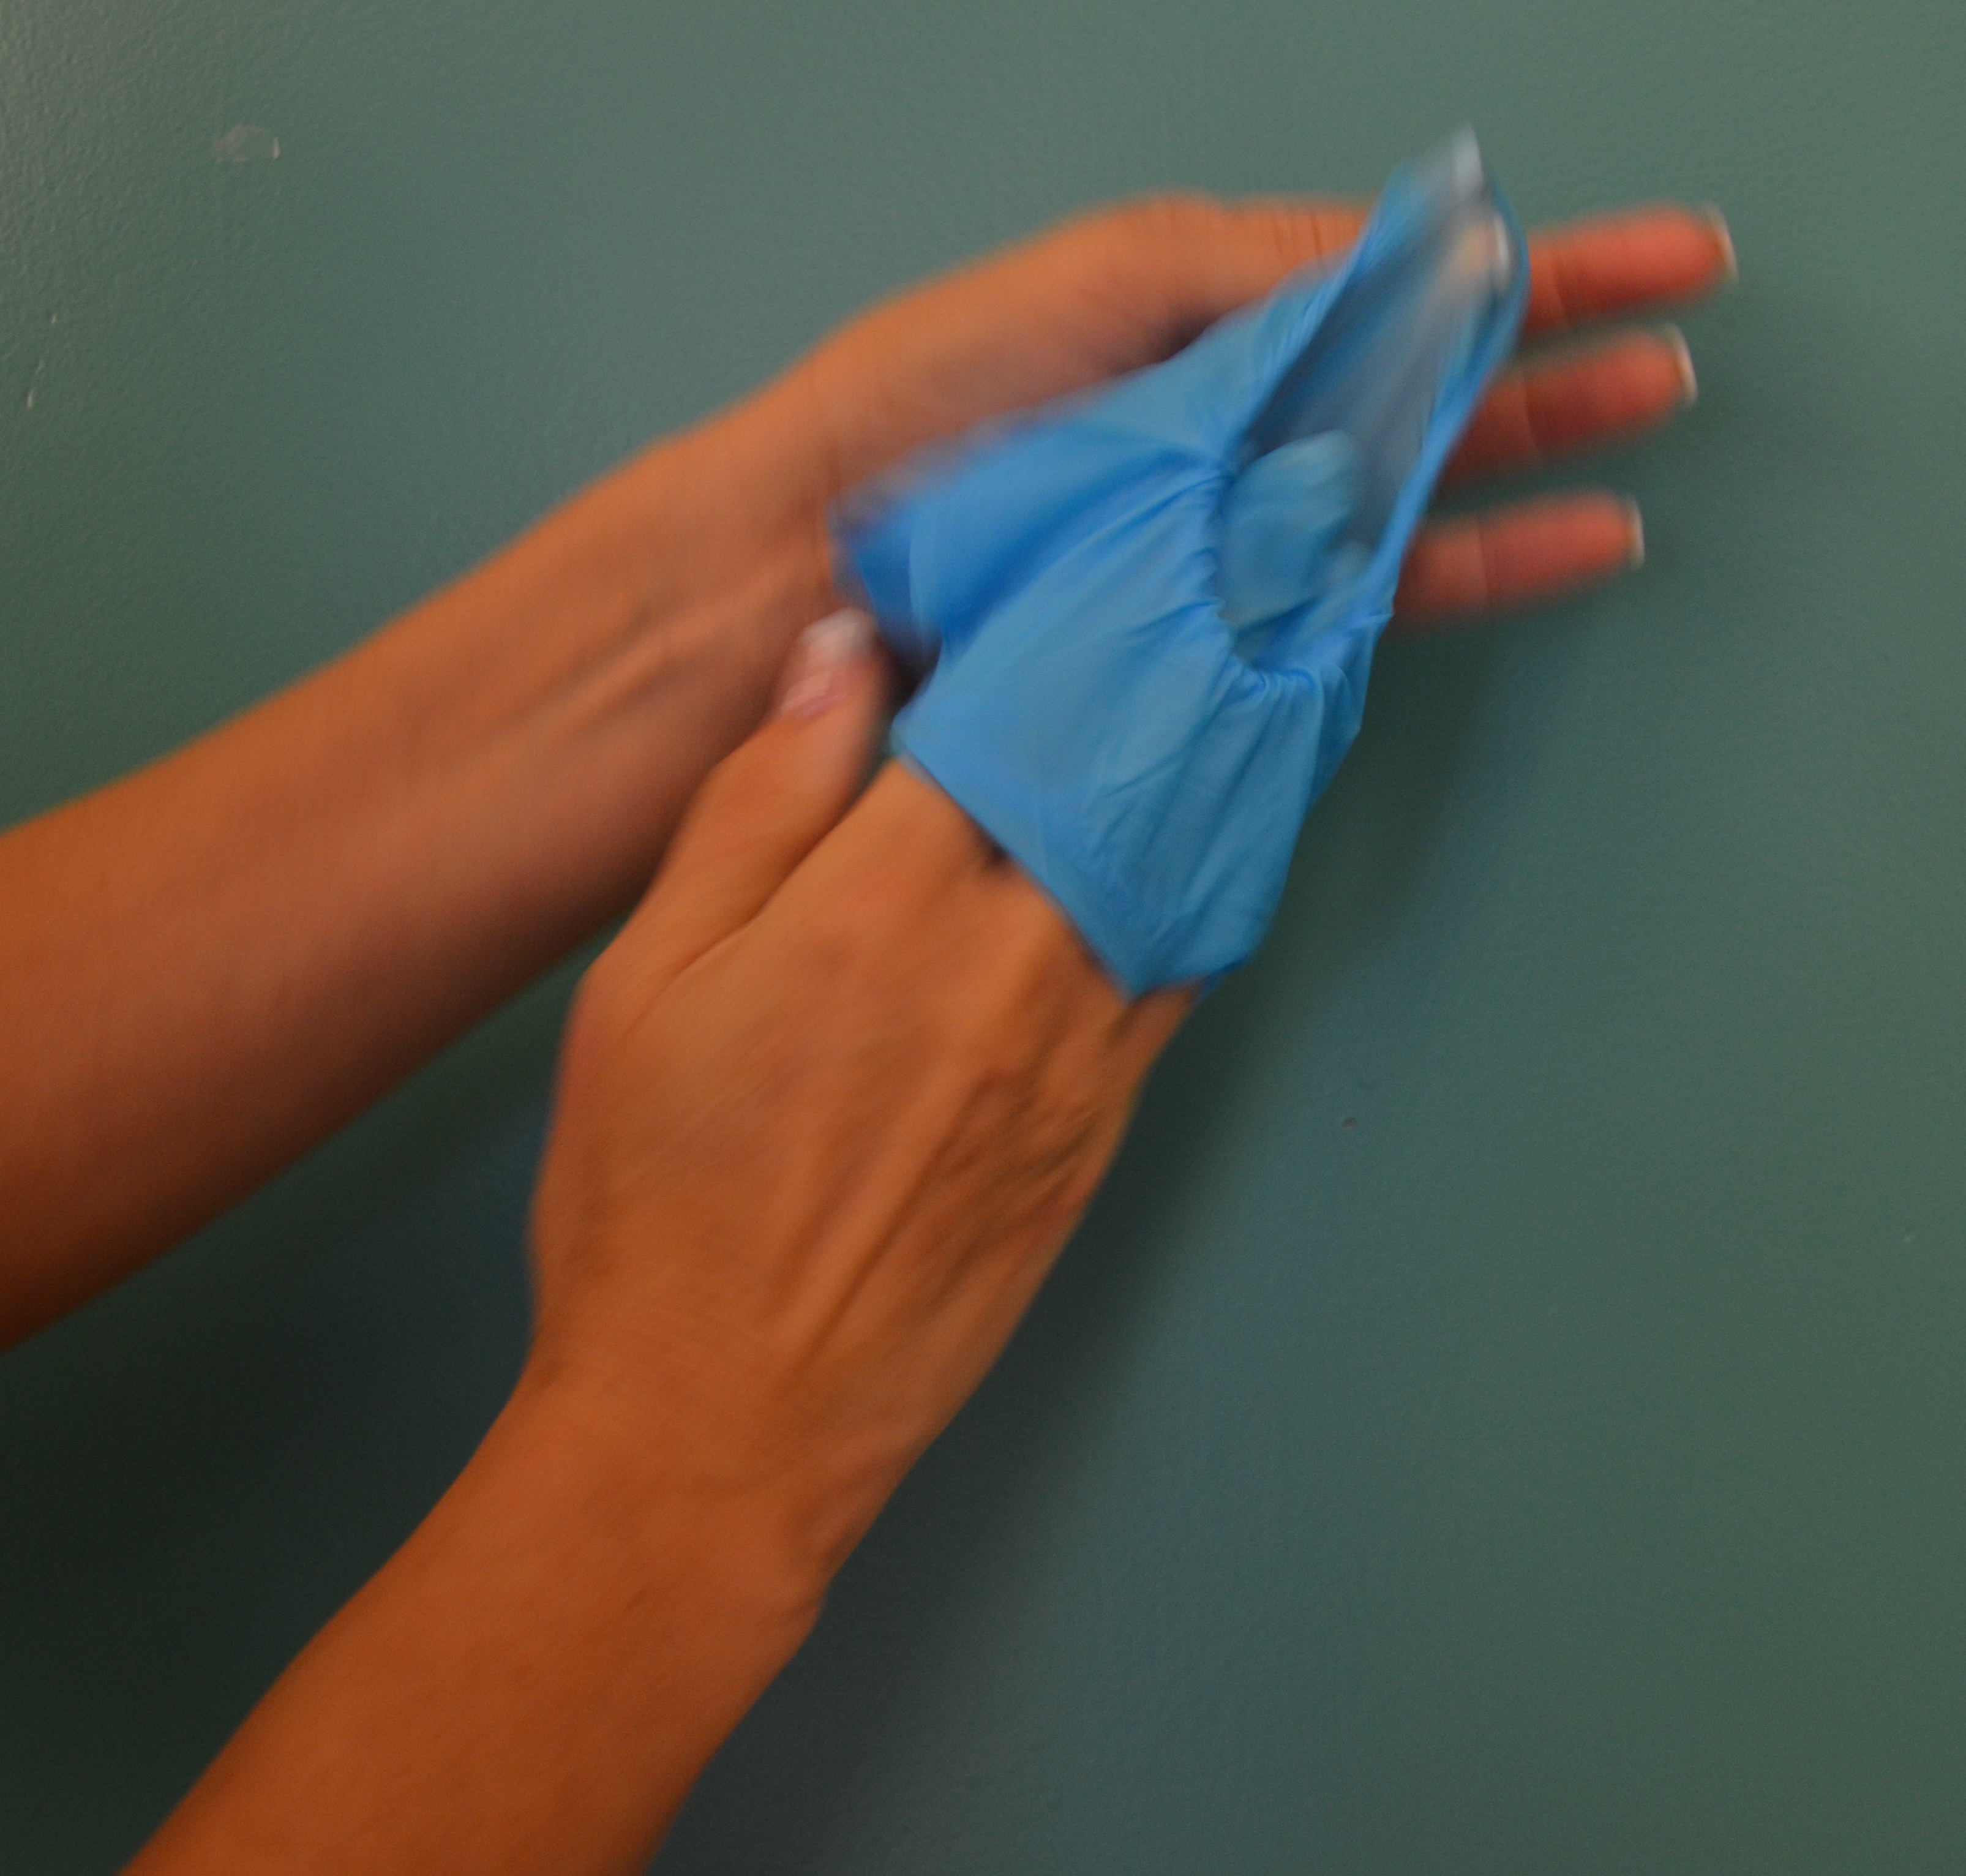
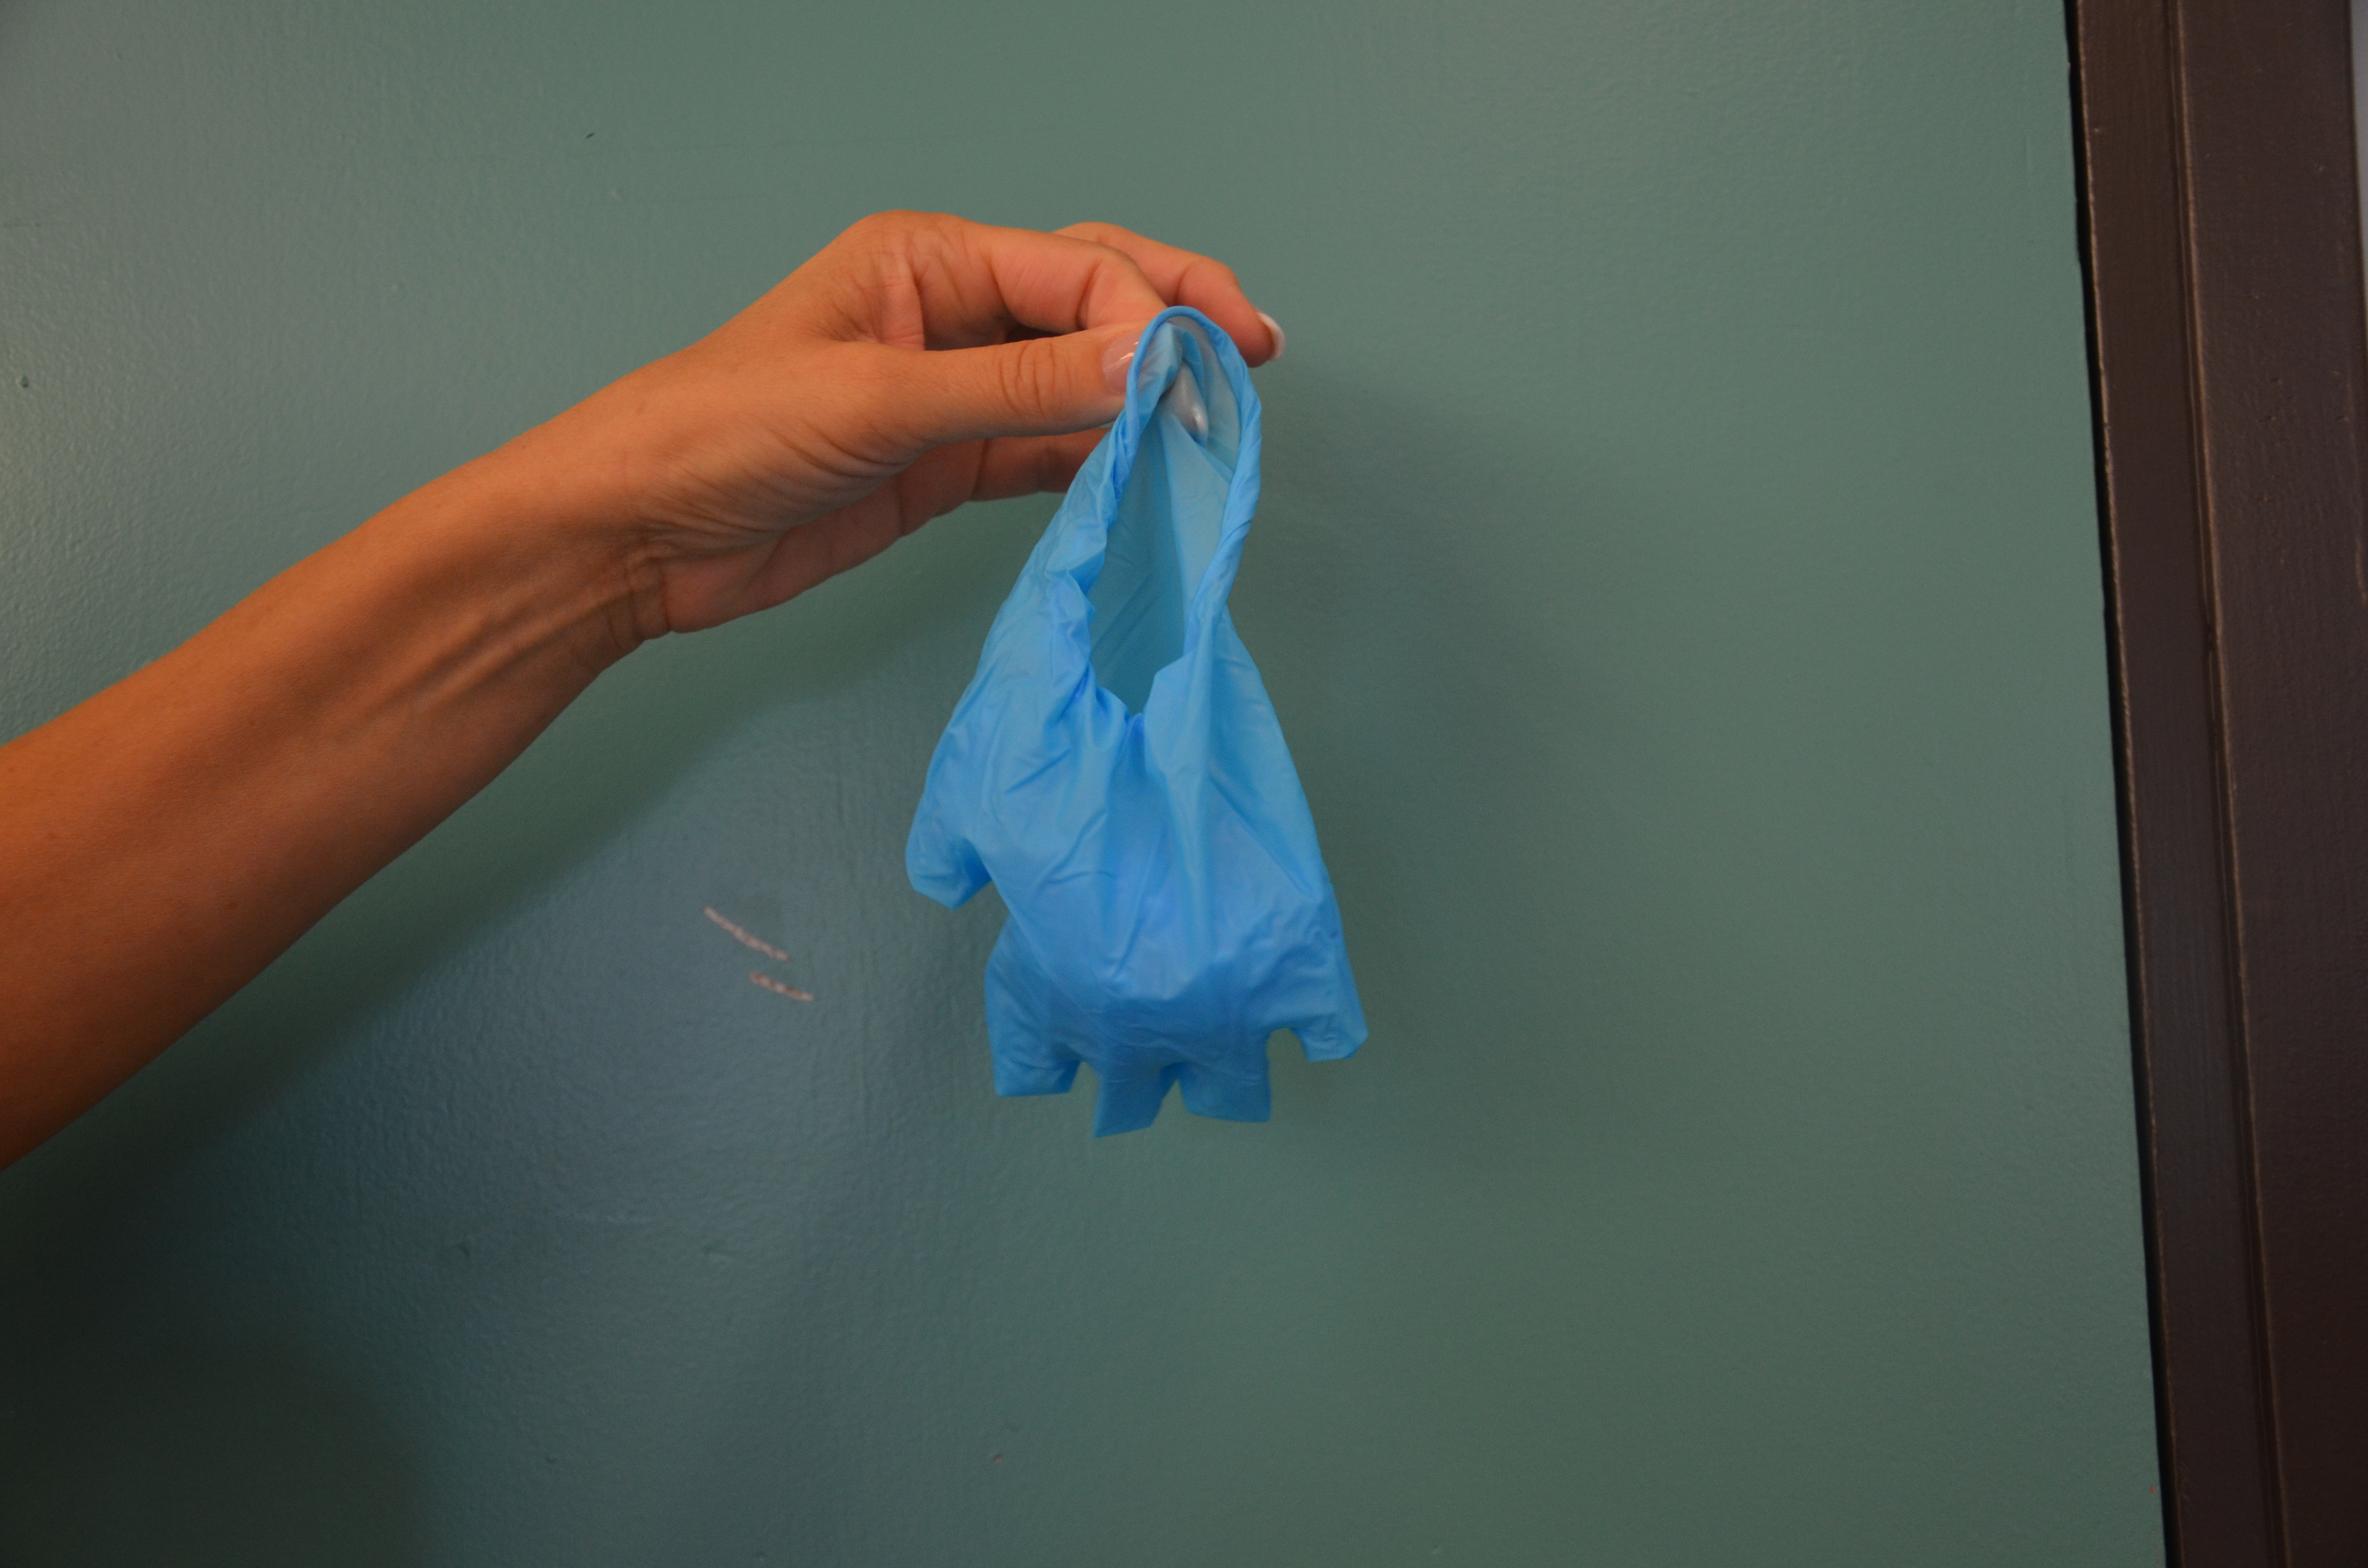
Non-sterile gloves should be removed:
- If gloves are damaged and integrity is compromised
- When contact with blood, body fluid, non-intact skin, or mucous membranes has ended
- When contact with a single patient and that patient’s surrounding or a contaminated body site on a patient has ended
- When there is an indication for hand hygiene
See Checklist 5 for steps on how to apply non-sterile gloves.

Latex Allergies and Non-sterile (Clean) Glove Use
A latex allergy is a reaction to the proteins in natural rubber latex (American Academy of Allergy, Asthma and Immunology, 2014). When people come in contact with latex, an allergic reaction may occur. Most reactions are mild (asthma-like symptoms or contact dermatitis), but there are some rare severe cases (reactions). Many hospitals have moved away from using latex gloves, but latex is commonly used in many health care products such as IV tubing, urinary catheters, syringes, dressings, and bandages. People at risk for developing a latex allergy are:
- Health care workers and others who frequently wear latex gloves
- People who have had many surgeries (10+)
- People who are often exposed to natural rubber latex
- People with other allergies, such as hay fever (allergic rhinitis), or allergies to certain foods
Note that powdered latex gloves have also been associated with latex allergies. If an allergy to latex exists, the best treatment is to avoid latex and use a medical alert bracelet to inform others of the allergy (PIDAC, 2012).
Critical Thinking Exercises
- Name four factors that decrease the effectiveness of hand hygiene.
- What are two ways to reduce or prevent skin irritation with hand hygiene or non-sterile (clean) glove use?
