Chapter 6. Non-Parenteral Medication Administration
6.6 Administering Inhaled Medications
Medications administered through inhalation are dispersed via an aerosol spray, mist, or powder that patients inhale into their airways. Although the primary effect of inhaled medications is respiratory, there are likely to be systemic effects as well. Most patients taking medication by inhaler have asthma or chronic respiratory disease and should learn how to administer these medications themselves. A variety of inhalers are available, and specific manufacturers’ instructions should always be checked and followed to ensure appropriate dosing.
Medication by Small-Volume Nebulizers
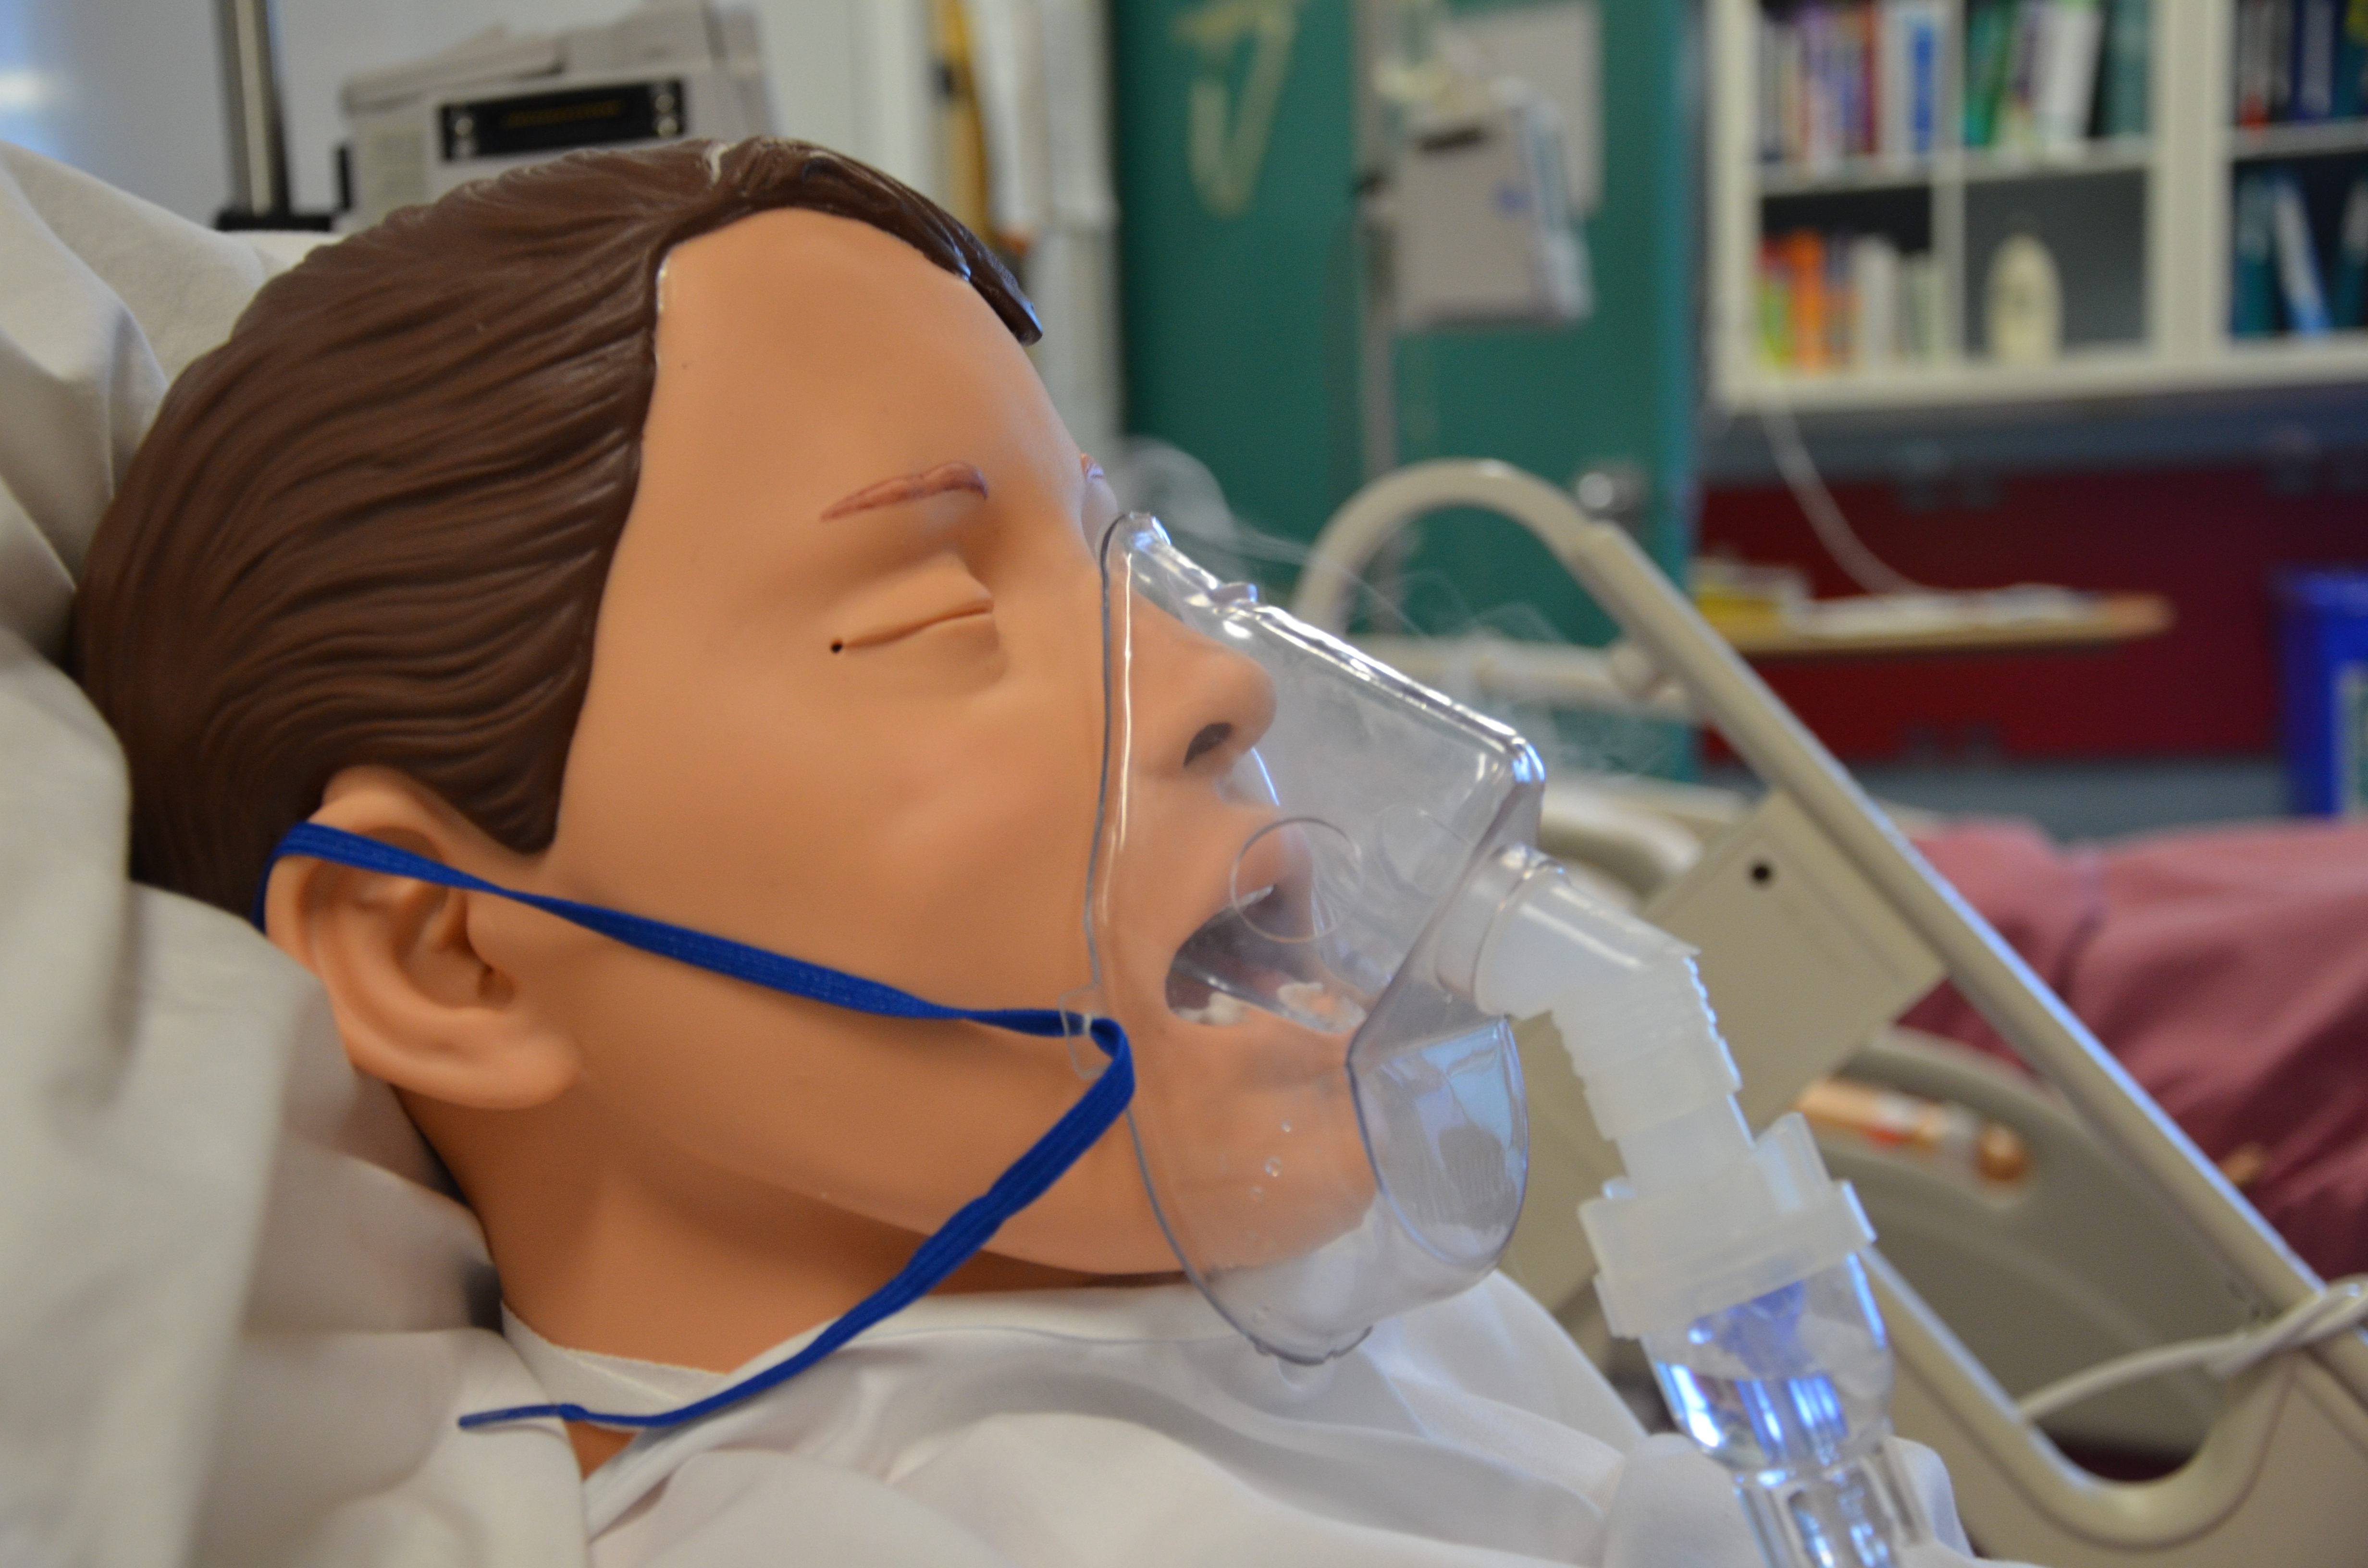
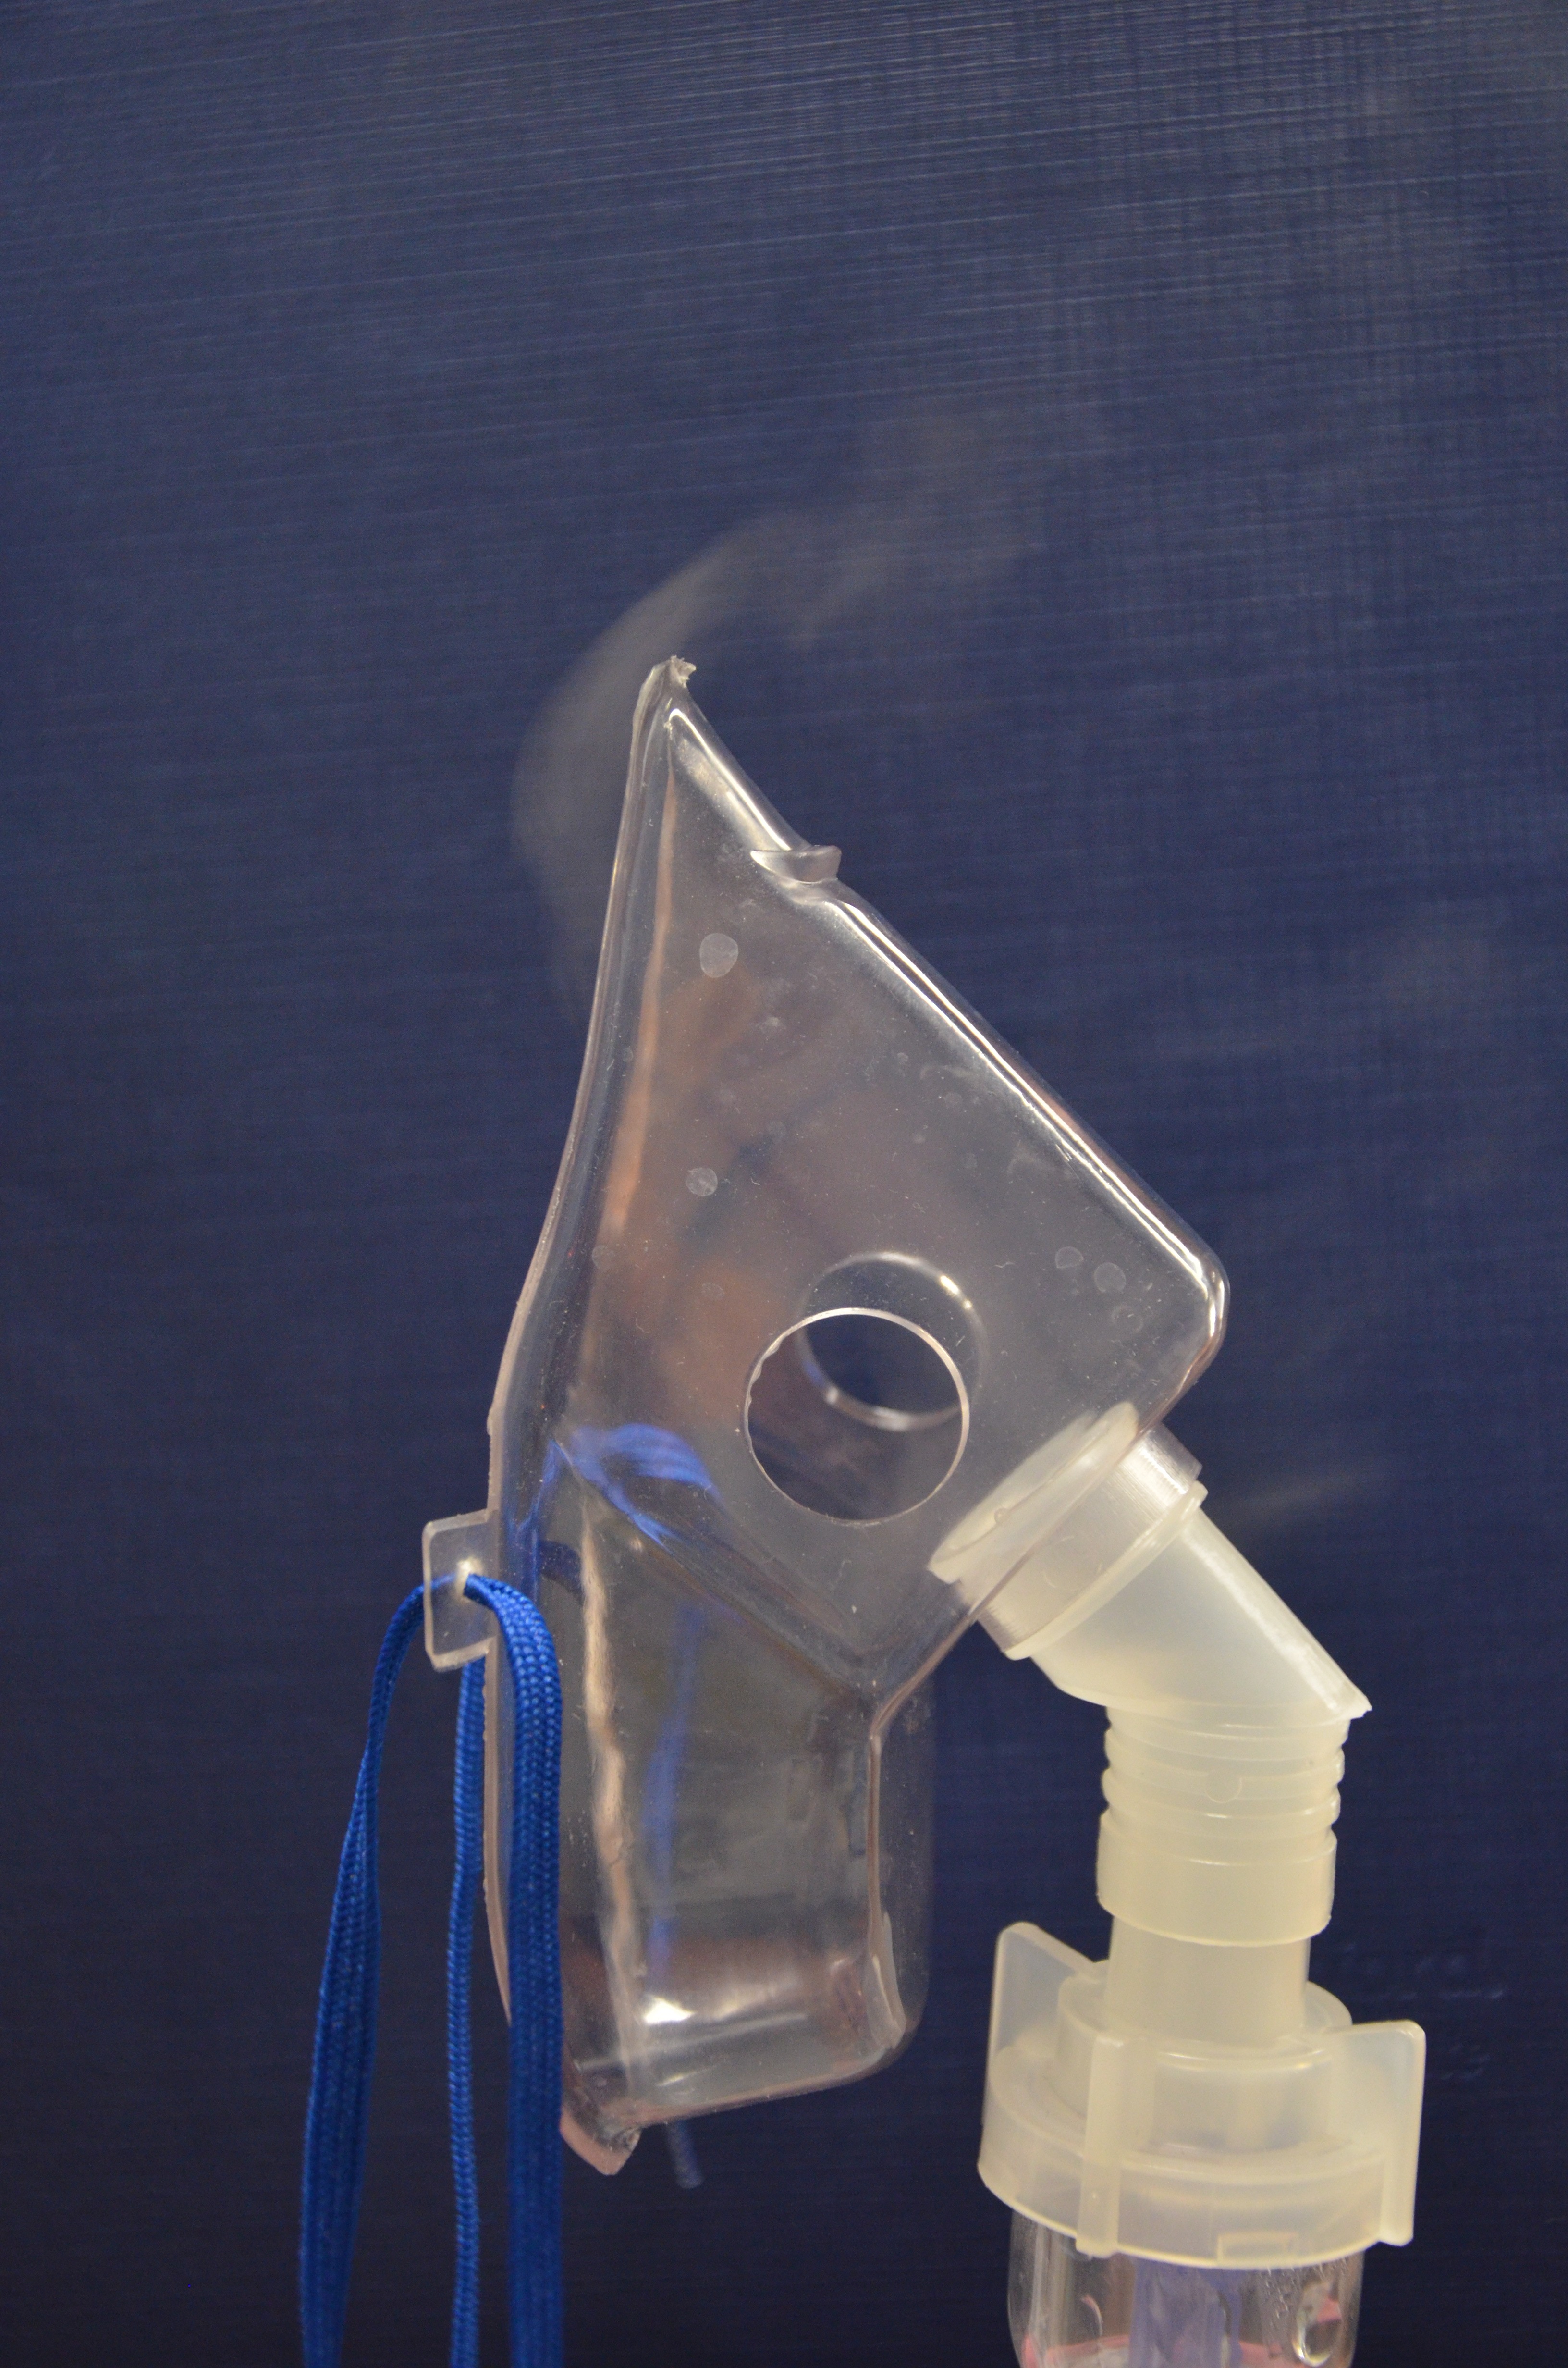
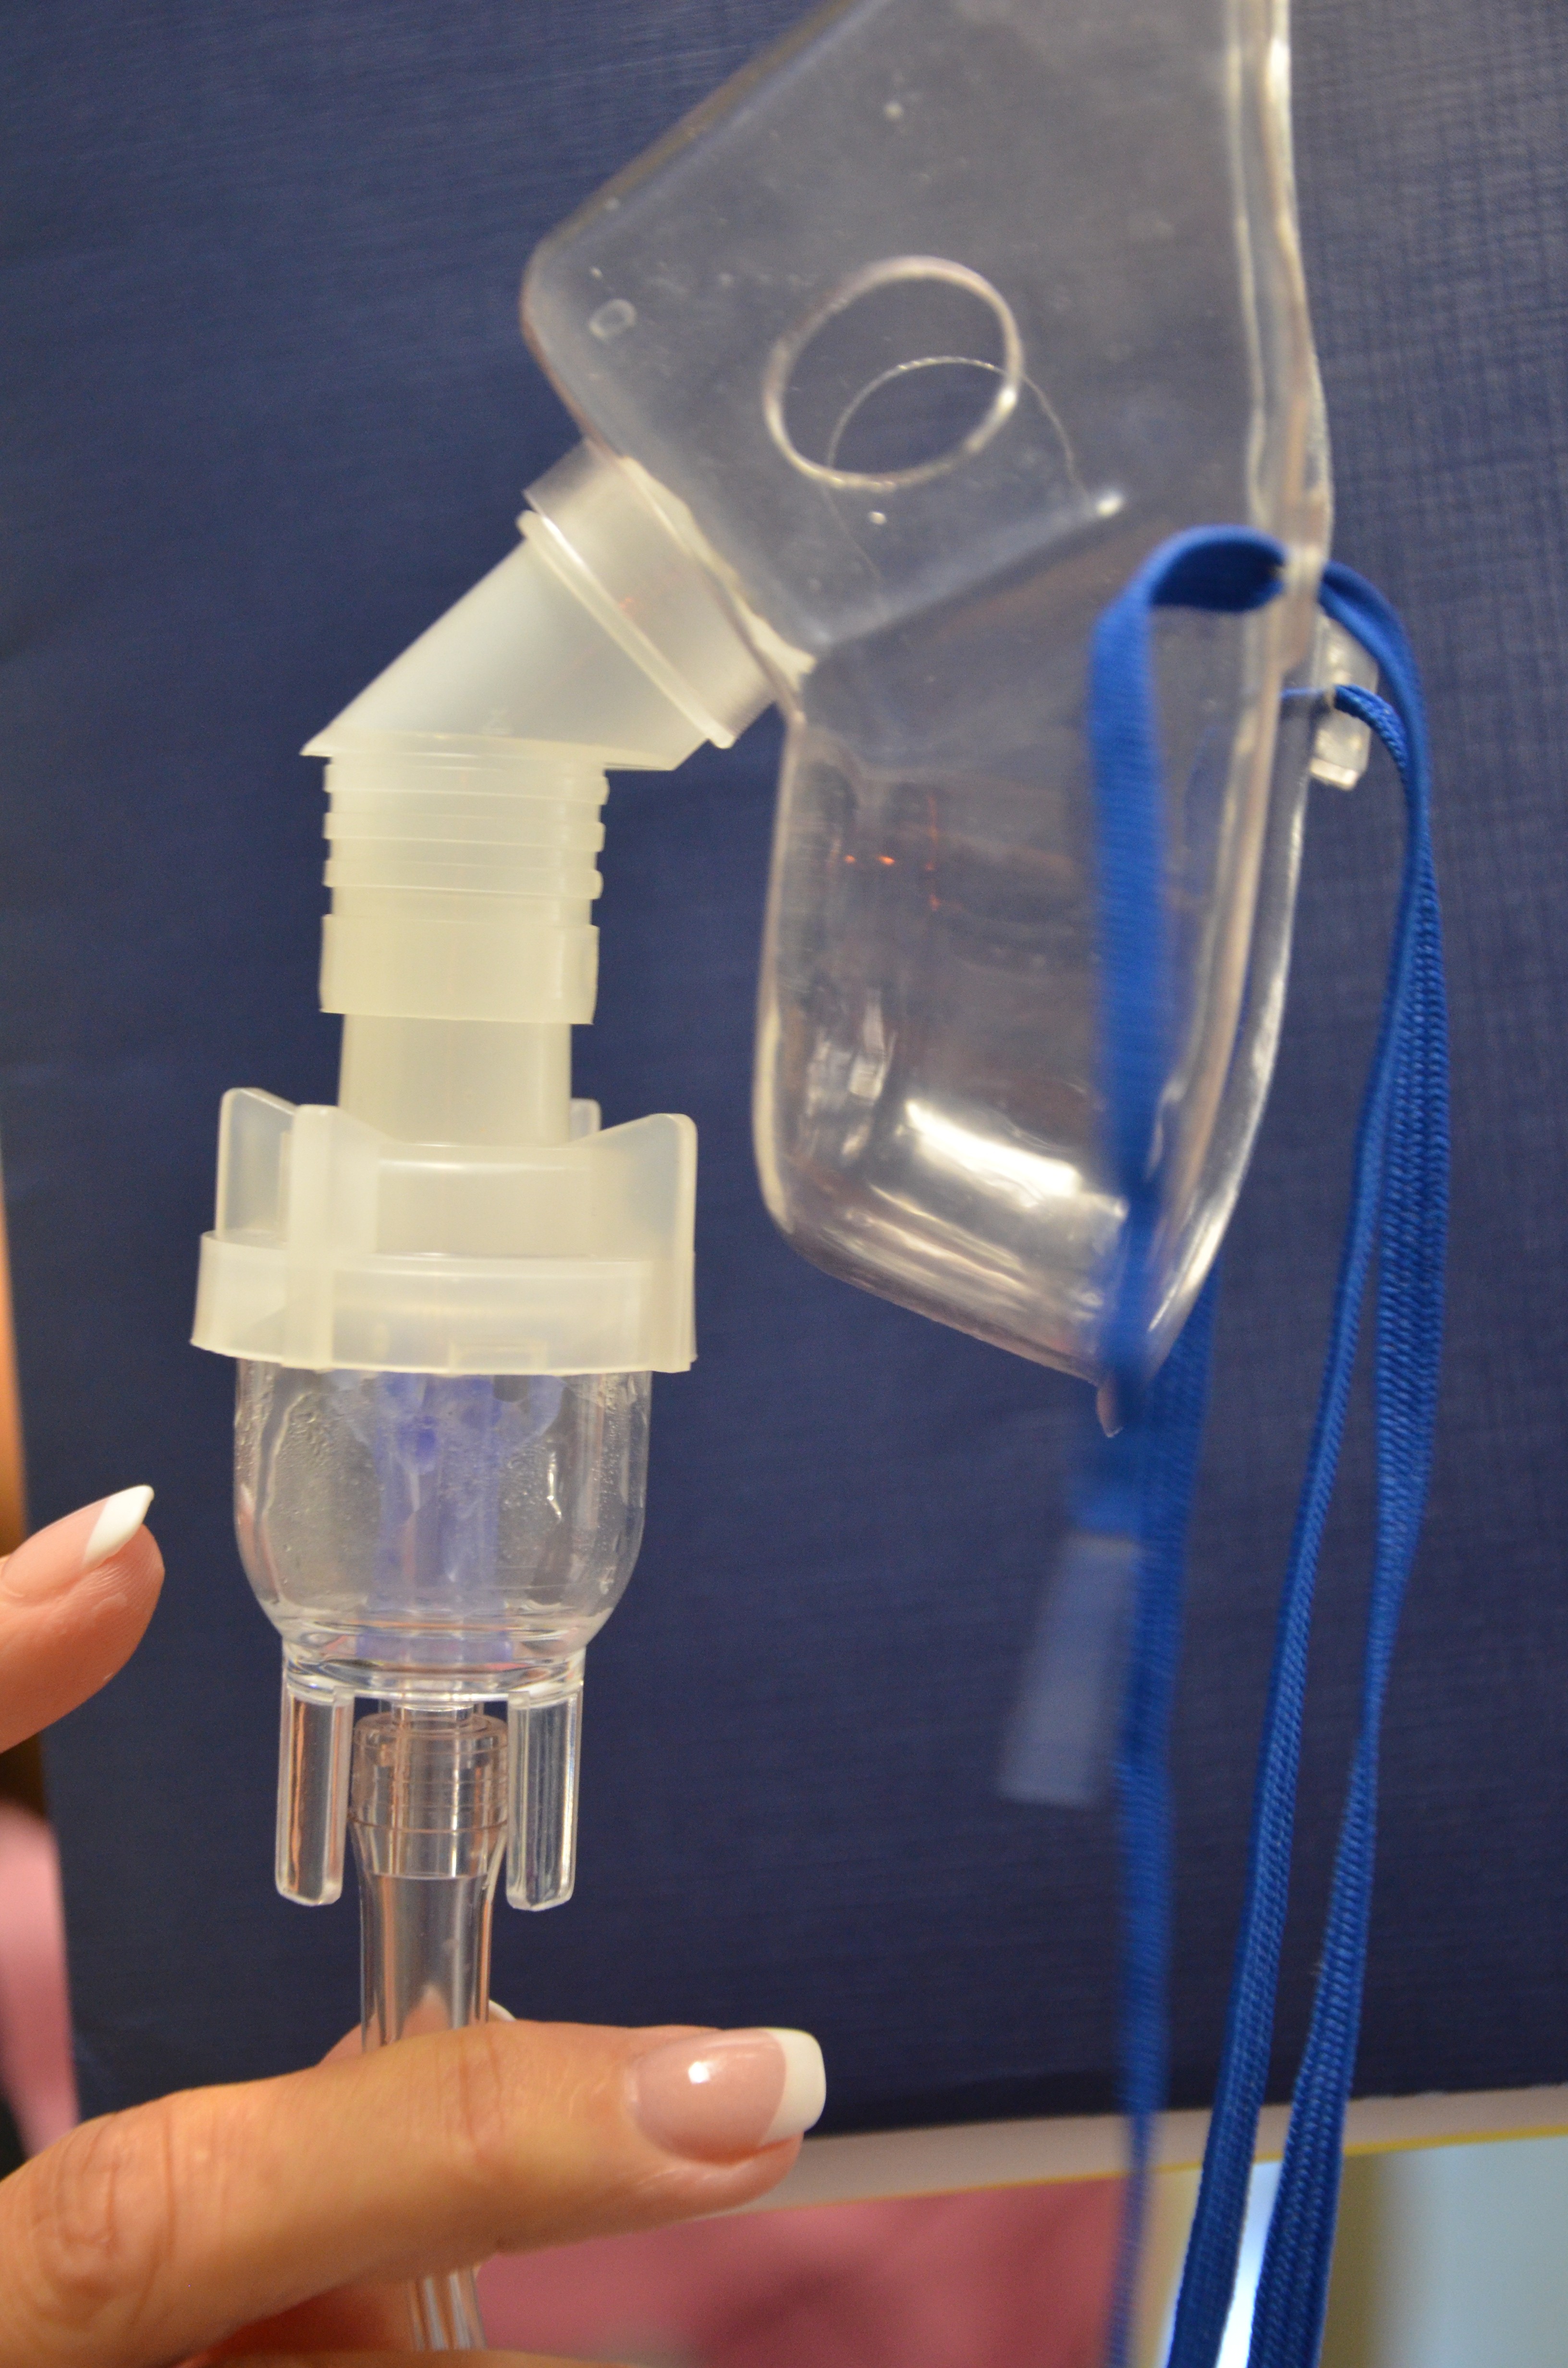
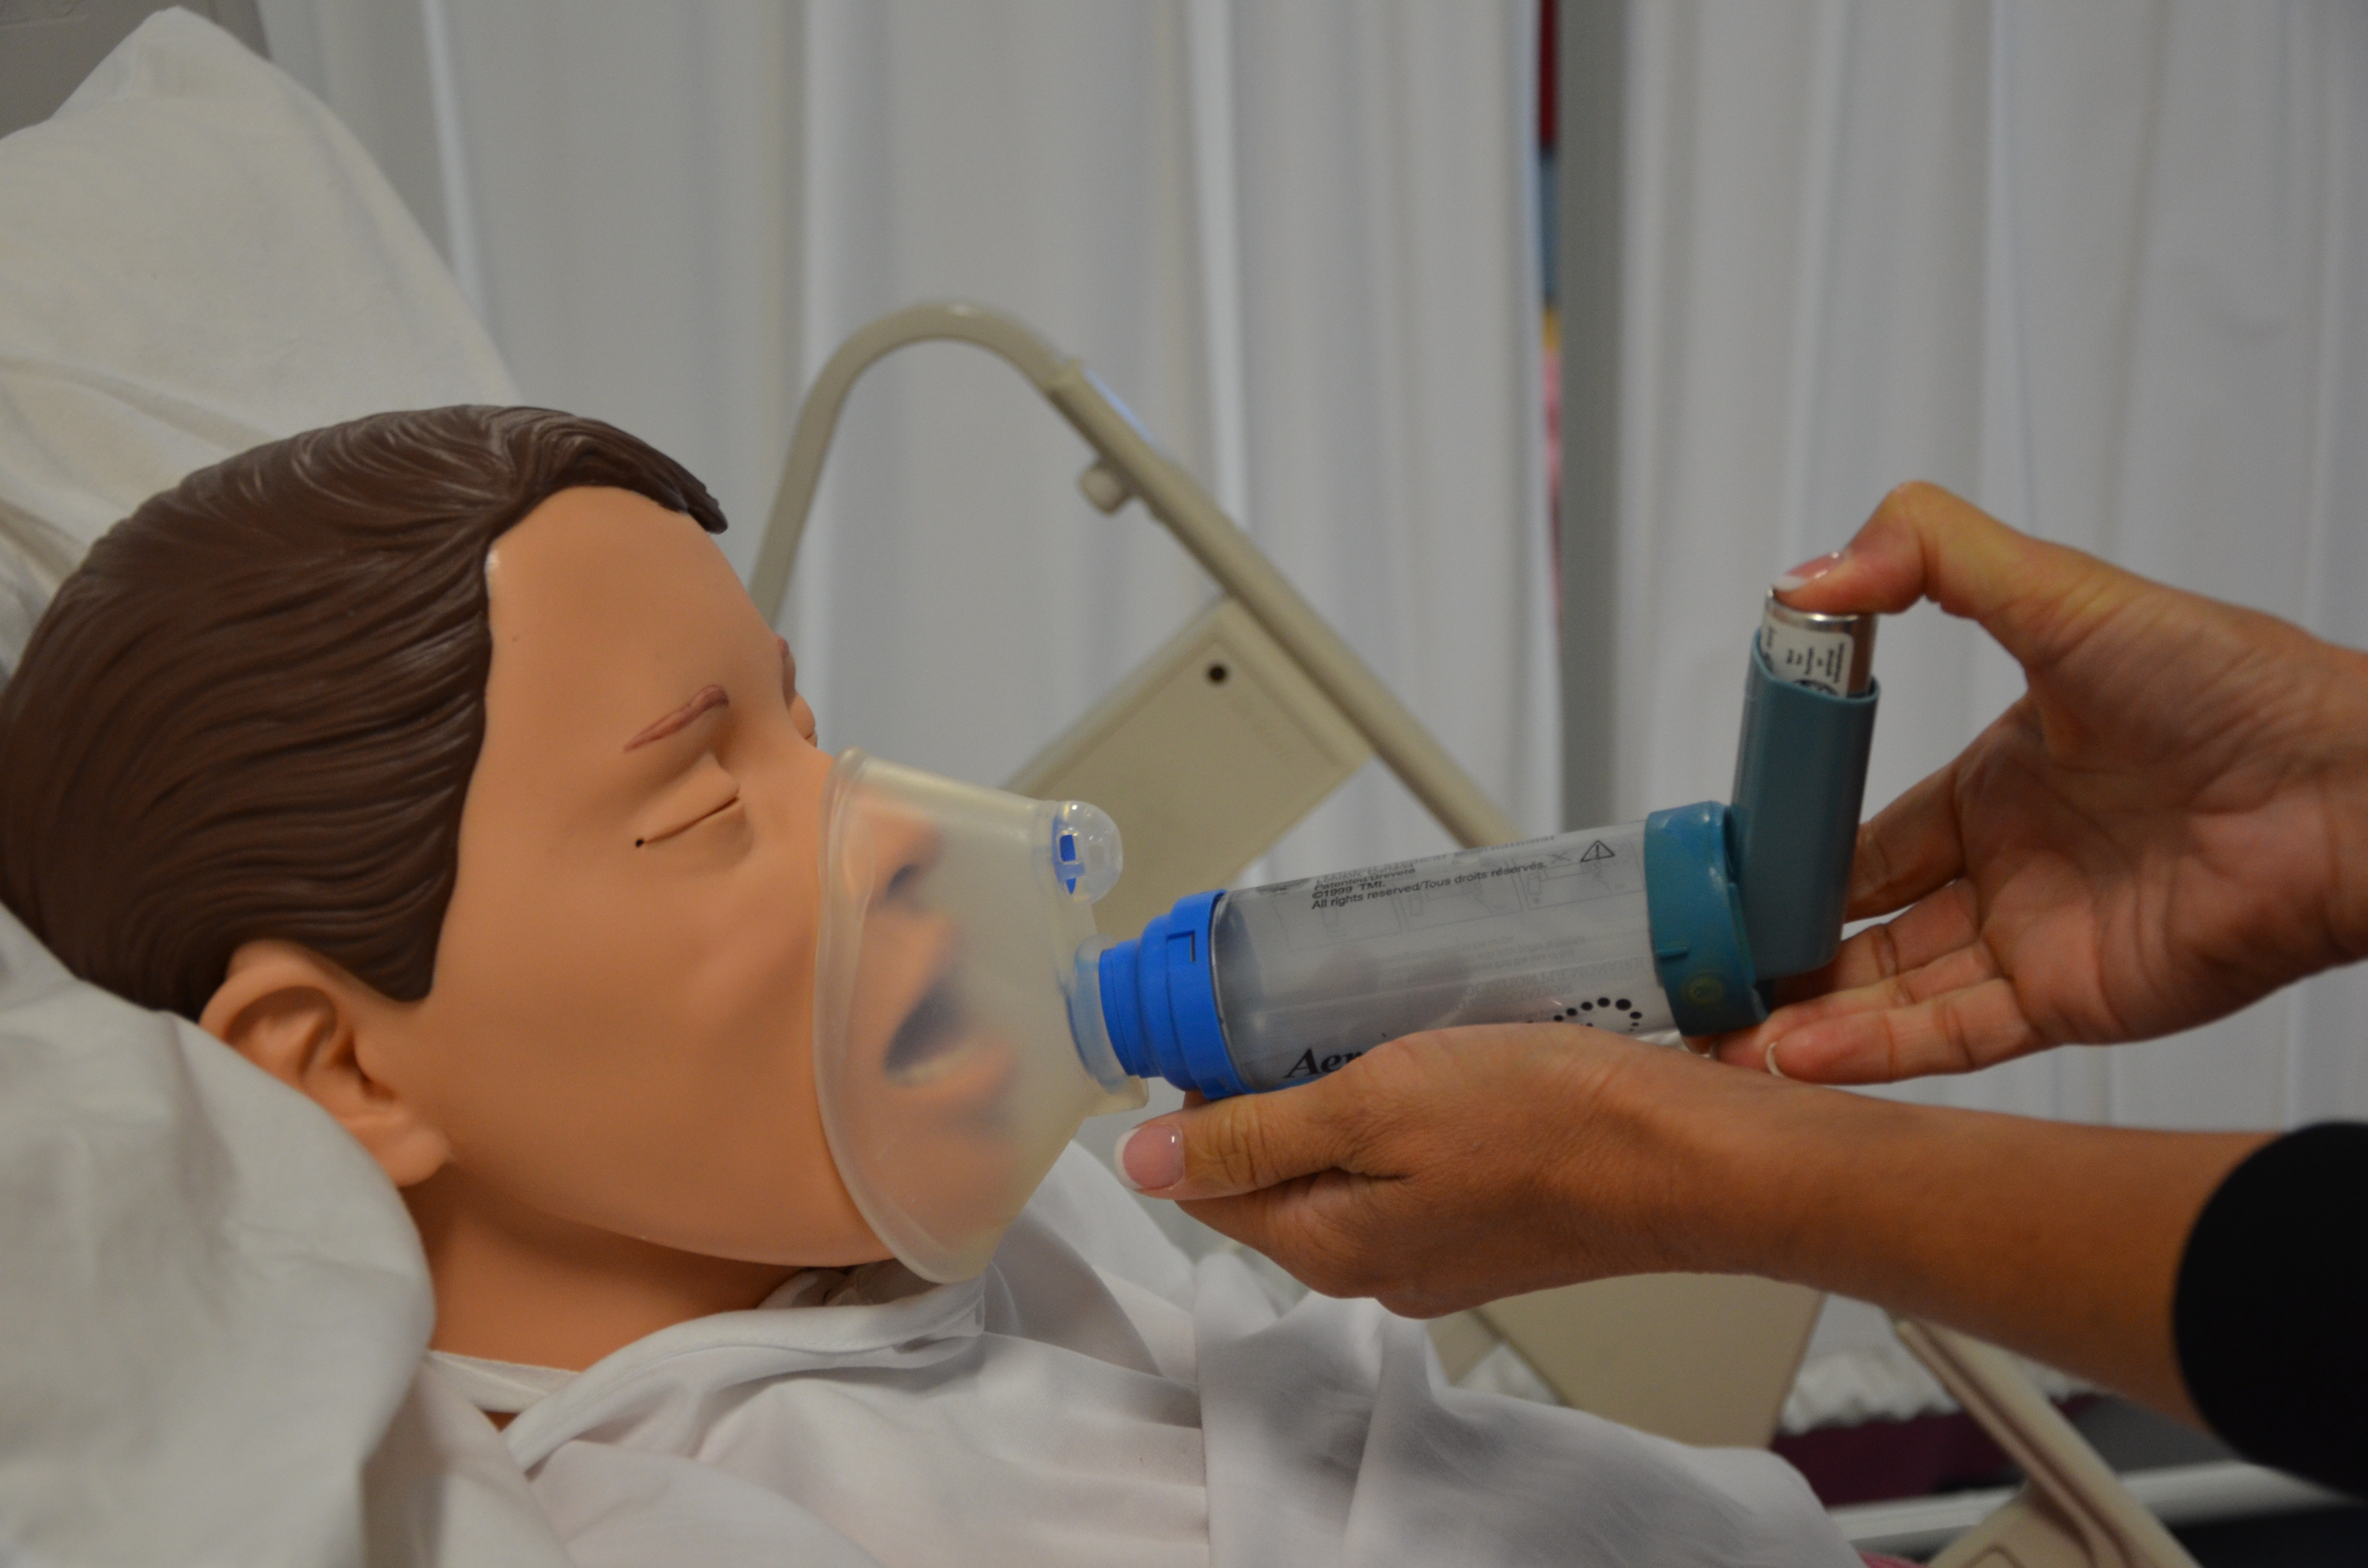
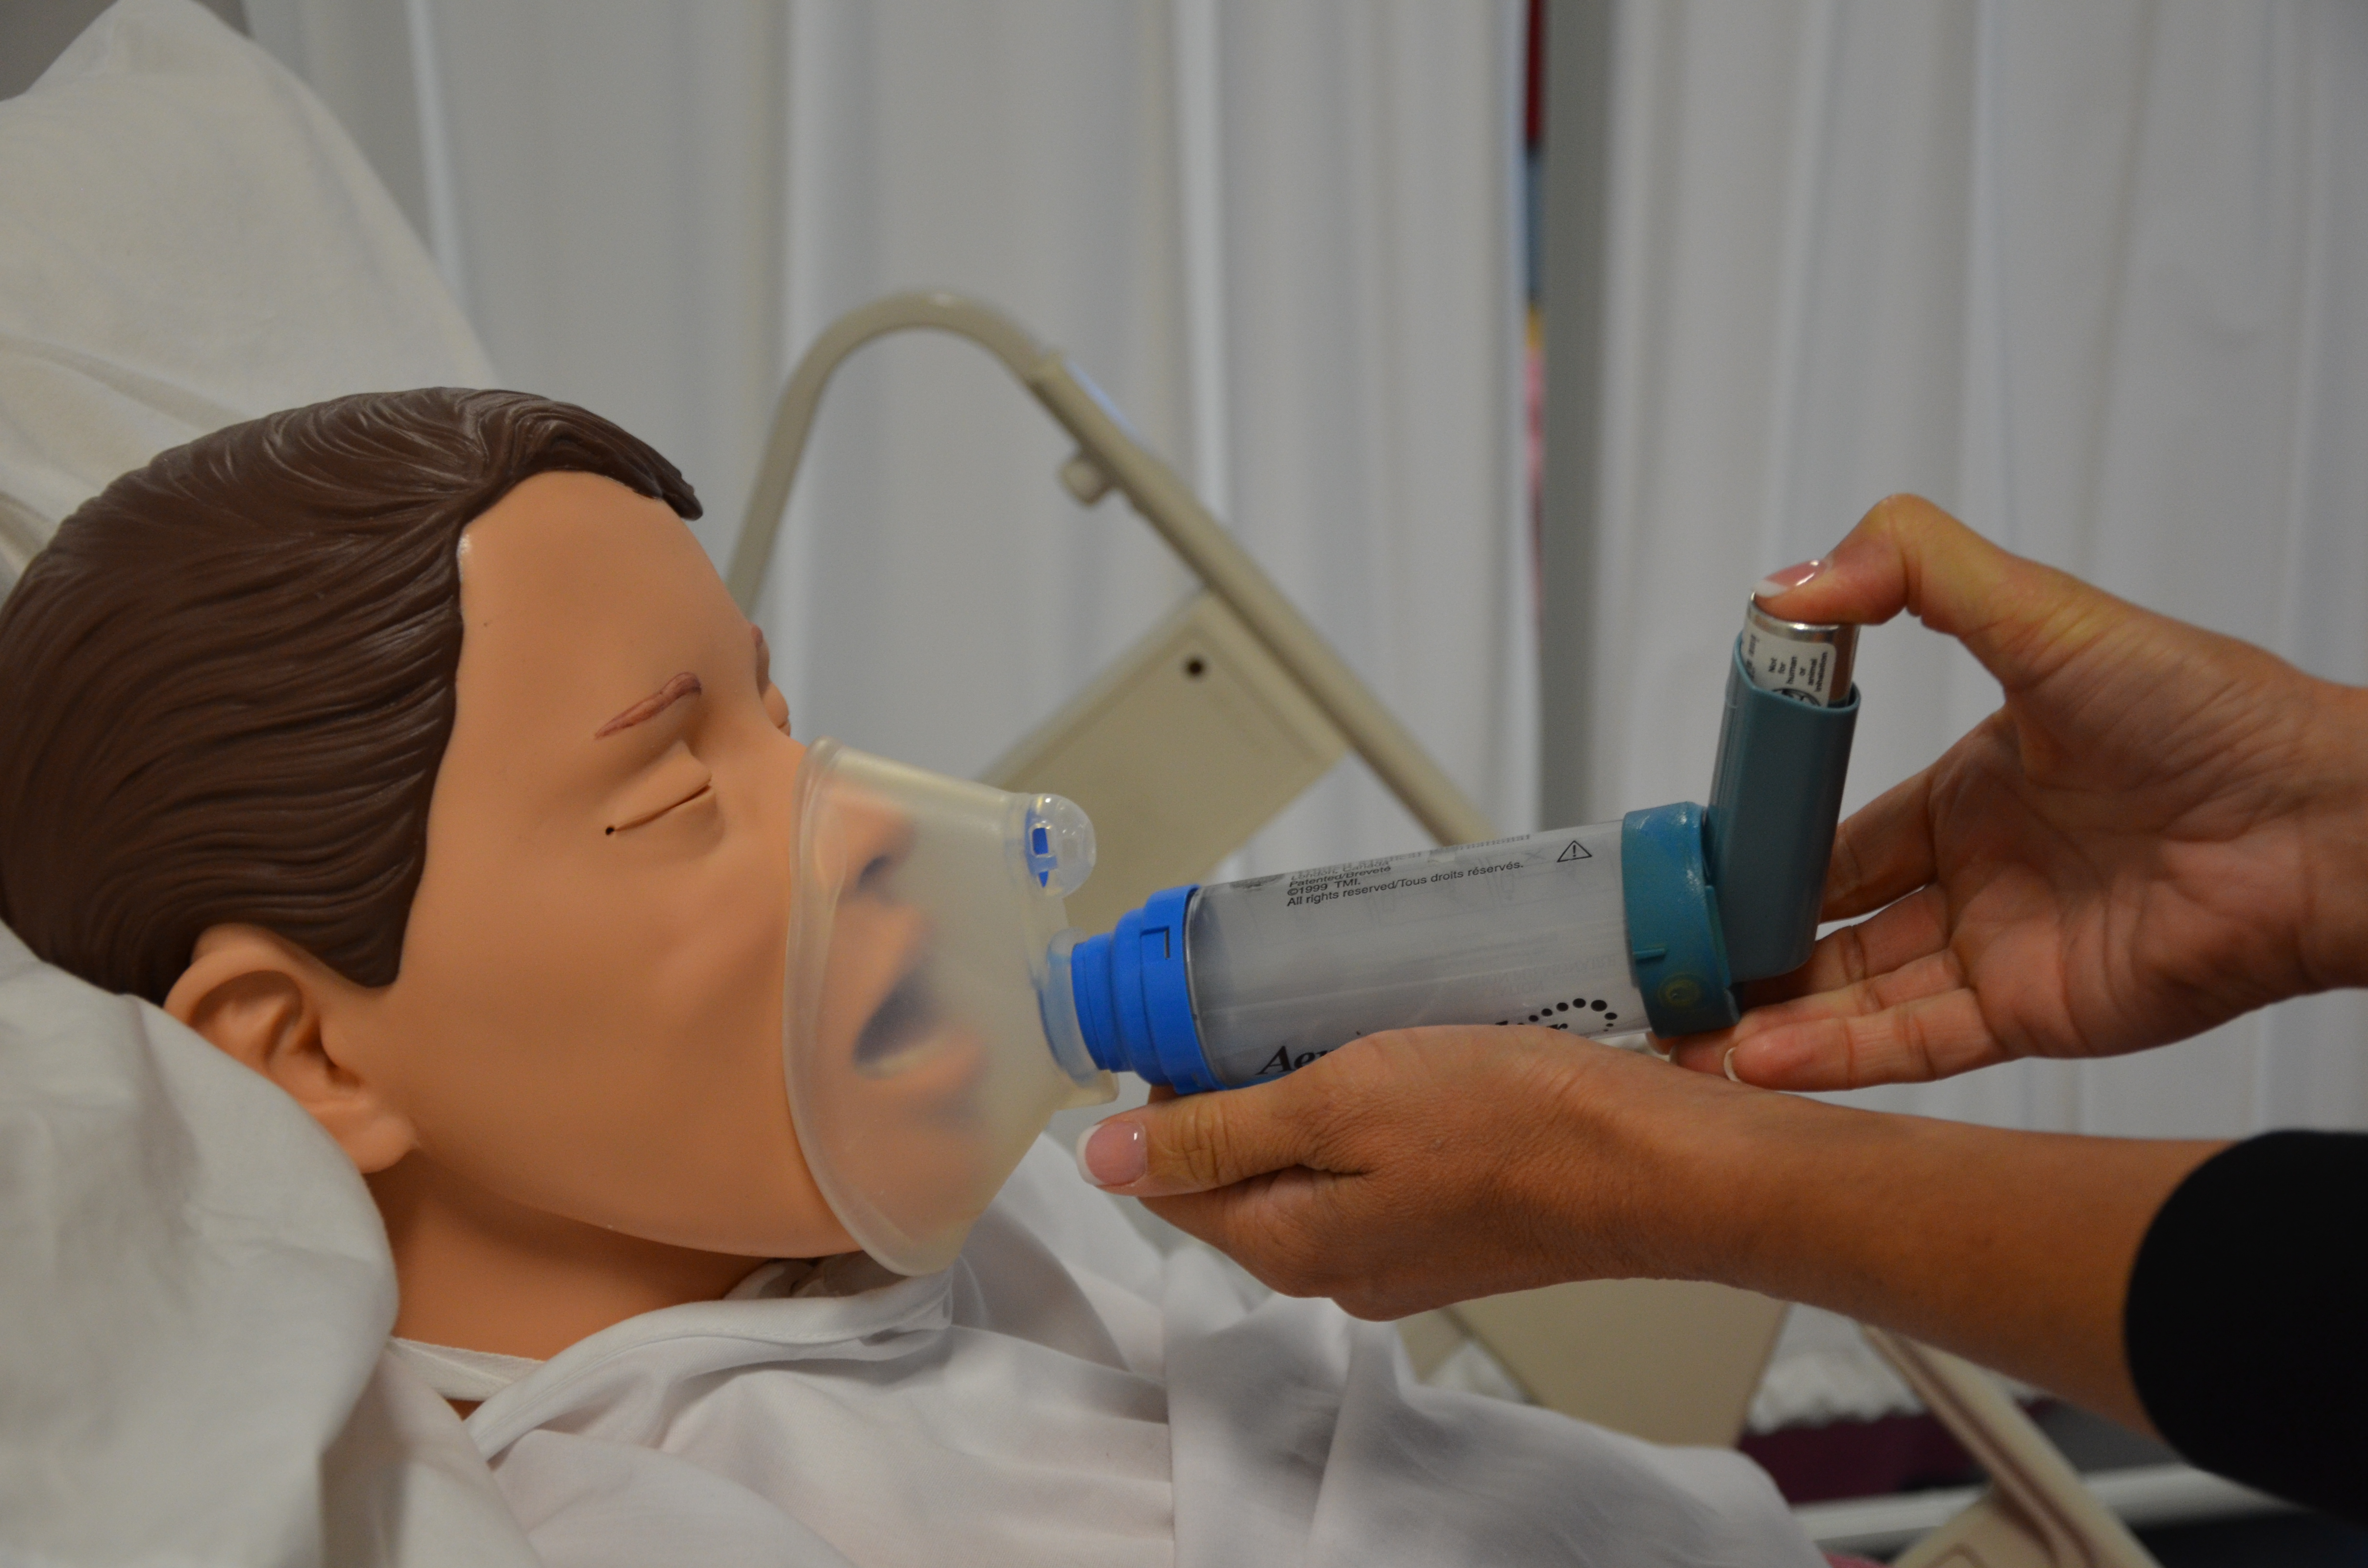
Nebulization is a process by which medications are added to inspired air and converted into a mist that is then inhaled by the patient into their respiratory system (Lilley et al., 2011; Perry et al., 2014.) (see Figure 6.4). The air droplets are finer than those created by metered dose inhalers, and delivery of the nebulized medication is by face mask or a mouthpiece held between the patient’s teeth.
Checklist 51 outlines the steps for delivering medication through a small-volume nebulizer.
Disclaimer: Always review and follow your hospital policy regarding this specific skill.
|
|||
Safety considerations:
|
|||
Steps |
Additional Information |
||
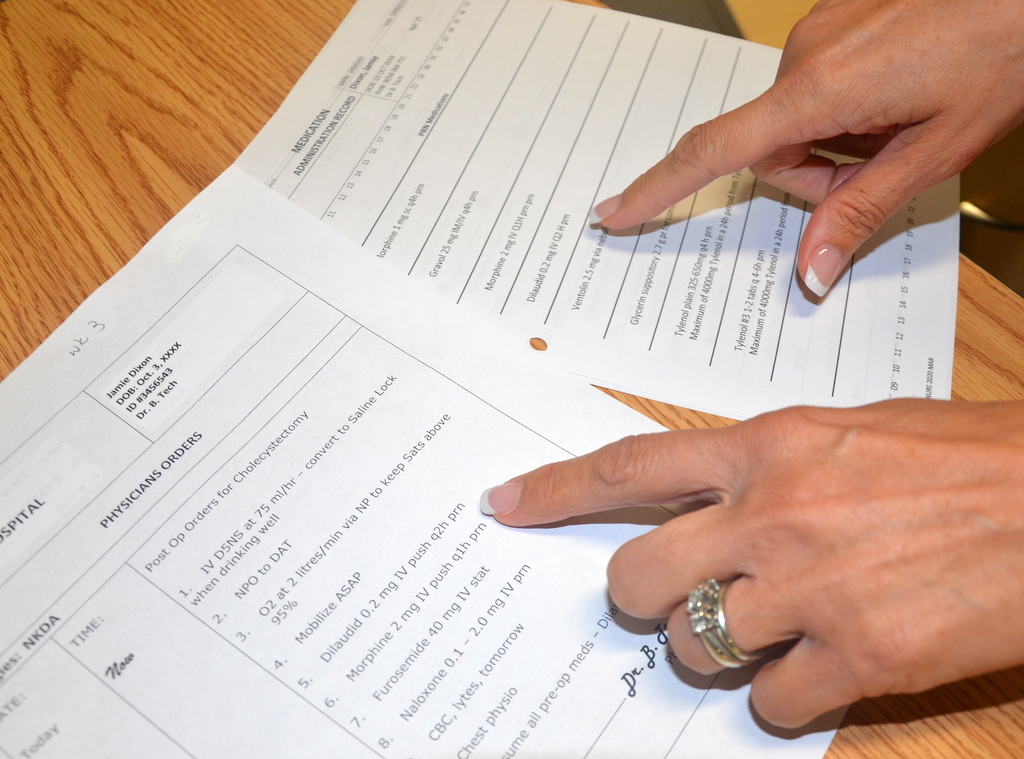
| 1. Check MAR against doctor’s orders. | Check that MAR and doctor’s orders are consistent.
 Night staff usually complete and verify this check as well. |
||
2. Perform the SEVEN RIGHTS x 3 (must be done with each individual medication):
Medication calculation: D/H x S = A (D or desired dosage/H or have available x S or stock = A or amount prepared) |
The right patient: check that you have the correct patient using two patient identifiers (e.g., name and date of birth).
 The right medication (drug): check that you have the correct medication and that it is appropriate for the patient in the current context. The right dose: check that the dose makes sense for the age, size, and condition of the patient. Different dosages may be indicated for different conditions. The right route: check that the route is appropriate for the patient’s current condition. The right time: adhere to the prescribed dose and schedule. The right reason: check that the patient is receiving the medication for the appropriate reason. The right documentation: always verify any unclear or inaccurate documentation prior to administering medications.  NEVER document that you have given a medication until you have actually administered it. |
||
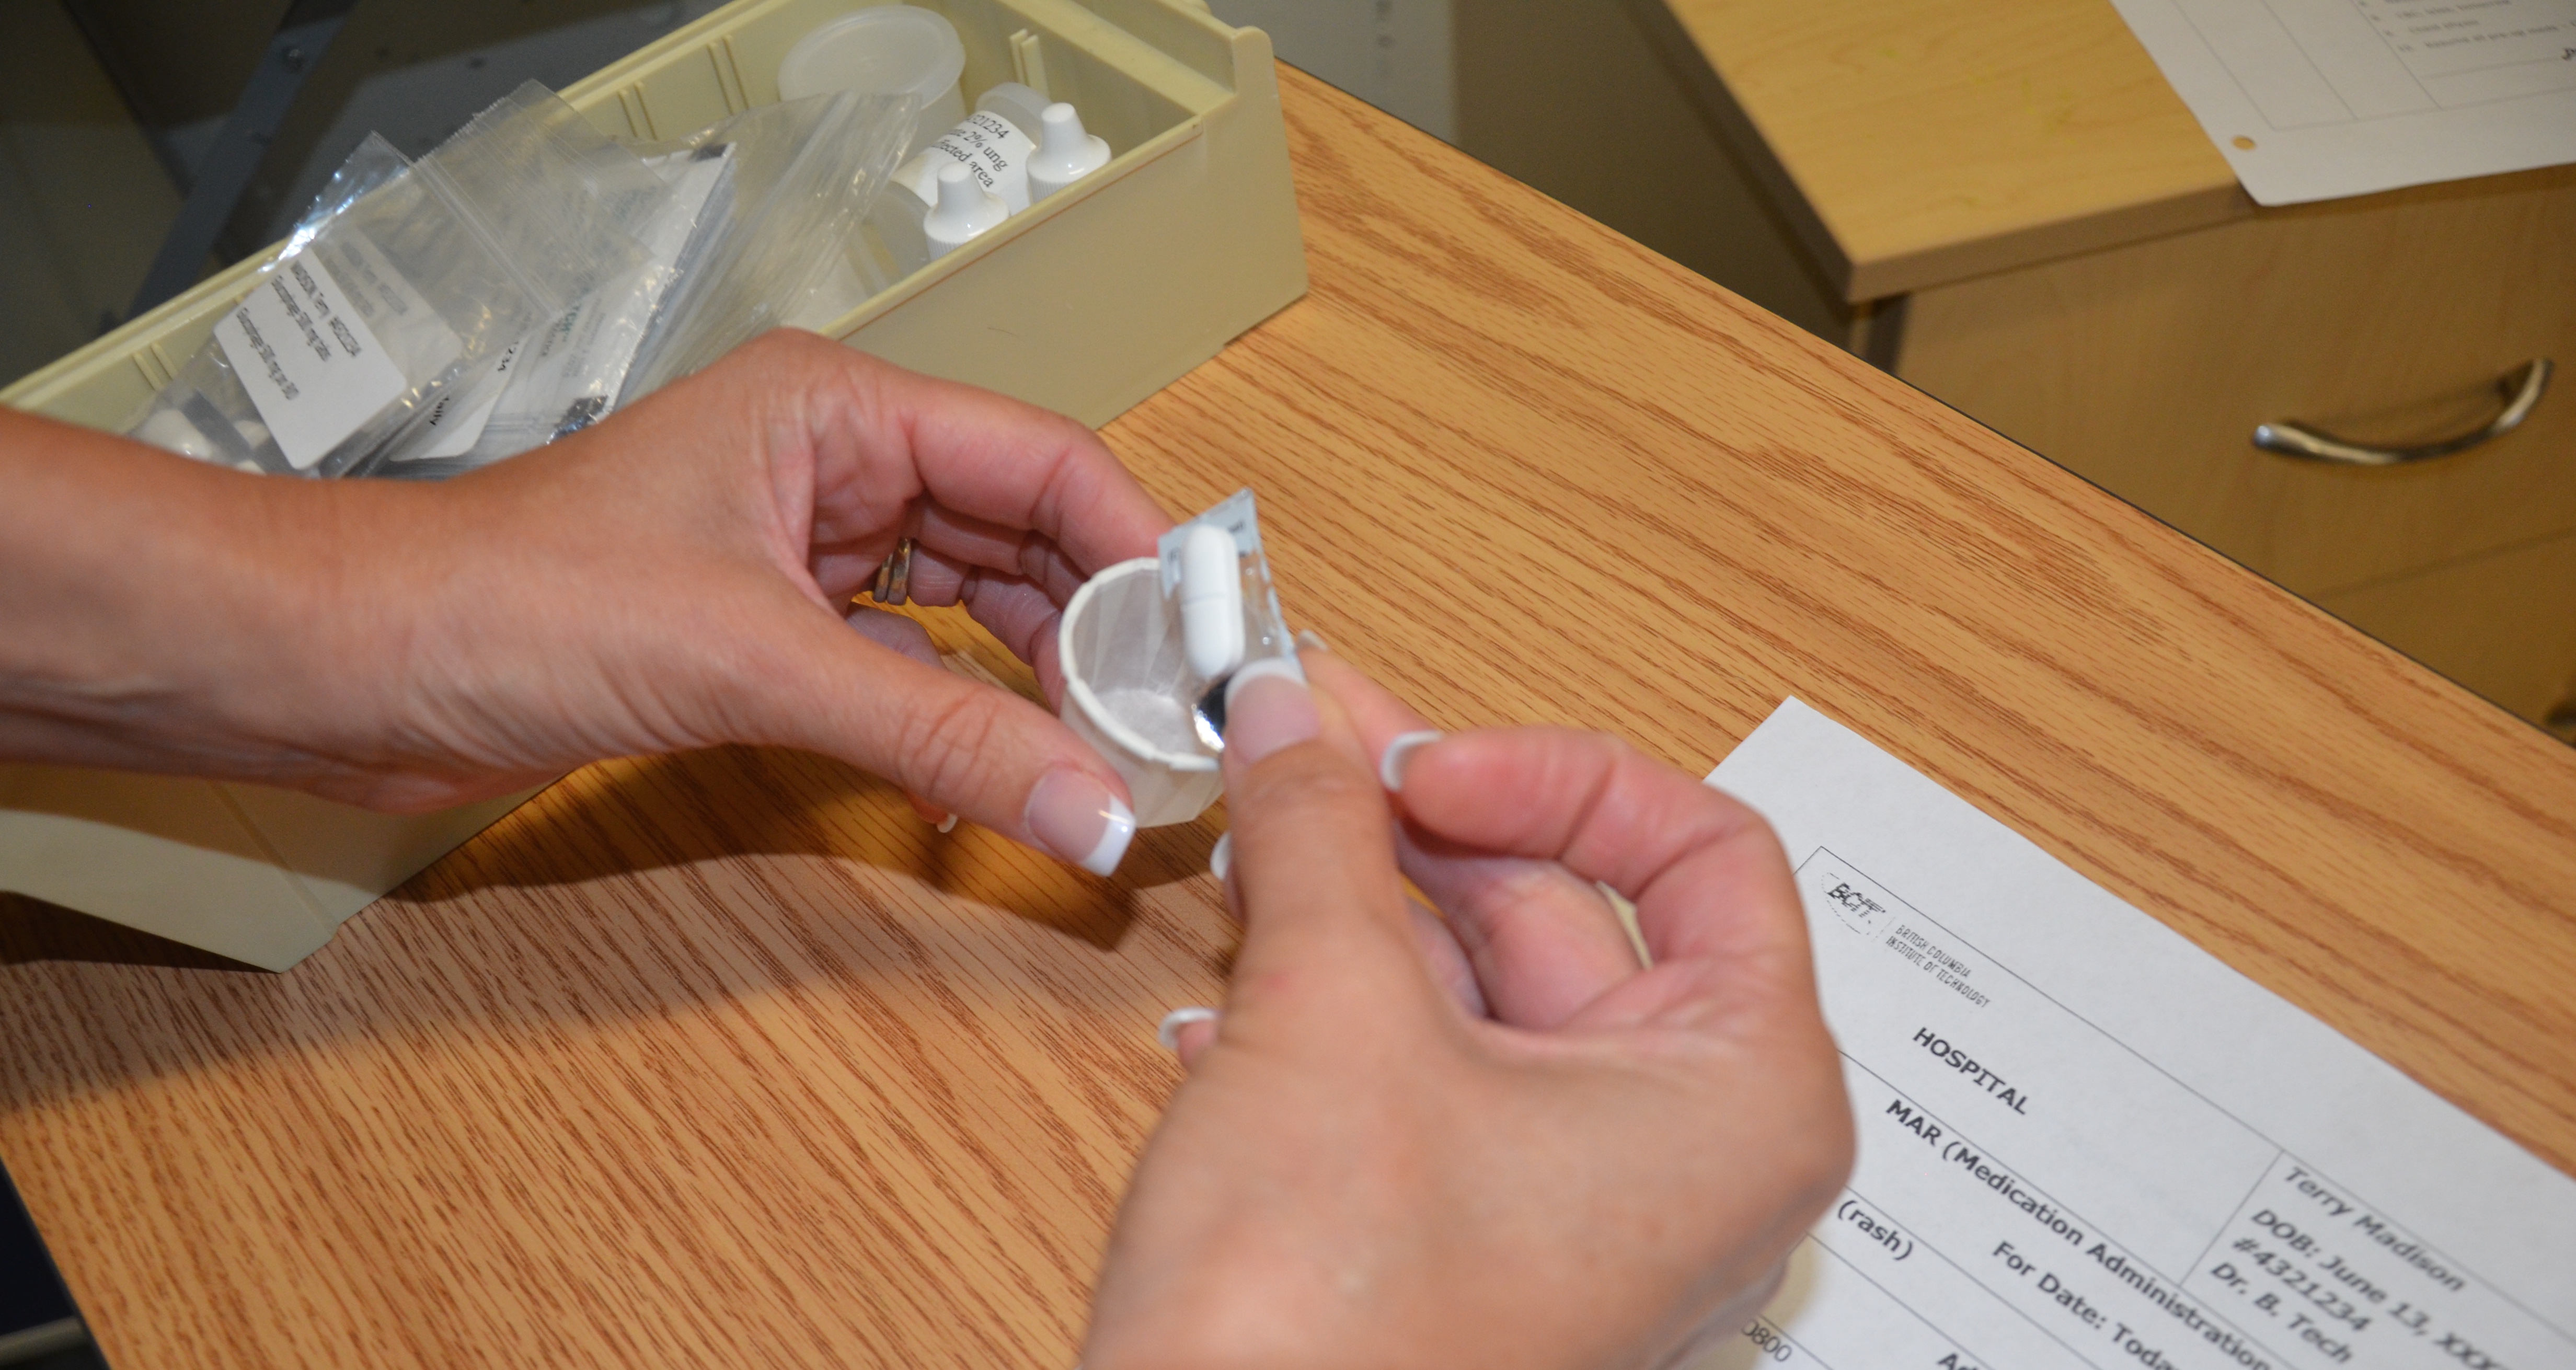
3. The label on the medication must be checked for name, dose, and route, and compared with the MAR at three different times:
|
 These checks are done before administering the medication to your patient. If taking drug to bedside (e.g., eye drops), do third check at bedside. |
||
| 4. Assemble nebulizer as per manufacturer’s instructions. | Assembly specific to manufacturer’s instructions ensures proper delivery of medication. | ||
5. Add medication as prescribed by pouring medication into the nebulizer cup.
|
This step ensures the proper delivery of medication.
|
||
| 6. Use a mask if patient is unable to tolerate a mouthpiece, and an adaptor specific to tracheostomies if the patient has a tracheostomy. | This ensures the proper delivery of medication. | ||
| 7. Position patient sitting up in a chair or in bed at greater than 45 degrees. | This position improves lung expansion and medication distribution.
|
||
| 8. Assess pulse, respiratory rate, breath sounds, pulse oximetry, and peak flow measurement (if ordered) before beginning treatment. | Determine a baseline respiratory assessment prior to administration of medication. | ||
| NOTE: Attach the nebulizer to compressed air if available; use oxygen if there is no compressed air. If patient is receiving oxygen, do not turn it off. Continue to deliver oxygen through nasal prongs with the nebulizer. | |||
| 9. Turn on air to nebulizer and ensure that a sufficient mist is visible exiting nebulizer chamber. A flow rate of 6 to 10 L should provide sufficient misting.
Ensure that nebulizer chamber containing medication is securely fastened. Ensure that chamber is connected to face mask or mouthpiece, and that nebulizer tubing is connected to compressed air or oxygen flowmeter. |
This process verifies that equipment is working properly.
 |
||
| 10. If mouthpiece is being used, ensure lips are sealed around mouthpiece. | Sealed lips ensure proper inhalation of medication. | ||
| 11. Have patient take slow, deep, inspiratory breaths. Encourage a brief 2- to 3-second pause at the end of inspiration, and continue with passive exhalations.
Note: If patient is dyspneic, encourage holding every fourth or fifth breath for 5 to 10 seconds. |
This maximizes effectiveness of medication. | ||
| 12. Have patient repeat this breathing pattern until medication is complete and there is no visible misting. This process takes approximately 8 to 10 minutes. | This maximizes the effectiveness of the medication. | ||
| 13. Tap nebulizer chamber occasionally and at the end of the treatment. | This action releases drops of medication that cling to the side of the chamber.
 |
||
| 14. Monitor patient’s pulse rate during treatment, especially if beta-adrenergic bronchodilators are being used. | Beta-adrenergic bronchodilators have cardiac effects that should be monitored during treatment. | ||
| 15. Once treatment is complete, turn flowmeter off and disconnect nebulizer. | This promotes patient comfort and safety. | ||
| 16. Rinse, dry, and store nebulizer as per agency policy. | Proper care reduces the transfer of microorganisms. | ||
| 17. If inhaled medication included steroids, have patient rinse mouth and gargle with warm water after treatment. | Rinsing removes residual medication from mouth and throat, and helps prevent oral candidiasis related to steroid use. | ||
| 18. Once treatment is complete, encourage patient to perform deep breathing and coughing exercises to help remove expectorate mucous. | Treatments are often prescribed specifically to encourage mucous expectoration. | ||
| 19. Return patient to a comfortable and safe position. | This promotes patient comfort and safety. | ||
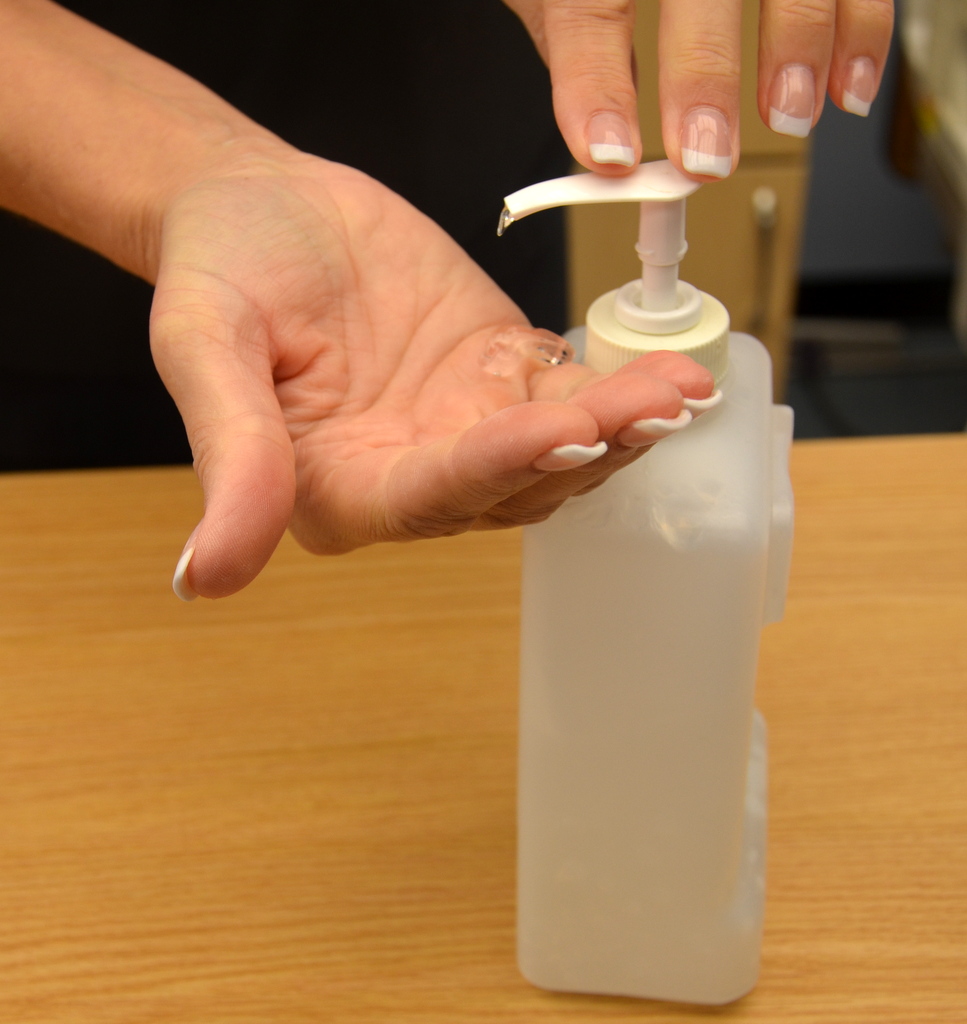
| 20. Perform hand hygiene. | This step prevents the transfer of microorganisms.
 |
||
| 21. Document treatment as per agency policy, and record and report any unusual events or findings to the appropriate health care provider. | Accurate and timely documentation and reporting promote patient safety. | ||
| Data source: BCIT, 2015; Lilley et al., 2011; Perry et al., 2014 | |||
Medication by Metered Dose Inhaler (MDI)
A metered dose inhaler (MDI) is a small handheld device that disperses medication into the airways via an aerosol spray or mist through the activation of a propellant. A measured dose of the drug is delivered with each push of a canister, and dosing is usually achieved with one or two puffs.

Checklist 52 lists the steps for administering medication by MDI.
Disclaimer: Always review and follow your hospital policy regarding this specific skill.
|
|||
Safety considerations:
|
|||
Steps |
Additional Information |
||
| 1. Check MAR against doctor’s orders. | Check that MAR and doctor’s orders are consistent.
Night staff usually complete and verify this check as well. |
||
2. Perform the SEVEN RIGHTS x 3 (must be done with each individual medication):
Medication calculation: D/H x S = A (D or desired dosage/H or have available x S or stock = A or amount prepared) |
The right patient: check that you have the correct patient using two patient identifiers (e.g., name and date of birth).
The right medication (drug): check that you have the correct medication and that it is appropriate for the patient in the current context. The right dose: check that the dose makes sense for the age, size, and condition of the patient. Different dosages may be indicated for different conditions. The right route: check that the route is appropriate for the patient’s current condition. The right time: adhere to the prescribed dose and schedule. The right reason: check that the patient is receiving the medication for the appropriate reason. The right documentation: always verify any unclear or inaccurate documentation prior to administering medications. NEVER document that you have given a medication until you have actually administered it. |
||
3. The label on the medication must be checked for name, dose, and route, and compared with the MAR at three different times:
|
These checks are done before administering the medication to your patient. If taking drug to bedside (e.g., eye drops), do third check at bedside. |
||
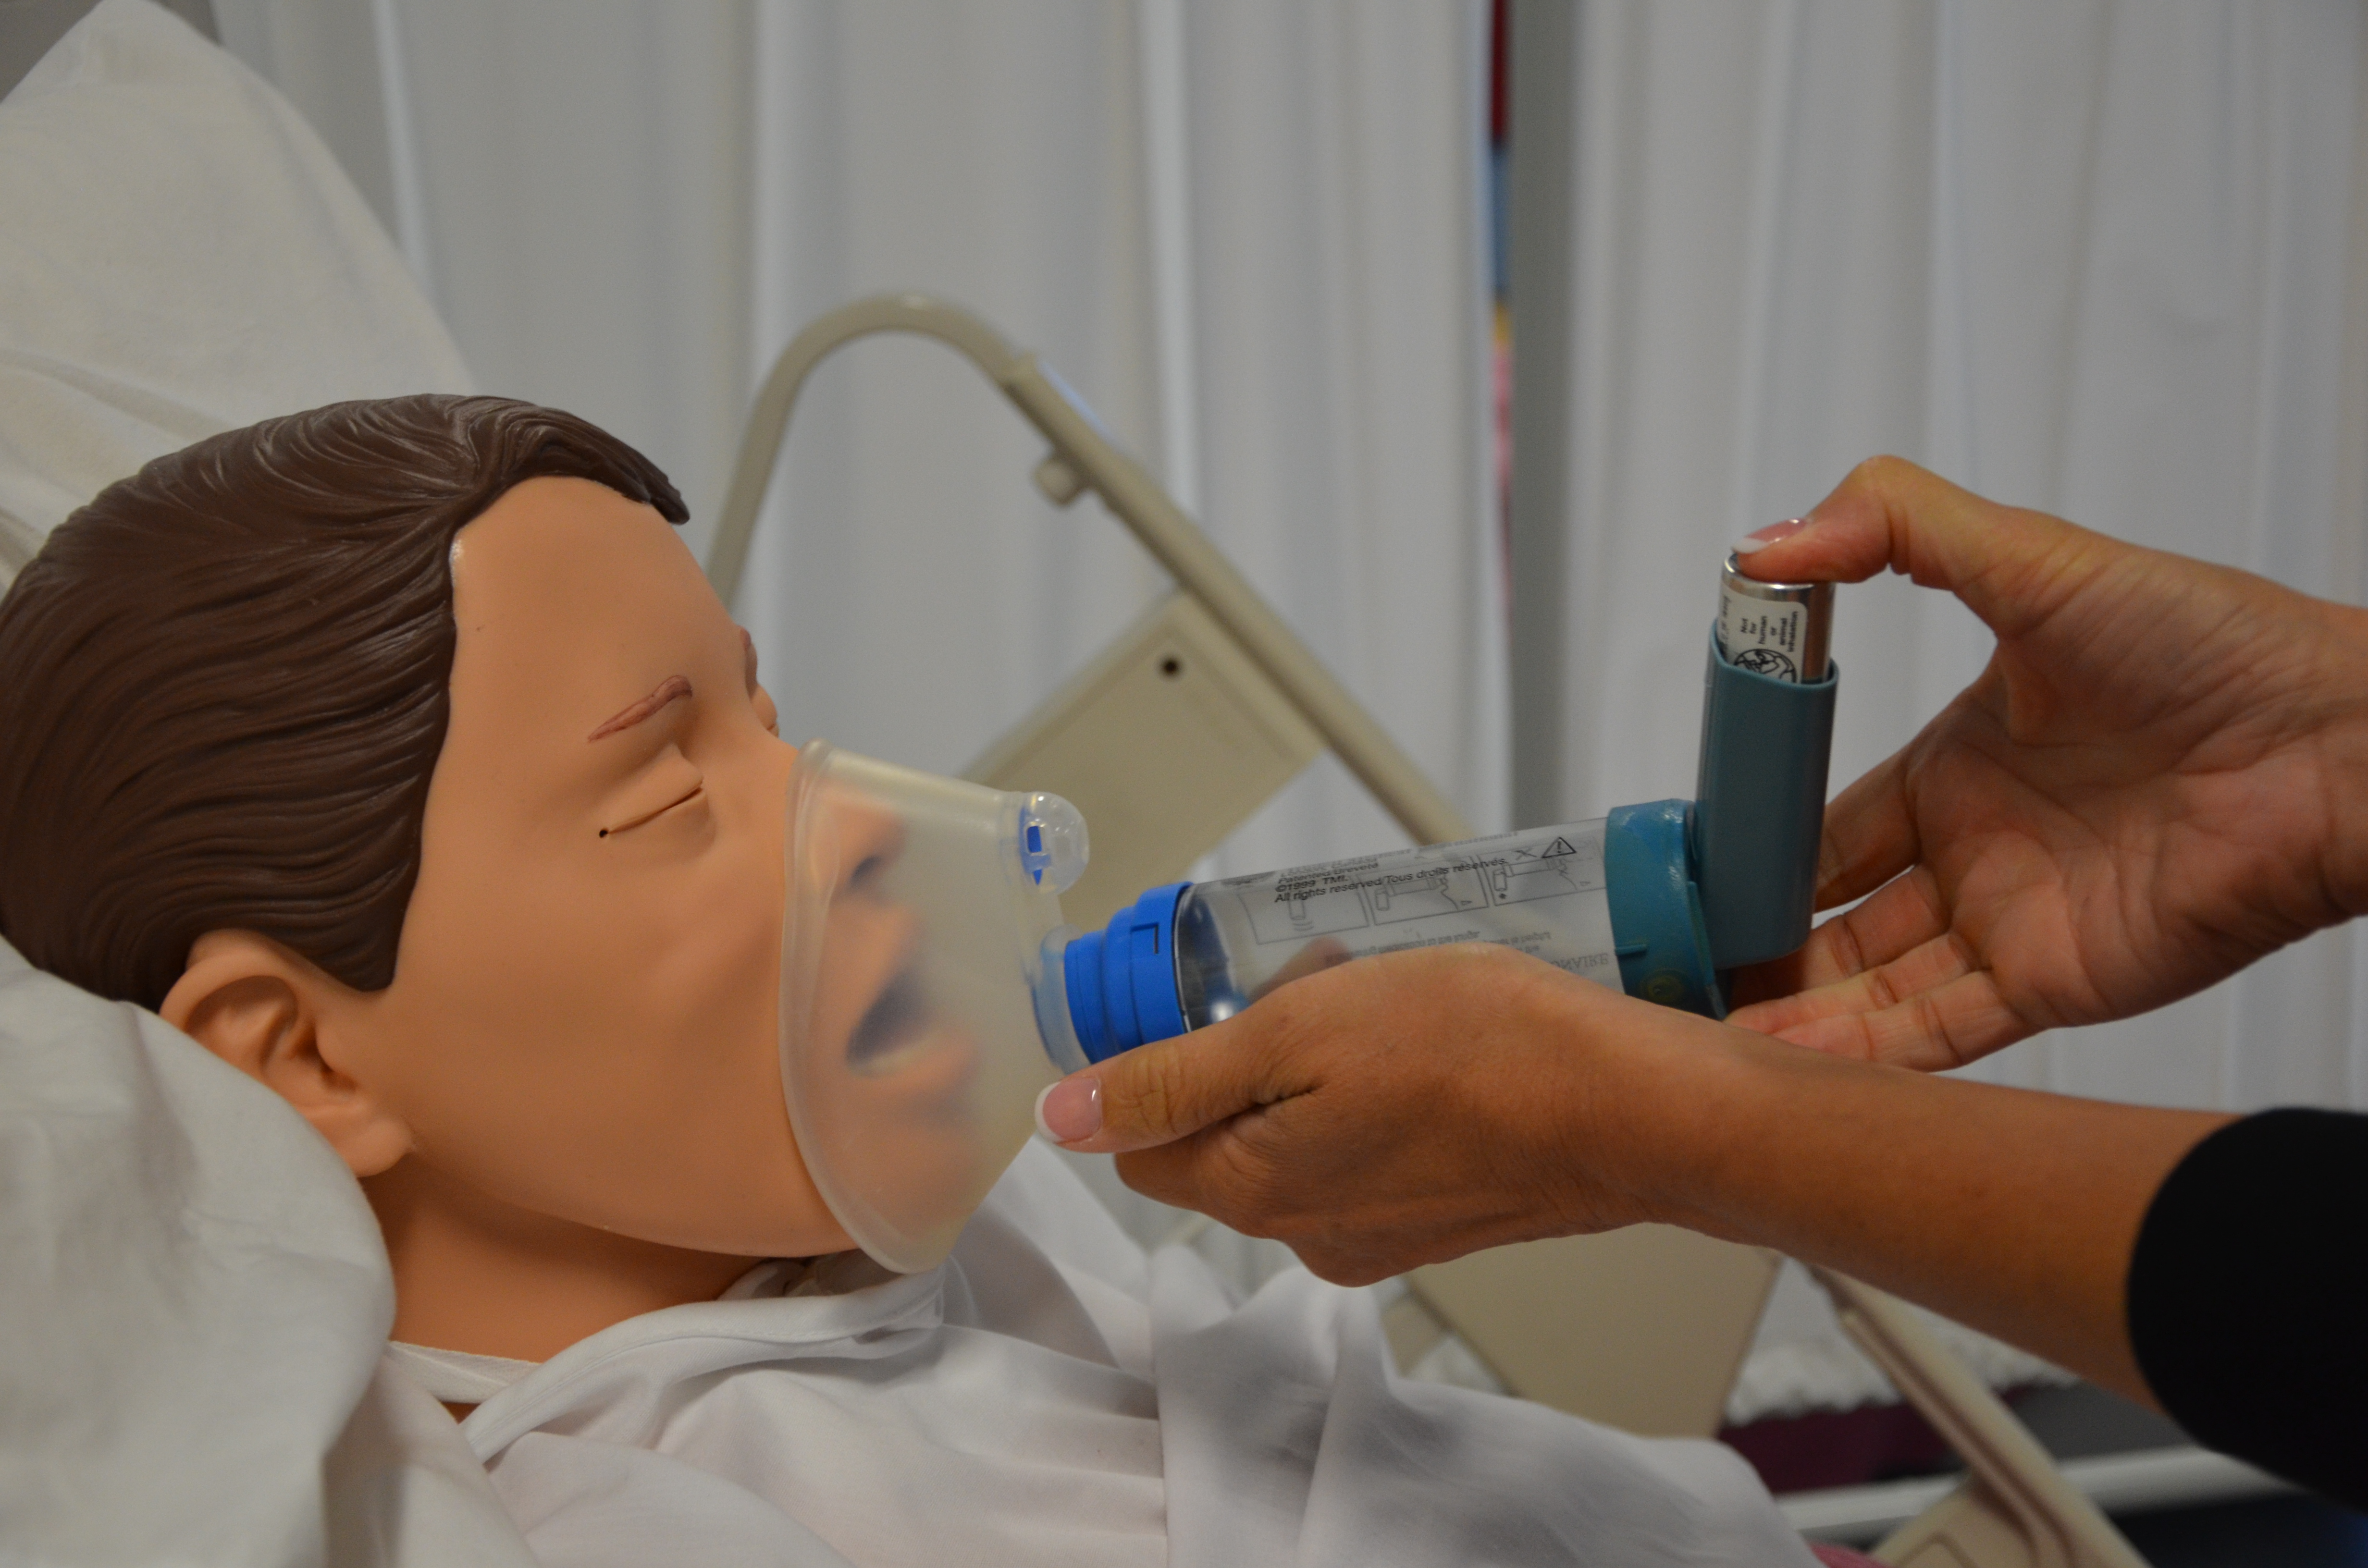
| 4. Assemble MDI as per manufacturer’s instructions.
If MDI has not been used for several days, give it a test spray into the air, taking care not to inhale the medication. |
Assembly specific to manufacturer’s instructions ensures proper delivery of medication.
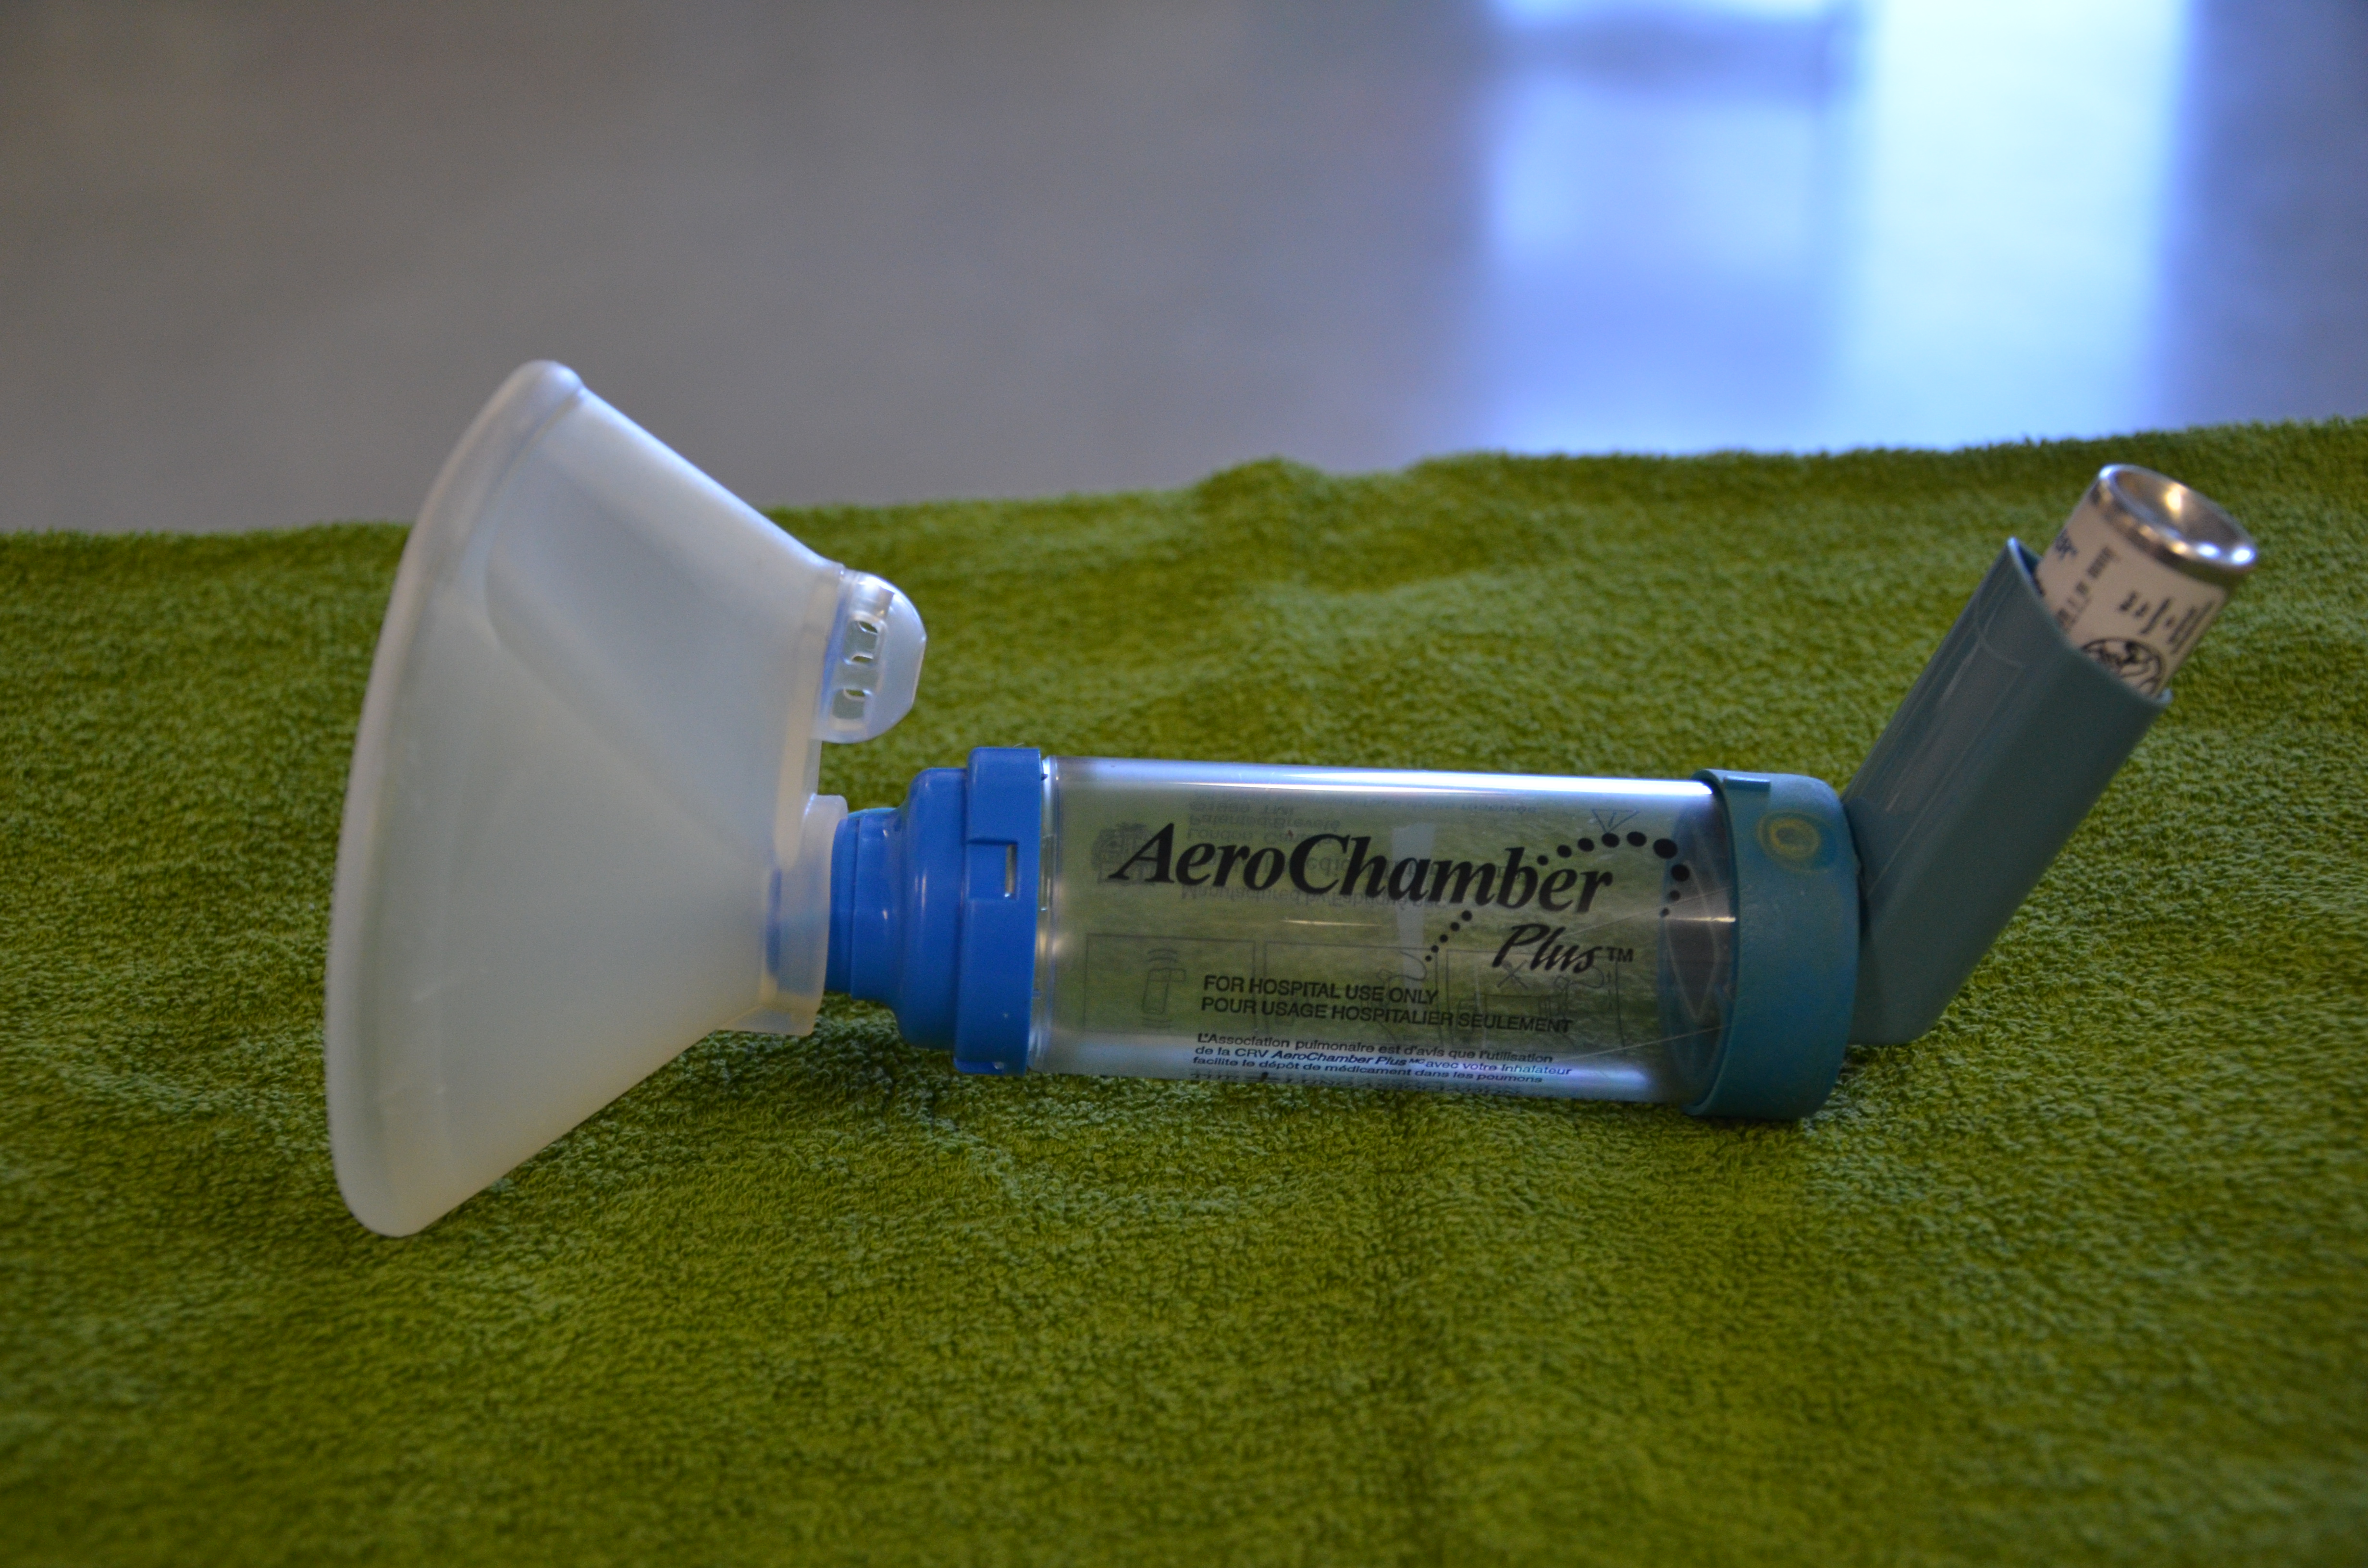 |
||
| 5. Ensure that canister is securely inserted into the holder and remove the mouthpiece cover. | This ensures proper delivery of medication. | ||
| 6. Shake canister well before delivery (5 or 6 shakes). | This ensures proper delivery of medication. | ||
| 7. Position patient sitting up in a chair or in bed at greater than 45 degrees. | This position improves lung expansion and medication distribution. | ||
| 8. Assess pulse, respiratory rate, breath sounds, pulse oximetry, and peak flow measurement (if ordered) before beginning treatment. | This determines a baseline respiratory assessment prior to administration of medication. | ||
9. Without spacer:
With spacer:
|
This process ensures proper inhalation of medication.
   |
||
| 10. Have patient rinse mouth and gargle with warm water about 2 minutes after treatment. | Rinsing removes residual medication from mouth and throat, and helps prevent oral candidiasis related to steroid use. | ||
| 11. Return patient to a comfortable and safe position. | This promotes patient comfort and safety. | ||
| 12. Perform hand hygiene. | This step prevents the transfer of microorganisms.
|
||
| 13. Document treatment as per agency policy, and record and report any unusual events or findings to the appropriate health care provider. | Accurate and timely documentation and reporting promote patient safety. | ||
| Data source: BCIT, 2015; Lilley et al., 2011; Perry et al., 2014 | |||
Critical Thinking Exercises
- Your patient is receiving supplemental oxygen through nasal prongs, and needs to receive medication via a nebulizer. Please describe whether or not you would remove the nasal prongs and your reasoning for making this decision.
- Your patient complains that she can’t seem to breathe in at the same time as she depresses her inhaler. What action should you take in this situation to ensure that your patient receives the appropriate dose of her medication by inhaler.
