Chapter 6. Non-Parenteral Medication Administration
6.5 Instilling Eye, Ear, and Nose Medications
Instilling Eye Medications
The eye is the most sensitive organ to which medication may be applied (Perry et al., 2014). The cornea is especially sensitive, making the conjunctival sac the appropriate site for instilling eye (ophthalmic) medications.
Checklist 48 outlines the steps for instilling eye medications.
Disclaimer: Always review and follow your hospital policy regarding this specific skill. |
|||
Safety considerations:
|
|||
Steps |
Additional Information |
||
| 1. Check MAR against doctor’s orders. |
Check that MAR and doctor’s orders are consistent.  Night staff usually complete and verify this check as well. |
||
|
2. Perform the SEVEN RIGHTS × 3 (must be done with each individual medication):
Medication calculation: D/H × S = A (D or desired dosage/H or have available × S or stock = A or amount prepared) |
The right patient: check that you have the correct patient using two patient identifiers (e.g., name and date of birth).  The right medication (drug): check that you have the correct medication and that it is appropriate for the patient in the current context. The right dose: check that the dose makes sense for the age, size, and condition of the patient. Different dosages may be indicated for different conditions. The right route: check that the route is appropriate for the patient’s current condition. The right time: adhere to the prescribed dose and schedule. The right reason: check that the patient is receiving the medication for the appropriate reason. The right documentation: always verify any unclear or inaccurate documentation prior to administering medications.  NEVER document that you have given a medication until you have actually administered it. |
||
3. The label on the medication must be checked for name, dose, and route, and compared with the MAR at three different times:
|
 These checks are done before administering the medication to your patient. If taking drug to bedside (e.g., eye drops), do third check at bedside. |
||
| 4. Before instilling eye medication, offer a tissue to the patient. | Drops may spill from the eye with administration. | ||
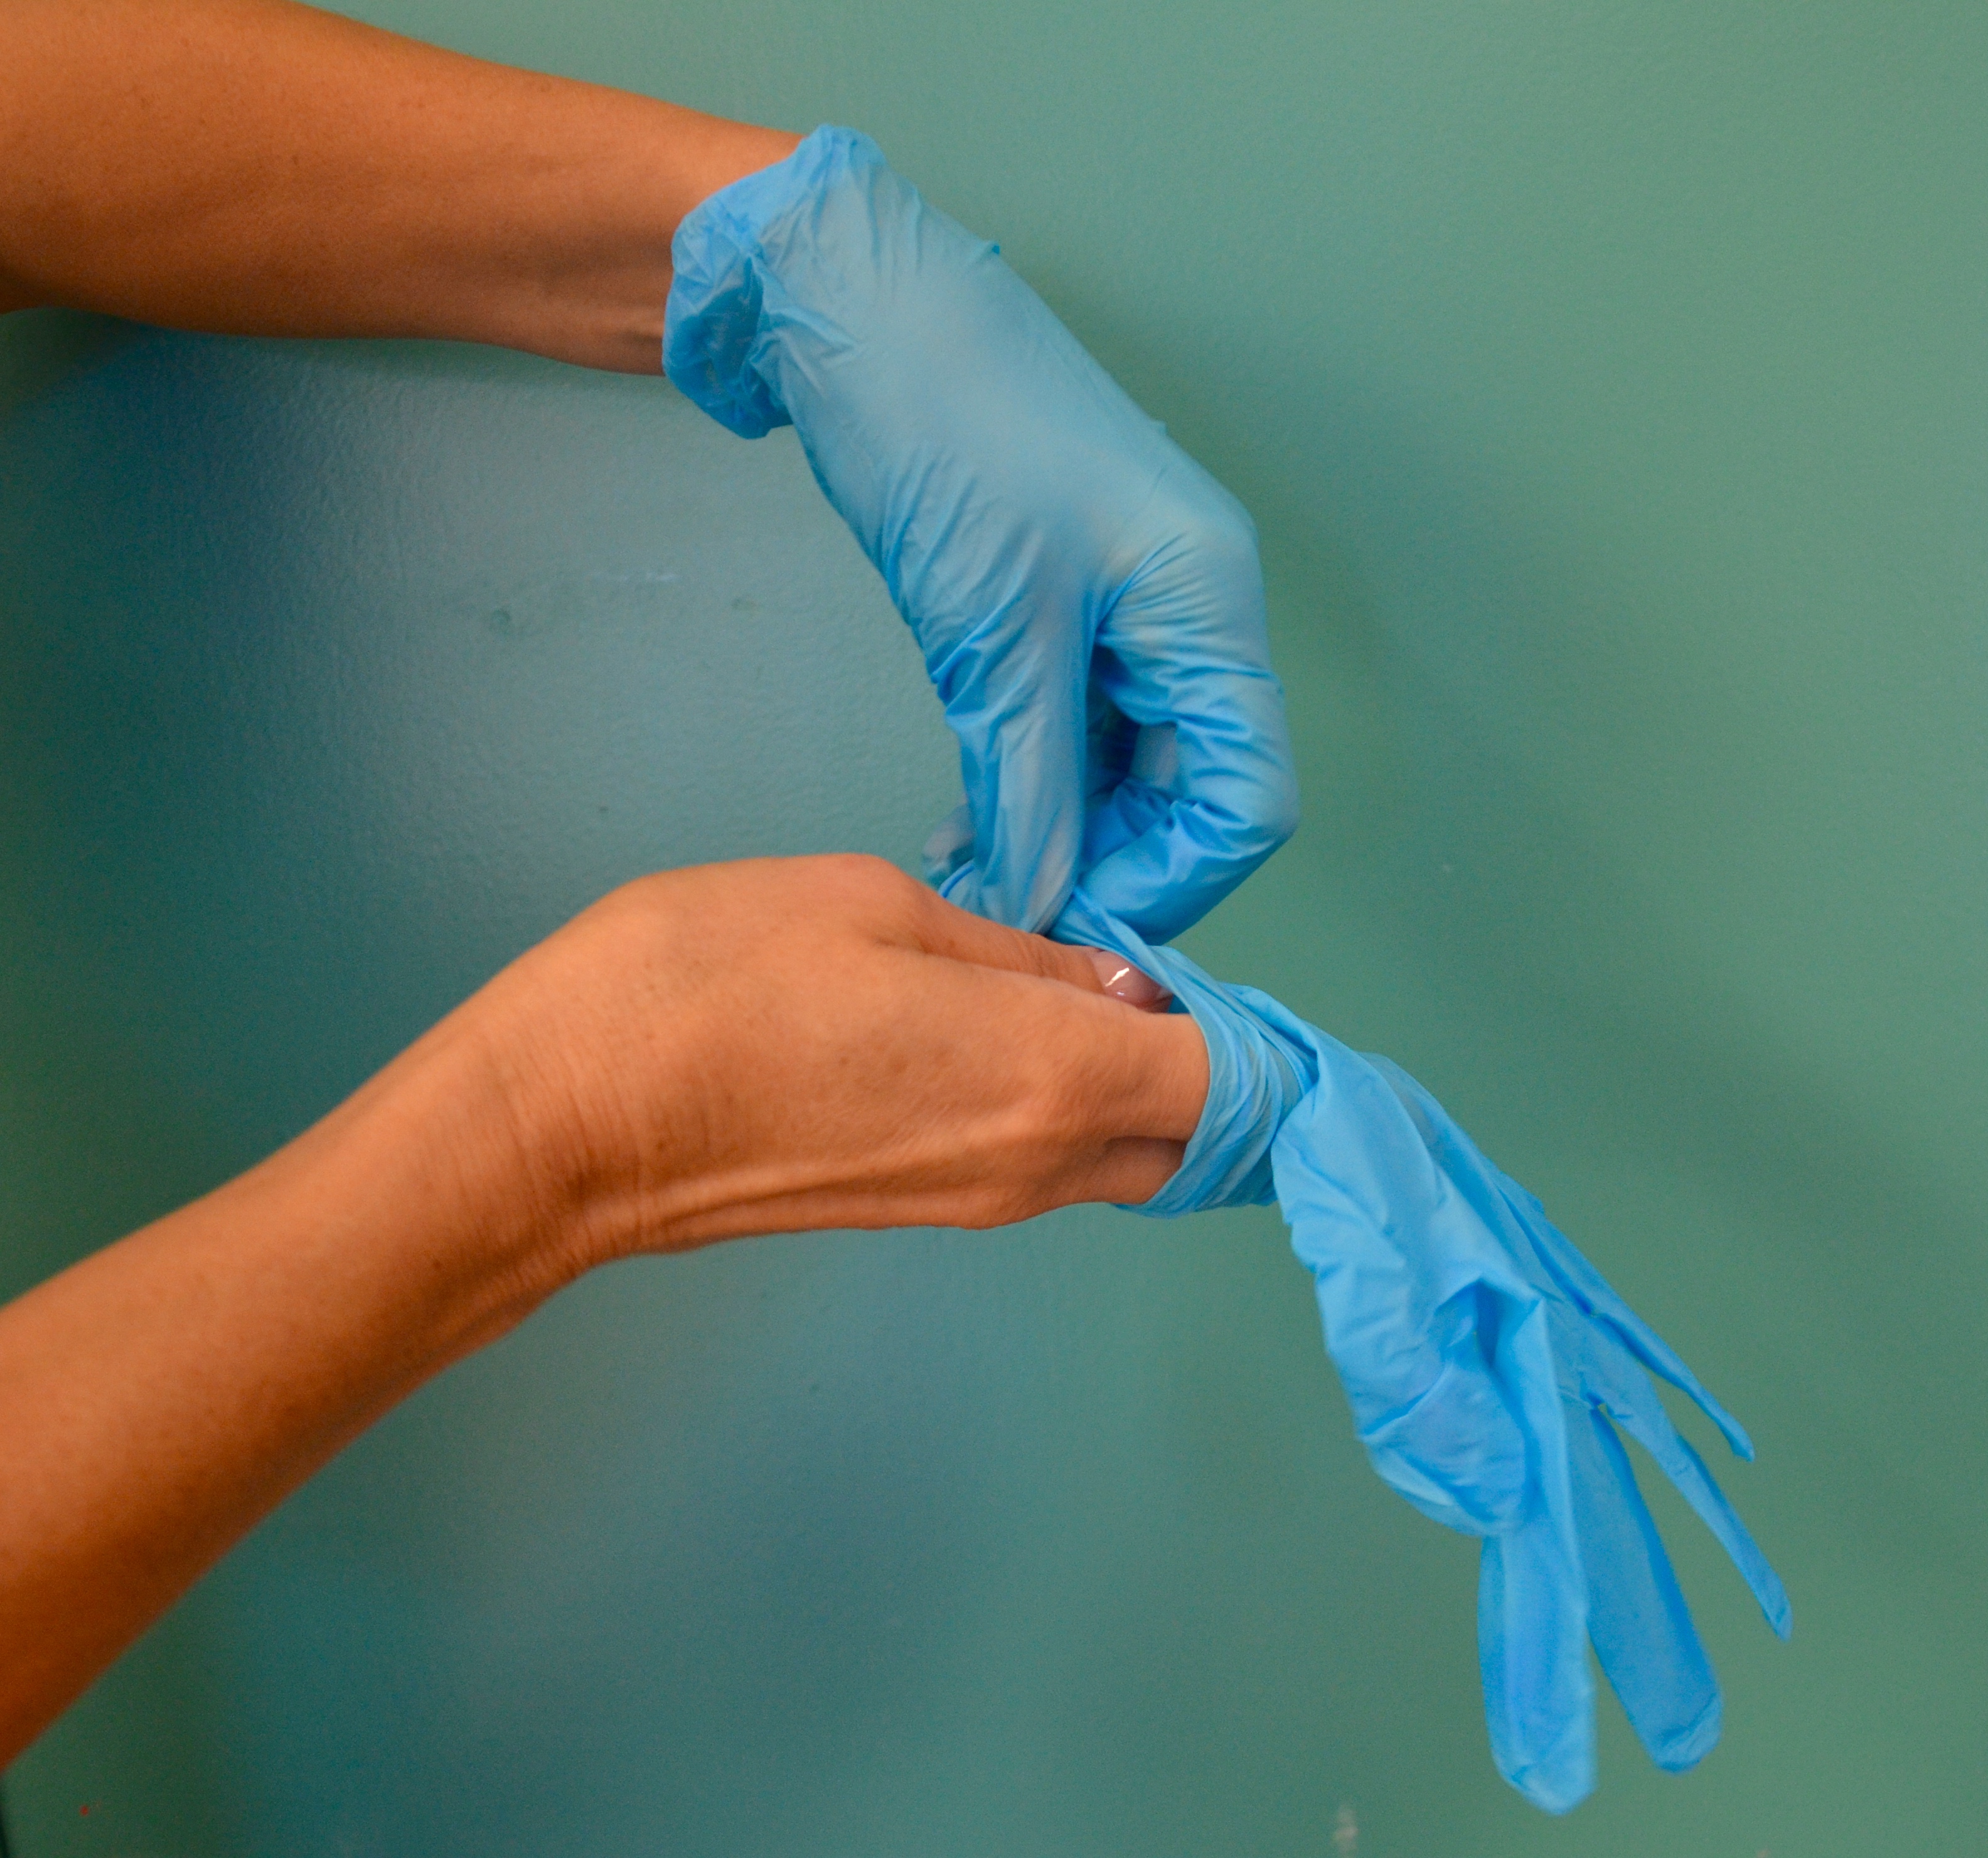
| 5. Wear clean non-sterile gloves. | Using gloves protects the nurse from potential contact with patient body fluids and medications.
 |
||
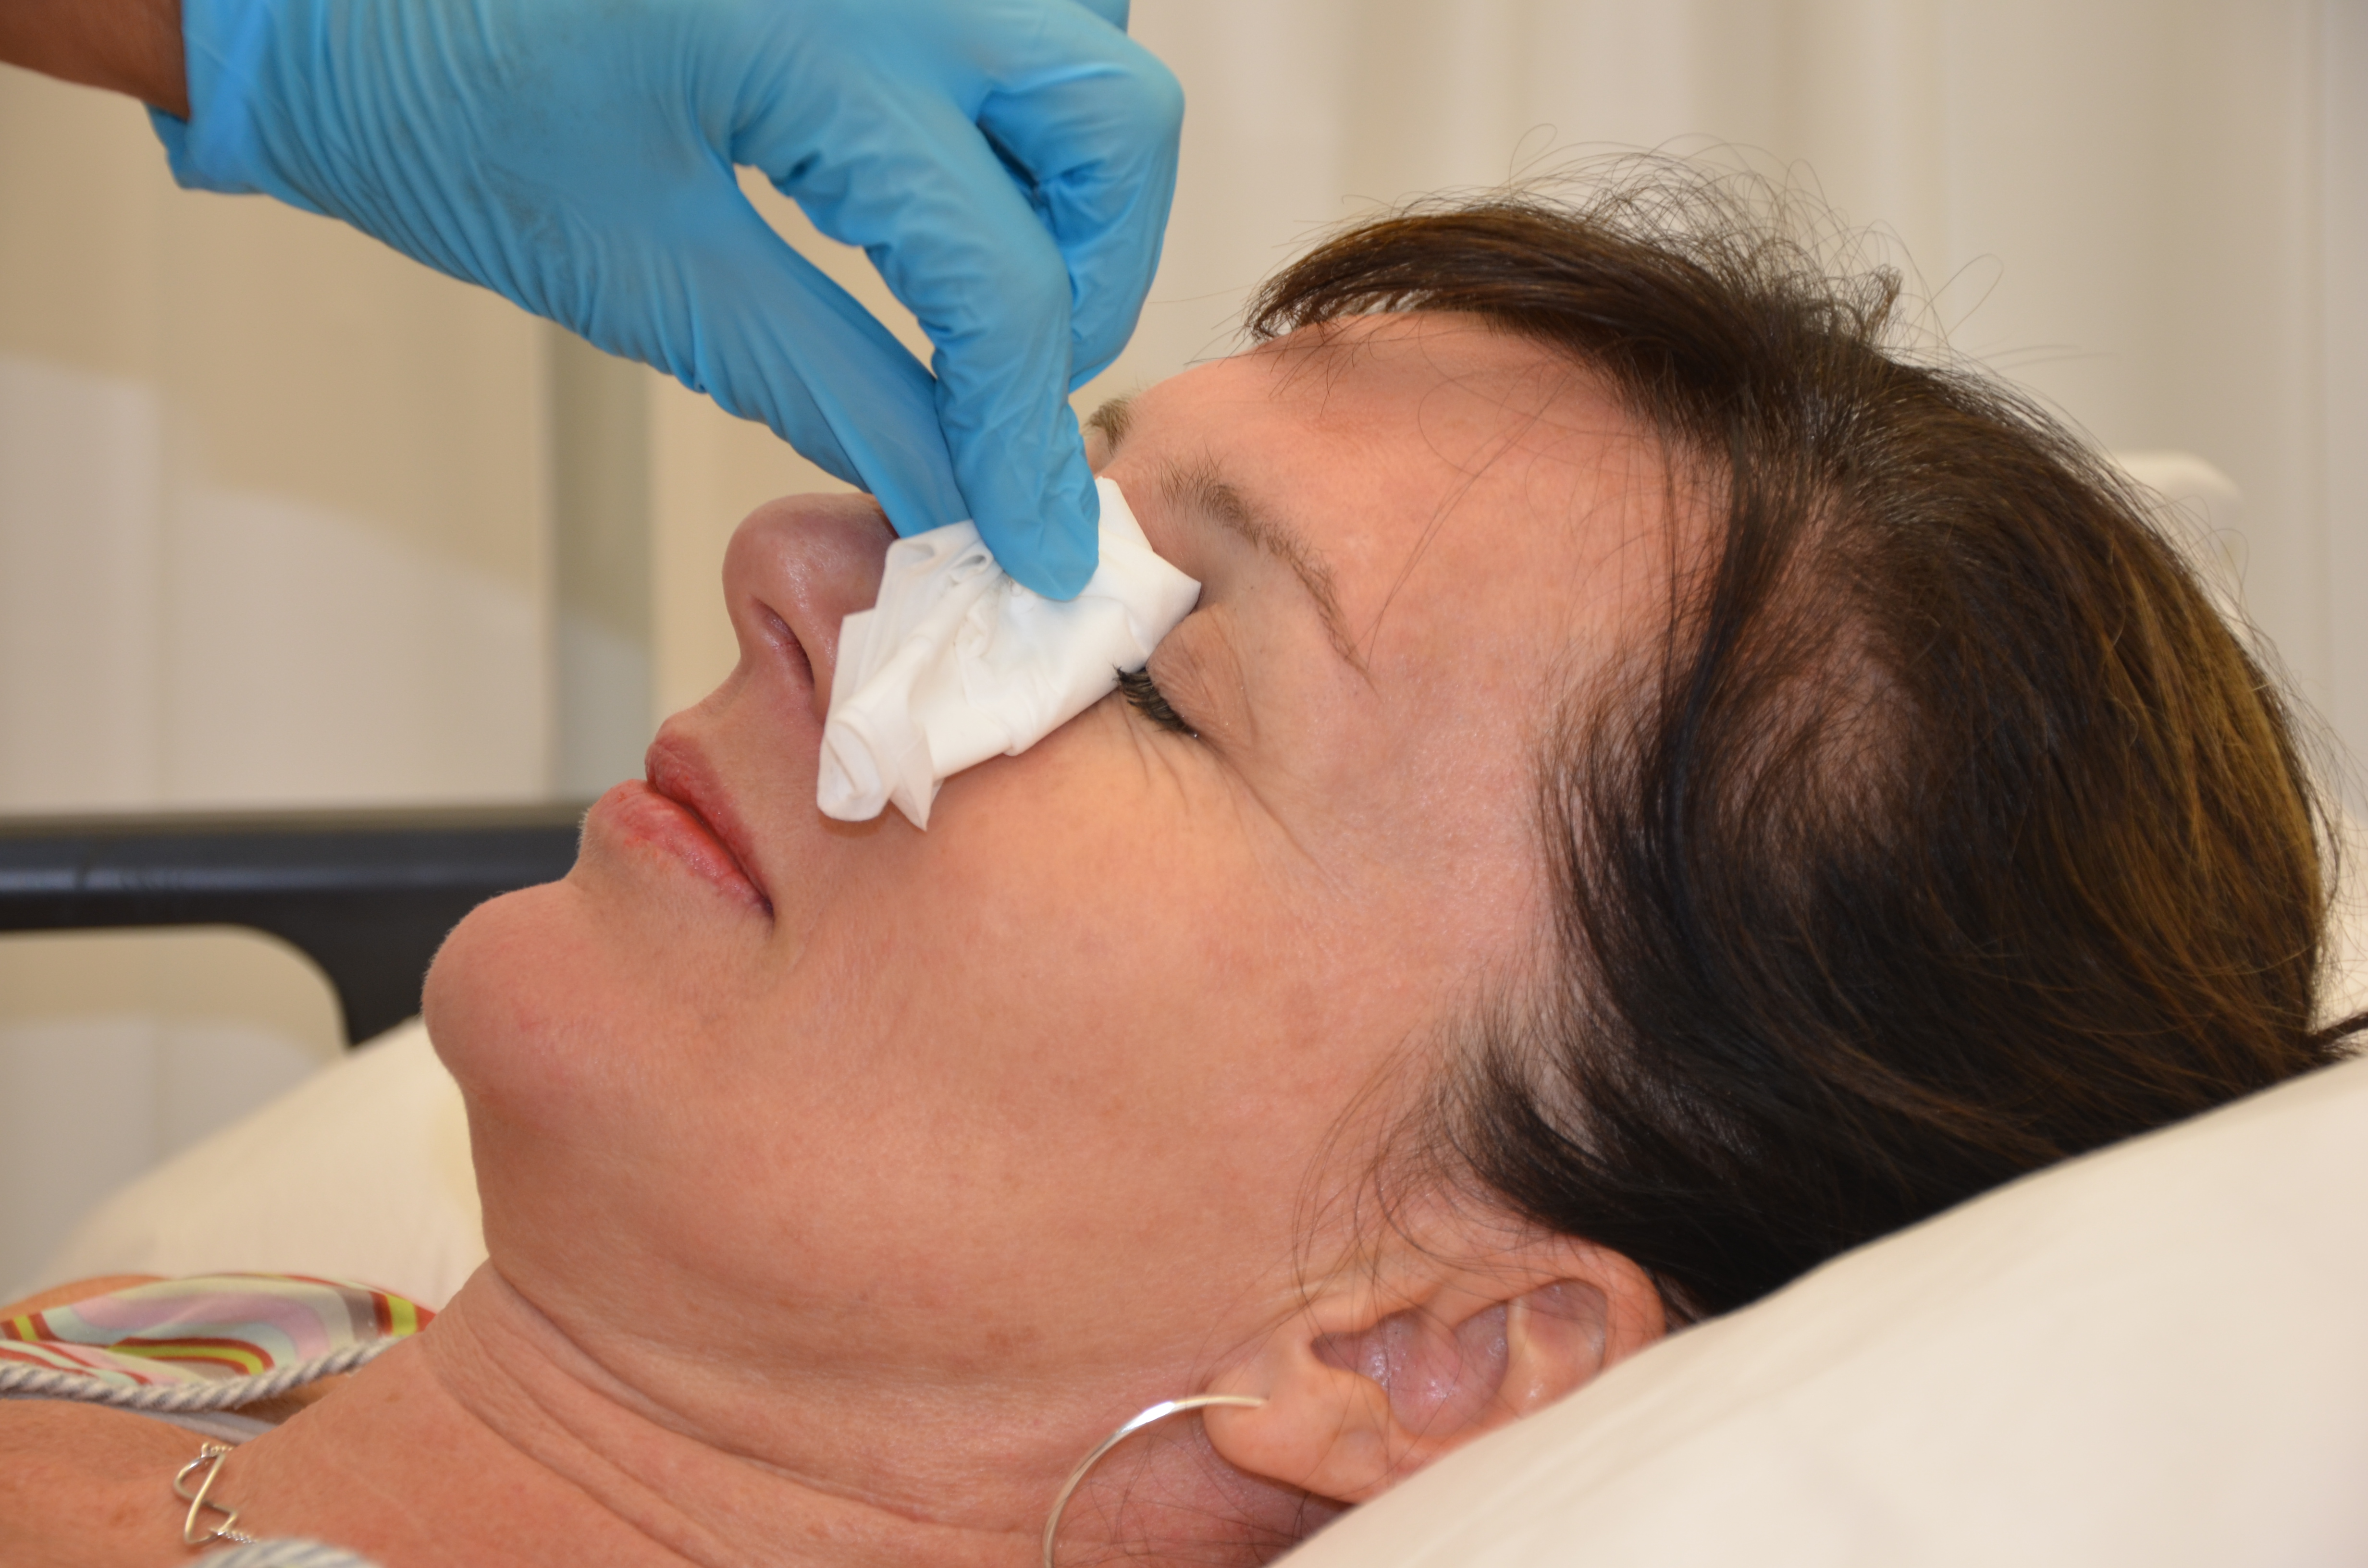
| 6. Cleanse the eyelashes and eyelids of any drainage or crusting with a warm washcloth or gauze. Use each area of cleaning surface only once and move from inner to outer eye area. | Cleansing removes debris from eye area. | ||
| 7. Tilt patient’s head back slightly if patient is sitting up, or place patient’s head over a pillow (under the neck) if they are lying down. | Tilting the head back makes it easier to reach the conjunctival sac for instilling drops.
Do not tilt head back if patient has a cervical spine injury. |
||
| 8. Invert the eye-drop container and have patient look up and focus on something on the ceiling. | Keeping the eye focused will help keep it still. | ||
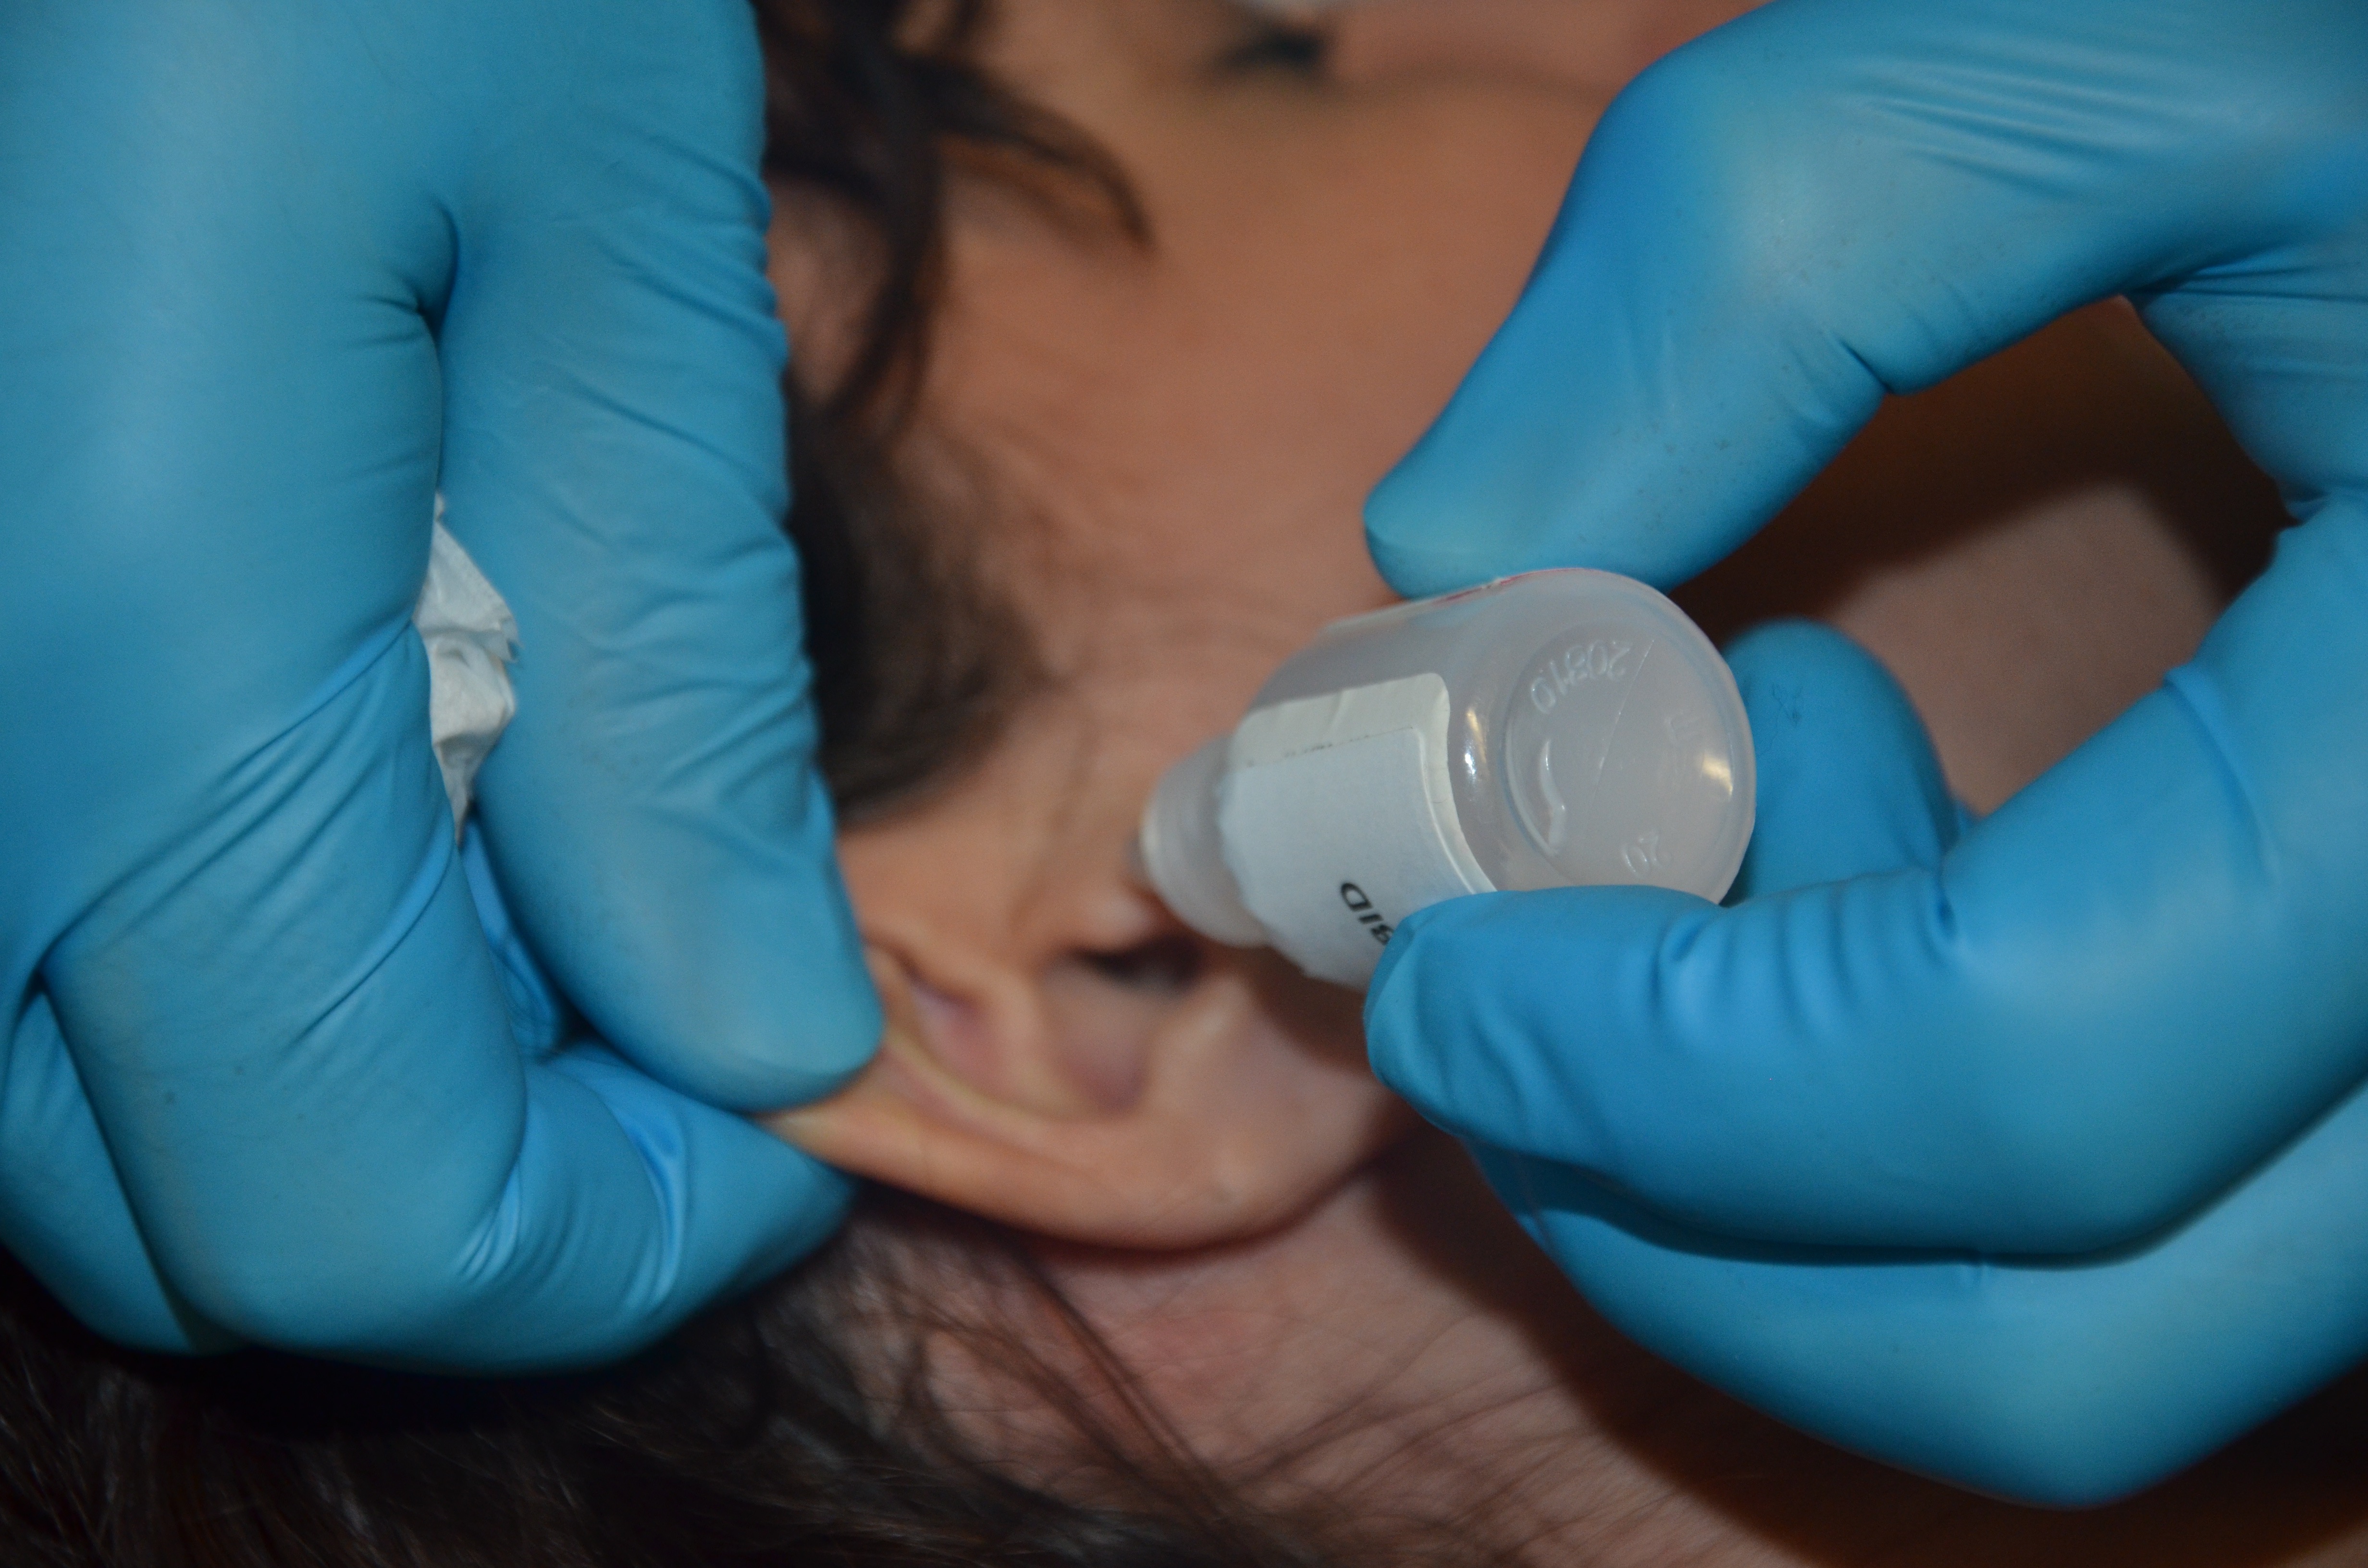
| 9. Gently pull patient’s lower lid down, using thumb or two fingers to expose conjunctival sac. | Place eye drop in conjunctival sac, not directly on eyeball (cornea). | ||
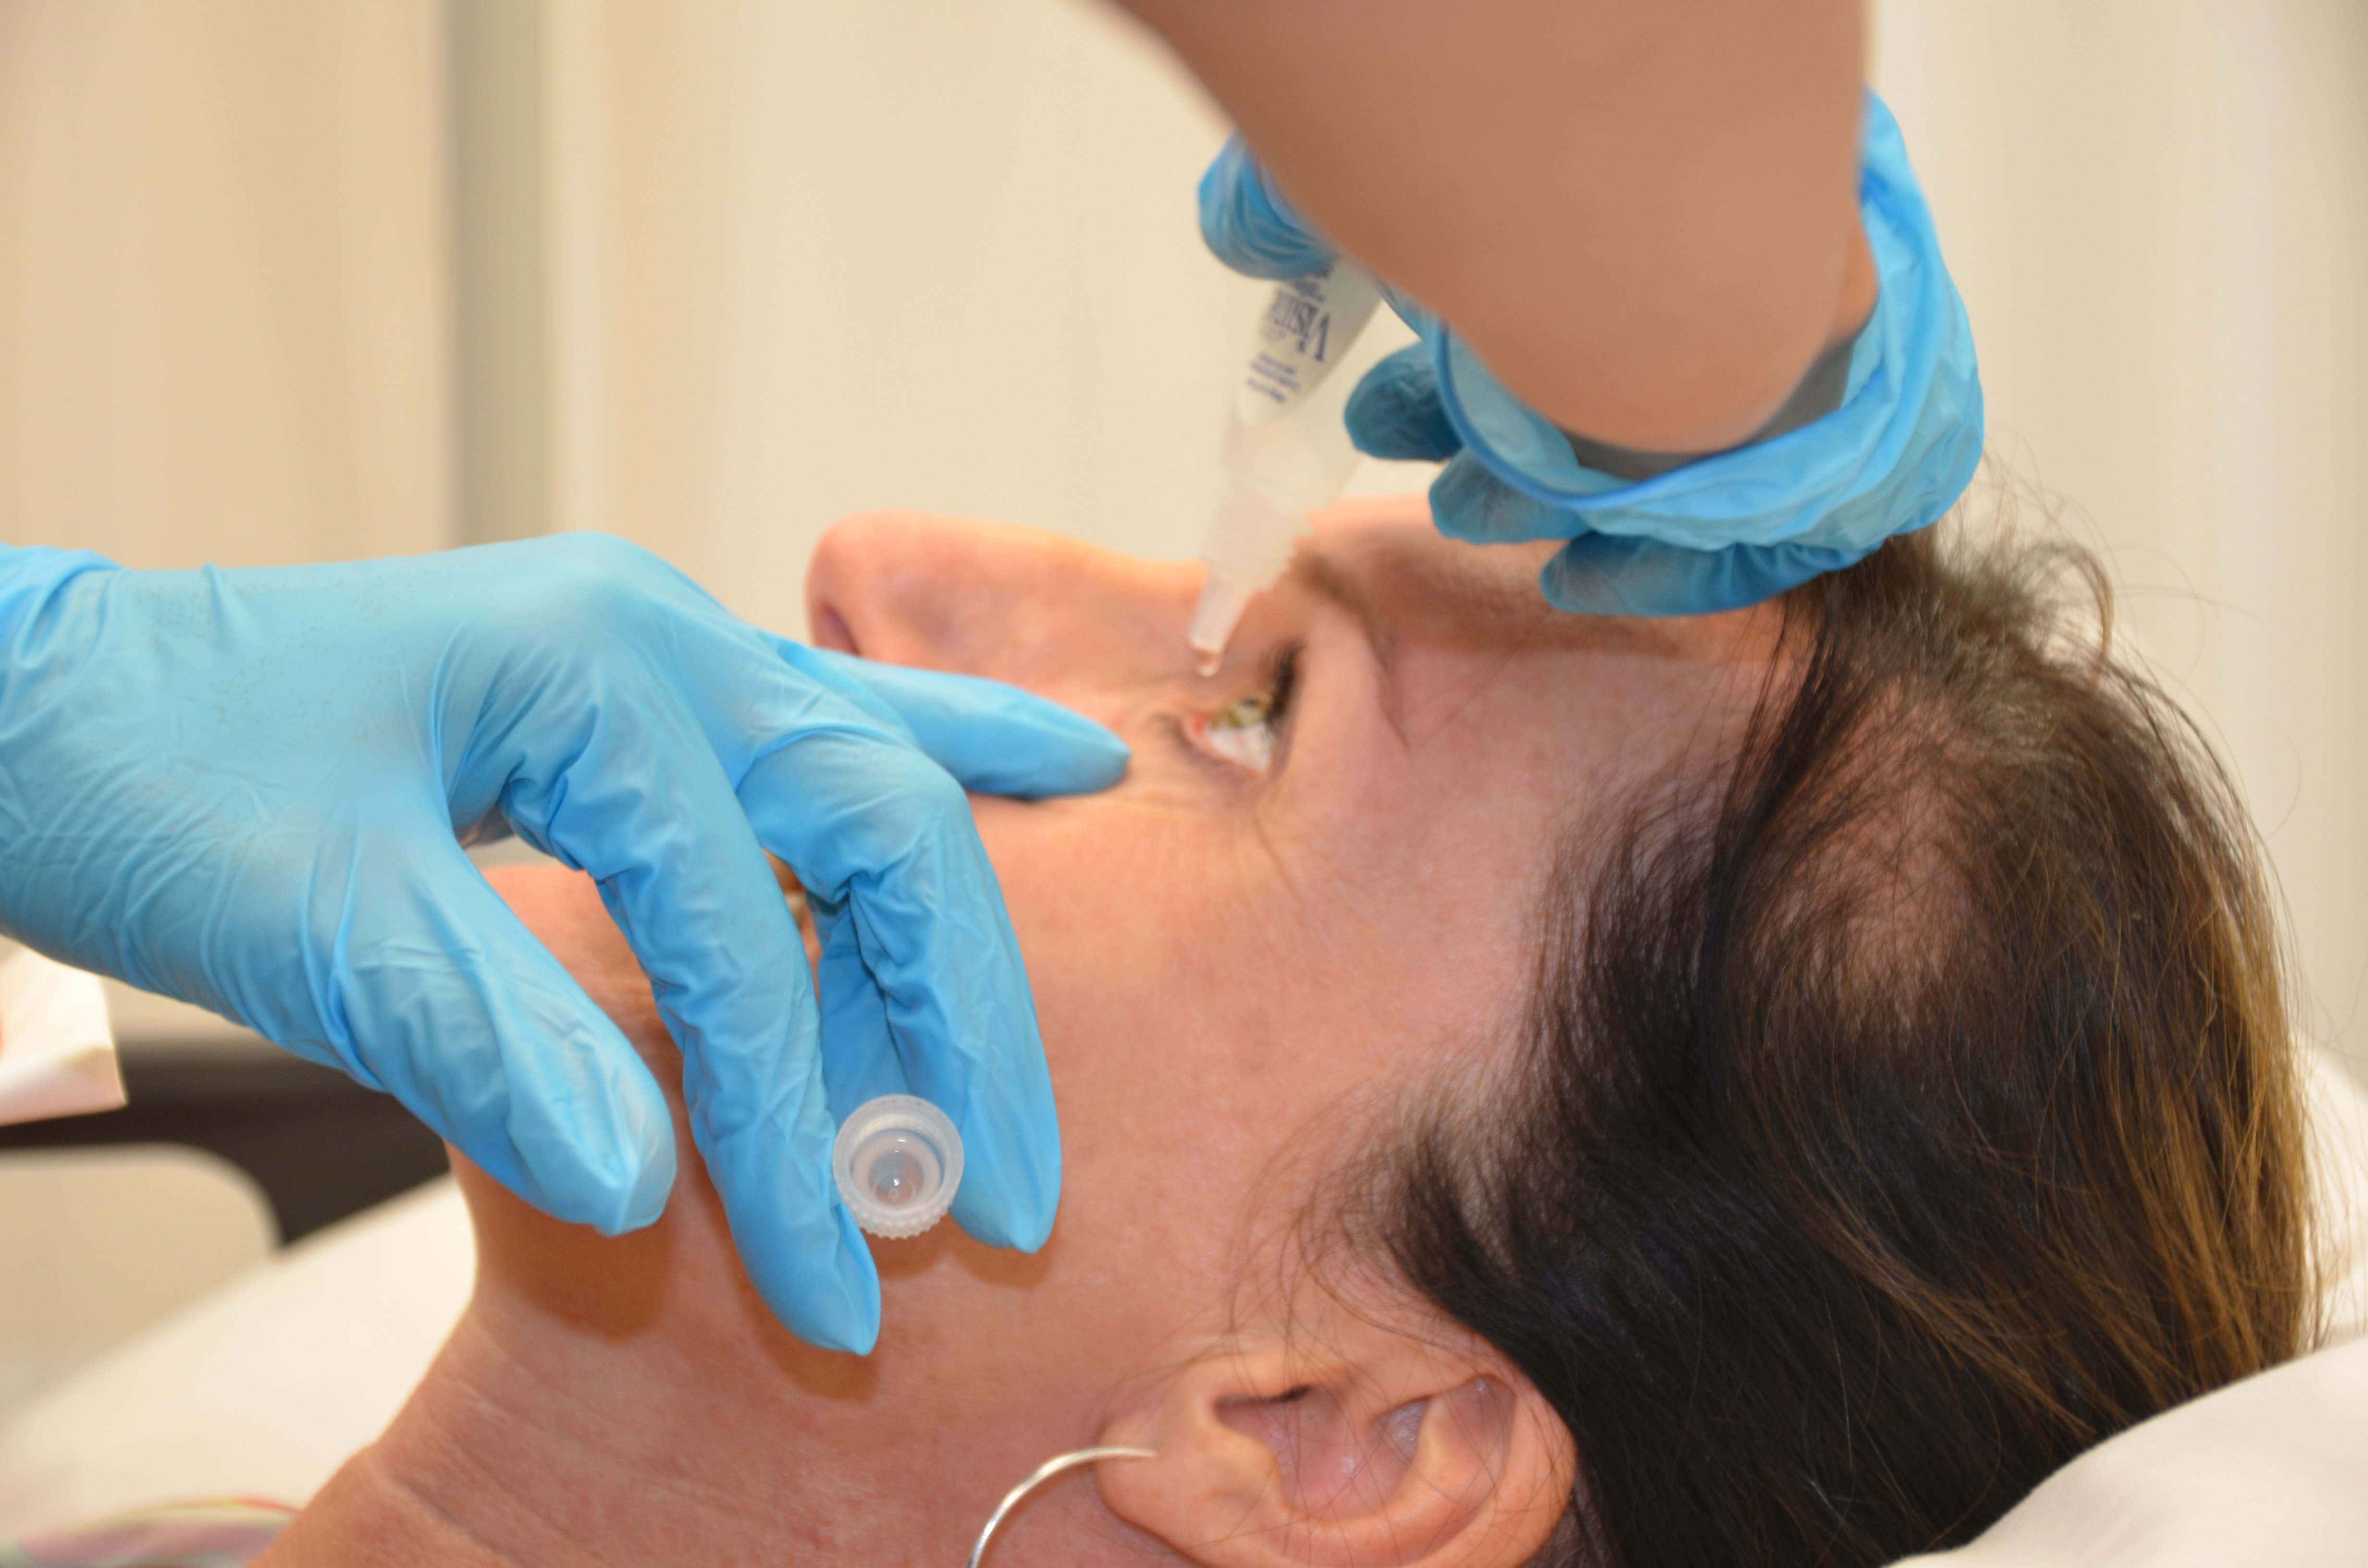
| 10. Eye drops: Hold eye-drop container above eye, taking care not to touch the eye, eyelids, or eyelashes. Instill one drop or more, if prescribed, into conjunctival sac.
Eye ointment: Apply about 1.5 cm of ointment along conjunctival sac, moving from inner to outer canthus. Twist tube to break off ribbon of ointment. |
Touching the tip of the container to anything can contaminate the medication.
 |
||
| 11. Release lower lid after instillation and ask patient to close eyes gently. Ask patient to move the eyeball while eyes are closed. | This step allows the medication to be distributed across the eye.
 |
||
| 12. Eye drops only: apply gentle pressure over inner canthus for 30 to 60 seconds to prevent medication from entering the lacrimal duct. | This minimizes the systemic effects of the medication. | ||
| 13. Instruct patient not to rub eye. | This is to prevent irritation and injury to the eye. | ||
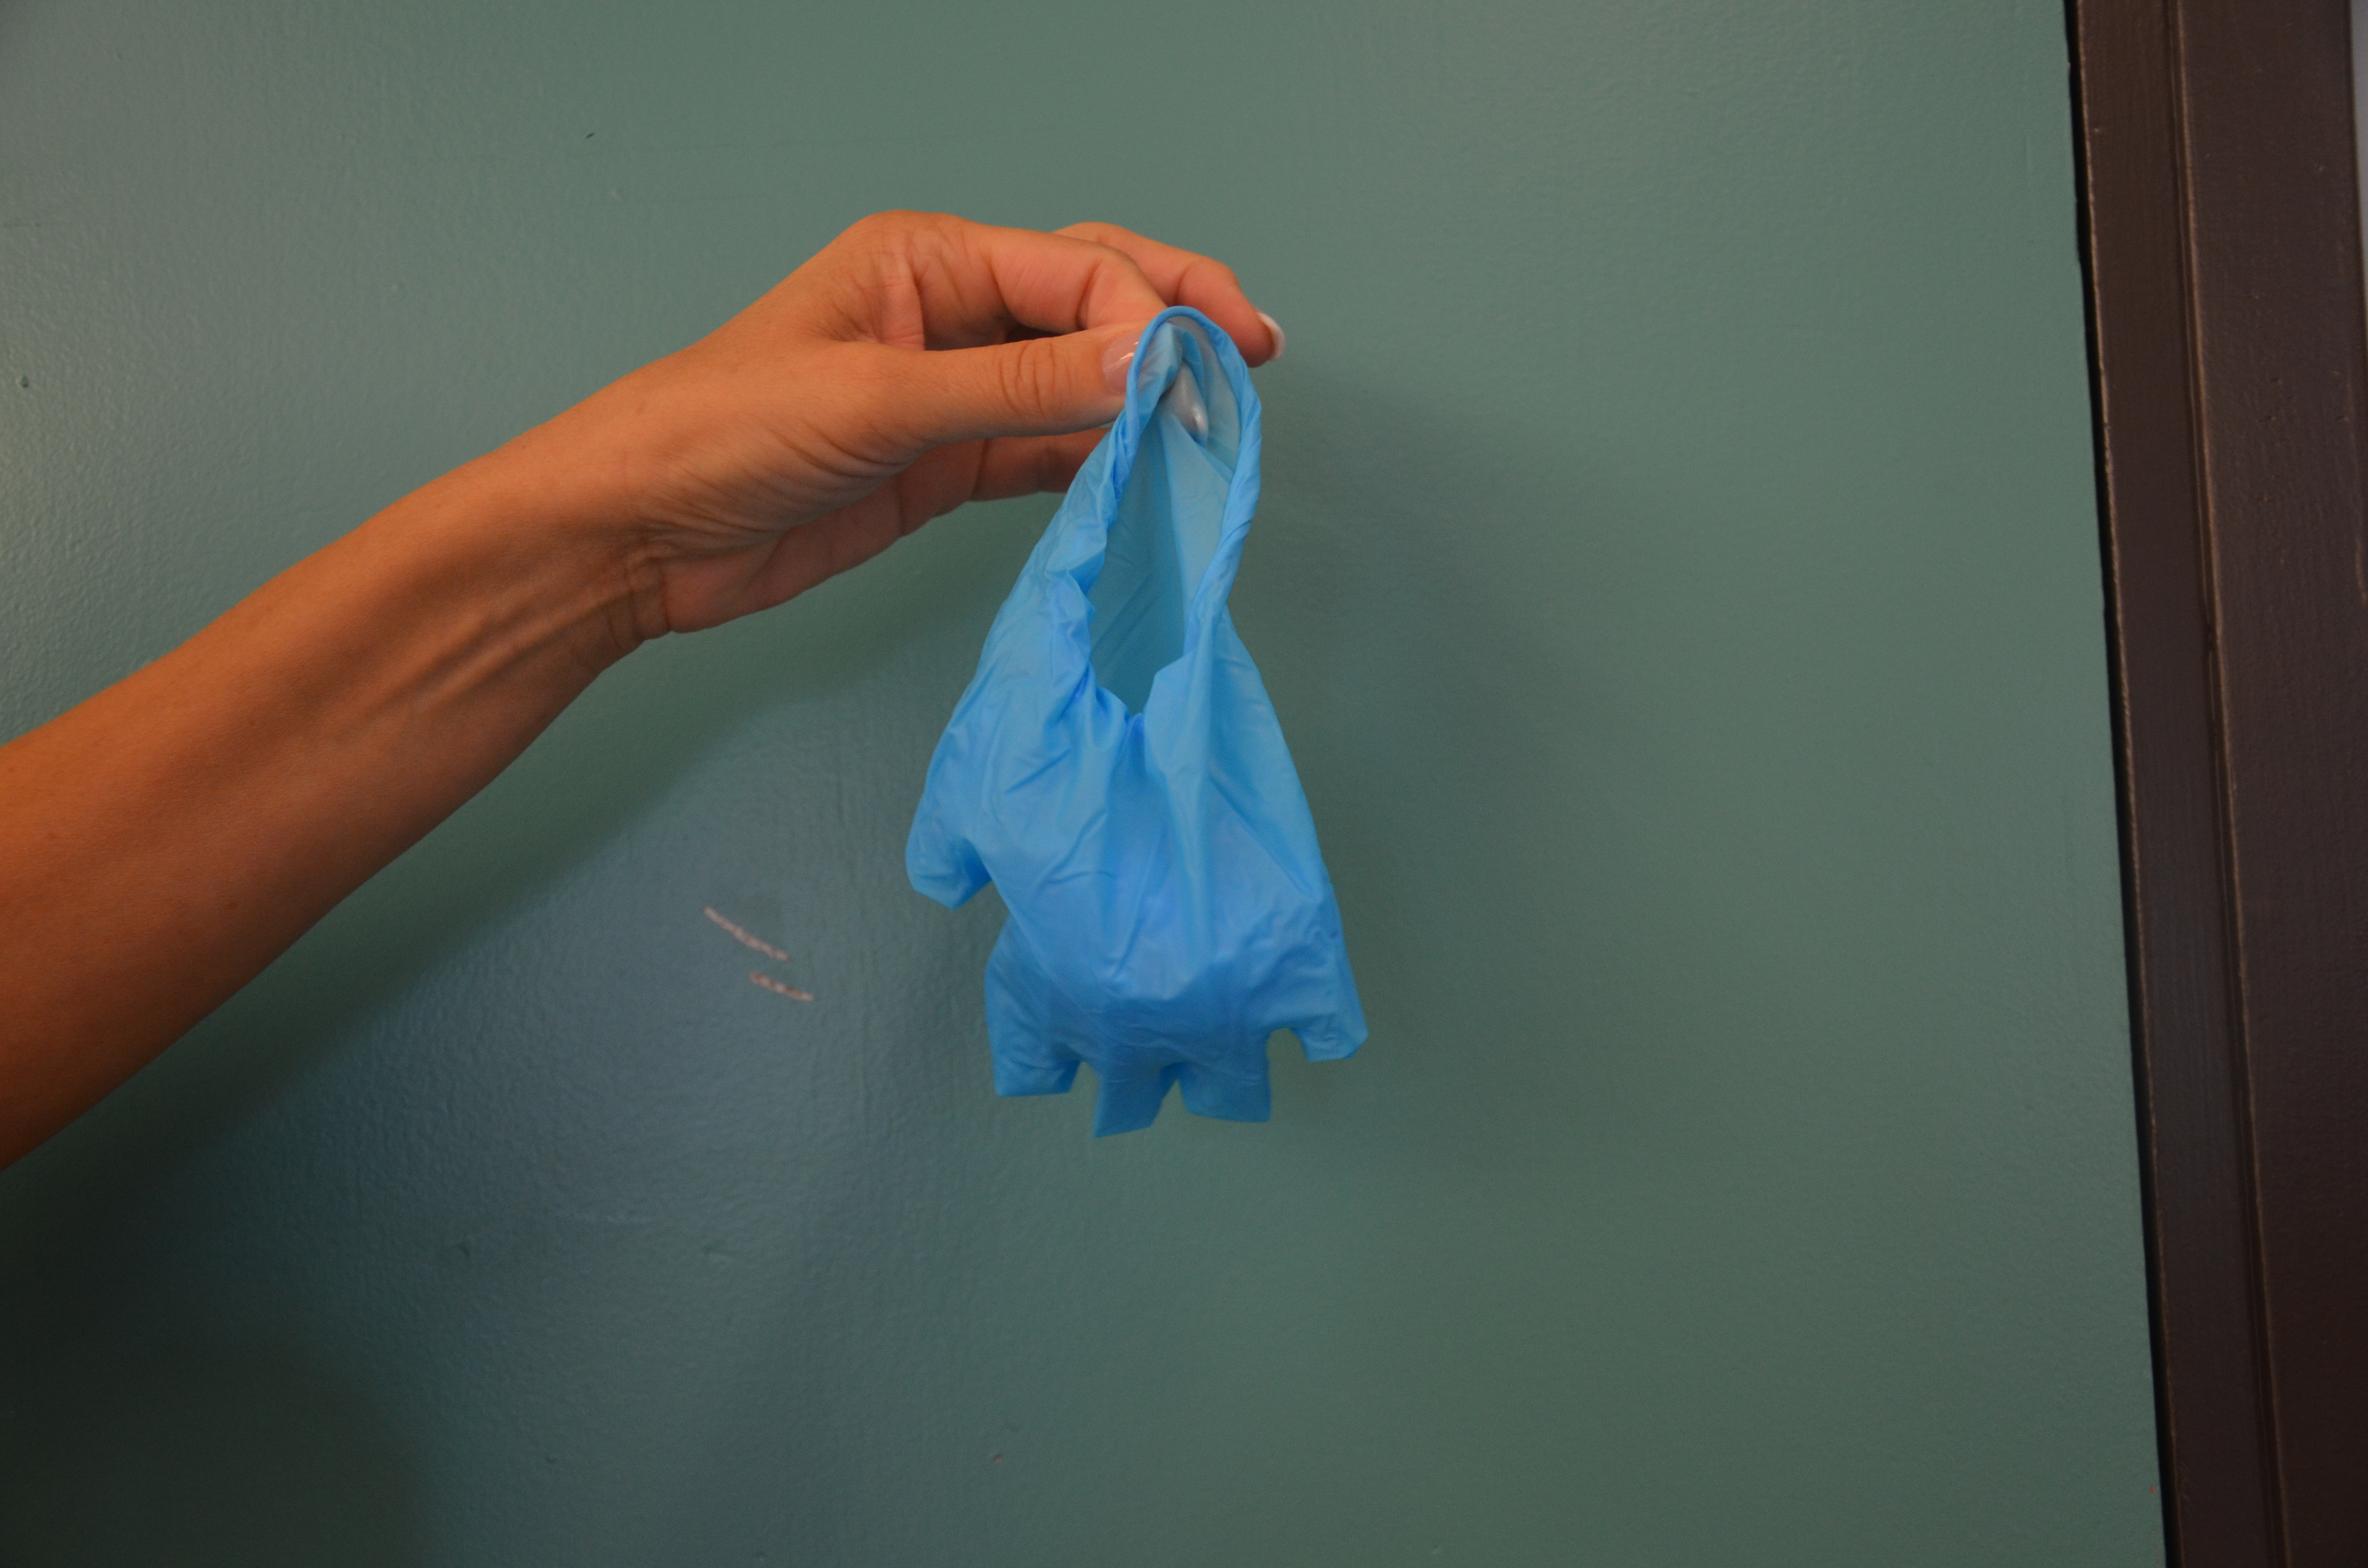
| 14. Remove gloves and assist patient to a comfortable and safe position. | This ensures patient safety and comfort.
 |
||
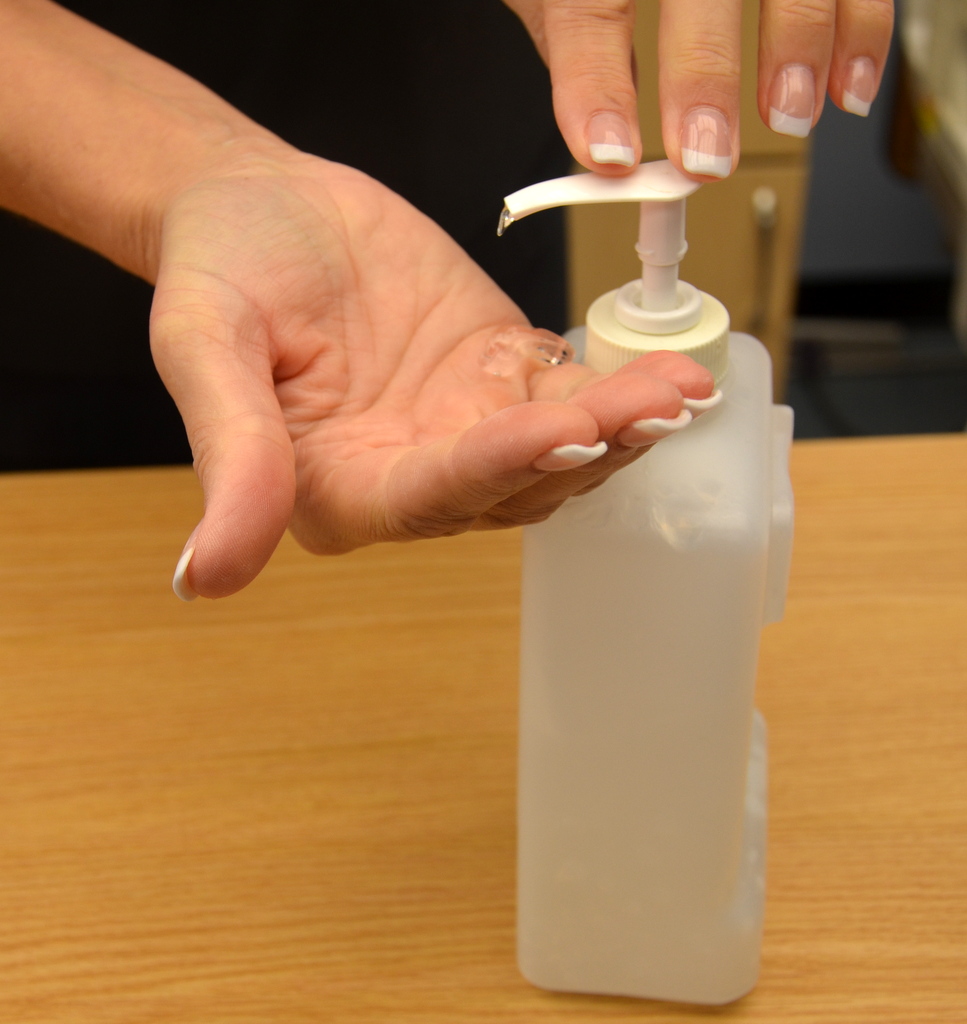
| 15. Perform hand hygiene. | Hand hygiene prevents the spread of microorganisms.
 |
||
| 16. Document as per agency policy. Include date, time, dose, route; which eye the medication was instilled into; and patient’s response to procedure. | Timely and accurate documentation helps to ensure patient safety. | ||
| Data source: BCIT, 2015; Lilley et al., 2011; Perry et al., 2014 | |||
Instilling Ear Medications
Internal ear structures are particularly sensitive to temperature extremes. Therefore, ear (otic) medications should always be administered at room temperature. Always use sterile ear drops in case the ear drum is ruptured.
Checklist 49 outlines the steps for instilling ear medications.
Disclaimer: Always review and follow your hospital policy regarding this specific skill. |
|||
Safety considerations:
|
|||
Steps |
Additional Information |
||
| 1. Check MAR against doctor’s orders. |
Check that MAR and doctor’s orders are consistent. Night staff usually complete and verify this check as well. |
||
2. Perform the SEVEN RIGHTS x 3 (must be done with each individual medication):
Medication calculation: D/H x S = A (D or desired dosage/H or have available x S or stock = A or amount prepared) |
The right patient: check that you have the correct patient using two patient identifiers (e.g., name and date of birth). The right medication (drug): check that you have the correct medication and that it is appropriate for the patient in the current context. The right dose: check that the dose makes sense for the age, size, and condition of the patient. Different dosages may be indicated for different conditions. The right route: check that the route is appropriate for the patient’s current condition. The right time: adhere to the prescribed dose and schedule. The right reason: check that the patient is receiving the medication for the appropriate reason. The right documentation: always verify any unclear or inaccurate documentation prior to administering medications. NEVER document that you have given a medication until you have actually administered it. |
||
3. The label on the medication must be checked for name, dose, and route, and compared with the MAR at three different times:
|
These checks are done before administering the medication to your patient. If taking drug to bedside (e.g., eye drops), do third check at bedside. |
||
| 4. Before instilling ear drops, don clean non-sterile gloves. | Using gloves protects the nurse from potential contact with patient body fluids and medications.
|
||
| 5. Cleanse external ear of any drainage using a warm wet washcloth. | Drainage or debris may prevent some medication from entering ear canal. | ||
| 6. Position patient with affected ear uppermost, on unaffected side if lying down, or tilt head to side if sitting up. | Proper positioning helps to stop medication from escaping.
Do not tilt head if patient has a cervical spine injury. |
||
| 7. Draw up medication into ear dropper, ensuring correct dosage.
Do not return excess medication to stock bottle. |
Risk for contamination is increased if medication is returned to bottle. | ||
| 8. Gently pull ear pinna back and up for an adult. | Pulling the pinna straightens ear canal.
 |
||
| 9. Hold dropper tip just above ear canal. Do not touch dropper tip to ear. | Touching the ear with the dropper tip will contaminate the dropper and the medication. | ||
| 10. Allow drops to fall on the side of the ear canal. | Dropping the drops directly into the canal and onto the tympanic membrane will cause the patient discomfort. | ||
| 11. Release ear pinna and have patient remain in the position for at least 5 minutes. | This position prevents medication from escaping from ear. | ||
| 12. Apply gentle pressure to tragus several times. | Pressure helps move medication toward tympanic membrane. | ||
| 13. If ordered, a cotton ball may be placed loosely in the ear canal. | Cotton ball helps prevent medication from escaping from ear. | ||
| 14. Remove gloves and assist patient to a comfortable and safe position. | This ensures patient safety and comfort. | ||
| 15. Perform hand hygiene. | Hand hygiene prevents the spread of microorganisms.
|
||
| 16. Document as per agency policy. Include date, time, dose, route; which ear the medication was instilled into; and patient’s response to procedure. | Timely and accurate documentation helps to ensure patient safety. | ||
| Data source: BCIT, 2015; Lilley et al., 2011; Perry et al., 2014 | |||
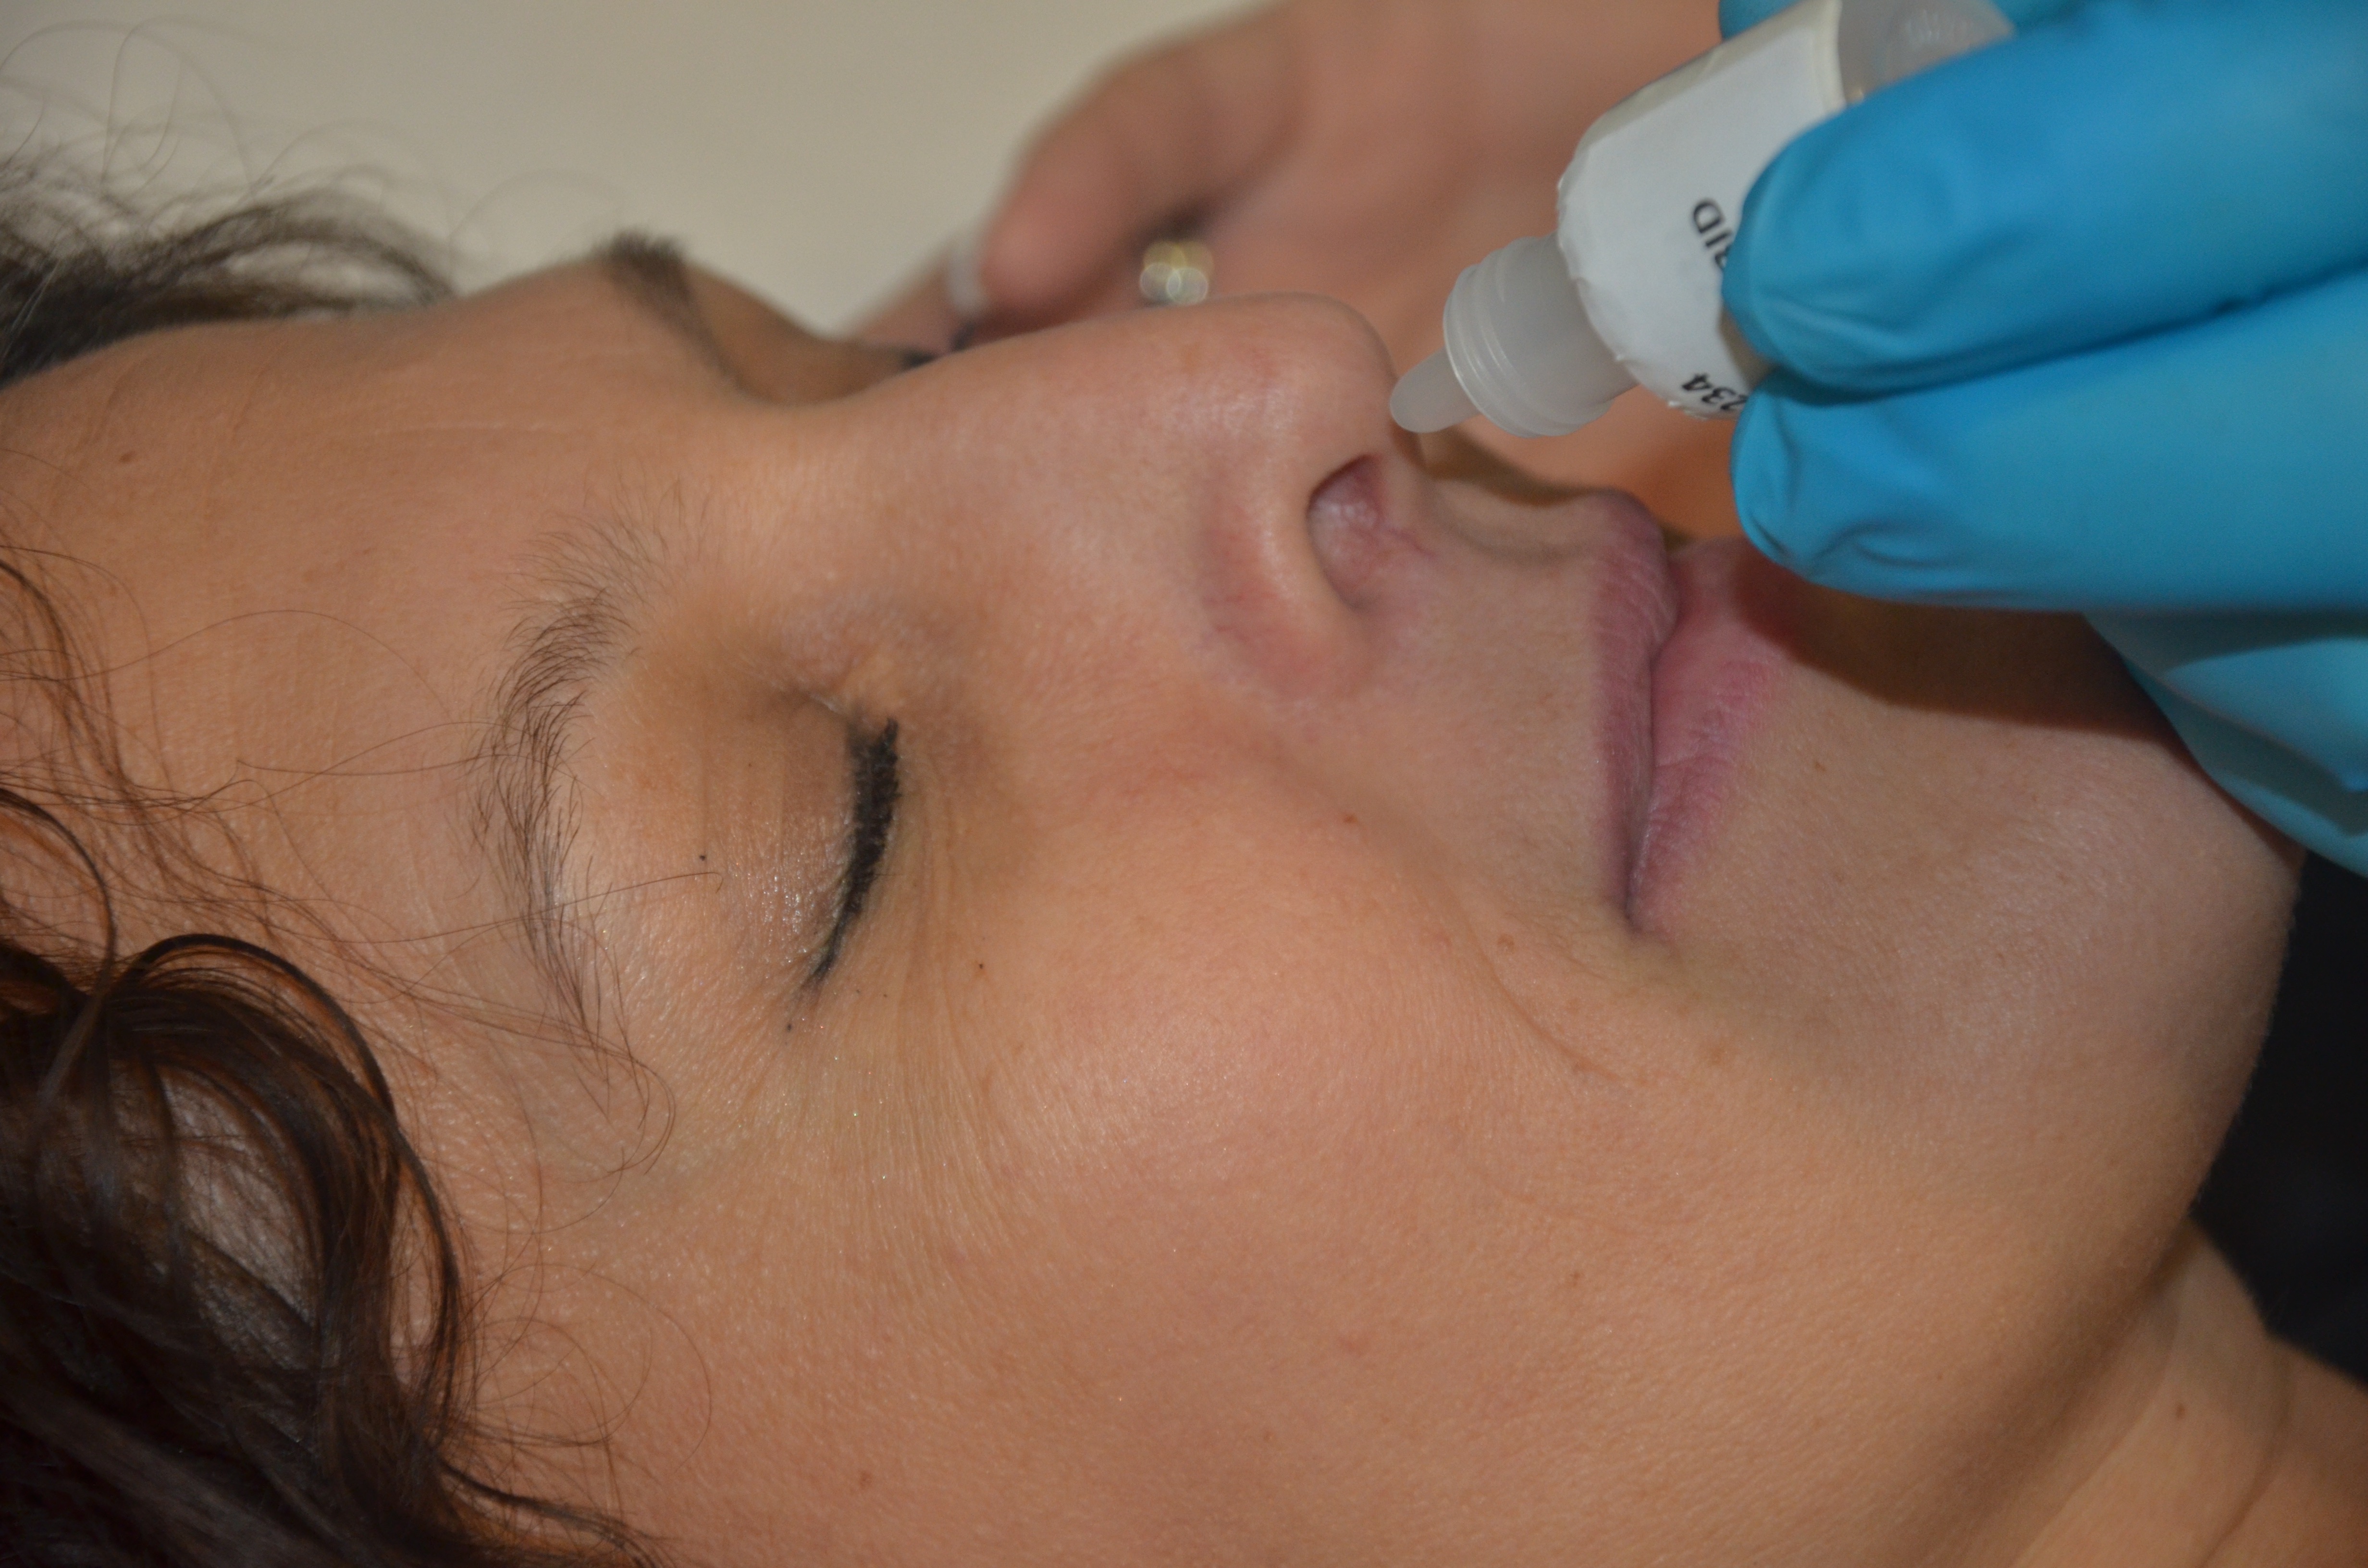
Instilling Nasal Medications
Nasal medications are instilled for the treatment of allergies, nasal congestion, and sinus infections. The nose is not a sterile cavity, but medical asepsis must be observed because of its connection to the sinuses.
Checklist 50 outlines the steps for instilling nasal medications.
Disclaimer: Always review and follow your hospital policy regarding this specific skill. |
|||
Safety considerations:
|
|||
Steps |
Additional Information |
||
| 1. Check MAR against doctor’s orders. |
Check that MAR and doctor’s orders are consistent. Night staff usually complete and verify this check as well. |
||
2. Perform the SEVEN RIGHTS x 3 (must be done with each individual medication):
Medication calculation: D/H x S = A (D or desired dosage/H or have available x S or stock = A or amount prepared) |
The right patient: check that you have the correct patient using two patient identifiers (e.g., name and date of birth).
The right medication (drug): check that you have the correct medication and that it is appropriate for the patient in the current context. The right dose: check that the dose makes sense for the age, size, and condition of the patient. Different dosages may be indicated for different conditions. The right route: check that the route is appropriate for the patient’s current condition. The right time: adhere to the prescribed dose and schedule. The right reason: check that the patient is receiving the medication for the appropriate reason. The right documentation: always verify any unclear or inaccurate documentation prior to administering medications. NEVER document that you have given a medication until you have actually administered it. |
||
3. The label on the medication must be checked for name, dose, and route, and compared with the MAR at three different times:
|
These checks are done before administering the medication to your patient. If taking drug to bedside (e.g., eye drops), do third check at bedside. |
||
| 4. Before instilling nasal medication, don clean non-sterile gloves. | Using gloves protects the nurse from potential contact with patient body fluids and medications.
|
||
| 5. Provide patient with tissues and ask that they blow their nose. | This clears the nose prior to medication instillation. | ||
| 6. Position patient sitting back or lying down with head tilted back over a pillow (underneath neck). | This position allows medication to flow back into nasal cavity.
Do not tilt head back if patient has a cervical spine injury. |
||
| 7. Nose drops: draw fluid into medication dropper with enough for both nares. Do not return excess fluid into stock bottle. | Returning fluid to stock bottle increases risk for contamination of medication. | ||
| 8. Ask patient to breathe through the mouth.
Nose drops: hold dropper about 1 cm above naris and drop medication into one naris and then the other. Nasal spray: have patient hold one nostril closed and breathe gently through the other as the spray is being administered. Do not touch the naris with the dropper/spray bottle. |
 Breathing through the mouth will help prevent aspiration of the medication. Touching the naris with the dropper/spray tip will contaminate the dropper/spray bottle and the medication. |
||
| 9. Position patient with head back for 2 to 3 minutes. | This position prevents escape of the medication. | ||
| 10. Remove gloves and assist patient to a comfortable and safe position. | This ensures patient safety and comfort. | ||
| 11. Perform hand hygiene. | Hand hygiene prevents the spread of microorganisms.
|
||
| 12. Document as per agency policy. Include date, time, dose, route; which naris the medication was instilled into (or whether it was both nares); and patient’s response to procedure. | Timely and accurate documentation helps to ensure patient safety. | ||
| Data source: BCIT, 2015; Lilley et al., 2011; Perry et al., 2014 | |||
Critical Thinking Exercises
- Your patient is due to receive a dose of medication instilled into both ears. You find the ear medication stored in the refrigerator. How should you proceed?
- Your patient is due to receive medication instilled into her right eye, but you notice that her left eye has crusting and discharge. Discuss how you would proceed in this situation.
- Your patient is to receive nasal drops for a sinus infection. Describe how you would position this patient to receive the nasal drops.
