Chapter 6. Non-Parenteral Medication Administration
6.7 Administering Topical Medications
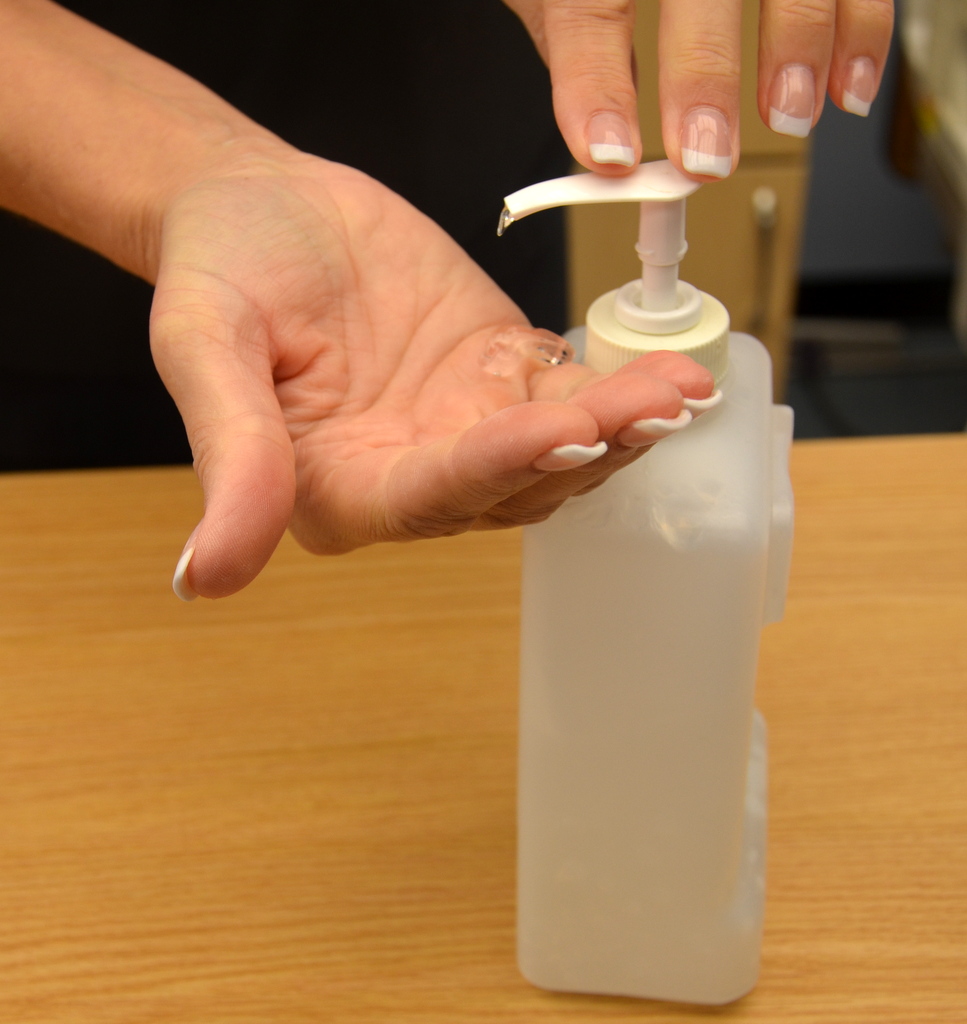
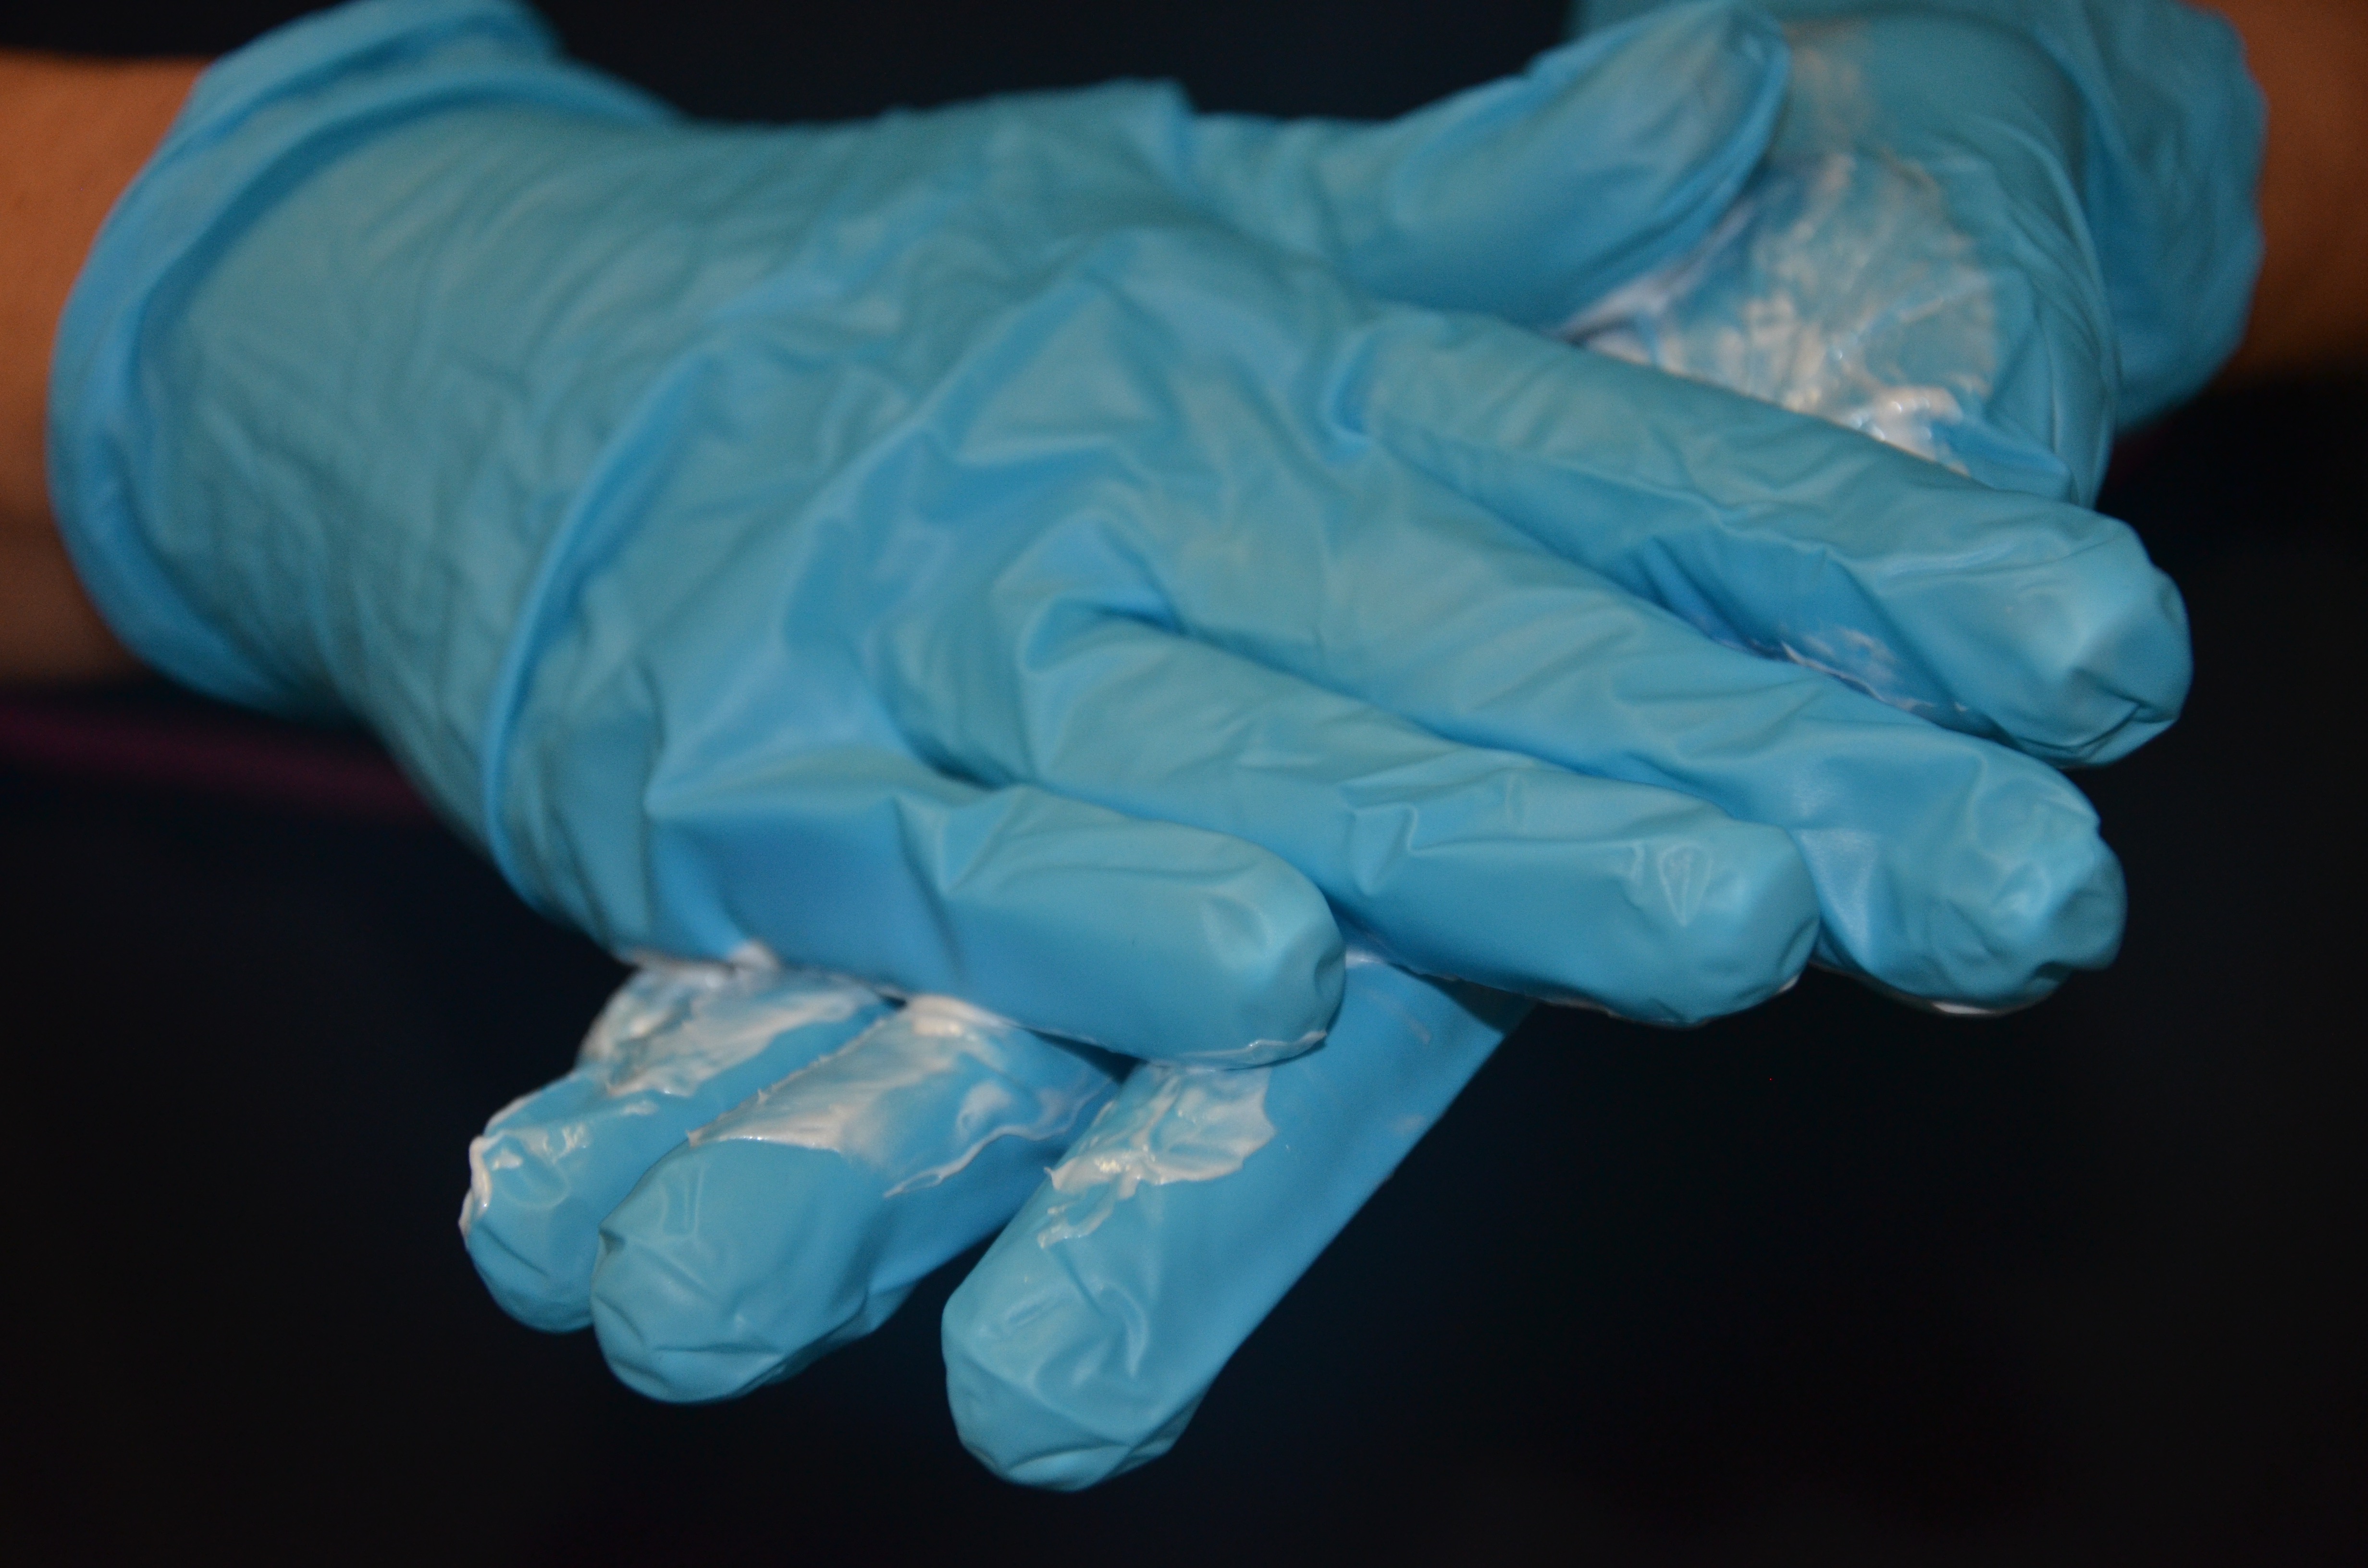
In this section, we address how to administer topical medication using three distinct delivery methods: transdermal patch; creams, lotions, or ointments; and powder. Always wear gloves and maintain standard precautions when administering topical medications to the skin, mucous membranes, and tissues. Do not touch any preparations to your own skin, and turn your face away from powdered applications. Always clean the skin or wound before applying a new dose of topical medication.
Checklist 53 lists the steps for applying a transdermal patch.
Disclaimer: Always review and follow your hospital policy regarding this specific skill. |
|||
Safety considerations:
|
|||
Steps |
Additional Information |
||
| 1. Check MAR against doctor’s orders. | Check that MAR and doctor’s orders are consistent.
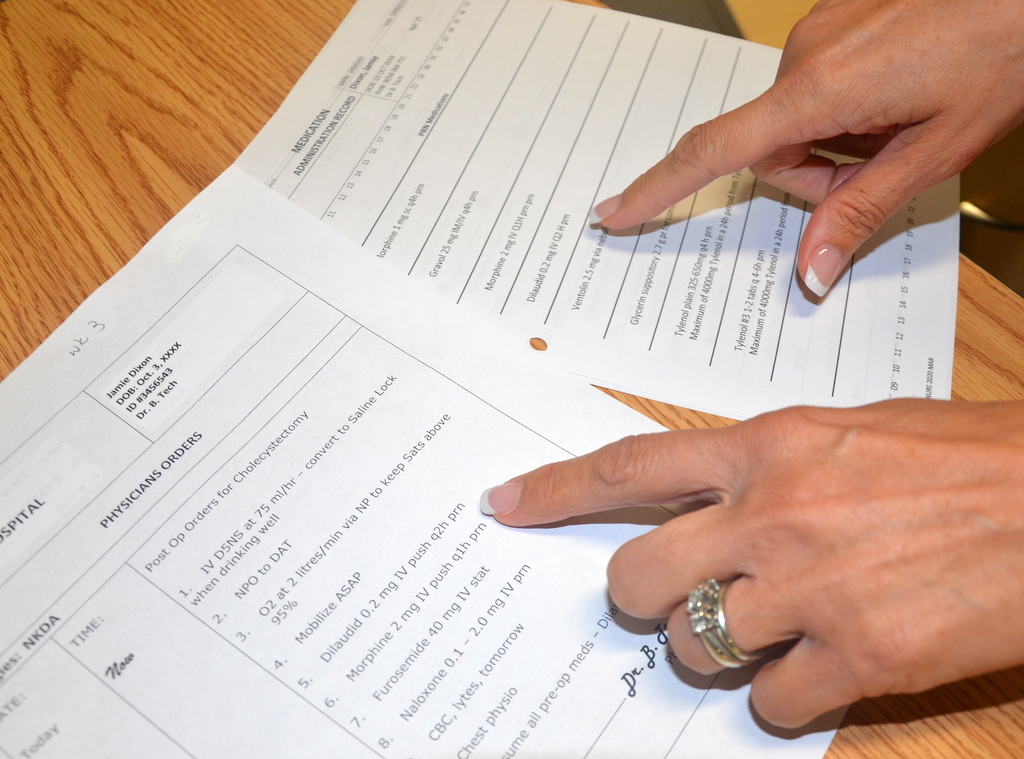 Night staff usually complete and verify this check as well. |
||
2. Perform the SEVEN RIGHTS x 3 (must be done with each individual medication):
Med calculation: D/H x S = A (desired dosage/have available x stock = amount prepared) |
The right patient: check that you have the correct patient using two patient identifiers (e.g., name and date of birth).
 The right medication (drug): check that you have the correct medication and that it is appropriate for the patient in the current context. The right dose: check that the dose makes sense for the age, size, and condition of the patient. Different dosages may be indicated for different conditions. The right route: check that the route is appropriate for the patient’s current condition. The right time: adhere to the prescribed dose and schedule. The right reason: check that the patient is receiving the medication for the appropriate reason. The right documentation: always verify any unclear or inaccurate documentation prior to administering medications.  NEVER document that you have given a medication until you have actually administered it. |
||
3. The label on the medication must be checked for name, dose, and route, and compared with the MAR at three different times:
|
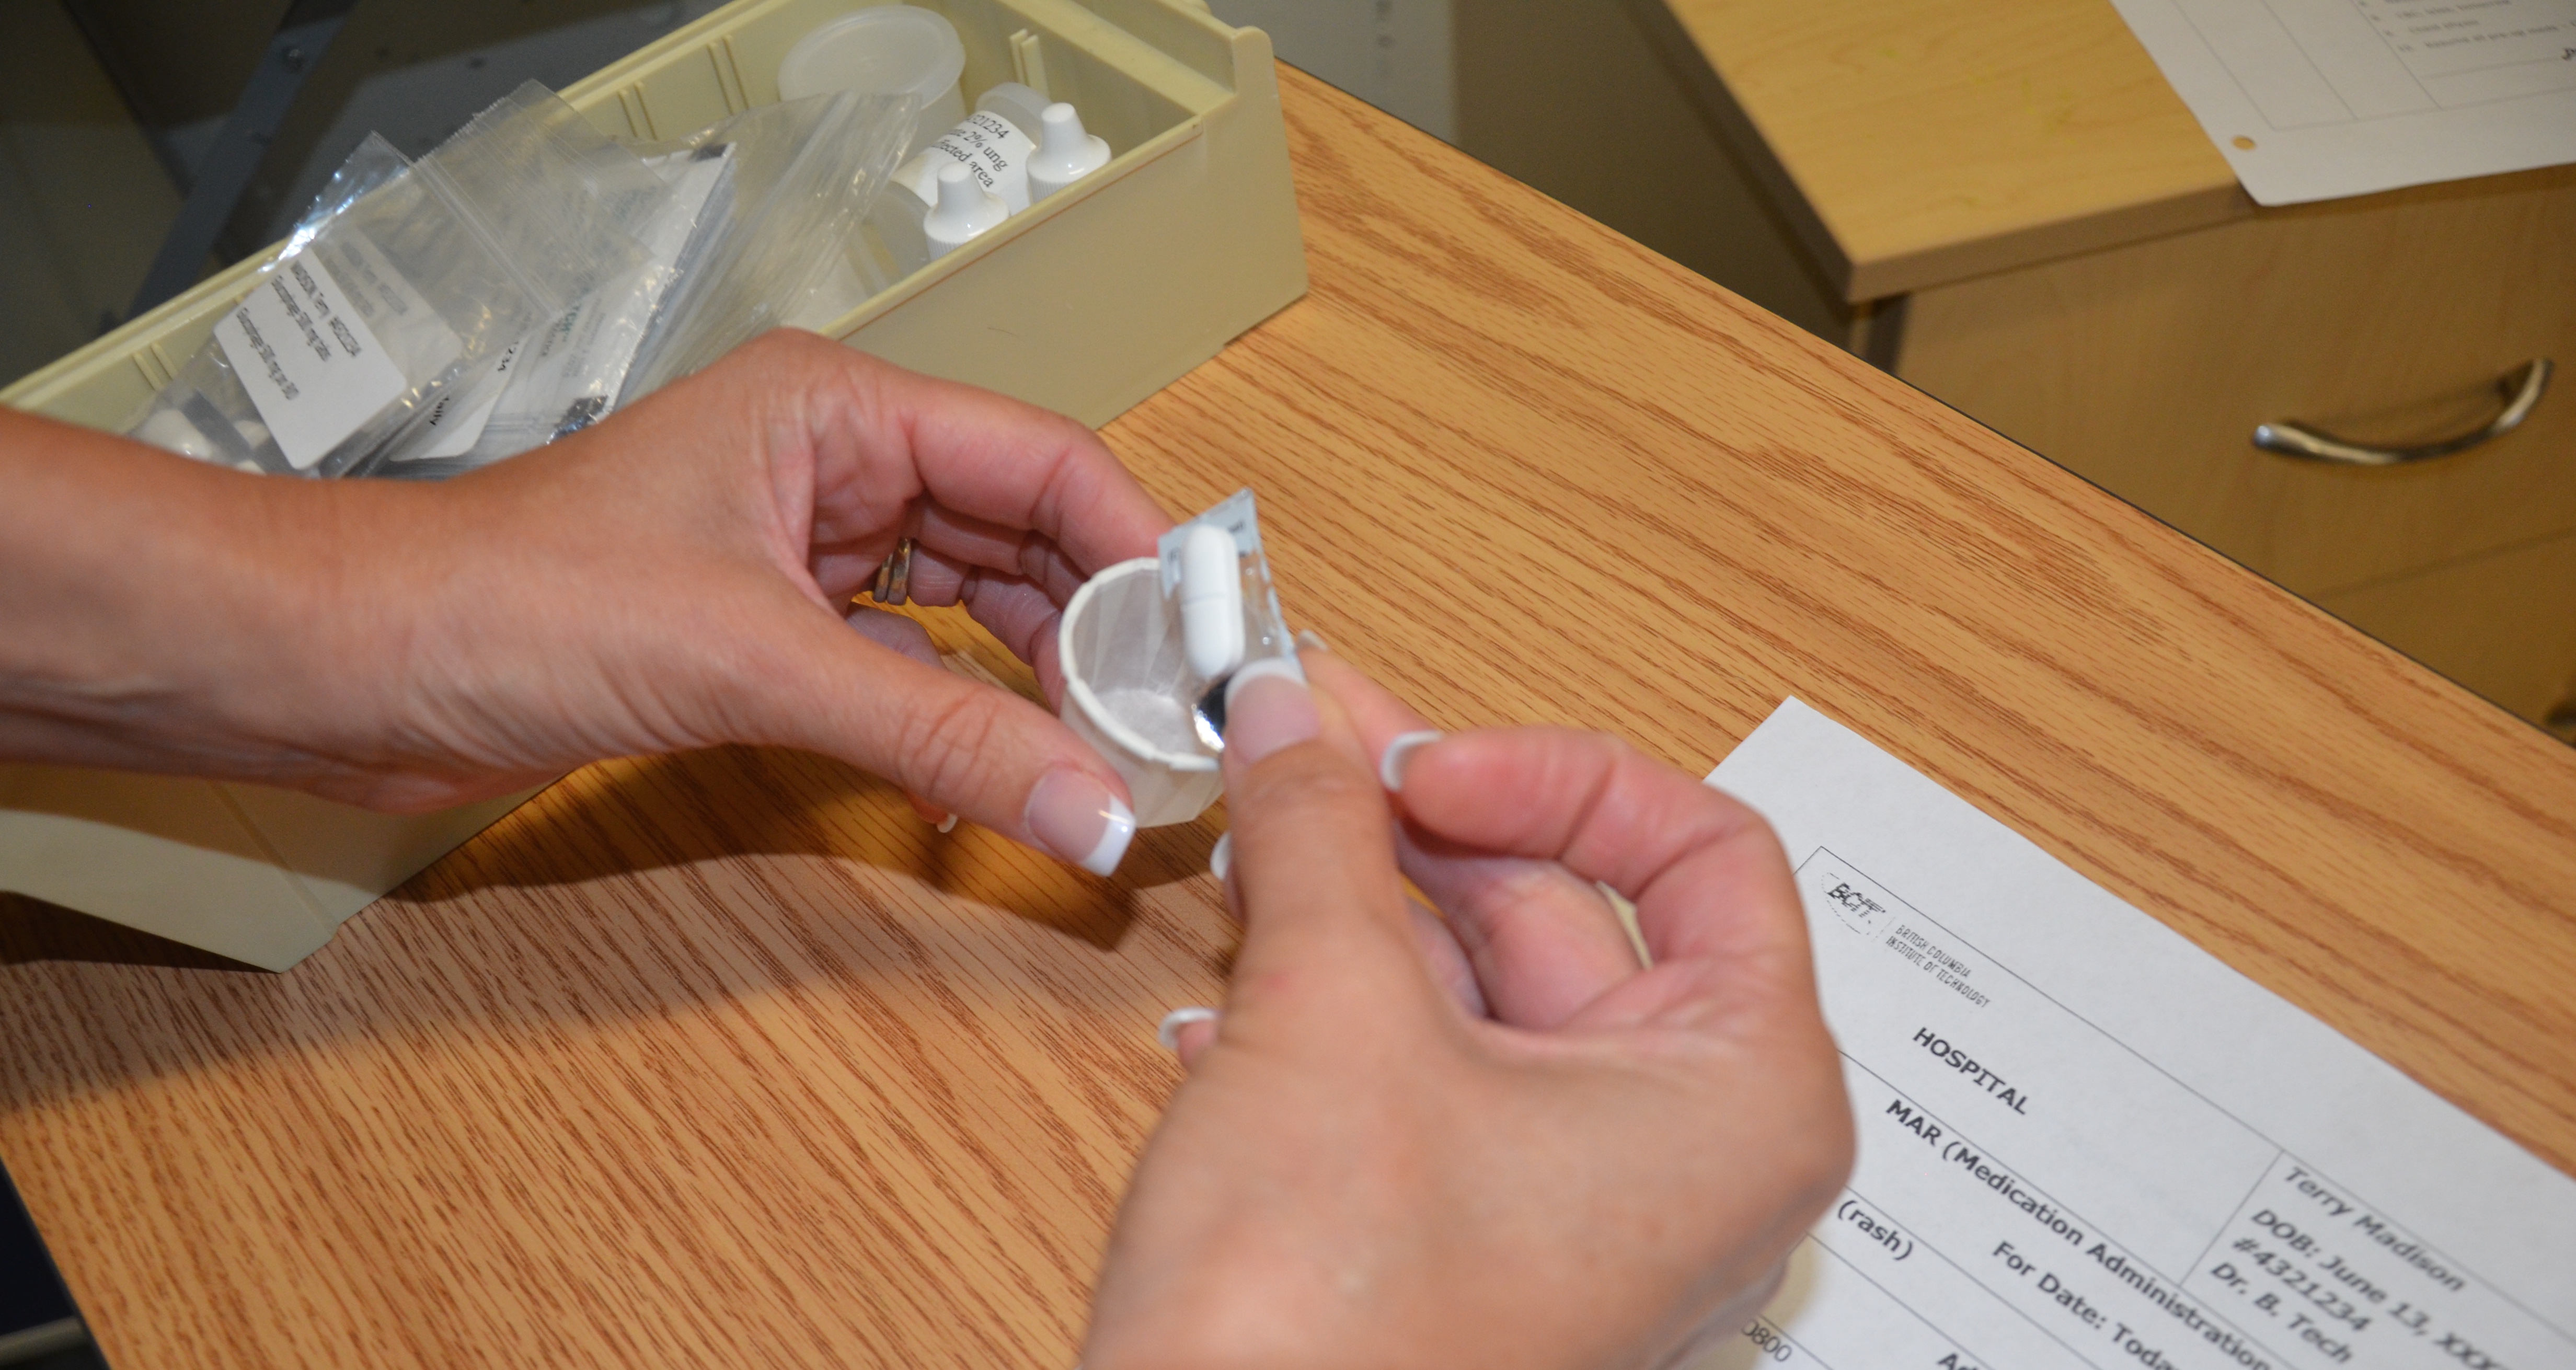  These checks are done before administering the medication to your patient. If taking drug to bedside (e.g., eye drops), do third check at bedside. |
||
| 4. Before applying a transdermal patch, remove the old patch if it is still in place. Clean area thoroughly.
Observe for signs of skin irritation at old patch and document as per agency policy. |
Not removing previous patch may result in overdose of the medication. Check between skin folds for old patch.
 |
||
| 5. Dispose of old patch as per agency policy (usually in a biohazard trash bag) by folding in half with sticky sides together and wrapping it in a glove, or cutting it before disposal. | This prevents accidental exposure to the medication. | ||
| 6. Use a felt tip or soft tip pen to write the date, time, and your initials on the outside of the new patch. DO NOT use a ballpoint pen. | Initialling patch communicates application date and time to other health care providers.
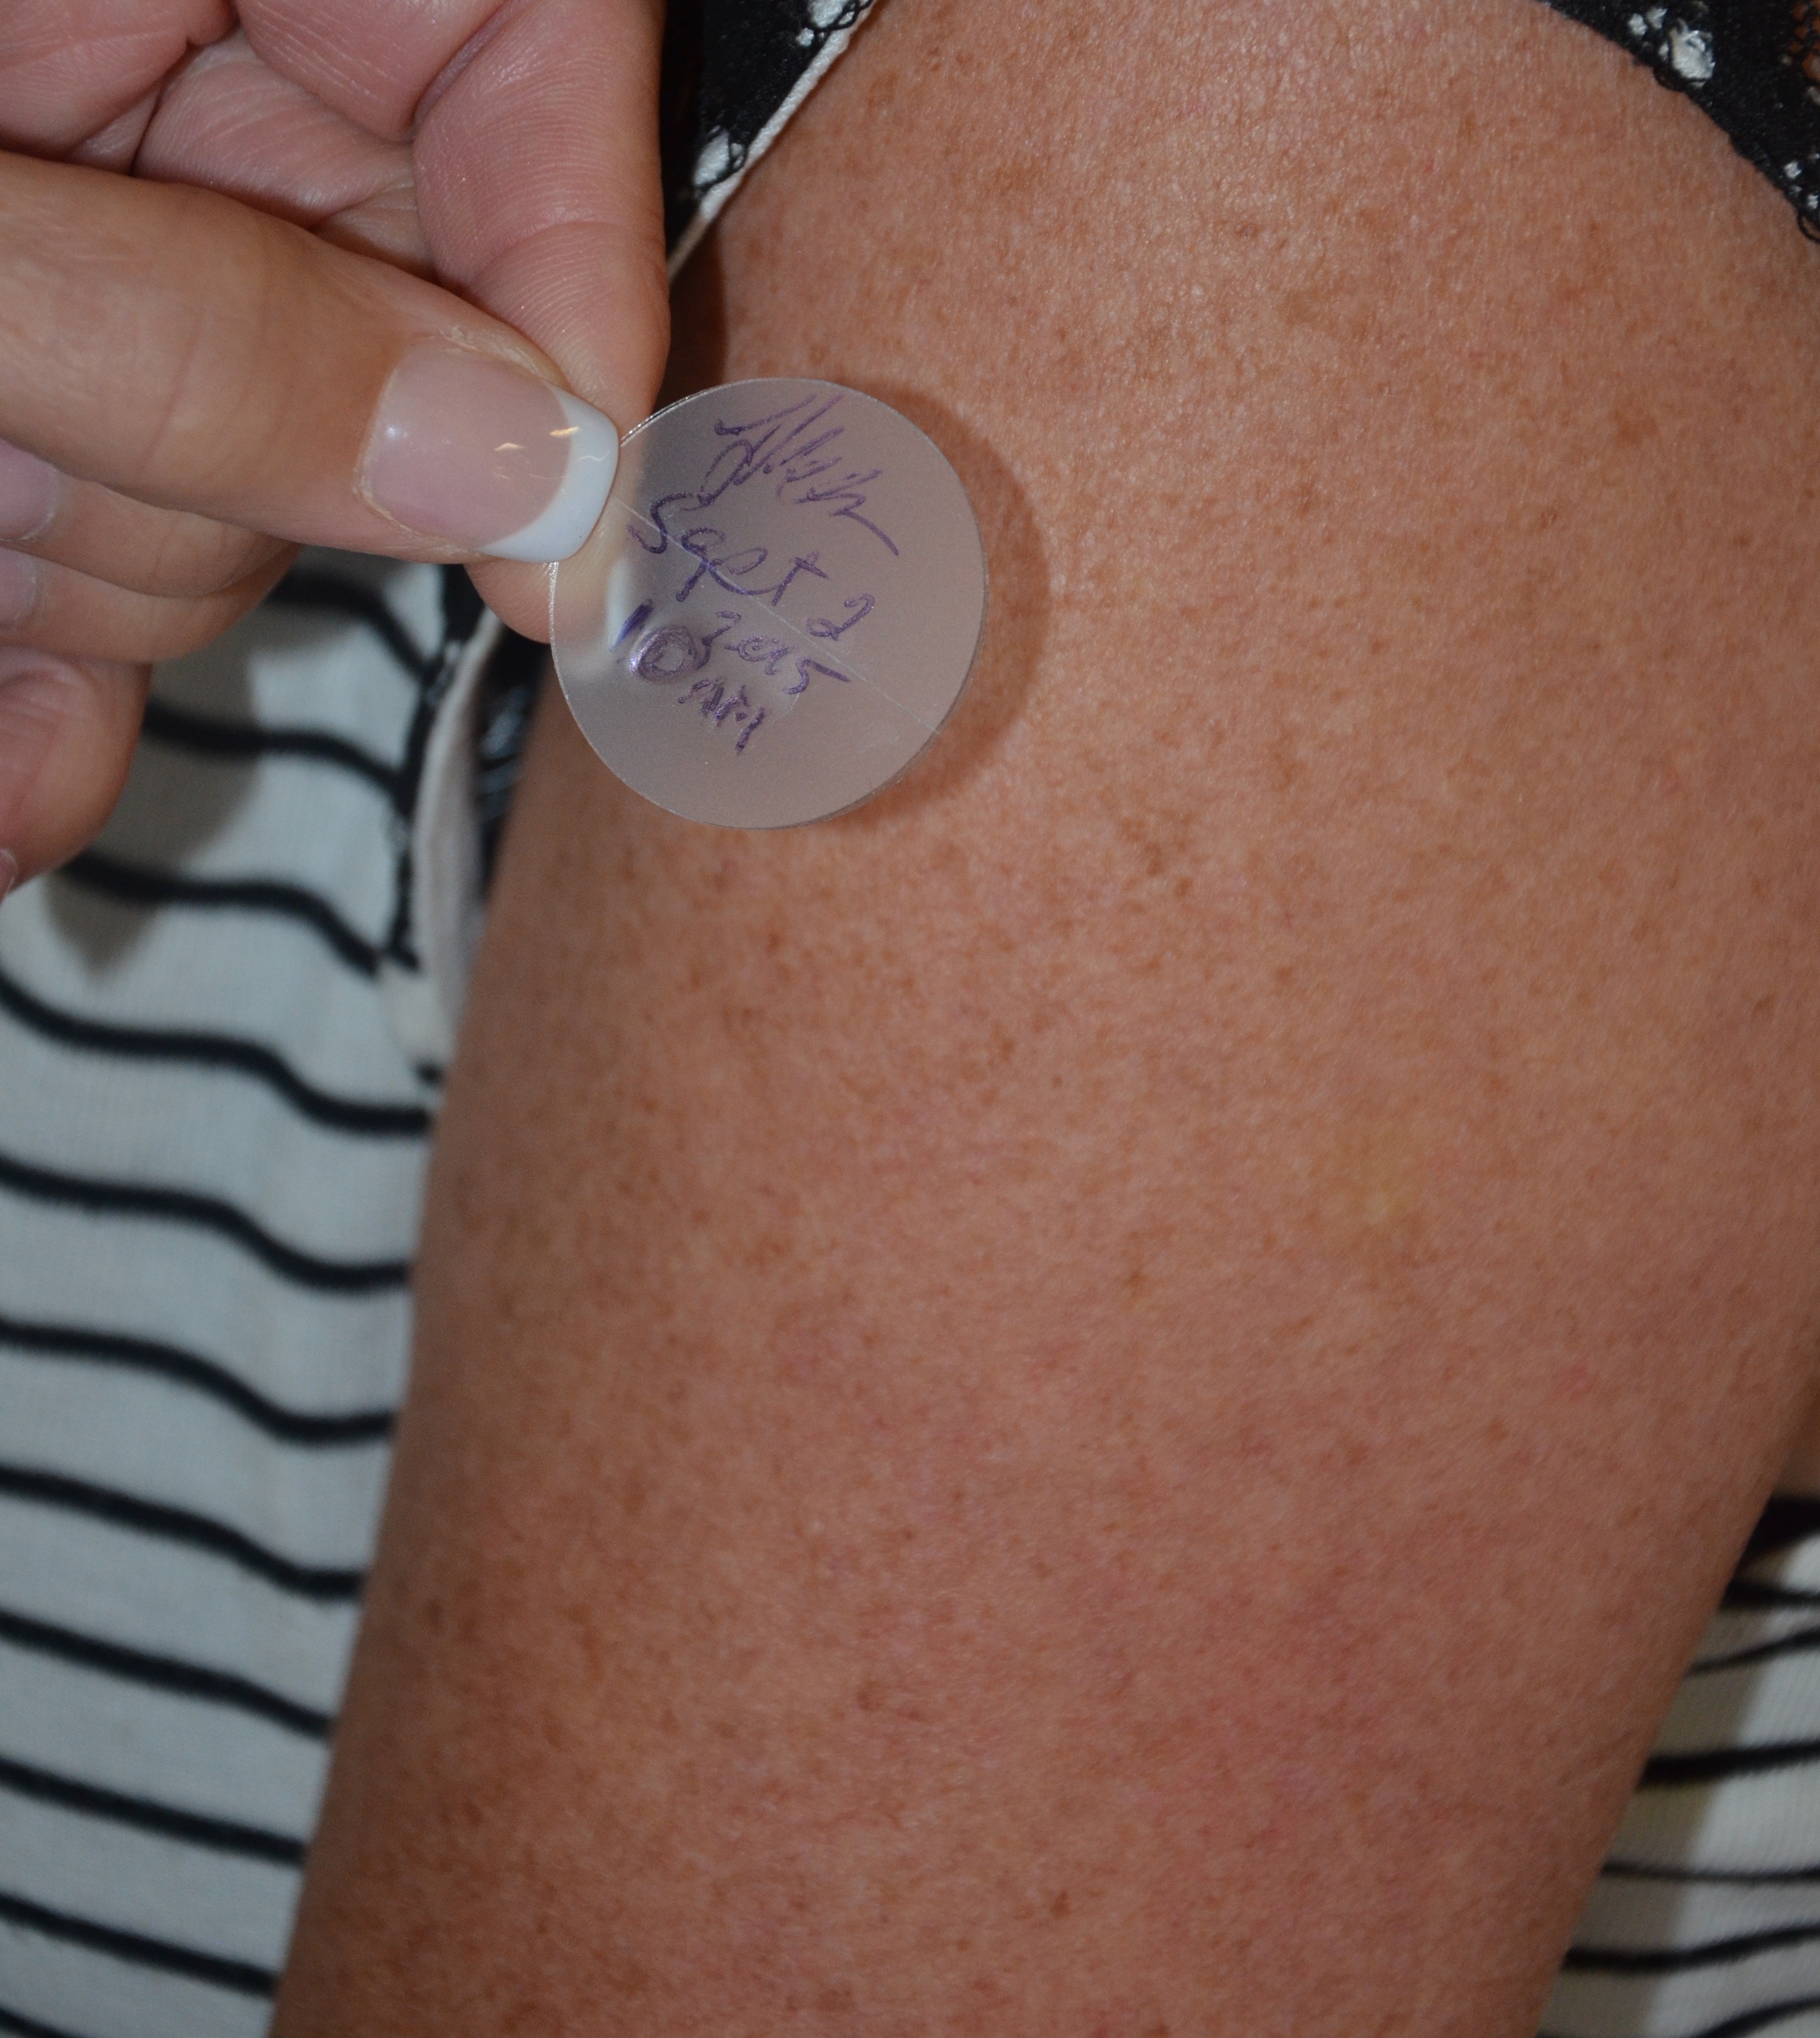 Ballpoint pen can damage patch and thus affect medication delivery. |
||
| 7. Apply the new patch to a new site that is clear, dry, hairless, and free of skin irritations. | If it is necessary to remove hair, clip the hair instead of shaving to avoid skin irritation.
A consistent surface ensures even medication distribution. |
||
| NOTE: It is usual to have a “patch-free period” of 10 to 12 hours when the patch is removed, because tolerance to the medication may develop if the patch is worn 24 hours/day. Check doctor’s orders to determine if the patch should be removed overnight. | |||
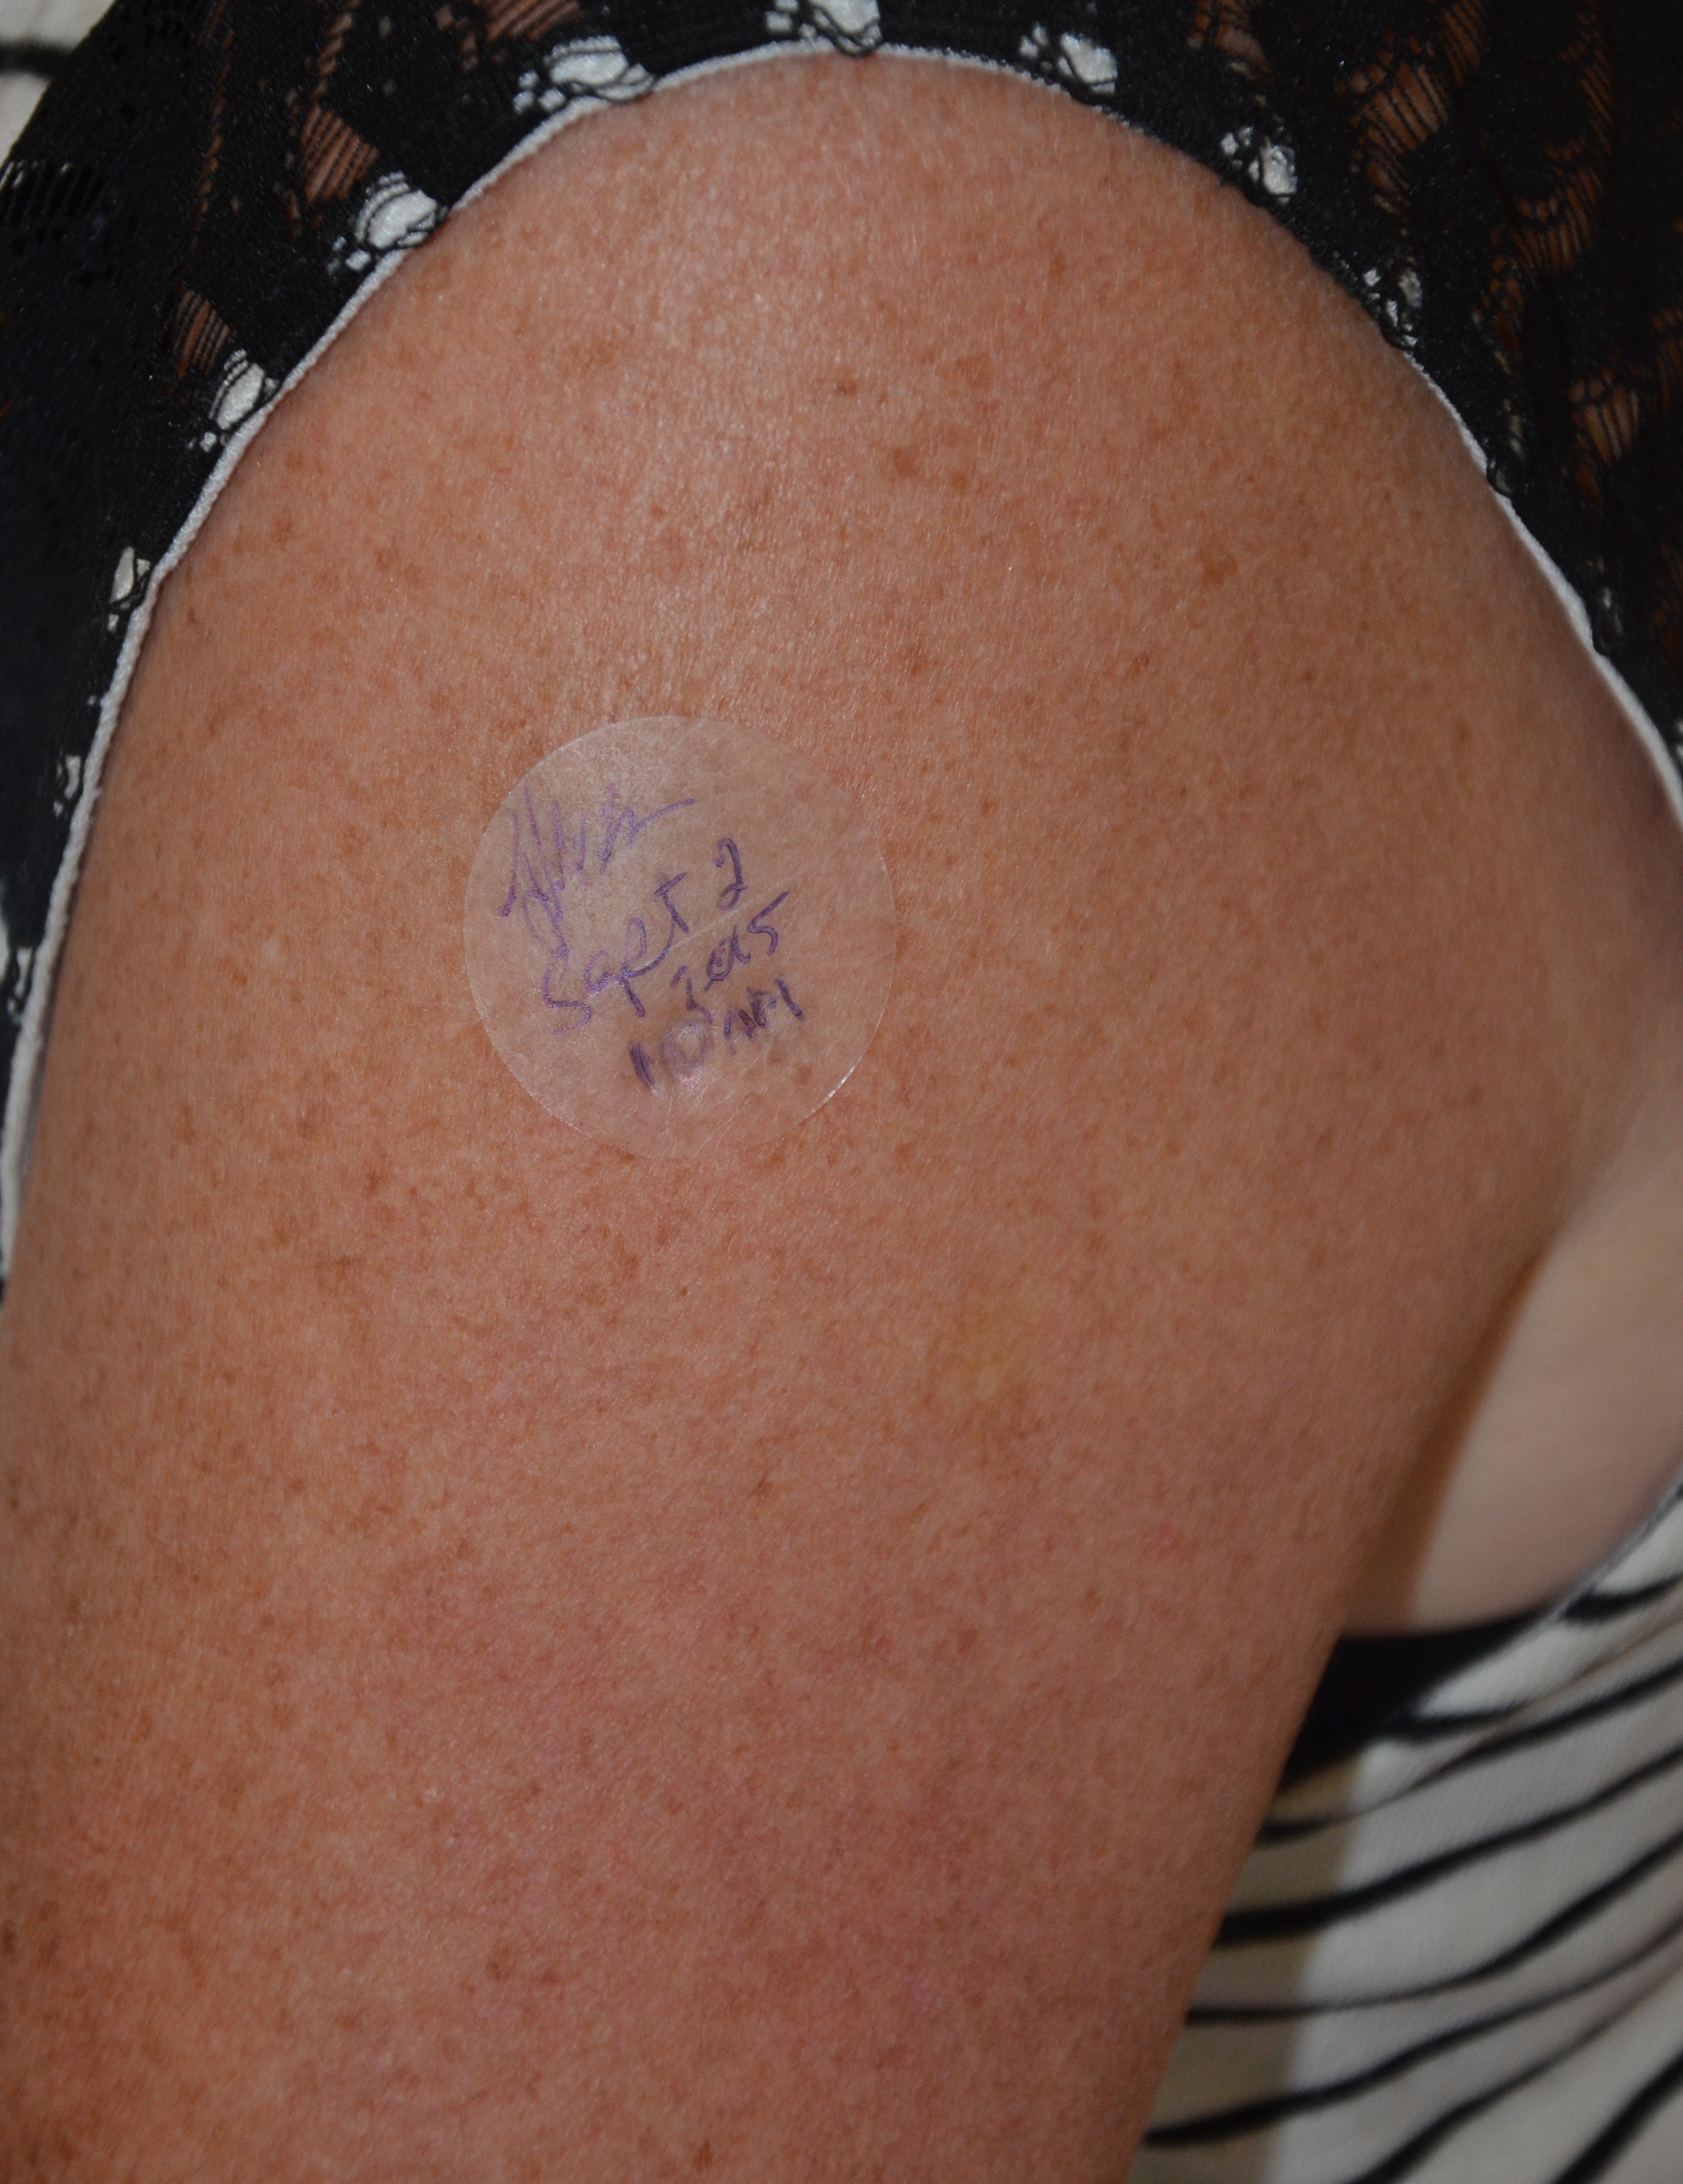
| 8. Carefully remove the backing from the patch, taking care to hold it at the edges and not touch the medication with your fingers. | This prevents interference with medication and maintains stickiness of patch. | ||
| 9. Apply patch by holding one hand firmly over the patch for 10 seconds, then press around the edges to make sure that the patch is securely attached to the skin. | This prevents loss of patch and ensures effectiveness of medication delivery.
 |
||
| 10. Perform hand hygiene. | This prevents the transfer of microorganisms.
 |
||
NOTE:
|
|||
| 11. Document as per agency policy, making sure to include site of administration on the MAR. | Accurate and timely documentation improves patient safety. | ||
| Data source: BCIT, 2015; Lilley et al., 2011; Perry et al., 2014 | |||
Checklist 54 lists the steps for applying topical medications as creams, lotions, and ointments.
Disclaimer: Always review and follow your hospital policy regarding this specific skill. |
|||
Safety considerations:
|
|||
Steps |
Additional Information |
||
| 1. Check MAR against doctor’s orders. |
Check that MAR and doctor’s orders are consistent. Night staff usually complete and verify this check as well. |
||
2. Perform the SEVEN RIGHTS x 3 (must be done with each individual medication):
Medication calculation: D/H x S = A (D or desired dosage/H or have available x S or stock = A or amount prepared) |
The right patient: check that you have the correct patient using two patient identifiers (e.g., name and date of birth).
The right medication (drug): check that you have the correct medication and that it is appropriate for the patient in the current context. The right dose: check that the dose makes sense for the age, size, and condition of the patient. Different dosages may be indicated for different conditions. The right route: check that the route is appropriate for the patient’s current condition. The right time: adhere to the prescribed dose and schedule. The right reason: check that the patient is receiving the medication for the appropriate reason. The right documentation: always verify any unclear or inaccurate documentation prior to administering medications. NEVER document that you have given a medication until you have actually administered it. |
||
3. The label on the medication must be checked for name, dose, and route, and compared with the MAR at three different times:
|
These checks are done before administering the medication to your patient. If taking drug to bedside (e.g., eye drops), do third check at bedside. |
||
| 4. Apply non-sterile gloves unless skin is broken; then apply sterile gloves. | Using gloves protects health care provider from contact with medication.
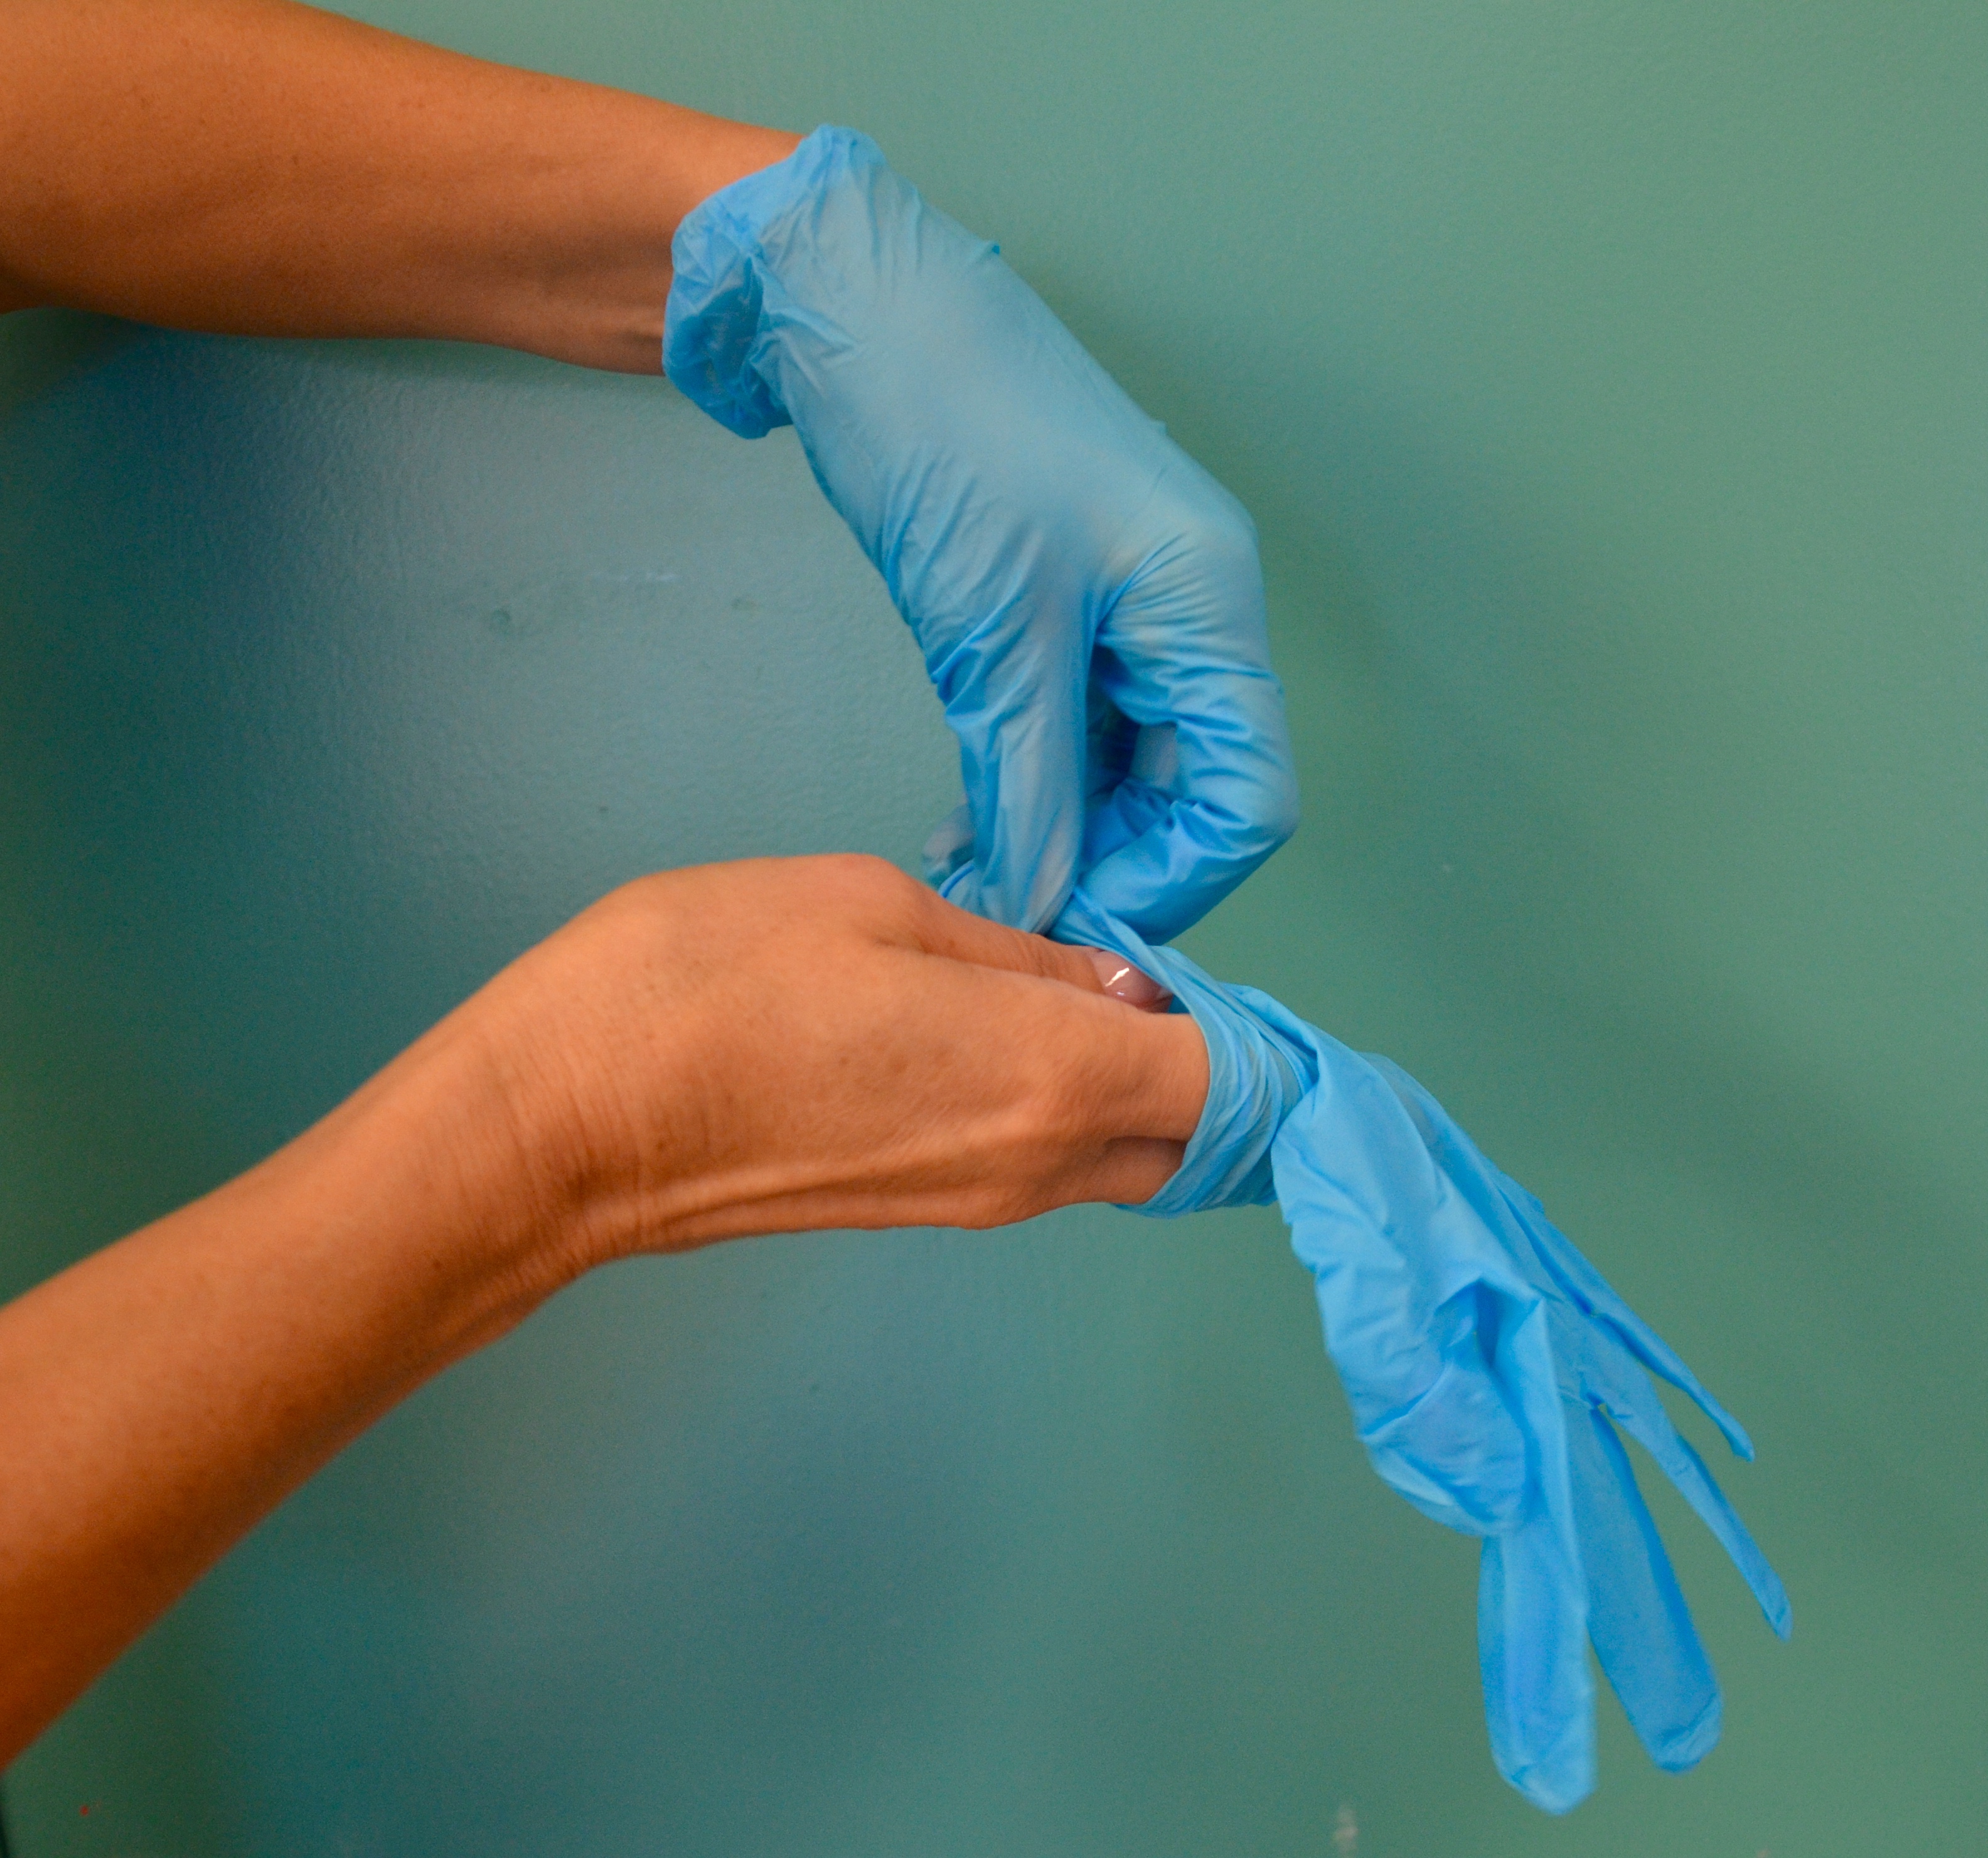 If skin is broken, sterile gloves will prevent the spread of microorganisms. |
||
| 5. Wash, rinse, and dry the affected area with water and a clean cloth. | This removes previous topical medications. | ||
| 6. If skin is very dry and flaking, apply topical medication while skin is still damp. | Applying while skin is damp helps to retain moisture within skin layers. | ||
| 7. Change gloves, performing hand hygiene in between. | Use sterile gloves for open skin lesions to prevent spread of microorganisms.
 |
||
| 8. Place required amount of medication in palm of hands and soften by rubbing palms together. | Softening makes topical medication easier to spread.
 |
||
| 9. Let patient know that initial application may feel cold. Apply medication using long even strokes that follow the direction of the hair. Do not rub vigorously. | This prevents irritation of hair follicles. | ||
| 10. Let patient know that skin may feel greasy after application. | Some topical medications contain oils. | ||
| 11. Document as per agency policy, making sure to include site of administration on the MAR. | Accurate and timely documentation improves patient safety. | ||
| 12. Perform hand hygiene. | This step prevents the transfer of microorganisms.
|
||
| Data source: BCIT, 2015; Lilley et al., 2011; Perry et al., 2014 | |||
Checklist 55 lists the steps for applying medicinal powder topically.
Checklist 55: Applying Topical PowderDisclaimer: Always review and follow your hospital policy regarding this specific skill. |
|||
Safety considerations:
|
|||
Steps |
Additional Information |
||
| 1. Check MAR against doctor’s orders. |
Check that MAR and doctor’s orders are consistent. Night staff usually complete and verify this check as well. |
||
2. Perform the SEVEN RIGHTS x 3 (must be done with each individual medication):
Medication calculation: D/H x S = A (D or desired dosage/H or have available x S or stock = A or amount prepared) |
The right patient: check that you have the correct patient using two patient identifiers (e.g., name and date of birth).
The right medication (drug): check that you have the correct medication and that it is appropriate for the patient in the current context. The right dose: check that the dose makes sense for the age, size, and condition of the patient. Different dosages may be indicated for different conditions. The right route: check that the route is appropriate for the patient’s current condition. The right time: adhere to the prescribed dose and schedule. The right reason: check that the patient is receiving the medication for the appropriate reason. The right documentation: always verify any unclear or inaccurate documentation prior to administering medications. NEVER document that you have given a medication until you have actually administered it. |
||
3. The label on the medication must be checked for name, dose, and route, and compared with the MAR at three different times:
|
These checks are done before administering the medication to your patient. If taking drug to bedside (e.g., eye drops), do third check at bedside. |
||
| 4. Ensure that skin is completely dry and clean before application. | This minimizes potential for powder to cake and crust. | ||
| 5. If application is near patient’s face, ask patient to turn away from powder or briefly cover face with a clean towel. | This prevents patient from inhaling powder. | ||
| 6. Dust skin with a light layer of powder. | Too thick a layer of powder will congeal and crust. | ||
| 7. If ordered, cover the affected site with the prescribed dressing. | Covering site prevents soiling of patient’s clothes and linens. | ||
| 8. Document as per agency policy, making sure to include site of administration on the MAR. | Accurate and timely documentation improves patient safety. | ||
| 9. Perform hand hygiene. | Prevents transfer of microorganisms.
|
||
| Data source: BCIT, 2015; Lilley et al., 2011; Perry et al., 2014 | |||
Critical Thinking Exercises
- Your patient’s MAR states that their Nitro-Patch should be removed at night. Please explain why this is considered safe practice.
- Discuss the steps you would take to administer a lotion for a patient with a rash that has several open lesions.
- Discuss why it is necessary to ensure that your patient’s skin is clean and dry prior to applying a prescribed topical powder.
