Chapter 4 – Lightening Virgin Hair and Regrowth
4.5 Application Process: Global Lightening Service – Bleaching Product
Tools and Supplies Required
- Colour safe gloves
- Colour cape
- Towels
- Hair clips
- Brush and comb
- Colour bowl
- Weigh scale
- Tint brushes-
- Standard 2 inch
- Wide standard 3–4 inch (optional)
- Cotton
- Foil/balayage board (optional)
Application
Prepare your client for their bleach lightening service by performing the following procedure:
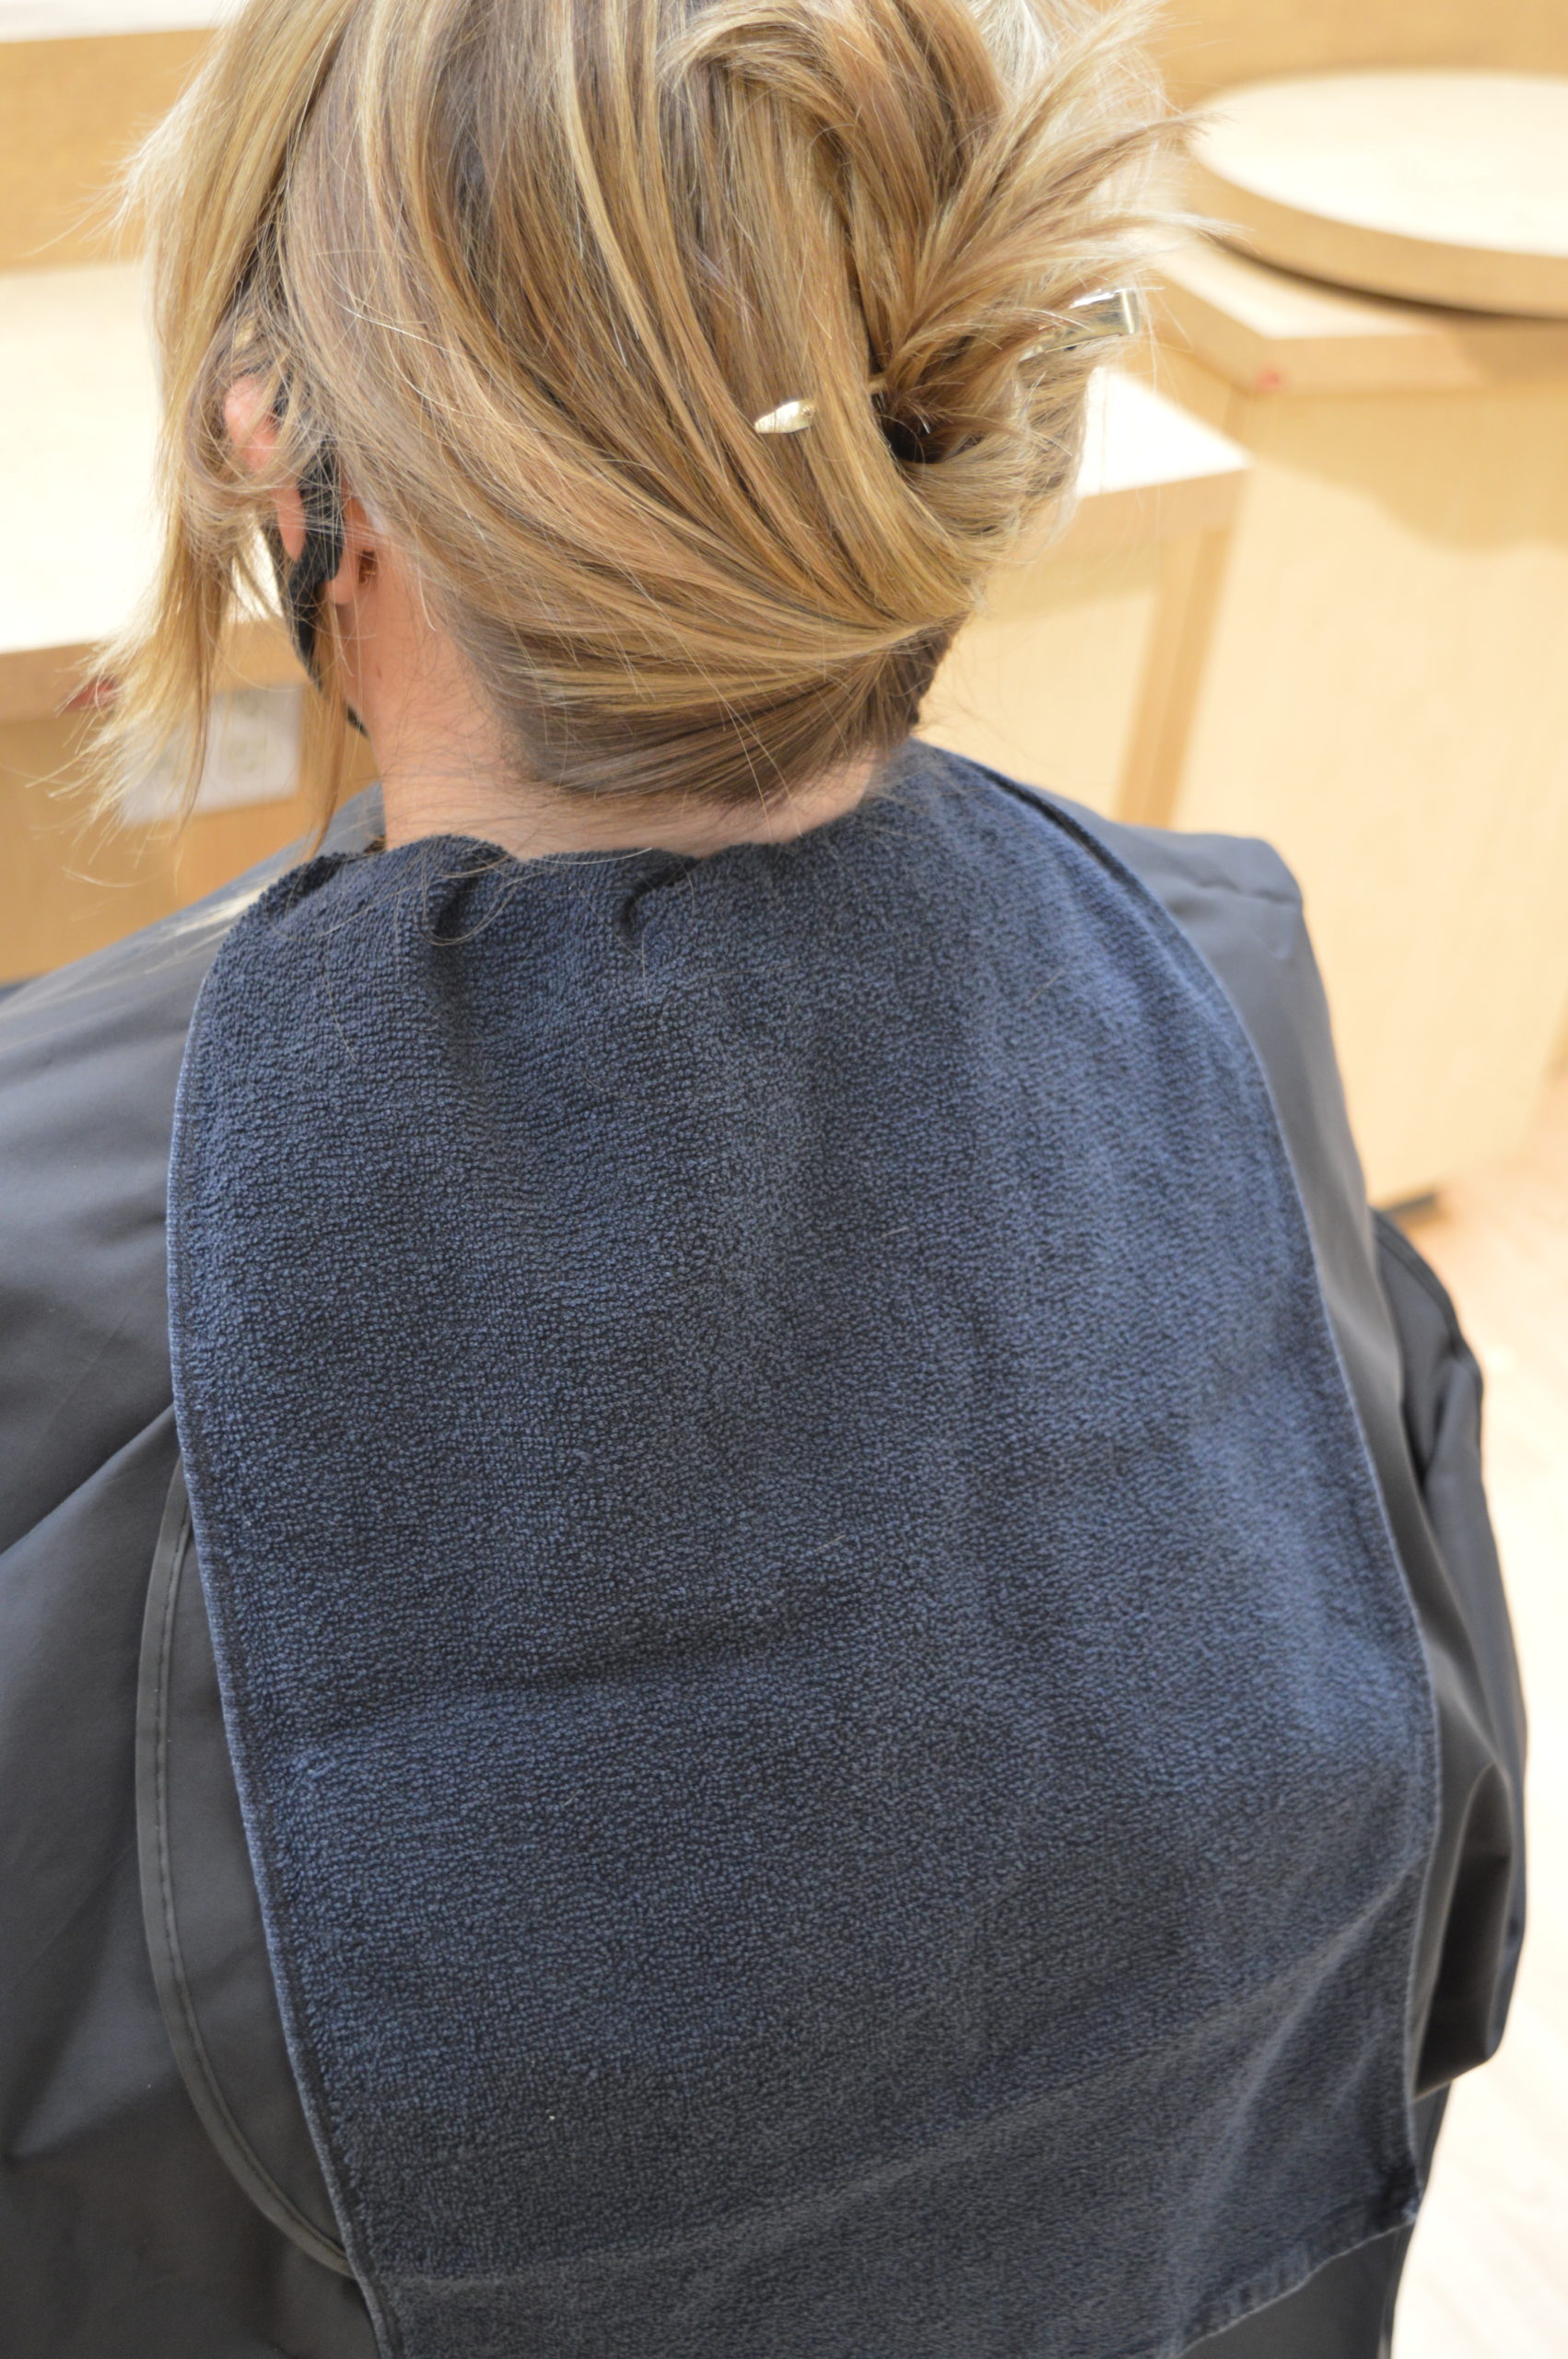 Drape your client using towels and colour cape. First, place a towel around the client’s shoulders. Then, fasten the colour cape loosely, allowing just enough room to tuck a towel into the outside of the cape. This provides a surface to lay the coloured hair on, which will keep the colour cape clean. If your client has very long hair, tuck the outside towel in so that it lays lengthwise (see photo to the right).
- Ensure that the hair is fully dry.
- Brush gently through the hair to remove tangles
- Section and divide the hair into 4 quadrants using your comb and clips. Section nose to nape, then ear to ear.
Once you have prepared your client for the lightening service, gathered your tools and supplies, and mixed up your bleaching product(s):
- Don your gloves.
- Begin your application in the darkest sections. Generally, this will be the back two quadrants, as the hair around the face tends to be lighter and of finer texture.
- Beginning at the bottom of the quadrant and working upwards, use ⅛-inch subsections and apply your first formula only to Zone 2, ½ to ¾ inches away from the scalp and through the mid-lengths. You may choose to use your wider tint brush for this area, for maximum efficiency and saturation. Be sure to saturate the hair fully on either side of the subsection. As mentioned previously, not every client will have a Zone 3. If this is the case, apply the product through to the ends in this step.Note: Bleach must stay wet in order to continue processing, therefore not saturating effectively will result in brown spots or patchiness. The hair should be coated with product. It should look opaque.You may find it helpful to use a foil/balayage board to support the subsection that you are applying colour to. This provides a sturdy surface to allow ease of saturation, and keeps your hands free of product, preventing transfer onto Zones 1 or 3. If you prefer to use your hand to support the subsection, keep a towel nearby to wipe your hands periodically throughout the application.
- Drop the hair without pressing it into the previous section to ensure the root area remains free of product. If necessary, you may choose to place a strip of cotton at the root between each subsection.
- Continue this application throughout your four quadrants.
- Once the lightener had been fully applied to the mid-lengths, beginning in the same back quadrant as before, begin to apply your second formula to the regrowth area, Zone 1, working in the same ⅛-inch subsections, now working downwards from crown to nape. It is a good idea to switch to your standard 2-inch tint brush at this time, for maximum neatness and control. Once again, be sure to saturate the hair fully on either side of your ⅛-inch subsections.
- While you are working, be aware of any Zone 2 areas that may have dried out, and apply more product to these areas as you work, using the corresponding formula.
- Lastly, using your wider tint brush, apply your last formula through the more porous ends if a Zone 3 is present.
- Allow the hair to process at room temperature for up to an hour (follow manufacturers guidelines). If the hair is particularly resistant, it may be draped loosely under a plastic pop-up for a short period to allow the heat from the scalp to facilitate the process. Check often to ensure the hair does not heat up too much, causing condensation on the plastic pop-up or product liquification. If condensation or liquification occur, it will cause discomfort for your client and scalp irritation.
- Keep the lightener moist throughout the processing time by reapplying as necessary.
By applying your colour procedurally, as in steps 1–8, you will achieve an even colour result from roots to ends. Remember, the roots will process faster than the mid-lengths. The ends, if porous, may process even more quickly and begin to look muddy if cool tones are present in the colour formula.
Video: Global Lightening Service: Virgin Bleach Application
Note: Video has no sound.
Processing
When processing a bleach product, there is no set timing. While most manufacturers will state that lightener should process for up to one hour, the hair may process more quickly.
- Check the hair every 10–20 minutes, depending on texture, so as to observe the degree of decolorization.
- Check in with your client throughout the process to ensure they are not experiencing any scalp discomfort. If your client is experiencing pain or discomfort, the product should be removed immediately.
- Once you believe that the hair has reached the desired level, perform a decolorization check, as the hair will generally look lighter when coated with a bleaching product and may trick your eye. To perform the check, choose a small section of hair, and remove the product by running a damp towel down the strands. If hair is not yet processed to the desired degree, reapply product to your test section and continue processing.
- Process until an even degree of lightness is achieved throughout the hair, or until an hour has passed. Coarse or resistant hair may require a second application. Note: second applications are only performed if the hair structure allows.
Product Removal
Once the bleach product is ready to be removed, bring your client to the sink:
- Rinse the hair until the water runs clear. Use cool–lukewarm water, as the scalp may be sensitive after the bleaching process
- The hair must be fully rinsed to avoid irritation, this is especially important in the nape and around the ears, which can be tougher to rinse effectively. Note: If the hair is to be toned following the lightening service, any bleach product remaining in the hair will eat through the colour molecules and prevent the toner from depositing.
- Shampoo twice with a suitable product, using gentle pressure, being careful not to rub the scalp too vigorously. If you are using a toning shampoo, such as one with violet tones, be aware that areas of higher porosity may turn purple.
- If your intention is to tone the hair, do not condition the hair at this stage. Doing so will close the cuticle and prevent the toner from depositing effectively.
We will discuss toning more in Chapter 4.6: Formulating the Toner.
Retouch Schedule
As with any service, it is up to you to recommend an appointment schedule that will best maintain your client’s hair.
A global lightening service such as this one should have a retouch schedule between three to six weeks, depending on growth. Ideally, your client should not have more than ¾ inches of regrowth at their next appointment. Keep in mind that once the regrowth is over ¾ inches, the hair will no longer have the heat from the scalp to help the lightening process along, and you will need to treat the retouch as a virgin application, which can be tricky on such a small amount of regrowth!
Ensure that you do not overlap onto the previously lightened hair. This can cause breakage. Remember that once the hair has been subjected to an alkaline chemical, its structure is permanently altered and more susceptible to damage.
When performing a retouch service:
- Prepare the client and the hair as noted above
- Starting in the back two quadrants, work in ⅛-inch subsections, carefully applying lightener to the regrowth only. Avoid overlapping onto the previously lightened hair and be sure to fully saturate both sides of your subsections.
- Process, monitoring the decolorization process for up to one hour.
- Follow the bleach product removal guidelines as noted above.
Refreshing the Ends
When your client returns for their retouch appointment, you may notice that their ends need some brightening or, in some cases, slight lift in order to lift past stubborn underlying pigment.
Assess the hair’s condition. If there are no porosity or elasticity concerns, you may choose to do a brightening service:
- Following the root retouch application, allow the root to process fully, shampoo and towel dry.
- Mix up a low alkaline bleach product. Use a 10 volume developer with a gentle bleach product, such as an off-scalp oil or cream lightener. Using a 2:1 or 3:1 developer to bleach mixing ratio will reduce the pH of the product and make it a thinner consistency for ease of application.
- Apply the gentle bleach formula onto the towel-dried mid-lengths and ends, being careful to avoid the regrowth. Ideally, this product should only process for approximately 10–20 minutes.
Media Attributions
- Towel Draping image by A. Magtiza is under a CC BY 4.0 Licence.
- “Virgin Bleach Application” video by A. Magtiza is under a CC BY 4.0 Licence.
