2.4 Hand Hygiene
Hand Hygiene Best Practices
Hand hygiene is the most important part of practice for health care workers and is the single most effective way to stop the spread of infections; failure to properly perform hand hygiene is the leading cause of hospital associated infections and the spread of antibiotic resistant organisms (ARO) (BC Centre for Disease Control, 2014; WHO, 2009a). Hand hygiene is a general term used to describe any action of hand cleaning and refers to the removal or destruction of soil, oil, or organic material, as well as the removal of microbial contamination acquired by contact with clients or the environment. Hand hygiene may be performed using an alcohol-based hand rub (ABHR) or soap and water.
Hand Hygiene

Even if your hands appear clean, they may carry germs. Hands pick up microorganisms (germs) in several ways. When people who are sick sneeze or cough, the germs that are making them sick are expelled into the air in tiny droplets. If these droplets get onto your hands, and then you touch your mouth, eyes, or nose without washing away the germs, you can pick up the infection.
Washing your hands prevents you from getting sick and educes the risk of infecting others. If you don’t wash your hands properly before coming into contact with others, you can infect them with the germs on your hands. Other people can also get sick from the germs unwashed hands leave on shared objects like doorknobs, keyboards, and other equipment in the home or workplace.
Hand hygiene is all about keeping your hands clean and the skin healthy. This is done by:
- Washing your hands with soap and water, or cleaning with alcohol-based hand rub (ABHR).
- Using moisturizer to protect your skin — this prevents chapping and skin breakdown.
- Not wearing jewellery or artificial nails — these interfere with cleaning your hands properly, and can harbor germs.

Hand Jewellery and False Nails
Hand jewellery such as rings, bracelets, and watches interfere with proper hand cleaning and can hide germs. You should either not wear these to work or remove them when cleaning your hands. Long nails, false nails, chipped nail polish, and nail jewellery can also harbour germs, which is why most health care facilities have policies against health care providers wearing them.
Hand Care
It’s important that you keep the skin of your hands in good health, so that it doesn’t become dry or chapped and prone to breakdown. You should use hand lotion to prevent your skin from becoming dry. If you suffer from frequent skin breakdown (dermatitis), you should consult your workplace health provider or doctor.
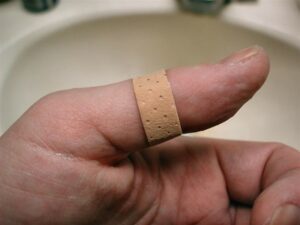
If you have a cut on your hand, it’s important to cover it with a bandage so that no germs get into it. Be sure to change the bandage regularly, as you can’t properly clean a bandage, and you don’t want a dirty bandage to become a way for germs to spread.
Proper Methods of Handwashing
Although handwashing might seem like a simple task, you should follow these steps to thoroughly rid your hands of germs.
What Kind of Soap to Use?
- Use plain soap that does not contain antibacterial agents. Plain soap will remove the dirt and grease that attract bad bacteria.
- Plain soap will not kill the good bacteria that live on the hands.
- Using antibacterial products unnecessarily increases the concentration of antibiotics in the water supply and in the environment and increases the risk of antibiotic resistant organisms.
- Liquid soaps are better than bar soaps, because germs can live on bar soaps.

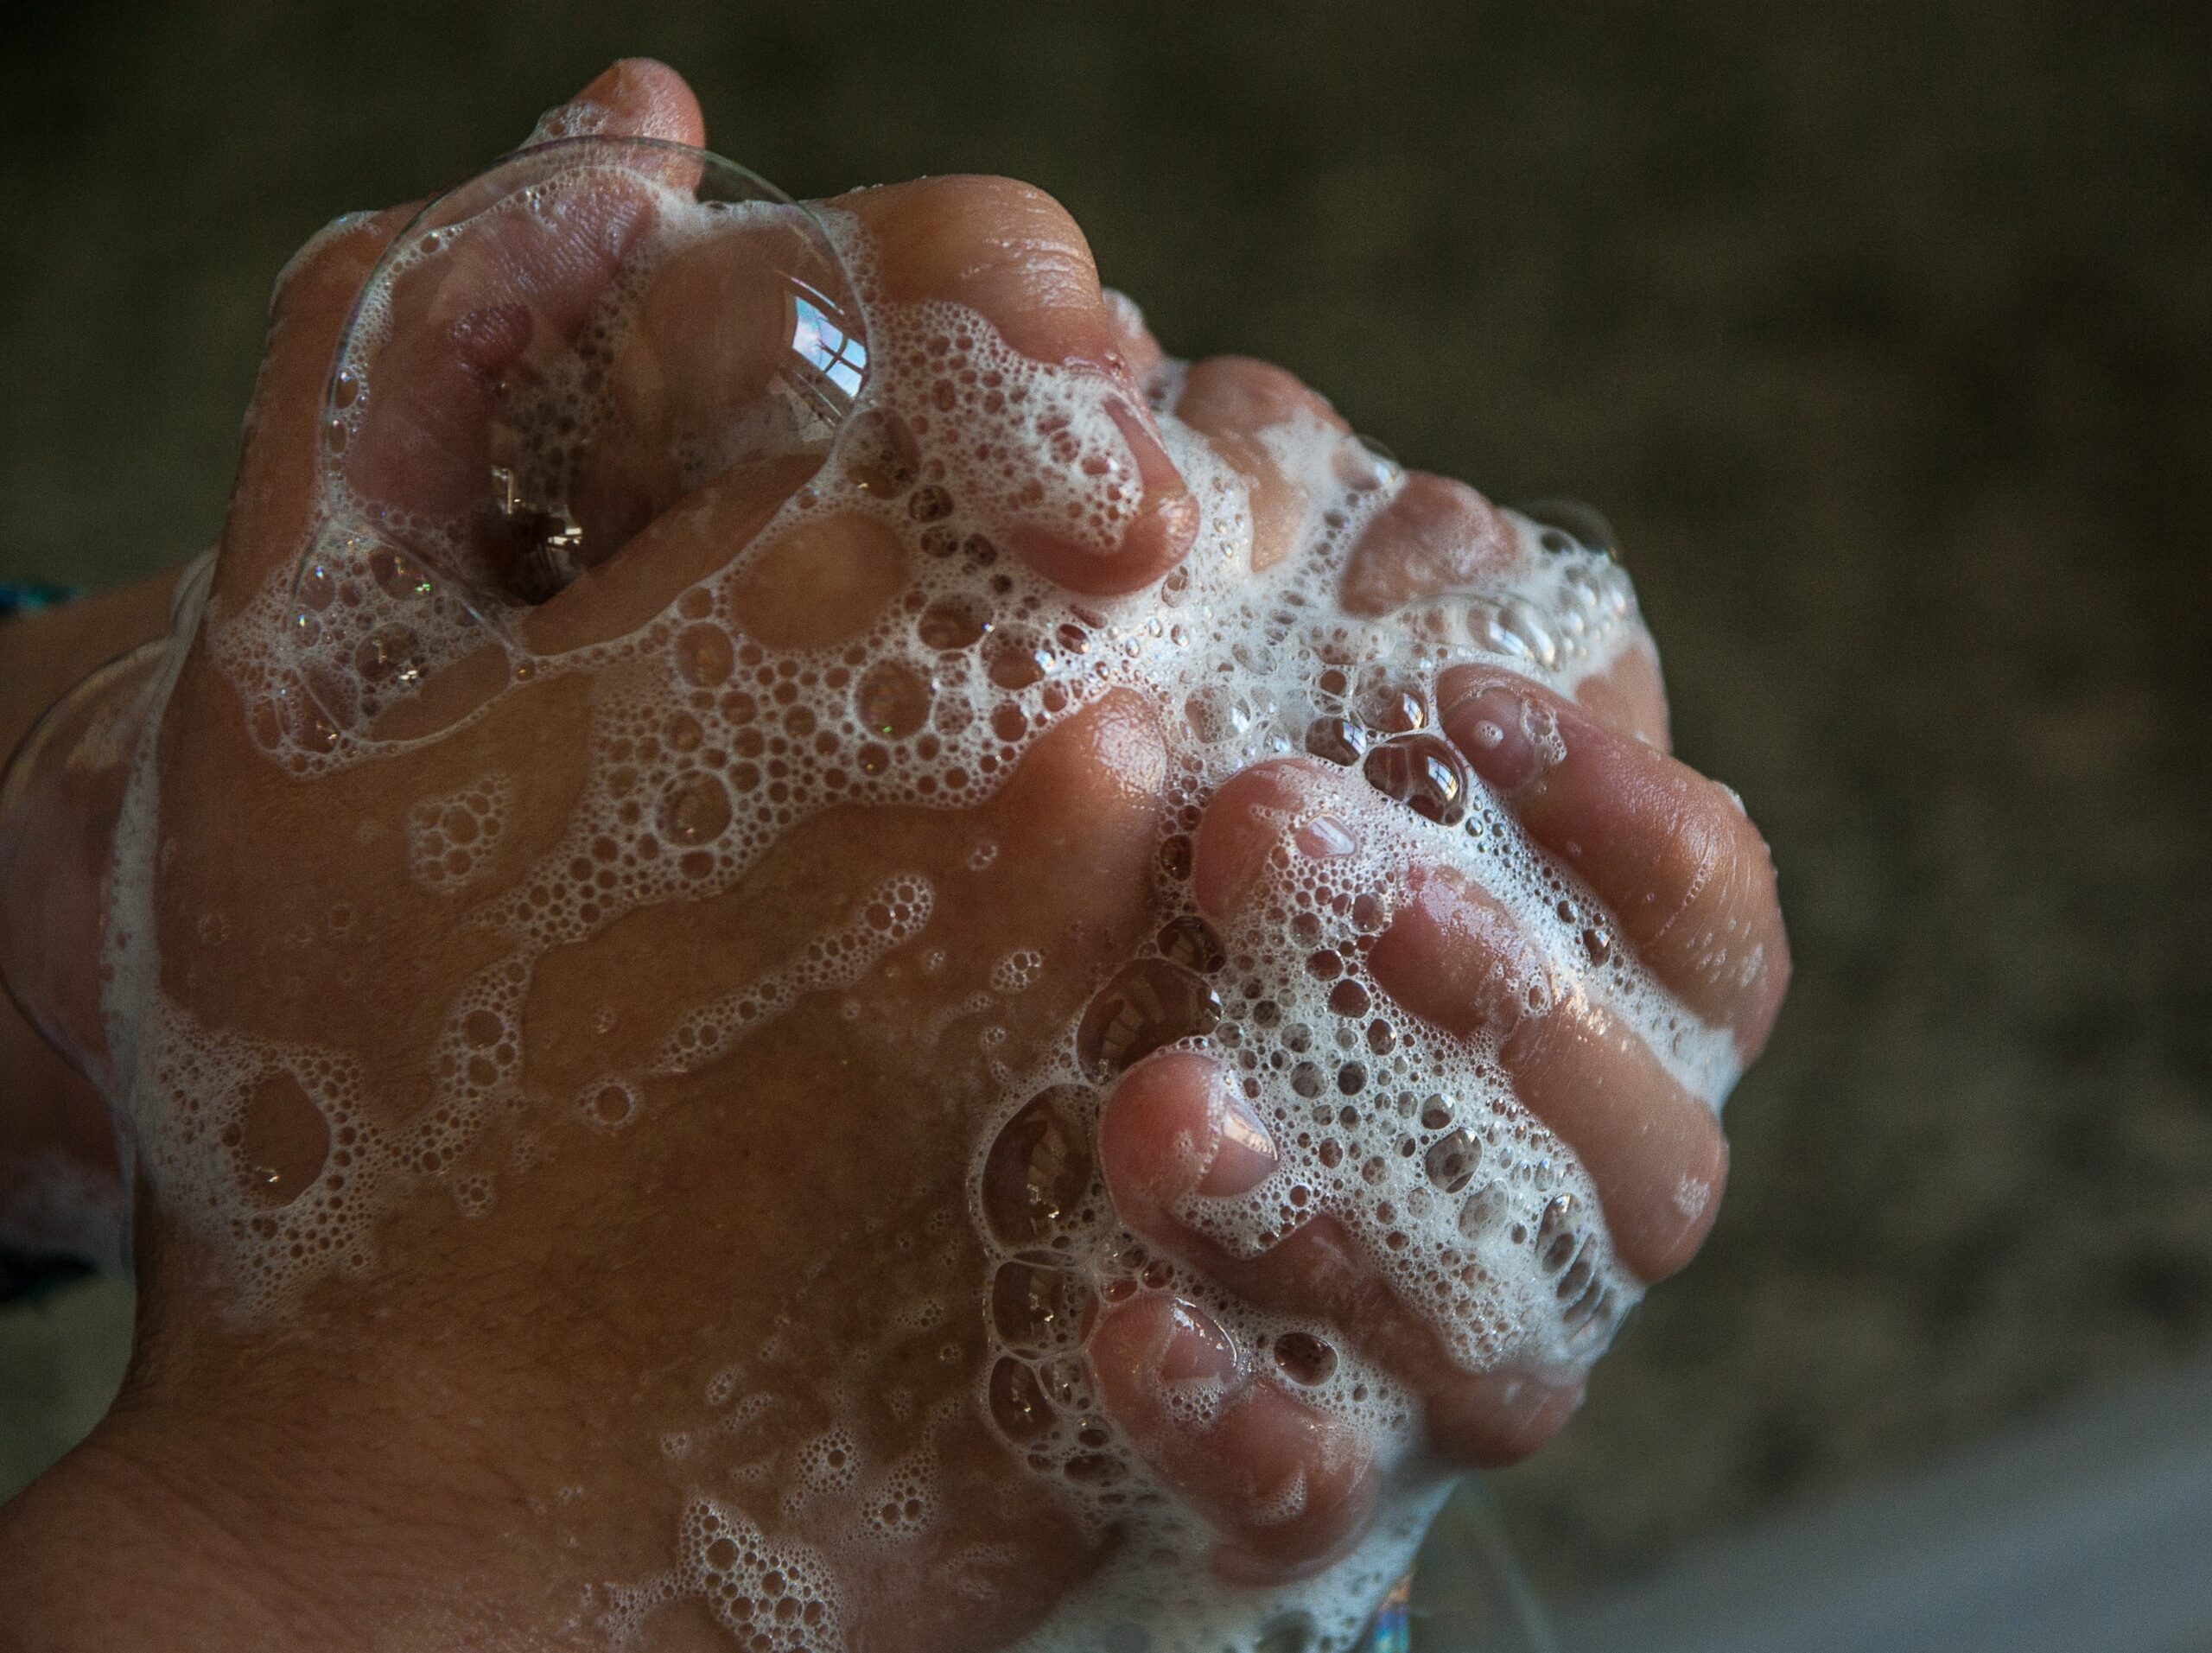
Steps When Using Soap
- Remove any hand or arm jewellery you may be wearing.
- Wet your hands with warm water.
- Apply plain soap to your hands and rub together for 20 seconds (the length of time it takes to sing “Twinkle, Twinkle Little Star” or “Happy Birthday”).
- Wash the front and back of your hands, as well as between your fingers and under your nails.
- Rinse your hands well for 10 seconds under warm running water, using a rubbing motion.
- Wipe and dry your hands gently with a paper towel or a clean towel. Drying them vigorously can damage the skin.
- Turn off the tap using the paper towel so that you do not re-contaminate your hands. When using a public bathroom, use the same paper towel to open the door when you leave.
- If skin dryness is a problem, use a moisturizing lotion.
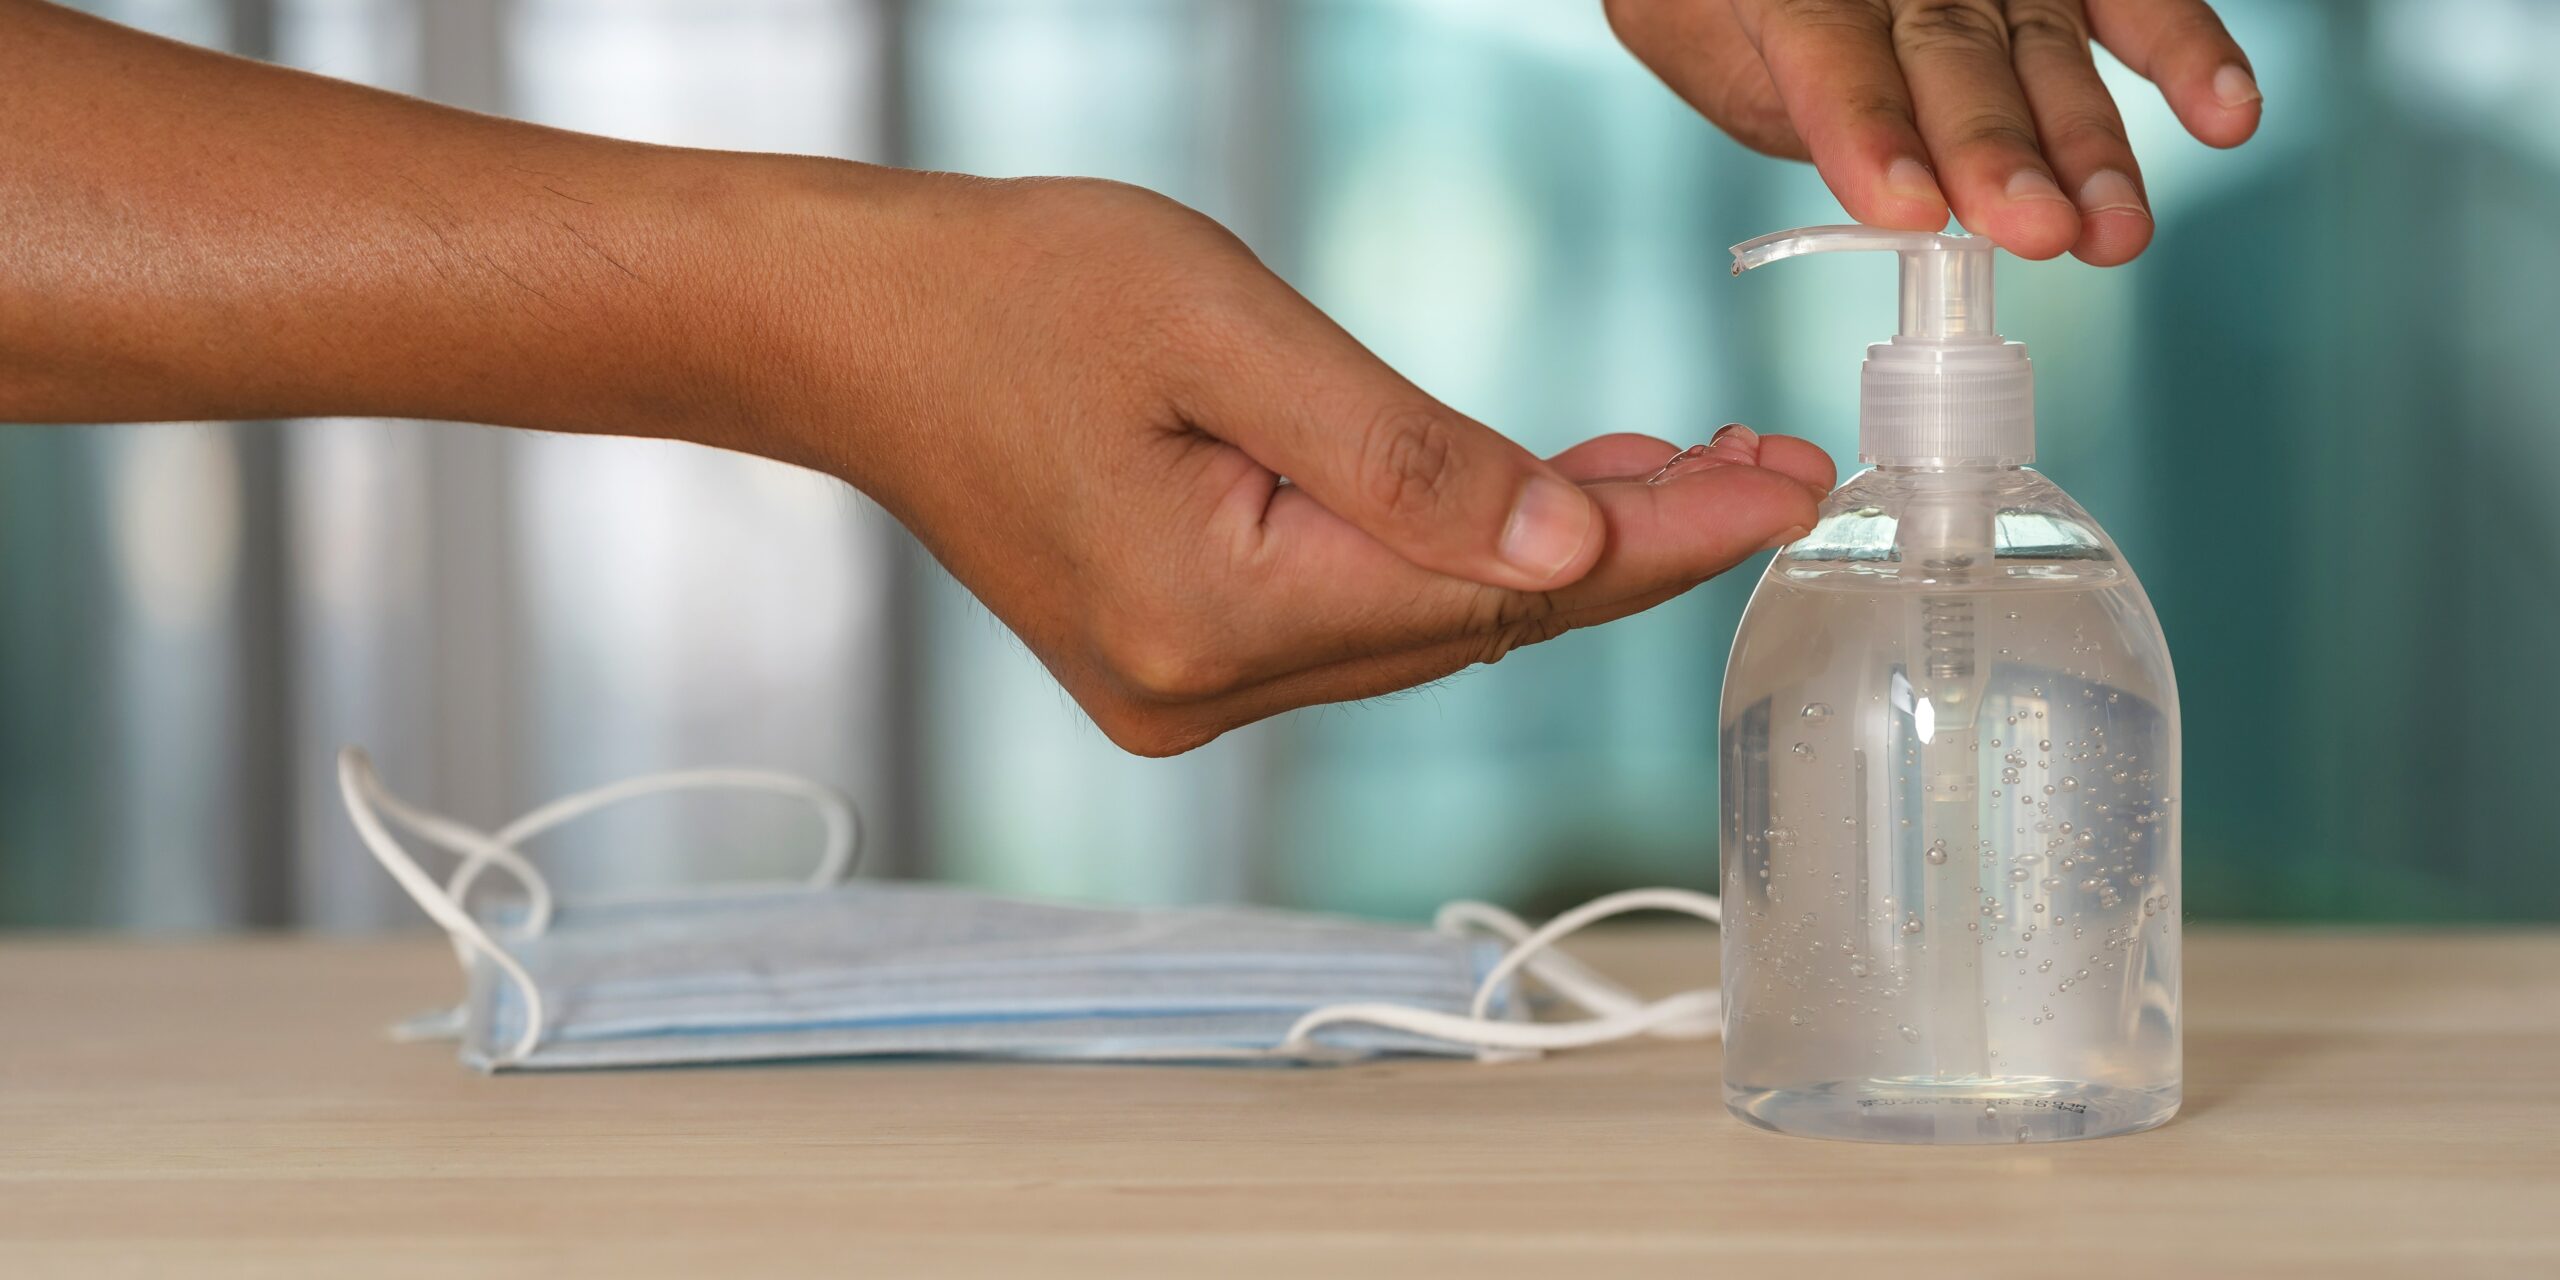
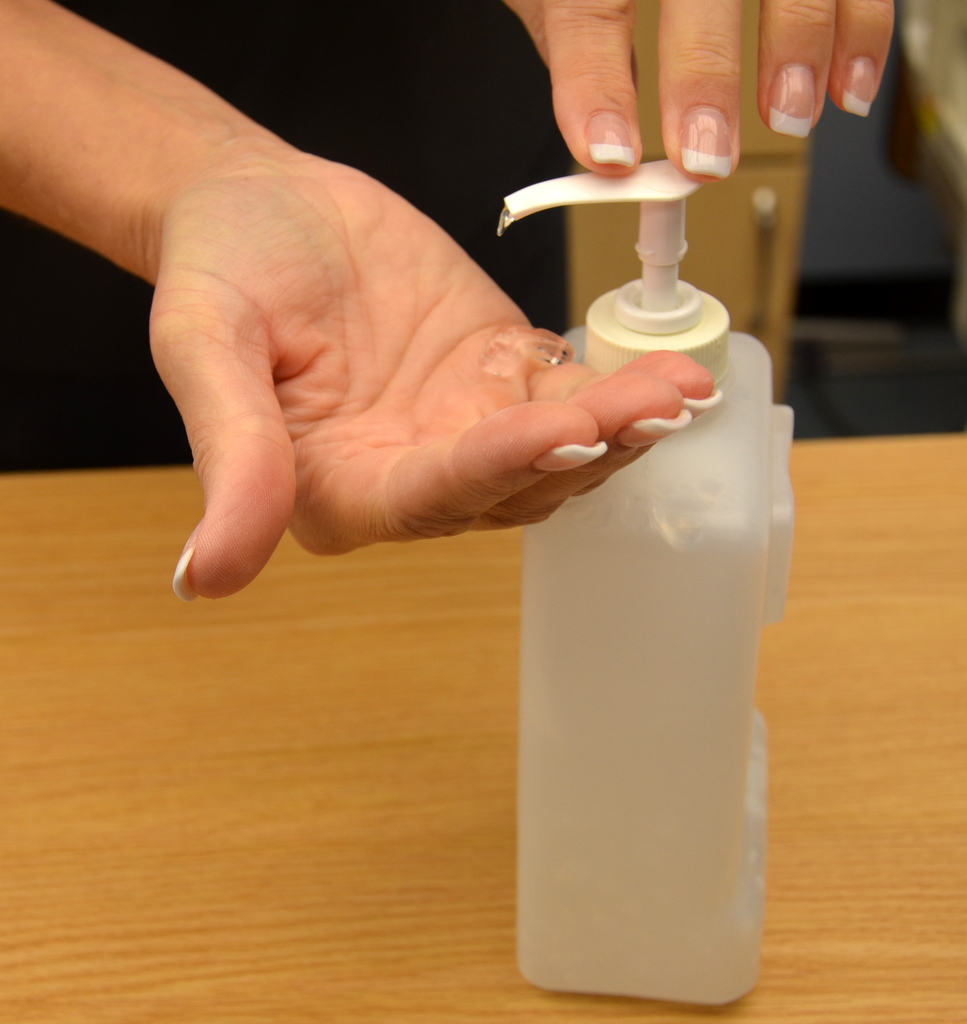
Steps When Using Alcohol-Based Hand Rub
- Alcohol-based hand rubs or ABHRs are quick to use. They are especially convenient when soap and water are not available.
- Make sure your hands are dry, as wet hands will dilute the alcohol-based hand product.
- Use enough of the product to cover all the surfaces of your hands and fingers.
- Rub your hands together until the product has evaporated.
- If dry skin is a problem, use a moisturizing lotion.
- Alcohol-based hand rubs don’t work if your hands are greasy or visibly dirty. These products don’t clean your hands and are not a substitute for handwashing. If your hands are visibly soiled, it is best to use soap and water.
- If it’s not possible to wash with soap and water, use towelettes to remove the soil, then use an alcohol-based hand rub.
The following videos, presented by the Provincial Infection Control Network of British Columbia (PICNet), demonstrate the techniques for hand hygiene using soapy and water and ABHR.
Soap and Water by LearningHub (2022) on YouTube
Alcohol Based Hand Rub by LearningHub (2022) on YouTube
Soap and Water, or ABHR?

ABHR contains 60% to 90% alcohol concentration and is recommended for hand hygiene in health care settings (CDC, 2012). ABHRs:
- Kill the majority of germs (including viruses) from hands
- Are easy to use and have high levels of availability at the point of care
- Require less time to use than soap and water (20 to 30 seconds)
- Provide better skin tolerability
ABHR doesn’t remove dirt. If you have handled something that has left your hands soiled (e.g., raw chicken, a soiled diaper), then soap and water need to be used to remove the soil. Regardless of which method you use, make sure you clean all areas of your hands – palms, backs, fingers, nails — and don’t forget your thumbs.
Wash your hands regularly to prevent spreading infection!
All health care providers are required to perform hand hygiene before and after touching any object that comes in contact with the client.
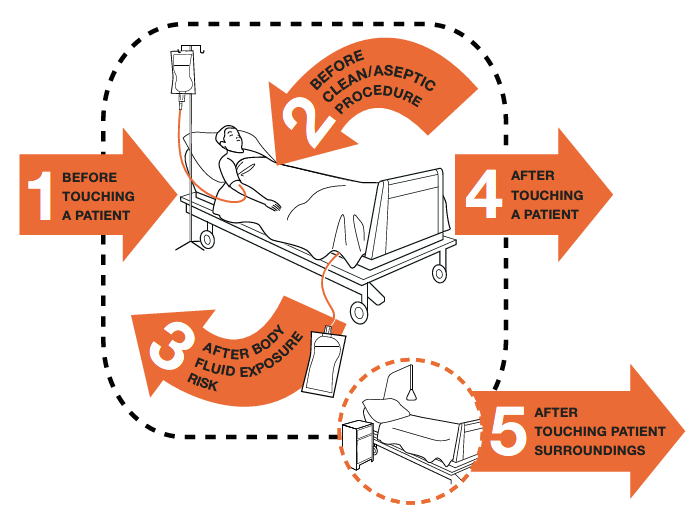
As illustrated in Figure 2.4.8, there are five key moments at which to perform hand hygiene to break the chain of infection when you are working in health care.

Five Moments for Hand Hygiene in Health Care
- Before initial contact with each client or items in their environment
- Before performing an invasive/aseptic procedure
- After care involving risk of exposure to, or contact with, body fluids
- After contact or touching the client
- After contact with a client or their environment
- Before touching the patient/client
- WHEN? Clean your hands before touching a patient/client when approaching them.
- WHY? To protect the patient/client against harmful germs carried on your hands.
- Before clean/aseptic procedure
- WHEN? Clean your hands immediately before performing a clean/aseptic procedure.
- WHY? To protect the patient/client against harmful germs, including the patient/client’s own, from entering their body.
- After body fluid exposure risk
- WHEN? Clean your hands immediately after an exposure risk to body fluids (and after glove removal).
- WHY? To protect yourself and the health-care environment from harmful patient/client germs.
- After touching a patient/client
- WHEN? Clean your hands immediately after touching a patient/client and their immediate surroundings, when leaving the patient/client’s side.
- WHY? To protect yourself and the health-care environment from harmful patient/client germs.
- After touching patient/client surroundings
- WHEN? Clean your hands after touching any object or furniture in the patient/client’s immediate surroundings, when leaving – even if the patient/client has not been touched.
- WHY? To protect yourself and the health-care environment from harmful patient/client germs.
Non-Sterile (Clean) Gloves
Both hand hygiene and clean glove use are strategies to prevent transmission of infections through hand contact. In the context of patient/client care, it makes sense to think of glove use and hand hygiene as complementary strategies to prevent transmission of pathogens. Gloves are critical to prevent the transmission of organisms when hand hygiene alone is not enough in an outbreak such as Clostridium difficile or the norovirus, or when a patient/client has a suspected or known pathogen. Studies have shown that gloves reduce transmission of microbes from the hands of health care workers (PIDAC, 2012). Checklist 2.4.1 provides the correct steps for applying and removing non-sterile gloves.
Non-sterile gloves are single use and should be applied:
- Before an aseptic procedure
- When anticipating contact with blood or body fluid, non-intact skin, secretions, excretions, mucous membranes, or equipment or environmental surfaces contaminated with the above blood or body fluids
- When in contact with a patient/client, their equipment or environment during additional precautions
Non-sterile gloves should be removed:
- If gloves are damaged and integrity is compromised
- When contact with blood, body fluid, non-intact skin, or mucous membranes has ended
- When contact with a single patient/client and their surroundings has ended (or when contact with a contaminated body site on a patient/client has ended)
- When there is an indication for hand hygiene
Checklist 2.4.1: Applying and Removing Non-Sterile Gloves
Disclaimer: Always review and follow your agency policy regarding this specific skill.
Safety considerations:
- Hands must be clean and dry before putting on gloves. Gloves do not replace the need for hand hygiene.
- Hand hygiene must be performed every time gloves are removed. Gloves are not completely free of leaks or 100% tear-proof, and hands may become contaminated when gloves are removed.
- Gloves are for single-patient/client use and must be removed after caring for one patient/client. Reuse of gloves has been associated with the transmission of antibiotic-resistant organisms.
- Change or remove gloves if moving from a contaminated site to a non-contaminated site on the same person or if touching the environment.
- Wear gloves that fit properly. Different sizes are available.
- Gloves must be removed immediately and discarded in a waste bin after the activity for which they were used and before exiting a patient/client’s environment.
- Gloves are not required for health care activities where contact is limited to intact skin, such as taking blood pressure.
- Indiscriminate or improper glove use (e.g., wearing gloves all the time) has been linked to the transmission of pathogens.
- Gloves should fit snugly around wrists and hands for use with a gown to provide a better skin barrier.
| STEP | ACTION | ADDITIONAL INFORMATION |
|---|---|---|
| 1. | Perform hand hygiene. |
 |
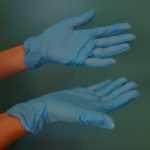
| 2. | Select the appropriate size of non-sterile gloves. Remove gloves one at a time out of the box, touching only the top of the cuff. |
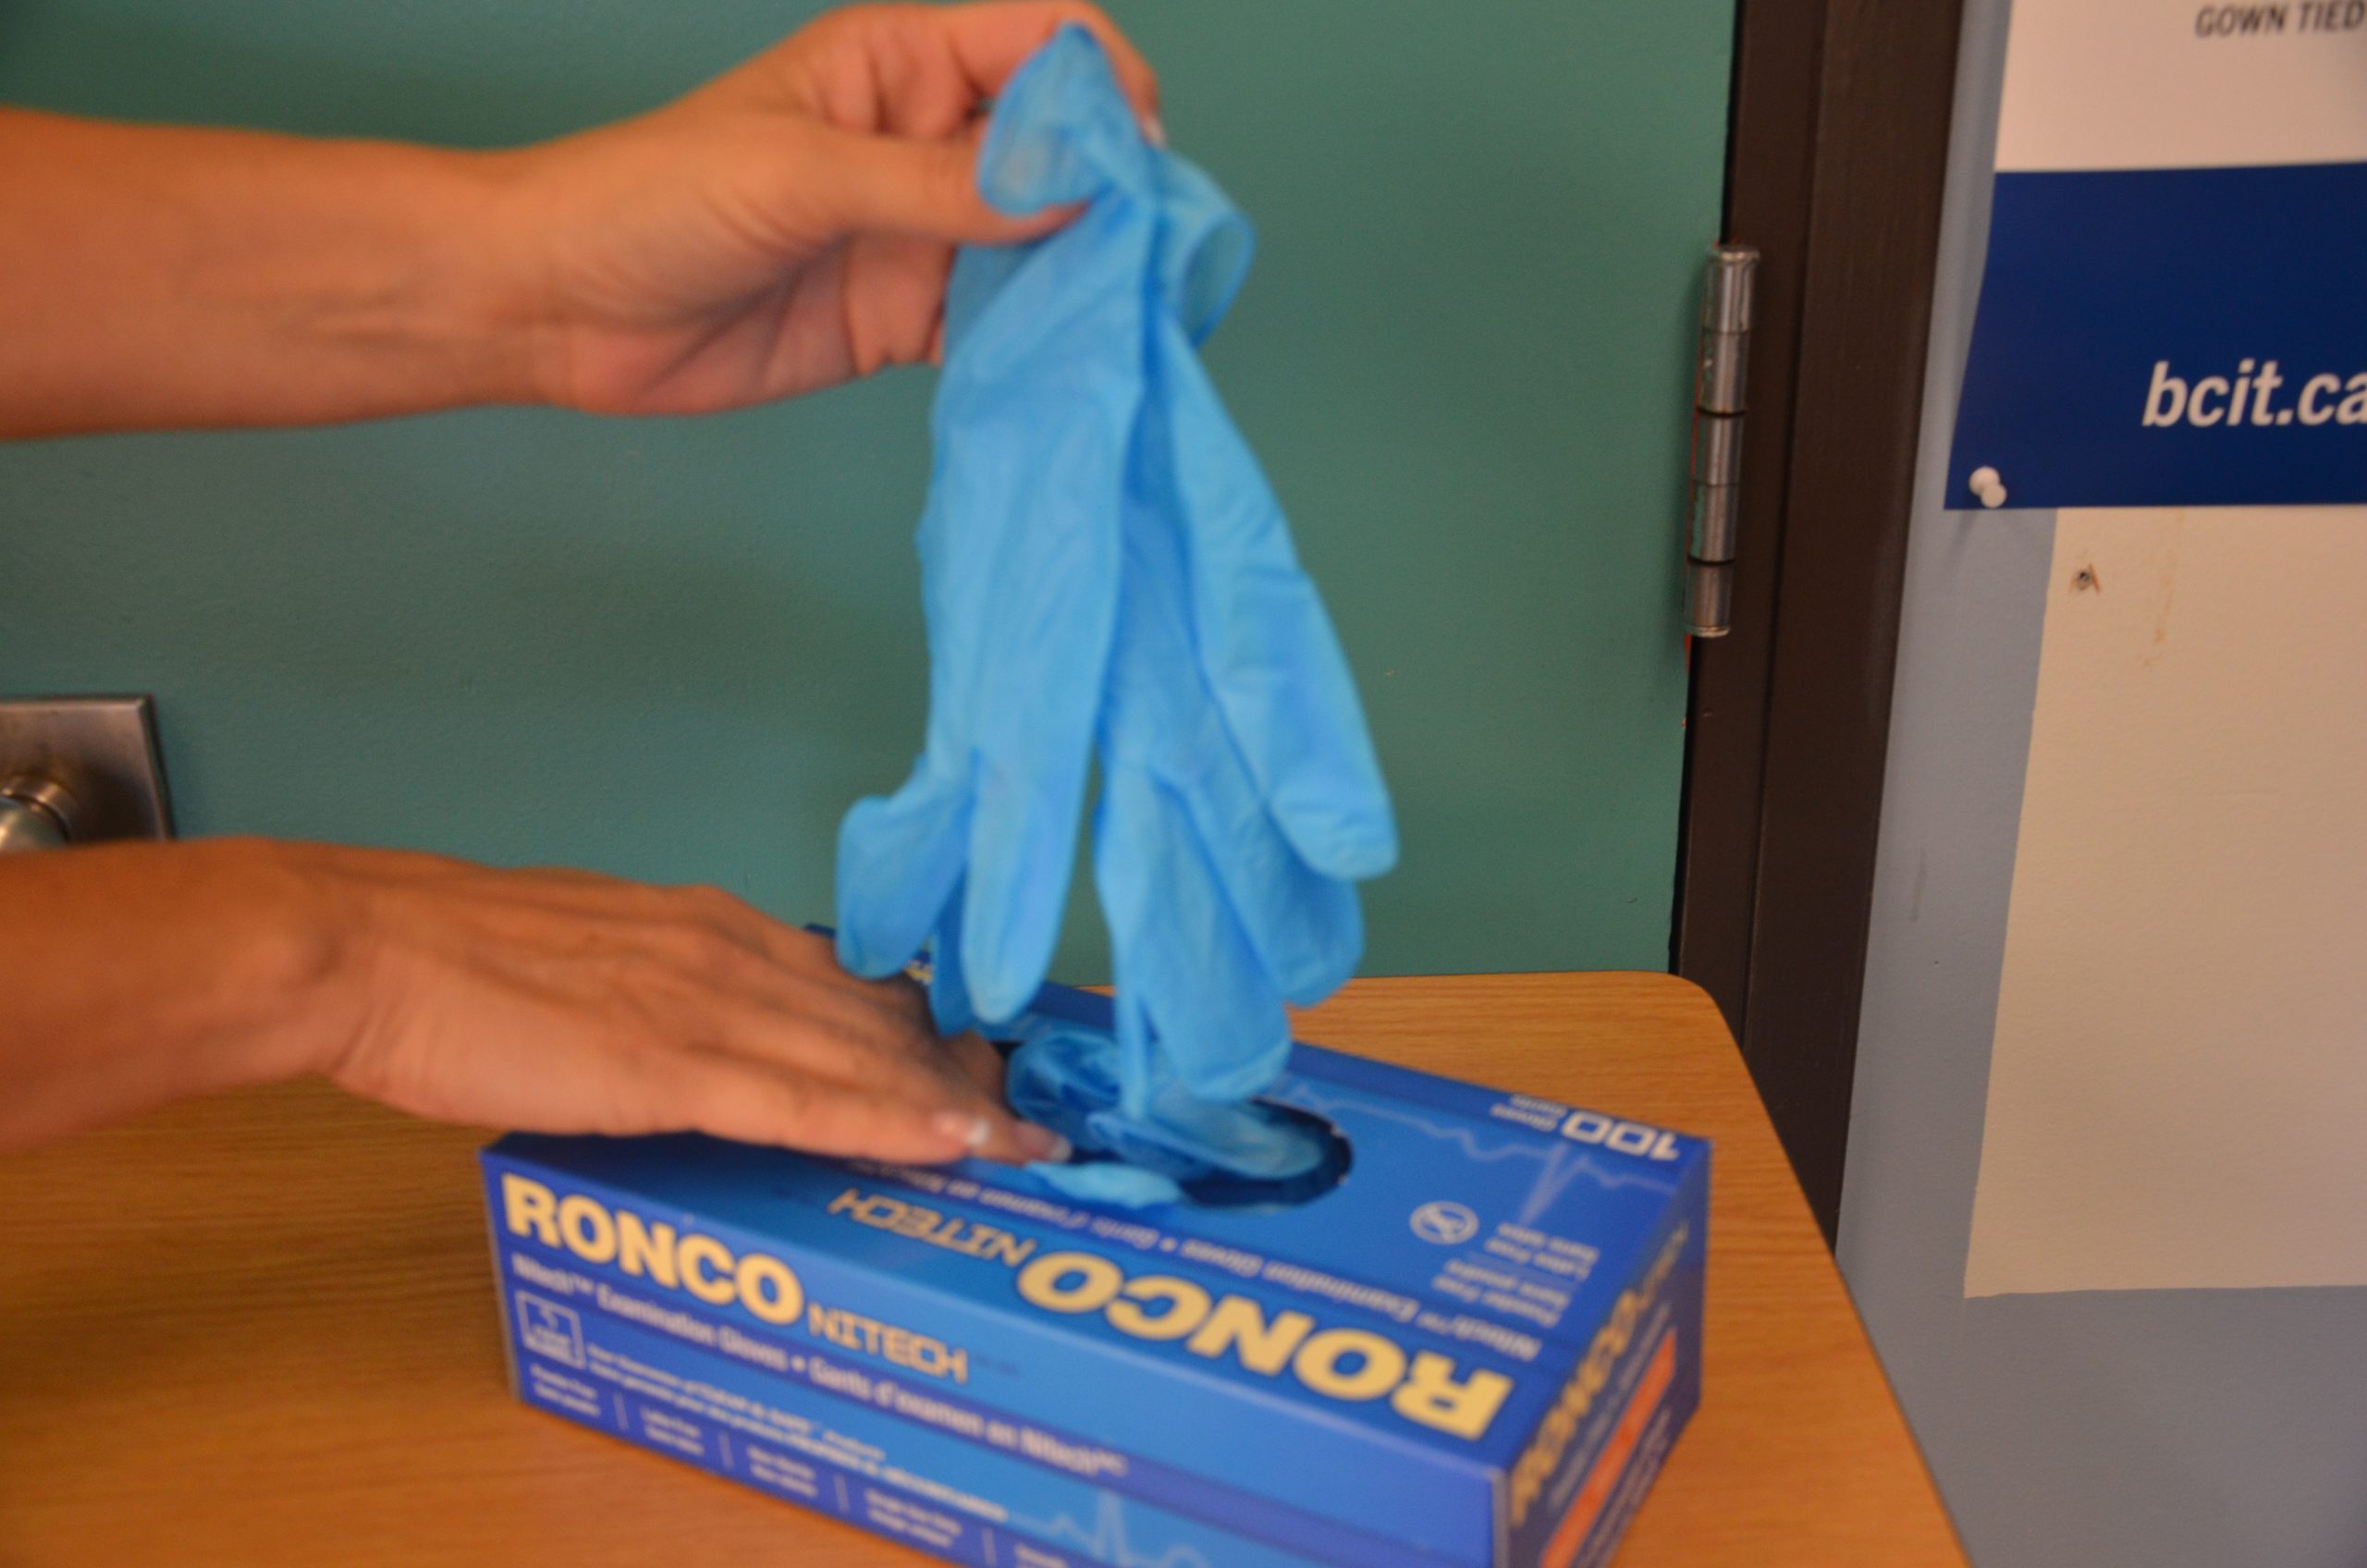 |
| 3. | Put hand through opening and pull up to the wrist. |
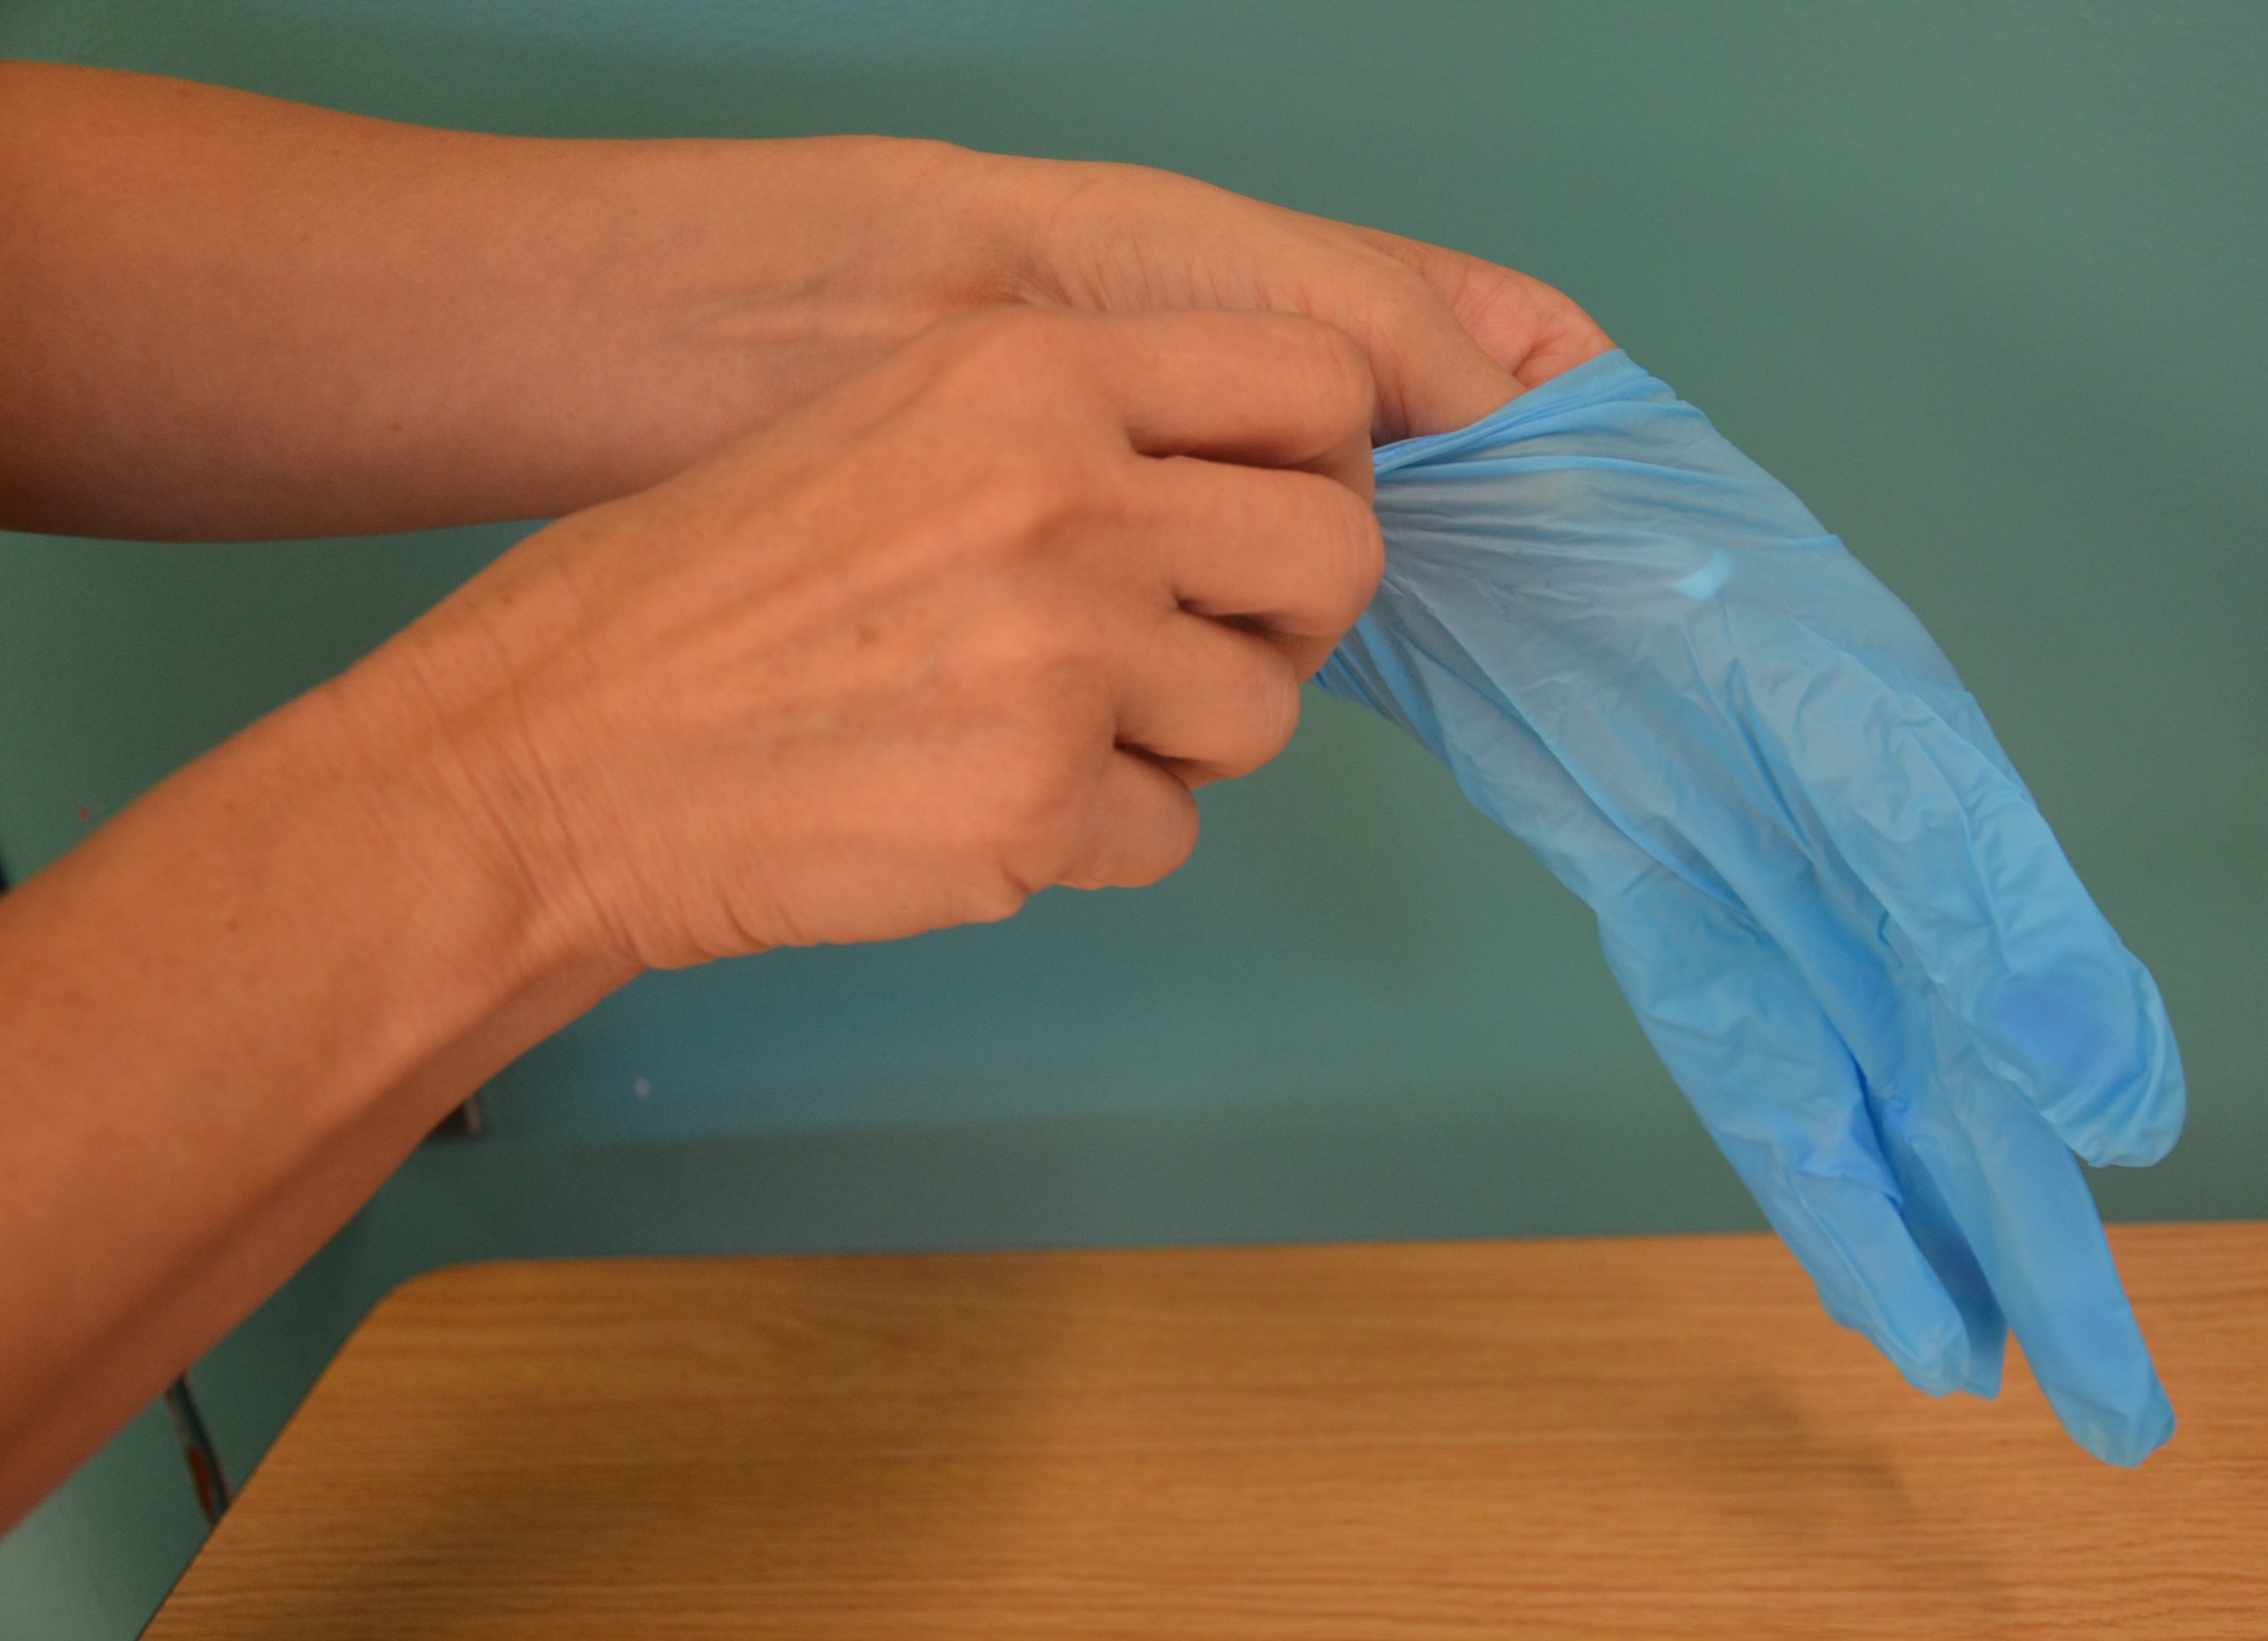 |
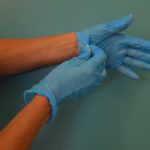
| 4. | Repeat procedure with the second hand. |
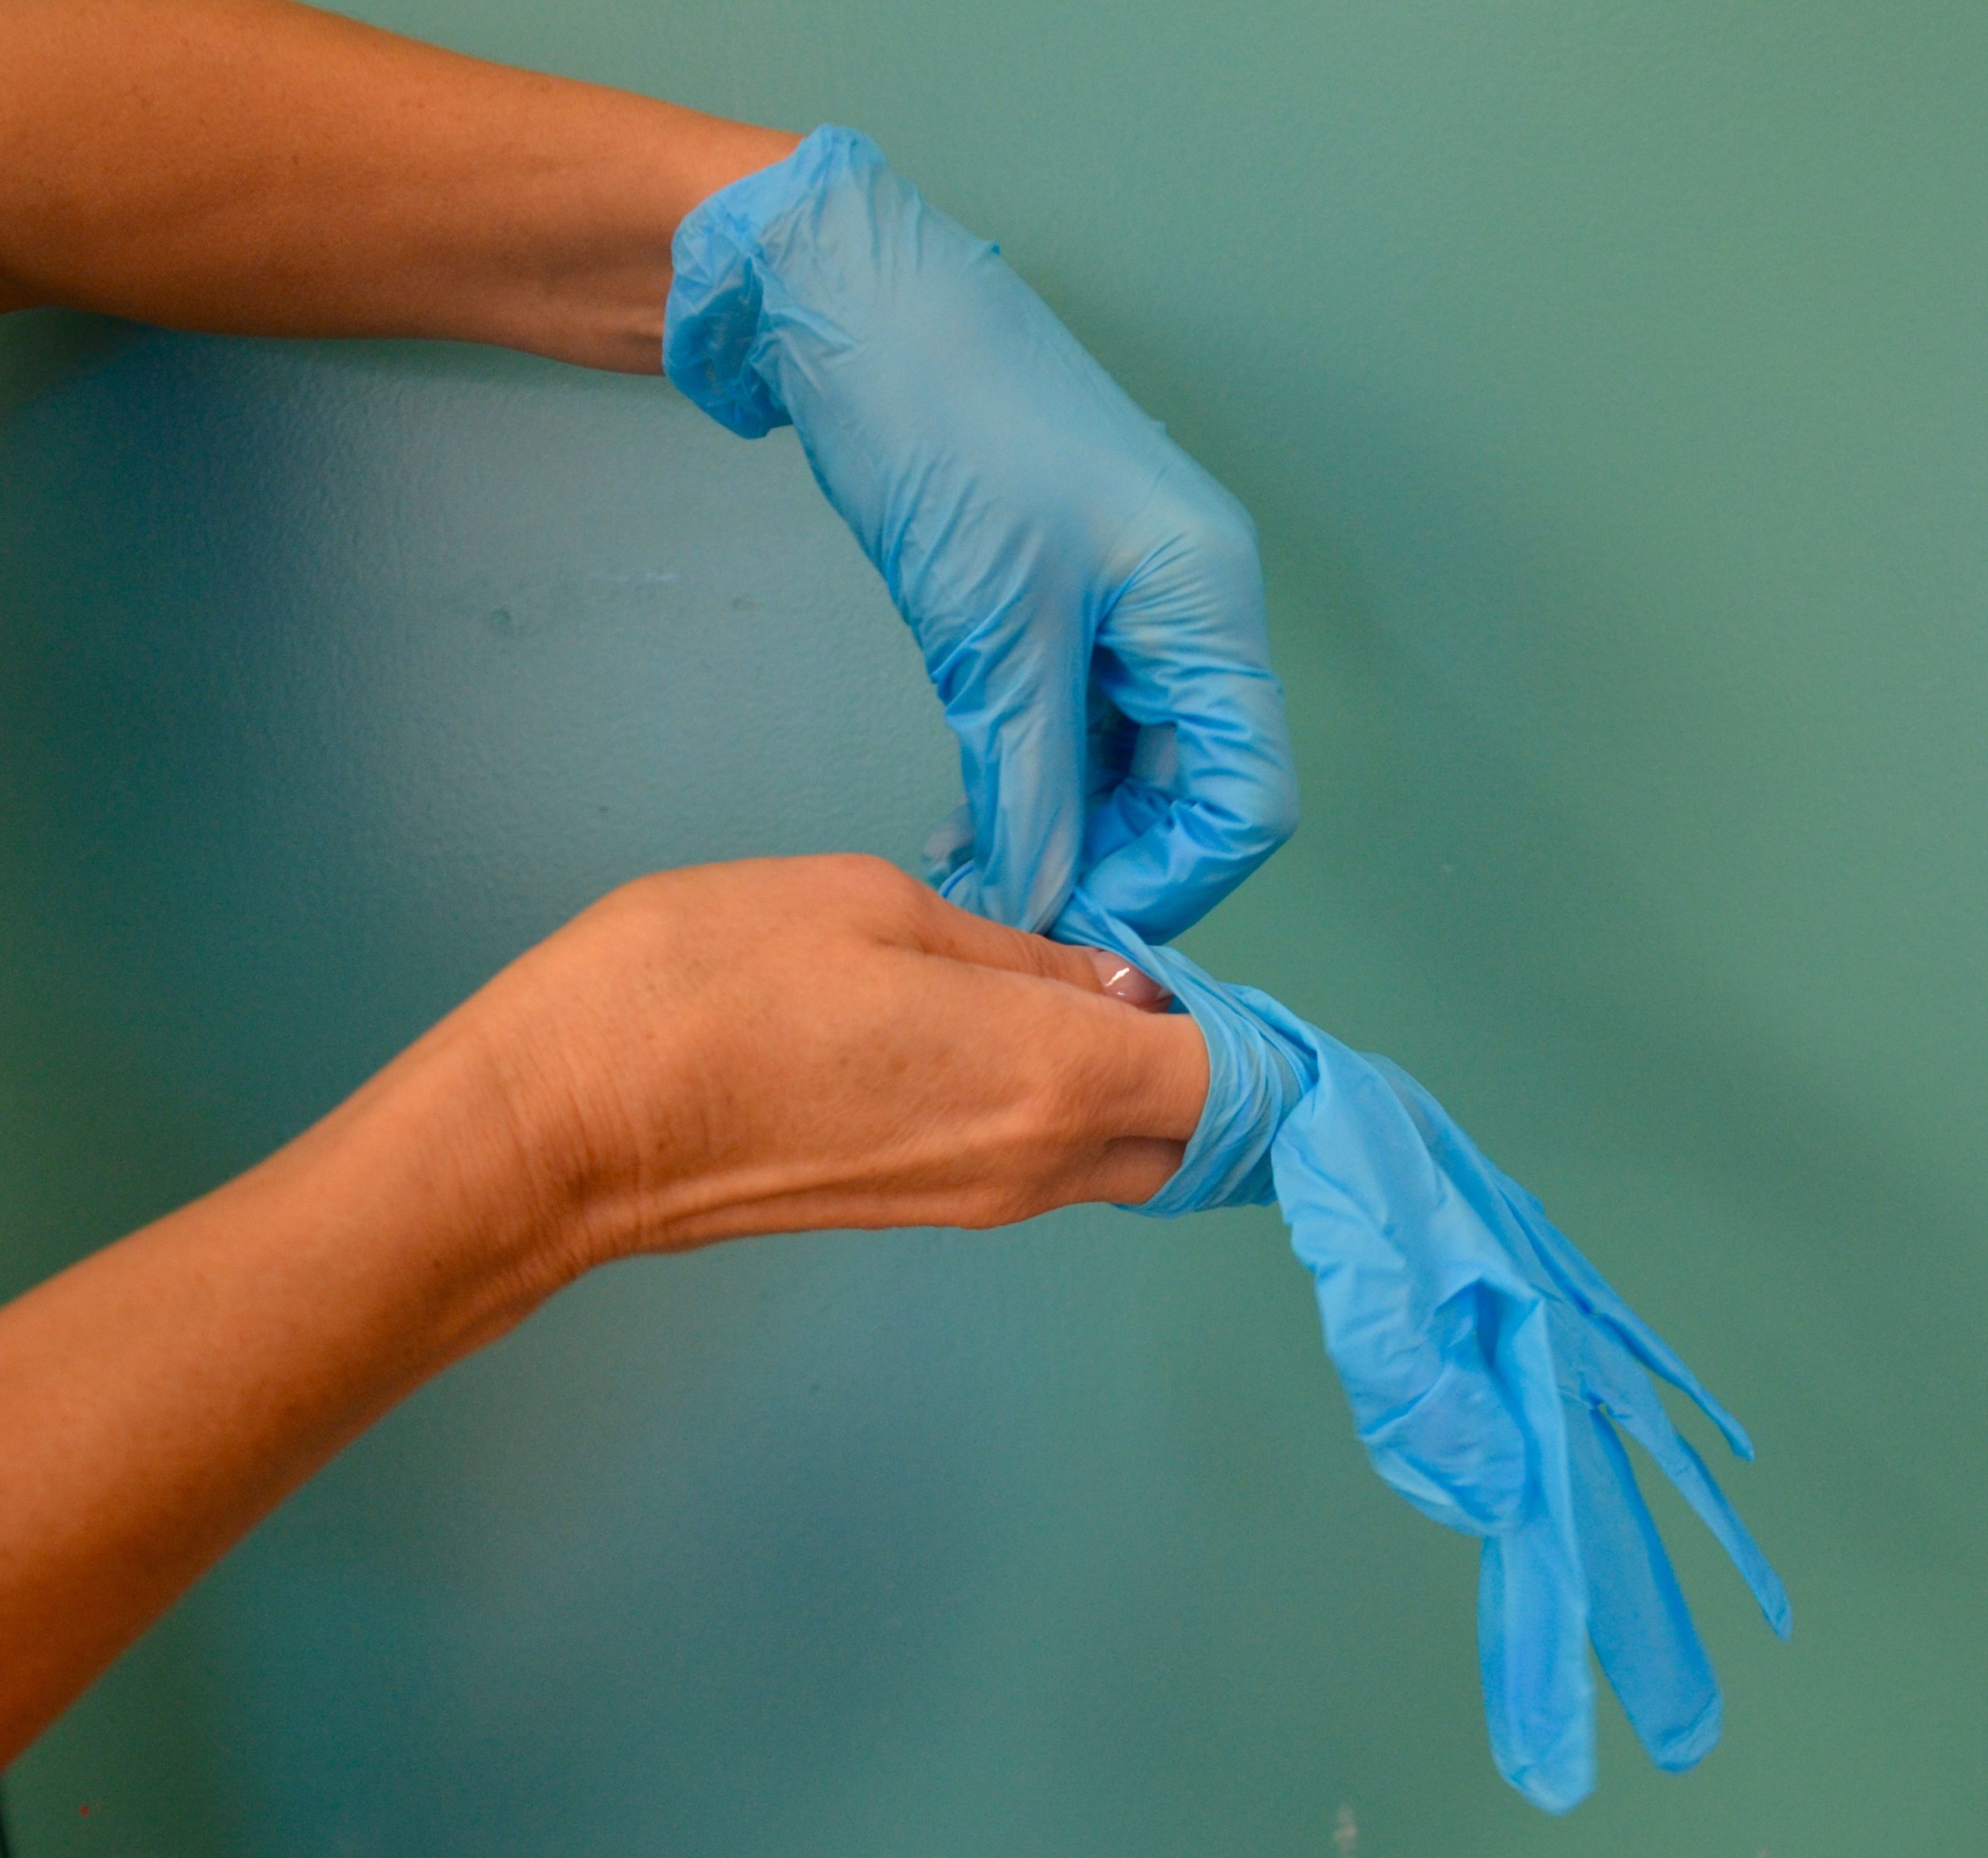 |
| 5. | Adjust gloves to cover wrists or gown as required. | Prevents the contamination of the wrists. |
| 6. | Complete care as required. |
 |
| STEPS | ACTION | Additional Information |
|---|---|---|
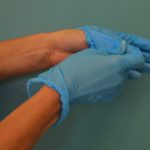
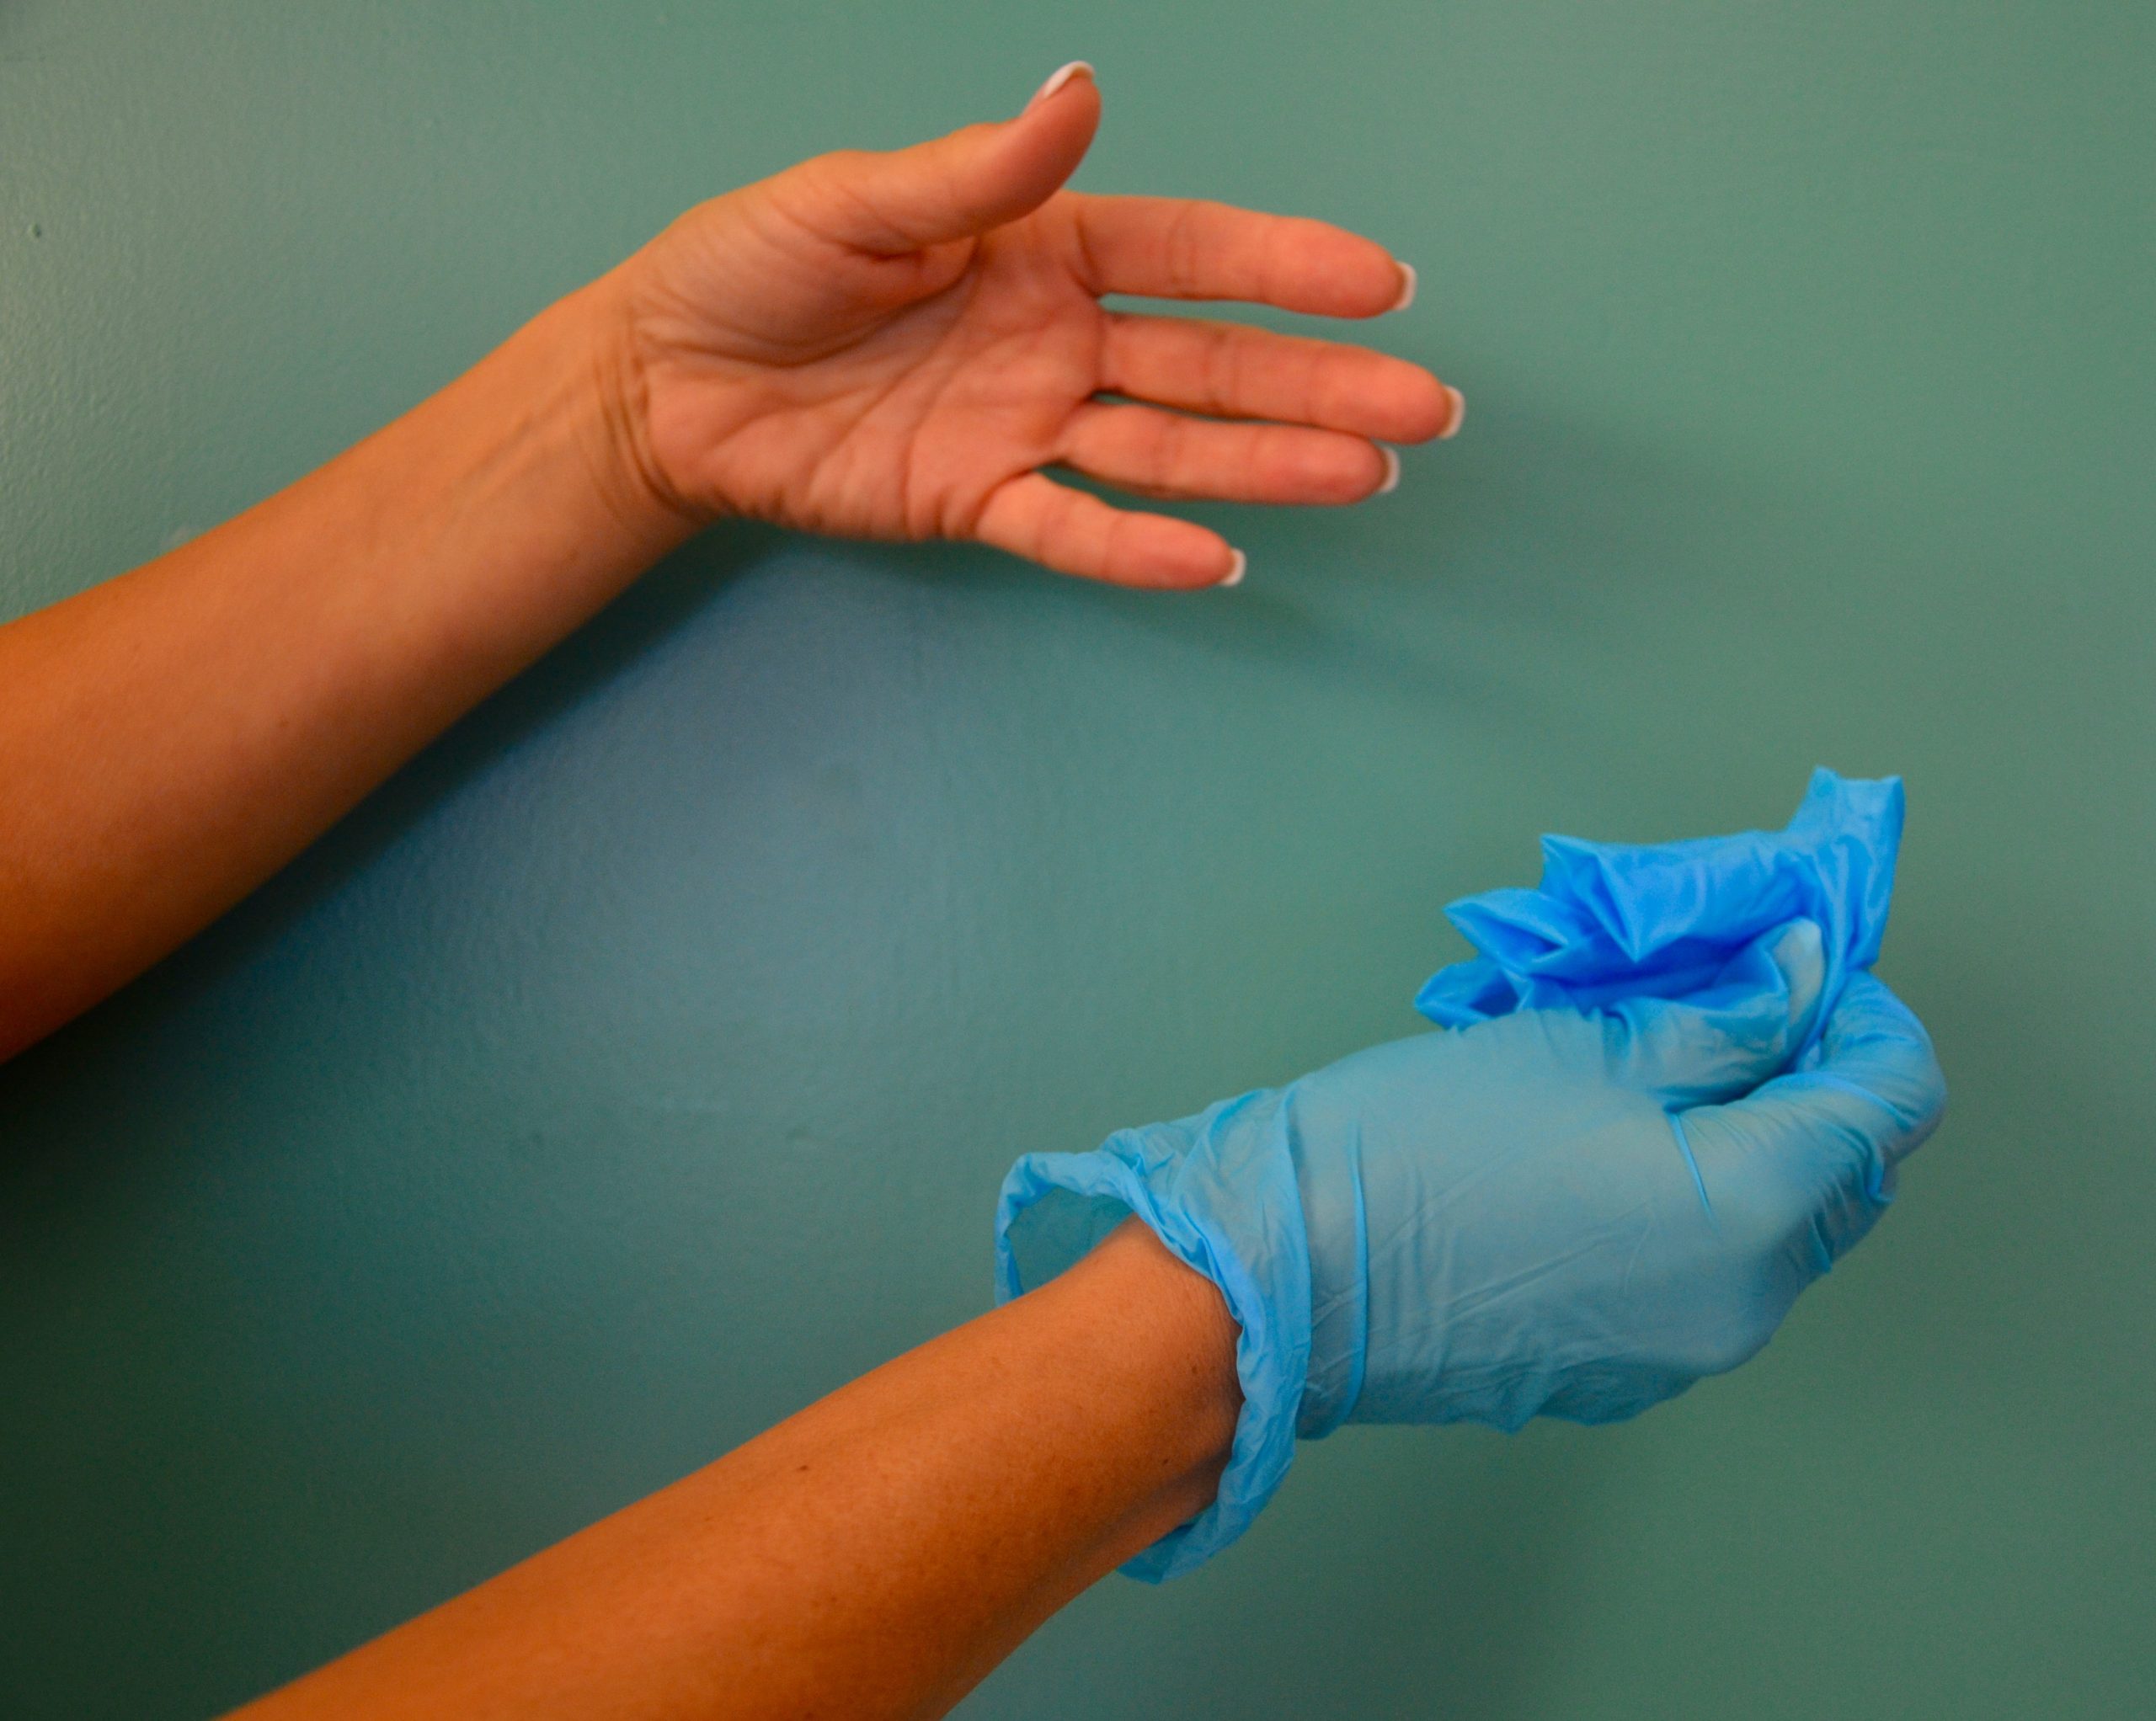
| 1. | Grasp glove on the outside about 1.25 cm below the cuff (edge of the glove opening). Do not touch the wrist with the other hand. |
 |
| 2. | Pull down glove, turning it inside out. Hold the inside-out glove in the gloved hand. |
  |
| 3. | Gather the inside-out glove in the gloved hand. |
 |
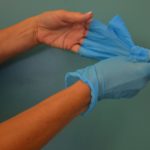
| 4. | Insert finger of the bare hand under the cuff of the gloved hand. |
 |
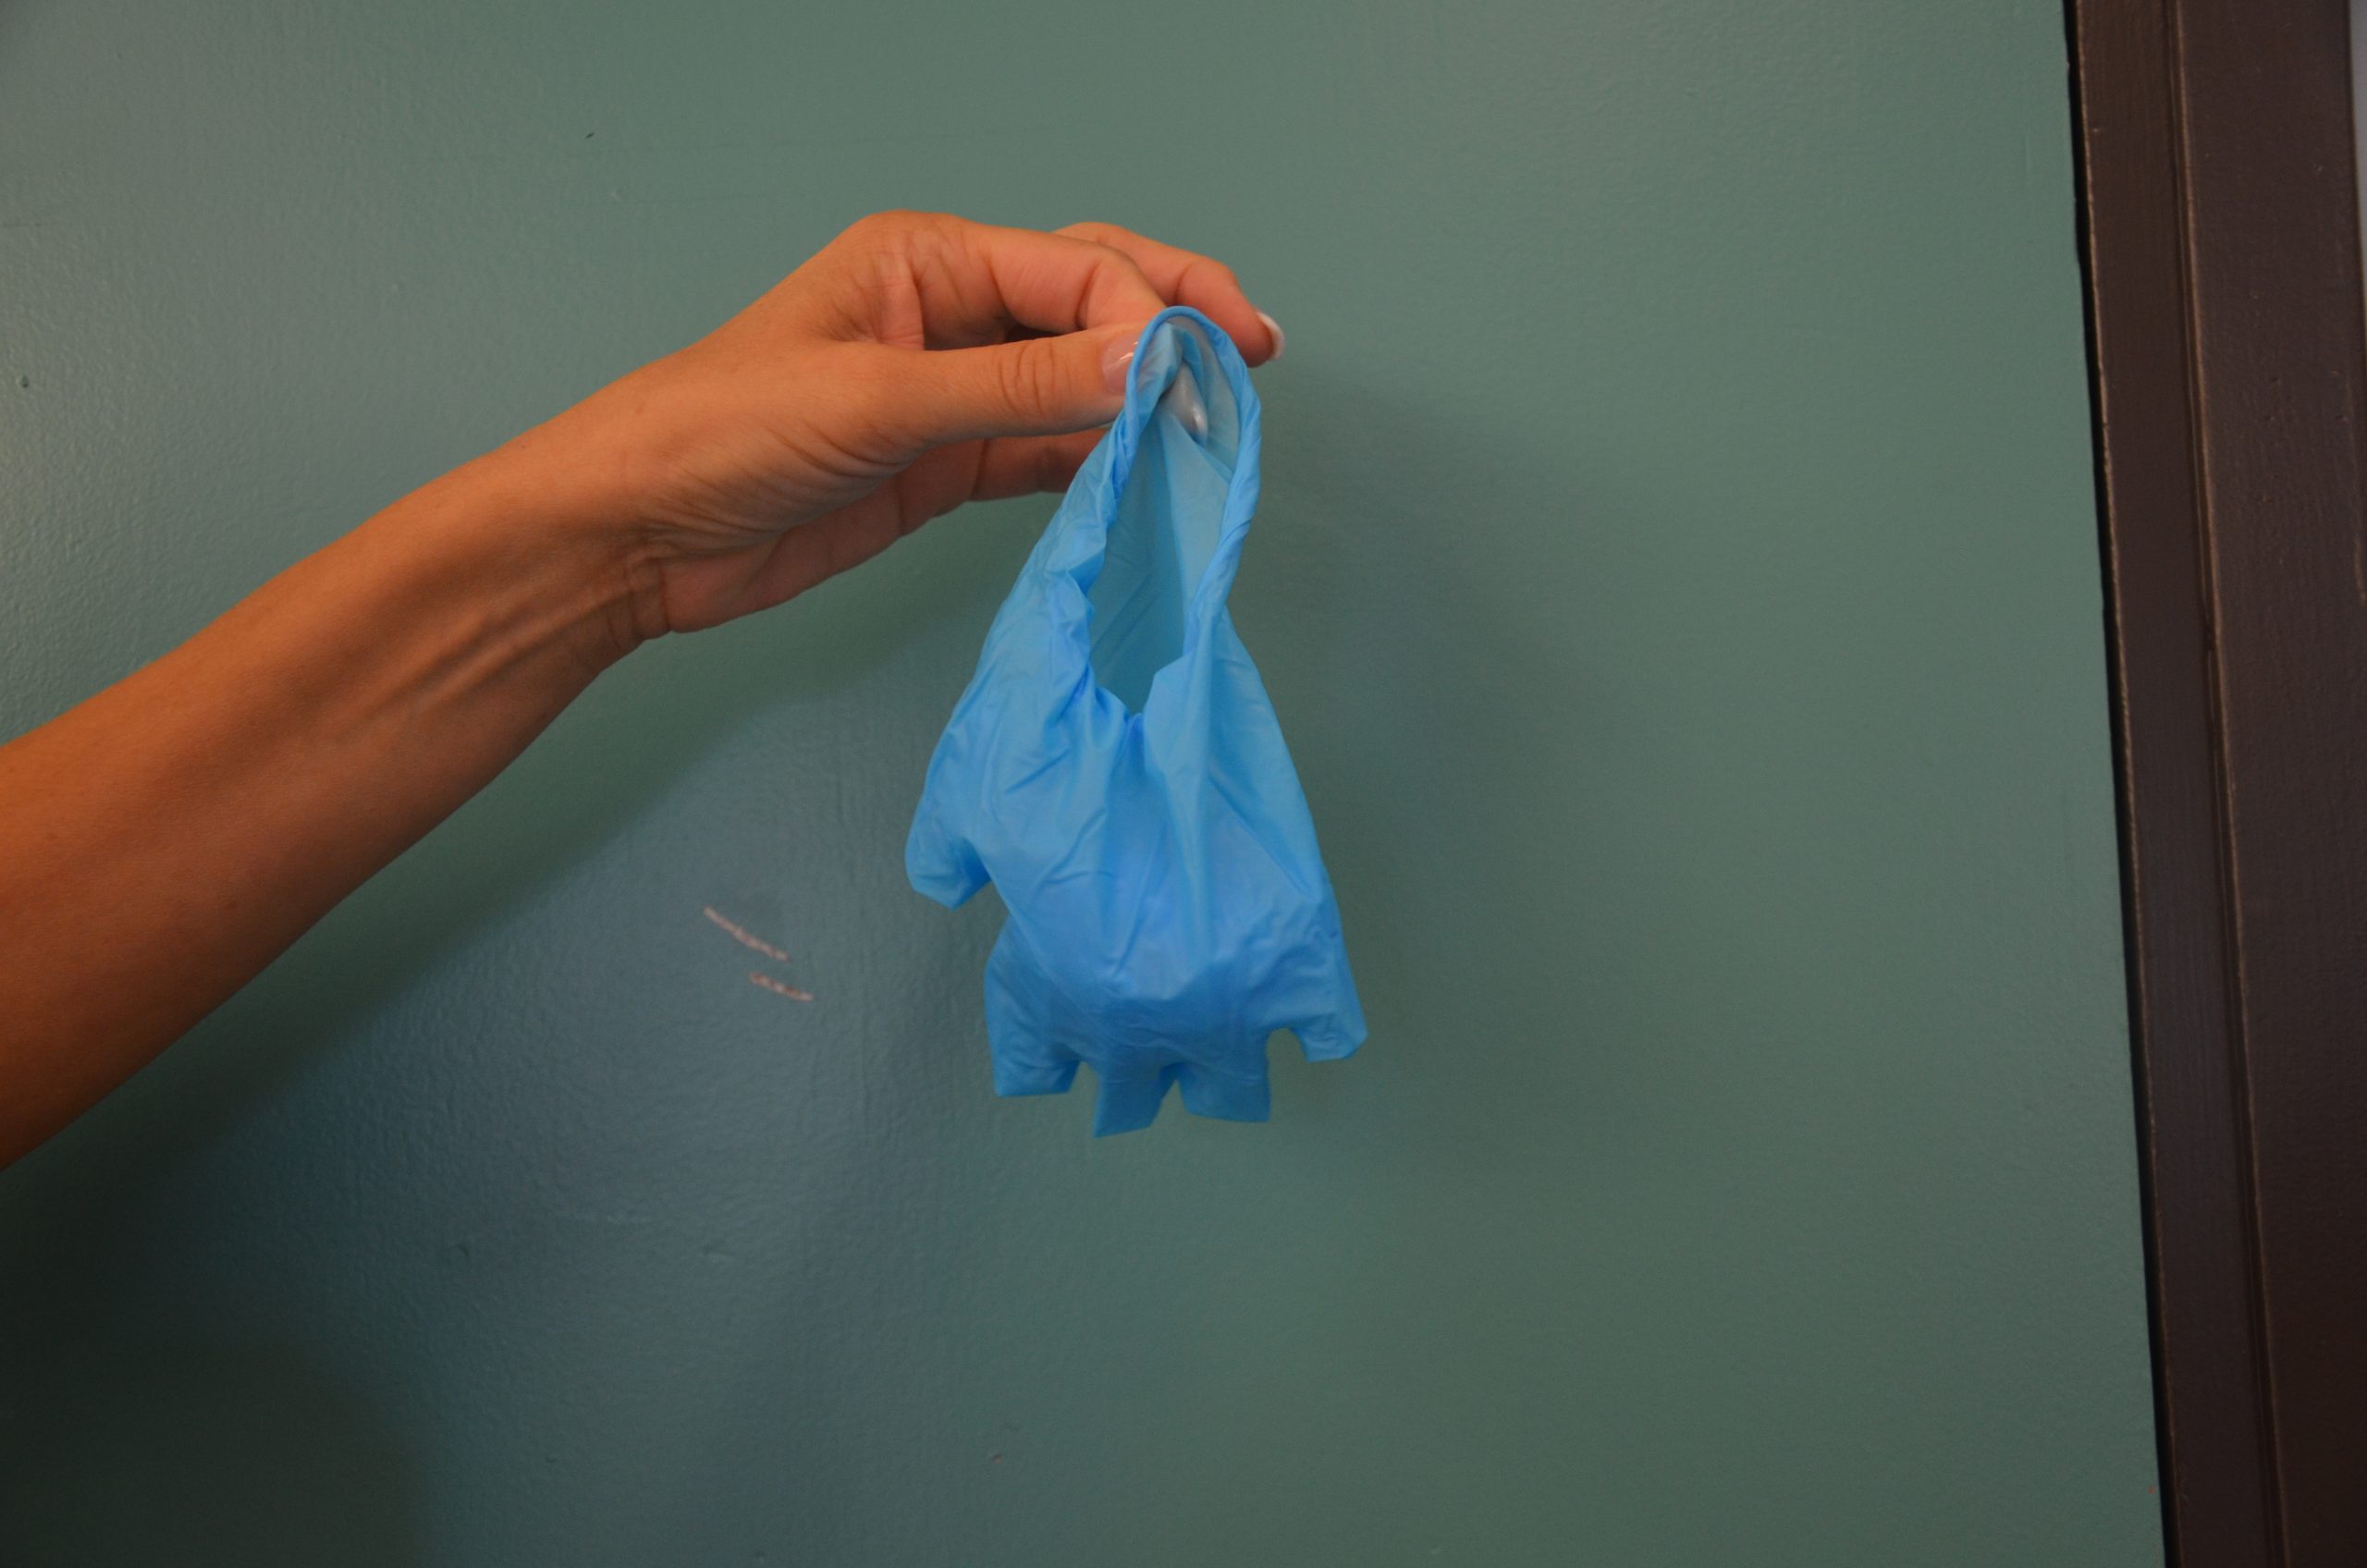
| 5. | Pull down the glove until it is inside out, drawing it over the first glove. |
 |
| 6. | Discard gloves in a garbage container. | This step reduces the spread of microorganisms.
 |
| 7. | Perform hand hygiene. | This step reduces the spread of microorganisms.
|
Critical Thinking Exercises
- Name four factors that decrease the effectiveness of hand hygiene.
- What are two ways to reduce or prevent skin irritation with hand hygiene or non-sterile (clean) glove use?
Microorganisms that have developed resistance to many antibiotic agents.
A liquid, foam, or gel formation of an alcohol-based solution used to reduce the number of microorganisms on the hands when the hands are not visibly soiled. A form of hand hygiene.
Microscopic, sometimes single-cell organisms including bacteria, fungi and viruses. A small proportion are pathogenic, meaning they can cause disease.
