Unit 1 Use a Theme Template and Slide Layouts to Create a Presentation
4 View and Save Presentations
bpayne
 View and Save Presentations
Topics include:
- Open an Existing Presentation
- Correct Text
- View a Presentation
- Save vs Save As
- View Options
- Quit PowerPoint
- Print a Presentation
Open an Existing Presentation
To view an existing presentation, start PowerPoint, click on the File tab, select Open. Your Windows Explorer will open and allow you to choose an existing presentation. Note: This section is information only, you can work along exploring this feature. Later in this lesson you will use this PowerPoint open in the hands on practice activities.
View a Presentation
In the first learning activity we learned that there are four buttons located in the View area that are used to view a presentation.
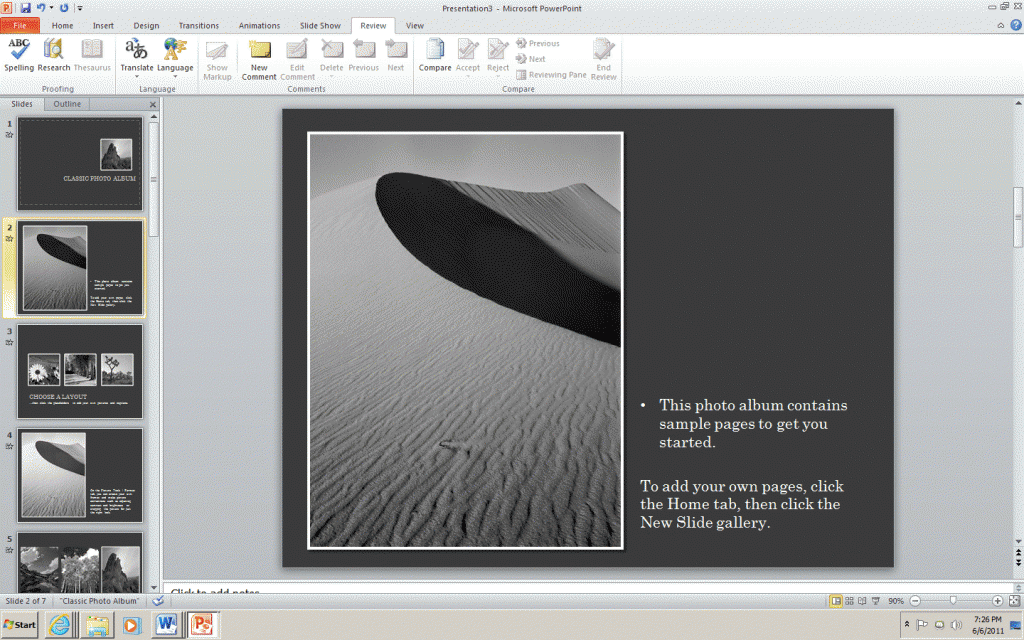
![]() The first view is the Normal View. In this view, you edit one slide at a time by adding text, graphics and clip art. This is the default view. It allows you to see and work with several aspects of the presentation simultaneously, including the slide, the outline/slide sorter section, and the notes pane. There are many ways to navigate from slide to slide in the normal view. First, you can select the slide pane and simply click on the desired slide. Second, you can select the outline tab and click on the slide icon. This will display the selected slide in the slide pane. Another way to view slides in Normal view is by using the arrow keys on your keyboard.
The first view is the Normal View. In this view, you edit one slide at a time by adding text, graphics and clip art. This is the default view. It allows you to see and work with several aspects of the presentation simultaneously, including the slide, the outline/slide sorter section, and the notes pane. There are many ways to navigate from slide to slide in the normal view. First, you can select the slide pane and simply click on the desired slide. Second, you can select the outline tab and click on the slide icon. This will display the selected slide in the slide pane. Another way to view slides in Normal view is by using the arrow keys on your keyboard.
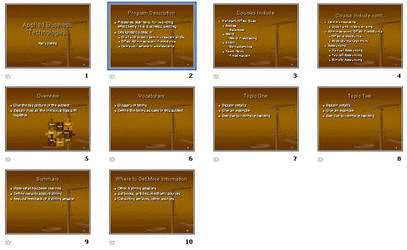
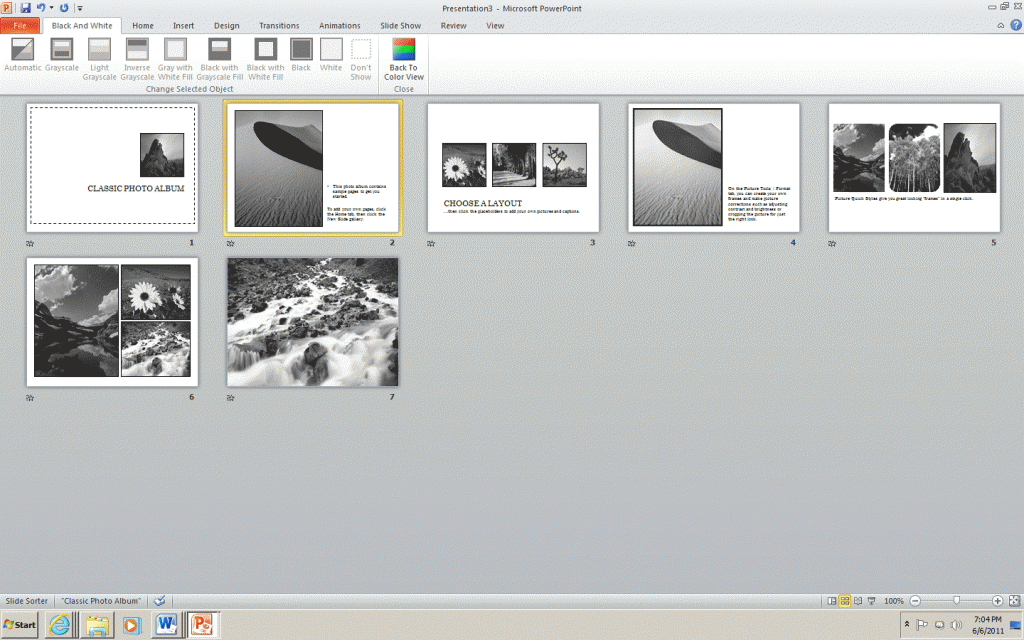
![]() The second view is the Slide Sorter View. This view shows a miniature of your slides and provides an easy way to rearrange or delete one or more slides. Under each slide is the slide number, transition between slides, body text animation and display time. All of these attributes can be modified from this view.
The second view is the Slide Sorter View. This view shows a miniature of your slides and provides an easy way to rearrange or delete one or more slides. Under each slide is the slide number, transition between slides, body text animation and display time. All of these attributes can be modified from this view.
![]() The third view is the Reading View. This view allows an inpidual to view the presentation in a window with simple controls that make the presentation easy to review on the computer.
The third view is the Reading View. This view allows an inpidual to view the presentation in a window with simple controls that make the presentation easy to review on the computer.
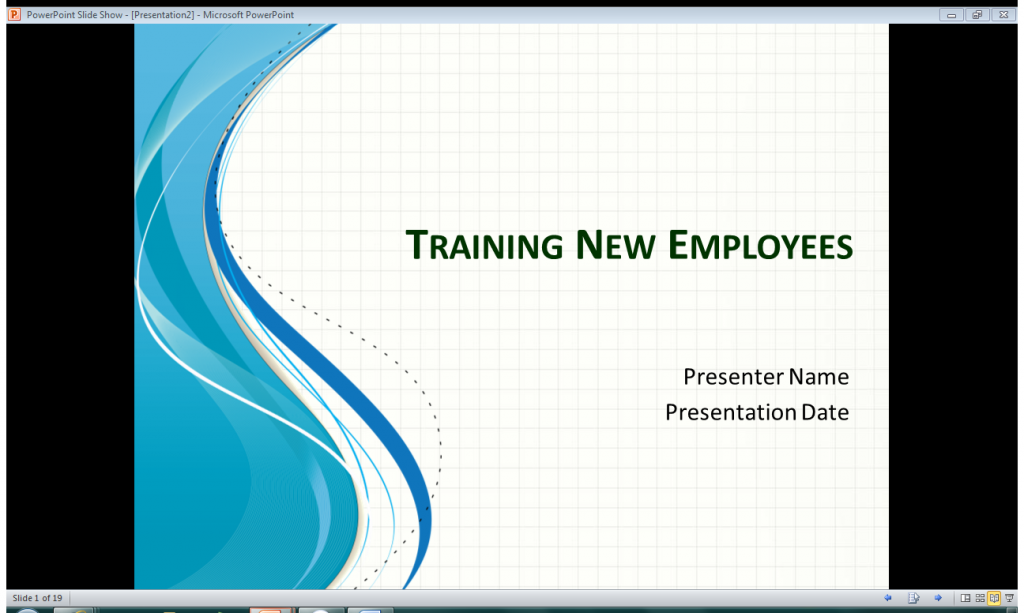
![]() The fourth view is the Slide Show View. This view is used to deliver the presentation to an audience. With this view, you can see the slide transitions and timing. To run the slide show automatically, timings must be set. Use the arrow keys or your mouse to move from slide to slide. To return to the normal view or the slide sorter view, press the ESC key.
The fourth view is the Slide Show View. This view is used to deliver the presentation to an audience. With this view, you can see the slide transitions and timing. To run the slide show automatically, timings must be set. Use the arrow keys or your mouse to move from slide to slide. To return to the normal view or the slide sorter view, press the ESC key.
View Options
A useful way to view your presentations is in black and white or Grayscale. If you need to use a projector that can only handle Black & White or Grayscale you should view your presentation with a black and white command applied to be sure your text and layout is still readable.
To see how your slides would look in black and white, click the View tab, select Grayscale or Black and White in the Color/Grayscale group and scroll through your slides.
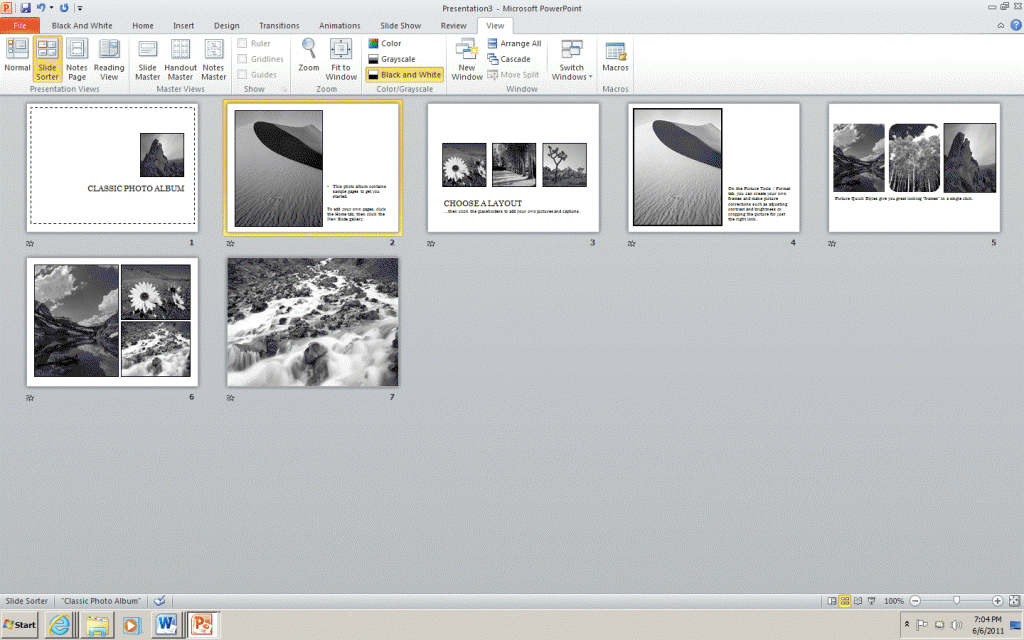
A new tab will then display. From the Black and White tab, select one of the various black and white settings.
Print a Presentation
A presentation can be printed in many formats. You can print the slides of your presentation, handouts for the audience, the notes page, or the outline view. Prior to printing the desired material, you may want to specify the page Orientation; select Slide Orientation located in the Page Setup group in the Design tab. The dialogue box will appear; this allows you to set the orientation either Portrait or Landscape.
The next step to printing your presentation is to display the print dialogue box. Click on the File tab, then Print. At the Print screen you have the the option to print all of the slides, or you can specify the slides that you would like to print.
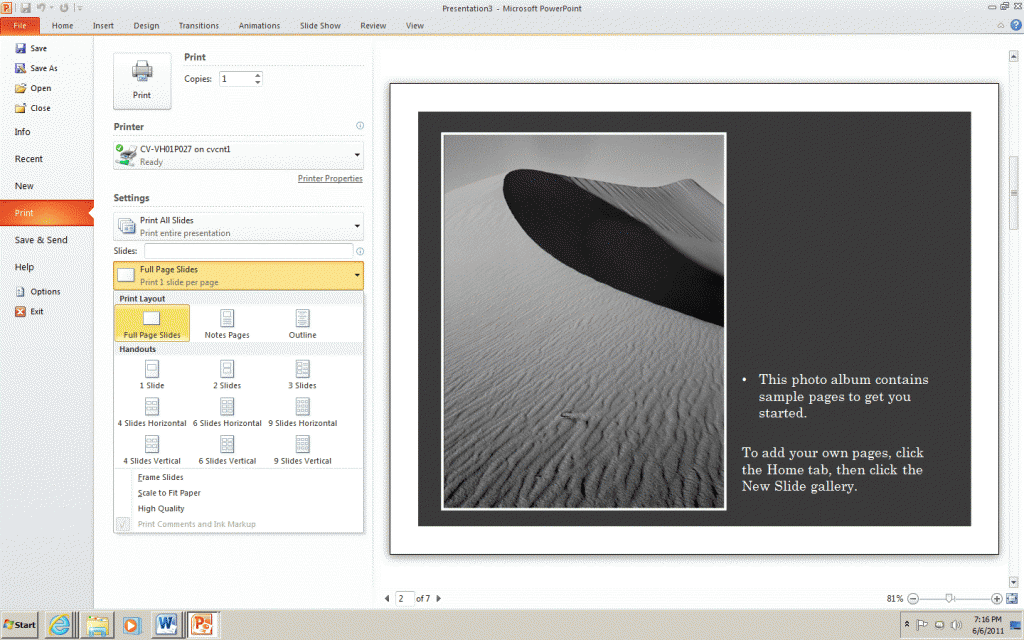
The drop list beside Full Page Slides: displays a list of printing options such as print slides, handouts, notes pages and outline view.
The Color drop list includes the options to have your presentation print in Color, Grayscale and Pure Black and White.
Once you have determined how you want your presentation to print, you can then select the number of copies and click OK.
Correct Text
While viewing your presentation, you need to proofread your presentation for any errors. PowerPoint is equipped with a spell checking feature to check for and correct misspelled words. Keep in mind that the spell check only recognizes misspelled words not misused words. To check your presentation for any spelling mistakes, click on the Spelling button located in the Review tab. When PowerPoint recognizes a misspelled word it offers suggestions, you then have the option to choose the correct spelling or ignore the misspelled word.
Save vs Save As
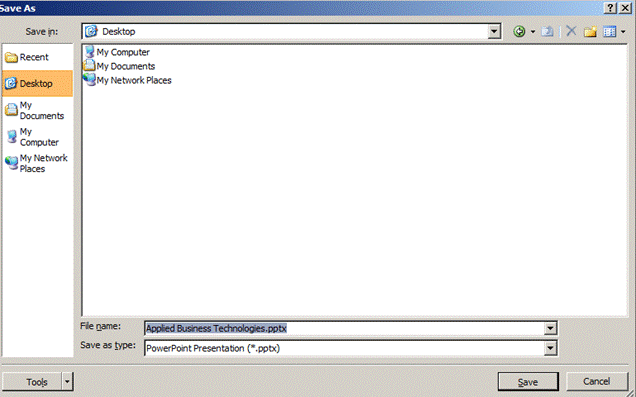
When creating a presentation, you must save your files to a disk. When saving the presentation for the first time, you will use the Save As command located under the File tab.
You will then name your presentation and save it either on your hard drive or on a disk. When naming a PowerPoint presentation, you will notice that the new file will be named with the extension .pptx.
Once you have saved your presentation with a new name, when you make any additional changes you can use the Save command. The Save command saves any changes you make to the file in the same location you specified when you used the Save As command. Be sure to save your files frequently.
Quit PowerPoint
Once you have saved your PowerPoint Presentation, click on the X located to the right of the Title bar. This command will close the PowerPoint program.
