Part 1
Module 2: Checking the Accuracy of Models
Learning Outcomes
When you have completed this module, you will be able to:
- Describe how the models drawn in lab exercises are checked for accuracy.
Checking the Accuracy of Models
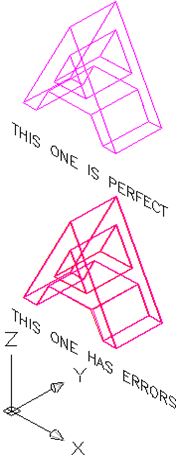
It is extremely important in AutoCAD to draw with 100% accuracy. This cannot be stressed enough as it is essential that each model be positioned and sized perfectly. Models constructed in the lab exercises, in the AutoCAD 3D book, can be checked for accuracy by overlaying it with a key. As a beginner, this helps you know that the models are drawn accurately and shows you any part of the model that is drawn incorrectly. As you become more experienced, you will not require keys to check your models.
WORK ALONG: Checking the Accuracy of Models
Step 1
Using the NEW command, start a new drawing using the template: 3D Layout English.
Step 2
Save and name the drawing: AutoCAD 3D Lab 02-1.
Step 3
Check to ensure that the Model tab is enabled. If it is not, enable it by clicking it with the left mouse button. (Figure Step 3)

Step 4
Ensure that all features on the Status bar are disable by clicking any that are enabled. Your Status bar should match the figure. (Figure Step 4)

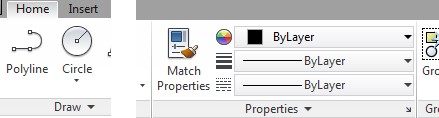
Step 5
Ensure that ByLayer is enabled in the first 3 boxes on the Properties menu. (Figure Step 5)

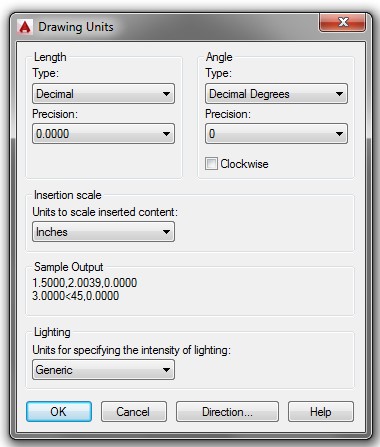
Step 6
Click Format on the Pull-down menu and click Units to open the Drawing Units dialogue box. (Figure Step 6A and 6B)
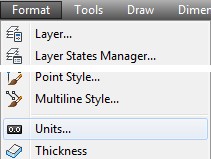
Format Pull-down
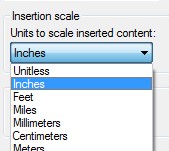
Step 7
Pull down the Insertion scale list and select Inches. Click OK to close the Drawing Units dialogue box. (Figure Step 7)
Step 8
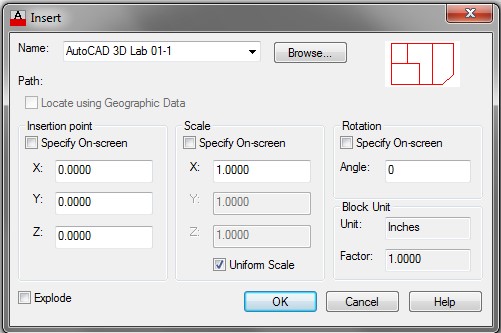
Click the Insert pull-down and select Block. This will open the Insert dialogue box. (Figure Step 8)
Step 9
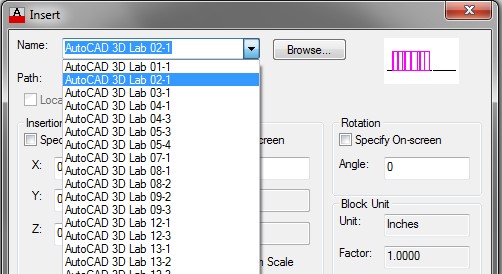
Click the small triangle at the end of the Name box. It will pull-down the list of the block names contained in the drawing file. (Figure Step 9)
Step 10
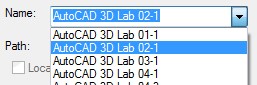
Click the block: AutoCAD 3D Lab 02-1. It will highlight as shown in the figure. The name you select is always the name of the drawing for the lab exercise you are working on. (Figure Step 10)
Step 11
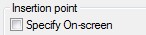
Ensure that the three Specify On-screen boxes are disabled. (Figure Step 11A and 11B)

Step 12
Click the OK button.
Step 13
This will insert a magenta colored overlay key on your model. If there double objects or places where the users model and the magenta model don’t match, the users model is incorrect. If only one model displays, even though it may share the colors magenta and red, the model is accurate. The magenta key resides on layer: Key. If the model is incorrect, turn layer: Key off and correct the model before going on to the next lab exercise or module. After your model is corrected, check it again by turning layer: Key on. (Figure Step 13)
Step 14
Save and close the drawing.
Key Principles
Key Principles in Module 2
- AutoCAD models must be drawn with 100% accuracy.
- Most models that you will be drawing in the lab exercises in the AutoCAD 3D book can be checked for accuracy using an overlay key.
- The name of the key that you select to check your model is always the name of the drawing for the lab exercise for that model.
- After the key is inserted and only one model displays, the model is 100% accurate.
